This Post May Contain Affiliate Links. Please Read Our Disclosure Policy.
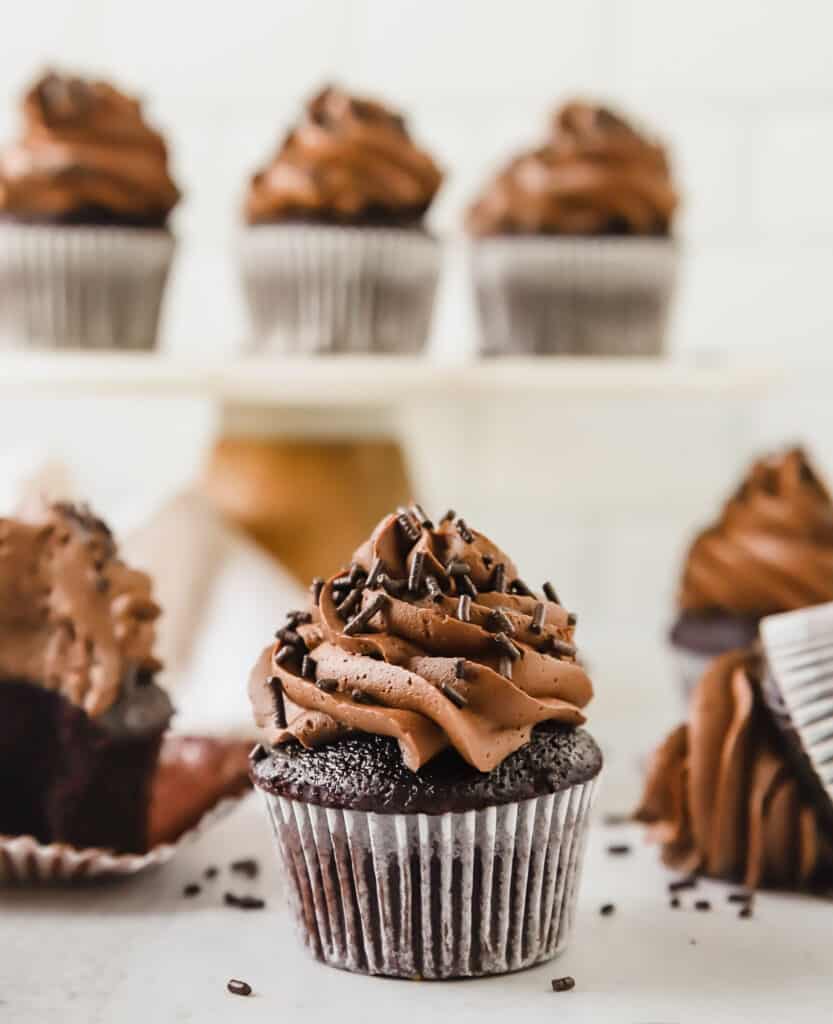
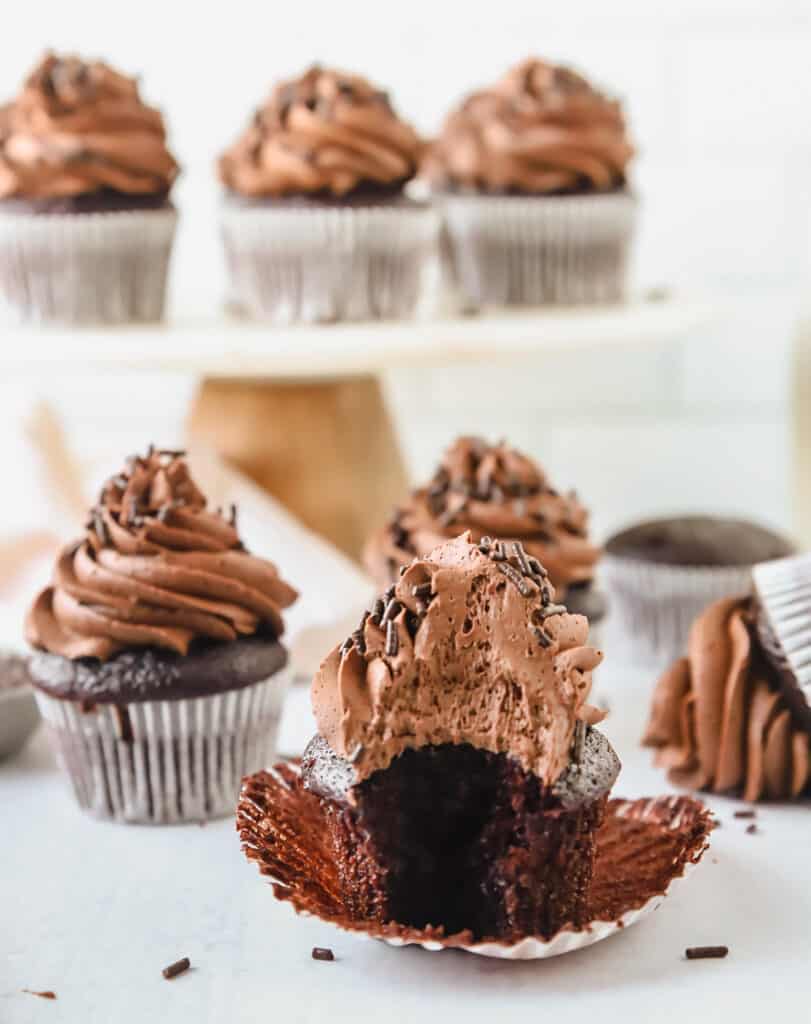
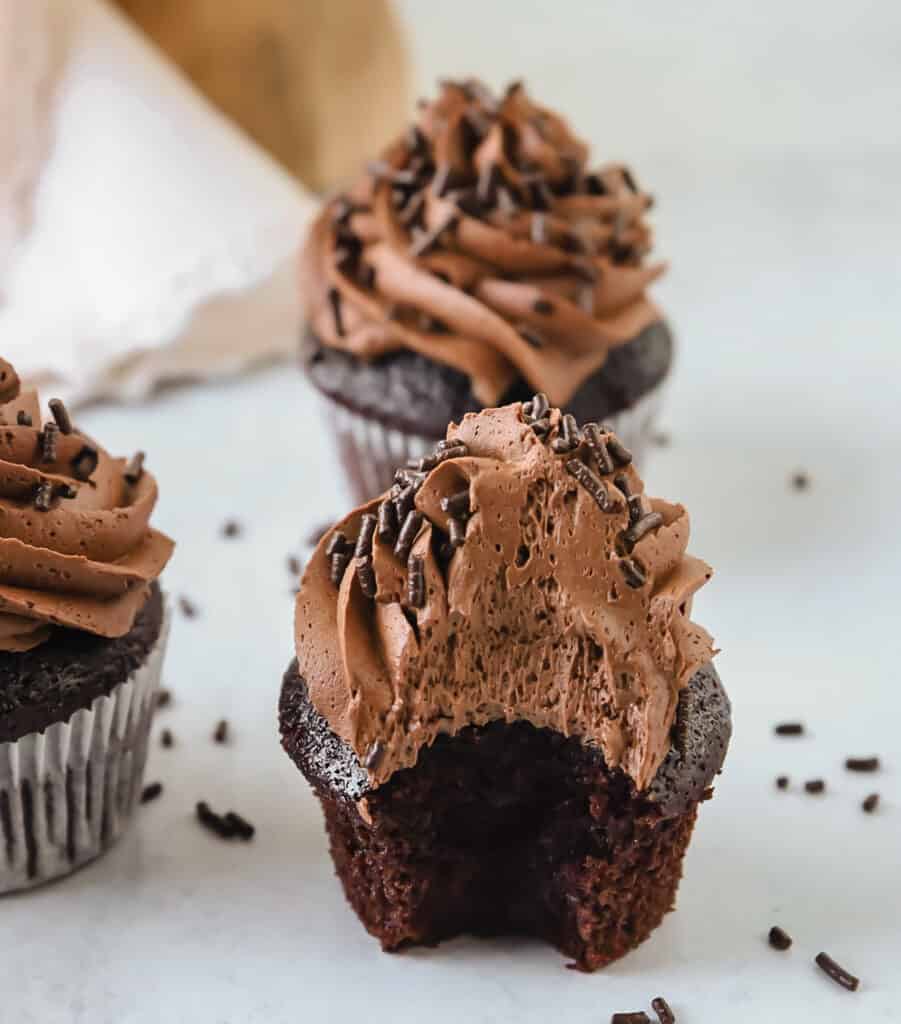
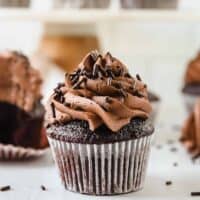
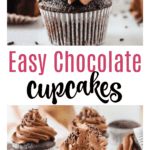
Perfect and easy chocolate cupcakes with buttercream frosting that are so easy to make. Might sound like a tall order to say this is the only recipe you will ever need. These chocolate cupcakes with chocolate buttercream frosting are so easy to make – they don’t even require a mixer!

Recipe updated 3/15/2022: If you’re looking for the original recipe, it’s included in the recipe card below.
So when it comes to certain recipes, I think every good baker should have a few foolproof go to ones that never disappoint. This easy chocolate cupcake recipe is that recipe. Trust me.
And around here obviously we love baking from scratch, but we also love easy dessert recipes! Like my Easy Vanilla Cupcake Recipe that doesn’t require a mixer because it’s made with melted butter. Or my easy Red Velvet Cupcakes topped with The BEST Cream Cheese Frosting.
These easy chocolate cupcakes are my variation from the perfectly chocolate cake from Hershey’s Kitchens. And the best part about this chocolate cupcake recipe is that they don’t require a mixer and they take about 15 minutes to throw together. That’s it!
Before you know it…the best chocolate cupcakes are waiting for you.
Ingredients Needed
- All-purpose Flour
- Granulated Sugar
- Unsweetened Natural Cocoa Powder – Make sure to use natural unsweetened, and NOT Dutch process, which has a different acidity and will react differently in your cupcake batter.
- Salt
- Baking Powder
- Baking Soda
- Vegetable (or canola) oil – You want to use a neutral-tasting oil, I like to use either vegetable or canola oil.
- Milk – I used full-fat milk for best texture of the cupcakes, but a low-fat milk or dairy-free milk would also work.
- Sour cream – I used full-fat sour cream for richness and tenderness. Low-fat may work but do not use fat-free. Greek yogurt would be a fine substitution.
- Vanilla extract
- Eggs
- Boiling Water – Make sure your water is boiling. This will create a moist, moist, moist cupcake!!
How To Make These Chocolate Cupcakes – Step By Step
First things first. Prepare your pans and pre-heat that oven. My Favorite Go To Cupcake Liners Are These.

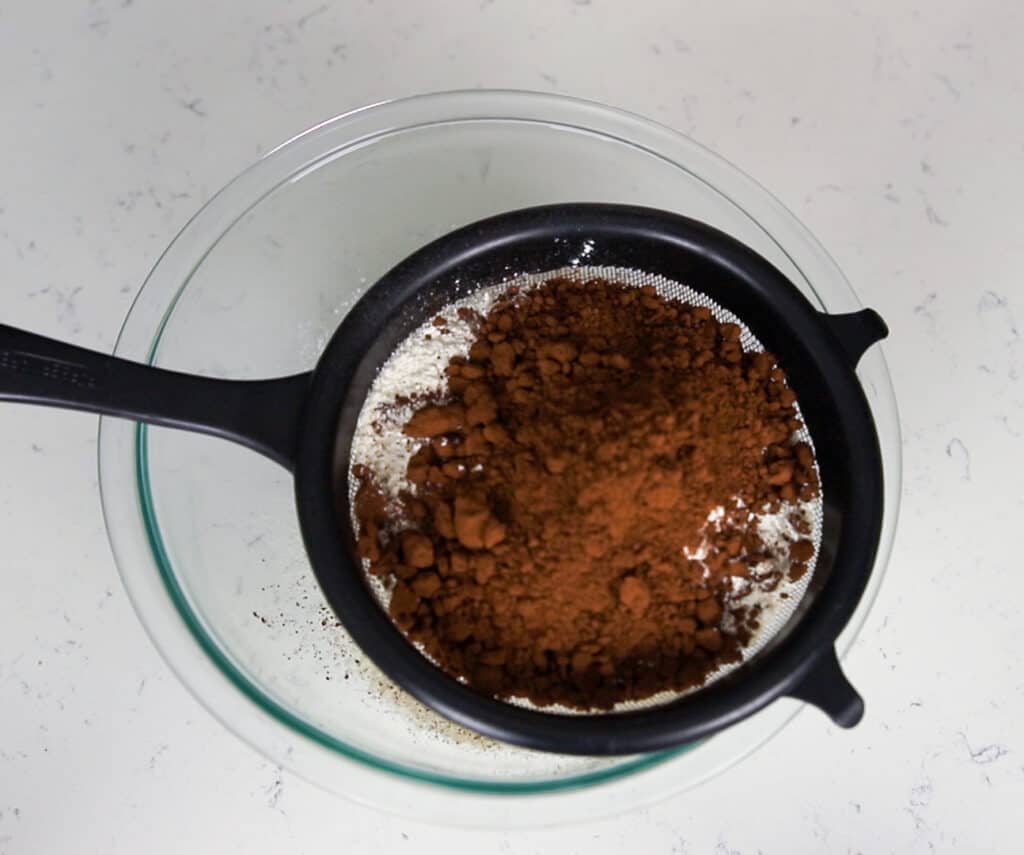
In a large bowl you need to combine the dry ingredients (flour, sugar, baking powder, cocoa powder, and baking soda.) Because of the cocoa powder, I find sifting is necessary to remove any lumps and will help prevent any over-mixing.
Then whisk in the salt and set aside.
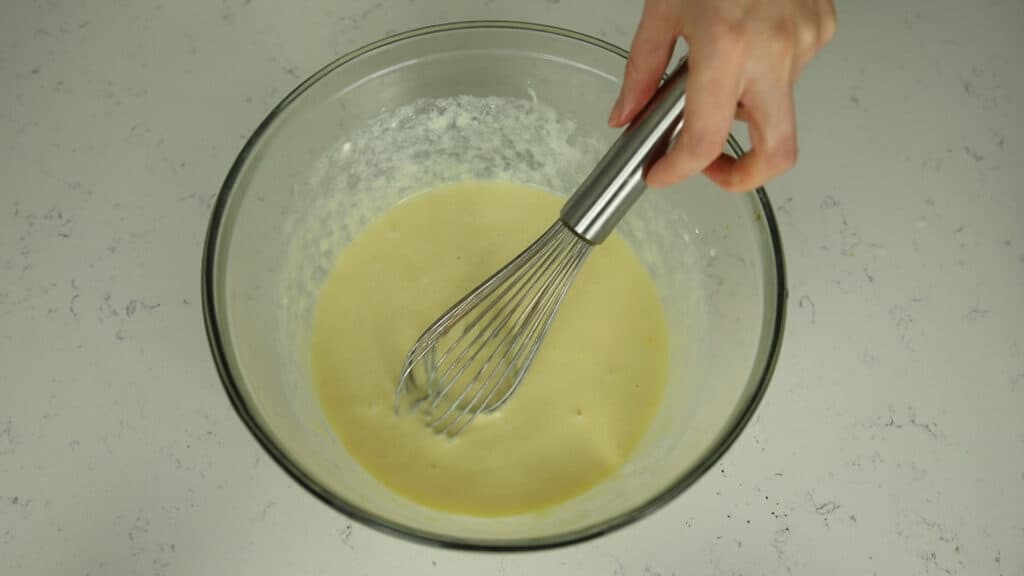
In the a second mixing bowl whisk together your wet ingredients- milk, sour cream, vegetable oil, vanilla, and eggs until smooth and combined.
Make sure your eggs, milk and sour cream are at room temperature, so they rise properly.
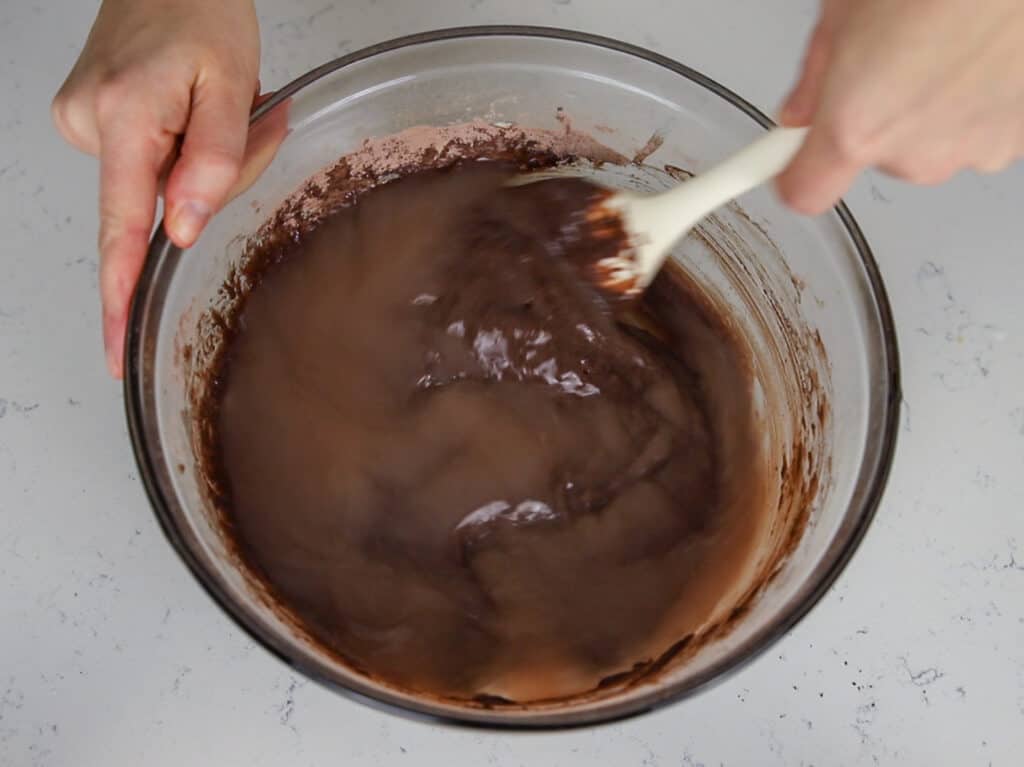
Then stir in your dry ingredients, stirring just until combined. You want to make sure to not overmix at this point otherwise your cupcakes will come out chewy and dense.

Then you need to add in your boiling water. The batter will be thin, don’t worry! It’s supposed to be. The water is going to help make these cupcakes VERY moist.
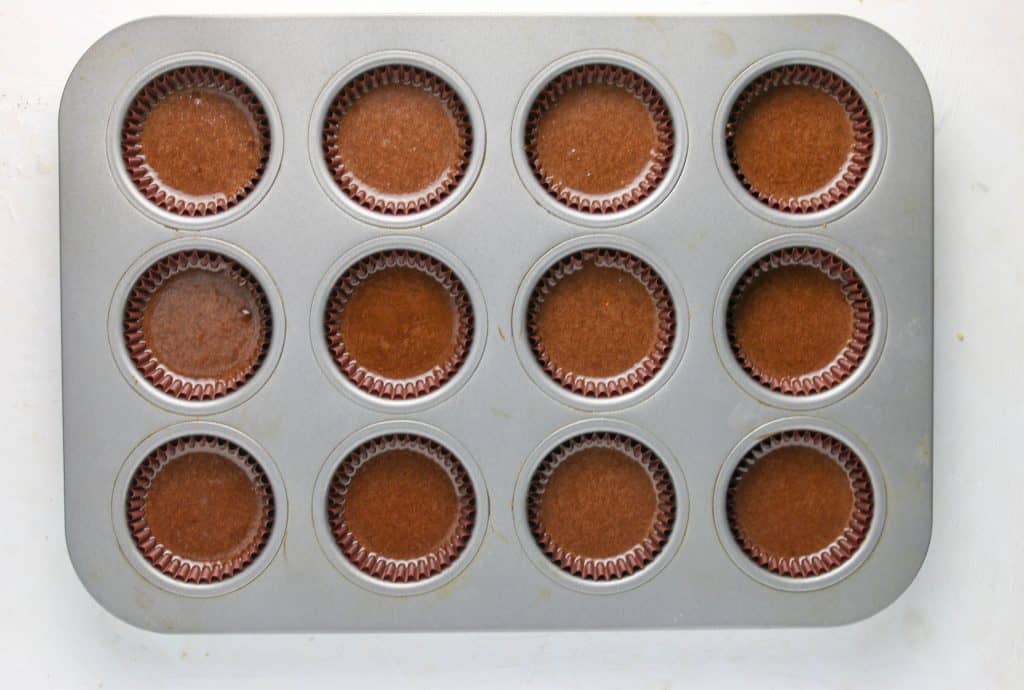
To fill your cupcake pans, I find it easiest to pour the batter into a liquid measuring cup and pour then into my cupcake pans.
You want to fill these up about 3/4 of the way to leave a bit of room for them to rise and create that beautiful domed cupcake.
Heather’s Baking Tips
- Be sure to measure your flour accurately. Too much flour = dense, dry cupcake. For a full tutorial on how and why, read this post. For best accuracy, weigh your flour. But you want to spoon and level your flour. spoon your flour into the cup, not packing it down, and then when you get a heaping cup level it off.
- Use natural cocoa powder. Be sure to use natural unsweetened cocoa powder not dutch process. They are not the same. You can read about the differences here.
- Do not overfill your cupcake liners. If you overfill them the your cupcakes might sink in the middle. I aim for about 2/3 to no more than 3/4 full.
- Bake in the center of your and rotate your pans. You always want to bake your cupcakes up in the center of your oven so they bake up evenly. When baking these, it’s best to rotate the pans halfway through their baking time. Every oven can have hot spots so they may not bake evenly. Give them a turn in the oven, so they all bake up pretty.
- Cool properly. Once they are baked, be sure to take them out of the pans and cool on a cooling rack. Leaving them in your pans means they will continue to bake and could end up dry.
- Cool completely before frosting. You want to make sure they are cooled completely before frosting them. Hot cupcakes + frosting = soupy mess.
What Kind Of Frosting Should I Use?
Now once you have let them completely cool you will want to top them with the best vanilla buttercream ever. This buttercream frosting is the one I use time and time again. It’s a traditional American buttercream frosting made with powdered sugar, but it’s not cloyingly sweet like some can be. It’s smooth with just the right hint of sweetness.
But with chocolate cupcakes you don’t have to stop at vanilla frosting! Here are some delicious options;
- Oreo Frosting Recipe
- Peanut Butter Cream Cheese Frosting
- Strawberry Buttercream Frosting
- Easy Chocolate Buttercream Frosting
- Caramel Buttercream
Recipe FAQ’s
You can make the chocolate cupcakes up to 1 day in advance, unfrosted. Keep well covered and store at room temperature. Then frost the day of serving.
You can also make the cupcakes and freeze for up to 2 months. I place mine in a plastic bag, or you can also individually wrap them in plastic wrap and then store in a bag. Thaw at room temperature, uncovered, before frosting.
You can bake this batter into a chocolate sheet cake. Spread batter into a 9×13 pan, and bake for 35-40 minutes. Or divide batter into three 8-inch round cake pans, and bake for 30 to 35 minutes. Or bake in a greased and floured bundt cake pan for 50-55 minutes.
If unfrosted, I would store covered at room temperature for up to 2 days. If frosted, then store in the fridge for up to 5 days.
More Chocolate Recipes
Chocolate Cupcakes
Ingredients
For the cupcakes
- 2 cups (400 g) granulated sugar
- 2 cups (240 g) all-purpose flour
- 3/4 cup (63 g) unsweetened Cocoa powder
- 1 1/2 teaspoons baking powder
- 1 1/2 teaspoons baking soda
- 1/2 teaspoon salt
- 2 large eggs room temperature
- 1/2 cup (120 ml) milk room temperature
- 1/2 cup (113 g) sour cream
- 1/2 cup (120 ml) vegetable oil
- 2 teaspoons vanilla extract
- 1 cup (240 ml) boiling water
Instructions
- Prep oven and pans. Position a rack in the center of your oven. Pre-heat oven to 350°F. Prepare two muffin pans with cupcake liners.
- Combine dry ingredients. In a large mixing bowl, sift together the sugar, flour, cocoa, baking powder, and baking soda. Stir in the salt. Set aside.
- Combine wet ingredients. In a second large mixing bowl, whisk together the eggs, milk, sour cream, oil, vanilla extract until well combined.
- Combine wet and dry ingredients. Add the wet ingredients to the flour mixture, and stir with a rubber spatula, together just until the last of flour has been incorporated.
- Add boiling water. Stir in boiling water to batter and stir to combine. (batter will be thin).
- Bake cupcakes. Fill each cupcake well about 3/4 cup full of batter. Bake for 18-22 minutes or until wooden pick inserted in center comes out clean, rotating pans halfway through baking. Remove cupcakes from the oven and cool in the pans for 5 minutes, then transfer to a cooling rack and cool on a wire rack. Cool completely. Repeat with the additional cupcake batter if needed. (about 6 additional cupcakes)
Notes
- Recipe was updated 3/15/2022: If you are looking for the original recipe its from Hershey’s kitchen, and uses 1 cup milk and 1 3/4 cup flour.
- Frosting: I used my Easy Chocolate Buttercream Frosting to frost these cupcakes with. I like a lot of frosting, so I make a double batch of frosting!
- Make-ahead/Storage: You can make the chocolate cupcakes up to 1 day in advance, unfrosted. Keep well covered and store at room temperature. Then frost the day of serving. If unfrosted, I would store covered at room temperature for up to 2 days. If frosted, then store in the fridge for up to 5 days.
- Freezing: You can also make the cupcakes and freeze for up to 2 months. I place mine in a plastic bag, or you can also individually wrap them in plastic wrap and then store in a bag. Thaw at room temperature, uncovered, before frosting.
- Cake: You can bake this batter into a chocolate sheet cake. Spread batter into a 9×13 pan, and bake for 35-40 minutes. Or divide batter into three 8-inch round cake pans, and bake for 30 to 35 minutes. Or bake in a greased and floured bundt cake pan for 50-55 minutes.

Michele says
Every bite is perfectly delicious. This will become my new go to chocolate cupcake recipe.
Natalie says
I can’t wait to bake these beauties. Yum! Looks at them! I’m drooling all over the screen. Thanks for the recipe, I will bake them this weekend.
Tayler Ross says
We made these cupcakes over the weekend and they were a total hit with the whole family! We will definitely be making these again and again!
Taylor Smith says
I’m so glad your family loved the cupcakes!
Mahy says
The only problem with these is that someone will need to stop me from eating’em all! These cupcakes are too good!
Taylor Smith says
Haha, I’m not gonna stop you. 😉