This Post May Contain Affiliate Links. Please Read Our Disclosure Policy.
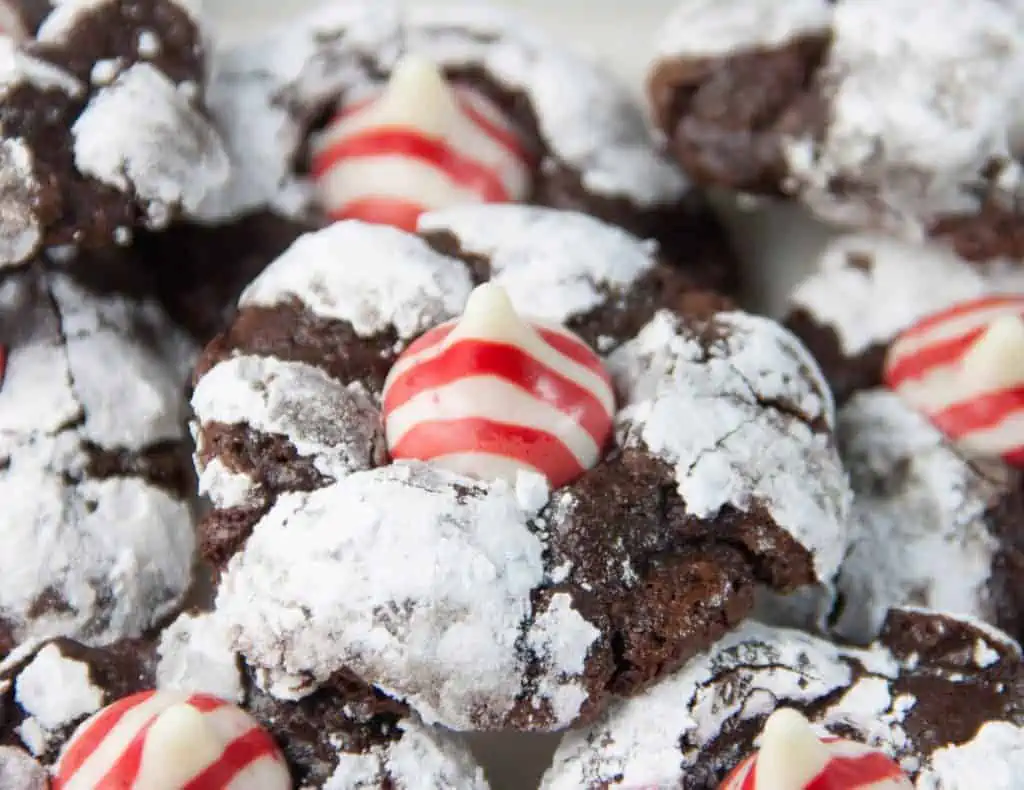
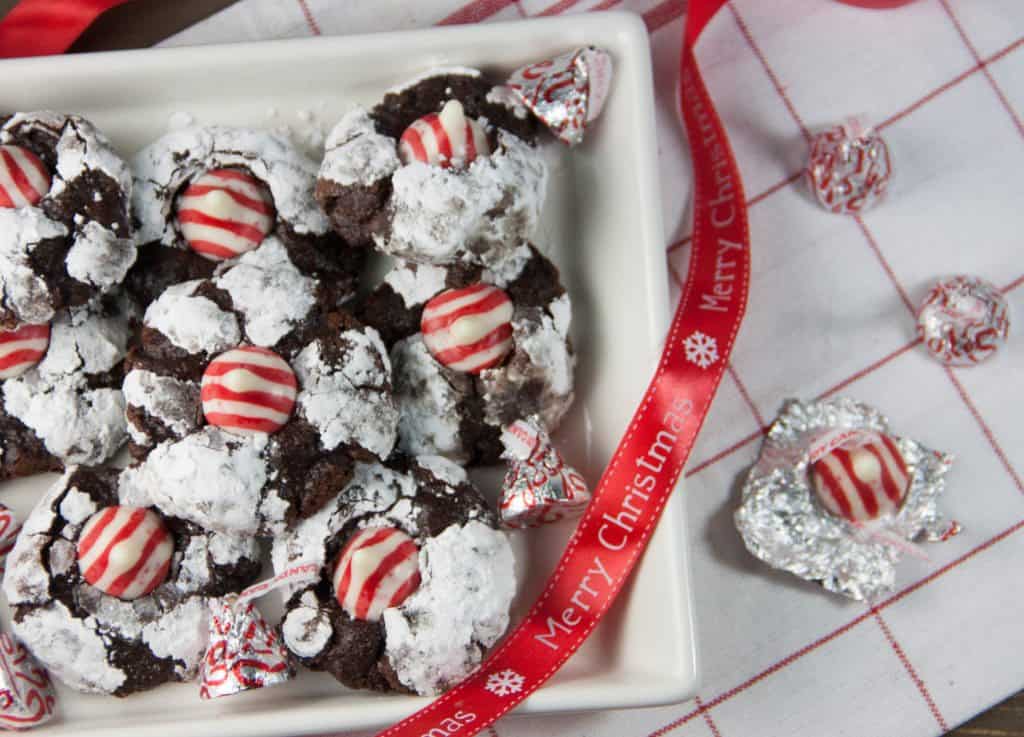
Chocolate Peppermint Kiss Cookies- a chocolate mint crinkle cookie topped with a candy cane kiss in the end! Perfect chocolate mint cookies for the holiday season!

In a perfect world, cookies would be made in one bowl and diet friendly. You could have your cookie and eat it too, and by too, I mean “two”…maybe three.
What if I told you, you dream has come true.
Welcome to these… Chocolate peppermint kiss cookies. Chocolate fudgy cookies rolled in powdered sugar with a candy cane kiss smooshed right in the middle for a festive how do you do.
They are flourless (aka gluten free if that’s your thing) and they are around a 100 calories each! And made in ONE bowl. It’s like the cookie gods came down and smiled upon us.
How To Make These Chocolate Peppermint Kiss Cookies
Start by preparing two cookie sheets with parchment paper or silicone baking mats and pre-heating your oven. Then you want to melt your chocolate chips in a double boiler or in the microwave. I prefer the microwave just to make things easier.
Then in a clean bowl with clean beaters, you want to whip 3 room temperature egg whites. As you are whipping gradually add in 1 cup granulated white sugar until it resembles marshmallow creme. Try not to eat the whole bowl. I’m sorry but this will take all of your restraint. Think long term goals. Think cookies. Ok we can do this…let’s push on.
Once your bowl looks like a bowl of marshmallow and before you stick your face in, you are going to add in your second cup of sugar, cocoa powder, cornstarch, and salt. Then stir in the peppermint extract, melted chocolate, and chocolate chips. The dough will be very stiff. You’ve been warned!
You are going to then scoop 1 rounded tablespoon into a ball and place on your prepared cookie sheets and bake for 8-10 minutes until puffed and cracked. When you take them out of the oven, immediately have a Hershey kiss ready to smoosh in the center. Yes smoosh is the technical term.
Bake. Smoosh. Repeat. Devour.

What makes these snow top cookies a little on the lighter side is they have no egg, no butter, and no flour. But I promise you they are all delicious. They use whipped egg whites combined with powdered sugar (or you could use white granulated sugar but they will be a bit grittier), melted chocolate, cocoa powder, a little bit of cornstarch and salt.
These snow top cookies are a fun festive twist on these flourless fudge cookies that are my most pinned recipe to date on this blog! To make them all holiday style I stirred in a little peppermint extract and of course added that candy cane kiss on top after they come out of the oven. What is it about those candy cane kisses this time of year? I seriously can’t resist them.
Tips For Making These Chocolate Peppermint Kiss Cookies
- If melting your chocolate in the oven, make sure to do so in 30-second intervals. Then stir in between each interval. The chocolate chips can hold their shape even though they are melted. So stirring, can ensure you are not over-heating and causing your chocolate to burn.
- You want to make sure your egg whites are at room temperature before using them so they whip up fully. I place my whole eggs in a bowl of warm water for 10 minutes before using them.
- To separate your eggs, you want to do so one at a time in 2 separate bowls, not your main mixing bowl in case any egg yolk gets into the bowl. Egg yolks will prevent your egg whites from whipping. So do this one at a time, then add each egg white into your mixing bowl. The last thing you want is to separate your last egg into your mixing bowl and get egg yolk into the whole batch and have to start over.
- You need to have a completely clean and grease free bowl (same goes for the beaters!) so they can whip up. Any grease left behind from previous recipes will prevent your egg whites from whipping up. So give it a good scrub. I also like to wipe it down with a bit of lemon juice or vinegar before I start to be on the safe side. Whipping egg whites can be intimidating. If you want to become a pro in the kitchen, this is one of the lesson we cover in my Ultimate Baking Bootcamp class!
- Make sure you have those Hershey Kisses unwrapped and ready to go! You need to smoosh the kisses into the center as soon as they come out of the oven. Once they cookies, cool they will be impossible to push into the center of the cookies.

More Recipes To Try
Baking Essentials:
- Cookie Sheets (I recommend getting 2 so you don’t have to wait in between batches for your cookie sheet to cool)
- Cooling Racks
- Silicone Baking Mats
- Stand Mixer
- Dry Measuring Cups and spoons
- Cookie Scoops
Enroll now in the Ultimate Baking Bootcamp class and learn to bake like a pro!

Chocolate Peppermint Kiss Cookies
Ingredients
- 1 1/2 Cups (170 grams) semi-sweet or bittersweet chocolate chips Divided
- 3 (105 grams) large egg whites room temperature
- 2 cups (227 grams) powdered sugar divided
- 1/2 cup (42 grams) unsweetened cocoa powder
- 1 tablespoon cornstarch
- 1/4 teaspoon salt
- 1/2 teaspoon peppermint extract
- additional powdered sugar for rolling
- 24 chocolate kiss candies
Instructions
- Preheat oven to 400°F/205oC Spray 2 large baking sheets with nonstick spray (or silicon baking mat).
- Melt 1 cup chocolate chips in microwave safe bowl or over a double boiler. If using microwave, heat in 30 second intervals and stir in between. Cool slightly.
- In a stand mixer with a whisk attachment (or a hand mixer can be used) , beat egg whites until soft peaks form.
- Gradually beat in 1 cup powdered sugar. Continue beating until mixture is glossy and thick – resembling marshmallow creme.
- In a second mixing bowl, whisk together second cup of sugar, cocoa, cornstarch, and salt together until evenly blended.
- On low speed, beat dry ingredients into egg white mixture. Stir in peppermint extract, lukewarm chocolate and remaining 1/2 cup chocolate chips (dough will become very stiff).
- Using a small cookie scoop, scoop and roll 1 rounded tablespoon dough into ball. Roll in additional powdered sugar.
- Place on prepared baking sheet, spacing 2 inches apart. Bake until puffed and tops crack, about 8-10 minutes. Immediately upon removing from the oven, press 1 chocolate kiss in the middle of the cookie. Cool on sheets on rack for 5 minutes. Transfer to rack to cool completely. Store at room temperature for up to 3 days.
Notes
- You want to make sure your egg whites are at room temperature before using them so they whip up fully. I place my whole eggs in a bowl of warm water for 10 minutes before using them.
- To separate your eggs, you want to do so one at a time in 2 separate bowls, not your main mixing bowl in case any egg yolk gets into the bowl. Egg yolks will prevent your egg whites from whipping. So do this one at a time, then add each egg white into your mixing bowl. The last thing you want is to separate your last egg into your mixing bowl and get egg yolk into the whole batch and have to start over.
- You need to have a completely clean and grease free bowl (same goes for the beaters!) so they can whip up. Any grease left behind from previous recipes will prevent your egg whites from whipping up. So give it a good scrub. I also like to wipe it down with a bit of lemon juice or vinegar before I start to be on the safe side. Whipping egg whites can be intimidating. If you want to become a pro in the kitchen, this is one of the lesson we cover in my Ultimate Baking Bootcamp class!
- Make sure you have those kisses unwrapped and ready to go. You need to smoosh the kisses into the center as soon as they come out of the oven. Once they cookies, cool they will be impossible to push into the center of the cookies.

Sandy says
I am rating this in the middle range simply because it is very messy to roll into balls. Lots of chocolate on my hands. Otherwise they are very fudgy and good. I popped one in my mouth about 15 min out of the oven . I HAVE TO BE gluten free, not by choice so it isn’t just a gluten thing for me as a true Celiac. I picked this recipe because I didn’t want to use expensive GF flour as used in other recipes in case they flopped. Those darn kisses really melted too much so not as pretty as the picture. But a good fudgy cookie!!!
[email protected] says
I’m so glad you enjoyed the cookie!! And yes it can be messy to roll. Next time try spraying your hands with non stick cooking spray or dusting with powdered sugar!
cricketsconfections says
I love crinkle cookies and I love blossoms, this is the best of both worlds!
Heather @Boston Girl Bakes says
Yes combining two classic cookes into one 🙂 can’t go wrong with that!
Bintu - Recipes From A Pantry says
Such a lovely Christmasy addition with the candy cane, bet these taste yummy
Heather @Boston Girl Bakes says
Thanks Bintu 🙂 they certainly do..I definitely ate enough to be an expert!
cookingtheglobe1 says
I love that candy cane addition! Awesome idea! 🙂
CiaoFlorentina says
these are absolutely adorable! I want about 10 in my mouth right now!
Heather @Boston Girl Bakes says
I’m with you…one is never enough 😉
Michelle @ Vitamin Sunshine says
I love that you used the striped kisses! They are gorgeous.
Heather @Boston Girl Bakes says
Thanks Michelle! I am such a sucker for these candy cane kisses this time of year! I can’t help myself 🙂