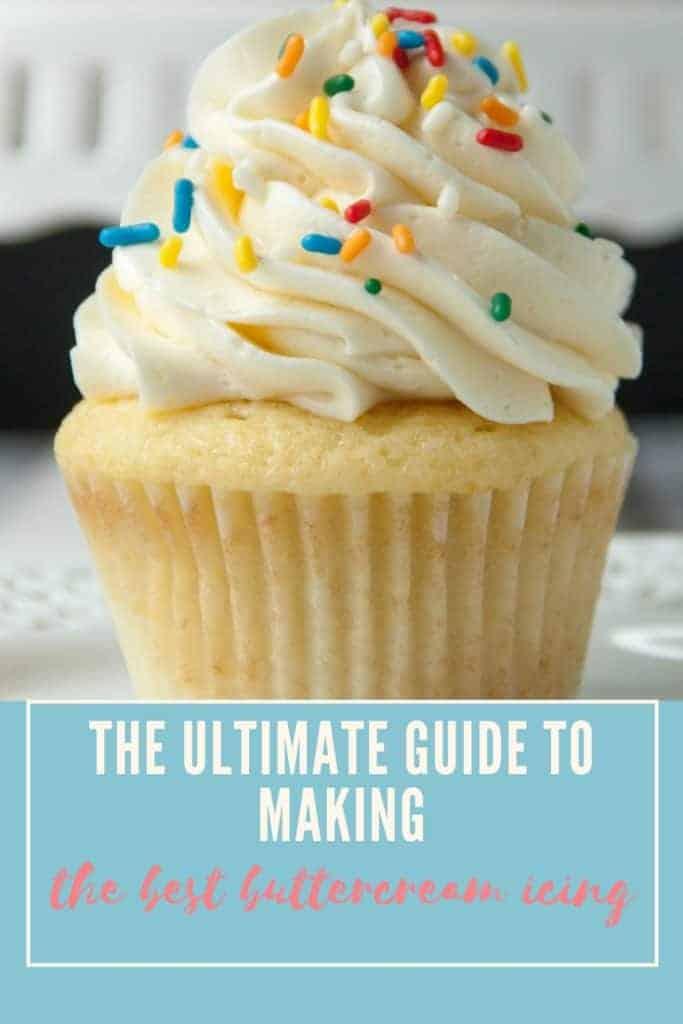
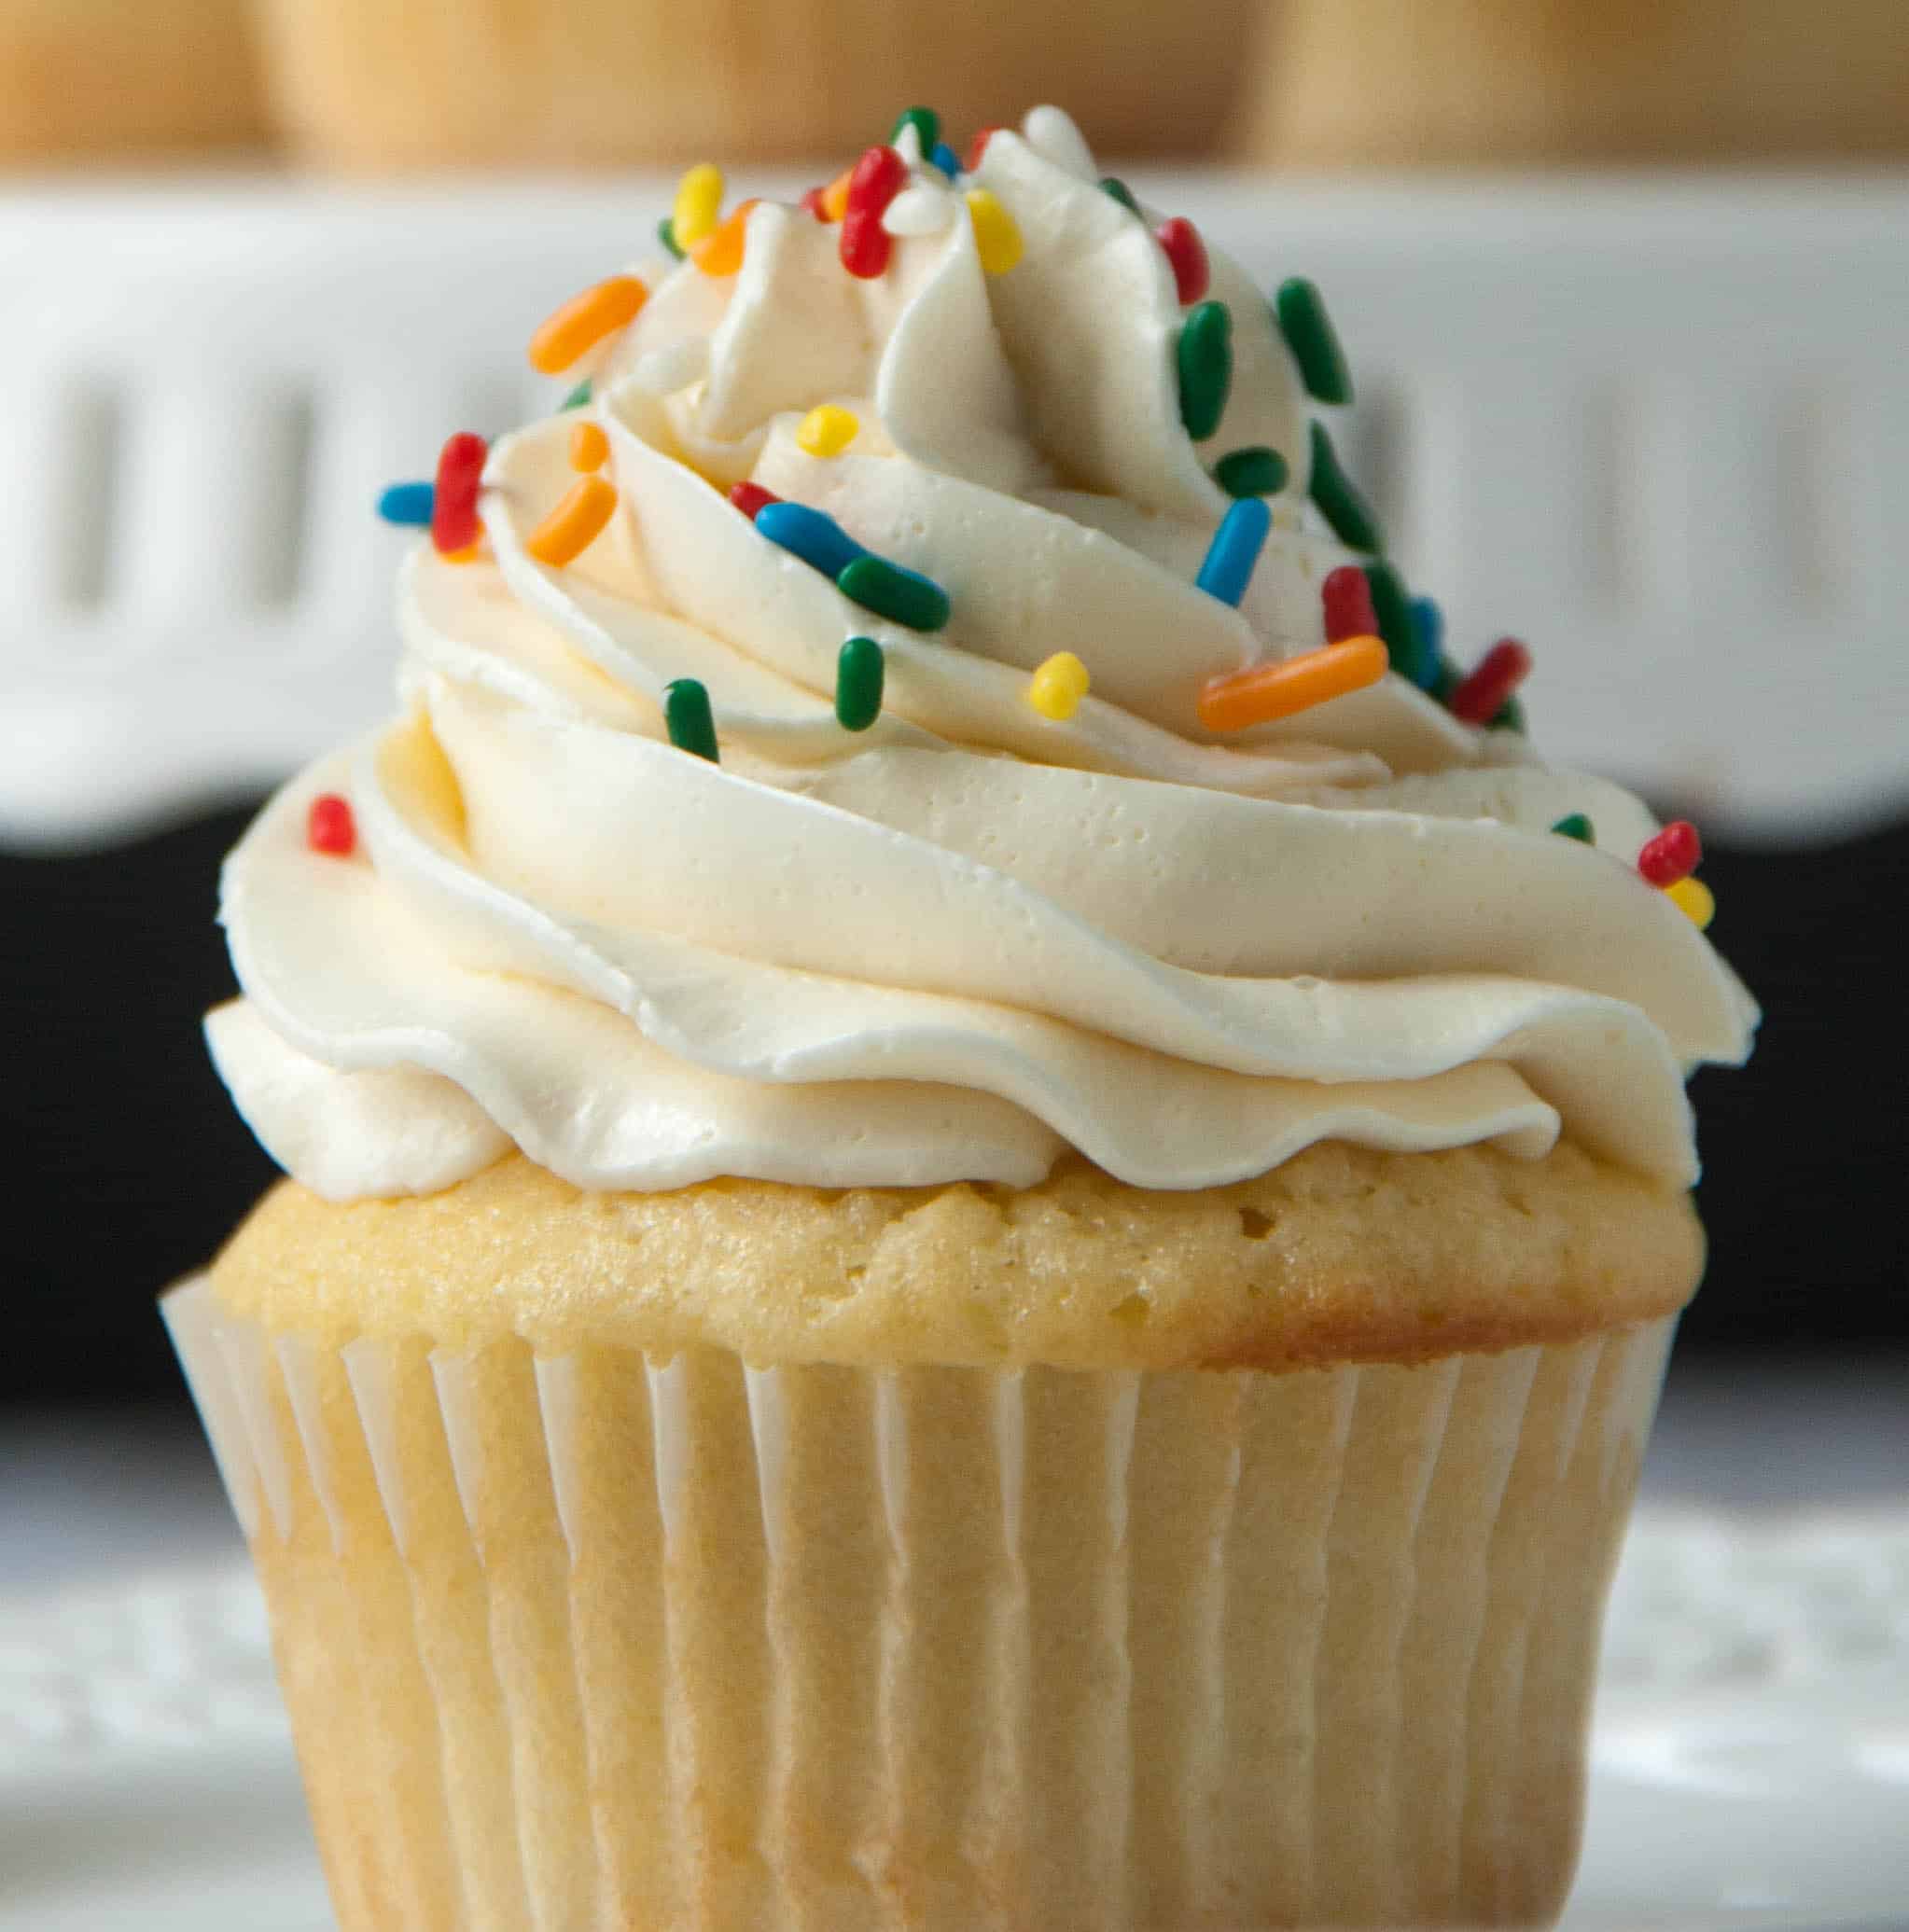
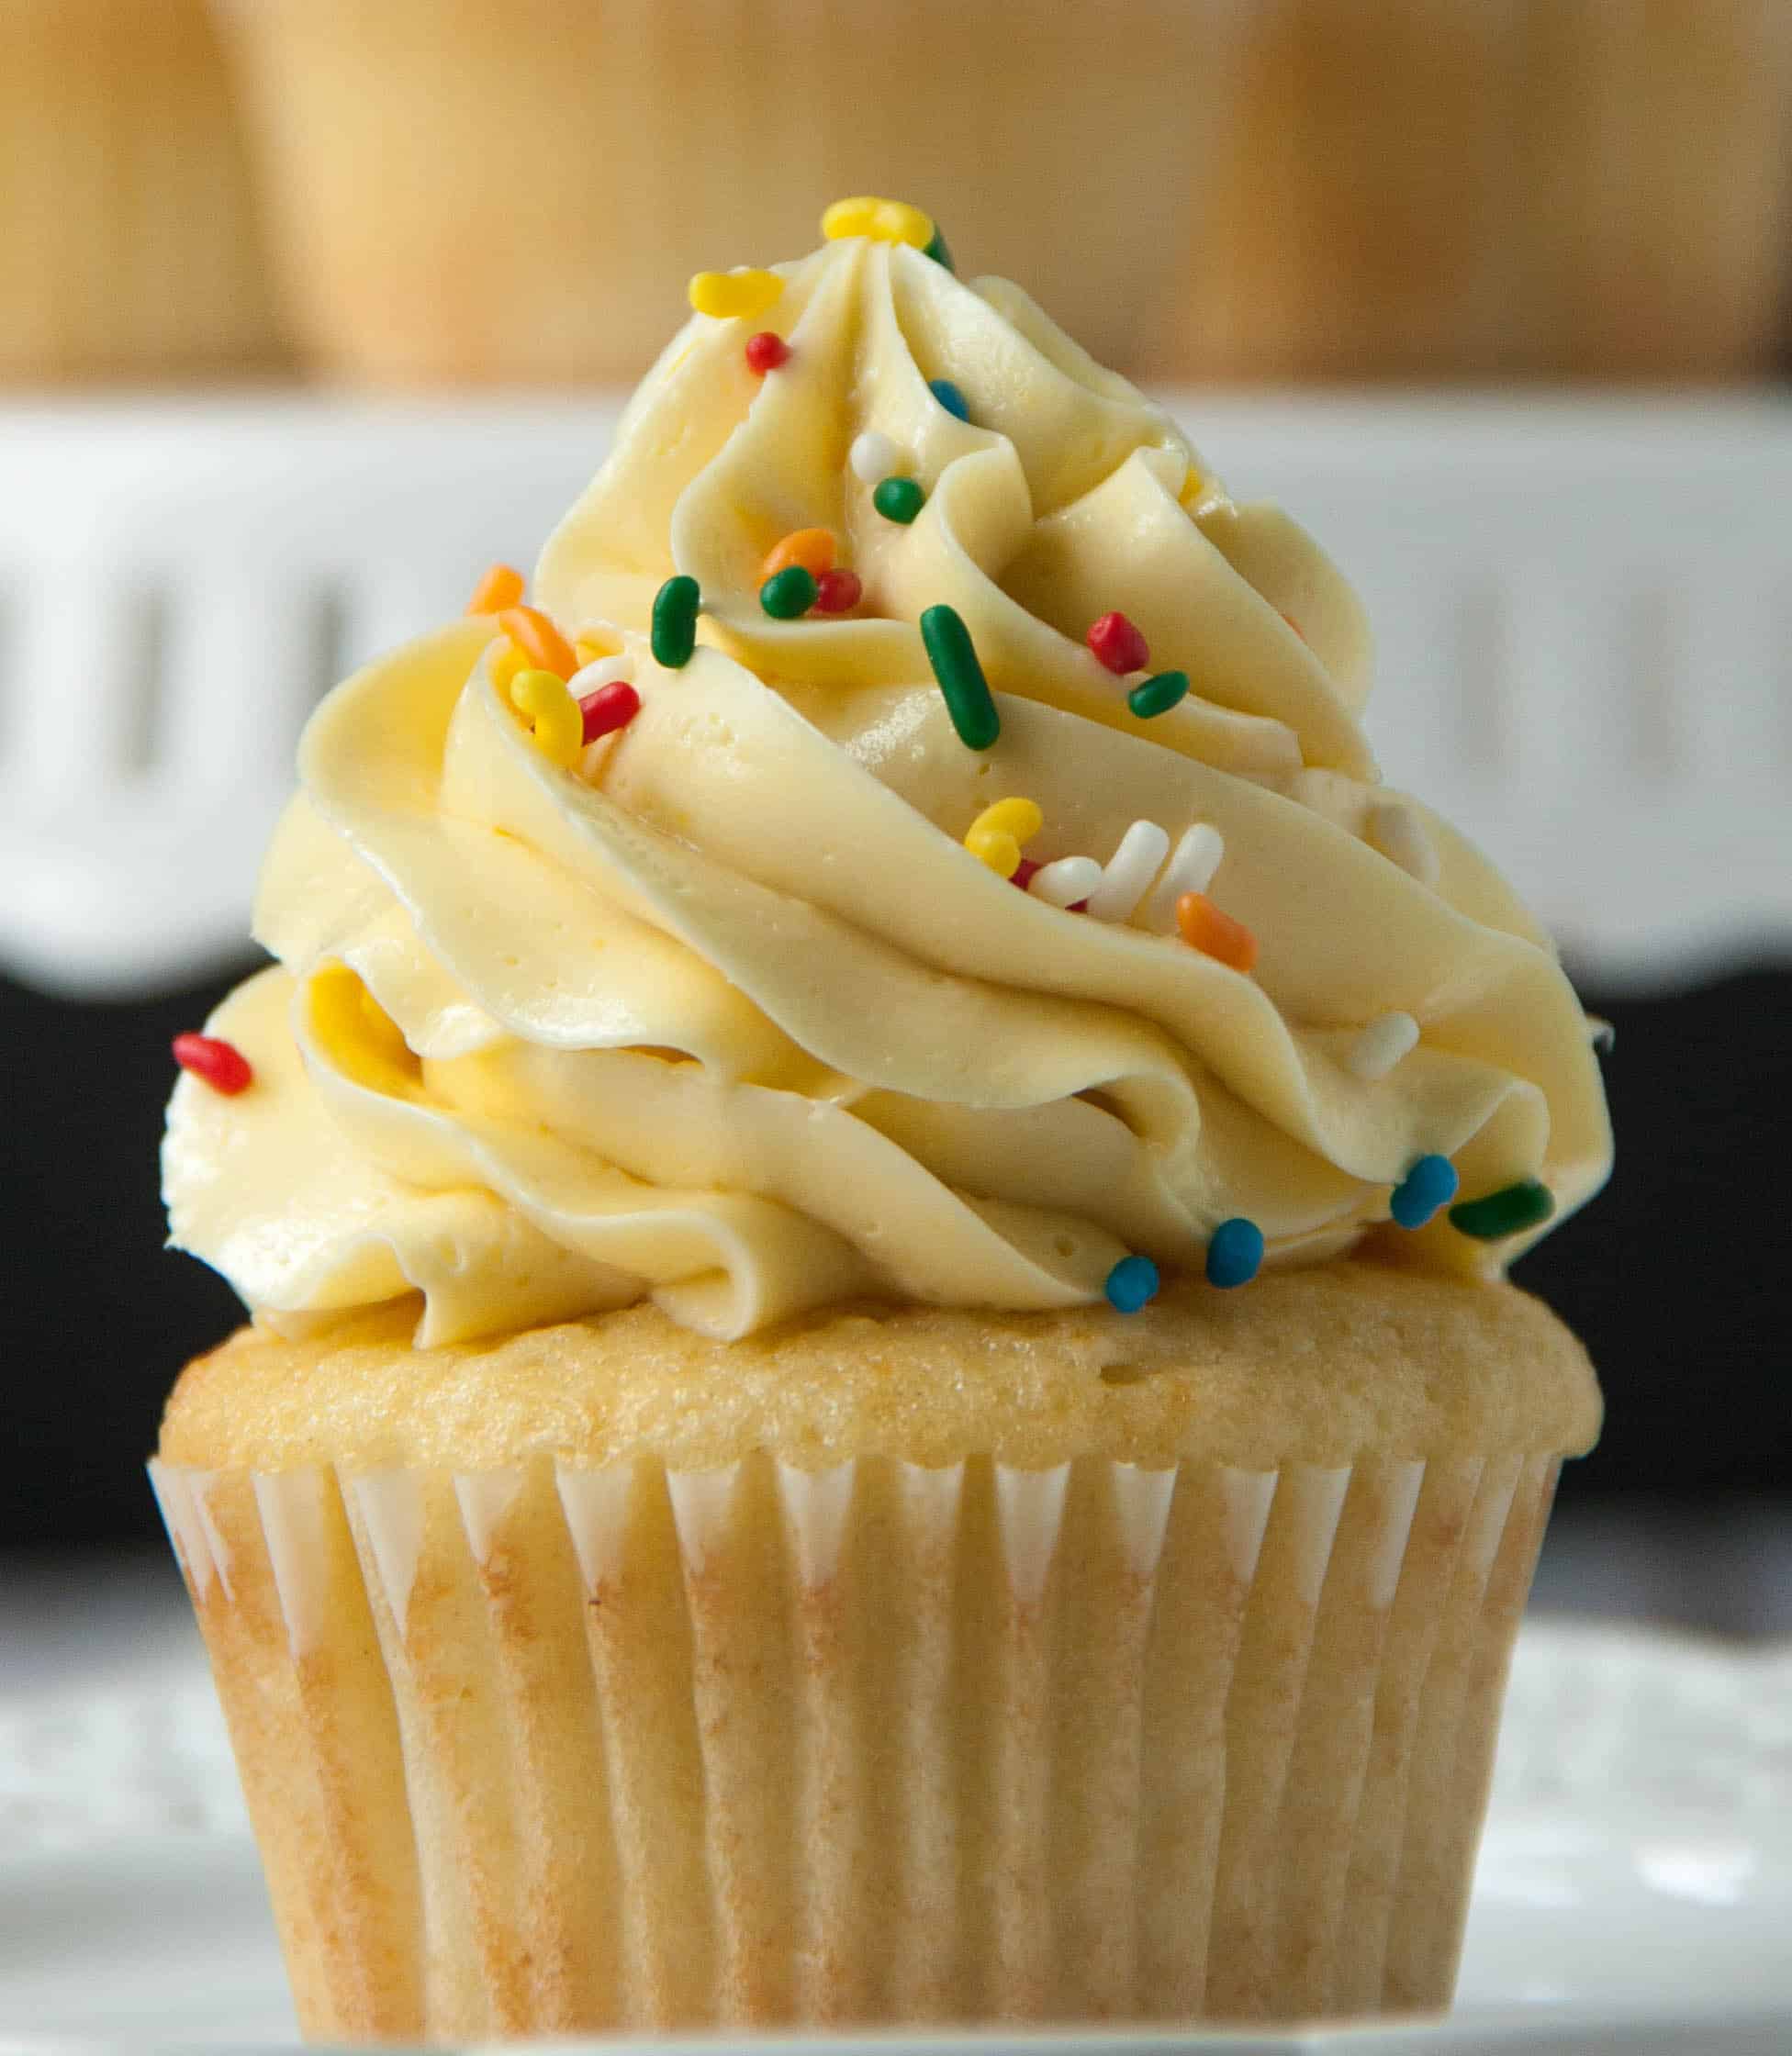
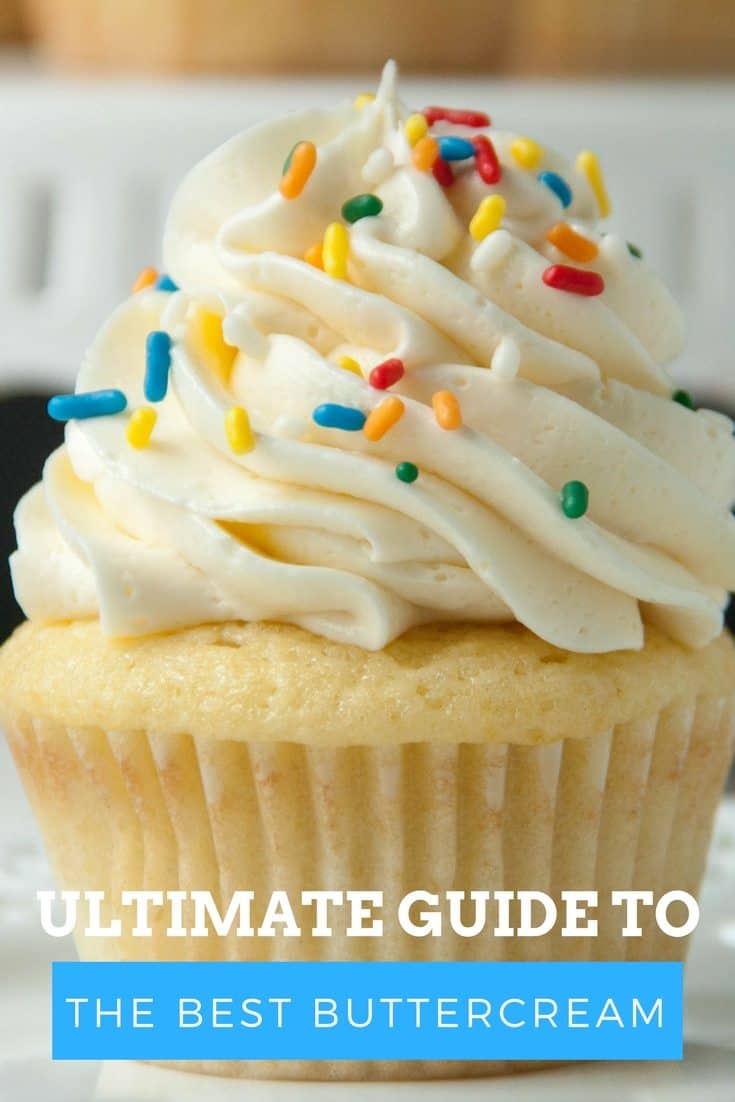
If you have ever had trouble mastering buttercream then this page is for you! This is the ultimate step by step guide to making the best buttercream icing. Everything you wanted to know about making buttercream- from flavoring it, to piping, to making it.
One of the questions that I get asked most about it how to make the buttercream (and all the dilemmas that can come along with it). How do I color it? How do I flavor it? How do I pipe buttercream so it looks like a pro did it?
So many frosting questions. So little time. So I figured wouldn’t it be super helpful to have all the answers to your questions in one handy dandy spot? Yea I thought so too. That’s why I created this ultimate guide for you.
So let’s dive in shall we.
This page does contain affiliate links. I do make a small commission from these products if you click on the link. It does not cost you anything extra, but helps to keep this blogging lady going 🙂

Step 1: Gather The Right Tools
When it comes to making vanilla buttercream frosting, just like with any type of baking I believe it starts with the right tools.
For making buttercream, I recommend avoiding plastic. Like plastic bowls for instance. Plastic can retain flavors and odors over time. When you are making a meringue style buttercream you need clean bowls to properly whip your egg whites. If you use plastic bowls that have retained any grease over time, you may have trouble whipping them up properly.
Also, avoid using glass if you can for certain frosting recipes like the Swiss, Italian, and French buttercreams where you will be adding a heated mixture to your bowl. Glass bowls can retain heat.
This is why I recommend using stainless steel bowls. Stainless steel bowls won’t retain odors, or residue like plastic will and won’t hold onto heat like glass bowls will.
In addition to stainless steel bowls here are 9 other must have tools:
- Kitchenaid Stand Mixer (fitted with your paddle attachment – you can also use a hand mixer if a stand mixer isn’t in the budget)
- Sturdy whisk (this is my new favorite whisk, it doubles as a bowl scraper!)
- Spatula
- Candy Thermometer
- Measuring cups and spoons (again stainless steel is recommended)
- Piping Bags
- Decorating Tips
- Couplers
Step 2: Use Quality Ingredients
In addition to using proper tools, you also want to make sure you don’t skimp and use cheap ingredients. Quality is key if you want the best icing in the end. Because buttercream is not baked, the flavor of your ingredients is really going to stand out.
The #1 ingredient you shouldn’t skimp on when it comes to buttercream is unsalted butter. It’s right there in the title. Butter. So use good butter. Store brand butter is cheaper because it uses more water and air. That means less flavor. If you want the creamiest tastiest buttercream, then use a good grade AA butter. My favorite is Cabot. You could even use European butter which has a higher butterfat content.
Unsalted butter is also important. I steer clear of salted butter because not all brands use the same amount of salt. So by using unsalted butter, I can then control the amount that is in my recipe.
Pro Tip: Make sure you use softened butter so your buttercream comes together smoothly. You can soften butter quickly 3 different ways.
The other ingredient you shouldn’t skimp on is vanilla extract. I know imitation is cheap. But it’s cheap for a reason! Use PURE vanilla extract for your buttercream. Again buttercream isn’t baked, so you can’t get away with using the cheap imitation stuff here. A great brand that I recommend is Rodelle Vanilla Extract (they use high quality Bourbon vanilla beans and has one of the highest vanillin levels..and no I’m not getting paid to promote them! :))
Step 3: Choose The Right Type of Buttercream For The Job
There are definitely many types of buttercream to choose from. So many that I even put together this The Ultimate Guide To Different Types Of Frosting for you but let’s break it all down in this post shall we?
You may have grown up on a traditional powdered sugar (or confectioners sugar) American style buttercream. But that’s only one type of buttercream out there! In fact there are 5 more beyond American buttercream that might be what you need. Choosing the right type of buttercream depends on how sweet you like the buttercream, skill level, and what you plan to use it for.
American Style Buttercream (powdered sugar icing)
Taste: This is the sweetest out of all of the frostings. Can be a little too sweet for some people because of the confectioners sugar, but this is the classic type of vanilla buttercream frosting most people are familiar with and grew up on.
Texture: Sometimes can be a bit too grainy or greasy if not done properly. My recipe calls for whipping in your stand mixer for 8 minutes on a medium speed which helps to achieve a light and fluffy consistency. This also helps gets out any lumps in the confectioners sugar. You can also sift it if you want! The addition of heavy cream helps to achieve that silky smooth texture as well, but you can substitute with milk if you don’t have any on hand.
Difficulty: The easiest to make out of all the buttercreams. You want to add your powdered sugar with the mixer turned off. Then start on a low speed and once it’s been mixed in you can increase to a medium speed.
Pros: Easy to make. Kids and most adults love it! Doesn’t require any special equipment to make. And it’s easy to frost with and color!
Cons: Tends to be a bit too sweet for some. Doesn’t hold up well in warm conditions.
Flour (also called ermine icing or boiled milk icing) Buttercream
Taste: Less sweet than American buttercream.
Texture: Light and soft. If the sugar is added to the milk and flour step it can be smooth. If it’s added separately to the butter it can be a bit grainy.
Difficulty: Fairly easy. A bit more than American buttercream, but still fairly easy to make
Pros: Doesn’t involve the use of a candy thermometer or eggs.
Cons: Uses flour, so not gluten free. Can be very soft, and doesn’t hold up well to piping decorations and heat.
German (or custard) Buttercream
Taste: Light in taste
Texture: Smooth and light in texture
Difficulty: Medium. A bit more difficult to make than ABC, but a good stepping point from ABC to the cubed butter and meringue-based buttercreams.
Pros: Great flavor and texture, definitely a step up from ABC.
Cons: Involves egg yolks, so can result in a scrambled egg frosting if not done correctly. Has a bit of a yellow color, so a bit more difficult to tint. A bit soft, so will not hold up well in warmer conditions.
Taste: A more pronounced butter flavor, not as sweet as ABC
Texture: Silky and smooth on the tongue.
Difficulty: Medium to difficult. Can curdle and separate when the butter is added to the meringue.
Pros: Great flavor and texture. Great base under fondant and holds up well to piping.
Cons: Requires more time and equipment to make them the beaten butter methods.
Taste: Rich in flavor due to the use of the egg yolks but mildly sweet.
Texture: Silky smooth and light in texture.
Difficulty: This buttercream is also one of the more difficult to make.
Pros: Great flavor and texture.
Cons: Does not hold up to heat well and can be difficult to pipe decorations with. The yellow color from the egg yolks can also give it up a pale yellow color that is not ideal and a bit more difficult to tint with color.
Taste: My favorite out of all the frostings. The perfect balance of sweet and buttery flavor.
Texture: Silky and smooth.
Difficulty: One of the more difficult if not the most out of all the buttercreams. Out of all them this one can be the trickiest because you are adding a boiling sugar mixture to egg whites.
Pros: Very stable in warm temperatures (this buttercream will hold up to heat the longest out of all the icings) and is great base under fondant. Best flavor out of all the buttercreams!
Cons: Can be a bit tricky to make. Involves the use of a candy thermometer.
Step 4: Making The Best Buttercream Icing
Ok so once you have gathered the right tools, quality ingredients and decided on which buttercream recipe to make it’s time to actually make it!
Buttercream Frosting Recipes
- American Buttercream
- Flour
- German Buttercream
- Swiss Meringue Buttercream
- Italian Meringue Buttercream
- French Buttercream
- Cream Cheese Icing
Sometimes, though things can go a little wrong though. Your buttercream frosting recipe, instead of being fluffy and perfect, it’s runny and curdled looking.
Usually the #1 culprit was the wrong temperature. Maybe your butter was too warm. Or you threw butter into a meringue that was too warm. You always wants things at room temperature, especially when you are combining things like butter.
If your buttercream has broken or separated there are a few ways to fix it.
How To Fix A Broken Buttercream
- Mix it for longer. This usually works. Sometimes it can take up to 10 minutes!
- Chill your bowl. If things have gotten a bit warm, simply pop that bowl of buttercream in your fridge to firm back up again and try mixing after.
- Add some melted (and cooled) white chocolate. Chocolate acts as an emulsifier and should help to bring the buttercream back together again.
Step 5: Flavoring
When it comes to your buttercream, you can’t go wrong of course with vanilla buttercream. (again make sure you use quality pure vanilla extract!). But you can flavor your buttercream in so many more ways beyond vanilla.
Start small when flavoring. Some flavorings like almond extract can be strong. So start small, adding a little bit. You can always add more, but you can’t take it away!
Here are some recipes using different flavored buttercreams to get you started:
- Mint Buttercream Icing
- Cake Batter Frosting
- Mocha Frosting
- Brown Sugar Cinnamon
- Peanut Butter Frosting
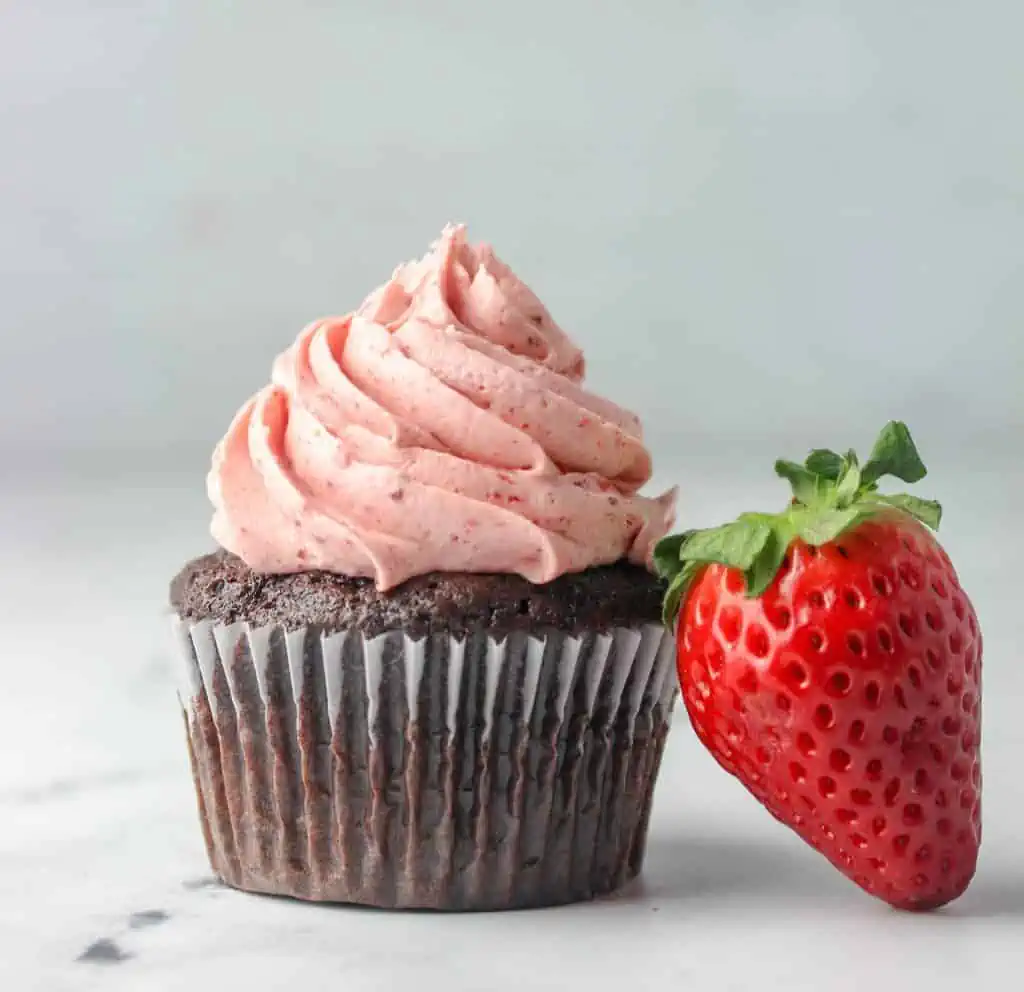
- Mixed Berry Buttercream
- Strawberry Buttercream Frosting
- Brown Sugar Buttercream
- EASY Chocolate Buttercream Frosting
- Coconut Buttercream Frosting
- EASY Caramel Buttercream Frosting
For more ways to flavor your buttercream then be sure to download my Buttercream Cheatsheet!
Step 6: Coloring
Sometimes you want your buttercream to be a fun color beyond white. If you want to color your buttercream you should always use gel food coloring, not liquid.
My two favorite brands for gel food coloring:
You want to use gel food coloring so you don’t add extra liquid. Adding extra liquid, especially to those meringue buttercreams, can change the consistency.
When you do add food coloring, wait 30 minutes for the color to darken. The color will deepen over time, so if it’s not quite the color you wanted. Step away. Come back in 30 and check out the color. Still too light? Ok go add more. And repeat.
For some colors, it can be a bit tricky to achieve. Like black frosting and red.
Here is a post on how to make black icing.
Here is a post on how to make red buttercream.
And here is a quick video I made on how to color your buttercream.
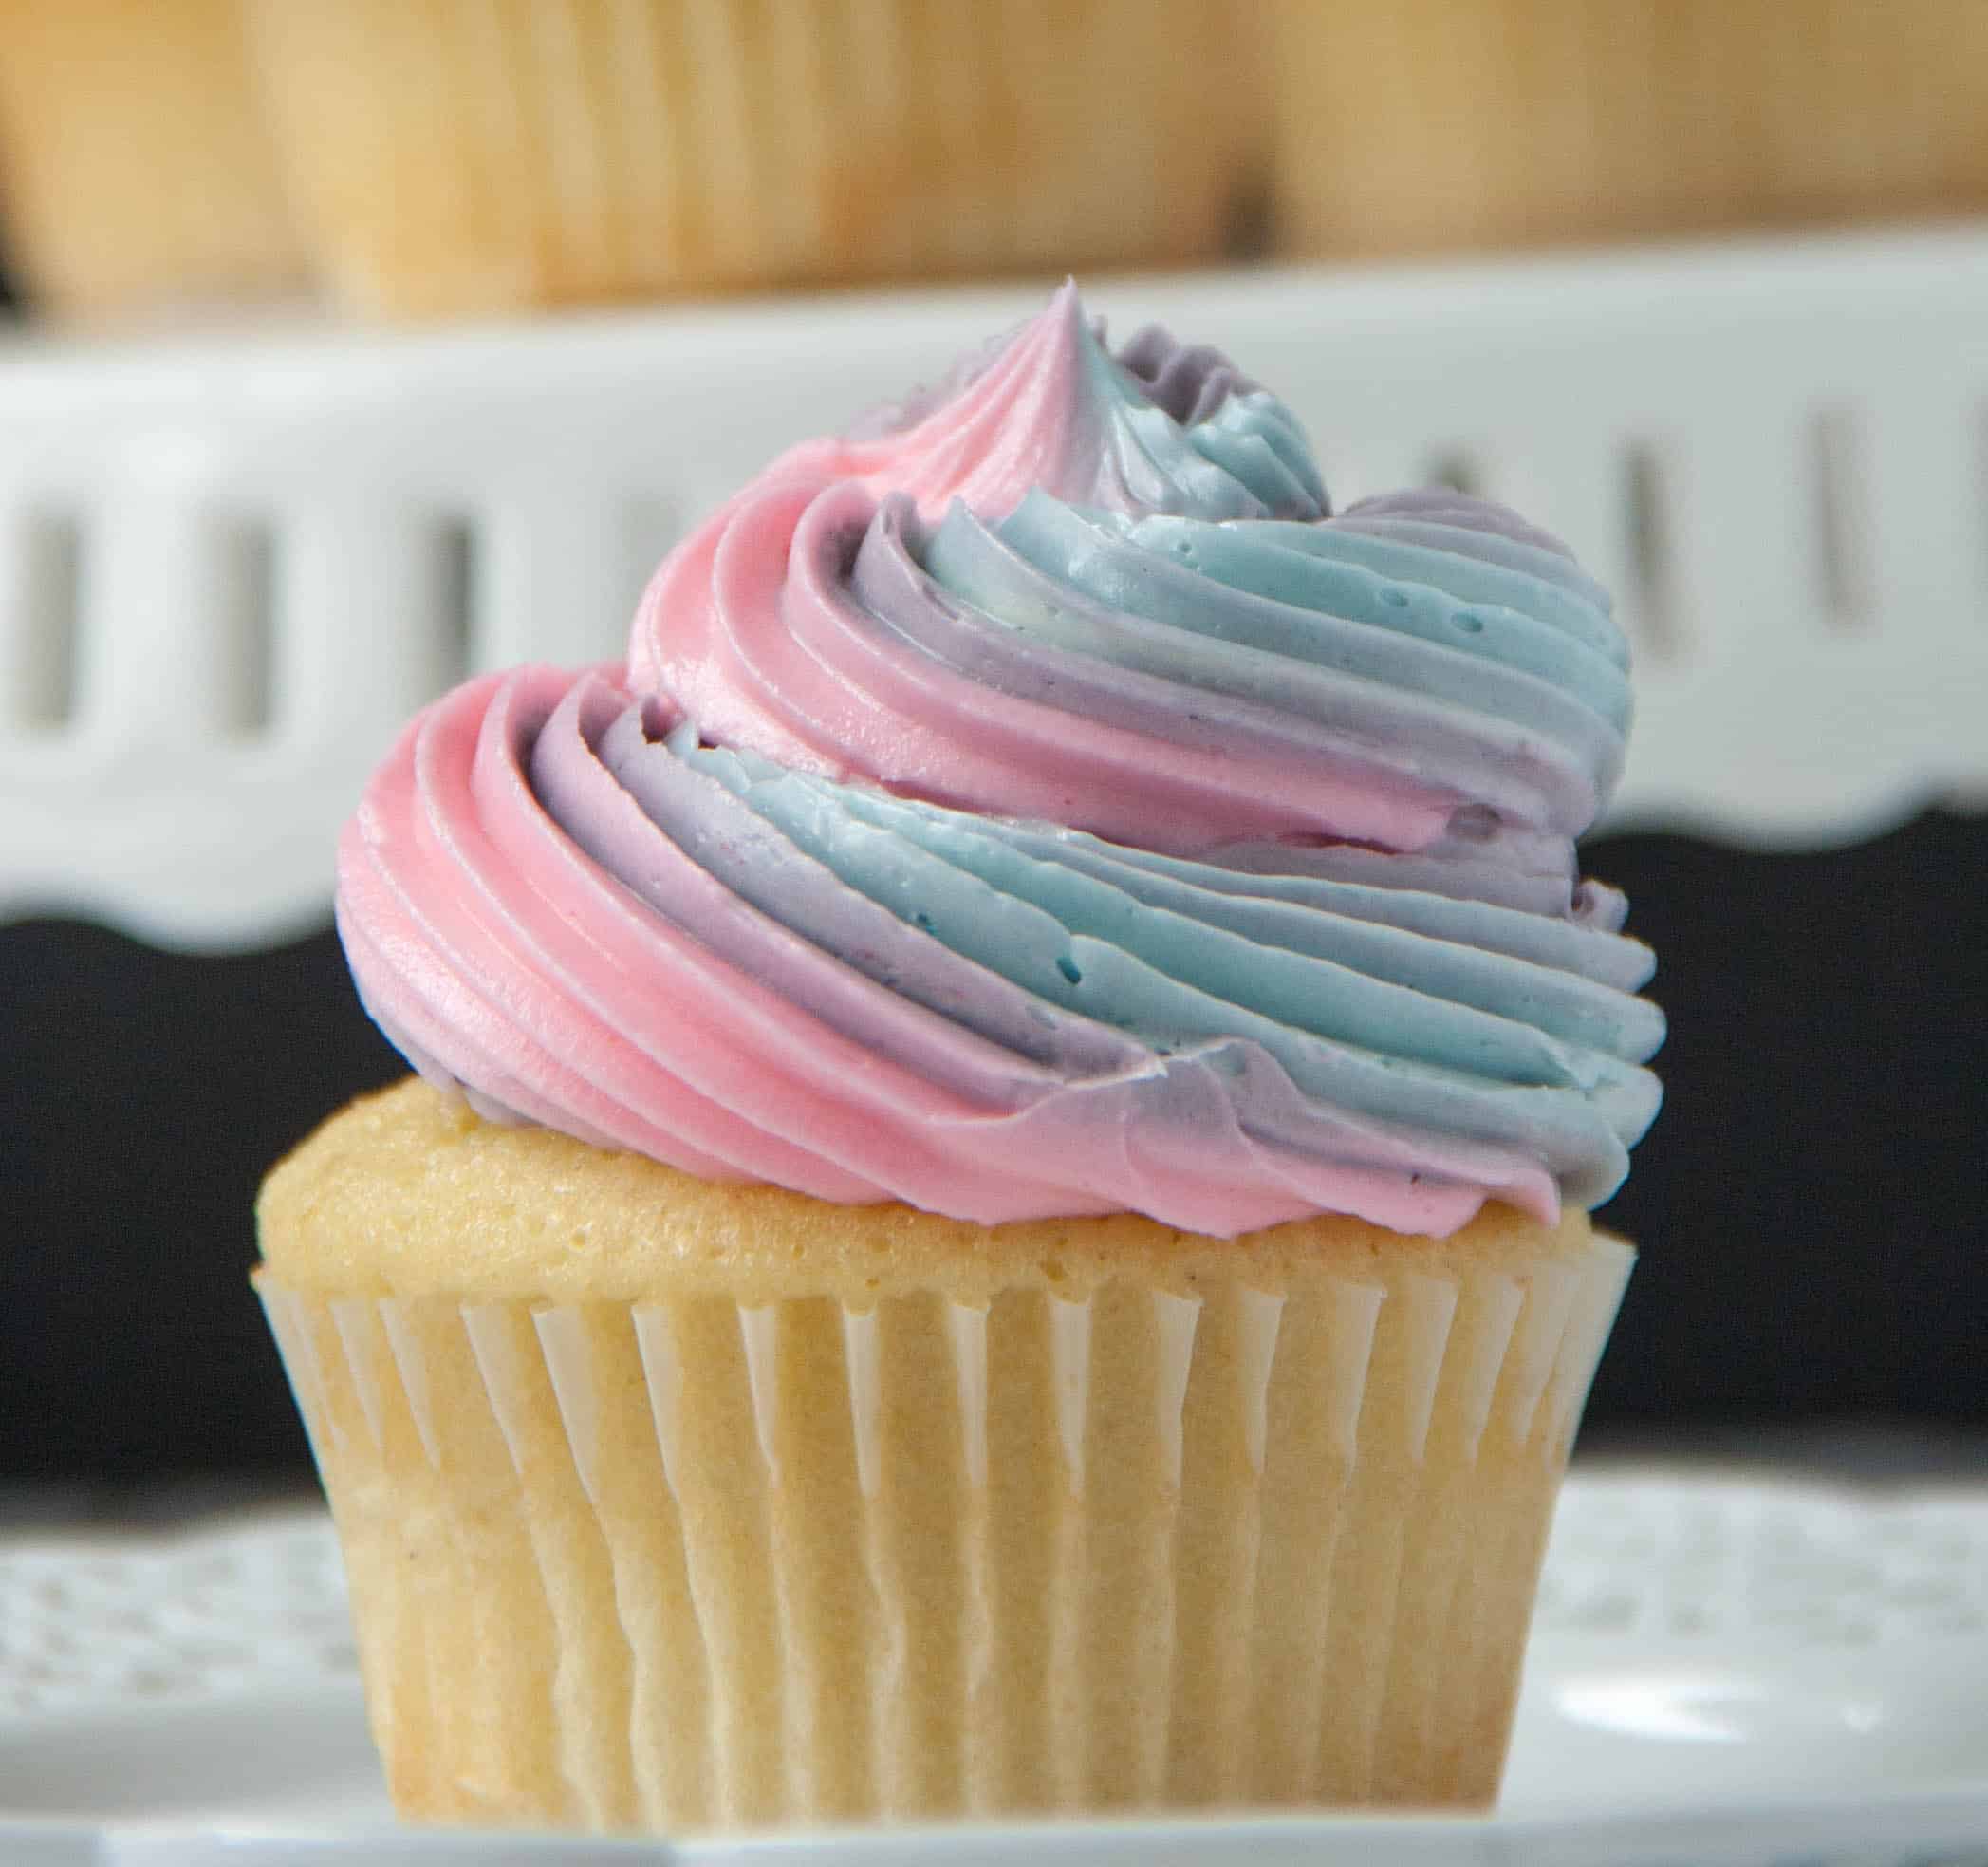
If you want a fun two-tone frosting like these cotton candy cupcakes then check out how to swirl your buttercream frosting (3 ways).
Oh and I got a video on how to do that as well for you 😉
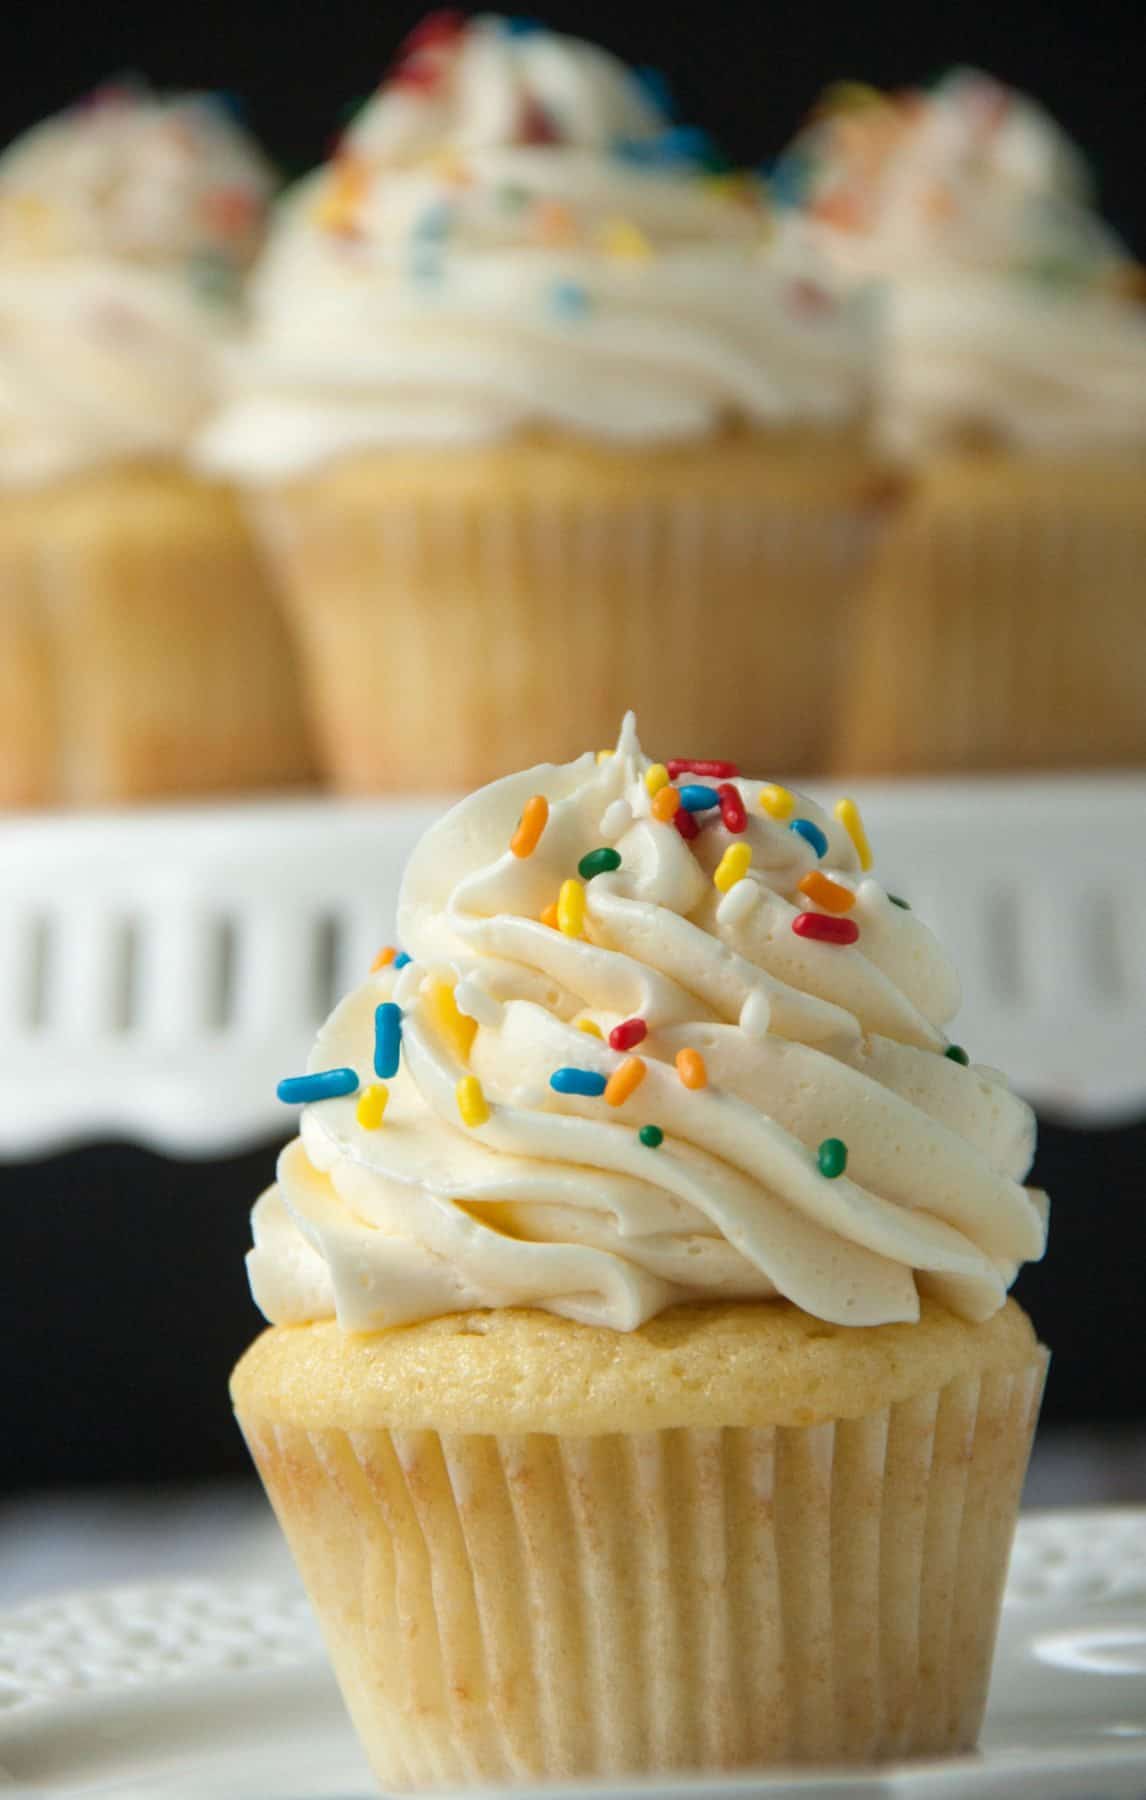
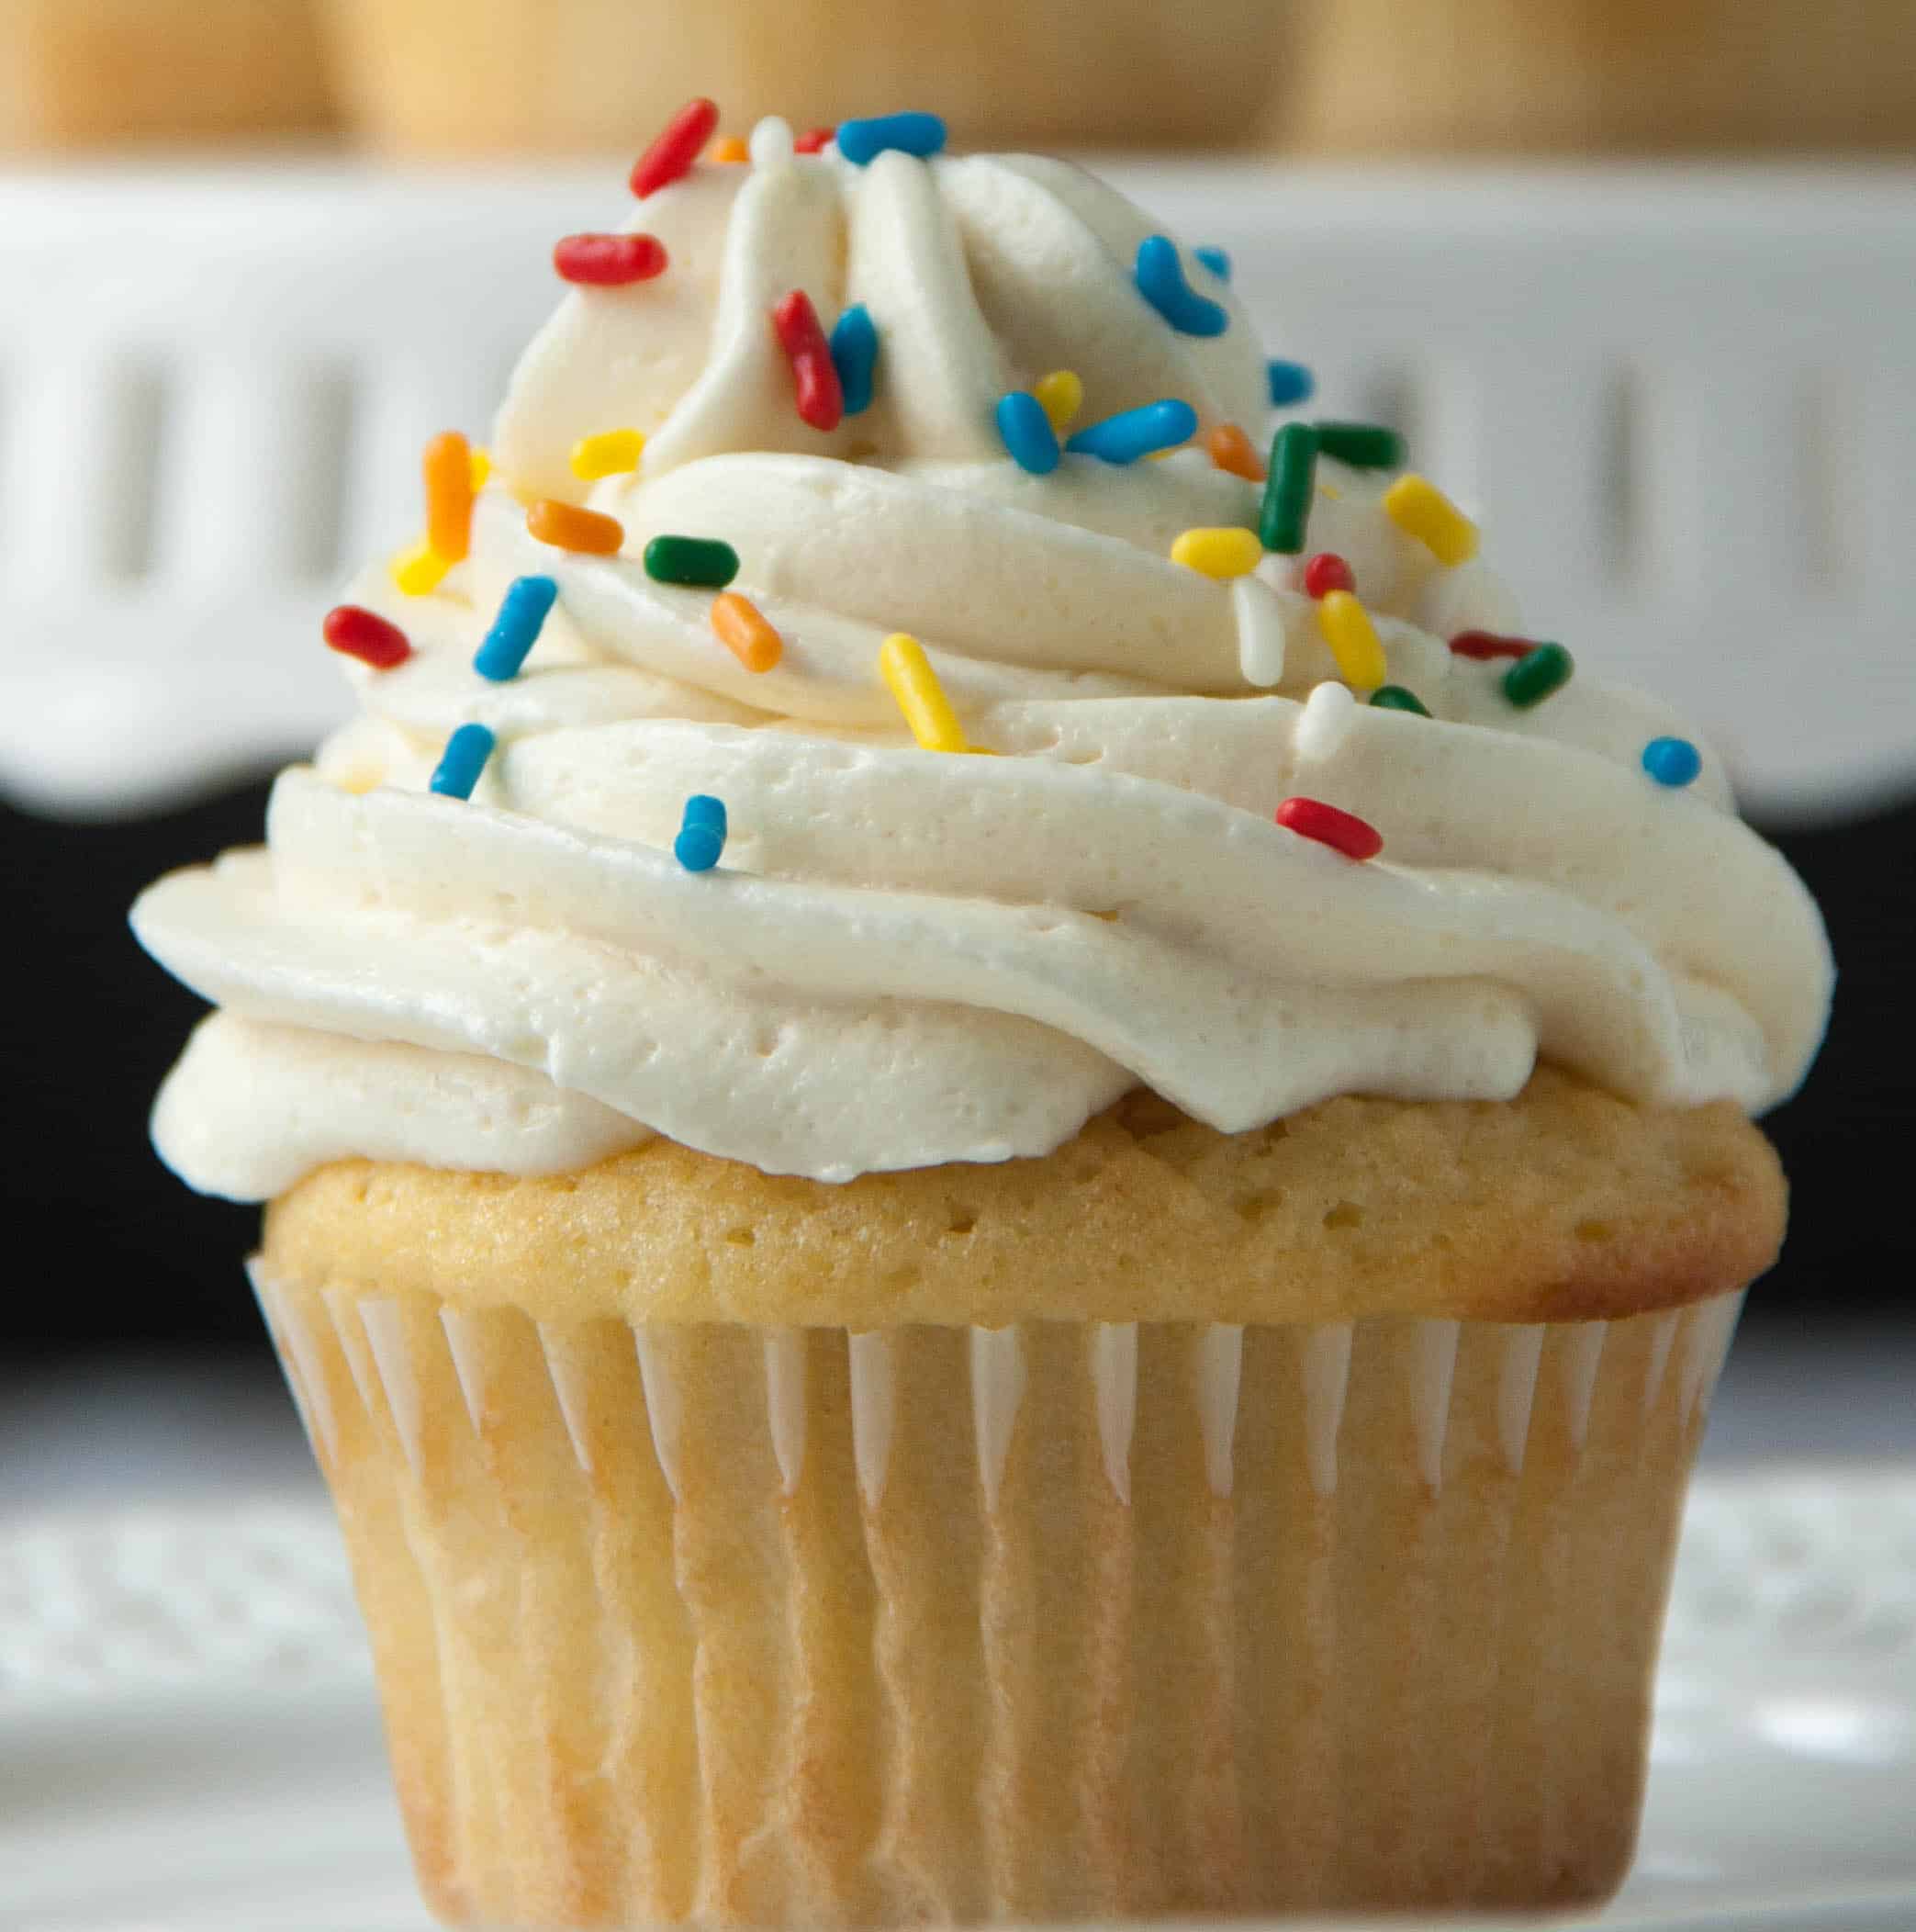
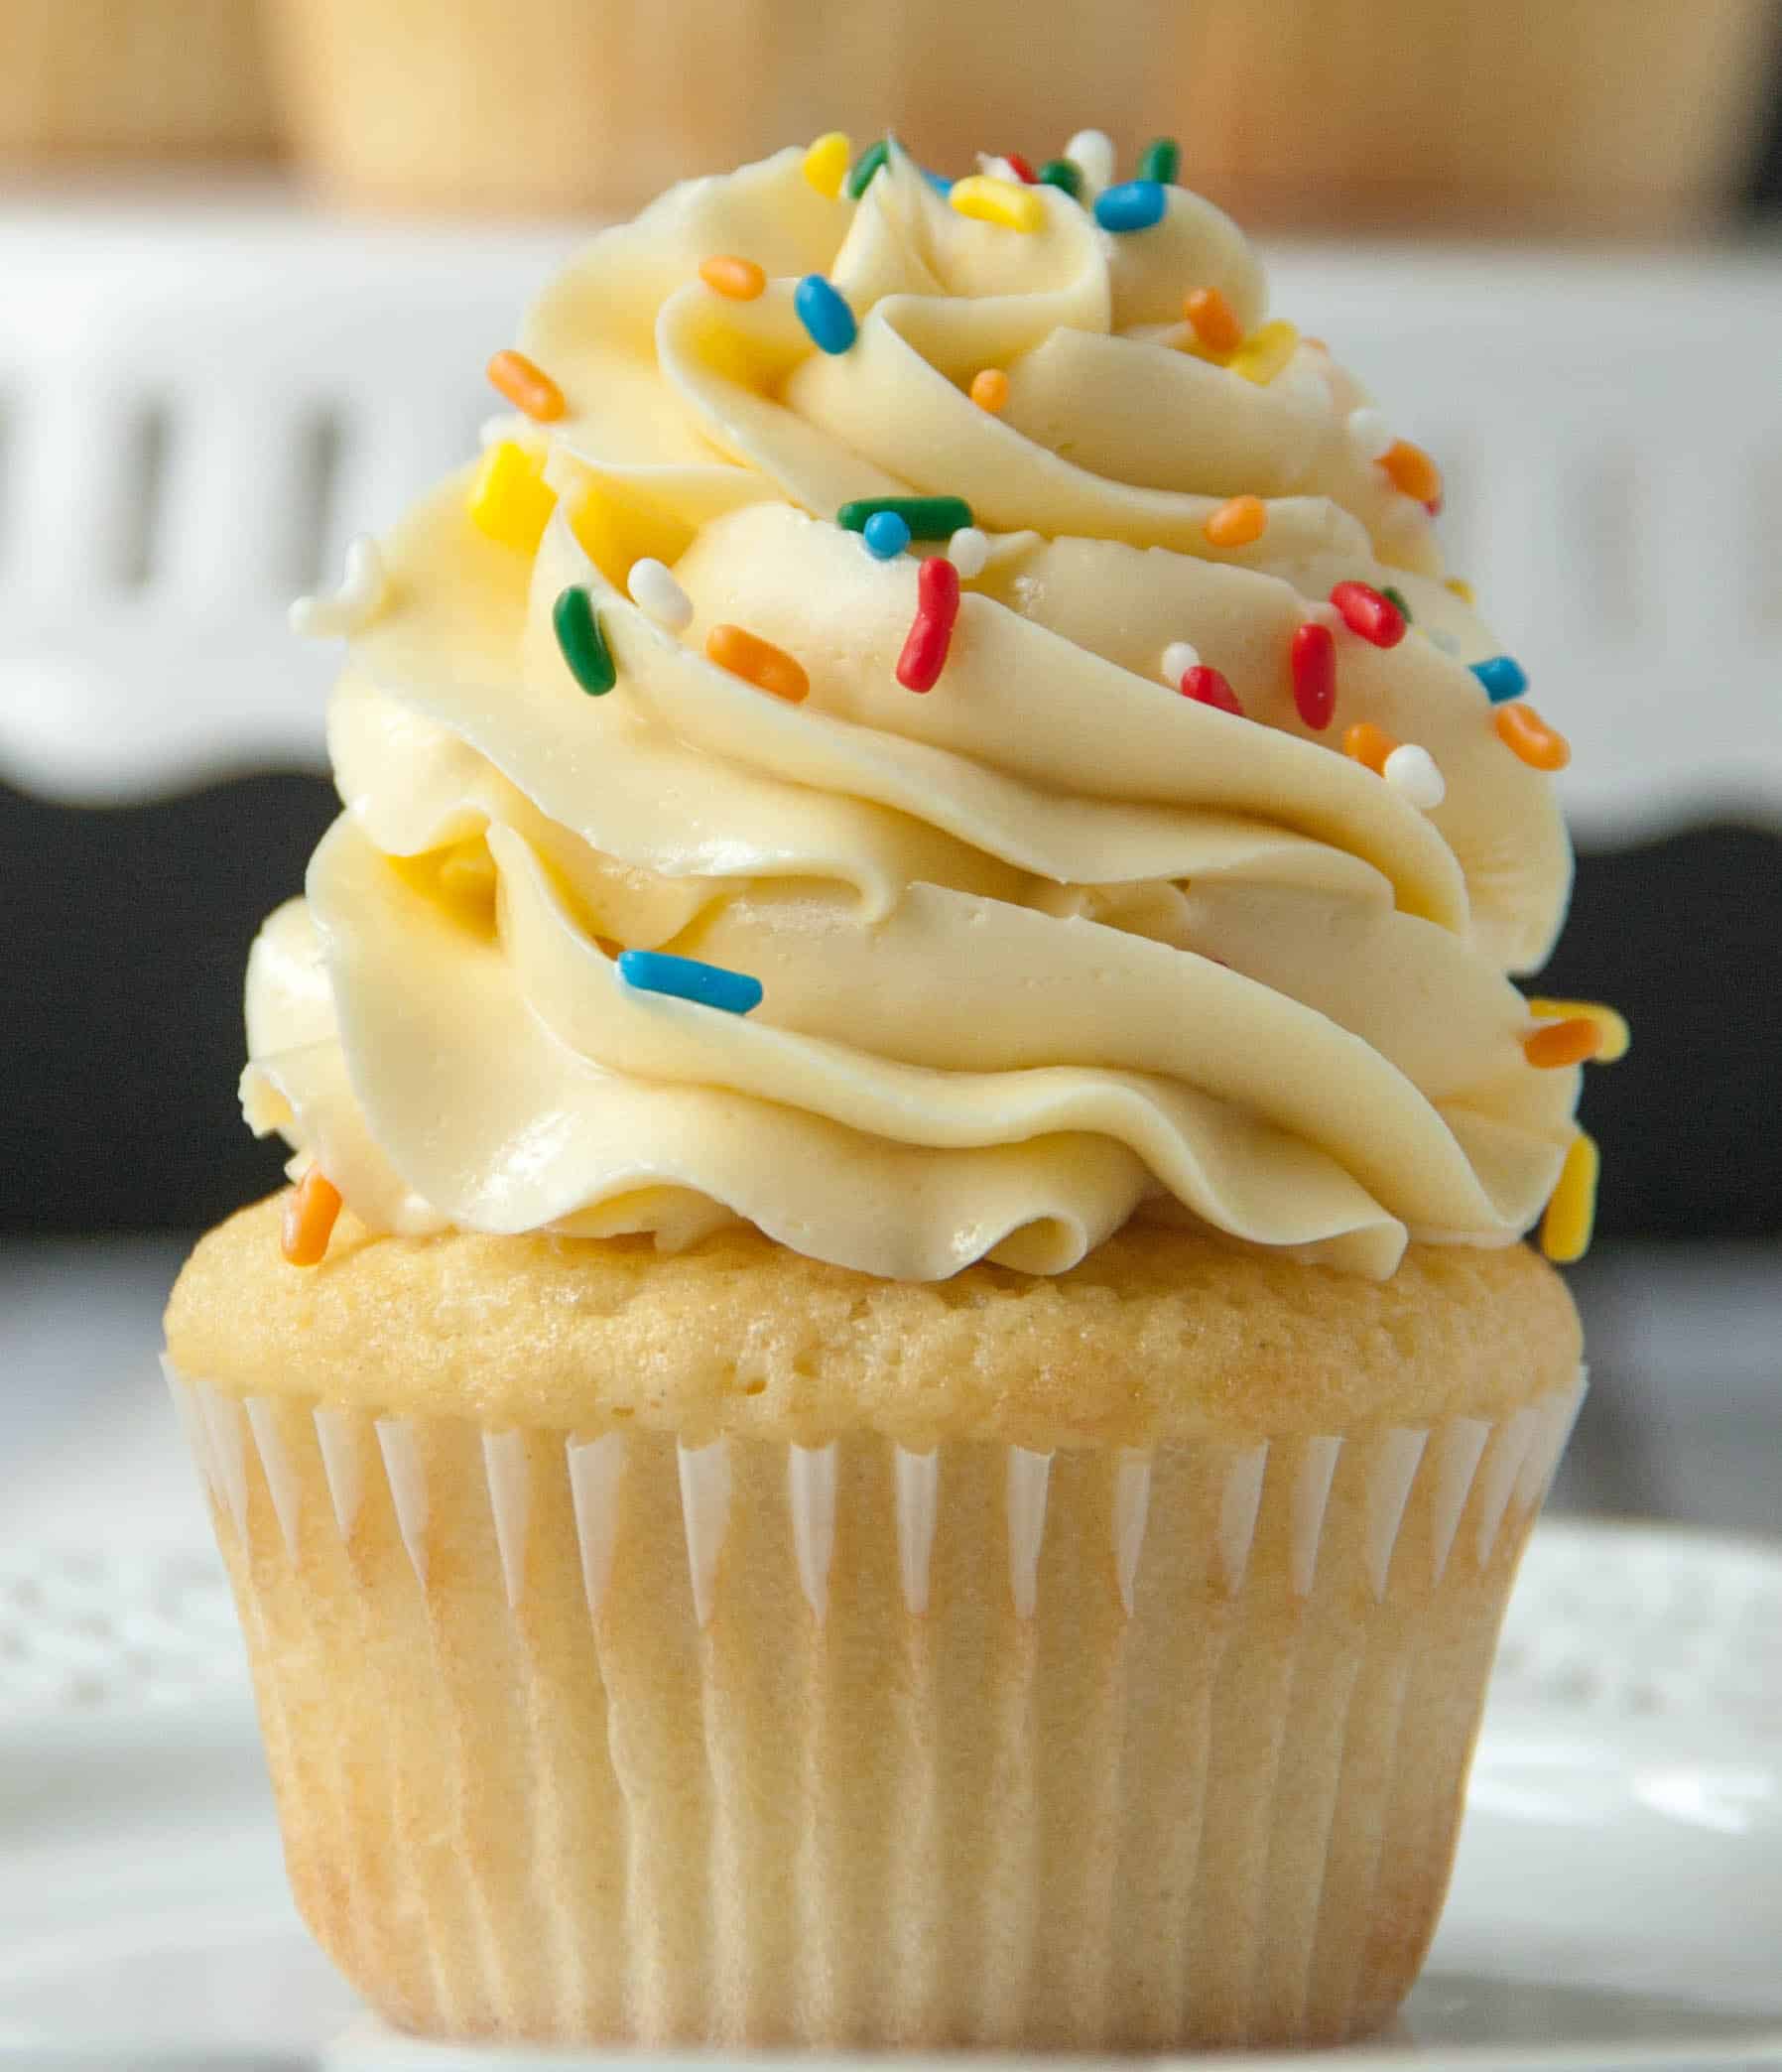
Step 7: Frosting The Perfect Cupcake
Ok once you have made the perfect frosting, flavored it, and colored it It’s time to use it!
I mean assuming you haven’t eaten it all with a spoon of course. No judgement friend.
Again make sure you are using the correct tools I mentioned back in step 1.
To frost the perfect cupcake start by practicing on some wax or parchment paper first. You can practice away and then simply scrape the frosting back into your bowl. No waste and you will be ready to pipe perfect cupcakes.
Here are my top 3 tips if you are new to piping your frosting:
- Use correct pressure- Be sure to squeeze from the top of the piping bag. Not near the bottom.
- Hold the bag at the correct angle- Hold the bag at 90 degrees, slightly above your cupcake.
- Motion- You want to squeeze from the inside out in a consistent fashion.
For more help on frosting the perfect cupcake be sure to read this post.
And here is a video to help you achieve the perfect bakery swirl.
If you want to get creative with your buttercream decorating try making these:
For more cupcake tutorials try these:
- Sunflower Cupcakes
- Hydrangae Cupcakes
Step 8: Storing Your Buttercream
Of course, you may want to store your buttercream for later use. Or maybe make it ahead of time if you have a lot to make.
To store your buttercream at room temperature: Do this if you plan to use it within a couple hours.
To store your buttercream in the fridge: Do this if you plan to use it within 5 days. Store it in sealed airtight container. Just be sure to re-whip before piping and frosting.
To store your buttercream in the freezer: Do this if you do not plan to use it within 5 days. Be sure to store it in an airtight container. You can let it thaw overnight in your fridge or at room temperature for a couple hours. Again just re-whip before using.
Click this post for more details on how to store your buttercream!
Buttercream FAQ’s
Ok let’s answer some basic questions you might have!
Will Buttercream Melt At Room Temperature?
Your buttercream if left at room temperature will be fine and not melt. In fact if you frost a cake with it, it will form an outer crust while still being soft in the middle and keeping the cake fresh.
If it’s too hot or humid though the buttercream will melt, so best to store in the refrigerator.
Can I Make Buttercream In Advance?
You can also store this in your fridge for up to 5 days or in the freezer as well for up to 3 months. When ready to use, allow it to thaw then re-whip until it’s light and fluffy again!
If you love this tutorial, then let me know by leaving me a comment and star rating below! And if you want to learn more, then you be sure to check out my Buttercream Basics Guide where you will learn how to master 6 buttercream recipes, how to fill a piping bag, customize a vanilla buttercream, and so much more!
Can Buttercream Icing Stay Out Of The Fridge?
First off, let’s talk about storing your buttercream at room temperature. According to the U.S. Food Safety and Inspection Services your buttercream is safe to stay out at room temperature for 2-3 days.
I simply just place mine in an airtight container and keep it on my counter if I know I am going to be using it within a couple days.
Note: Buttercream made with cream cheese cannot stay out and needs to be stored in your refrigerator.
How To Store Buttercream In The Fridge
If I know that I’m not going to be using the buttercream right away, I will then store it in my refrigerator.
I still place my buttercream in an airtight container and then place in my refrigerator. The buttercream will be good for up to 5 days.
Can You Freeze Buttercream?
Yes! Game changer right? Especially if you have large quantities that you need to make. It’s great then to make ahead.
Just make your buttercream as usual and then store in your airtight container. And it will freeze for up to 2 months. Just make sure to label it. I can’t stress that enough.
How Do I Bring Buttercream To Room Temperature?
If you do freeze your buttercream then of course you are going to need to bring it back to room temperature before using it. When I know I’m going to use it, I will 1-2 days ahead of time take the buttercream and place it in my refrigerator.
Then a few hours before using it I will take the buttercream out of the refrigerator and place on my counter to continue to thaw and come to room temperature.
Pro Tip: When I am I ready to use it, I will place the frosting back into my mixer bowl and rewhip back to a light and fluffy consistency.
Can I Store Buttercream In A Piping Bag?
Now some may disagree with me on this. But when I had a wedding of 250 cupcakes to make on my own. I knew that I was going to have to find ways to keep my sanity and get things done ahead of time.
One way I did that? I stored my colored buttercream in my piping bags (without the piping tips). Then I simply took them out just like I normally would and soften at room temperature.
Pro Tip: I placed the piping bag of frosting into a second bag with a tip and then frosted. I could easily swap out one bag for another and just keep piping. It saved me tons of time! A tip I picked up from their Online Baking Classes .
How Do I Thin Out Buttercream Icing?
If you find your buttercream is too thick, just add a little bit more liquid. You can add in more heavy cream or milk. Start by adding one tablespoon at a time and mix.
You want to add a little bit at a time until the desired consistency is reached.
How Do You Fix Runny Frosting?
If you find that your frosting is runny you can add a bit of cornstarch (1-2 teaspoons) or more confectioners sugar to thicken it.
More Buttercream Resources To Check Out:
100 Buttercream Flowers– Make the most beautiful flowers all out of buttercream with this step by step guide to making flowers with buttercream
Sensational Buttercream Decorating– There are over 50 buttercream projects for you to try from cakes to cupcakes!
If you love this Ultimate Guide then be sure to leave me a comment and star rating!
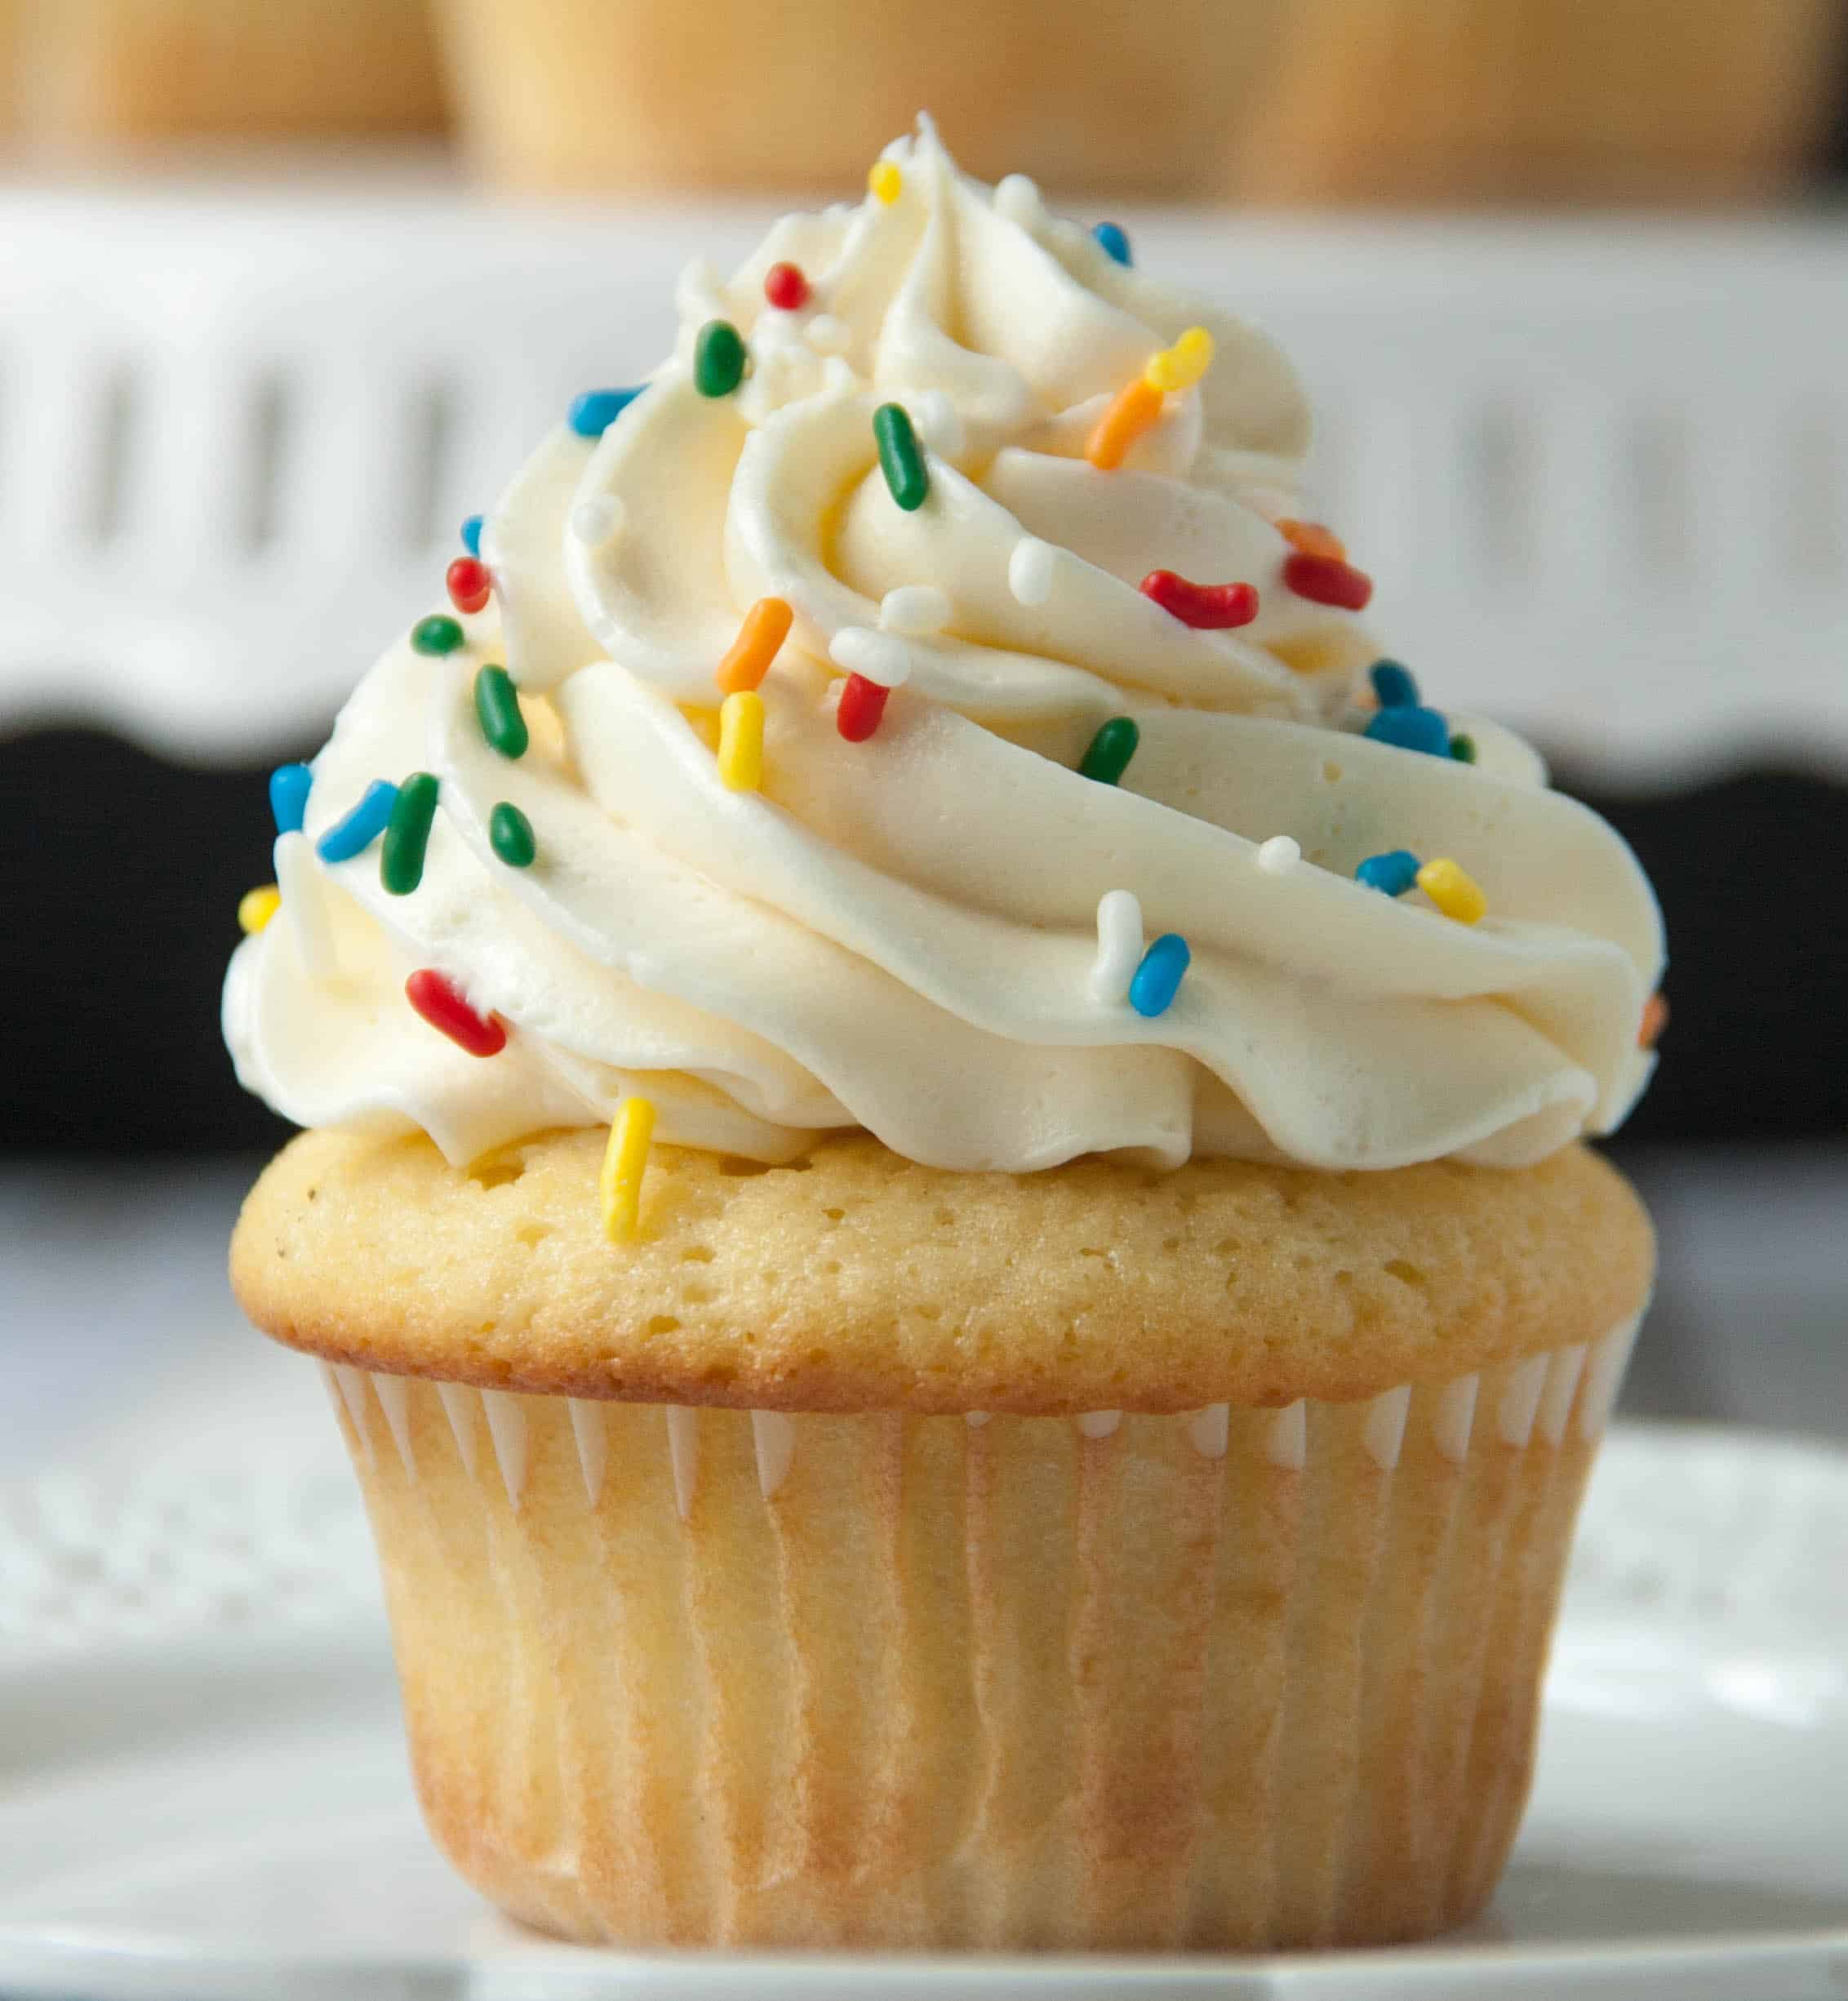
And this is my favorite vanilla buttercream frosting below to check out!
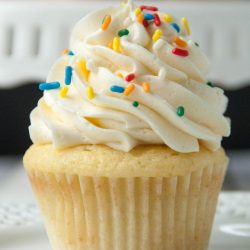
The Best Buttercream Frosting
Ingredients
- 2 1/2 sticks unsalted butter (1 1/2 cups, softened to room temperature)
- 2 1/2 cups (284 g) confectioners sugar
- 2 Tablespoons heavy cream
- 2 teaspoons vanilla extract
- pinch table salt
Instructions
- Combine the butter and confectioners sugar in the bowl of your stand mixer.
- Mix on low speed at first, then increase the speed until combined.
- Add in your heavy cream and vanilla extract, and mix on medium to high speed for 8 minutes until light and creamy.Add the pinch of salt.
- If not using immediately, store in a container in the refrigerator until ready to use, mix again until light and fluffy.
Video
Notes
- Use softened butter to achieve the best consistency.
- To ensure lumps, you can sift the powdered sugar.
- Make sure to whip this buttercream for a full 8 minutes to get a light airy fluffy consistency. If you are using a hand mixer this will take longer.
- Before serving your cakes or cupcakes with this frosting, be sure to bring the frosting to room temperature due to the butter in the frosting.
- Adapted from Cook's Illustrated

Comments & Reviews
Type your question or comment below, and tap "Post Comment". I welcome constructive criticism, but please be respectful. Rude or inappropriate comments will not be published. Thank you!Baking isn't always easy! So if you had any issues, I'd appreciate the chance to help you troubleshoot before you rate.