Small Batch Cookie Bars
This Post May Contain Affiliate Links. Please Read Our Disclosure Policy.
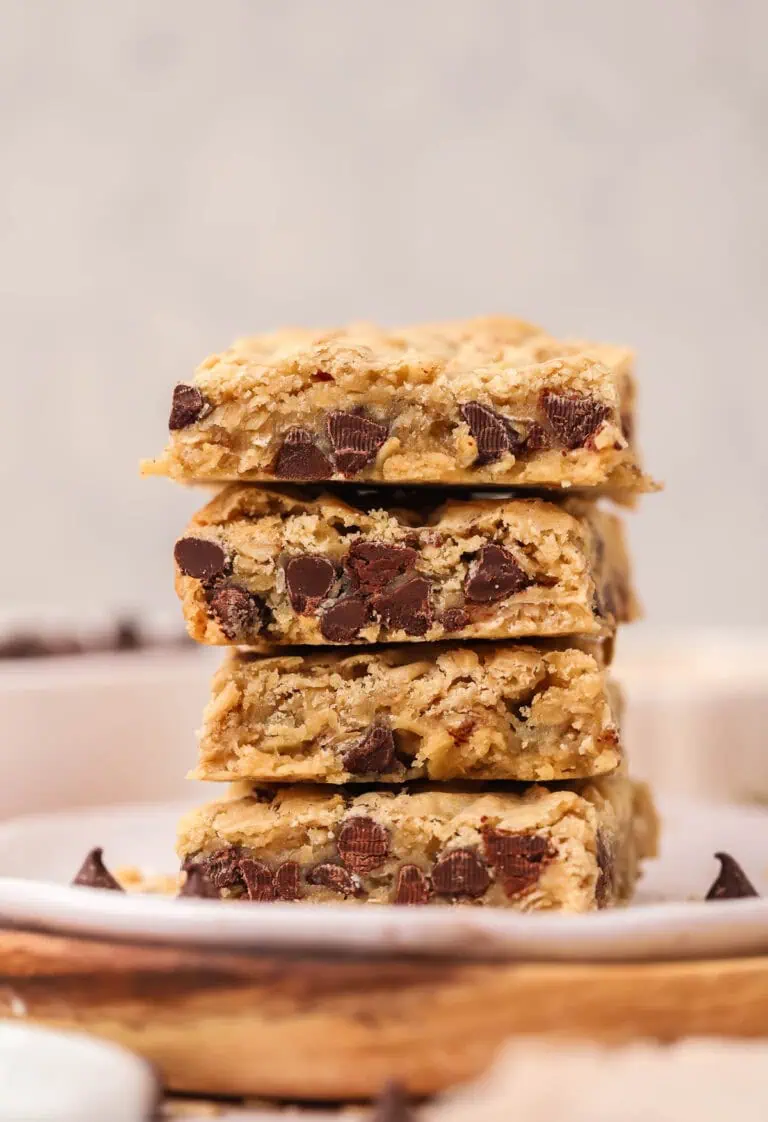
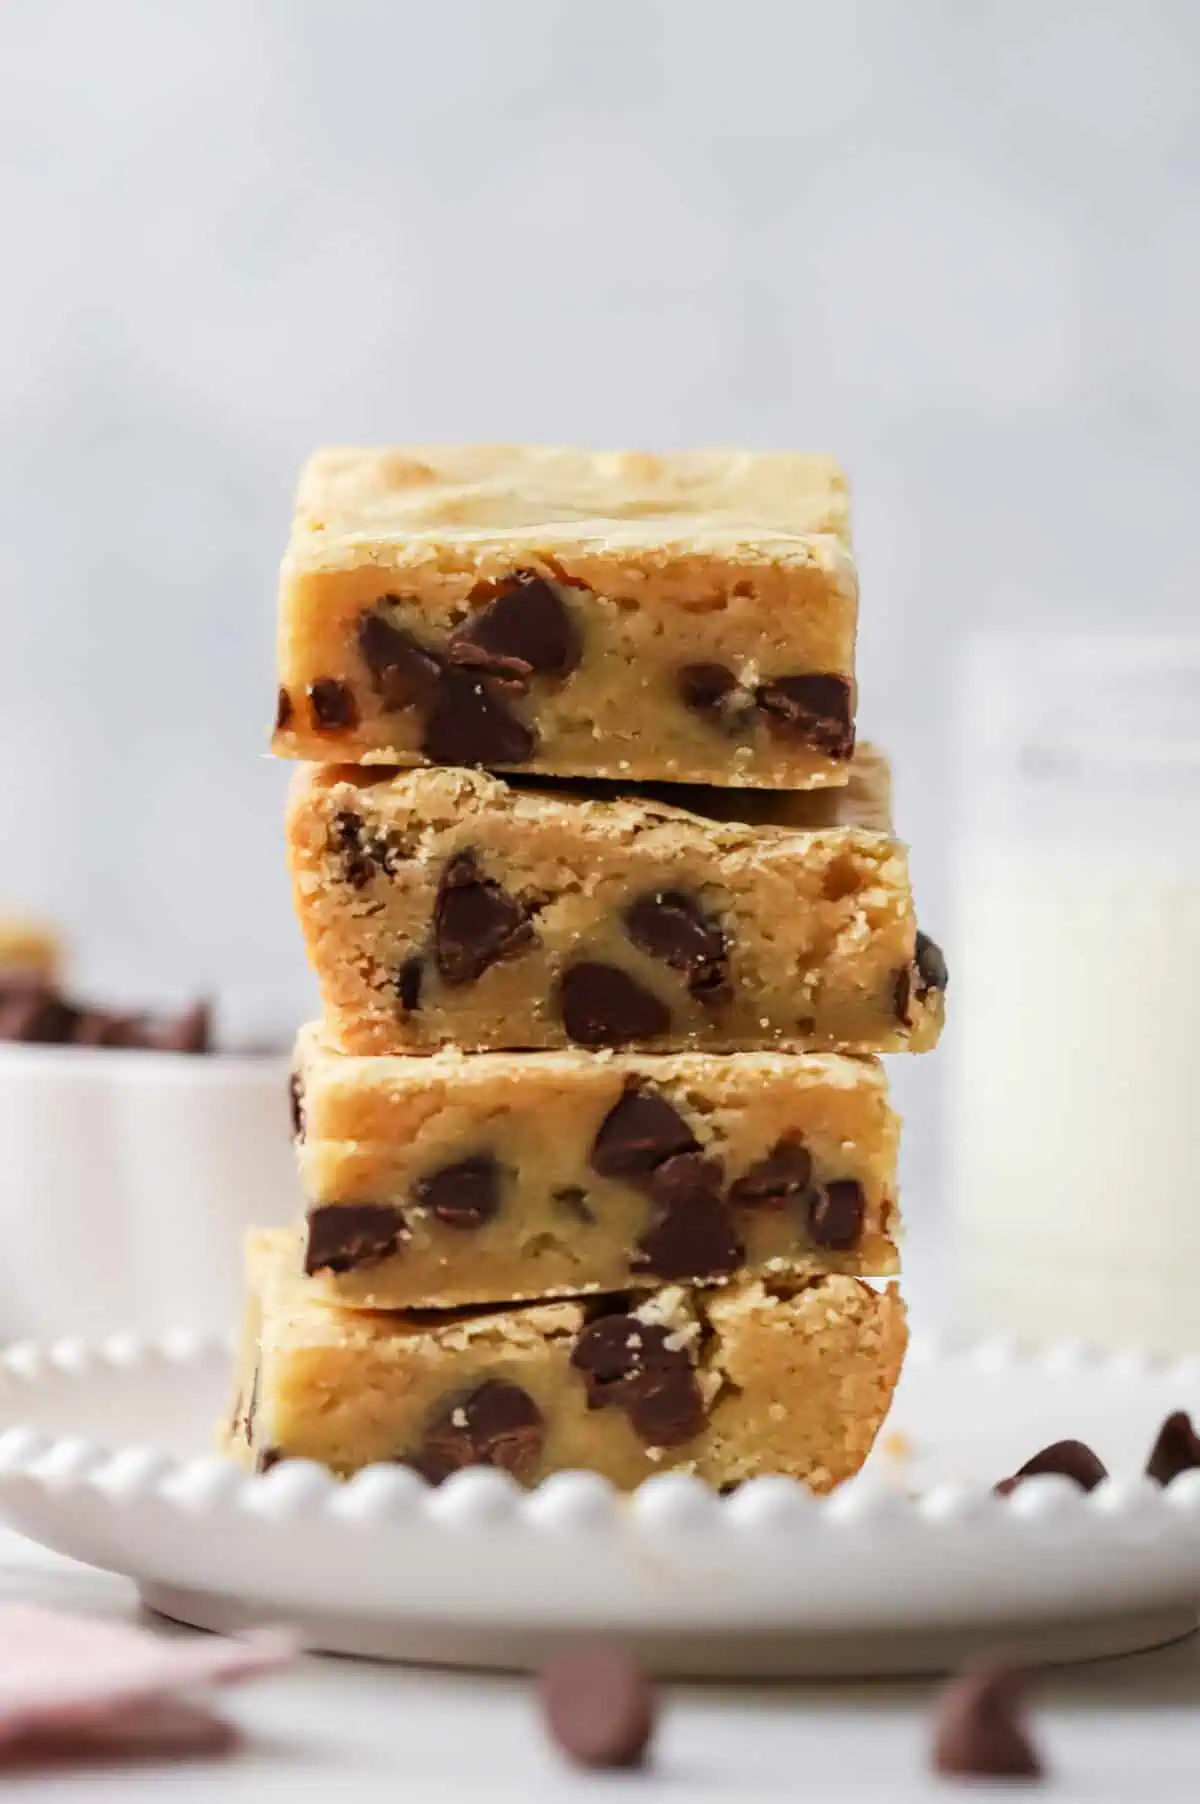
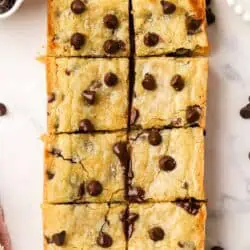
These Small Batch Cookie Bars give you everything you love about a soft and chewy chocolate chip cookie, baked into an easy loaf pan dessert. They make just 6–8 small bars, with buttery centers, lightly golden edges, and plenty of chocolate chips in every bite. No mixer needed and the dough is mixed in about 15 minutes.
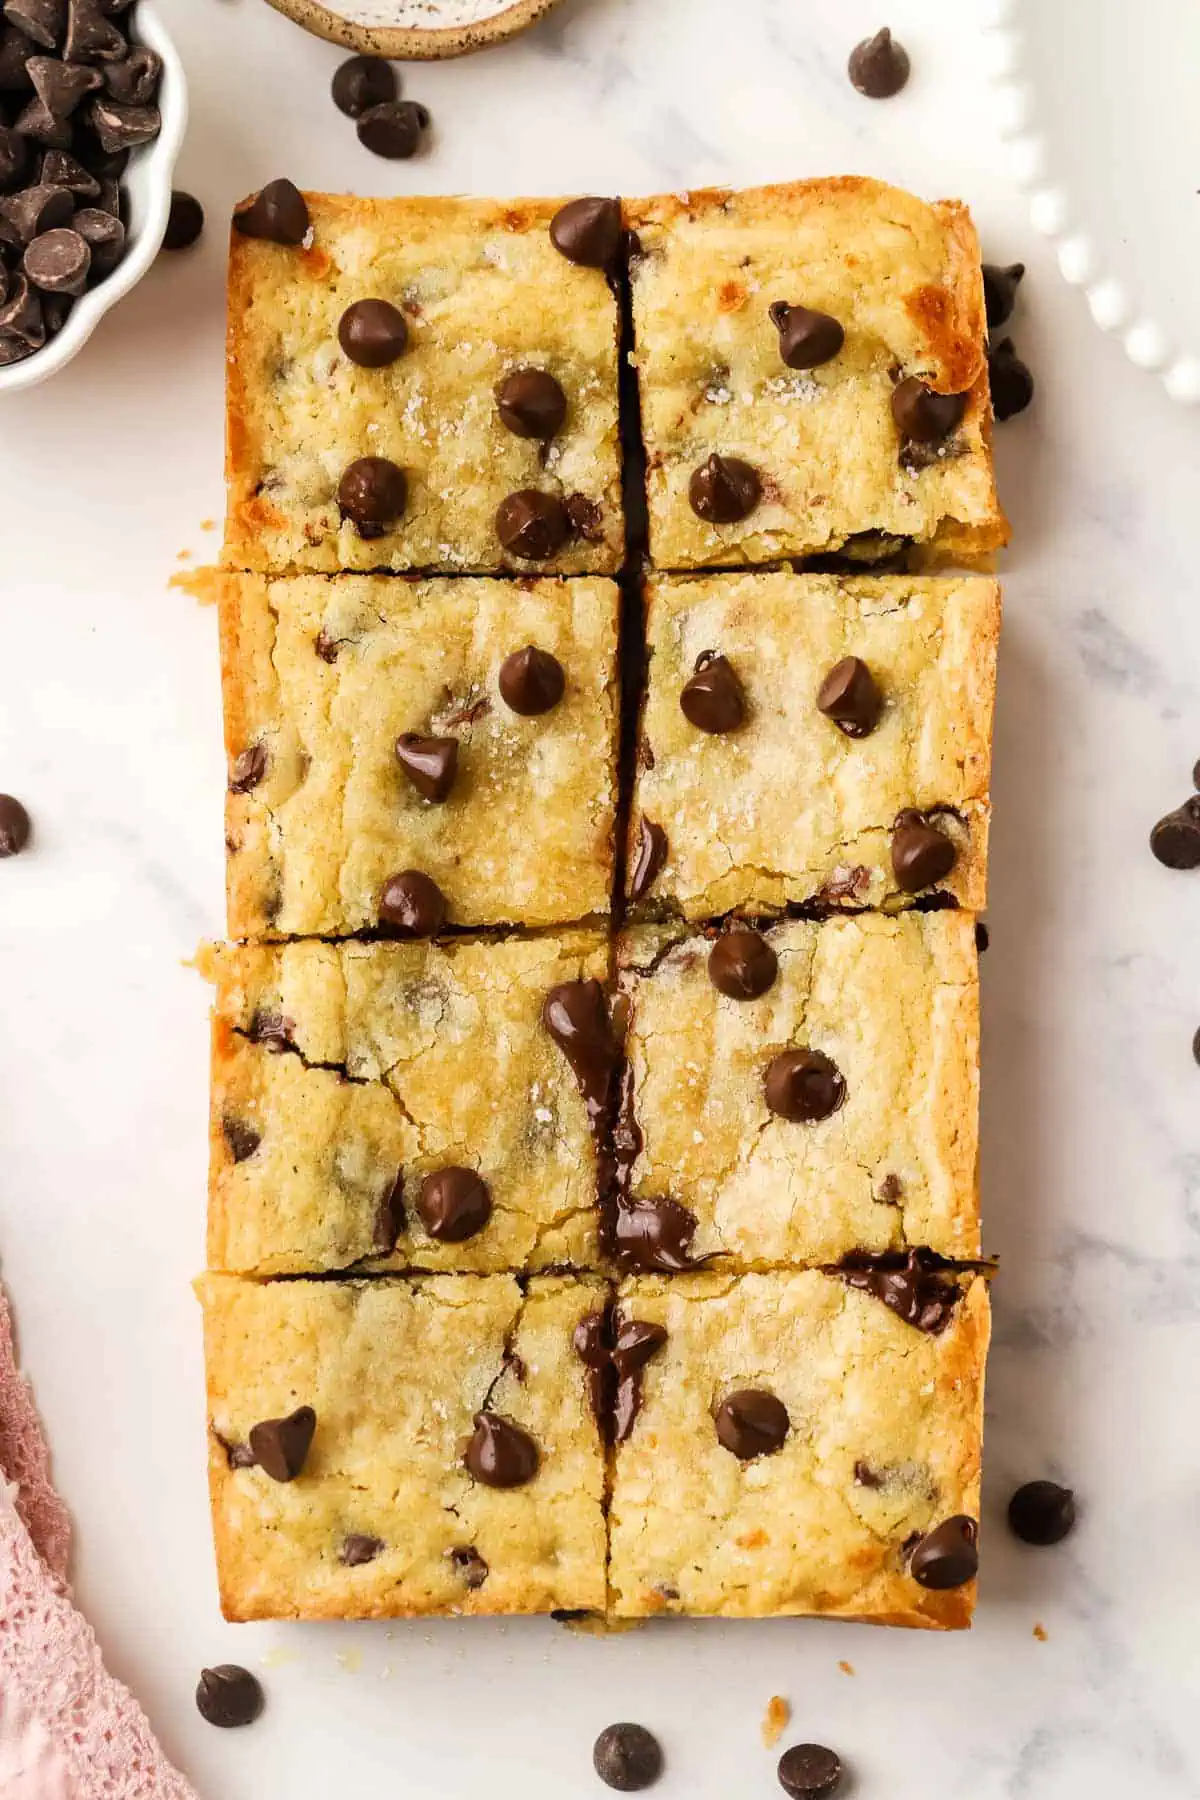
I love chocolate chip cookies, but sometimes I don’t want to scoop individual cookies—or end up with several dozen sitting on my counter. I wanted a small batch version of my chocolate chip cookie bars that was just as satisfying but even easier to make, so I turned them into cookie bars and baked them right in a 9×5-inch loaf pan.
I use melted butter in these bars, which means there’s no waiting for butter to soften and no creaming butter and sugar together. The melted butter also helps give the bars that soft, chewy texture I want instead of making them light and cakey.
And even though these look a little like blondies, I think of them as chocolate chip cookies in bar form. There’s plenty of brown sugar for chewiness, vanilla, and semi-sweet chocolate chips throughout, but you get to skip chilling and scooping cookie dough.
Ingredients
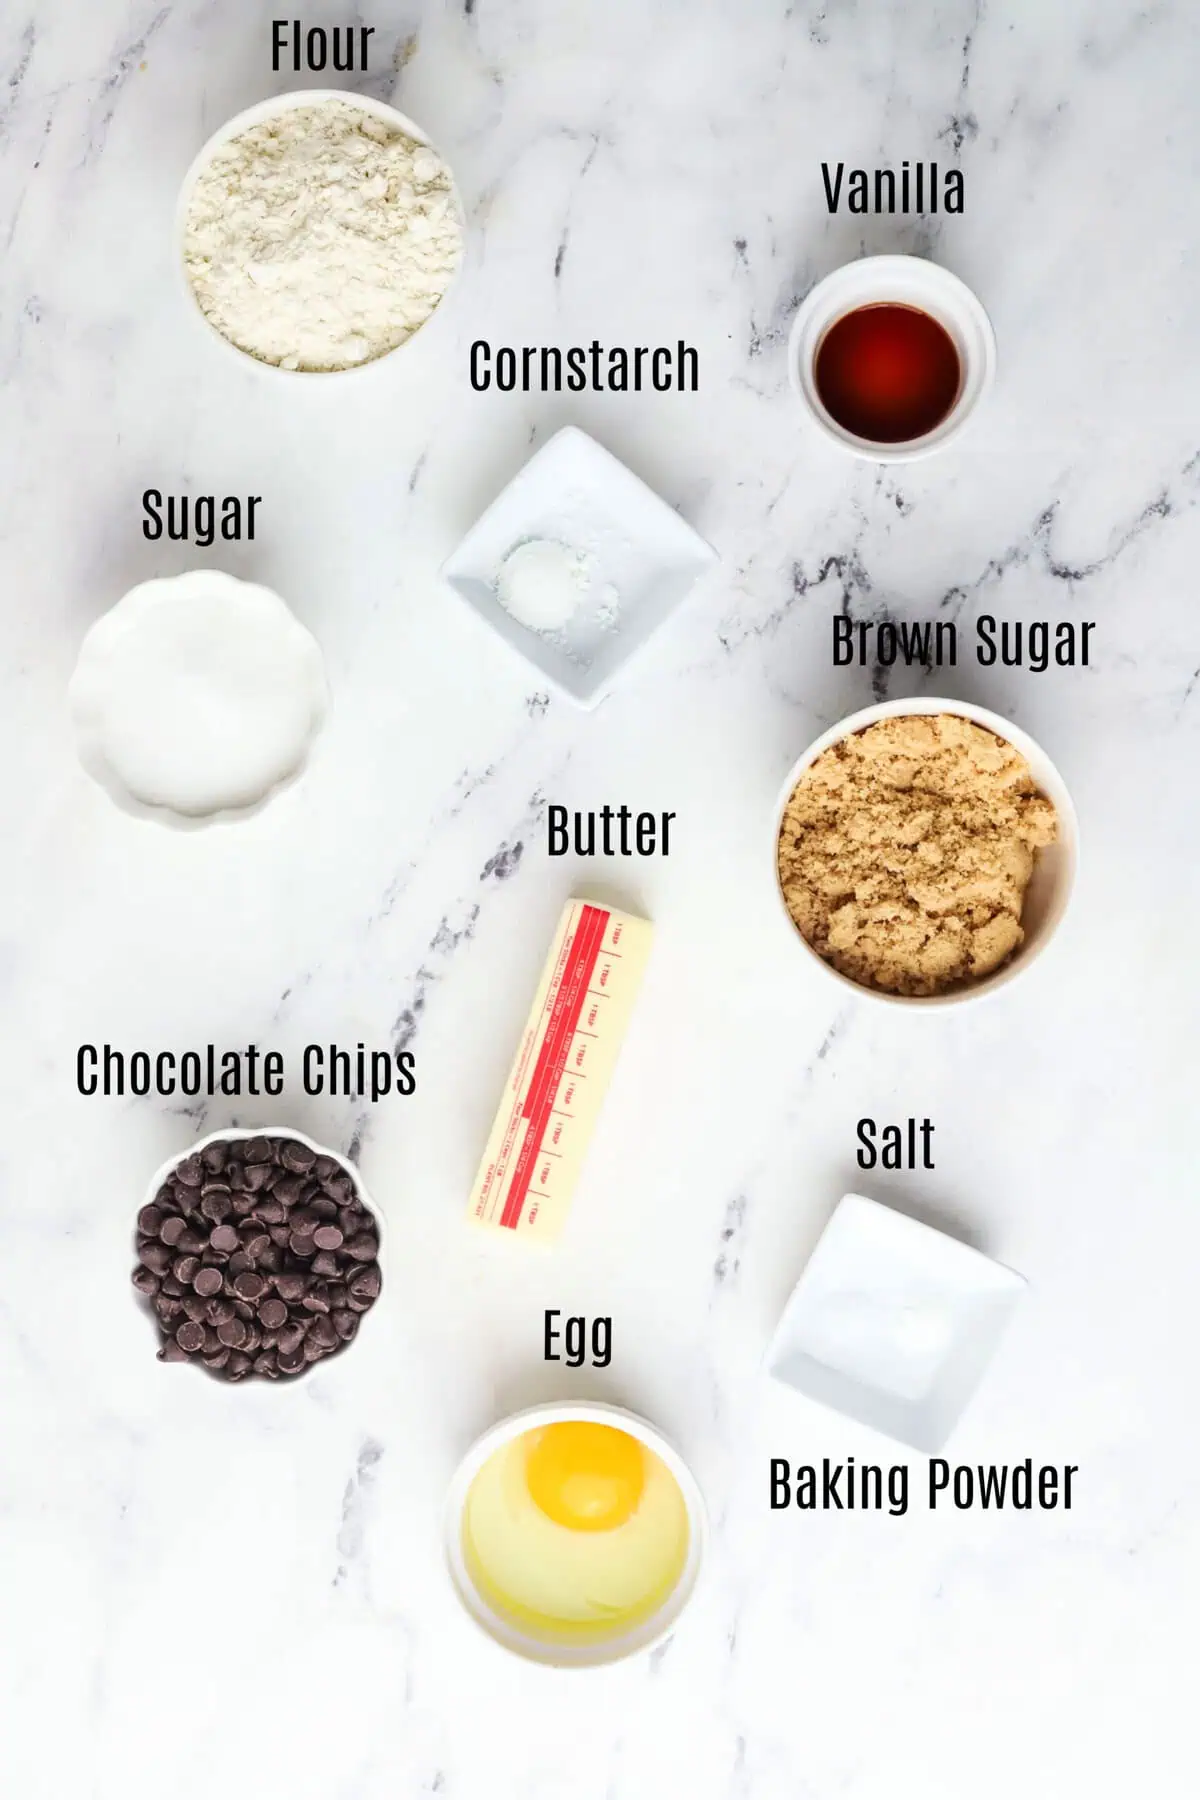
- Unsalted butter: Melt the butter and let it cool slightly before mixing it with the sugars so it’s not too hot when you add the egg. You can also use salted butter, just omit the added salt.
- Light brown sugar: Make sure to pack the brown sugar into your measuring cup or weigh it for the most accurate measurement. If you run out, read How To Make Brown Sugar
- Granulated sugar
- Egg: Bring the egg to room temperature so it combines easily with the melted butter mixture. Read How To Get Room Temperature Eggs Fast.
- Vanilla extract
- All-purpose flour: For the best results, weigh your flour with a kitchen scale. If using measuring cups, spoon the flour into the cup and level it off rather than packing it down.
- Baking powder
- Salt
- Semi-sweet chocolate chips: You can substitute milk chocolate, dark chocolate, or chocolate chunks if you prefer.
How to Make Small Batch Cookie Bars
1. Prepare your loaf pan.
Preheat the oven to 350°F (177°C). Grease a 9×5-inch loaf pan with butter or nonstick cooking spray.
For the easiest removal, I prefer lining the pan with parchment paper and leaving some overhang along the sides. Once the bars are completely cool, you can use the parchment as handles to lift the whole batch out before slicing.
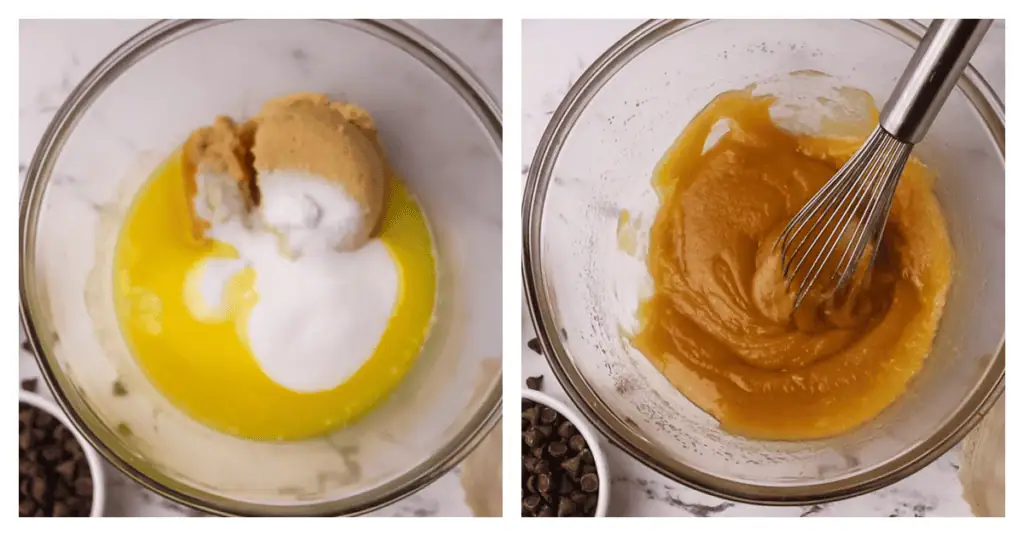
2. Combine the melted butter and sugars.
In a medium mixing bowl, whisk together the melted, slightly cooled butter, brown sugar, and granulated sugar until well combined.
Letting the butter cool slightly is important. You don’t want piping-hot butter going into your dough because you’ll be adding the egg next.
You also don’t need to cream the butter and sugars like you would for a traditional chocolate chip cookie recipe. That’s what makes these bars so quick to mix together.
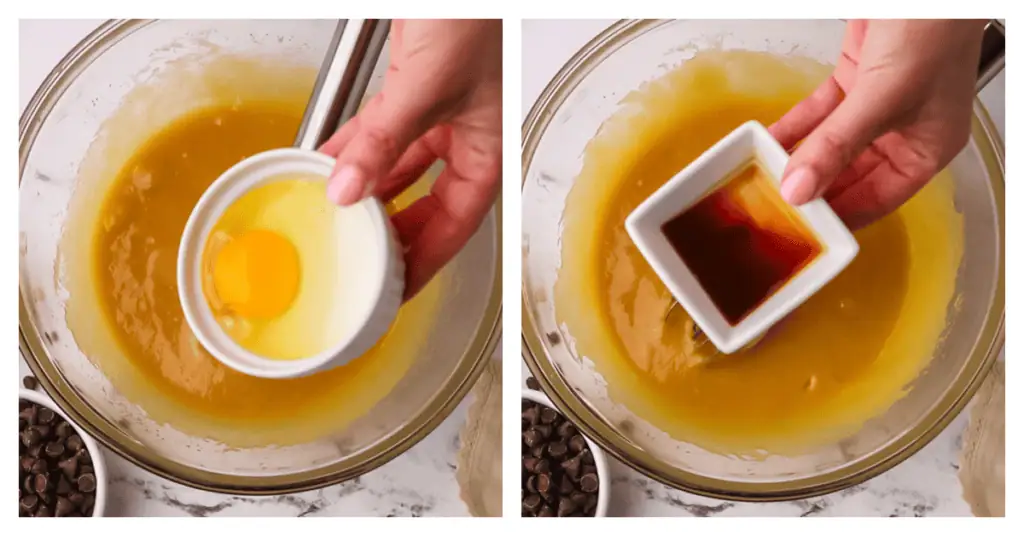
3. Add the egg and vanilla.
Whisk in the egg and vanilla until the mixture is smooth and well combined. Scrape down the bottom and sides of the bowl as needed.
Make sure the egg is fully incorporated before moving on to the flour. This helps create an even dough without having to overmix it later.
4. Add the dry ingredients.
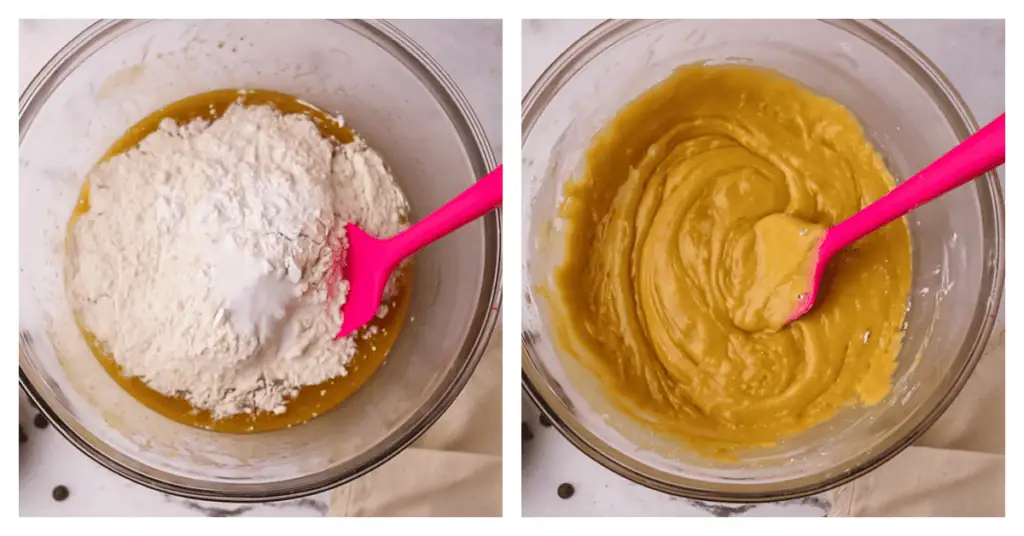
Add the flour, baking powder, and salt directly to the wet ingredients. Stir just until the flour is incorporated and a thick, sticky cookie dough forms.
Once you add the flour, avoid overmixing. Too much mixing develops more gluten, which can make your cookie bars tougher instead of soft and chewy.
5. Fold in the chocolate chips.
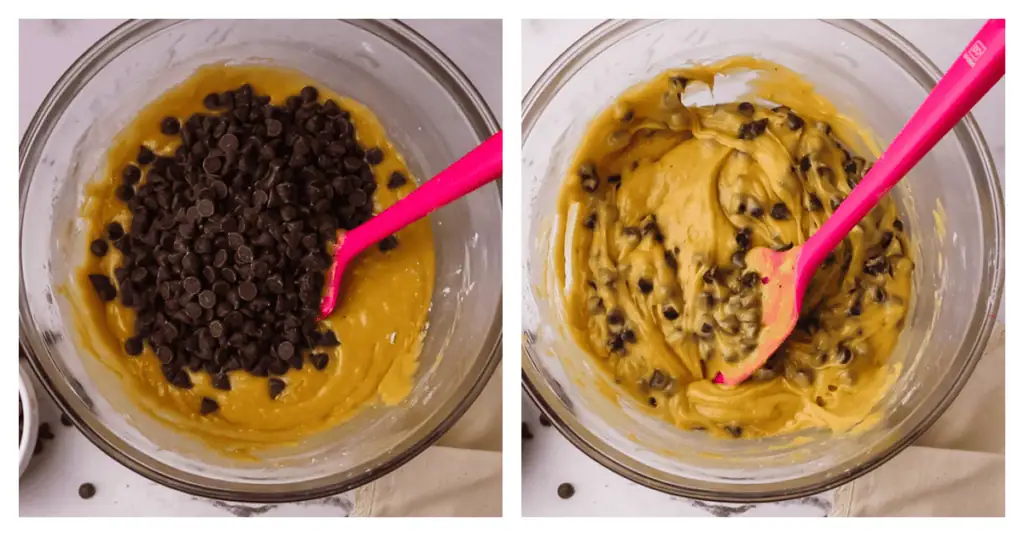
Fold the semi-sweet chocolate chips into the dough with a spatula, making sure they’re evenly distributed.
I like to save a few chocolate chips to press into the top before baking. It doesn’t change the recipe, but it makes those chocolatey tops look even better once they’re baked.
6. Press the dough into the loaf pan.
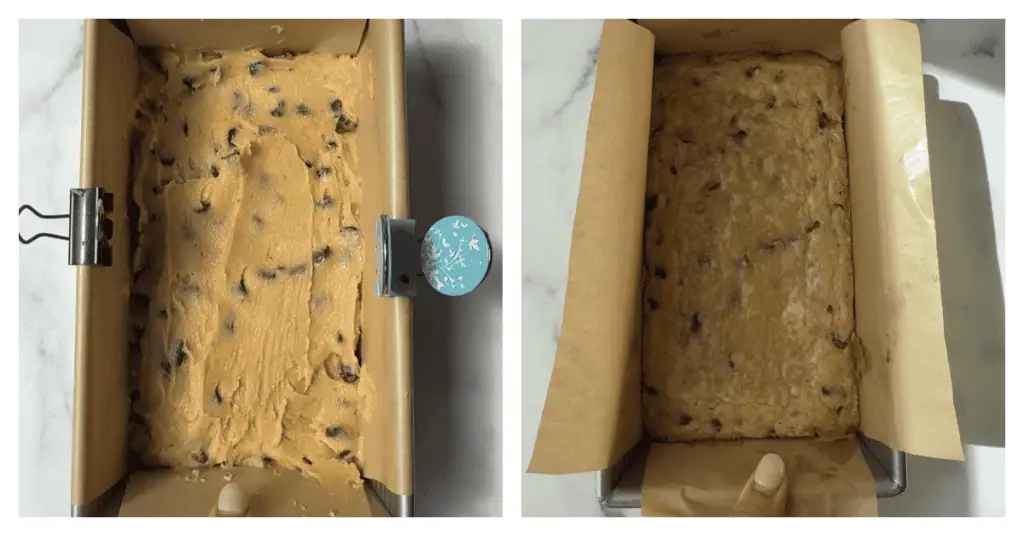
Transfer the dough to your prepared loaf pan and press it into an even layer.
The dough will be thick and sticky, so don’t expect it to pour or spread on its own. Use a spatula or the back of a spoon to gently push it all the way into the corners.
Sprinkle a few additional chocolate chips over the top.
7. Bake.
Bake for about 20-25 minutes, or until the edges are lightly golden and a toothpick inserted into the center comes out with a few moist crumbs.
I recommend checking at 20 minutes. The biggest mistake you can make with cookie bars is waiting until the center looks completely dry. I would much rather pull these out when they’re slightly underdone because they’ll continue to set from the residual heat as they cool.
8. Cool completely.
Let the cookie bars cool completely in the loaf pan.
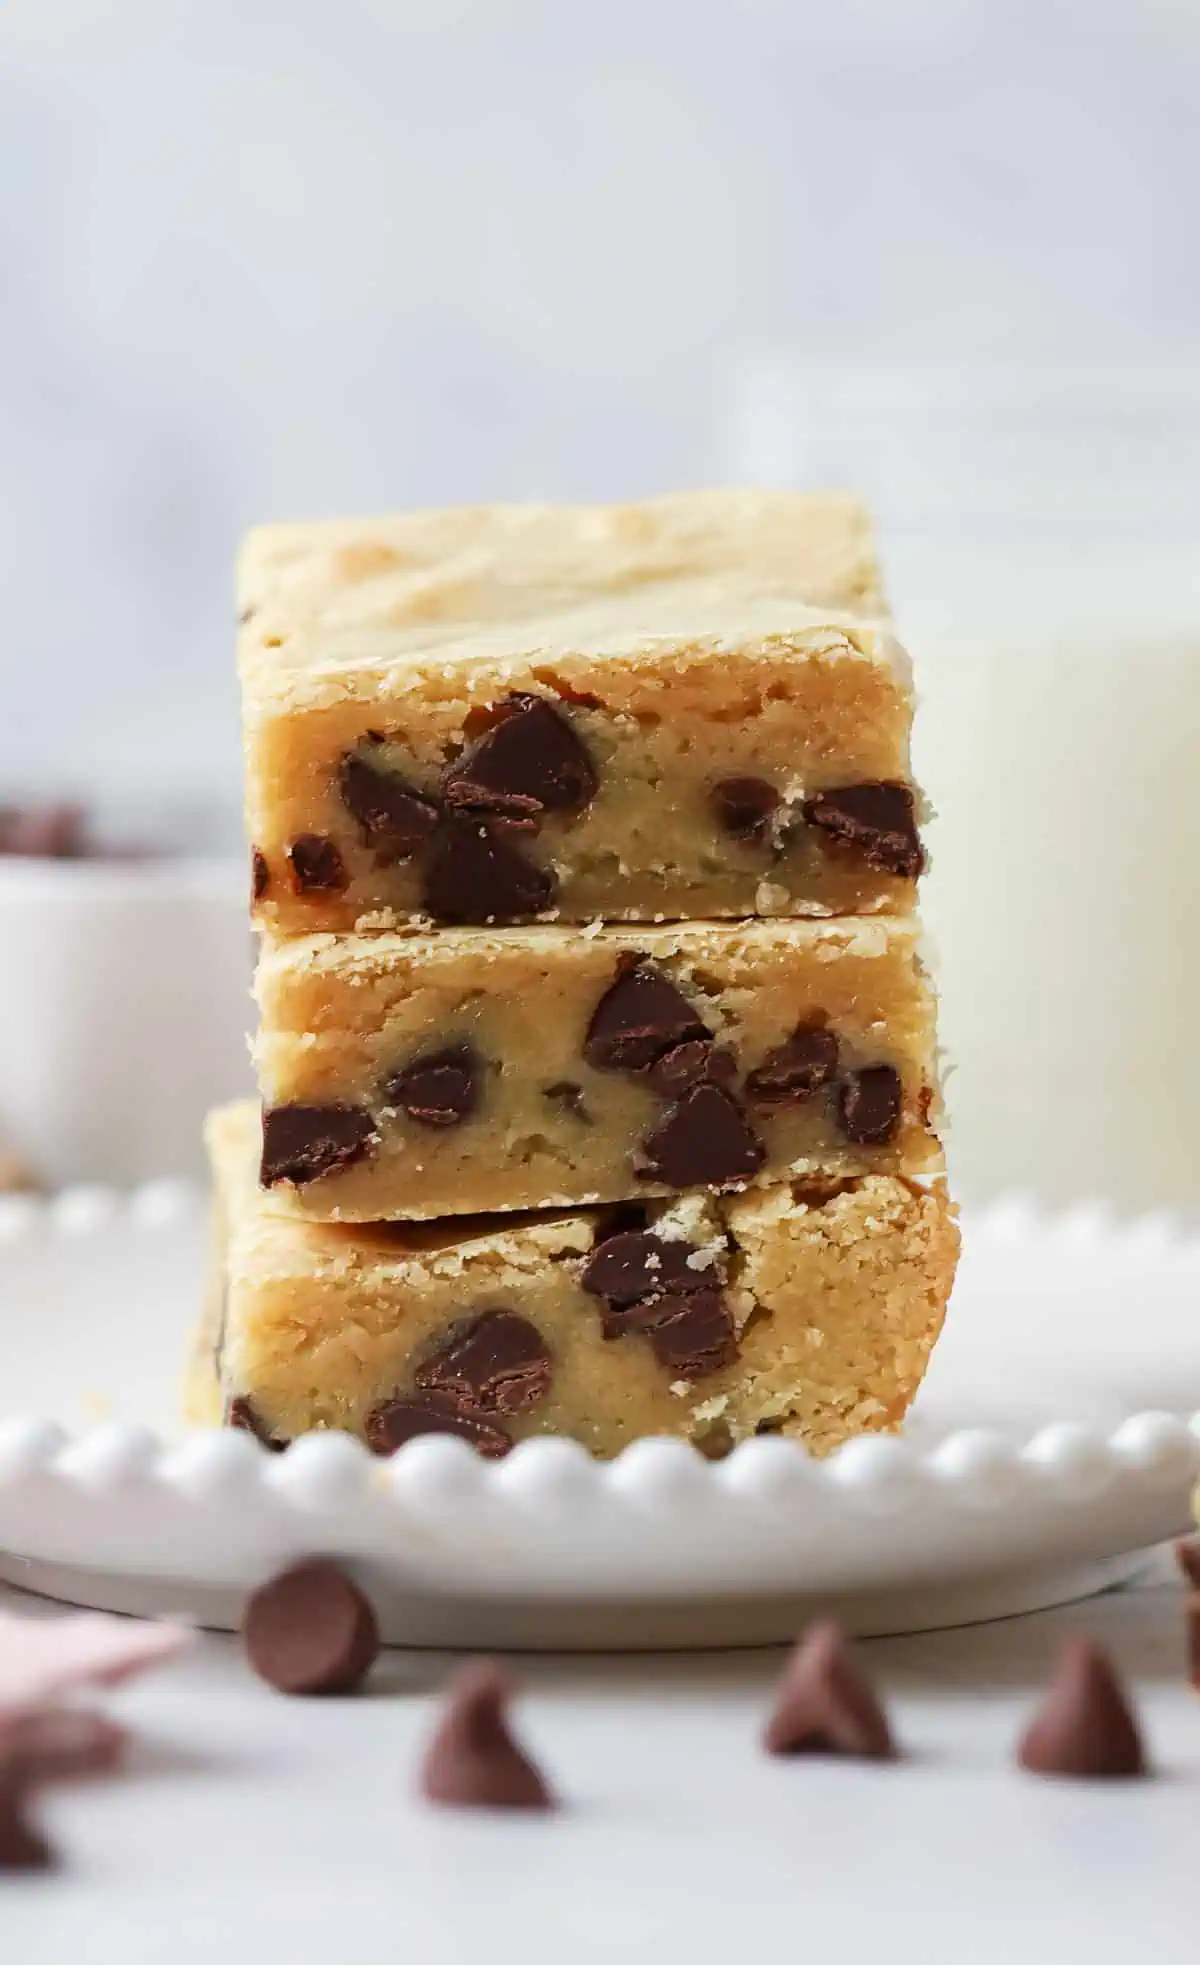
Once cool, use the parchment paper to lift them from the pan and transfer them to a cutting board. Cut into 6 larger or 8 smaller bars.
Recipe Tips
- Let the melted butter cool slightly. The butter can still be warm, but it shouldn’t be piping hot when you add the egg.
- Measure your flour carefully. Adding too much flour is an easy way to turn soft cookie bars into dry ones. For the most accurate results, I recommend weighing the flour with a kitchen scale.
- Don’t overmix once you add the flour. Stir only until you no longer see streaks of dry flour. Continuing to mix can make the bars tougher.
- Don’t overbake the bars. Start checking around 20 minutes and remove them when the edges are lightly golden but a toothpick still has a few moist crumbs. They’ll continue to set as they cool.
- Let them cool before slicing. The centers will be very soft when the pan first comes out of the oven. Cooling gives the bars time to set so you can get clean slices without sacrificing that soft, chewy center.
Storage and Freezing
Store the cooled cookie bars in an airtight container at room temperature for up to 3–4 days. Make sure they’re completely cool before covering them so condensation doesn’t make the tops sticky.
You can also refrigerate the bars, but refrigeration can make baked goods dry out more quickly. If you do refrigerate them, keep them tightly covered and let them come to room temperature before serving.
To freeze the baked cookie bars, let them cool completely and cut them into individual portions. Wrap the bars well and place them in a freezer-safe container or freezer bag. Label with the recipe name and date and freeze for up to 3 months.
Thaw frozen cookie bars at room temperature before serving. For that just-baked texture, you can warm an individual bar briefly in the microwave before serving.
More Recipes to Try
If you’re looking for more easy small batch desserts, try my Brownies for Two, Mini Cookie Skillet, Small Batch Apple Cobbler, or Mini Coffee Cake next.
They’re all made in smaller pans and portions, so you can bake something homemade without ending up with a full-size batch.
Small Batch Cookie Bars
Ingredients
- ½ cup (1 stick, 113 g) unsalted butter melted and slightly cooled
- ½ cup (107 g) packed light brown sugar
- 6 Tablespoons (75 g) granulated sugar
- 1 large egg room temperature
- 1 teaspoon vanilla extract
- 1 cup + 2 Tablespoons (143 g) all-purpose flour spooned and leveled
- ¼ teaspoon baking powder
- ¼ teaspoon salt
- ¾ cup (130 g) semi-sweet chocolate chips
Instructions
- Prepare the pan. Preheat the oven to 350°F (177°C). Grease a 9×5-inch loaf pan with butter or nonstick cooking spray, or line it with parchment paper leaving an overhang for easy removal.
- Combine butter and sugars. In a medium bowl, whisk together the melted butter, granulated sugar, and brown sugar together until combined. ½ cup (1 stick, 113 g) unsalted butter ½ cup (107 g) packed light brown sugar 6 Tablespoons (75 g) granulated sugar
- Add egg and vanilla. Beat in the egg and vanilla until combined. Scrape down the sides and bottom of the bowl as needed. 1 large egg 1 teaspoon vanilla extract
- Add dry ingredients. Add the flour, baking soda, and salt. Mix on low speed just until a thick blondie dough forms. Do not overmix. 1 cup + 2 Tablespoons (143 g) all-purpose flour ¼ teaspoon baking powder ¼ teaspoon salt
- Add chocolate. Fold in the chocolate chips with a spatula. ¾ cup (130 g) semi-sweet chocolate chips
- Fill the pan. Press the dough evenly into the prepared loaf pan. The mixture will be thick and sticky. Sprinkle a few additional white chocolate chips over the top.
- Bake. Bake for about 20-25 minutes, or until the edges are lightly golden and a toothpick inserted into the center comes out with a few moist crumbs. I’d start checking around 18 minutes—you want these slightly underdone rather than dry.
- Cool. Let the blondies cool completely in the pan before lifting them out and slicing.
Notes
- Chocolate chips: Semi-sweet chocolate chips work well here, but you can substitute milk chocolate, dark chocolate, or chocolate chunks.
- Flour: For the most accurate results, weigh the flour. If measuring by volume, spoon it into the measuring cup and level it off.
- Storage: Store cooled cookie bars in an airtight container at room temperature for up to 3–4 days.
- Freezing: Freeze cooled, individually wrapped bars in a freezer-safe container for up to 3 months. Thaw at room temperature before serving.
- Make ahead: The bars can be baked a day ahead. Keep them tightly covered at room temperature and wait to slice them until completely cool.