Small Apple Cobbler
This Post May Contain Affiliate Links. Please Read Our Disclosure Policy.
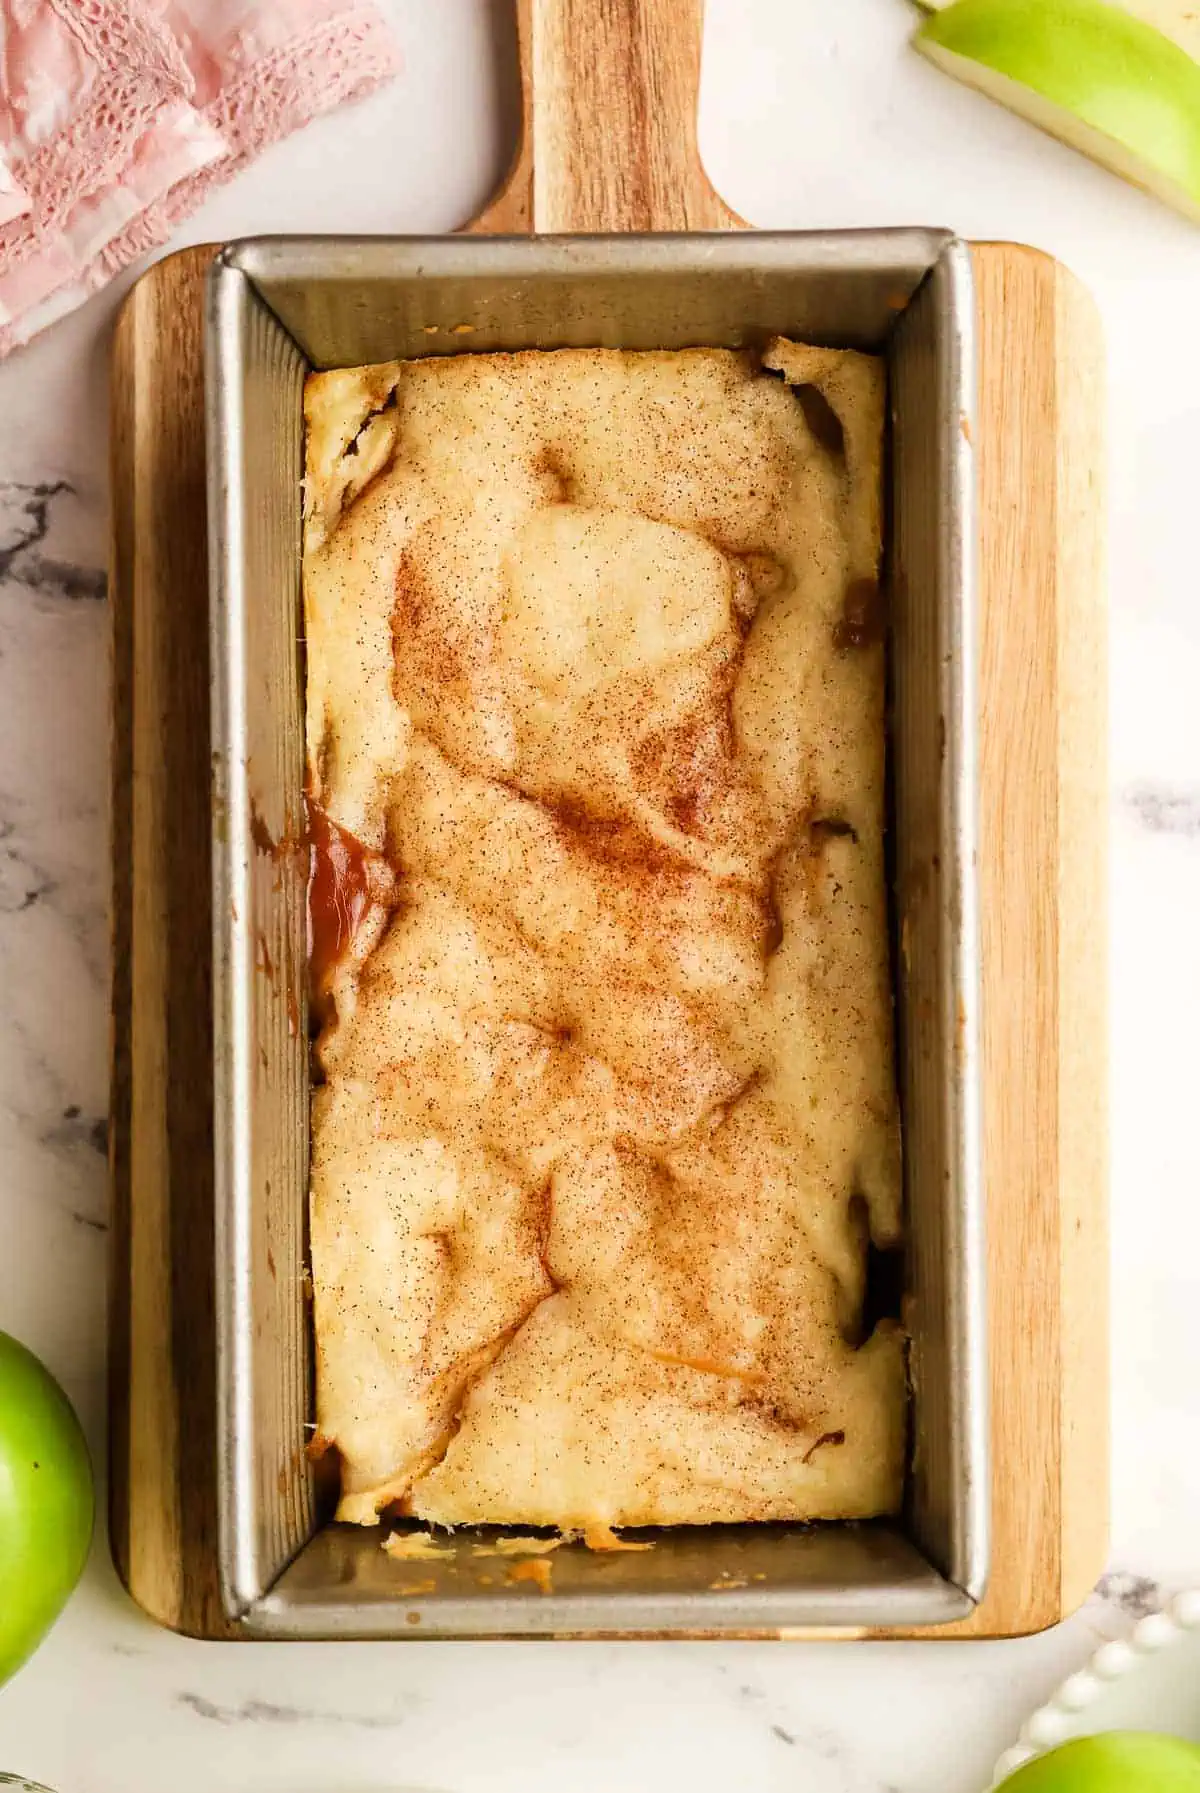
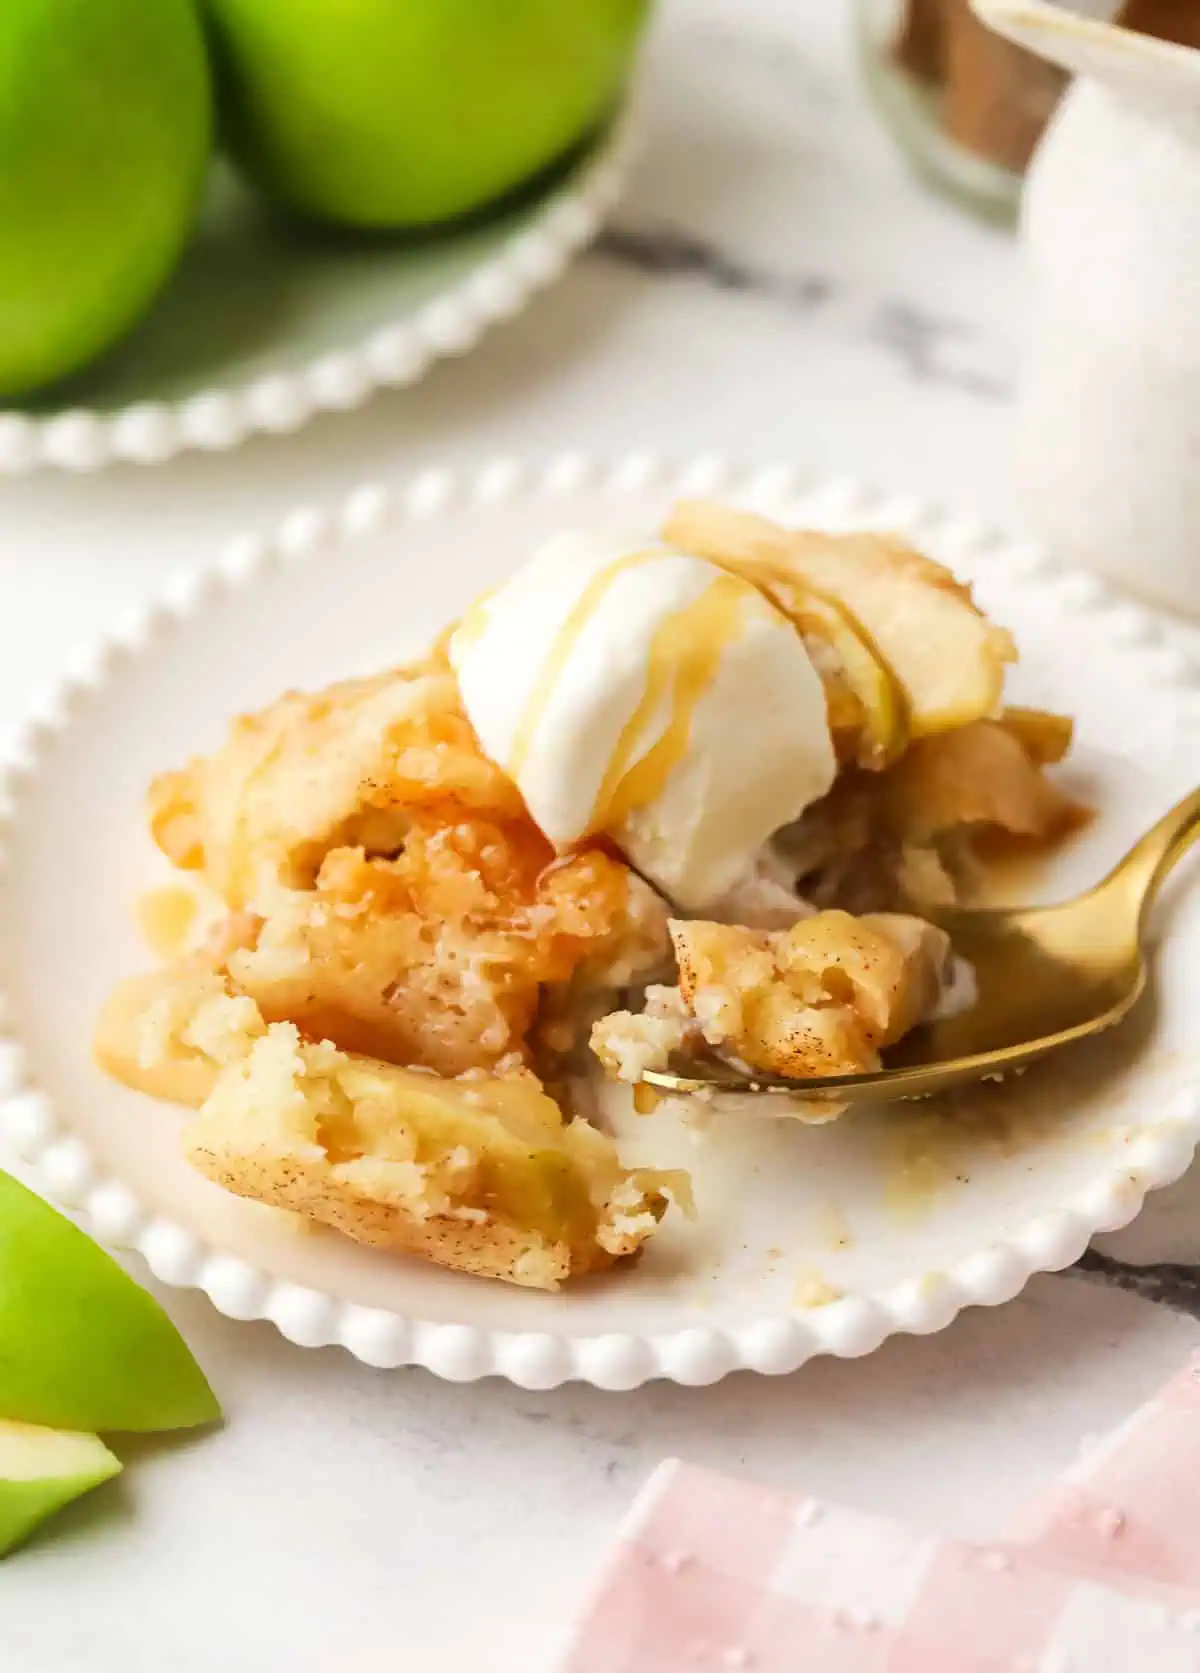
This small apple cobbler has tender cinnamon-spiced apples baked underneath a soft, buttery cake-like cobbler topping until golden brown and bubbling around the edges. Baked in a loaf pan, this easy apple cobbler makes about 2 to 4 servings, so it’s perfect when you’re craving a cozy fall dessert without making a big pan.
I love apple desserts once fall rolls around like apple crisp, apple crumb cake, or my mini apple pies, but one apple dessert I can never resist is a cobbler.
But sometimes I don’t need an entire cobbler sitting in my kitchen. I love a good dessert for just me and my husband like my chocolate lava cakes for two, creme brulee for two, apple crumble for two or my apple crisp for two.
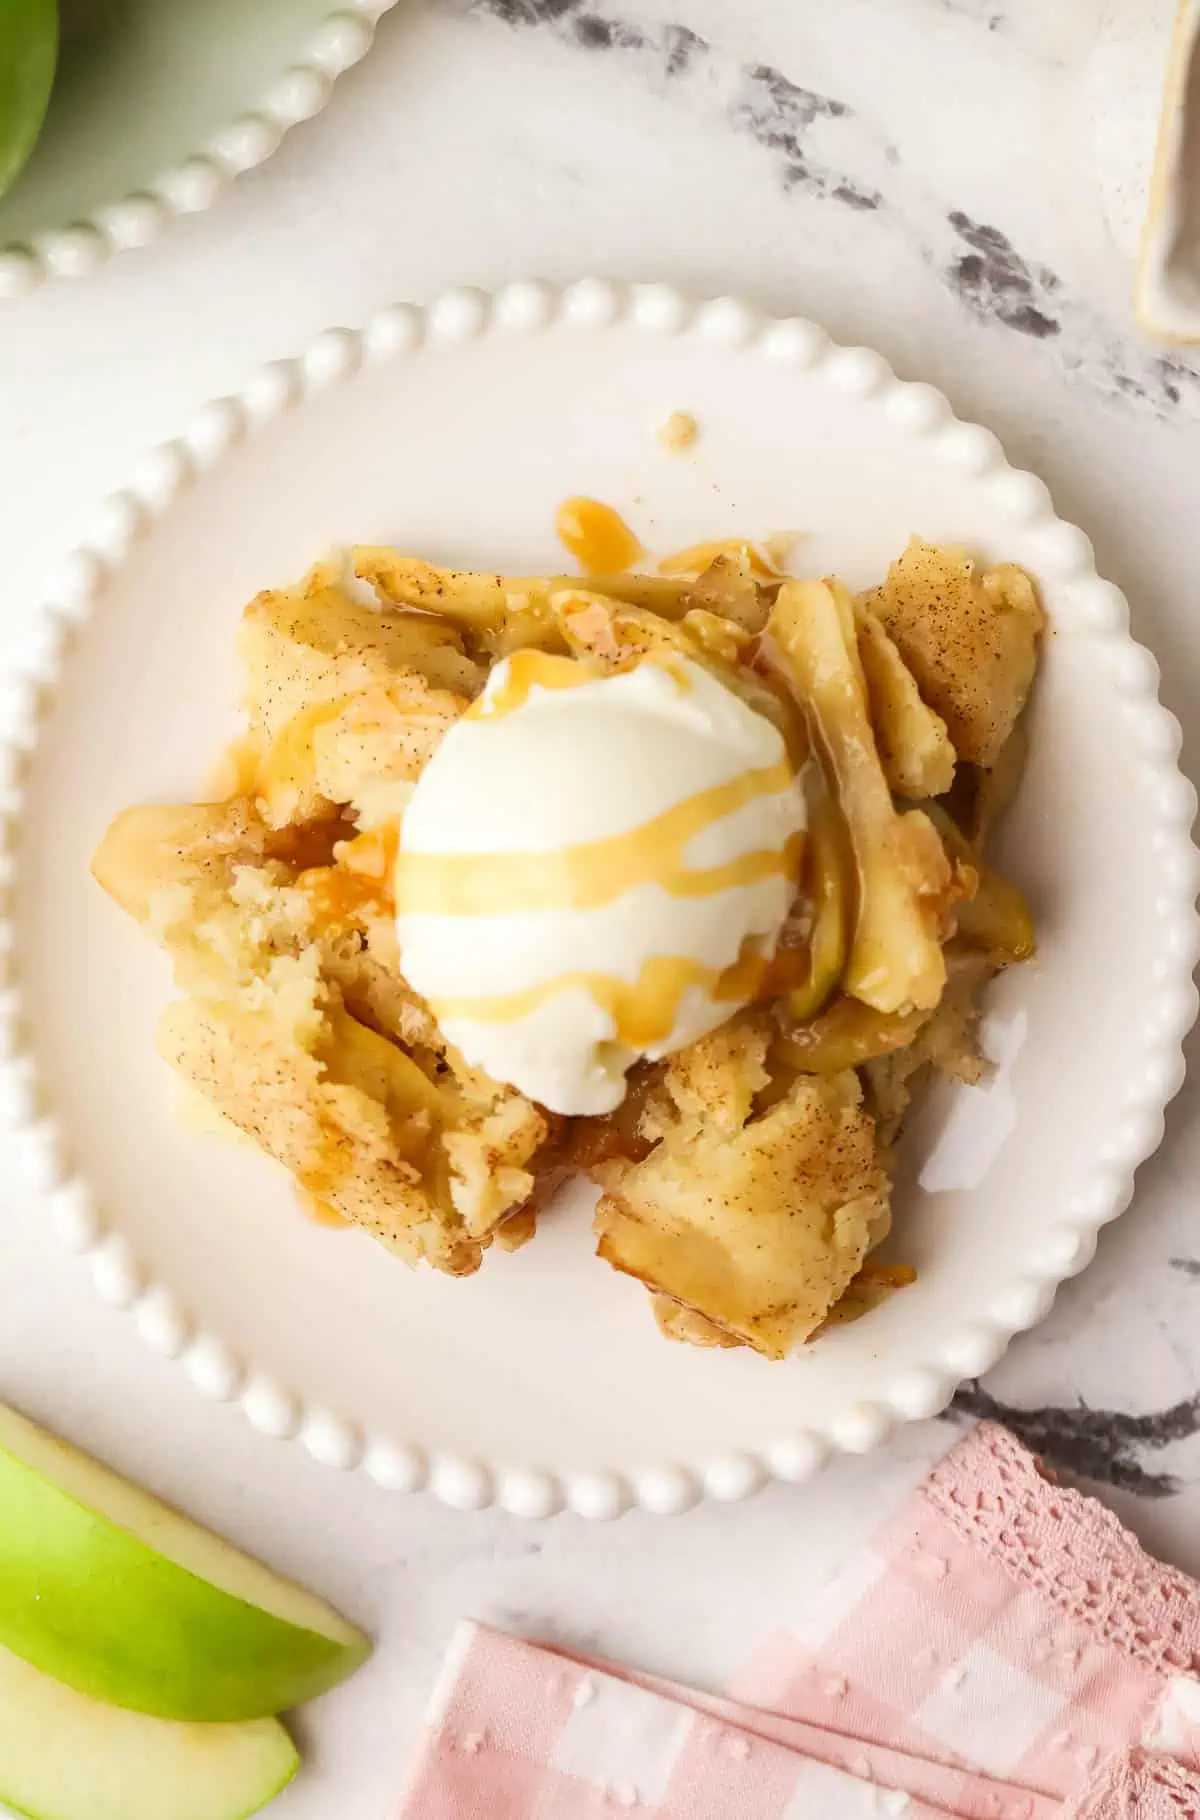
So I wanted to create a smaller version that still had everything I love about a classic apple cobbler—warm spiced apples, plenty of topping, and of course a scoop of vanilla ice cream on top of course. And maybe a drizzle of caramel sauce.
For the filling, I cook the apples on the stovetop for just a few minutes before baking. Since this is a smaller cobbler with a shorter baking time, this gives the apples a head start so you don’t end up with crunchy apples underneath a perfectly baked topping.
And for the topping, I went with melted butter and buttermilk. Melted butter means there’s no cutting cold butter into the flour, and the buttermilk keeps the topping tender with a little tang to balance all that sweetness. Everything gets stirred together in a bowl and spread right over the apples. Easy peasy.
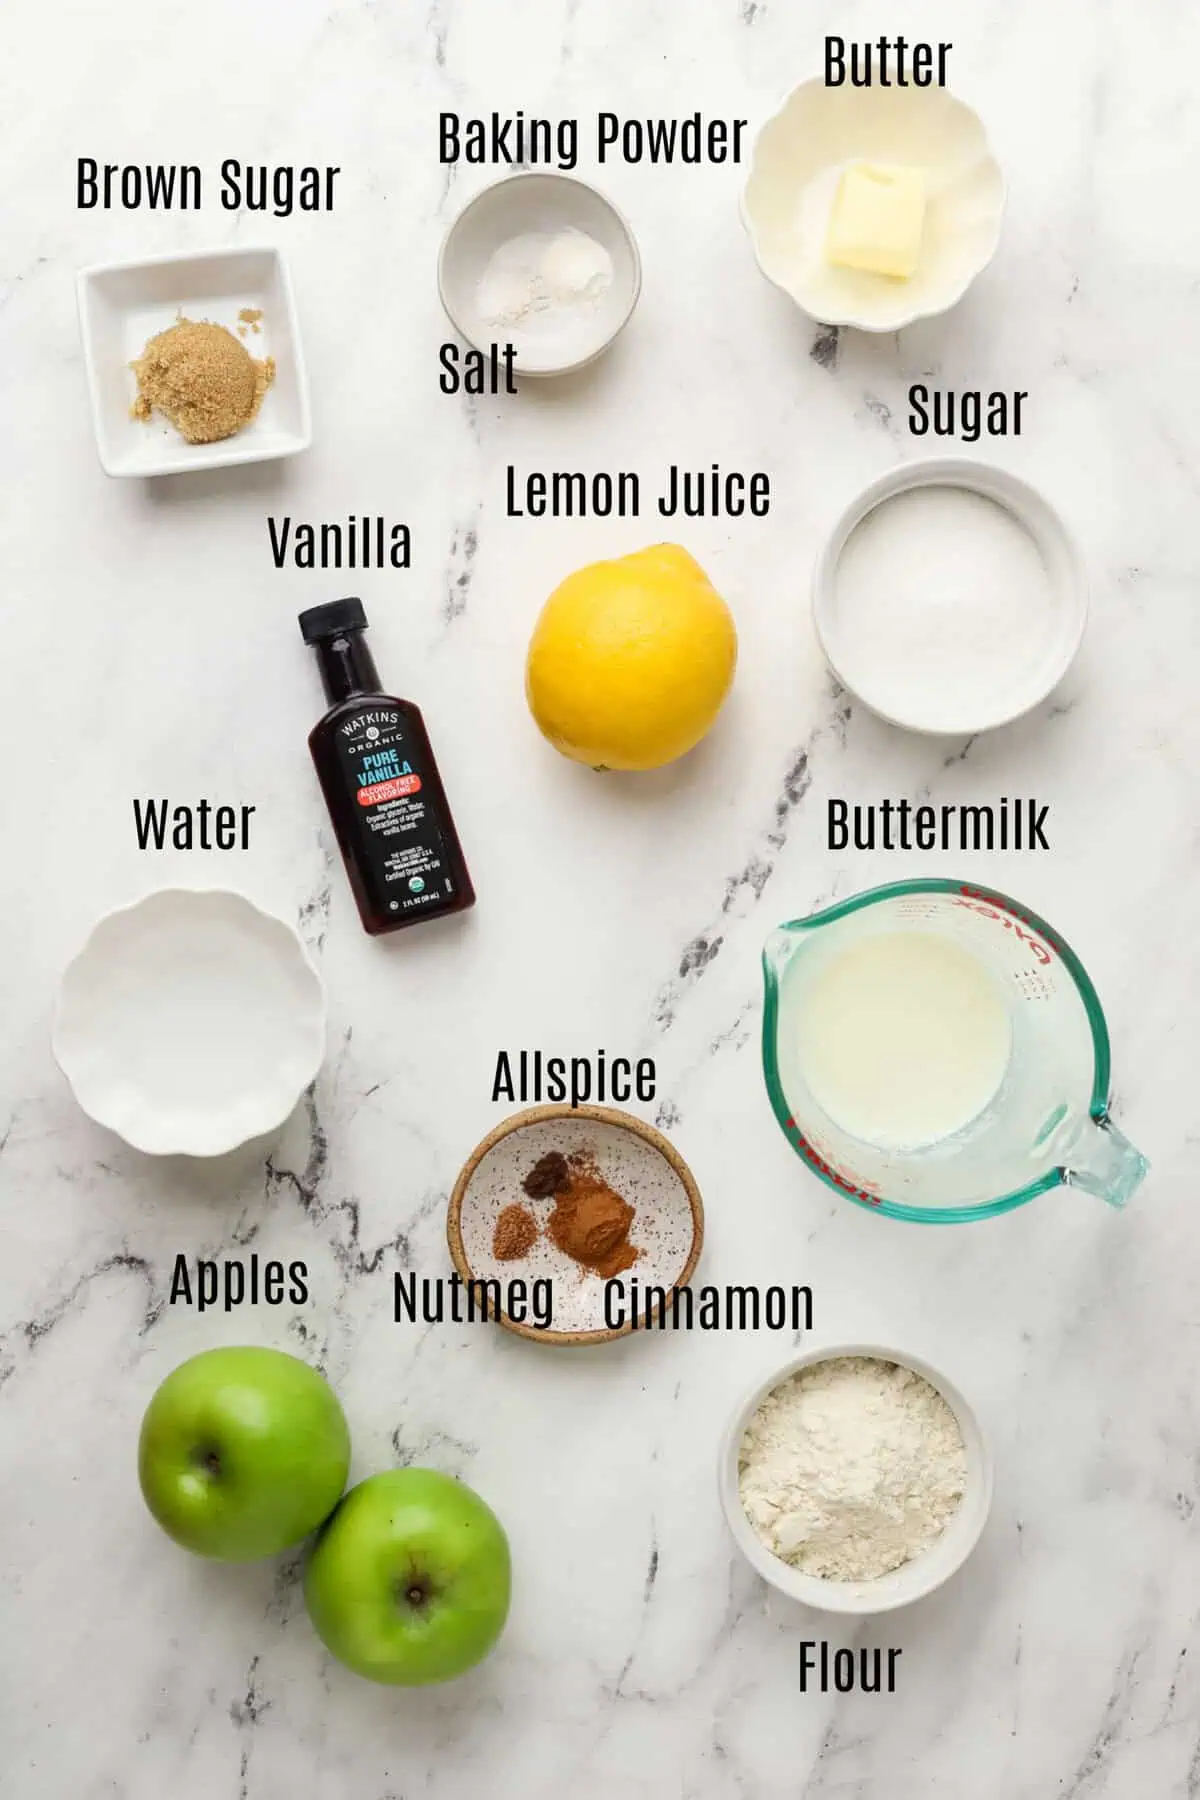
Ingredients Needed
For the Apple Filling
- Unsalted butter – Salted butter also works. Just omit the added salt.
- Apples: I like using Honeycrisp, Granny Smith, Pink Lady, or a combination for the best balance of sweet and tart. I don’t recommend McIntosh because they can become too soft and mushy as they bake. And I don’t like Red Delicious either as I find them to be too bitter.
- Brown sugar: Light or dark brown sugar will work. Run out? Read How To Make Brown Sugar
- Lemon juice: Fresh lemon juice is best.
- All-purpose flour: This helps thicken the juices released by the apples so the filling isn’t watery.
- Ground cinnamon
- Ground allspice
- Ground nutmeg
- Water
- Vanilla extract
For the Cobbler Topping
- Unsalted butter: Salted butter also works. Just omit the added salt.
- Granulated sugar
- Buttermilk: Buttermilk helps make the cobbler topping soft and tender. If you don’t have any, you can make a quick homemade buttermilk substitute.
- Vanilla extract
- All-purpose flour: For the most accurate results, weigh your flour with a kitchen scale or spoon it into your measuring cup and level it off. Don’t pack it into the cup.
- Baking powder: Make sure your baking powder is fresh so the topping rises properly. Test a couple teaspoons in a bowl of hot water to see if it bubbles.
- Salt
How To Make A Small Apple Cobbler
Prepare the Apple Filling
1. Prepare your pan and preheat the oven.
Preheat the oven to 350°F (177°C). Lightly grease an 8×4-inch loaf pan and set it aside. Using a loaf pan keeps this cobbler small while still giving you a nice ratio of apples to topping.
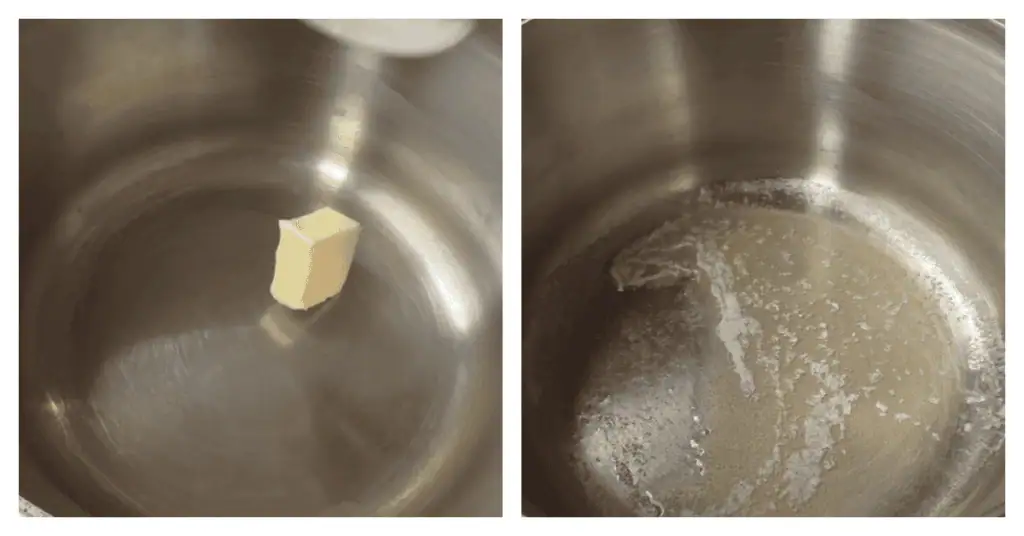
2. Melt the butter.
In a medium saucepan, melt the butter over medium heat.
3. Add the apples and spices.
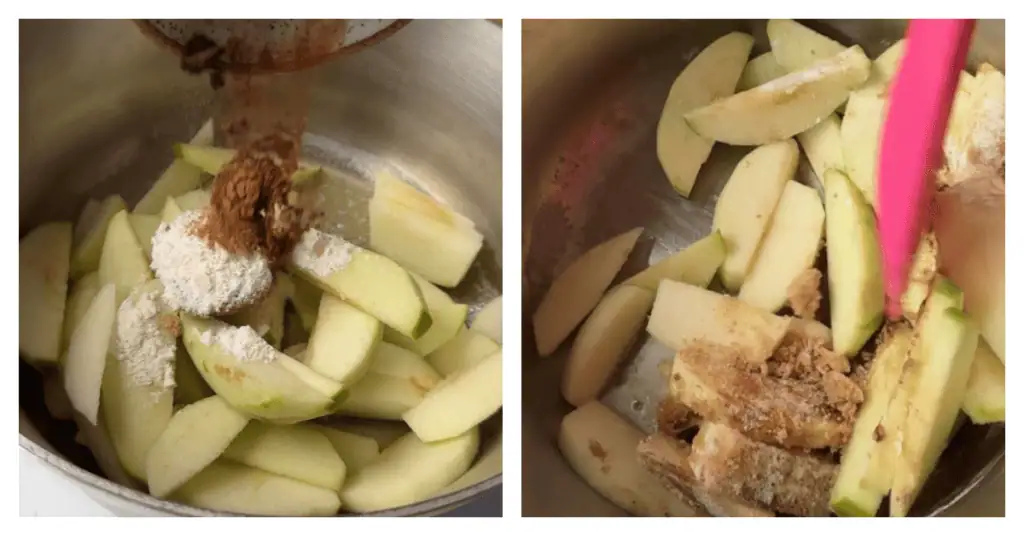
Add the sliced apples, brown sugar, lemon juice, flour, cinnamon, nutmeg, and allspice. Stir until the apples are evenly coated.
Try to slice your apples about 1/4-inch thick so they cook evenly. If some slices are much thicker than others, you can end up with a mixture of soft and crunchy apples.
4. Give the apples a head start.
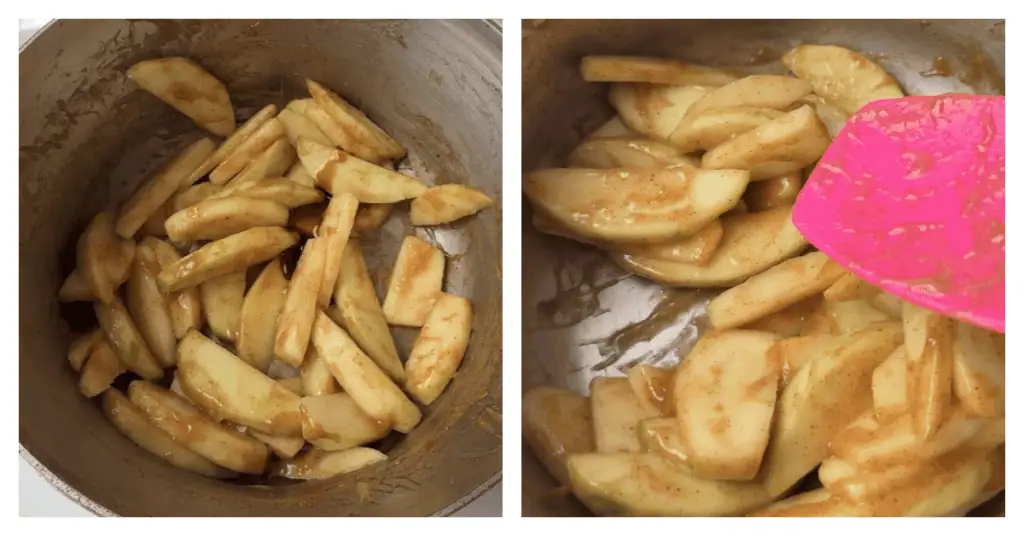
Add the water and cook the apple mixture for about 5 minutes, stirring occasionally. The apples should begin to soften and the juices should start to thicken slightly.
You aren’t trying to completely cook the apples here. They will continue cooking in the oven. This quick stovetop step simply makes sure they’re perfectly tender by the time the cobbler topping is baked through.
5. Add the vanilla.
Remove the saucepan from the heat and stir in the vanilla extract. Adding the vanilla after removing the pan from the heat helps preserve more of its flavor.
6. Transfer to the baking pan.
Spoon the apple mixture into your prepared loaf pan and spread it into an even layer.
Make the Cobbler Topping
1. Mix the butter and sugar.
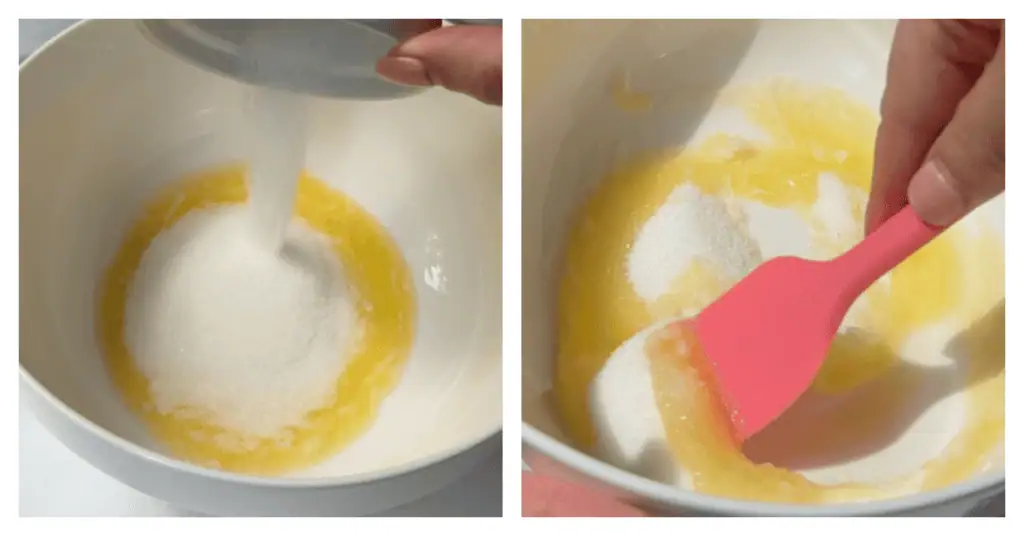
In a medium mixing bowl, whisk together the melted butter and granulated sugar.
2. Add the wet ingredients.
Whisk in the buttermilk and vanilla until combined.
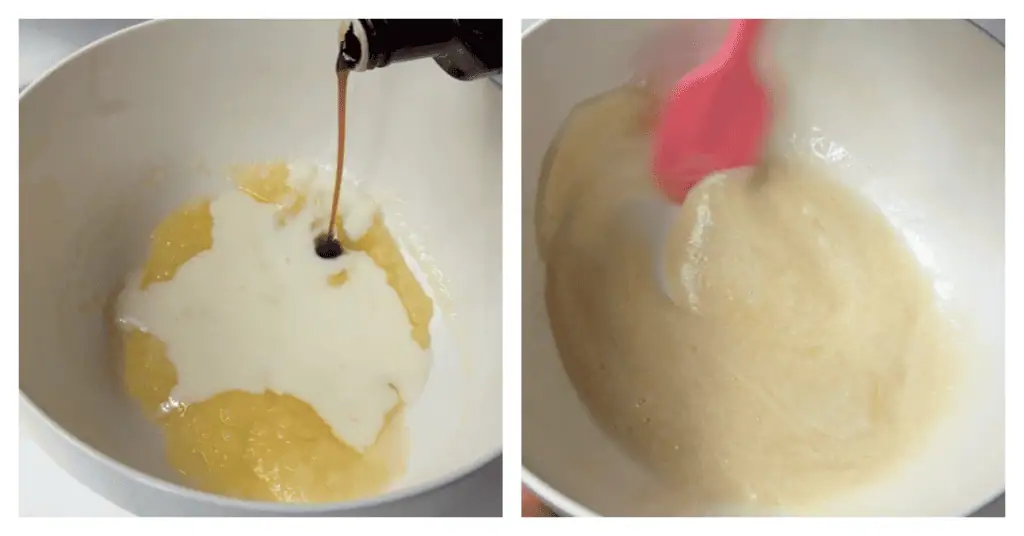
3. Add the dry ingredients.
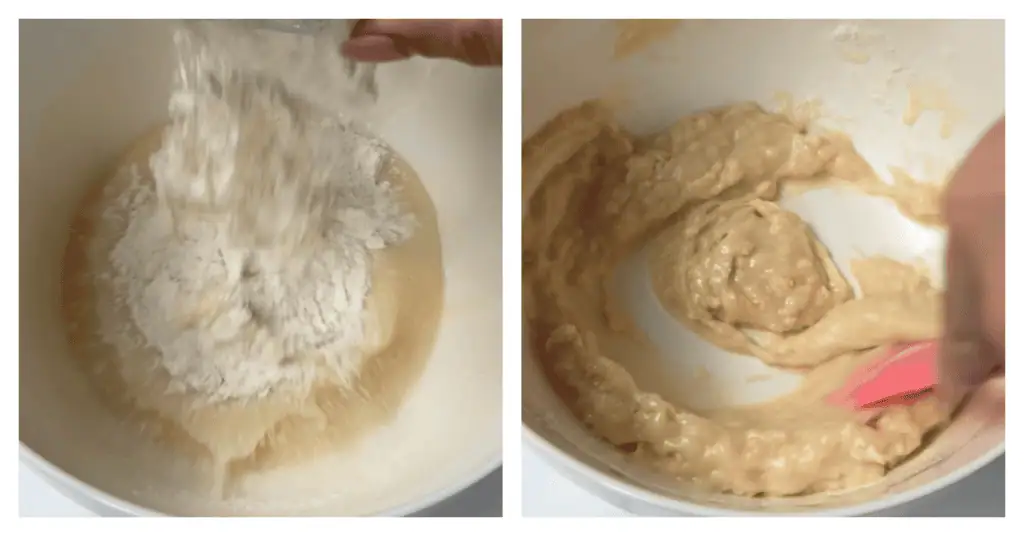
Add the flour, baking powder, and salt. Whisk just until everything comes together and the batter is mostly smooth.
A few small lumps are completely fine! Don’t keep whisking trying to get the batter perfectly smooth. Overmixing can develop too much gluten and make your cobbler topping tougher instead of soft and tender.
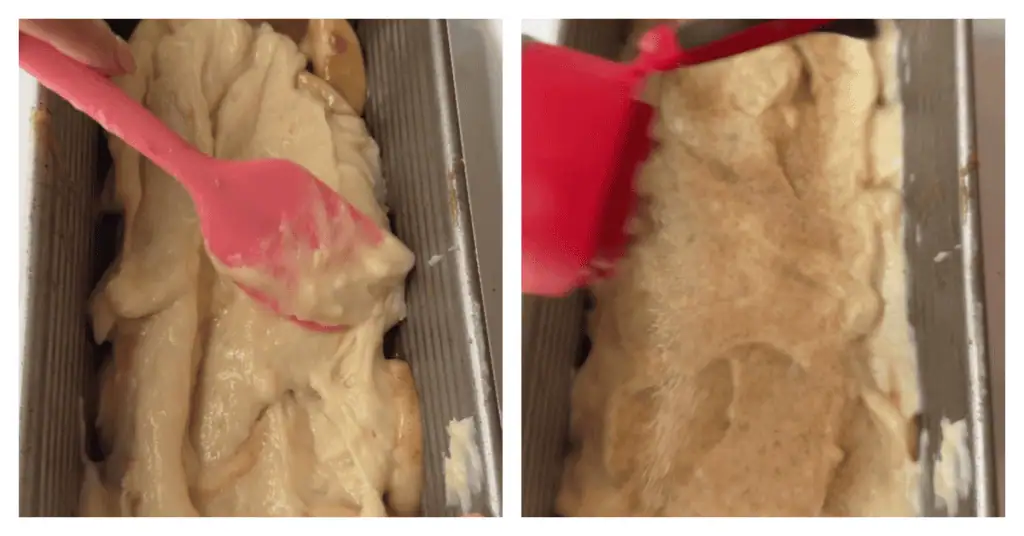
4. Add the topping.
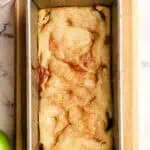
Pour the batter over the apple filling and gently spread it out so the apples are covered. Sprinkle cinnamon sugar evenly over the top.
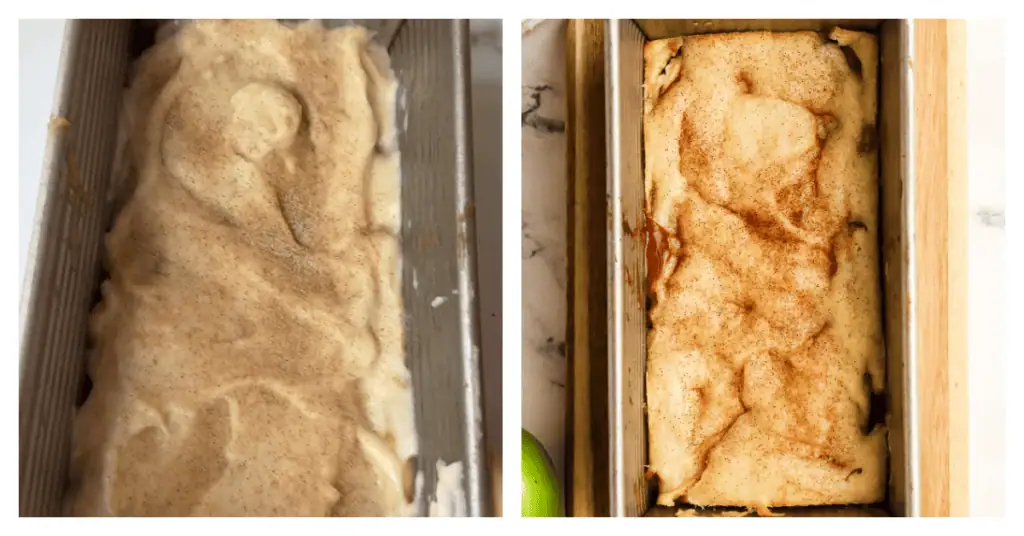
5. Bake until golden and bubbling.
Bake on the center rack for 25–30 minutes, or until the cobbler topping is golden brown and you can see the apple filling bubbling around the edges.
Don’t rely on the color of the topping alone. Seeing that filling bubbling is a good indication that the flour in the apple mixture has had enough time to properly thicken the juices.
Let the apple cobbler cool for at least 5 minutes before serving. This short rest gives the filling a chance to thicken a little more as it cools.
Serve it warm with vanilla ice cream and a drizzle of caramel sauce!
Recipe Tips
- Choose an apple that holds its shape. Honeycrisp, Granny Smith, and Pink Lady apples are all great choices for apple cobbler. I don’t recommend McIntosh because they can break down too much and become mushy.
- Slice the apples evenly. Aim for slices about 1/4-inch thick. Keeping them around the same size helps all of the apples become tender at the same time.
- Don’t fully cook the apples on the stovetop. You’re only giving them a head start. After about 5 minutes they should begin to soften, but they shouldn’t be completely tender yet.
- Don’t overmix the cobbler topping. Stop mixing once the flour is incorporated. A few small lumps are fine and are better than overmixing the batter and ending up with a tough topping.
- Look for bubbling around the edges. A golden topping is important, but I also look for the apple filling to be bubbling before taking the cobbler out of the oven. This helps ensure the filling has cooked and thickened properly.
How To Store Apple Cobbler
At room temperature: Once cooled, the apple cobbler can be kept covered at room temperature for several hours if you’re serving it the same day. For longer storage, transfer it to the refrigerator.
In the refrigerator: Cover the loaf pan tightly or transfer leftovers to an airtight container and refrigerate for up to 4 days. Reheat individual portions in the microwave until warmed through, or warm the cobbler in a 350°F oven.
Freezing baked apple cobbler: Allow the cobbler to cool completely, then wrap it tightly or transfer individual portions to freezer-safe containers. Freeze for up to 3 months. Label the container with the recipe name and date so you know when it was frozen.
More Recipes To Try
For more small-batch baking, my mini coffee cake is soft and tender with plenty of cinnamon streusel, and these mini apple cider donuts are an easy fall treat rolled in cinnamon sugar.
Small Apple Cobbler
Ingredients
Apples
- 1 Tablespoon (14 g) unsalted butter
- 2 cups peeled and sliced apples* 1/4-inch slices; about 2 apples
- 1 Tablespoon packed light or dark brown sugar
- ½ teaspoon fresh squeezed lemon juice
- 2 teaspoons all-purpose flour
- ½ teaspoons ground cinnamon
- pinch ground allspice
- pinch ground nutmeg
- 2 Tablespoons water
- ¼ teaspoon vanilla extract
Topping
- 2 Tablespoons (14 g) unsalted butter, melted
- ¼ cup (50 g) granulated sugar
- ¼ cup (60 ml) buttermilk
- ½ teaspoon pure vanilla extract
- ½ cups (60 g) all-purpose flour (spooned & leveled)
- ½ teaspoons baking powder
- ⅛ teaspoon salt
Instructions
Prepare the apple filling:
- Preheat oven to 350°F (177°C). Lightly grease a 8×4 loaf pan and set aside.
- Melt the butter in a medium saucepan over medium heat. 1 Tablespoon (14 g) unsalted butter
- Add the apple slices, brown sugar, lemon juice, flour, cinnamon, nutmeg and allspice until coated. 2 cups peeled and sliced apples* 1 Tablespoon packed light or dark brown sugar ½ teaspoon fresh squeezed lemon juice 2 teaspoons all-purpose flour ½ teaspoons ground cinnamon pinch ground allspice pinch ground nutmeg
- Add the water and cook, stirring, for 5 minutes, or until the apples are coated and begin to soften. 2 Tablespoons water
- Remove from the heat and stir in the vanilla. ¼ teaspoon vanilla extract
- Transfer apple filling to the prepared baking pan.
Make the topping:
- In a medium bowl whisk the melted butter and sugar together. 2 Tablespoons (14 g) unsalted butter, melted ¼ cup (50 g) granulated sugar
- Add the buttermilk and vanilla and stir to combine. ¼ cup (60 ml) buttermilk ½ teaspoon pure vanilla extract
- Add the flour, baking powder, and salt, and whisk until combined and mostly smooth. Some small lumps are OK. ½ cups (60 g) all-purpose flour ½ teaspoons baking powder ⅛ teaspoon salt
- Pour and spread the batter over the apples. Sprinkle cinnamon-sugar evenly over the top.
- Bake on the center rack for 25-30 minutes or until the topping is golden and the apple filling is bubbling around the edges. Remove from the oven, place on a cooling rack, and allow to cool for at least 5 minutes before serving. Serve warm with vanilla ice cream and caramel! Cover leftovers tightly and store in the refrigerator for up to 4 days.
Video
Notes
- Apples: I recommend Honeycrisp, Granny Smith, Pink Lady, or a combination for the best sweet-tart flavor. I don’t recommend McIntosh because they can become mushy when baked.
- Buttermilk: If you don’t have buttermilk, you can make a quick substitute by adding ¾ teaspoon lemon juice or vinegar to ¼ cup milk. Let sit for 5 minutes before using.
- Pan size: I baked this in an 8×4-inch loaf pan. A 9×5-inch loaf pan will also work, but the cobbler may bake a little faster. You could also divide between two large ramekins.
- Storage: Cover leftovers tightly and store in the refrigerator for up to 4 days.
- Freezing: Once completely cooled, freeze the baked cobbler tightly wrapped or in an airtight container for up to 3 months. Thaw overnight in the refrigerator before reheating.