This Post May Contain Affiliate Links. Please Read Our Disclosure Policy.
Learn how and why you need to activate your yeast for your breads and baking! In just 4 easy steps, you can proof yeast. If are you looking to bake bread or cinnamon rolls? Then learn how to activate yeast – so they come out perfectly!
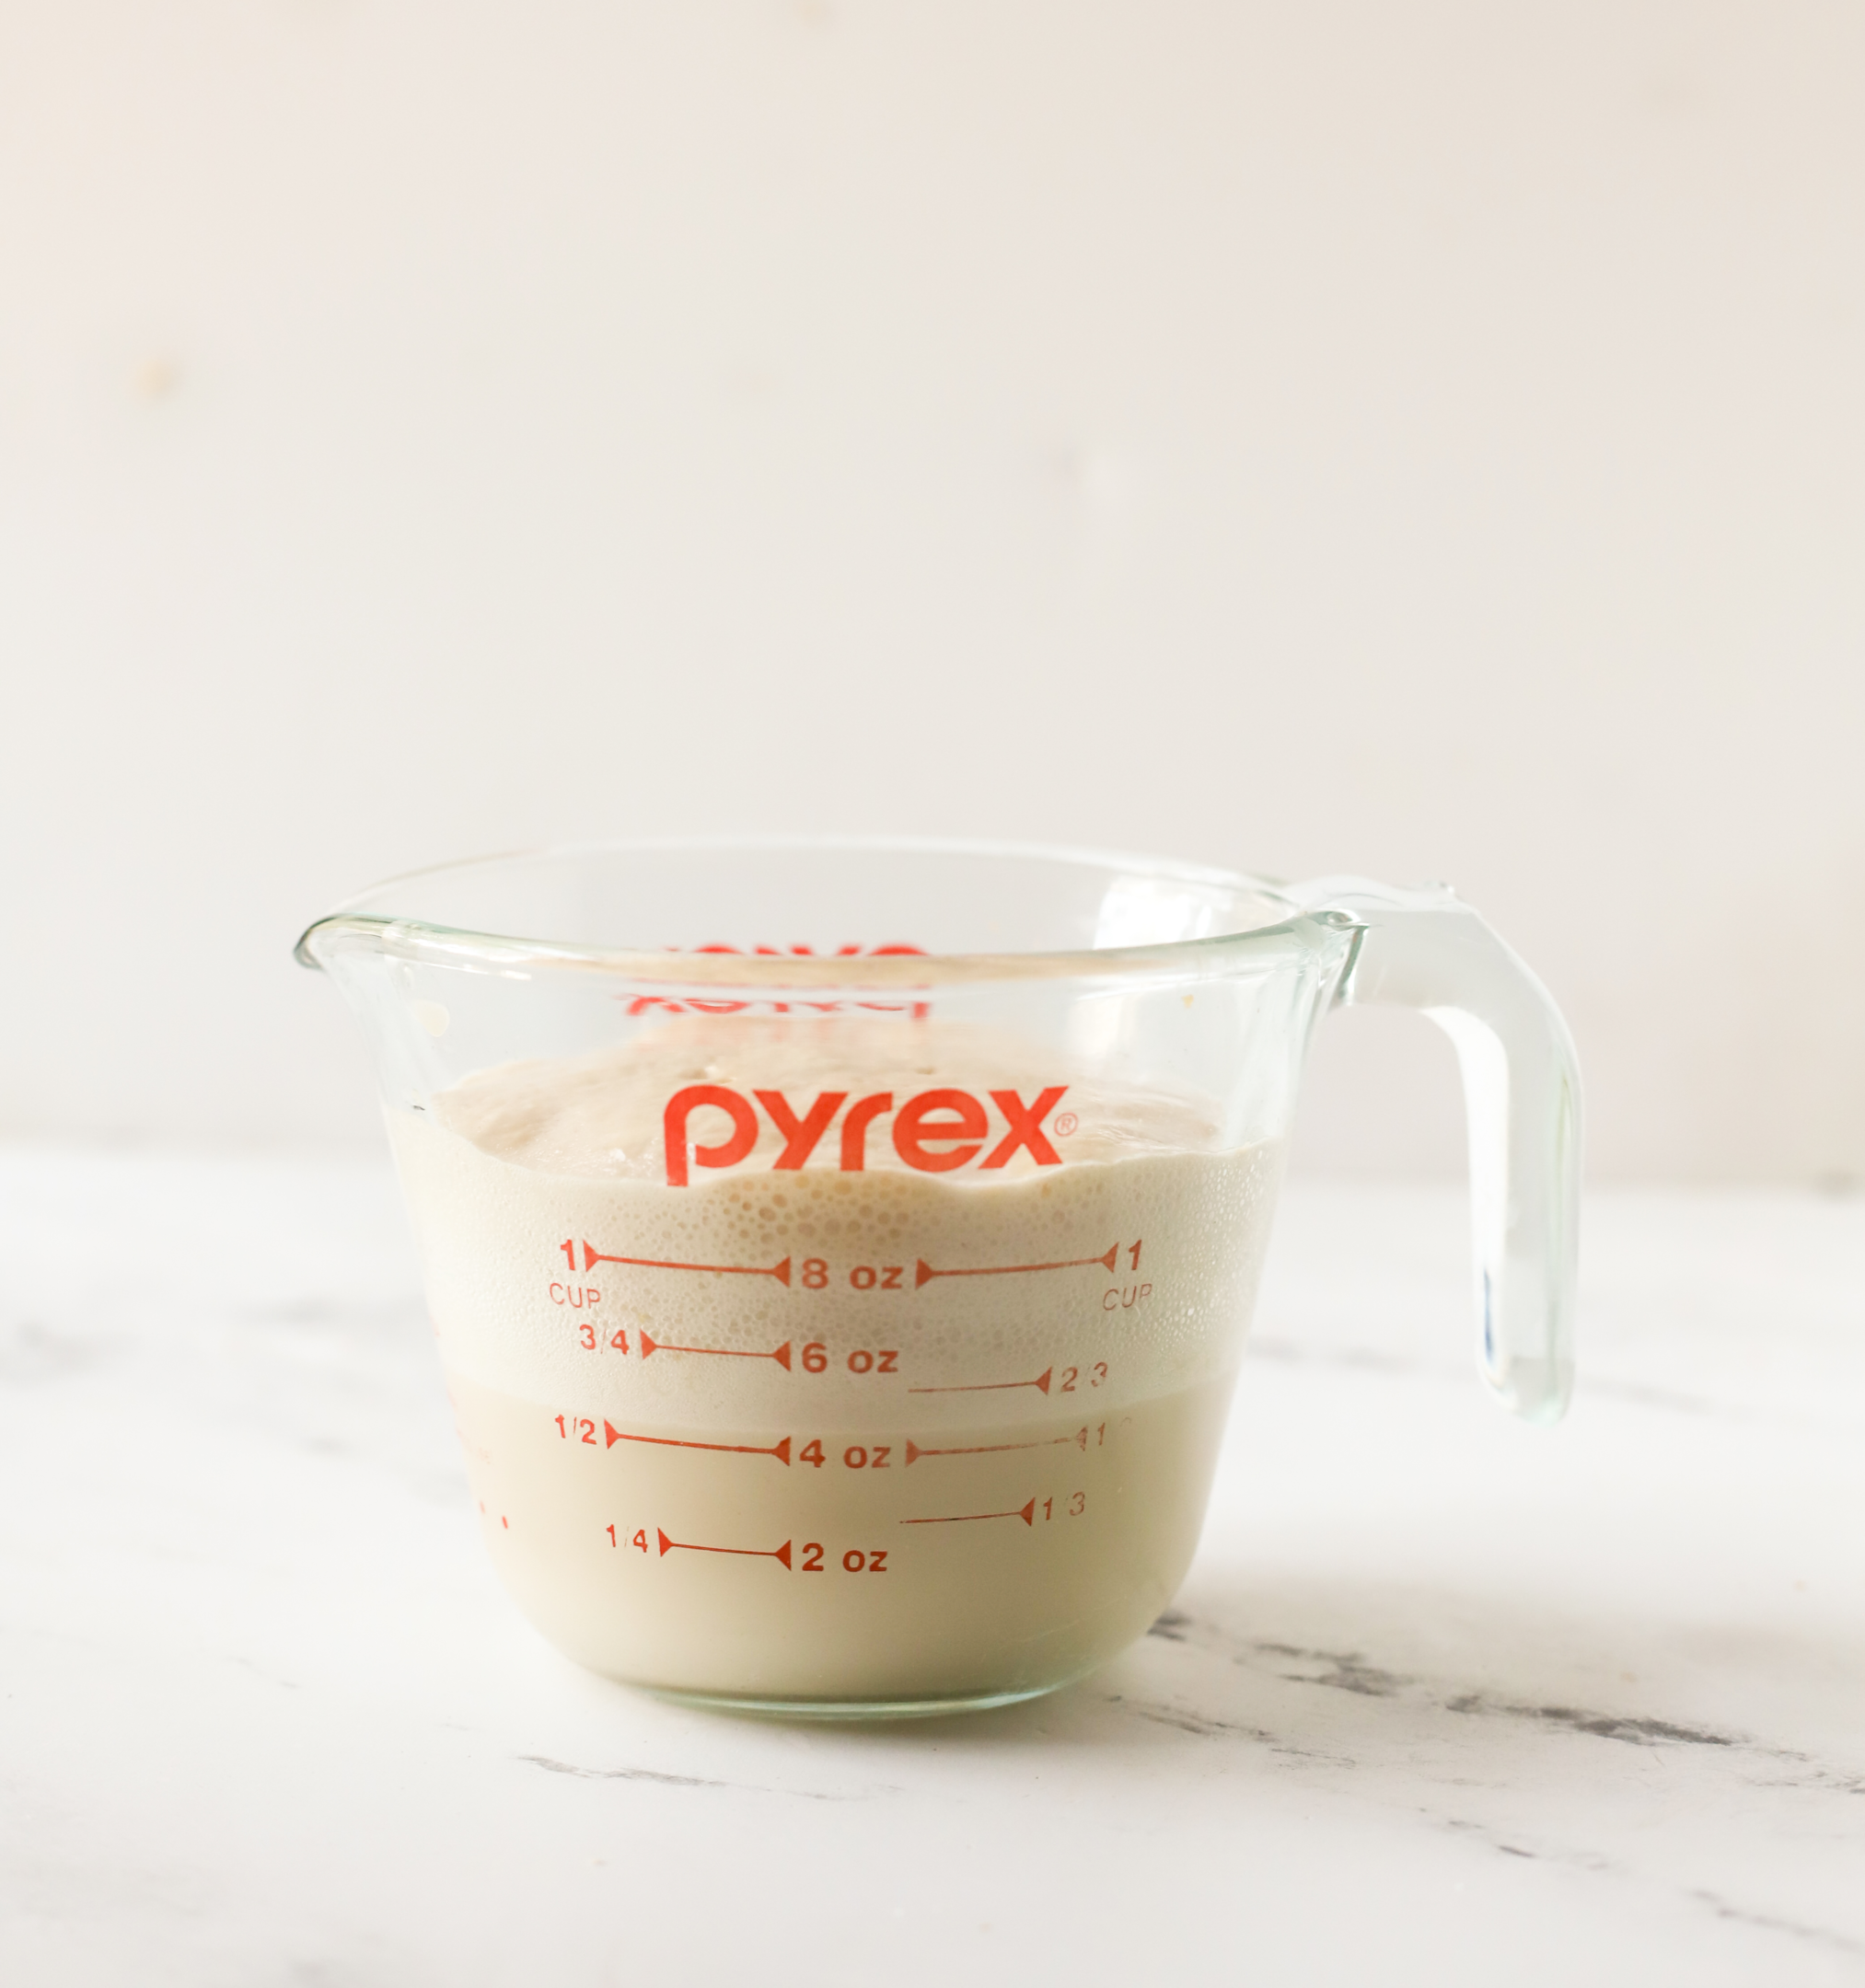
When it comes to baking with yeast, it can be a bit intimidating. Will you kill the yeast? Will the bread rise at at all? Do I need to proof my yeast, and if so how?!
So many questions. So many ways for it all to go wrong!
But when it comes to making anything with yeast, I think it all starts with this first step: activating yeast also known as proofing yeast. Whether you’re baking bread, whipping up some pizza dough, or mixing up some delicious cinnamon rolls for brunch – proofing yeast is the first important step!
But don’t worry1 It’s simple. It’s easy. And it can help improve your baking and breads!
Where to buy yeast?
You can buy yeast in most grocery stores. I usually find my yeast in the baking aisle, or sometimes in the refrigerated sections.
Yeast will usually comes in a package of three and or in a jar. You can also buy sometimes fresh yeast, which comes in a block form. For proofing yeast today we are talking about using dry yeast.
My favorite brand of yeast to bake with that I think is exceptional and great for beginner bakers to use is Red Star Yeast!
See Also:
- What is active dry yeast and how do you use it? Learn all about it here to master bread baking at home!
- Confused about all the different kinds of yeast and how to use them? Then give this post a read!
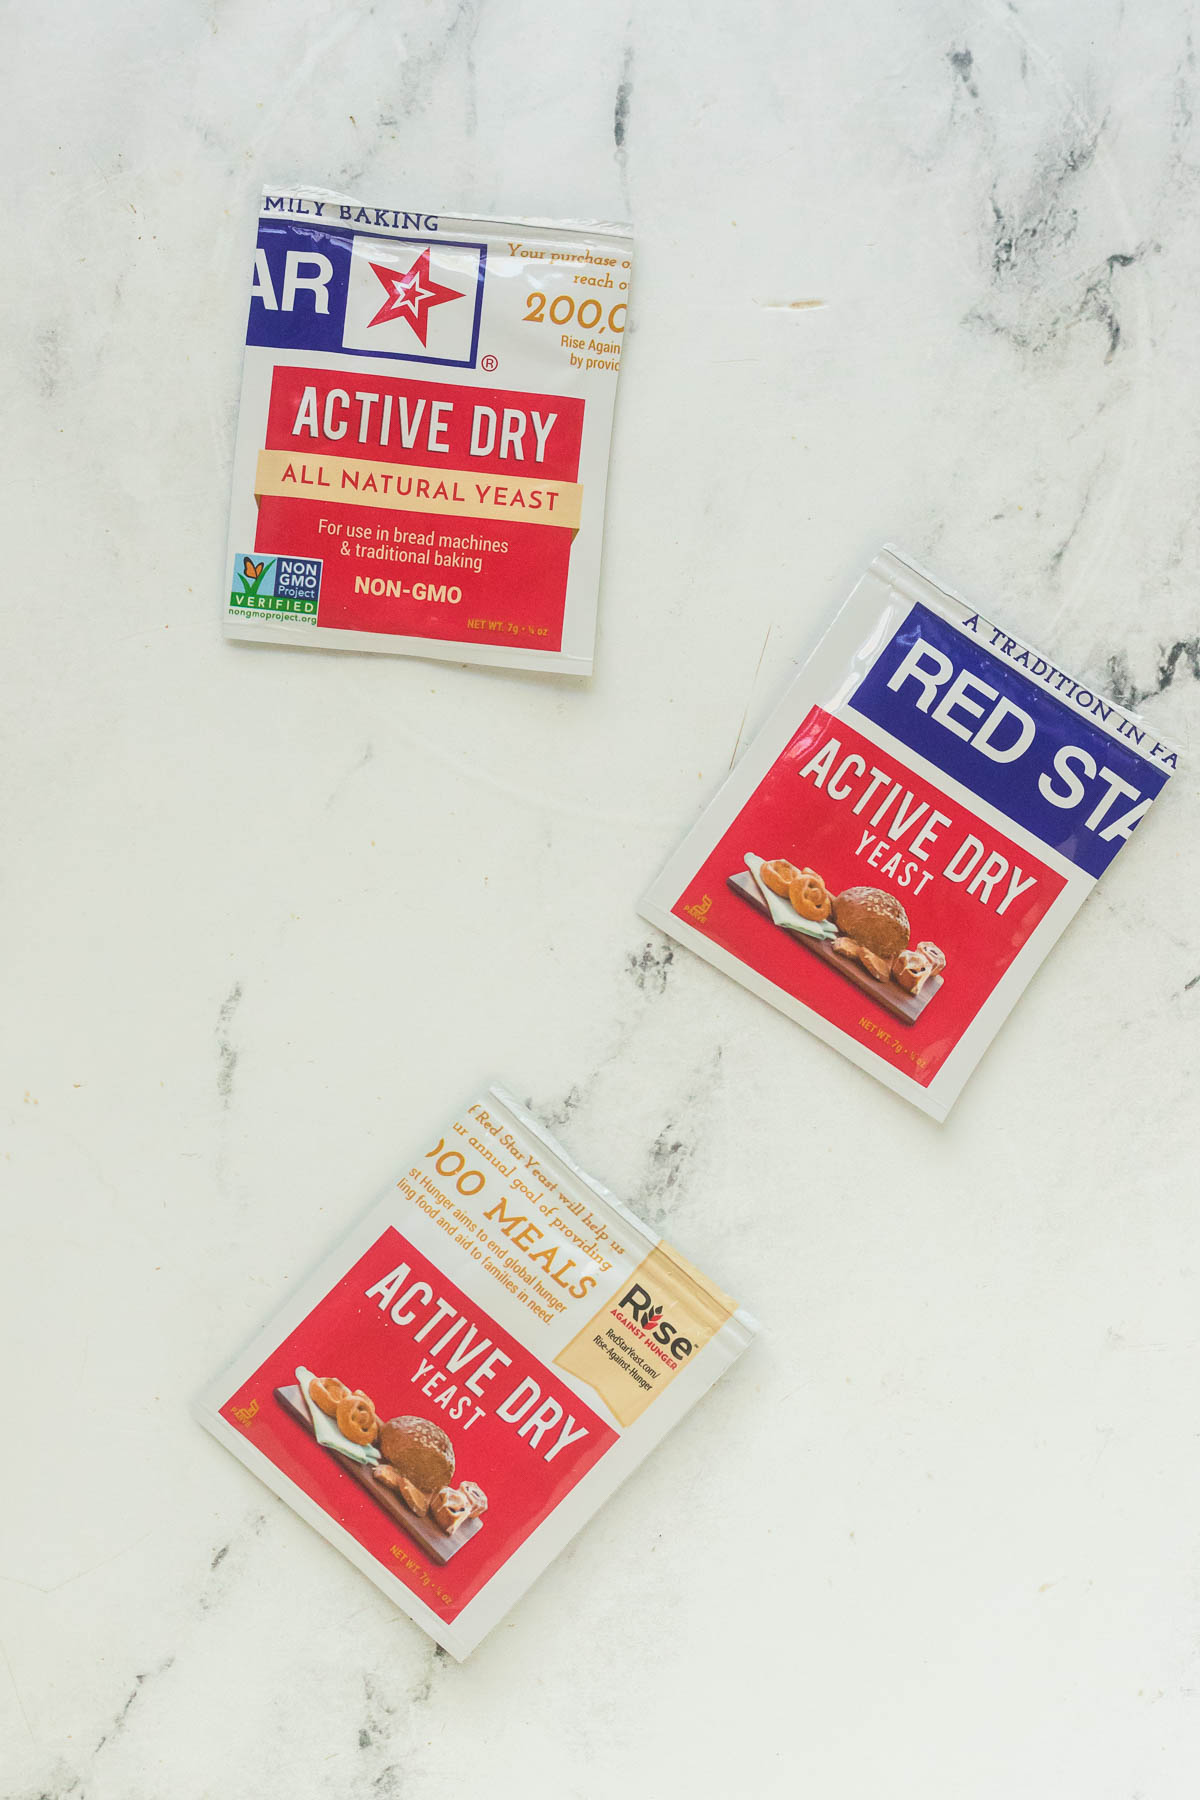
Do you need to activate dry yeast?
Believe it or not, the answer is no you do not. You used to have to activate active dry yeast before you started a recipe. Then instant yeast came along that could just be added directly to your dry ingredients. You do not need to activate instant yeast aka no proofing needed!
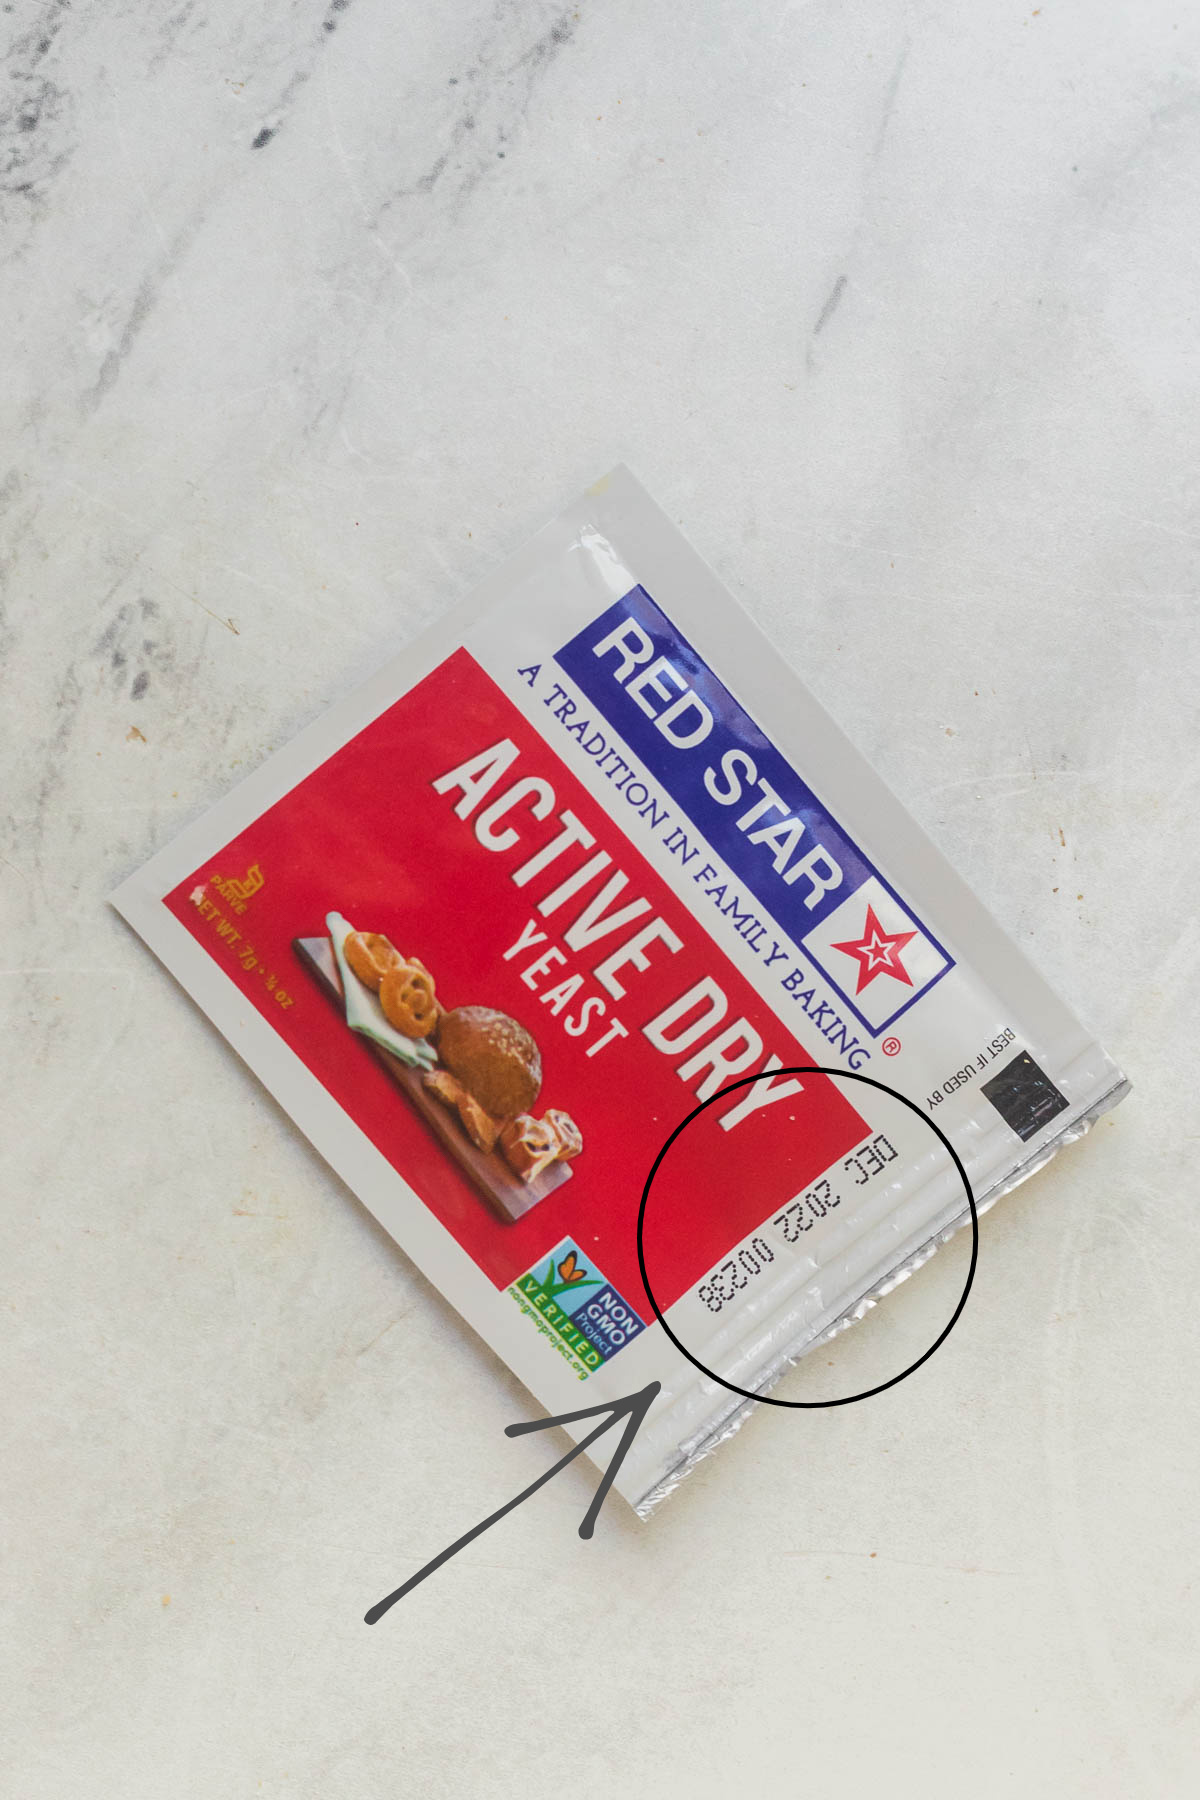
And now they have even improved upon active dry yeast so you can also just add it straight to the bowl with the rest of the ingredients. So why bother then with proofing yeast first? Because it ensures your yeast is still alive. I always recommend checking the expiration date first that’s on the package of yeast, but if you’re not sure then it’s best to proof your yeast first.
Also, if you’re a beginner baker then I think it’s very helpful to proof yeast first before you start to make sure your yeast is alive.
And proofing yeast gives your yeast a bit of a head start, and can cut down slightly on the time for the bread to rise. A bonus in my book if you ask me!
What Does It Mean to Activate Yeast?
To activate yeast, simply means to “wake up” the dried yeast by combining it with a little bit of warm liquid (usually water or milk) and a little bit of sweetener like sugar or honey.
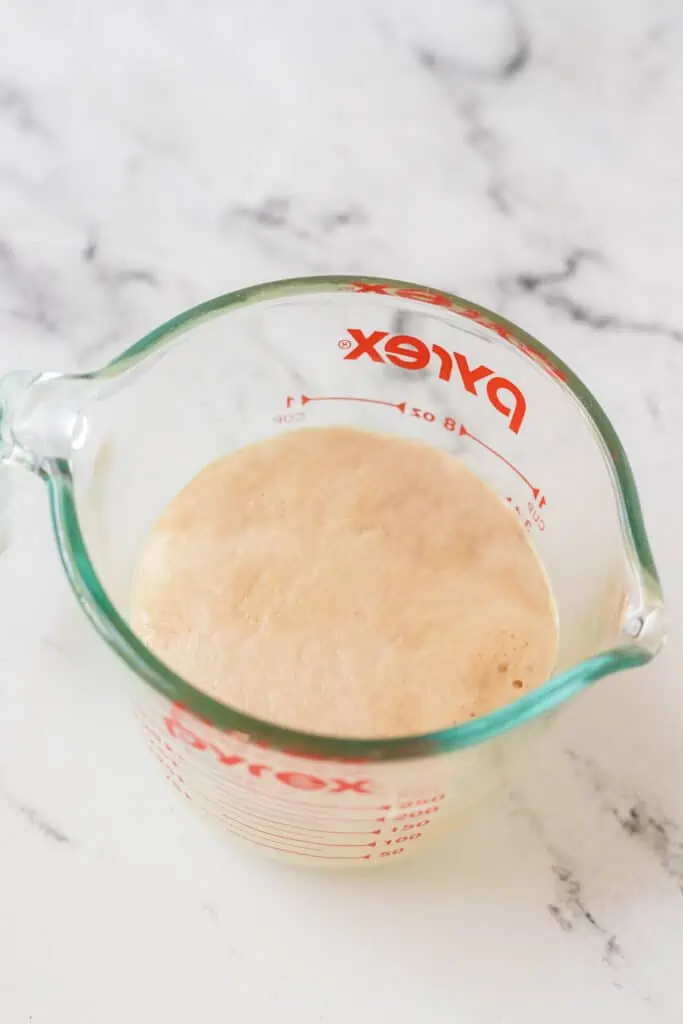
You give it a stir and then allow the yeast mixture to sit for a few minutes to see if it’s alive, or active. Bubbles, or foam should start to appear which means your yeast is alive and ready to be used in your recipe.
Those bubbles are carbon dioxide gas that the yeast is giving off as a waste product as it consumes the sugar. Bubbles = live yeast!
Equipment Needed for Proofing Yeast
- Small mixing bowl or large measuring cup – I like to simply use a measuring cup so I can measure out the liquid, and add the yeast and sweetener.
- Warm liquid – I use whatever liquid is called for in the recipe. This is usually water or milk. The water should be warm, but not hot. If the water is too hot it can kill the yeast. If you can’t stick your own finger in the water, then it’s too hot! If the water is too cold, it could take longer for the yeast to proof, and bread to rise.
- Sweetener– Again I use a little of what’s called for in the recipe – usually sugar or honey. I only use a little of the called for sweetener. Let’s say the recipe calls for 1/2 cup sugar, I’ll remove one teaspoon to use with proofing my yeast .
- Yeast – Active dry yeast or instant yeast.
- Measuring Spoons – These are my favorite because they are double sided!
My Recommended Tools
 Buy Now →
  Buy Now →
 At what temperature does yeast activate?
A good rule of thumb is to not have the temperature of the water or liquid you’re using to proof the yeast be over 120oF no matter the type of yeast. Ideally, the temperature of the water should be 105oF – 115oF.
If the water goes over 120oF the yeast will begin to die off. At 140oF the yeast will be completely killed off.
If the water is too hot or too cold the yeast will not activate. If the water is TOO hot, it can actually kill the yeast so it’s important to use the correct temperature of water. I like to use a digital thermometer to make sure it’s at the correct temperature.
But if you don’t have one, one easy trick is to to do the wrist test as if you’re testing a bottle for a baby! Drop a few drops of the water onto your wrist and if it’s too hot for you, it’s definitely too hot for the yeast. The water should be a nice, comfy lukewarm temperature on your wrist.

How to activate yeast – in 4 easy steps!
Step 1: Heat Water
Usually you will proof yeast in water, or milk – depending on what the recipe calls for. I use a measuring cup, measure out the liquid called for in the recipe and heat it. You can heat it on the stovetop or in the microwave.
You want to heat the liquid to 105oF – 115oF. Take the temperature or try the wrist test mentioned above.
Note: If your recipe doesn’t call for proofing first, and you want to proof first simply add the liquid called for in the recipe and proceed with the rest of the steps.
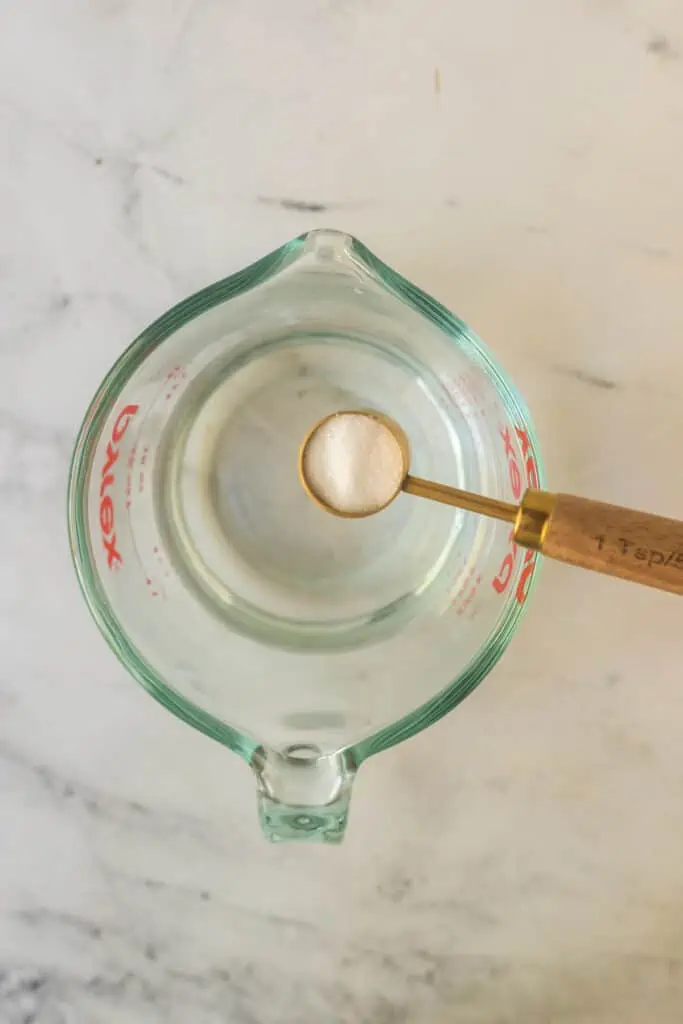
Step 2: Add the sweetener.
Add in a pinch of sugar (a teaspoon up to a tablespoon) or you could also use honey to the warm milk or water. If your recipe calls for more sugar, just subtract it from the total amount to add later.
Do you really need to measure and be exact about that teaspoon? No. If my recipe calls for a 1/2 cup of sugar, I’ll measure that out and then just add a little bit of it and sprinkle on top of the yeast.
Remember the sugar is important because the yeast is going to feed on it when it’s hydrated by the water. That yeast is going to be hungry!
Step 3: Add the yeast
Add the amount of yeast called for in the recipe. Simply sprinkle the yeast over the warm water (or milk).

Step 4: Give it a stir and wait!
Then just simply give it all a stir with a spoon and wait about 5-10 minutes. You should start to see the mixture foam and see bubbles form on top. This means the yeast is alive! Hooray!!

So it’s been 15 minutes…and no bubbles? No foam? This might mean your yeast was dead, dead, dead to begin with. Did you remember to check that expiration date? Or was your water too hot? Get a new packet, check the date, check that temperature, and try again!
Once you see bubbles and foam it’s ready to use with the rest of your ingredients and you can proceed with stirring it into the rest of your recipe.
That’s it! How easy was that? Now let’s get to baking with it!

Recipes to use your active yeast with!
How To Activate Yeast
Equipment
- Liquid Measuring cup
Ingredients
- 1/2 cup water (or milk) (or the amount/liquid the recipe calls for)
- 1 teaspoon sugar
- 1 packet yeast (or what the recipe calls for)
Instructions
- Measure out the liquid (usually water or milk) called for in your recipe in a measuring cup. Heat the liquid to 105-115oF.
- Sprinkle the sugar over the water.
- Sprinkle the yeast over the water.
- Give it a stir and wait 5-10 minutes until the yeast mixture is bubbly and foamy. Use in your recipe right away.
Video
Notes
- Do not heat liquid over 120oF or it will kill the yeast.
- Test the water on your wrist to see if it’s too hot, if you don’t have a thermometer.
- You can swap the sugar with honey if need be.
- Check the expiration date on your yeast before you start.
- If the yeast does not bubble/foam after 15 minutes then start again with new yeast.

Comments & Reviews
Type your question or comment below, and tap "Post Comment". I welcome constructive criticism, but please be respectful. Rude or inappropriate comments will not be published. Thank you!Baking isn't always easy! So if you had any issues, I'd appreciate the chance to help you troubleshoot before you rate.