This Post May Contain Affiliate Links. Please Read Our Disclosure Policy.
If you come across a recipe that uses self-rising flour and you don’t have any. Don’t fret! I’ll show you how to make your own this tutorial! Just 3 simple ingredients.

What Is Self-Rising Flour?
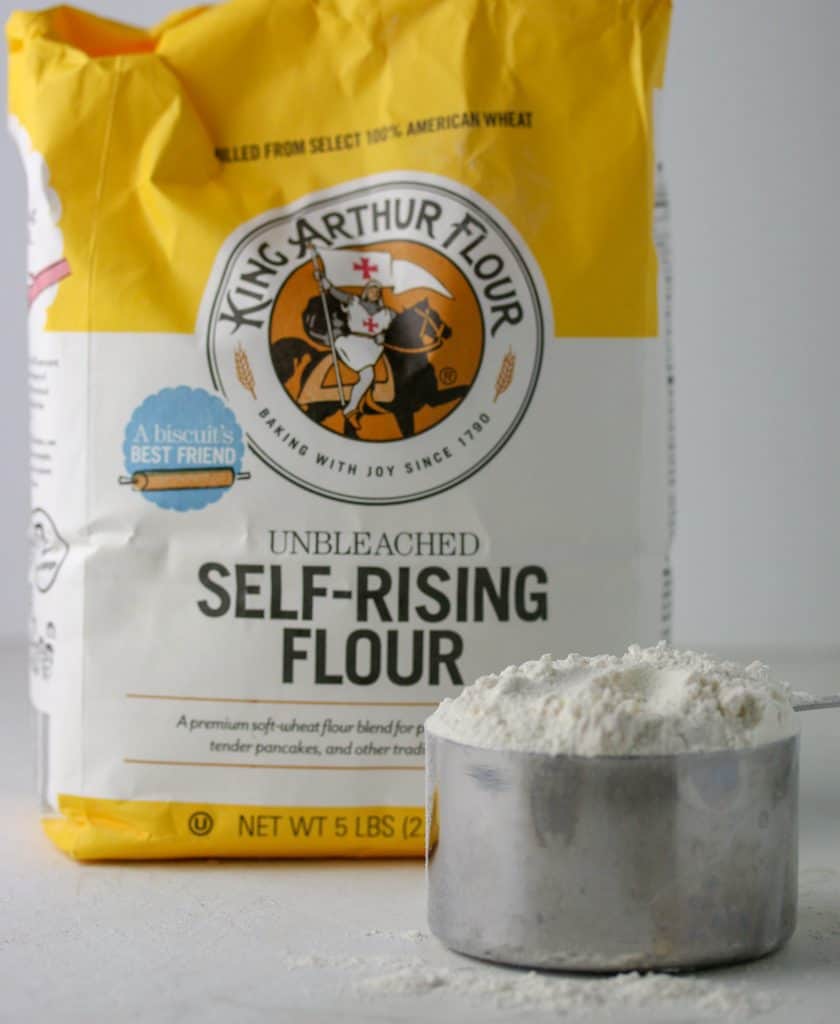
Self-rising flour is a staple ingredient in England and in most southern recipes. Self-rising flour is as it sounds a flour that will rise on its own. No it’s magic.
It contains a leavening agent! And salt. Once you have tried using it in a recipe, you will love it. I promise.
Self-rising flour, invented by Henry Jones in the 1800s, and is what gave rise to the popular mixes like Jiffy and Bisquik. (Source: The Kitchn)
What’s The Difference Between All Purpose and Self-Rising Flour?
First of all let’s establish they are not the same. And for some very important reasons. Which means you can’t just do a 1:1 swap if a recipe calls for one or the other.
All purpose is just flour. Nothing else. Self-rising flour, on the other hands contains baking powder and salt.
But that’s not all. All purpose flour is a bit of higher protein content than self-rising flour. Which is why Southerners swear by using self-rising flour in their biscuits. This means that your DIY self-rising flour may not produce quite a tender of a baked good then if you were to use store-bought. But hey if you’re making some one biscuits, I doubt they are going to be mad at you!
What Are The Ingredients In Self-Rising Flour?
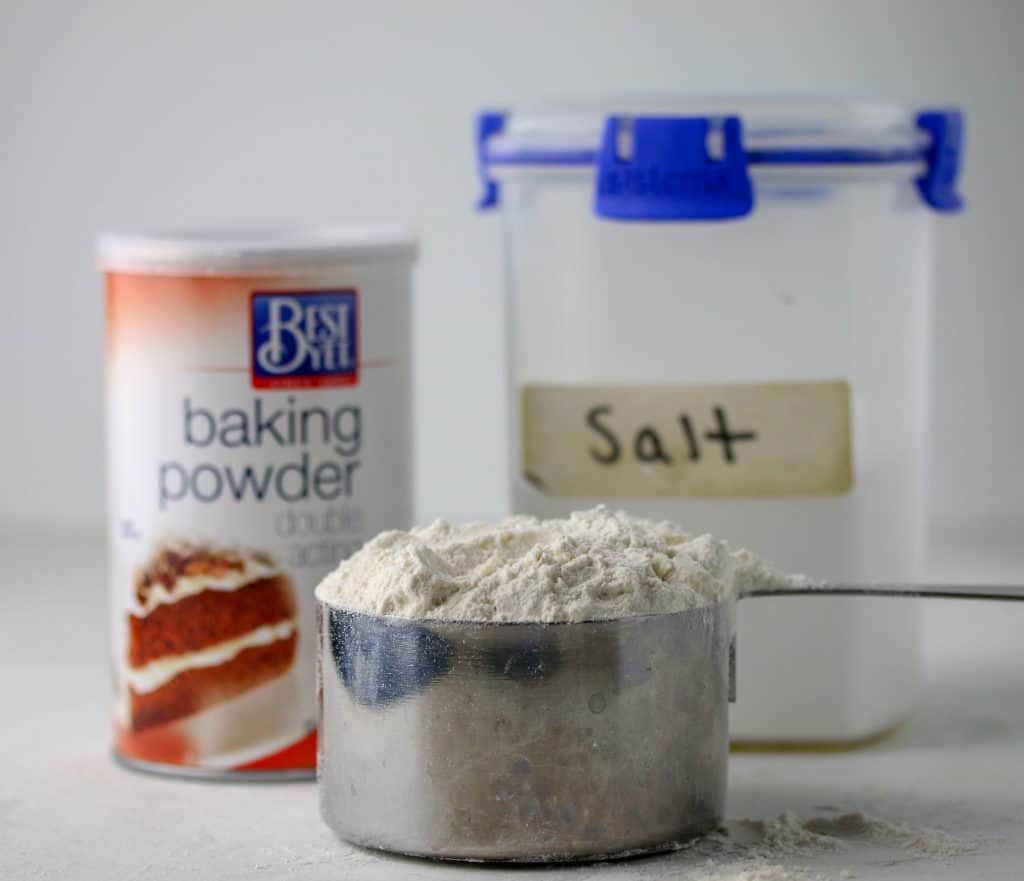
- All Purpose Flour
- Salt
- Baking Powder

All Purpose Flour
If you have a favorite all purpose flour then use it for this recipe! Different brands have slightly different protein contents, but are generally the same. Just be sure to measure correctly.
Baking Powder –
Make sure you are using baking powder and not baking soda. These are not the same! It’s also good to test the freshness of your baking powder before using it by placing a teaspoon of it in a small cup of hot water. If it bubbles, then you know it’s still fresh!
Salt –
I use table salt. You want a salt that will be small and evenly disperse throughout the flour.
How To Make Self-Rising Flour
If you can’t find any in the store, or you just need a small batch then make up your own!
Step 1: Measure your flour into a large mixing bowl.
Step 2: Add in the baking powder and salt
Step 3: Whisk to combine!
Step 4: Store in an airtight container.
When To Use:
- Use it for whenever a recipe calls for self-rising flour
- Great to use in certain recipes like biscuits, pancakes, and quick breads
- Some recipes may also call for self-rising flour such as cakes and cupcakes.
- Do NOT use it when a recipe calls for all purpose flour.
How To Store:
You want to store this in an airtight container in a cool dry place.
Because of the baking powder, it will lose its effectiveness over time. Use within a year!
Tips For Making And Using:
- Measure accurately. I recommend reading this post on how to measure your flour accurately. For best results, use a kitchen scale!
- If you are making a tender baked good like biscuits, you may want to replace the all purpose flour with a lower protein content flour such as a pastry flour.
- You may need to add a bit more liquid to your recipe when using the DIY version because of the differences in protein content.
- Label your Self-Rising Flour with a date so you know when it will expire. Use within a year.
More DIY Baking Solutions:
There you go! Hopefully now I’ve given you the Baking 101 knowledge to make your own self-rising flour and to use it to whip up some tasty treats! If you like this tutorial, let me know by leaving me a comment and star rating below!

Self-Rising Flour
Ingredients
- 1 cup (120 grams) All-Purpose Flour
- 1 1/2 teaspoons baking powder
- 1/4 teaspoon salt
Instructions
- Whisk all of the ingredients together in a bowl; use as directed in your recipe.
Notes
- Measure accurately. I recommend reading this post on how to measure your flour accurately. For best results, use a kitchen scale!
- If you are making a tender baked good like biscuits, you may want to replace the all purpose flour with a lower protein content flour such as a pastry flour.
- You may need to add a bit more liquid to your recipe when using the DIY version because of the differences in protein content.
- Label your Self-Rising Flour with a date so you know when it will expire. Use within a year.

Delores Davidson says
How much buttermilk or heavy cream do you use? It’s not even listed in your recipe.
Heather says
Hi Delores, this recipe is how to make self rising flour only – there is no buttermilk or heavy cream.
Angela says
Can this be used to make gluten free self rising flour- if I used a gluten free flour blend?
Heather says
I haven’t tested with GF flour so can’t be sure. But I think it should work just fine. Let me know if you try!