This Post May Contain Affiliate Links. Please Read Our Disclosure Policy.
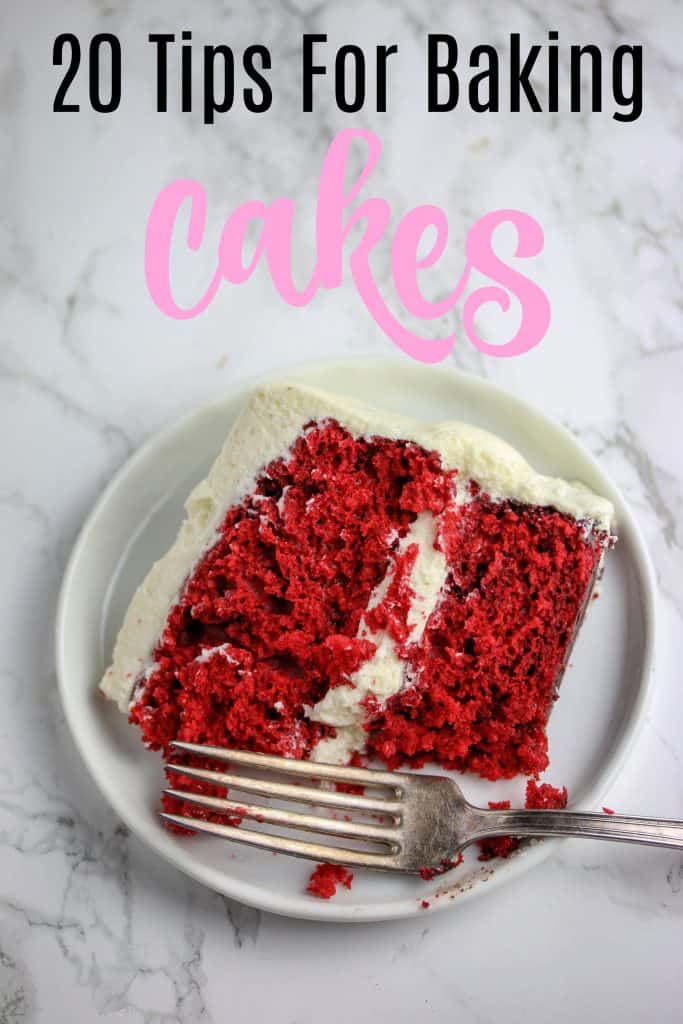
If baking a perfect cake from scratch has you stumped – then this post is a MUST read. I’ve been baking cakes for years, and have acquired all the Do’s and Don’ts to baking a perfect cake. These 20 tips for baking cakes will have you baking a cake from scratch like a pro in no time. Get those cake pans ready, let’s do this.
If I told I grew up baking cakes from scratch with my mother and grandmother I’d be a big fat stinking liar. Liar, liar cakes on fire.
I grew up on Betty Crocker. And tubs of frosting. And there’s no shame in that game. But of course I have come a long, long way baby from those boxed cake mixes. I’ve been baking my own layer cakes now for quite some time. And yes unfortunately, not all have been successes.
Some have sunk. Been too dense. Gone straight to the trash. But hey, my trials and errors are your gains. I know baking cakes can be intimidating and sometimes you don’t know you’ve done it wrong until it comes out of the oven.
And that’s a big fat bummer if you ask me. Nothing worse than throwing all of your hard work in the cake in the trash. So here are my top 20 tips for baking cakes from scratch.
Tip #1: Read and follow that recipe
Before you start busting out your mixing bowls and whisks, start by reading the recipe. The entire recipe. Some cake recipes are short and sweet. Others may require more time. Do yourself a favor and read the whole darn thing ingredients and directions.
Also make sure you understand all the steps. If you don’t, now is the time to figure it out. Get a feel for what you are about to tackle.
Make sure you have all of your ingredients as well. Do you need to take things out of ahead of time to allow ingredients to come to room temperature? Do that before you start.
Baking is a science and it’s not the time to wing it. So read your recipe. And then follow it. Have zero regrets doing so. Changing ingredients can alter the chemistry of the cake and therefore results in you throwing your cake in the trash!
Tip #2: Preheat Your Oven!
When it comes to baking cakes a properly heated oven is key. Do not put your cake pans in an oven that has not been preheated. It can seriously affect the outcome.
If you’re not sure if your oven is at the right temperature? Invest in an oven thermometer. And unless the recipe calls for otherwise, you want to put your cake pans on the middle rack so they heat evenly.
For more oven 101, click here.
Tip #3: Grease Your Pans
There is nothing worse than having your cake stick to the pan. Half of your cake comes out. The other half stubbornly clings to the pan mocking you.
Pro Tip: Make sure to grease your pans before you start making your batter. If you do this after your batter is ready, your batter will lose some of its volume as its sitting around results in a flatter denser cake than you were hoping for.
Exception to the rule: If making a cake that will be baked in a bundt pan, grease your pan right before filling. You can learn how to grease a bundt pan here
Oh I have so been there. As much as I love to bake, I can also be kind of lazy sometimes. And I have definitely skipped over this step sometimes thinking a quick spray of cooking spray will cut it. Not so much.
You want to grease your cake pans correctly so nothing sticks. Cake comes out clean. You do a little celebratory dance around your kitchen. All is right with the world.
My favorite options are to:
- Grease with shortening. I always have this stuff on hand so it tends to be my go to. You want to take a paper towel and get a little shortening on it and then wipe down the pans (sides and bottom) with it. I like to dust with flour after.
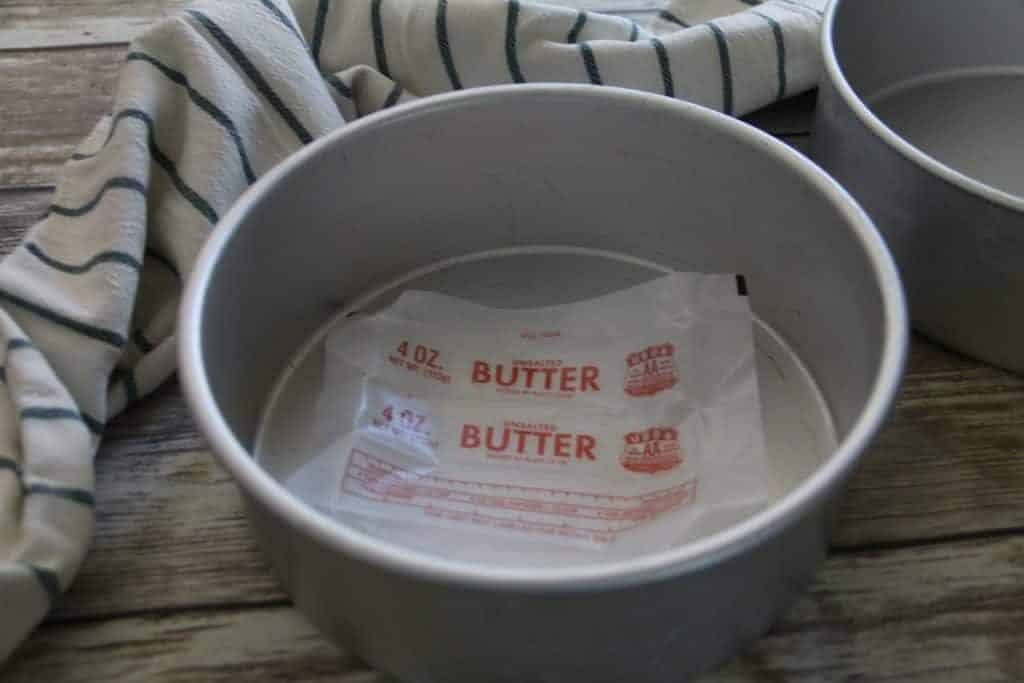
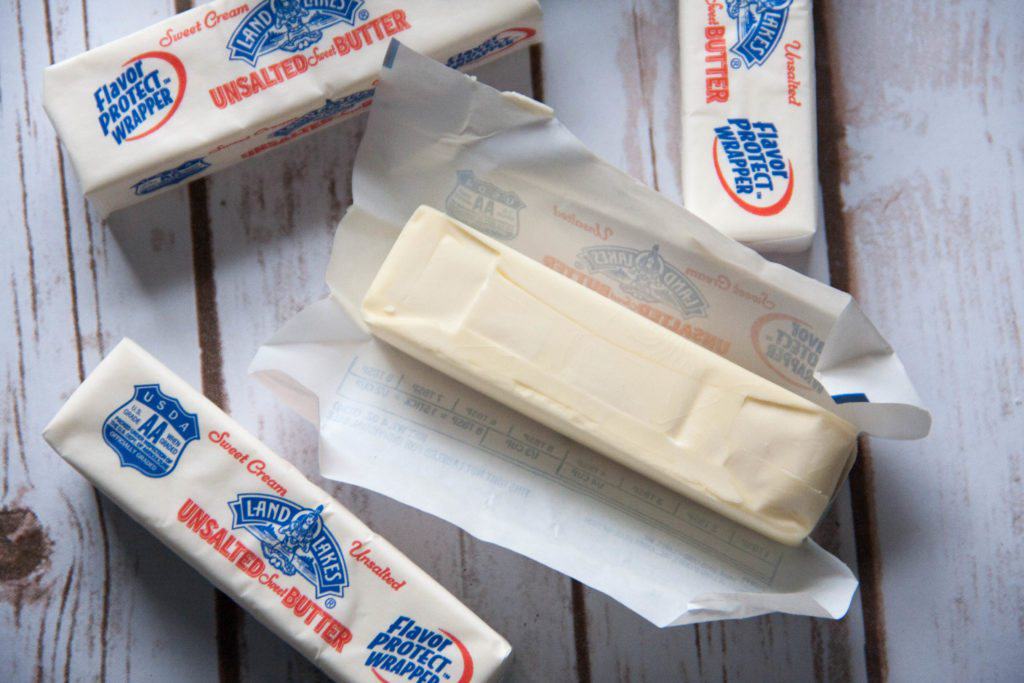
- Use butter. You can also use butter. If your butter wrappers have some left on it use that and then dust with flour.
- Baker’s Joy. This spray is amazing. It has flour added to it. I find that with this stuff works wonders and nothing sticks. But sometimes I run out – so that’s when I go back to my shortening method. You want to spray the pan over your sink so as not to get it on the floors and counters.
- Use Cake Release – you can buy some or make your own. Making your own is so easy! And this stuff works like magic.
For a complete tutorial –> click to read how to prepare your pans correctly in 4 easy steps
Tip #4: Don’t Skip The Parchment Paper
In addition to greasing the pans with shortening or Baker’s Joy I also make sure to line the bottoms of parchment paper for absolute certainty that there will be ZERO sticking. Seems kind of over the top maybe? I don’t think so.
I know if I line the pans with parchment paper I am good to go.
Again you read how to prepare your cake pans doing this in 4 easy steps, with step by step photos.
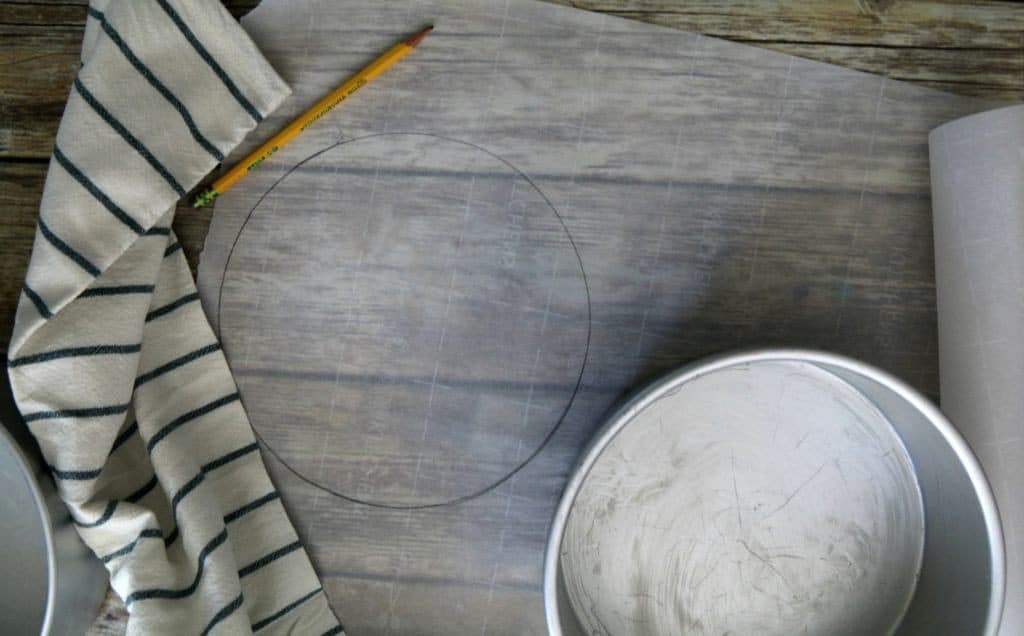
But basically you want to trace the bottom of your cake pan onto parchment paper and then cut the circle out. After greasing the bottom, place your parchment circle down. Make sure to give it a flip so the markings you used to trace or on the other side.
And give it one more grease! Good to go.
You can also buy pre-cut parchment circles if you are feeling extra lazy or plan on making a ton of cakes in the future.
Tip #5: Use Cake Strips
These cake strips have been a game changer. Level cakes are a must if you want to stack and frost a beautiful layer cake.
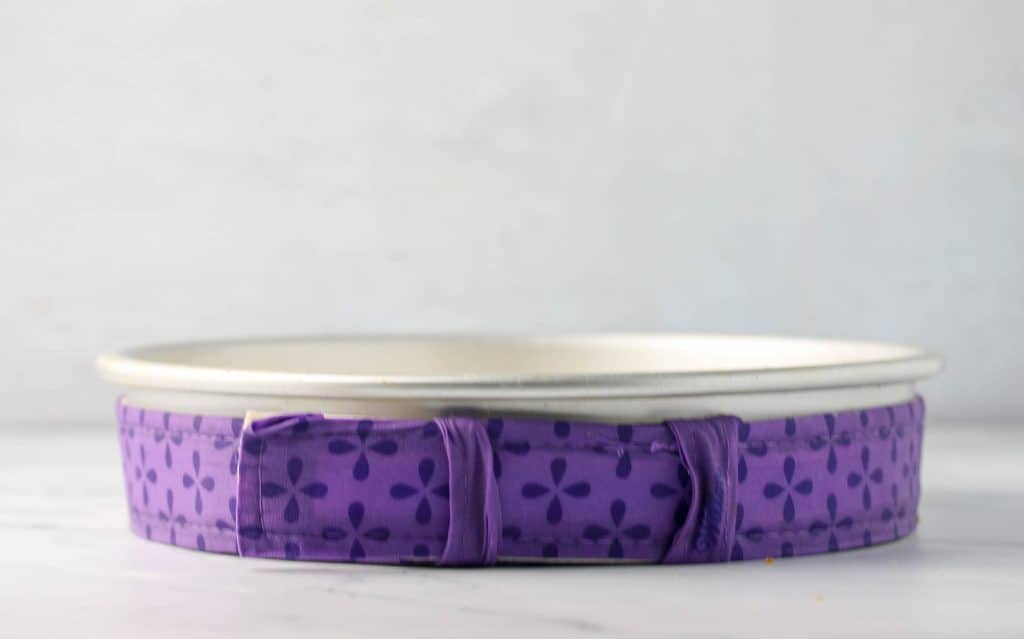
You can also level off the dome of a cake with a serrated knife or cake leveler. But I hate wasting all that beautiful cake. So I use cake strips, which create an insulating barrier around the cake allowing the outside to cook more slowly.
What results is a beautiful level cake in the end.
Pro Tip: Add on a few extra minutes of bake time when using cake strips. They make the whole cake take longer to bake, so you will need to adjust and allow for that extra baking time in the oven. But totally worth it if you ask me.
Using these strips are the only way I can ensure I get flat cake layers. <– Read this post to learn how to use these strips step by step.
Tip #6: Measure The Right Way
Time and time again I have said it on this blog. You must measure correctly when it comes to baking.
And with that being said, let’s address the elephant in the room.
Weight vs. volume. Which is better?
For years I baked by volume (aka my measuring cups). I had great success with it, so I know you can too. But for 100% accuracy yes weight is best.
Measuring by using a kitchen scale will give you best results. I highly recommend you switch over 🙂
But if you can’t give up your measuring cups quite yet, I totally get it. But then you will need to learn how to measure certain ingredients by volume the best way possible for the least amount of fails.
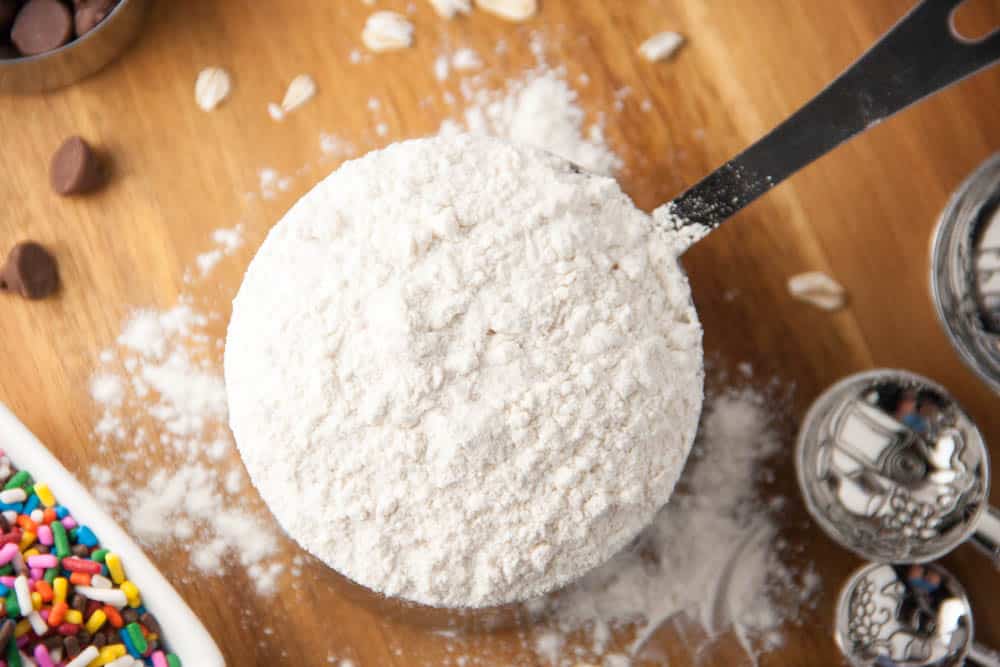
Flour is one of them. Measuring your flour the right way if you are using measuring cups is key.
You want to spoon the flour into your measuring cup and then level off once it’s full. Do not tap the sides, or simply dip your cup into the flour. You will end up with too much. Click here for more on how to measure your flour correctly.
Of course flour is just one ingredient. You can learn how to measure all of your baking ingredients here.
Tip #7: Use Quality Ingredients
Quality and freshness of your ingredients counts when it comes to baking cakes. I’m not saying you need to go out and buy all top shelf ingredients.
But a few to invest in good quality butter, pure vanilla extract, and chocolate. These will definitely make a difference, especially when it comes to the frosting as well since it’s not baked.
Tip #8: Room Temperature Is Best.
When baking cakes, you will notice in the recipe that it says things like “softened butter” or room temperature eggs. This is important to get a nice tall fluffy cake. Cold ingredients will not incorporate well. And you need room temperature butter during the creaming process so that the sugar can aerate the butter properly.
So if your recipe calls for softened butter. Then take it out ahead of time. If you forget to take your butter out of ahead of time, then here are 3 quick ways to soften your butter.
Cakes need room temperature ingredients even the milk and eggs! If you forget to take your eggs out ahead of time, then put them in a bowl of warm water for 10 minutes before mixing them with the rest of your ingredients.
Tip #9: Check Those Rising Agents
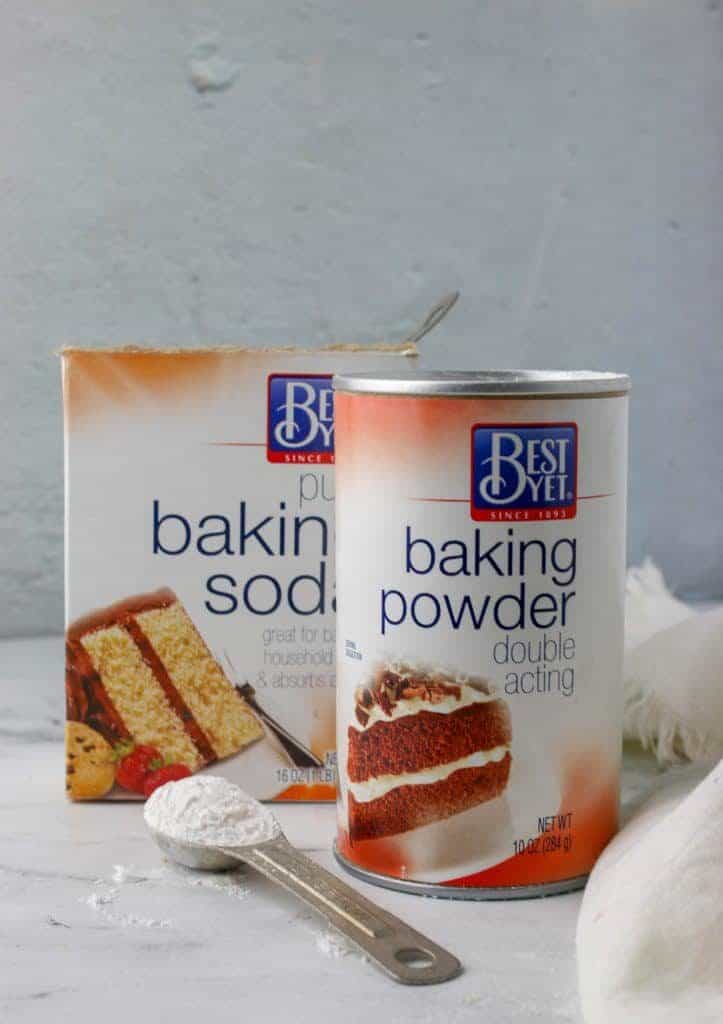
Check your baking powder and baking soda for freshness. Whatever you do don’t use that baking soda in your fridge! It can absorb flavors of what’s in your food.
To test the baking powder freshness – place a teaspoon in warm water and see if it bubbles. If it doesn’t throw it out.
To test the baking soda freshness – place a teaspoon in an acid (lemon juice or vinegar) and see if it bubbles. If it doesn’t throw it out.
And don’t mix them up whatever you do! They are not interchangeable.
You can totally nerd out on some baking science here –> Baking Powder vs. Baking Soda
Tip #10: Watch Those Substitutions
The first time out follow the recipe exactly. There is always room down the road for getting creative. But when you start swapping out certain ingredients and substituting others, you have no idea what you will end up with. And if you are new to baking, then follow the experts and do what the recipe says. As you get more comfortable with baking and certain ingredients and how they behave then start experimenting.
But remember baking is a science and changing even just one ingredient can change the overall chemistry of the recipe, which might result in failure.
For example, reducing the sugar for calorie reasons might sound like a great idea. But sugar plays an important role beyond just sweetening the cake! It helps to tenderize the cake and help keep it moist. So when you start changing the recipe you risk changing the end results.
You can read top 10 baking substitutions here.
Tip #11: Use Cake Flour
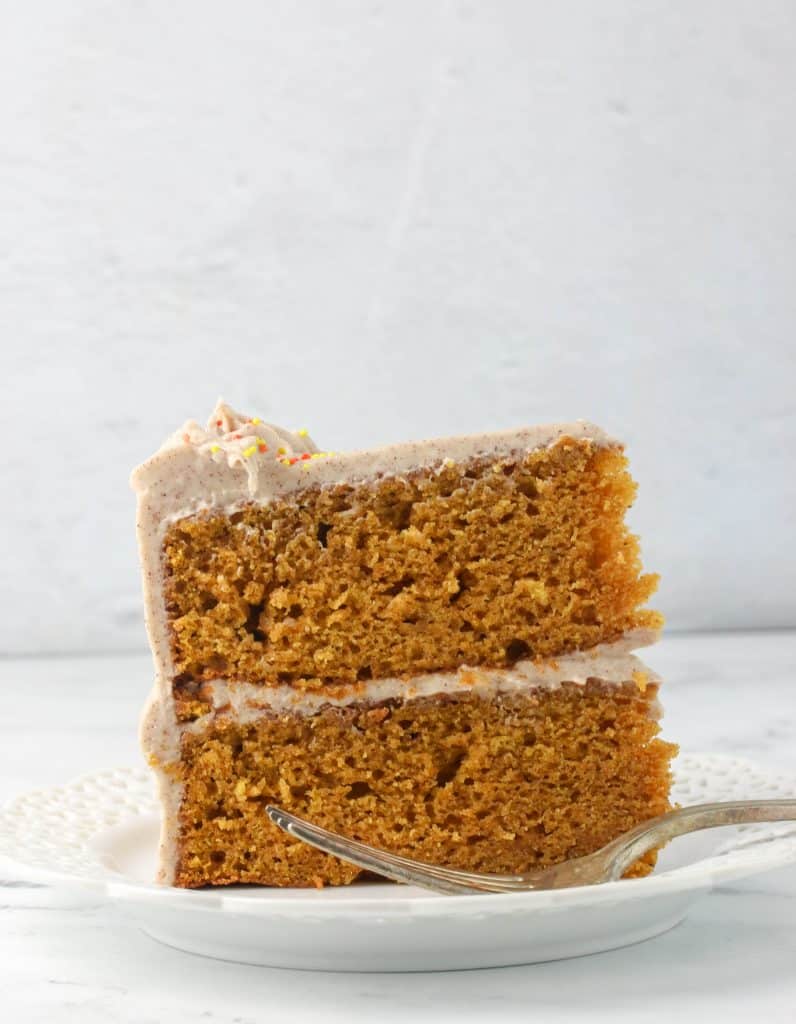
For light and fluffy cakes I highly recommend using cake flour. For oil-based cakes, like a pumpkin cake, then all purpose flour will do the trick just fine.
If you don’t have any cake flour on hand you can always make your own.
Click here to learn how to make your own cake flour.
Tip #12: Timing Is Essential
You may notice that you recipe instructions call for certain steps to be carried out for a certain amount of time. Cream the butter and sugar for 3 minutes using your paddle attachment, not your whisk attachment.
Tip #13: Scrape Down The Bowl
When you are combining the ingredients, sometimes the sides and bottom of the bowl can be hiding some unincorporated ingredients.
So it’s good to scrape down the bowl a few times as you are going. Especially during the creaming process so you end up with a smooth batter.
I use and highly recommend spatulas that are 100% silicone from handle to end. I find they are sturdier and clean much better.
Tip #14: Don’t Overmix!
Oh I bet you have heard that one before huh? Don’t over mix. But don’t undermix. And you are left with that feeling of well then how do I know if I have done it correctly?!
First of all let’s talk about when that can happen. You can overmix at two different stages:
- When creaming your butter and sugar
- When adding your dry ingredients
Now let’s talk about why that’s a bad thing. Overmixing your batter when you are creaming can add too much air into your batter, and can result in dense gummy streaks in your cake. All that air will cause rise, but then eventually escape and your cake sinks causing those dense gummy streaks.
So be sure to cream for the amount stated and at medium speed, never high speed.
Overmixing your dry ingredients can cause gluten development. Gluten is the protein that forms when two proteins in the flour, gliadin and glutenin, come together. When the flour becomes hydrated those proteins come together and form gluten. Gluten though is a stretchy protein network, which gives your baked goods texture and chew. Too much mixing = too much gluten formed. And As you keep mixing you keep exposing that flour to the water causing gluten to form.
A lot of gluten = great for breads, bad for cakes.
Too much mixing and you risk developing too much gluten resulting in a tough chewy cake.
I feel you. Here is my little trick:
Stir in the last bit of dry ingredients into your bowl with a spatula NOT your mixer. You are less likely to overmix if you are mixing by hand.
Related Post: What Is The Creaming Method?
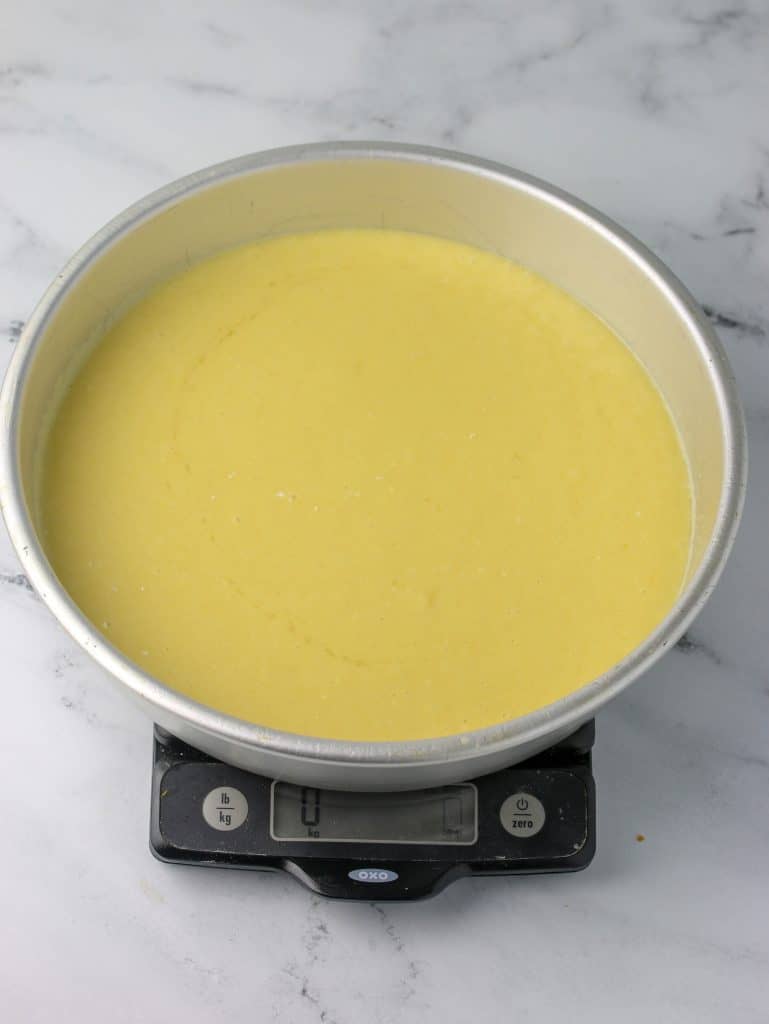
Tip #15: Weight Out Your Cake Batter
This may seem a little over the top, but trust me it’s worth it. Weighing out your cake batter between your cake pans will ensure even sized layers.
Simply place your pan onto a kitchen scale and zero it out so you don’t include the pan in your weight. Then add the cake batter. I try to aim for half by eyeballing (if I am making two layer cake). Then repeat with my second pan. And then adjust if I need to.
I used to eyeball this step, but then I always ended up with one layer that was bigger than the other one. So weigh out your cake batter and ensure perfect layers!
Tip #16: Don’t Peek!
I know it’s tempting to open the oven door during the baking but resist the urge! Because your cake isn’t fully baked, by opening the oven door you risk having your cake fall in the middle.
Because the cake isn’t set, opening the oven door changes the oven temperature. And that change in oven temperature can keep your cake from rising beautifully.
Tip #17: Check For Doneness
Of course you want to remove the cake from the oven when it’s done. But how do you tell? If you take the cake out too early and you risk the cake falling in the middle as it cools. Take it out too late and you risk the cake becoming overdone and dry.
So how do you tell if the cake is done or not? Here are 3 ways to tell:
- By Nose – Yes if you can begin to smell the cake, that usually is a sure fire way. But I usually don’t rely by nose alone.
- Spring Test – I lightly press the middle of the cake and I want to see the cake spring back after touching.
- Toothpick Test – Insert a toothpick, or cake tester into the center of the cake and remove it. There should be NO wet cake batter, but a few moist crumbs clinging to it.
- Temperature – Yup, take it’s temperature. Insert a digital thermometer. For denser cakes like a chocolate cake or red velvet cake, the temperature should read 200°F – 205°F. For lighter cakes like a vanilla sponge cake, the temperature should read 205°F – 210°F.
Tip #18: Cool Correctly
If you go to all that trouble to bake a cake from scratch, don’t ruin it by cooling it incorrectly!
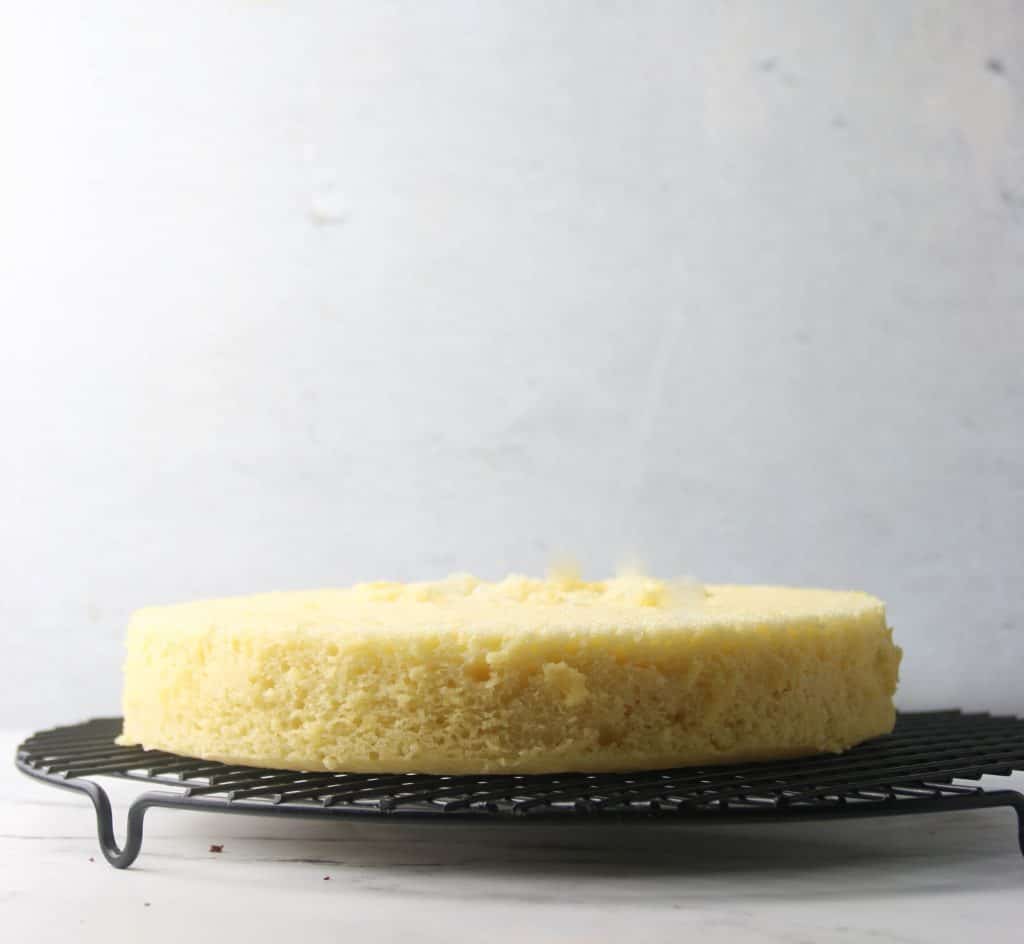
To cool a cake properly, I like to let the cakes rest for about 5- 10 minutes in the cake pans. And then, I run a knife around the outside edge to loosen it and turn it out onto a wire cooling rack.
Tip #19: Store Your Cakes Properly
You also want to make sure to store your cakes properly, especially if you plan to frost and assemble them at a later date.
If I make them only 2-3 days ahead of time, I will allow the cakes to cool completely first. And then wrap in Press-n-seal. Then I will place inside a plastic bag.
If I am freezing a cake I will do the same, but also wrap the cake in aluminum foil after I have wrapped it in press-n-seal. I find that press-n-seal works the best to keep the cake fresh.
Tip #20: Bake And Decorate On Different Days
This tip really isn’t a MUST, and doesn’t have to really do the with the baking. But I thought I’d pass along this little tip for your own sanity. I have learned in all my years of baking cakes that trying to bake the cake and then frost and decorate on the same day is a recipe for disaster.
First of all, it will take you all day. So it’s not that it can’t be done but I highly recommend breaking up the baking and decorating process if you can. I like to make frosting one day, bake the cakes a second day, and then frost and decorate on the third day (usually the day before the BIG event- whatever that might be).
Cake Baking Troubleshooting
Ok now that I’ve covered my favorite 20 tips on baking cakes, it’s onto the troubleshooting! Because let’s face it when it comes to baking lots can go wrong. So here are some common baking cakes FAQ’s and what caused them and how to fix them!
Why is my cake dry?
This probably means your cake was baked for too long (remember tip #17!) or you measured your flour incorrectly (read tip #6)
Why did my cake sink in the middle?
You may have opened the oven door (remember no peeking!) before the cake was fully set. Or you pulled the cake out too early (again check for doneness). Another reason could be the wrong oven temperature. I like to use an oven thermometer to ensure my oven is perfectly calibrated.
Why did my cake stick to the pan?
This probably means you didn’t properly prep the cake pans. Remember use Baker’s Joy, or shortening/butter with flour – and then line the pan bottoms with parchment paper.
Why does my cake have gluey streaks running through it?
This is due to overcreaming. Either you creamed for too long, or at too high of a speed.
Why are there giant holes in the cake?
This is due to over production of gluten. And it is a result of overmixing or mixing at too high of a speed.
Why is my cake too dense?
More than likely this is due too much flour, so remember take care when measuring! Another reason could be again overmixing, causing too much gluten too from. Your oven could have also been too cool.
Why didn’t my cake rise?
This could be from leavening agents that were expired. So remember test them before you start. Or you added the wrong amount or left it out altogether! Whoops.
Why is my cake tough?
This is probably from too much flour, or again overmixing.
Why did my cake crack on top?
You may have added too much leavener, or your oven temperature was too high. If you use a cake leveler, you can simply trim this off and frost away.
Tools Needed To Make The Most Amazing Cakes
- cake tester
- cake strips
- cake pans – I like to have 6″, 8″, and 9″ aluminum light colored cake pans on hand.
- Baker’s Joy
- parchment paper – or parchment circles
- cooling rack
- electric mixer
- kitchen scale
- oven thermometer
Cake Recipes To Try
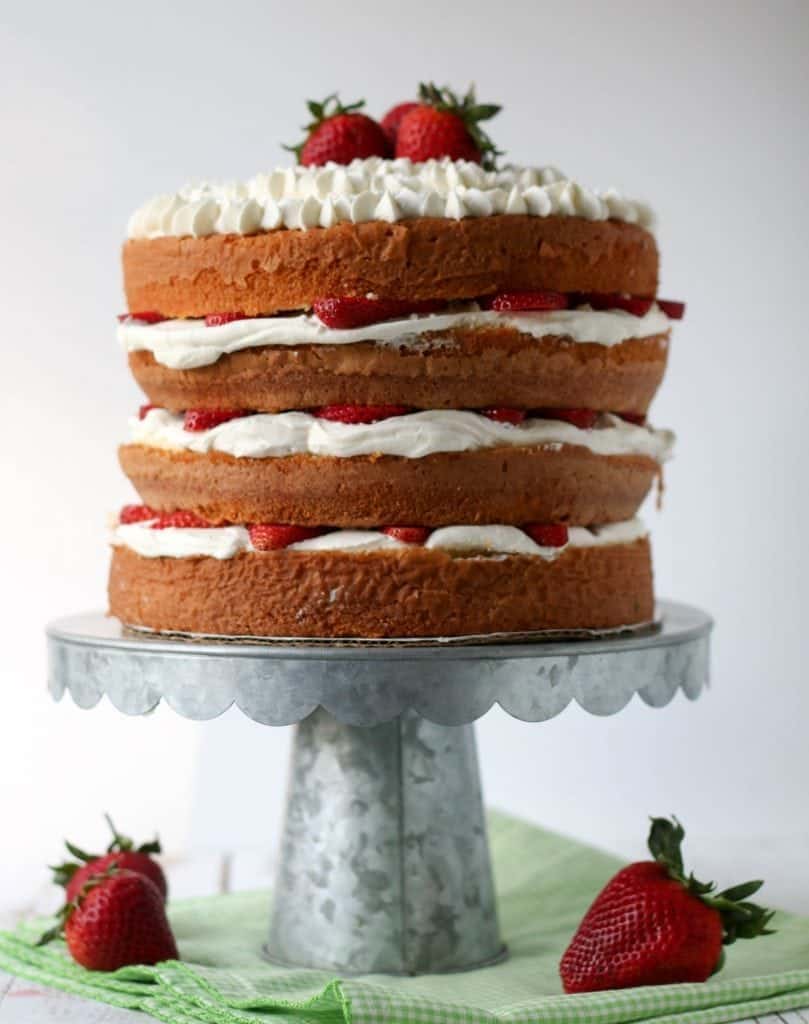
Now that you have some tips under your belt, it’s time to try them out! Here are a few recipes to get you started:
- Apple Crumb Cake
- Lemon Sour Cream Pound Cake Recipe
- Fresh Strawberry Pound Cake (with strawberry glaze!)
- Vanilla Sponge Cake
- Coconut Chocolate Cake
- Carrot Layer Cake
There you go I hope this gives you confidence to bake up the most amazing cakes!



Comments & Reviews
Type your question or comment below, and tap "Post Comment". I welcome constructive criticism, but please be respectful. Rude or inappropriate comments will not be published. Thank you!Baking isn't always easy! So if you had any issues, I'd appreciate the chance to help you troubleshoot before you rate.