This Post May Contain Affiliate Links. Please Read Our Disclosure Policy.
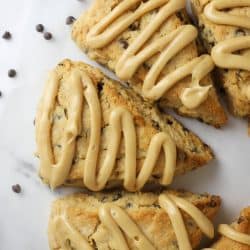
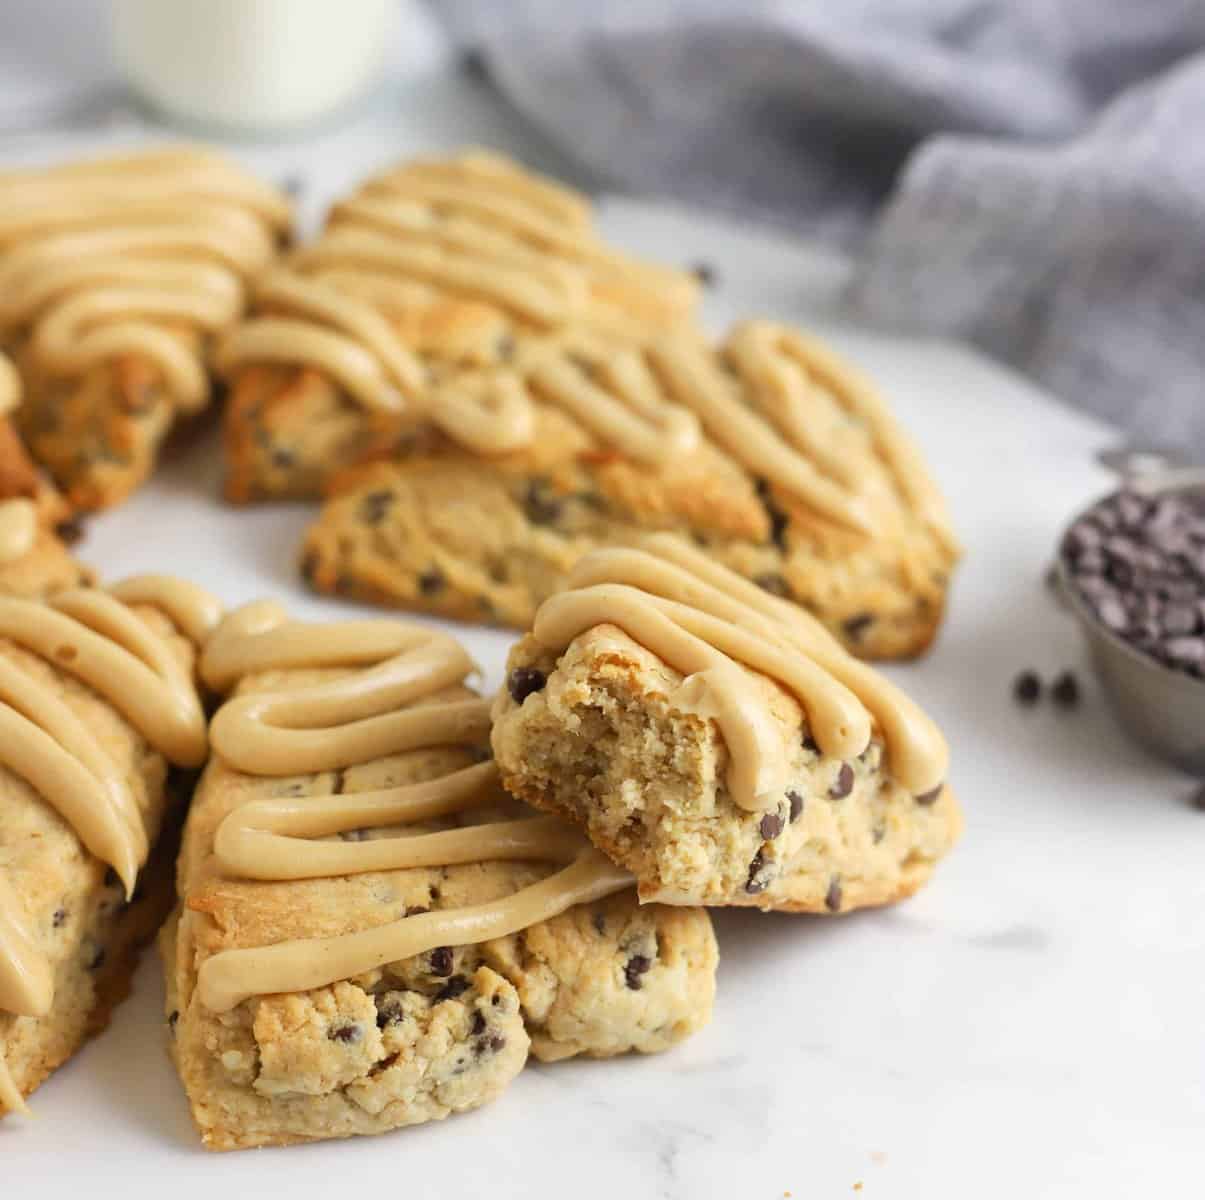
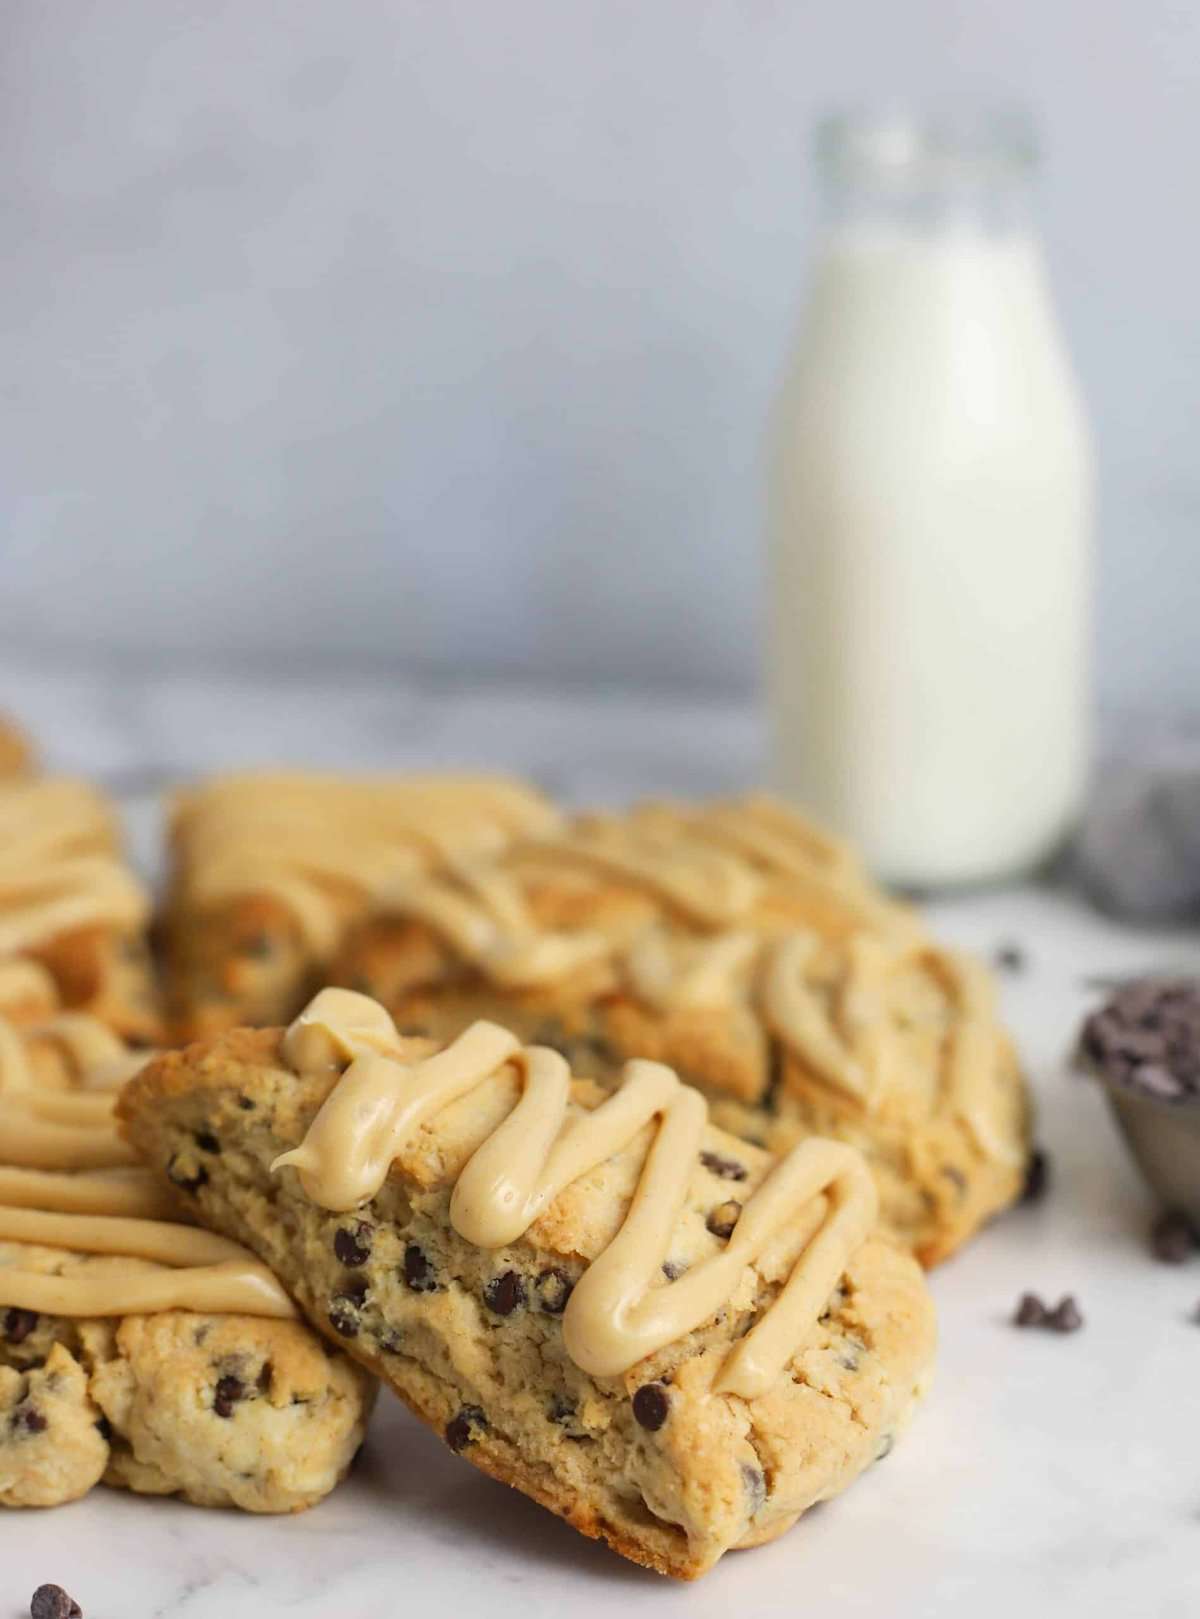
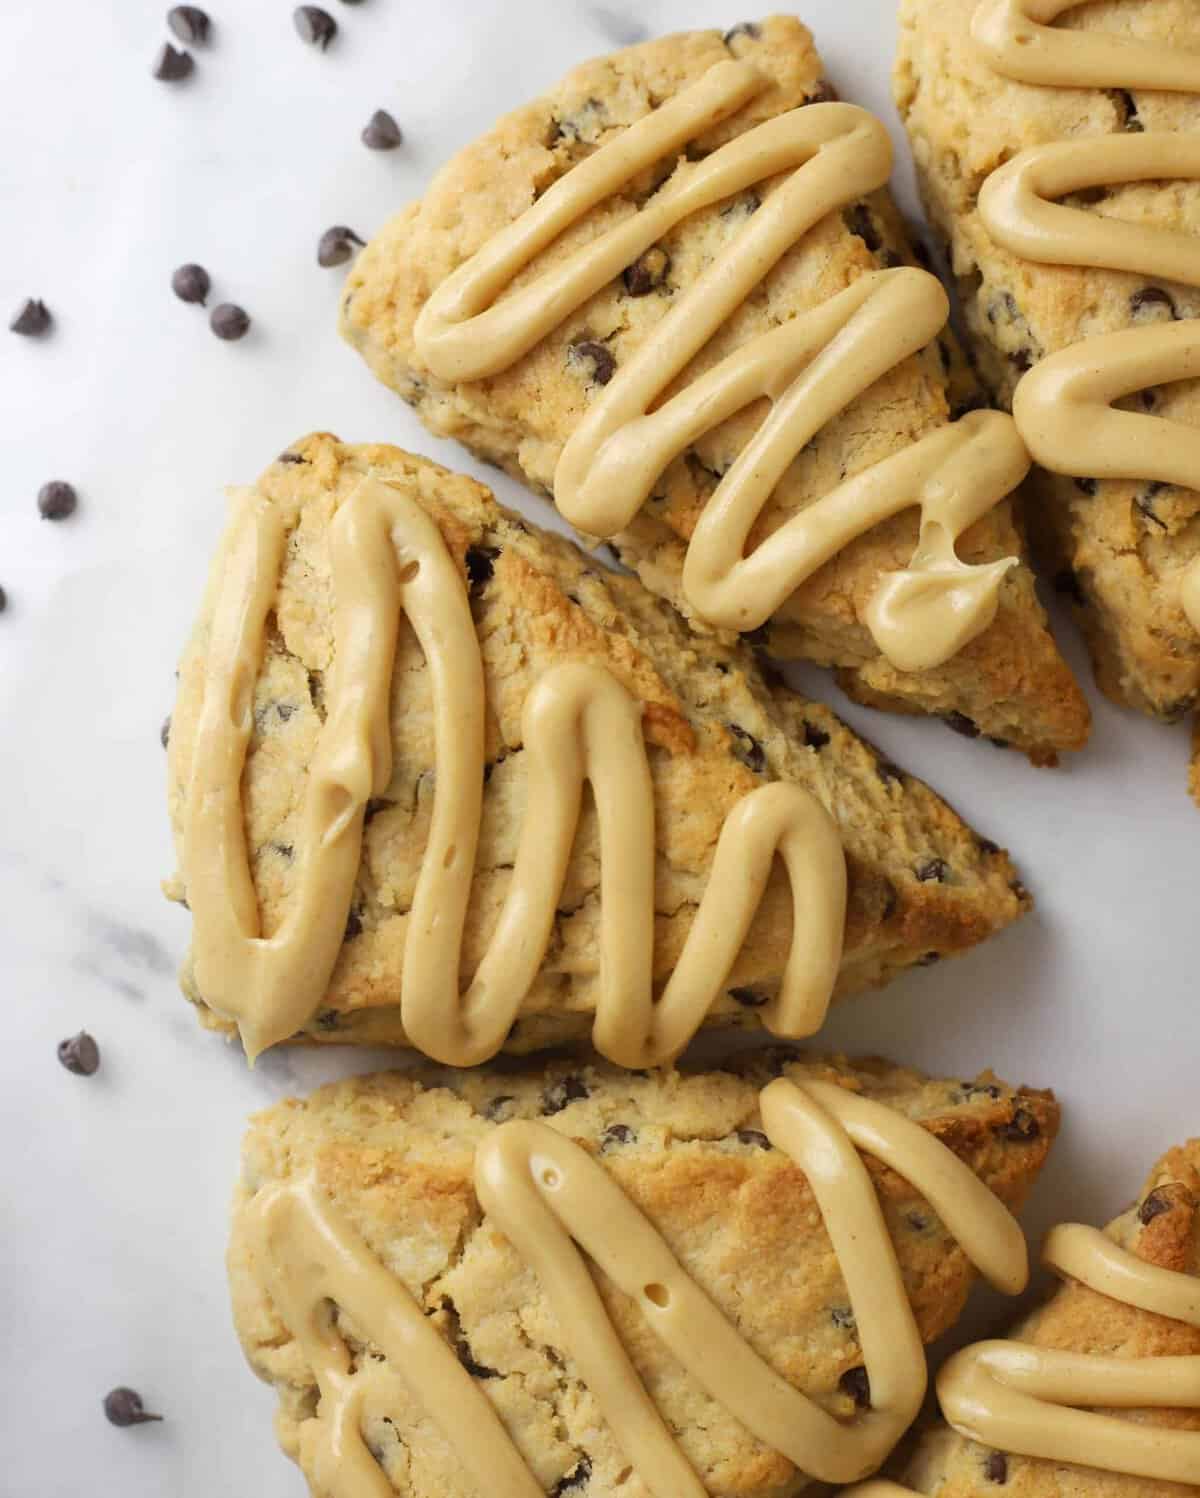
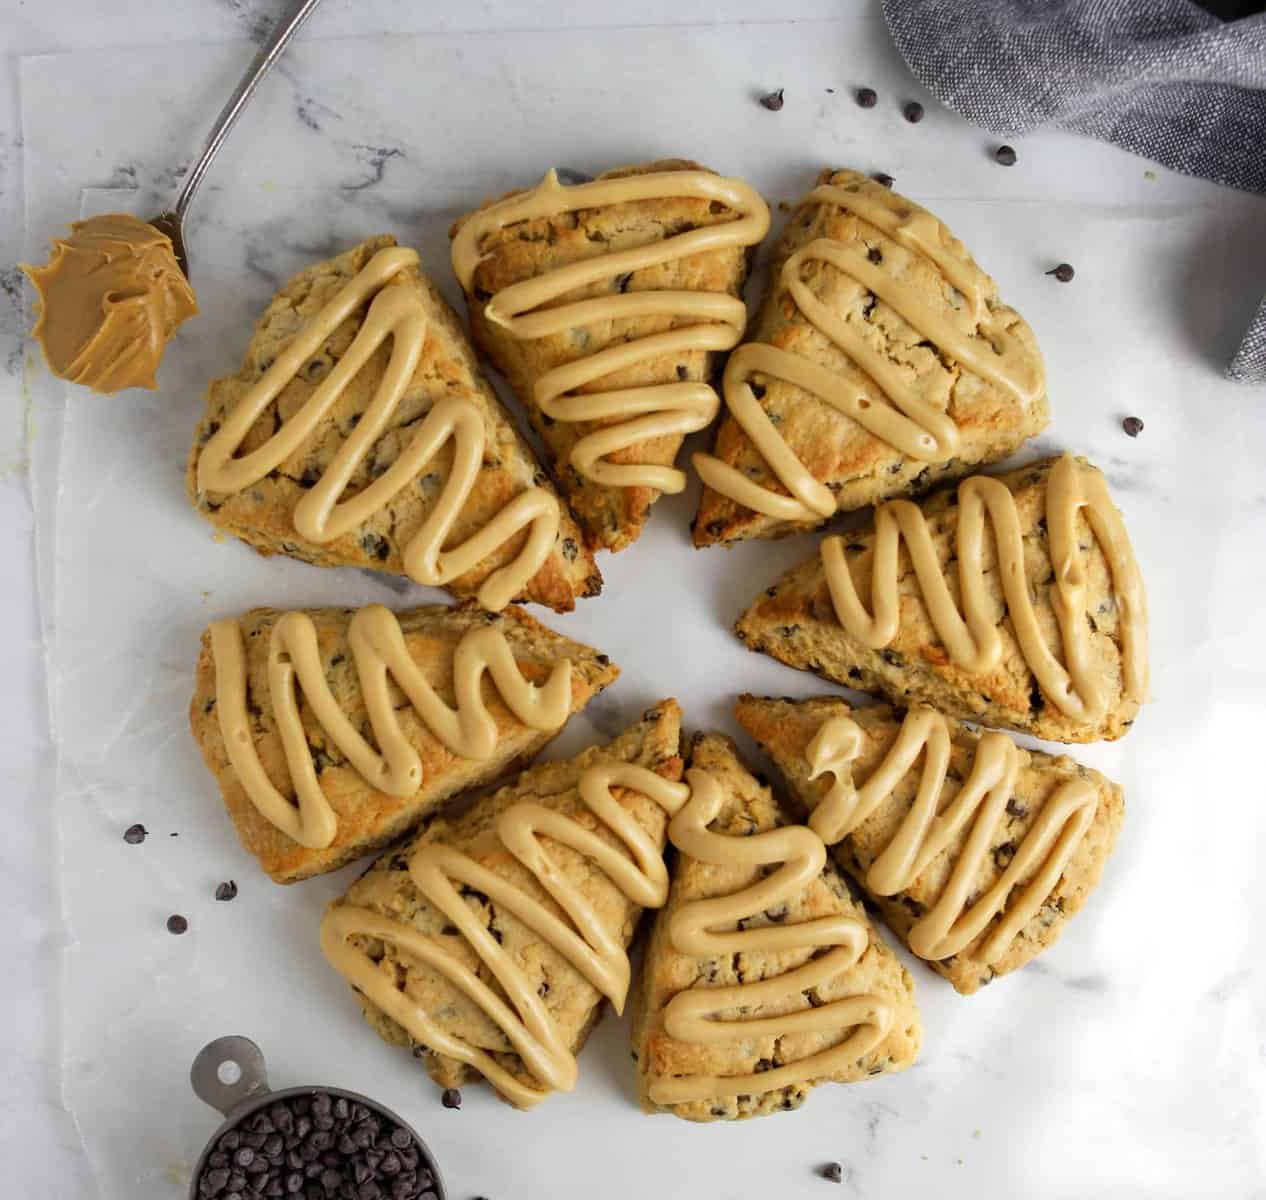
These peanut butter scones are simple to make and chocked full of peanut butter flavor! This peanut butter chocolate chip scone is easy to make and gets drizzled with a peanut butter glaze for even more peanut butter flavor!
Yesterday was “national peanut butter lover’s day” so I apologize because I meant to post this yesterday in honor! Oh well..it’s the though that counts right? And it is never a bad day to make something with peanut butter in it is it?
I mean, who doesn’t love peanut butter?
Peanut butter is that person at the party that can pretty much get along with everyone. Especially chocolate.
So I created this buttery tender peanut butter scone recipe and stirred in semisweet chocolate chips for a perfect breakfast scone!
How do you make homemade scones?
Scones are basically a biscuit that is meant to be a bit drier and coarser in texture than a biscuit. Because scones are in the biscuit family, it means they are made using the biscuit method where the fat is “cut into the flour”.
This means the solid fat is worked into the dough so the flour is coated by the fat.
Why is it done this way? Cutting in the fat accomplishes two things. The flour that gets coated by the fat will be unable to bond with the liquid in the dough or with other flour granules so less gluten is formed. And the chunks of butter that is still visible means these will melt in the oven and help to create a moist and tender crumb.
How do you cut the butter into the flour? Generally this is done using a pastry cutter, but I have a different approach…
The secret to tender and flaky scones
The SECRET to making these tender fluffy scones is using cold butter!
You can cut the cold the butter in with a pastry cutter or try grating the butter in. I made these scones the traditional way of using a pastry cutter and cutting in cubes of cold butter into the dough. And I tried using butter that had been grated using a box grater before hand. The scones that had the grated butter rose higher than the scones that had the cubed butter cut in.
However you add the butter you want to make sure to NOT overwork the dough, otherwise you’ll melt the butter and cause it to become worked into the flour and you won’t end up with a flaky, tender scone in the end. So keep your butter cold, and don’t overwork it!
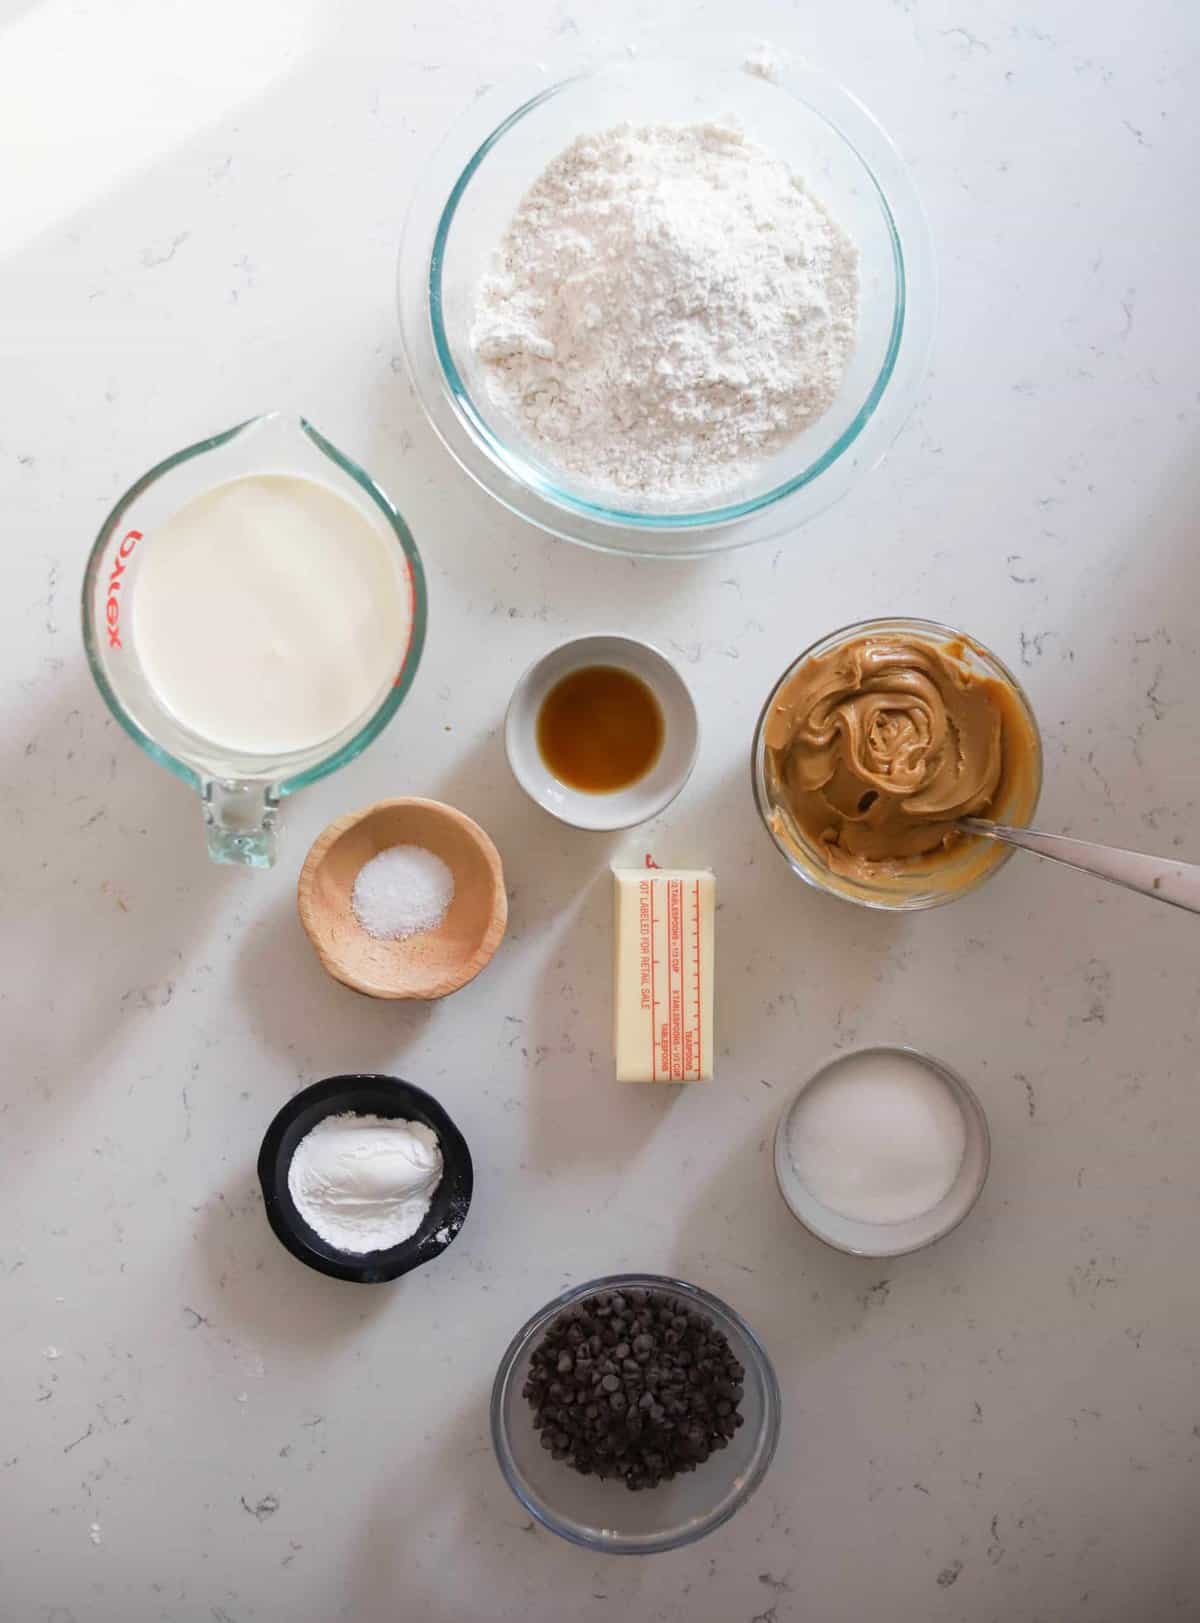
Ingredients For These Peanut Butter Scones
- All purpose flour – this type of flour works perfect in scones. It has a mid range protein content so making for a perfectly tender scone.
- Baking powder – this is a quick bread by definition meaning it gets it rise (quickly) from a leavening agent such as baking powder as opposed to a yeast bread for example. And baking powder and baking soda are NOT the same thing. So don’t swap one for the other. You can read all about baking powder vs. baking soda here and really nerd out on some baking science.
- Sugar – This helps sweeten our dough a little bit and tenderize the dough as well making for a tender scone.
- Salt – As always, I add a little salt to my baking recipes to help balance the sweetness.
- Butter – I always use unsalted butter while baking. Different brands can use varying amounts of salt in their salted butter making it hard to control the salt. And make sure your butter is COLD, COLD, COLD. This makes for a flaky scone (similar to making pie dough).
- Chocolate chips – I used mini chocolate chips so they distribute throughout the dough better. But you could use regular chips as well. Make sure to add these to the bowl after you have cut the butter in.
- Heavy Cream- I used heavy cream for richness. Again, make sure it’s cold! But you could also use milk or half and half.
- Peanut Butter – I used smooth peanut butter (not the natural kind you need to stir). I think the natural peanut butters where you need to stir the oil in might make for an oily dough, but I haven’t tried it. If you do, let me know in the comment section!
- Vanilla extract – This just gives a little bit more flavor!
- Confectioners sugar – I use this in the glaze. Also known as powdered sugar or icing sugar.
How Do You Make These Peanut Butter Scones?
-
Preheat your oven to 450 degrees. Line a baking sheet with parchment paper.
-
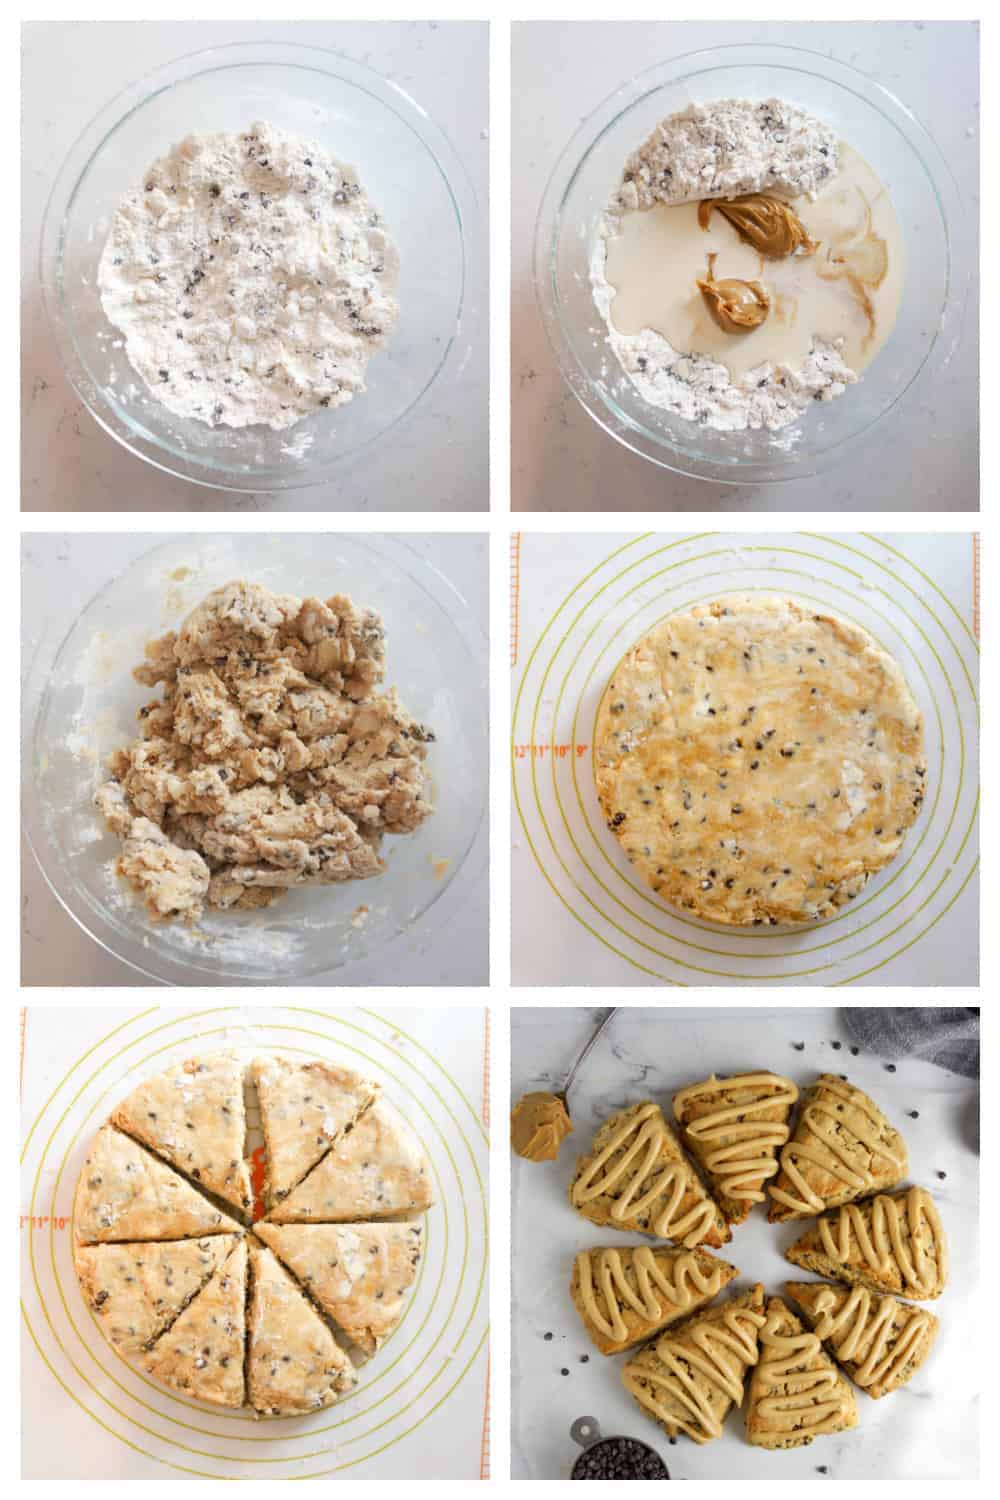
Whisk together your flour, sugar, baking powder and salt in a large mixing bowl.
-
Cut your butter into your flour mixture with a pastry cutter (or you can use a food processor) until the butter is pea-sized.
-
Stir in your mini chocolate chips.
-
Add in your heavy cream and peanut butter and stir to combine.
-
Turn your dough onto a floured surface and knead 5-10 times to incorporate the floury bits.
-
Pat into a 8-inch circle of dough and cut into 8 wedges.
-
Transfer your scones (carefully!) to your baking sheet. Bake them for 15 minutes and transfer to a cooling rack.
-
In a small bowl, whisk together glaze ingredients. Adjust consistency as needed. Drizzle over cooled scones.
Peanut Butter Chocolate Chip Scones FAQ’s
How Do You Store Scones?
Store leftover scones in an airtight container at room temperature for up to 2 days.
Can you freeze scones?
Scones are best served immediately, but can be frozen for up to 1 month. You can freeze them baked or unbaked. If freezing unbaked scones, just make sure when you do bake them do NOT thaw them. Bake them frozen and just add an additional couple minutes onto the baking time.
Can I Make Scones Half Sized?
I do this by cutting the 8 wedges and then cutting those in half again.
These half sized scones will take less baking time of course.
Can I use chunky peanut butter?
Sure why not! I think chunky peanut butter would work great and add some extra texture. Nothing wrong with that.
Can I Make These Without A Pastry Cutter?
Yes, yes, and YES! If you don’t have a pastry cutter then cube the butter up as normal. Then toss it in the flour. Once the butter is coated in flour, go ahead and with your fingertips (ONLY – you don’t want your warm hands melting the butter) squish the butter into smaller and smaller pieces.
Why is my scone dough dry?
Sometimes even as careful as you can measure, your dough will be on the dry side. I made batch after batch while working at a bakery and sometimes I needed to add a touch of extra cream to the dough.
Blame the weather. I usually do. Just add a bit more cream and knead the dough together.
Tips on making these peanut butter scones
- Be sure to measure your flour. You want to scoop it with a spoon, and then level it off with a knife. Here is a tutorial on how to do that. For best accuracy, it’s best to use a kitchen scale.
- Use COLD butter (frozen is best) when making scones. You want to use cold butter, because when the scones are baked the butter will then melt and create steam causing your scones to lift. If your butter is too warm, your scones will spread and fall flat. Again I grated my butter which meant more rise.
- Do not overwork the dough. Add your wet ingredients to your dry ingredients just like if you were making muffins. Use a spatula or wooden spoon to stir the mixture together just until the dough comes together. You do not want to overwork the dough.
- Knead gently. Turn this mixture onto a floured surface and bring the dough together gently. Again, the key here is to not overwork the dough! The less you work the dough means the less the gluten will have a chance to form and that means a softer scone in the end.
- Add a bit more cream. If your dough is not coming together and seems dry, add a teaspoon of extra cream to the dough.
For More Tips On Making Quick Breads Like These Scones, Read This Ultimate Guide On Making Quick Breads.
More Peanut Butter Recipes To Enjoy
More Scones
Tools Needed To Make These Peanut Butter Chocolate Chip Scones
Peanut Butter Chocolate Chip Scones
Ingredients
For the scones
- 2 cups (240 g) all purpose flour
- 3 Tablespoons granulated white sugar
- 1 Tablespoons baking powder
- 1/2 teaspoon table salt
- 5 Tablespoons unsalted butter chilled and cut into 1/4-inch cubes
- 1/2 cup (85 g) mini chocolate chips
- 1 cup (240 mL) heavy cream
- 1/2 cup (135 g) smooth peanut butter
For the glaze
- 1/2 cup (57 g) confectioners sugar
- 2-3 Tablespoons heavy cream (milk)
- 1/4 teaspoon vanilla extract
- 2 Tablespoons peanut butter
Instructions
- Preheat your oven to 450 degrees. Line a baking sheet with parchment paper.
- Whisk together your flour, sugar, baking powder and salt in a large mixing bowl.
- Cut your butter into your flour mixture with a pastry cutter (or you can use a food processor) until the butter is pea-sized.
- Stir in your mini chocolate chips.
- Add in your heavy cream and peanut butter and stir to combine.
- Turn your dough onto a floured surface and knead 5-10 times to incorporate the floury bits.
- Pat into a 8-inch circle of dough and cut into 8 wedges.
- Transfer your scones (carefully!) to your baking sheet. Bake them for 15 minutes and transfer to a cooling rack.
- In a small bowl, whisk together glaze ingredients. Adjust consistency as needed. Drizzle over cooled scones.
Notes
- Tools: mixing bowl, cookie sheet, parchment paper or silicone baking mat, spatula, silicone baking mat
- Make Ahead/Storage: Store leftover scones in an airtight container at room temperature for up to 2 days.
- Freezing: Can be frozen for up to 1 month. You can freeze them baked or unbaked. If freezing unbaked scones, just make sure when you do bake them do NOT thaw them. Bake them frozen and just add an additional couple minutes onto the baking time.
- Half Size: I do this by cutting the 8 wedges and then cutting those in half again. These half sized scones will take less baking time of course.
- Peanut Butter: I think chunky peanut butter would work great and add some extra texture. I would steer clear of the natural peanut butters you have to stir the oil in, they may make these too oil (but I haven't tested it with this type).
- No Pastry Cutter?:If you don’t have a pastry cutter then cube the butter up as normal. Then toss it in the flour. Once the butter is coated in flour, go ahead and with your fingertips (ONLY – you don’t want your warm hands melting the butter) squish the butter into smaller and smaller pieces.
Nutrition


Laurie Bechtel says
Okay, who doesn’t like peanut butter? These scones had nice flavor, especially with the addition of the glaze. The glaze adds that little bit of sweetness and amps up the peanut butter flavor. Directions were easy to follow and I used half and half instead of heavy cream and grated frozen butter. I was worried I was mixing the dough too much to incorporate the peanut butter, but the texture was wonderful. I did refrigerate for about 30 minutes after shaping and before baking.
Heather says
Thank you Laurie!! I’m so glad you loved these scones! And glad they came out wonderful 🙂
Mahnoor Khurram says
I’ve never tried scones but now I want to!
Heather says
You should Mahnoor! 🙂 They are wonderfully easy!
Mimi says
OMG yes! They sound amazing!!! and since tonight is cheat meal day, I need to make them
Heather says
They are seriously delish, and I promise so worth it 🙂 Enjoy, Mimi!
Leslie says
Mmmm. I’ve always wanted to make scones, but they seemed too difficult. Thanks for providing all the tips. Now I feel like I can actually make them!
Heather says
Right?? I always thought the same thing, but once you figure it out – WOW – so simple! I hope you enjoy!
Heather says
These look so good! I’ve never made a scone before so I’m excited to try your recipe.
Heather says
Thanks Heather! Oh scones are SO easy you’re going to love them!
Amber Myers says
Oh yes please, I would LOVE these scones. I will be trying them soon.
Heather says
Thanks Amber! Let me know how they turn out!
Tanya says
We enjoyed making these tonight. You have lots of yummy sounding scone recipes, but these were quick to mix and bake plus we had all of that ingredients on hand so we were able to enjoy them fresh and hot in a quick time frame. Looking forward to finishing them up for our breakfast. They didn’t last long!
Heather says
Hi Tanya! Oh I’m so glad you liked them! I made those years and years ago – hence the ugly photos haha!
MarindaCWold says
Hi! Would you mind if I share your blog with my facebook group?
There’s a lot of folks that I think would really enjoy your
content. Please let me know. Cheers
Heather @Boston Girl Bakes says
Hi Marinda! I would love if you shared my blog with your group..what’s the name of your facebook group? Thanks 🙂
lending tree loan with bad credit says
Howdy I am so excited I found your webpage, I really found you by error, while I was searching on Yahoo for something else, Anyways I am here now and would just like
to say thanks for a fantastic post and a all round exciting blog (I also love the theme/design), I
don’t have time to read through it all at the moment but I have book-marked
it and also added in your RSS feeds, so when I have
time I will be back to read a great deal more, Please do keep up the superb job.