This Post May Contain Affiliate Links. Please Read Our Disclosure Policy.
These simple chocolate chip scones are a perfect brunch recipe. This chocolate chip scone recipe can be ready in about an hour! I’ll show you step by step and give you all the tips to make to this chocolate chip scone recipe.

I have a deep love for scones. If you’ve visited this blog before then you know my deep love for them. Like my lemon poppyseed scones in the winter, pumpkin scones during pumpkin season, and blueberry lemon scones basically any time of year!
But for some reason all the variations on the blog, there was never one for a scone recipe with chocolate chips. Let’s change that shall we? Which is ironic since this was one of my favorite scones I would nibble on while making all the scones at the bakery I worked at. Go figure.
And the best part about scones is the simplicity. No fancy equipment needed. And I love freezing them to enjoy later!
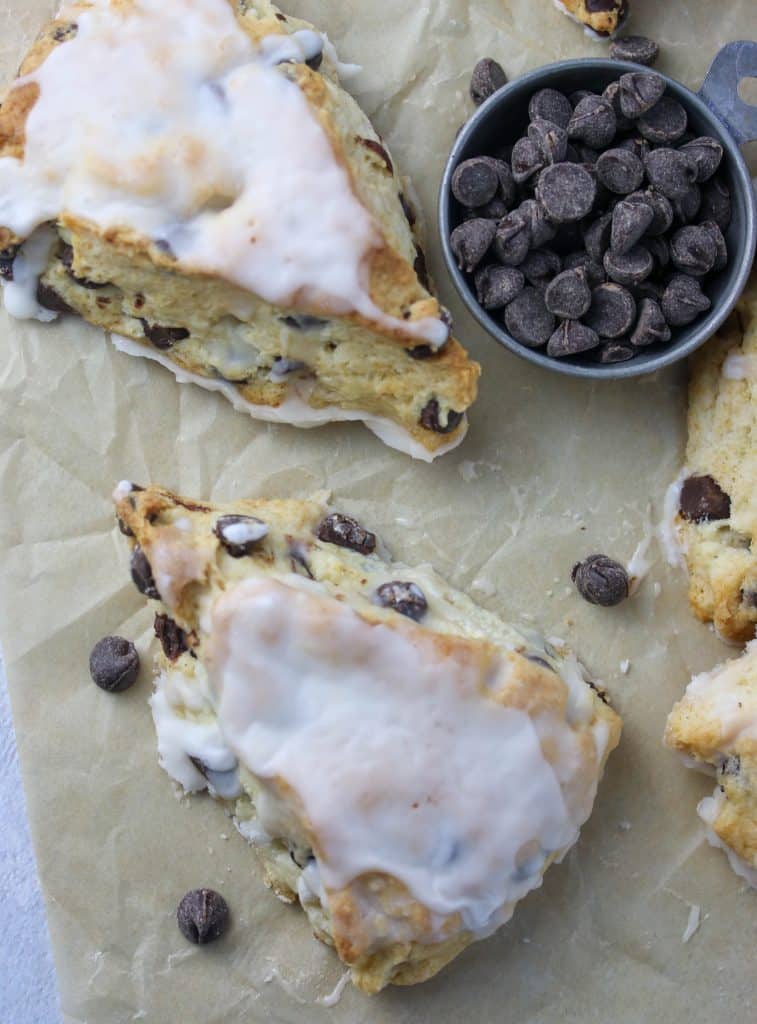
This chocolate chip scone recipe topped with a vanilla glaze are simple to throw together and need to be on your brunch table!
Ingredients Needed
- All purpose flour – this type of flour works perfect in scones. It has a mid range protein content so making for a perfectly tender scone.
- Baking powder – this is a quick bread by definition meaning it gets it rise (quickly) from a leavening agent such as baking powder as opposed to a yeast bread for example. And baking powder and baking soda are NOT the same thing. So don’t swap one for the other. You can read all about baking powder vs. baking soda here and really nerd out on some baking science.
- Sugar – Granulated sugar is what I used. But I’m guessing brown sugar would also be delicious.
- Salt – As always, I add a little salt to my baking recipes to help balance the sweetness.
- Butter – I always use unsalted butter while baking. Different brands can use varying amounts of salt in their salted butter making it hard to control the salt. And make sure your butter is COLD, COLD, COLD. This makes for a flaky scone (similar to making pie dough).
- Chocolate Chips – I added a 1/2 cup of chocolate chips. Be sure to stir these in before you add the heavy cream.
- Heavy Cream – I used heavy cream for richness. Again, make sure it’s cold!
How To Make Chocolate Chip Scones
When I finally do remembering hearing about scones, I always remember hearing the word, DRY, with them. How sad for scones! And so false! If you haven’t ever tried making scones for the same reasons I always had, because they just didn’t sound appealing I suggest you give them a try. They do not require a mixer, just your mixing arm, a bowl, a whisk, spatula, and pastry cutter.
To make the dough, it is as simple as whisking together your dry ingredients. Then you want to cut in your butter into the bowl. It’s easier if you cube the butter first up into the bowl.
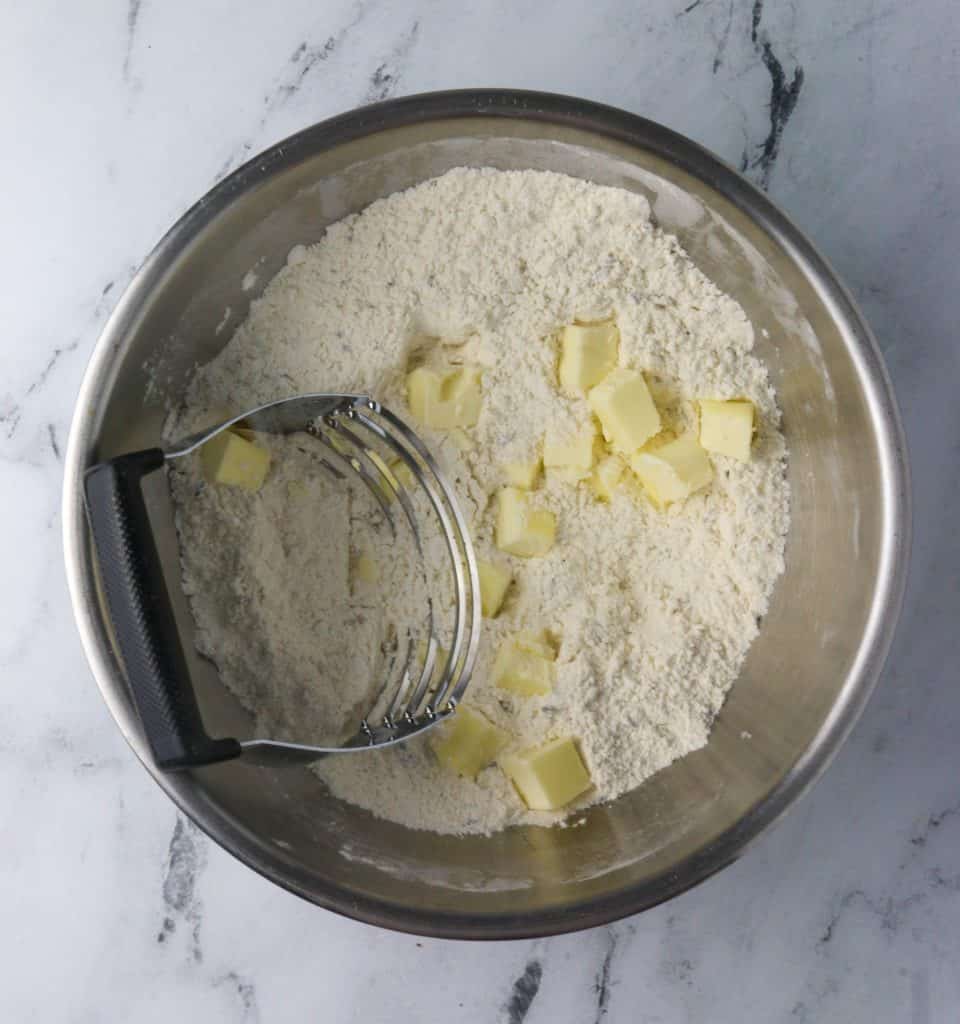
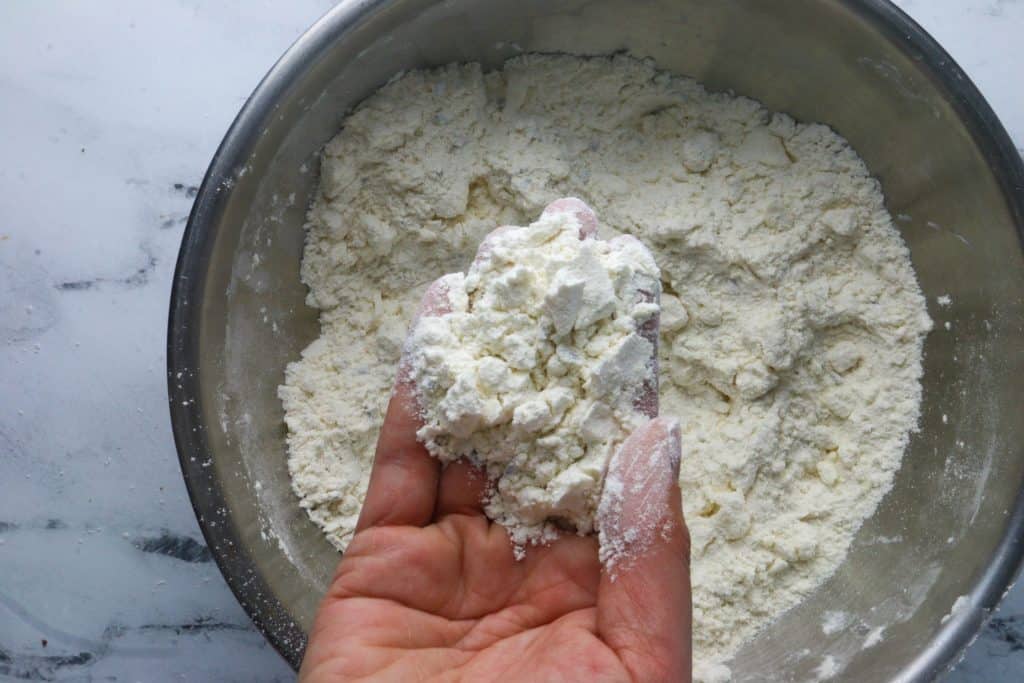
Then using your pastry cutter, cut the butter up until the butter is pea-sized, crumbly, but still visible.
Like so…
Bring on the chocolate…
You will still visible pieces of butter in the bowl and that’s what you want. Those butter pieces will help to create a flaky tender scone in the end. They will melt, and the water in the butter will steam and push apart the flour layers.
Once the butter is pea-sized and cut in properly, you want to stir in your chocolate chips. And then stir in the heavy cream.
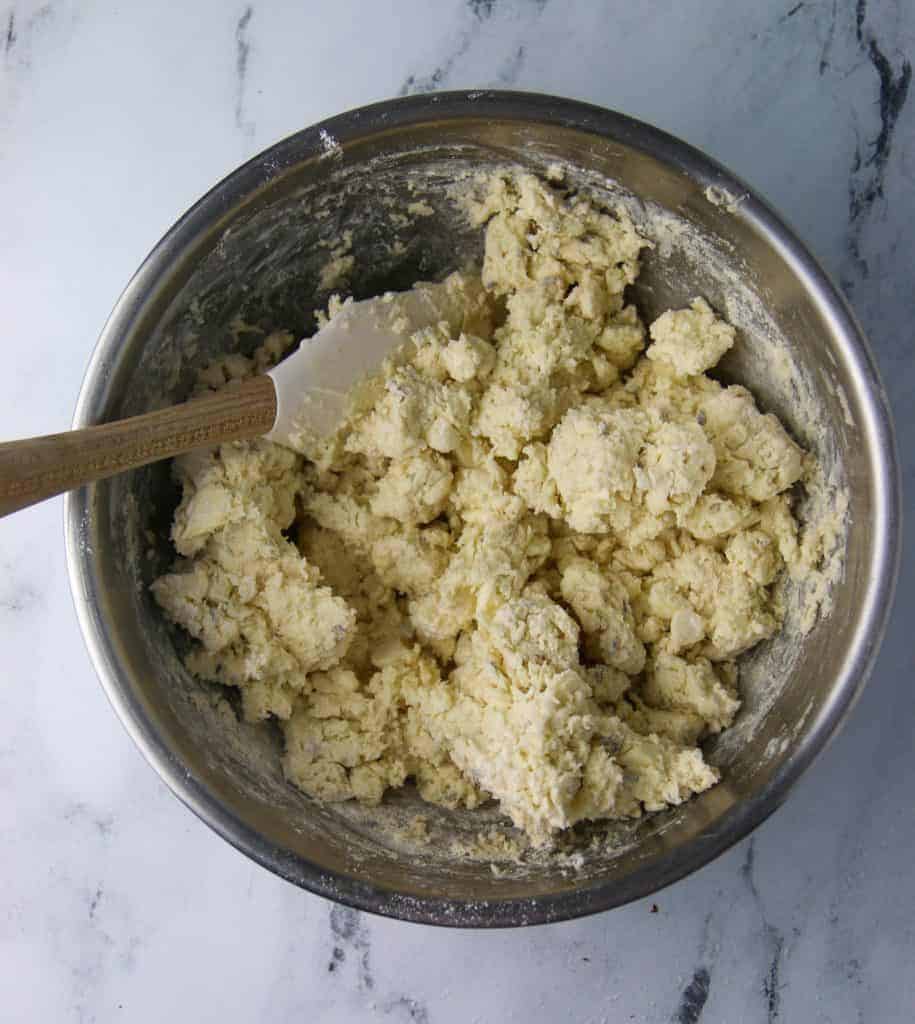
Cut the scones…
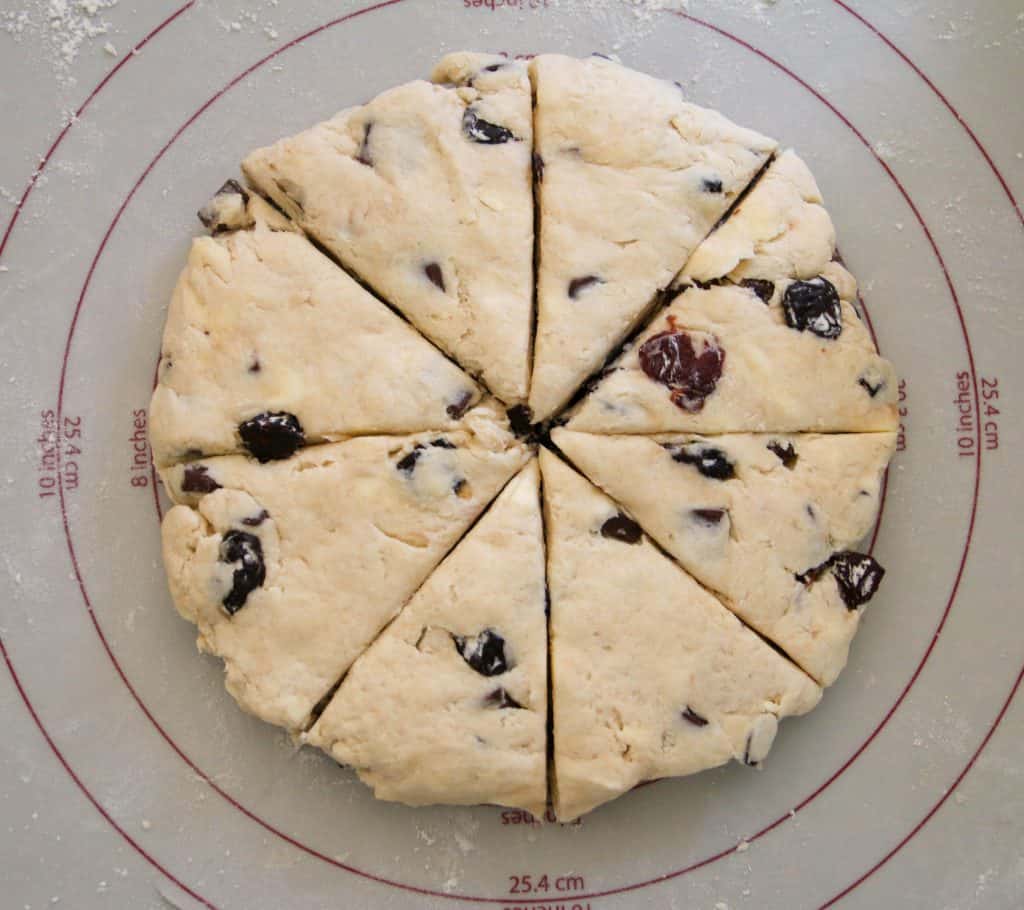
From there, you turn your dough onto your counter, knead the dough until it comes together and then pat into a circle.
…and cut into wedges. You want 8 equal sized wedges (basically cut ’em like you would a pizza). Easy peasy.
Heather’s Baking Tip
Before baking I like to refrigerate the scones for 15 minutes. This will help with the scones spreading in the oven!
Add icing…
Or don’t. That’s your call. But please do. Because it’s totally worth it.
Just whisk up a little confectioners sugar, vanilla extract, and lemon juice.
Then drizzle away….you won’t regret it.

Recipe Tips
- Be sure to measure your flour. You want to scoop it with a spoon, and then level it off with a knife. Here is a tutorial on how to do that. For best accuracy, it’s best to use a kitchen scale.
- Make sure to use cold butter for the scones. You want butter that doesn’t get incorporated into the flour so that it steams in the oven and creates wonderful flakiness.
- And cold cream! You want the cream to be cold as well so it doesn’t warm up the butter. So COLD, COLD, COLD. Got it? Good. Moving on…
- Knead the dough. You want to knead the dough together a few times to bring the dough together. But then stop kneading. Overkneading can cause a tough textured scone.
- Add a bit more cream. If your dough is not coming together and seems dry, add a teaspoon of heavy cream to the dough.
For More Tips On Making Quick Breads Like These Scones, Read This Ultimate Guide On Making Quick Breads.
Recipe FAQ’s
Yes, yes, and YES! If you don’t have a pastry cutter then cube the butter up as normal. Then toss it in the flour. Once the butter is coated in flour, go ahead and with your fingertips (ONLY – you don’t want your warm hands melting the butter) squish the butter into smaller and smaller pieces. Easy peasy. No special tools required.
Sometimes even as careful as you can measure, your dough will be on the dry side. I made batch after batch while working at a bakery and sometimes I needed to add a touch of extra cream to the dough. Blame the weather. I usually do. Just add a bit more cream and knead the dough together.
Store leftover scones in an airtight container at room temperature for up to 2 days or in the fridge for up to a week.
Oh yes! That’s what I love about scones. Once you cut them into wedges, you can freeze them by placing them on a cookie sheet. Then once frozen, wrap in either plastic wrap or store in a plastic bag in your freezer for up to 3 months. I like to do both to ensure they don’t have freezer burn. Then when ready to bake, no need to thaw, just bake frozen. You will just need to tack on a few extra minutes of baking time.
I do this by cutting the 8 wedges and then cutting those in half again.
These half sized scones will take less baking time of course. After the first 10 minutes, rotate the pan in the oven and bake 5 minutes more.
More Breakfast Recipes To Try
- Orange Cranberry Scones
- Dark Chocolate Cherry Almond Scones
- 1 Hour Cinnamon Rolls
- Nutella Scones
- Blueberry Lemon Scones
Tools Needed To Make These Scones
So hopefully I have inspired you to go ahead and whip your own batch of chocolate chip scones. Your brunch guests will thank you. As they lick their fingers and reach for another scone.

Chocolate Chip Scones
Ingredients
For The Dough
- 2 cups (240 g) all purpose flour
- 3 tablespoons granulated white sugar
- 1 tablespoon baking powder
- ½ teaspoon table salt
- 5 tablespoons unsalted butter cold
- 1/2 cup chocolate chips
- 1 cup (240 mL) heavy cream
- 1 teaspoon vanilla extract
For The Glaze
- 1 1/2 cups (170 g) confectioners sugar
- 3 tablespoons milk or heavy cream
- 1/2 teaspoon vanilla extract
Instructions
- Combine dry ingredients. In a mixing bowl, whisk together all purpose flour, sugar, baking powder, and salt.
- Cut in butter. Using your fingertips, two knives, or a pastry blender, cut the butter into the dry ingredients until the butter are pea-sized. If adding mix-ins, stir them in now.
- Add wet ingredients. Make a well in the center of the dry ingredients and add the heavy cream and vanilla extract. Stir to combine.
- Shape and cut the scones. Empty the bowl onto a lightly floured surface. Knead the dough lightly to bring the mixture together. Pat the dough into a 8-inch circle. Using a sharp knife cut the circle into 8 triangle wedges.
- Refrigerate scones. Line a cookie sheet with parchment paper or silicone baking mat. Place scones onto prepared cookie sheet, about 2 inches apart. Refrigerate for 15 minutes (this will help with spreading).
- Preheat and prepare pan. Preheat your oven to 400°F.
- Bake The Scones. Bake for 20-22 minutes until golden brown on top. Remove from the oven and cool on a cooling rack.
- Make Icing. In a small bowl, whisk together the icing ingredients. Drizzle over cooled scones before serving.
Notes
- Storage: Store leftover scones in an airtight container at room temperature for up to 2 days or in the fridge for up to a week.
- Freezing: Once you cut them into wedges, you can freeze them by placing them on a cookie sheet. Then once frozen, wrap in either plastic wrap or store in a plastic bag in your freezer for up to 3 months. I like to do both to ensure they don’t have freezer burn. Then when ready to bake, no need to thaw, just bake frozen. You will just need to tack on a few extra minutes of baking time.
- Measure flour correctly. Be sure to measure your flour correctly by scooping into your dry measuring cup and levelling off with a flat edge. For best accuracy use a kitchen scale. For a complete tutorial on how to measure your flour accurately, read this post.
- Use Cold Butter. Make sure to use cold butter. The cold butter will coat the flour which will shorten the gluten strands making for a tender scone. And because the butter is cold, it will not be absorbed by the flour, so when those pieces of butter are in the oven the water in the butter will turn to steam creating flaky layers and helping the scones to rise.
- Knead lightly. You don’t want to overwork the dough. Just knead enough for the dough to come together. Overworking the dough will develop the gluten causing the scones to be tough. It could also cause the butter to warm up and melt resulting in it getting absorbed into the dough.


Adrienne says
These are the most delicious scones! They are very moist and not at all dry or crumbly like some other scones I have had and the lightly sweet flavor made them delicious with or without the glaze. I opted to skip the glaze and brushed them with a little cream and turbinado sugar before baking and it added just the right amount of sweet and crunch. Great recipe!
Heather says
So glad you loved these Adrienne! Yes I love topping with turbinado sugar for the sweetness and crunch!
Patti W says
These were very easy to make. I may have kneaded a bit much. They came out good but not my favorite. As I was reading other comments I think orange zest would be a good addition.
Heather says
Glad they were easy to make. Yes I used to make them with orange zest, perhaps I need to go back to the original haha
Michelle says
These are the perfect texture and I love the glaze!
Lynn says
I’ve made these and used frozen blueberries and white chocolate chips. Wonderful ❤️
Heather says
Ooh love this flavor combo! 🙂
Andrea says
I’m making these ASAP! They are easier to make than I thought and I love chocolate chips. I also blame the weather when baked goods are dryer than normal. Extra cream, good tip.
Heather says
let me know how you like them!
Sharon says
The combination of the orange and chocolate chips is the perfect combination in these melt in your mouth scones. Perfect for breakfast or afternoon treat.
Holley says
I love how easy to follow this recipe is! The scones came out perfectly and were enjoyed by all!
Heather says
glad you loved them Holly!
Beth says
I love scones in the morning with my coffee. I can’t wait to make this one. Orange is a great kick in baked goods like this.
Kelsey says
I made these this weekend and they were amazing! The only thing I did different was add some orange zest when I added the chocolate chips. The recipe was so easy despite the fact that I haven’t made scones before. They were so fluffy and buttery with just the right amount of sweet. Thank you so much for sharing, this is going to be a regular recipe for me!
Heather Perine says
Glad you loved them Kelsey! I’ve made them with orange zest too a few times – it’s a wonderful addition!