This Post May Contain Affiliate Links. Please Read Our Disclosure Policy.
There is nothing worse than going to all the trouble to baking a cake only to have it stick to the pans! Learn how to prepare cake pans the right way so they never stick again in 4 easy steps.
I’d be lying to you if I said I’ve never had a cake stick on me. Just beautiful cakes unmolding from their pans to greet the world. No crumbs left behind. No bottoms stuck inside the pan mocking me. No friend that would be a straight up lie. And friends shouldn’t lie to one another.
I’ve had cakes stick. Half fall out, while the other stays behind. And let me tell you a cake sticking makes you really want to throw in the towel sometimes on baking. All that work just to watch it go to waste as the cake clings to dear life to that pan.
So it might be a simple topic in cake baking, but preparing your cake pans is one of the crucial steps to having that beautiful cake to present to your loved ones in the end.
So why prepare your cake pans before baking? Ok well I think we got that one covered. So they don’t stick! Unless you’re baking an angel food cake that actually requires a non-greased pan to stick to you will be preparing your cake pans in some way or another. So here is my fool proof method for how to prepare cake pans.
Step 1: Brush the sides, corners and bottom of your cake pan.
I use softened butter or melted shortening and use a pastry brush to brush it on. I don’t recommend using a basic non-stick cooking spray because I find the flour in step 4 doesn’t always adhere as smoothly as I would like. Also, for some non-stick pans the spray can do some funky things to your pans over time. But a baking spray with flour, or Baker’s Secret are two great options if you want a quicker method than butter.
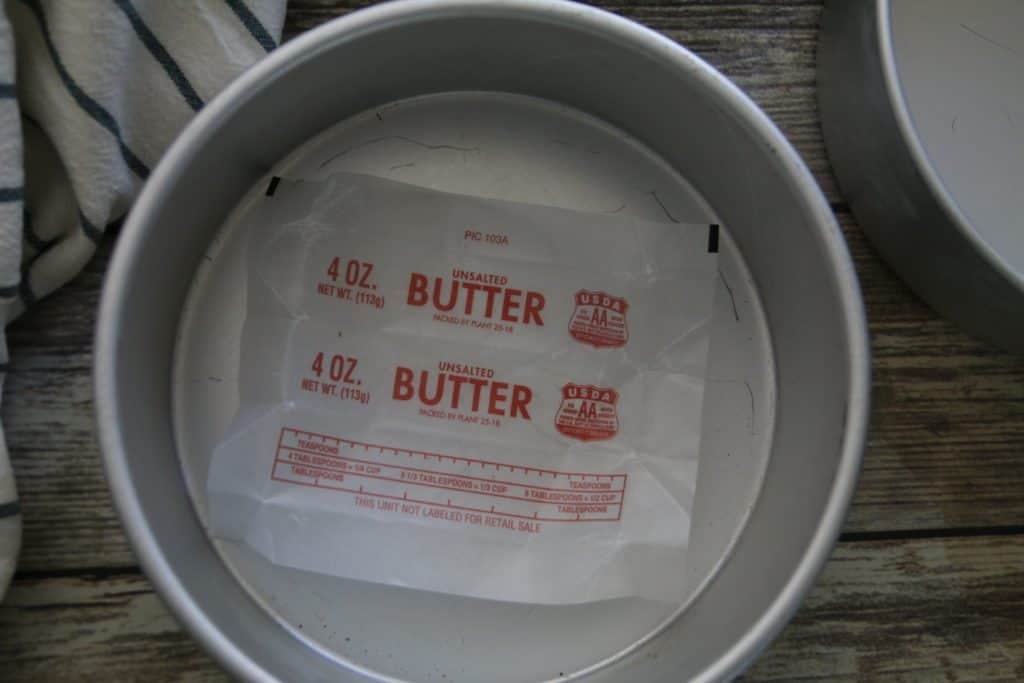
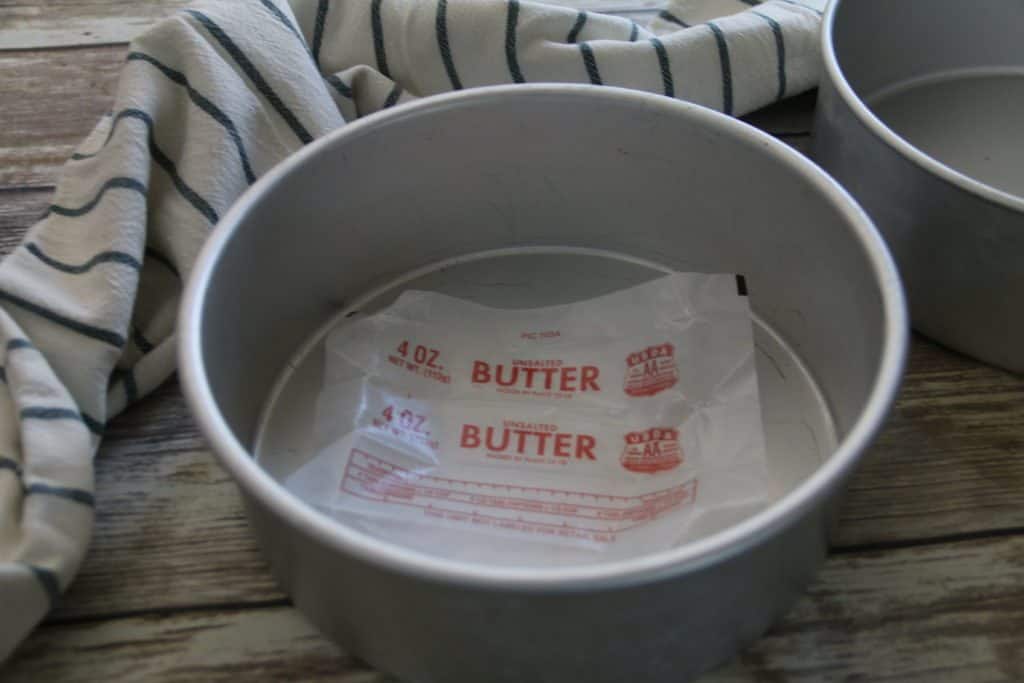
Now sometimes your butter wrappers have enough leftover butter on them, that you can use those to grease your pans with. Sometimes not. But worth a shot right?
Just be sure to get all sides (you won’t need to brush all the way up to the top but about an inch up) and corners (if you’re greasing a square pan).
Pro Tip: If you are greasing a bundt pan, avoid using butter and stick with shortening. The milk solids in butter can act like glue, encouraging cake batter to stick to the pan.
Step 2: Cut Out A Parchment Circle
Now I used to skip this step. Sometimes my cake came out. Sometimes it didn’t. That’s when I learned that butter and flour just weren’t enough. Enter parchment paper. Oh my, how did bakers get along without you? I always make sure to have parchment paper on hand.
And for the record, wax paper and parchment paper are not the same. Wax paper will burn in your oven. Ask me how I know 😉
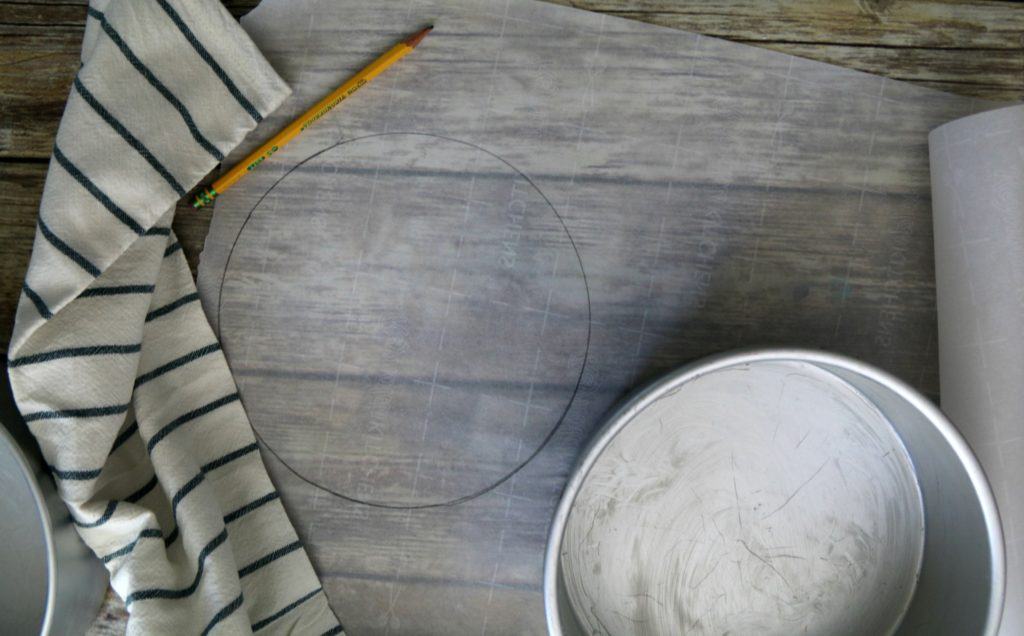
Simply place your pan onto a piece of parchment paper and trace around the pan. Then cut out the circle (or square if that’s what you’re working with).
Then flip the parchment paper over. You don’t want any markings getting baked into your cake! And then just press into the bottom of your pan. Voila! You can buy premade parchment circles, but I prefer the cheap DIY version.
Step 3: More butter baby.
Yes more butter (or shortening) We greased our pans and lined with parchment paper. But I like to go one step further and brush the parchment circle with a bit more butter to help ensure there is absolutely no sticking.
I have a fear of cakes sticking clearly. Are there support groups for people like me? 🙂
But again, just brush a little more butter onto your parchment circle.
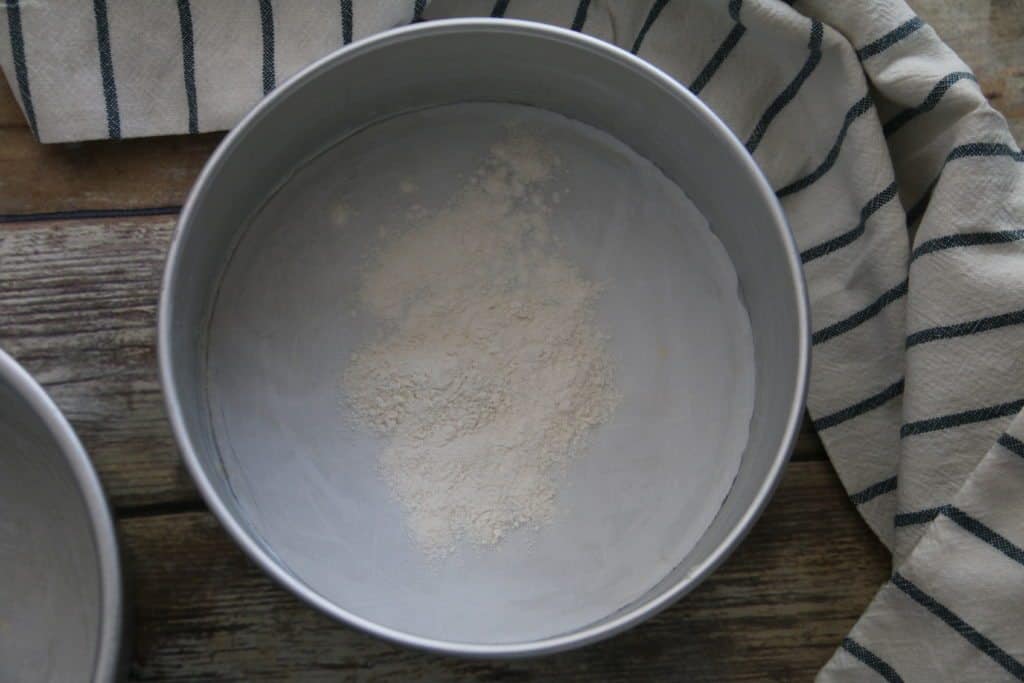
Step 4: A little bit of flour.
Now that your pan is nice and greased up and lined with parchment paper. Time for a little bit of flour. Sprinkle a few tablespoons of flour into the bottom of your pan and turn the pan to coat the flour. Once the pan has been thoroughly coated in flour just tap out the excess.
If you are flouring a bundt pan, don’t use flour at all. Try using almond flour or granulated sugar. And grease the bundt pan right before adding the batter. Not first thing, otherwise your coating will just slide down the bundt pan.
Pro Tip: Baking a chocolate cake? Try coating with cocoa powder instead of flour for a nice deep brown color on the outside.
When your cake comes out of the oven, run a knife along the edge to loosen the sides. If you wait for it cool, it will become more difficult to do so.
And there you go. The right way to prepare your cake pans. Four simple steps. No cake sticking. No curse words thrown around your kitchen.
Cake Pans Still sticking?
Are you re-using a pan and making multiple batches? Be sure to clean the cake pans in between. Any leftover crumbs sticking to the sides can make the next cake stick to the pan.
Of course your cake sticking to your pan can be just one cake pitfall you might encounter. This article from Craftsy, goes over 5 more common baking pitfalls to avoid when baking cakes!
Now that you know how to prepare cake pans, here are a few recipes to flex your cake pan muscles with:
White Chocolate Red Velvet Cake
Peanut Butter and Jelly Coffee Cake
Happy Baking!


Comments & Reviews
Type your question or comment below, and tap "Post Comment". I welcome constructive criticism, but please be respectful. Rude or inappropriate comments will not be published. Thank you!Baking isn't always easy! So if you had any issues, I'd appreciate the chance to help you troubleshoot before you rate.