This Post May Contain Affiliate Links. Please Read Our Disclosure Policy.
When it comes to beautifully decorated sugar cookies for the holidays, royal icing is the answer! This royal icing recipe makes that hardens and sets, creating a shiny finish.
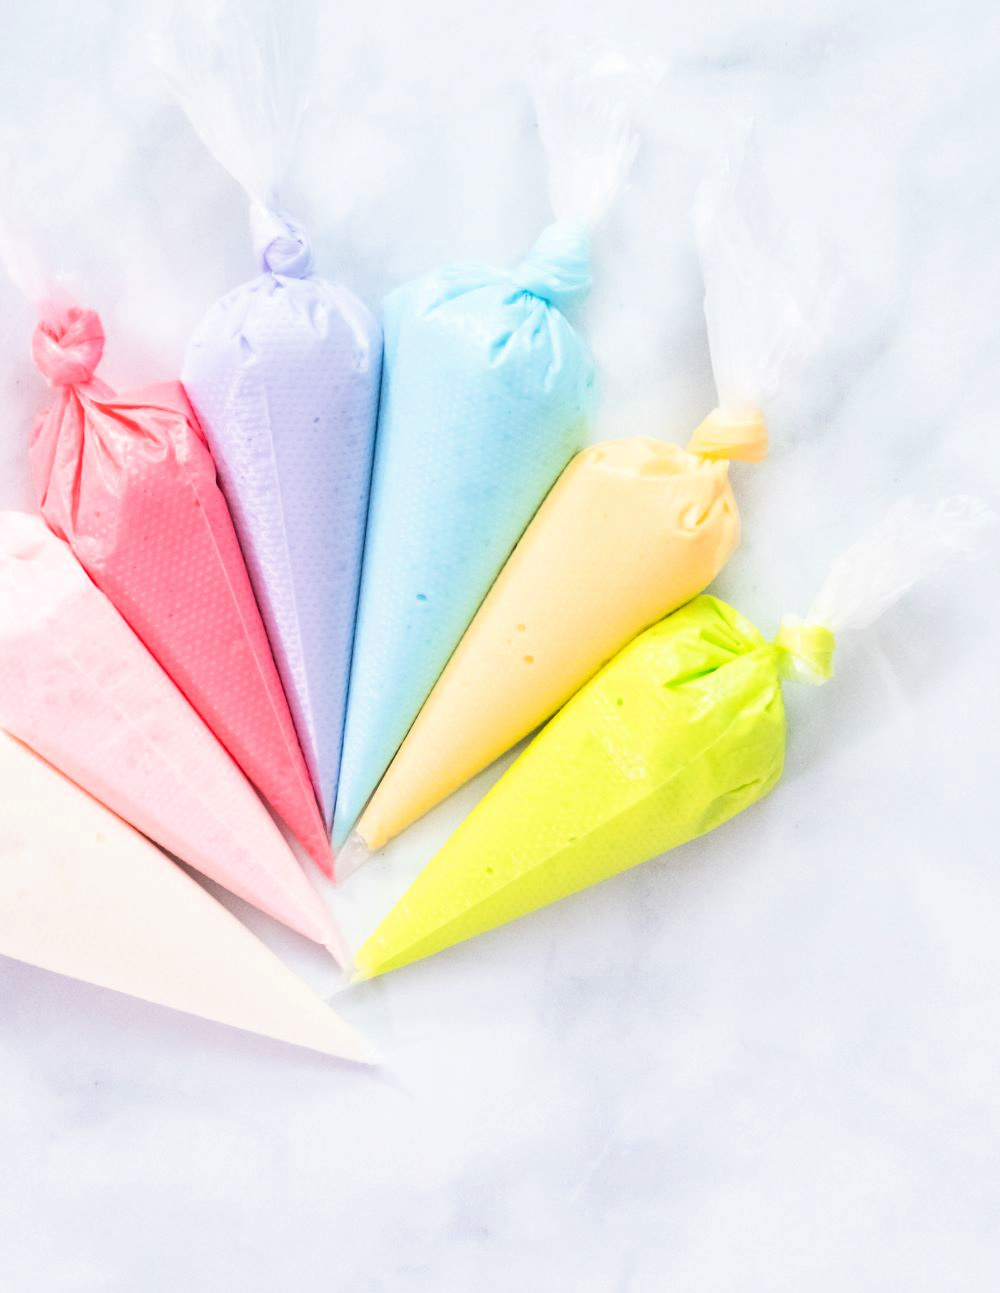
When I first attempted decorating sugar cookies with royal icing I found it all SO tedious. The different icing consistencies. The detailed decorating with the fussy icing. But this royal icing recipe is definitely by far the easiest work with!
It’s made with meringue powder making it super easy to mix up. And you only need to make it one icing consistency that can be used for all your cookie decorating.
I love using this royal icing recipe to decorate, cut out shortbread cookies, cut out sugar cookies or gingerbread cookies this time of year. They are so fun and easy to decorate. And almost (I say, almost) too pretty to eat.
See Also:
- My easy sugar cookie frosting is perfect to frost your sugar cookies with this Christmas. Grab your spatula and sprinkles!
- If you need a quick and easy way to decorate your cookies, make my simple cookie glaze that is made with just four simple pantry ingredients.

What is royal icing?
Royal icing is used in decorating cookies and can be used to create beautifully decorated cookies – with wonderful detailed work!
It is usually made with either raw egg whites or meringue powder to create an icing that hardens and dries onto the cookies.

What is meringue powder?
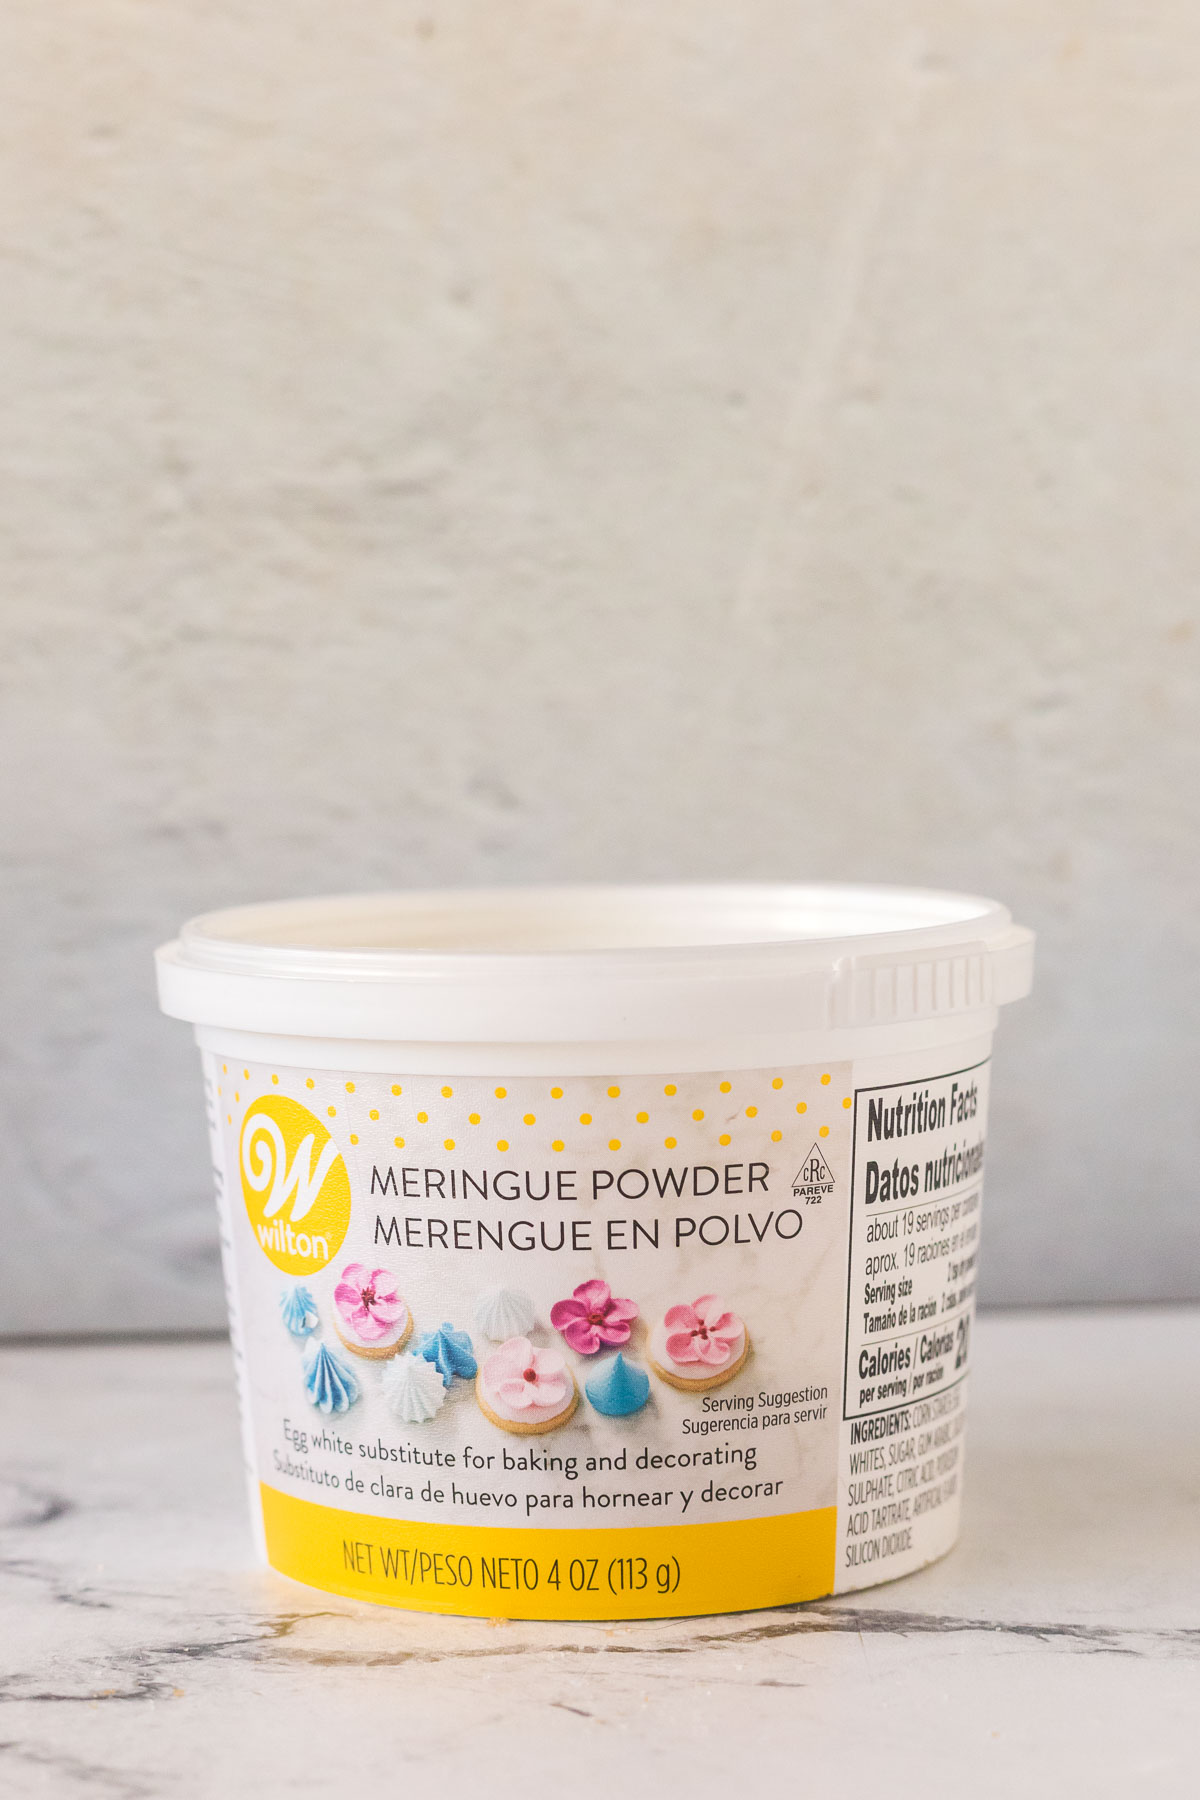
Meringue powder is a dried powder that is made of cornstarch, egg whites, and a stabilizer. It replaces the egg white used in traditional royal icing recipes.
You can find it in sometimes in the baking aisle of your grocery store, or in craft stores, or you can also purchase online.
You might find a royal icing recipe that uses raw egg whites instead of meringue powder. Meringue powder replaces the egg whites in these traditional royal icing recipes.
Both will create a shiny icing that sets on top your cookies. However I prefer to use meringue powder over egg whites. First, I think it’s just quicker and easier to use than using raw egg whites. Because it contains powdered egg whites, they are pasteurized so you don’t have to worry about contamination either.
Ingredients Needed
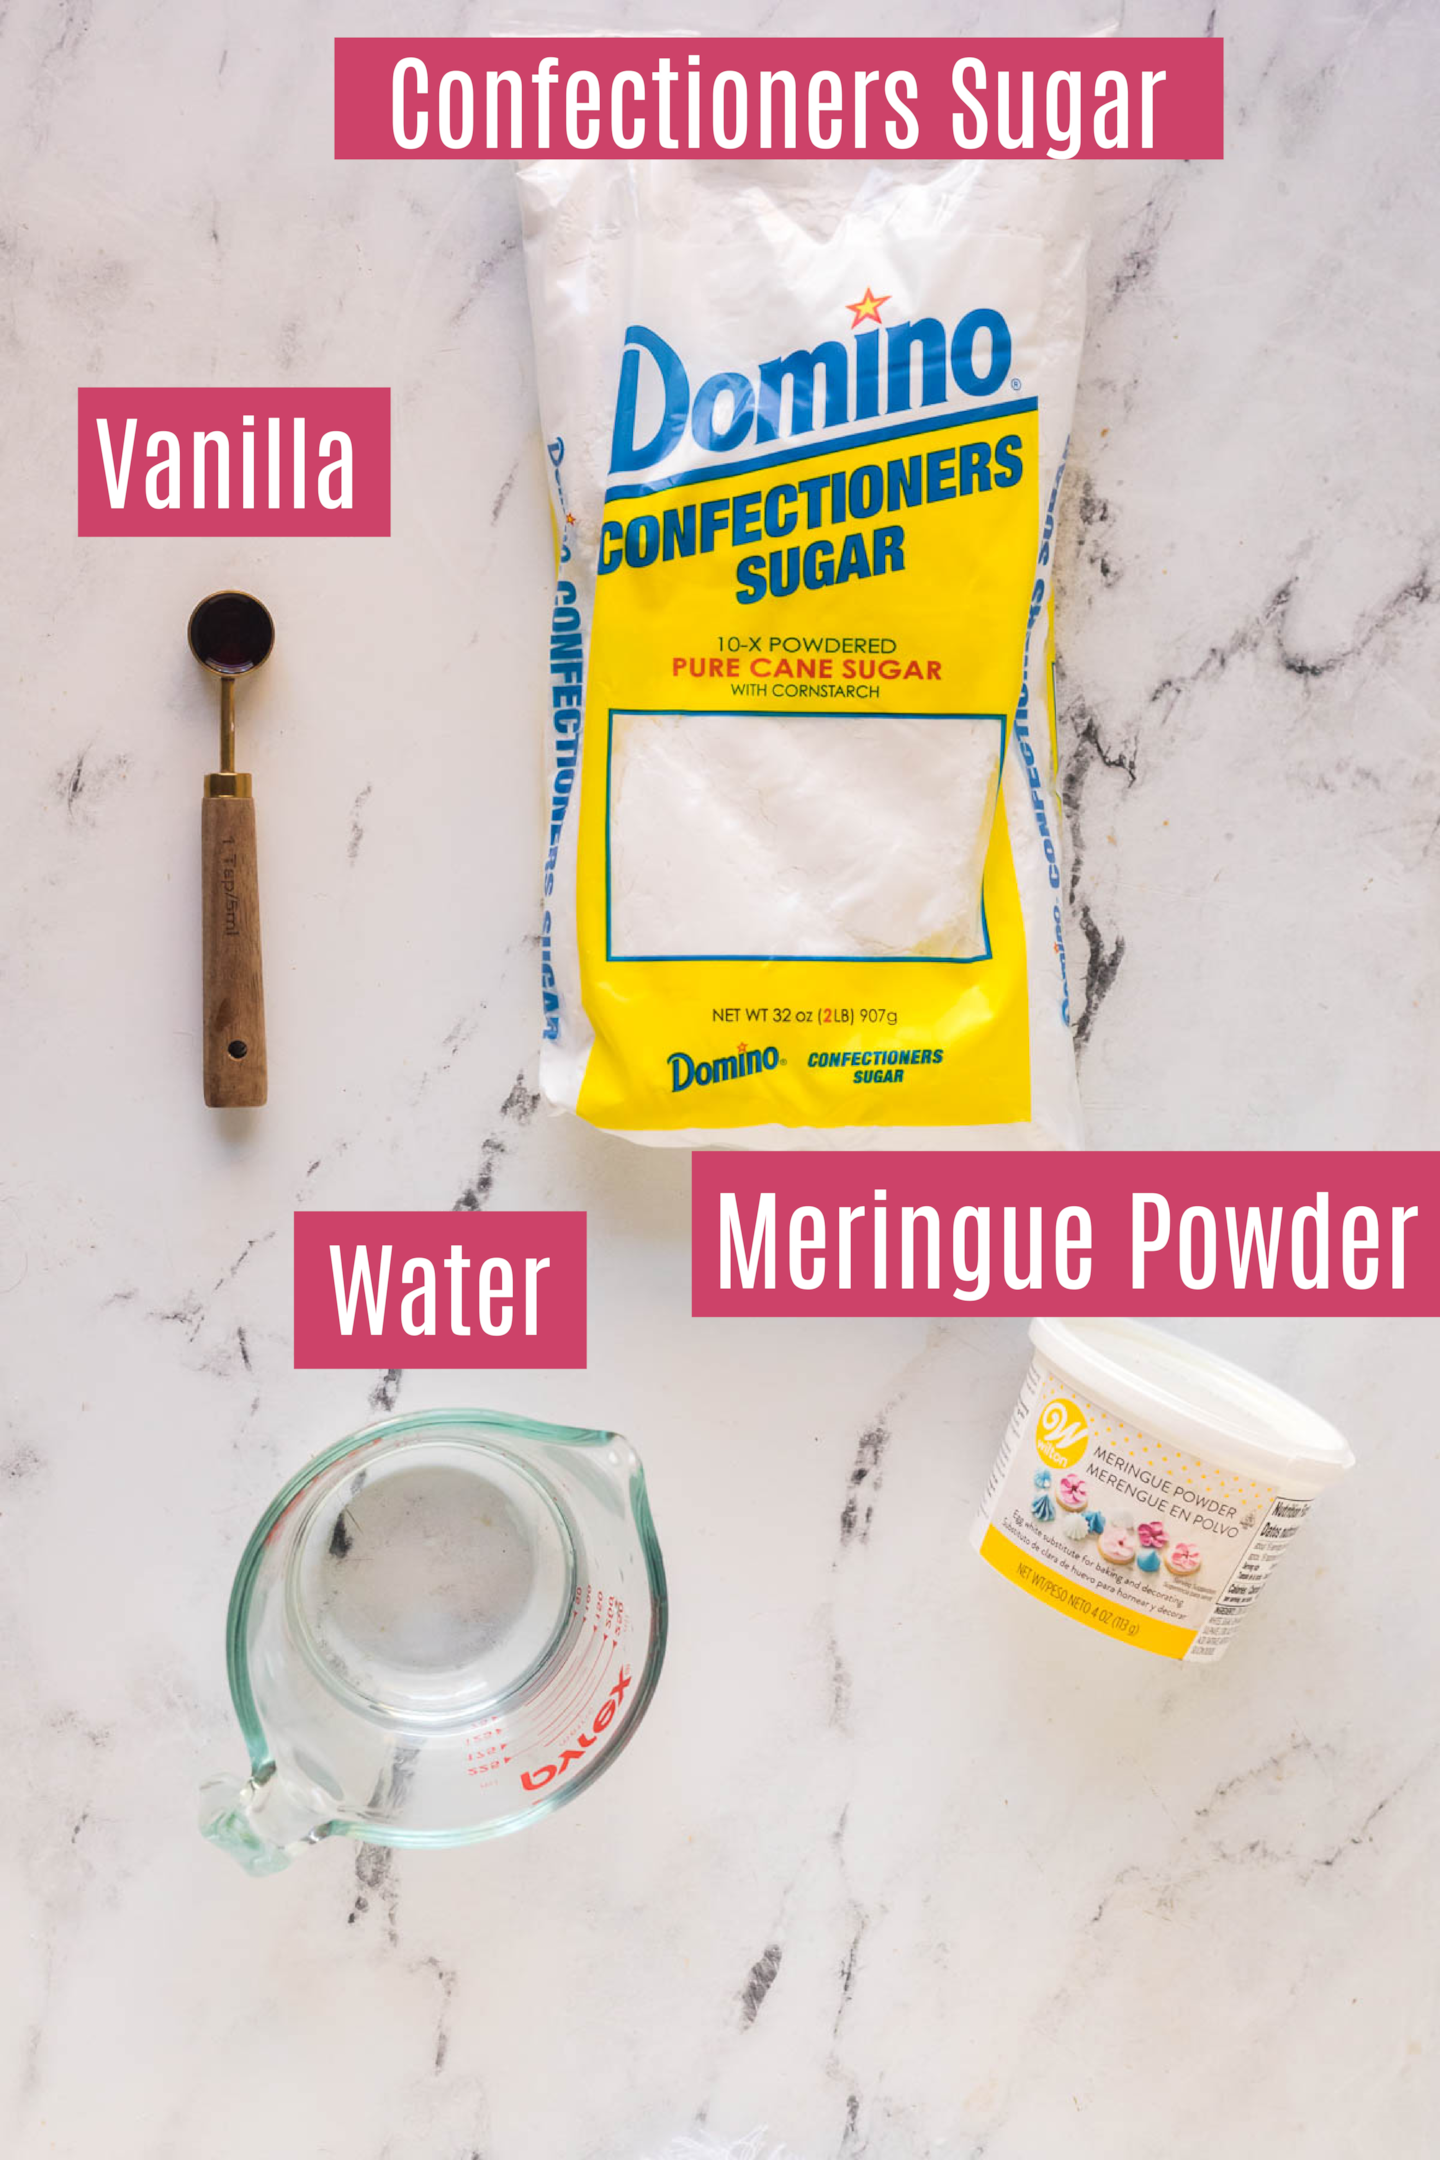
- Confectioners sugar – Also known as powdered sugar, or icing sugar. It’s important that after measuring the confectioners sugar, that you sift it to ensure a lump free icing.
- Meringue powder – To replace the egg whites in a traditional royal icing recipe. Do not replace with powdered egg whites as meringue powder has other ingredients in it to help create a stable icing.
- Water – The amount of water can vary depending on the consistency you need. You want to use warm water to help dissolve the meringue powder.
- Vanilla extract – You don’t have to flavor the icing, but I find it just sickly sweet without some flavor. I prefer to use pure vanilla extract but imitation would also work. If you want a pure white icing, then you could also use clear vanilla extract.
How to make royal icing
- In a bowl of your stand mixer, with a whisk attachment, beat together the vanilla extract, 8 tablespoons warm water, sifted confectioners sugar, and meringue powder for 7-10 minutes until soft peaks form. The icing should have a thick, honey like consistency.
- Gradually add the extra 2 tablespoons of water one at a time until a smooth icing consistency begins to form, The icing should have a thick, honey like consistency. Scrape down sides of then bowl as needed.
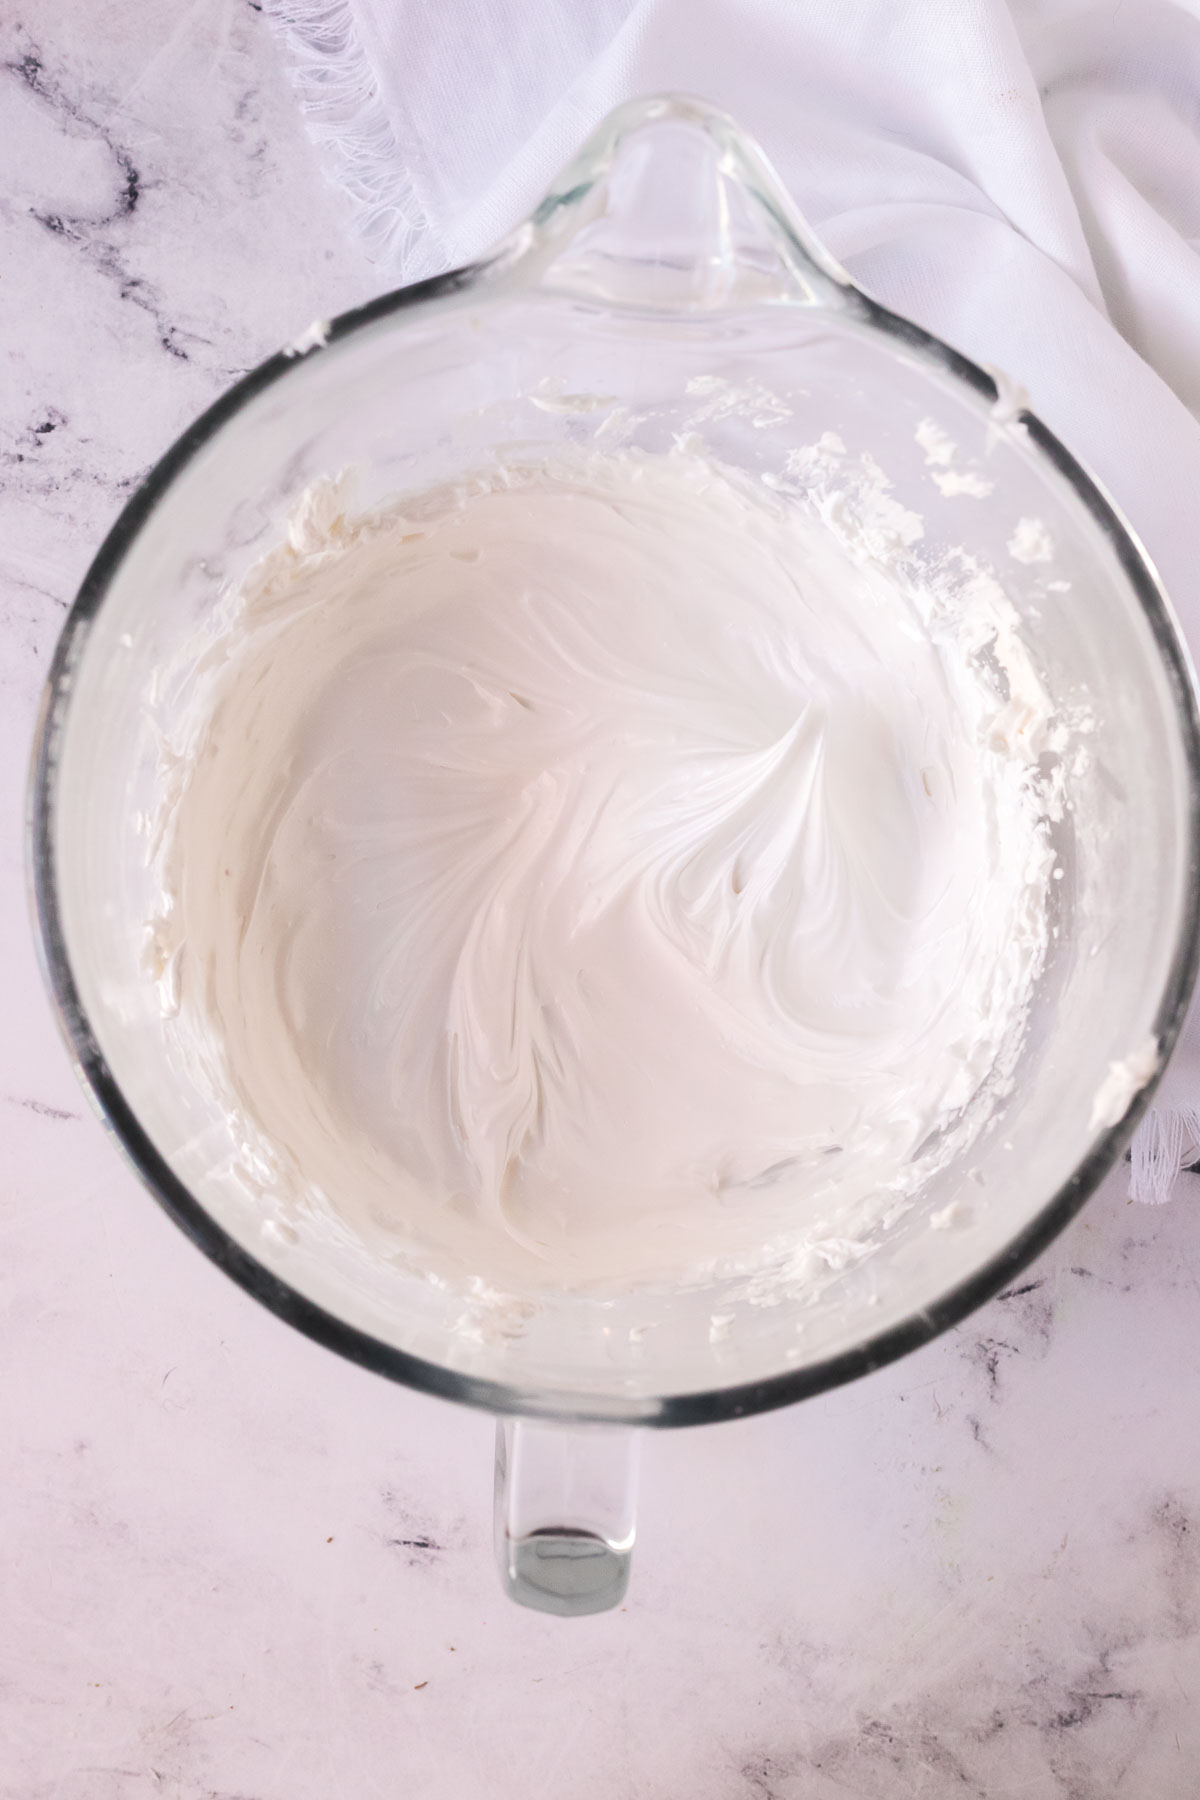
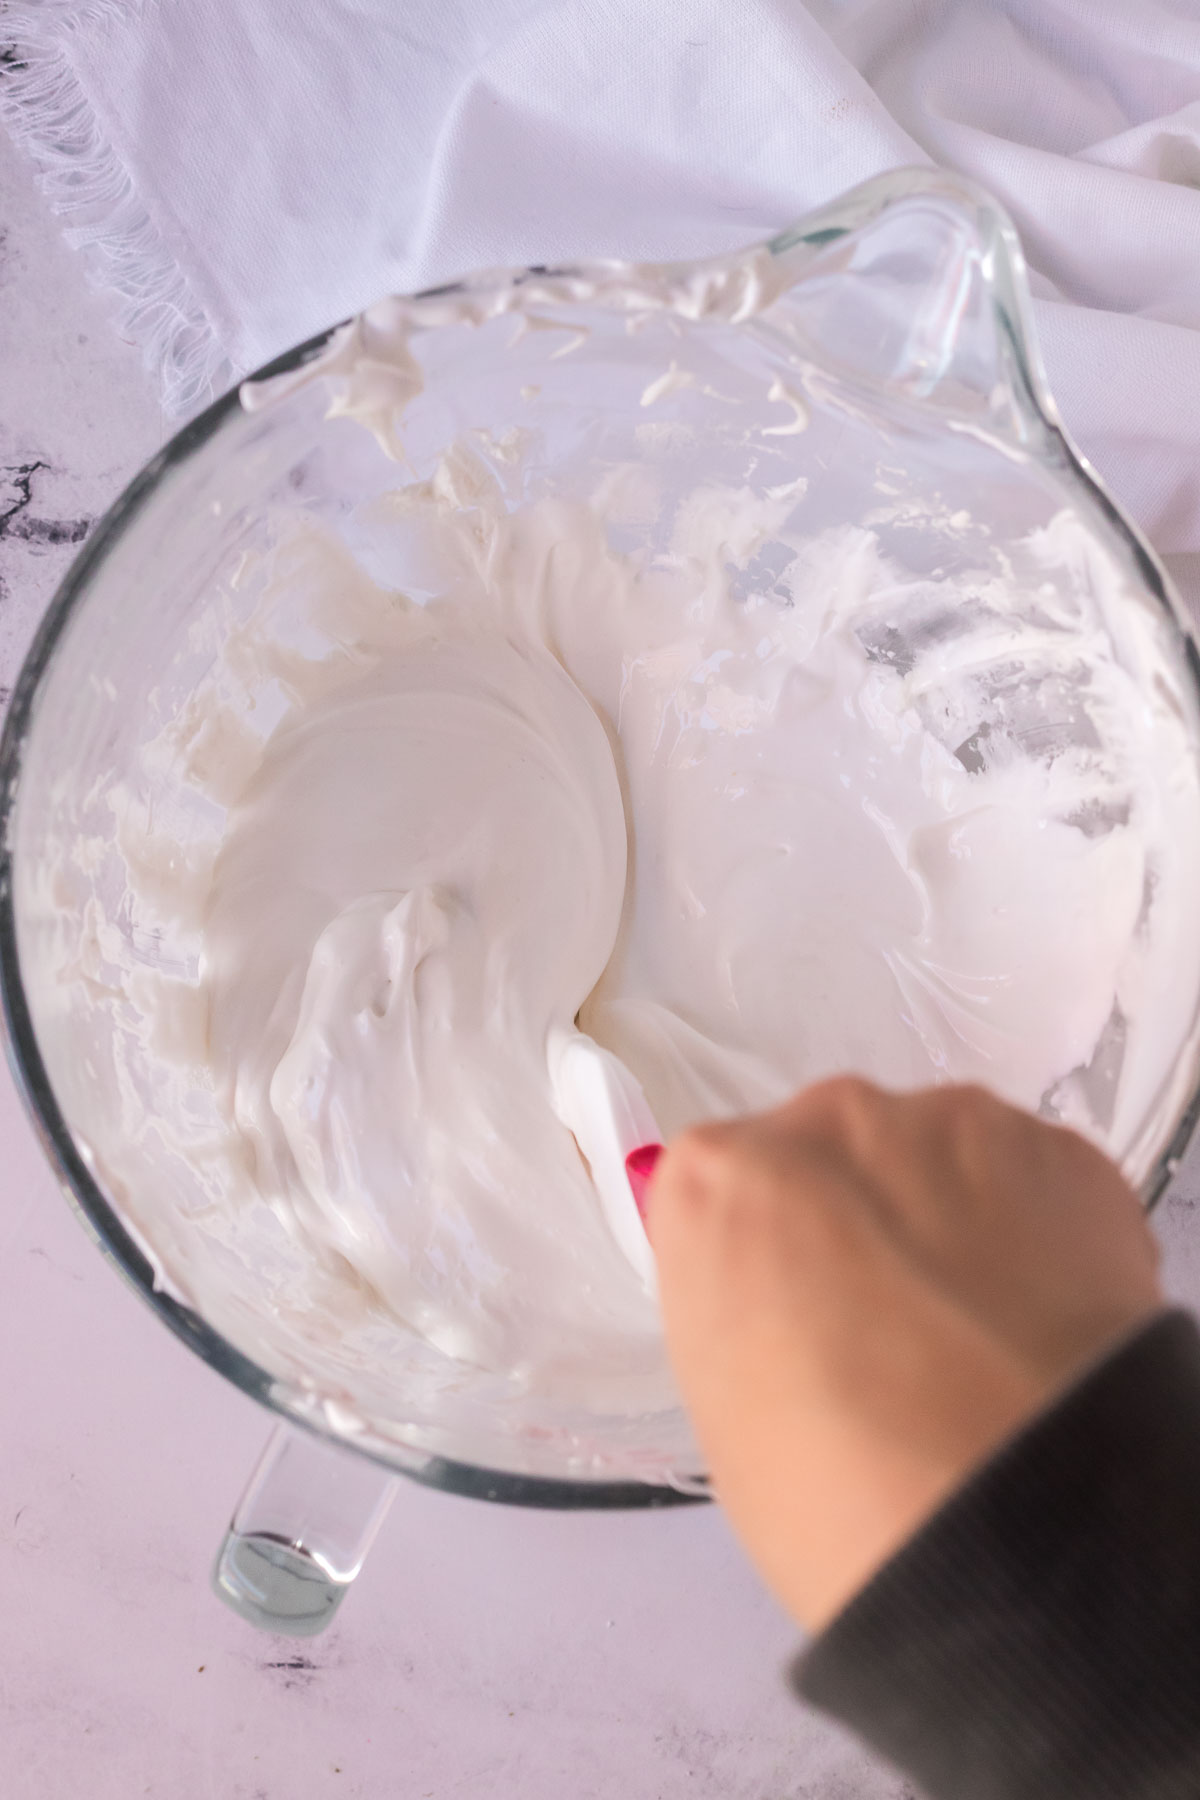
- Check the consistency of the icing. Run a spatula through the icing – the gap should fill in within 15-20 seconds. If it’s too thick, add more water a little at a time. You may need to add additional tablespoons of water (I have had to add up to 14 tbs of water on some days).
Royal icing consistency
Depending on the amount of water you add, you can adjust the consistency of your royal icing. There are usually two consistencies – a thicker icing for outlining, and then a thinner icing for flooding consistency to fill in the cookie outline.
The thicker icing, or icing used for outlining, has less water added to it so it doesn’t drip off the edges of the cookies. And the thinner icing will be used to flood the inside of the cookie.
The only issue is with this? The thick icing can be difficult to pipe. And you have to then make essentially two icings, or at least adjust the thicker icing once you’ve outlined your cookies. This means filling up two piping bags. Playing around with adding the water. No thank you. It’s the holidays, can we have some simplicity here?
Enter this royal icing recipe, I prefer to make a medium consistency icing that is somewhere in between so you don’t have to make two different consistencies. You can use the same icing to then outline and flood your cookies
The icing should be thick, like honey but still easy enough to pipe. You want to run a spatula through the icing in the bowl and the gap should fill in within 15-20 seconds. If it’s too thick, add in a little extra water. And if it’s too thin, add a little more powdered sugar.
Amount of water needed
The amount of water can vary. I recommend starting with 8 Tablespoons, and then after soft peaks form add the extra 2 tablespoons.
I’ve made this royal icing recipe a few times, and have added somewhere between 10 to 12 tablespoons of warm water. But there have been times that I’ve needed to add even more- up to 14 tablespoons. It’s really more about achieving the consistency you need, rather than following an exact recipe for the water.
Test the icing with the 15-20 second spatula check and add water, a little at a time, until the consistency you need is desired.
Decorating Cookies
To decorate your cookies you are going to need (and want!) some basic decorating tools.
- Piping bags – I like to use disposable piping bags, in either 18-inch or 12-inch sizes. Or you can purchase reusable bags instead of disposable ones but I find over time these can get difficult to get clean and grease-free. But if you’re decorating with kids, a squeeze bottle then might be a better option! They’re easy to fill and use when decorating cookies.
- Piping Tips – If using a piping bag, then you will want a small piping tip, like the Wilton piping tip #4. If you want to decorate with more detailed work then you might want to use a smaller tip, like a Wilton tip #2 or Wilton icing tip #3.
- Food coloring – I recommend a gel food coloring, instead of a liquid food coloring. Gel food coloring won’t add more liquid and change the consistency of your icing.
When decorating your cookies with royal icing, it can dry out fast. So if you’re working with multiple colors, keep a damp paper towel over the bowls not in use so it doesn’t create a crust on top. Or if it’s in a piping bag, wrap a little plastic wrap around the piping tip so it keeps it from forming a crust.
Cookie Decorating Tools
 Buy Now →
  Buy Now →
  Buy Now →
  Buy Now →
 Coloring royal icing
You can keep the royal icing white or you can add in food coloring and make your icing any color you want for whatever your holiday you are decorating your cookies from.
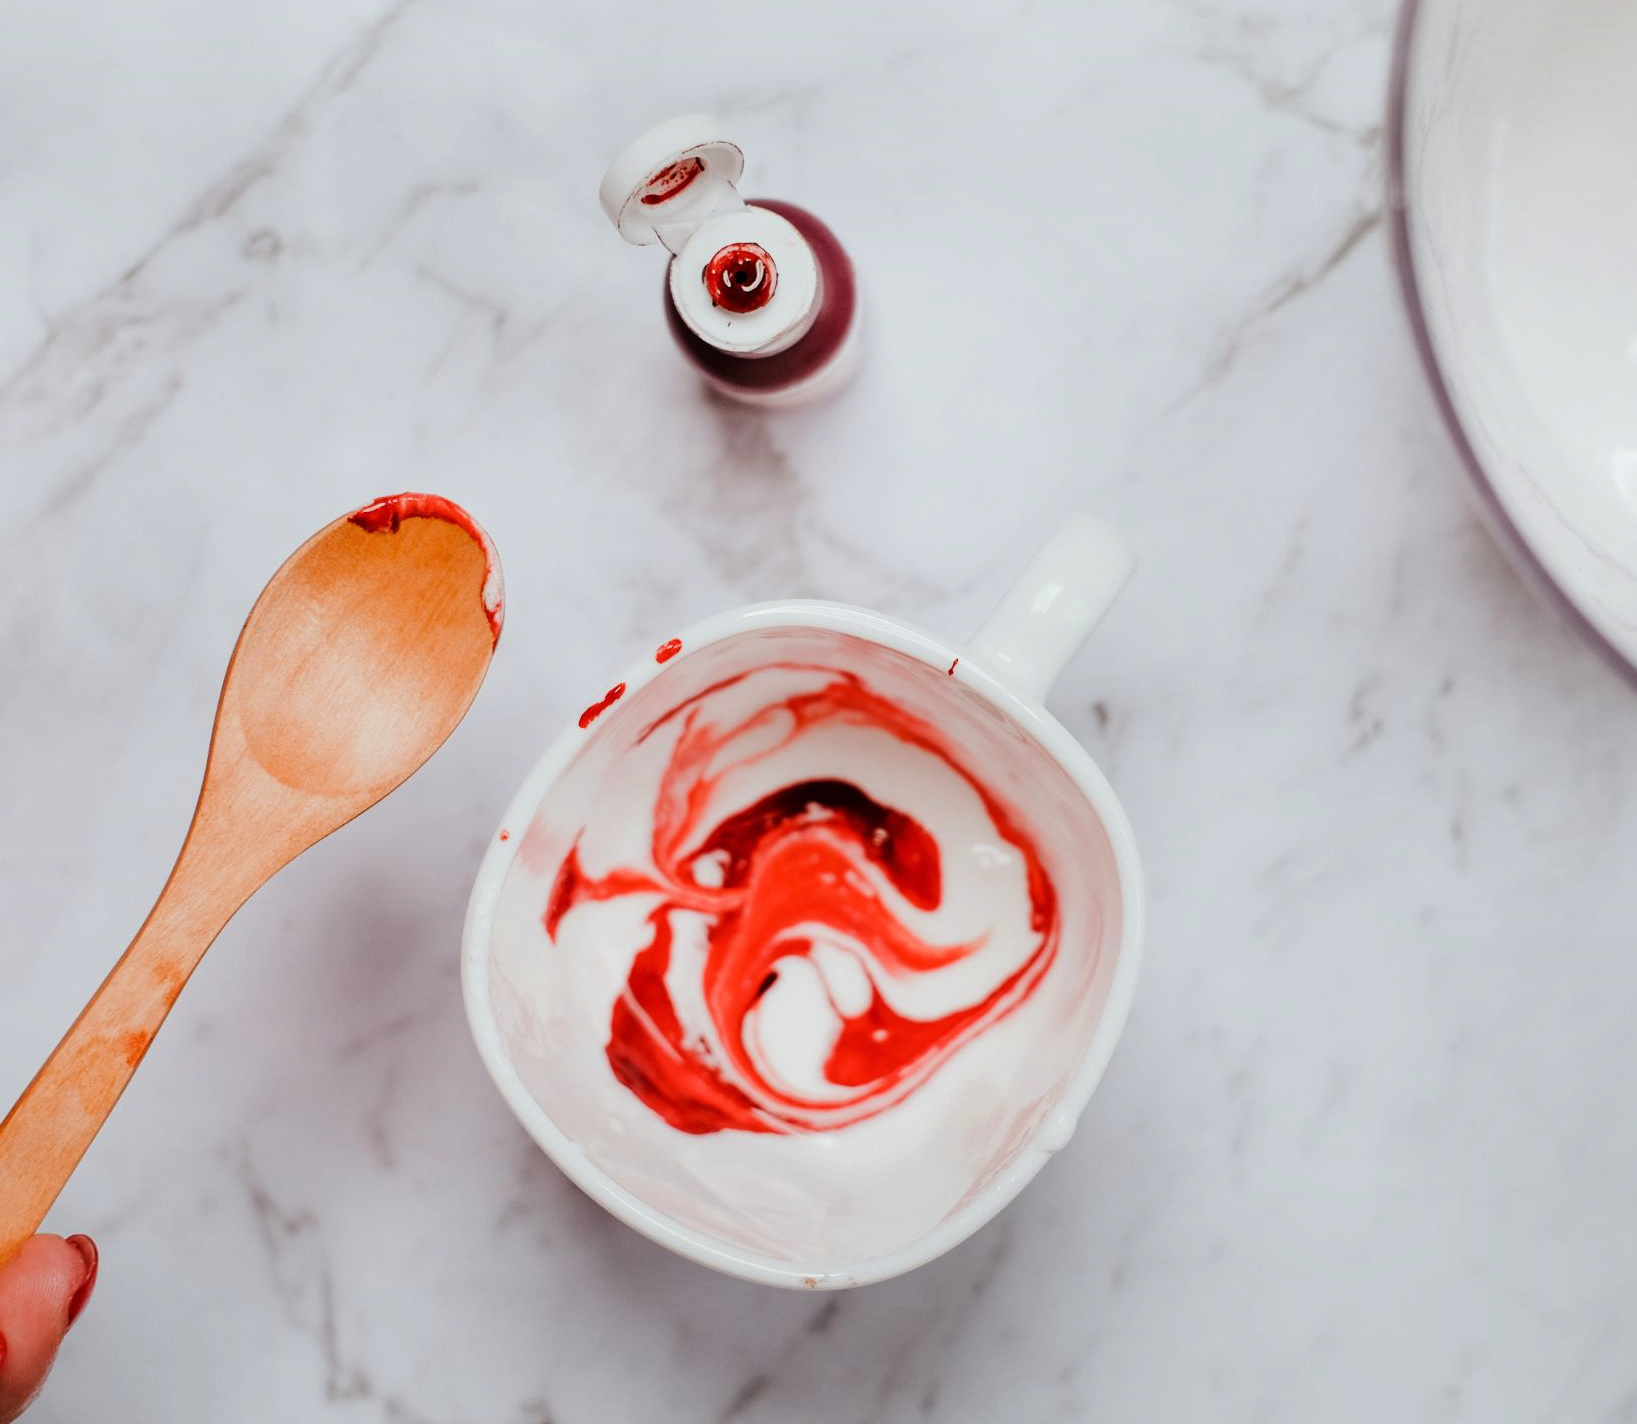
Gel food coloring is preferred – It will add less liquid than using liquid food coloring. I find I can get a much more vibrant color, by using very little coloring when using gel. If you are using liquid food coloring, then be aware this can thin out your icing consistency so be careful on how much you add.
- Separate your icing into small bowls first. Divide the royal icing into small bowls depending on how many colors you plan on using.
- Use a toothpick. To add the gel food coloring, I recommend adding a little at a time with a toothpick. A little goes a long way. So add some and give it a stir.
- Your icing colors will darken over time. After adding the food coloring, wait a a few minutes. The colors of the icing will darken over time, and will also darken once it dries on the cookie. So go easy on the food coloring!
Flavoring royal icing
You don’t have to add any flavoring at all. But I think it needs a little flavoring otherwise it’s just sweetness and nothing else. I like to just add vanilla extract, but you can also swap and use a different extract.
I find other extracts to be stronger in flavor so I recommend using less – a 1/2 teaspoon. Add your extract, and give it a taste. Just make sure it’s an oil-based extract. Try adding:
- Lemon extract
- Peppermint extract (not mint extract which can taste like toothpaste!)
- Almond extract
- Coconut extract
- Orange extract
Recipe Tips
- Use gel food coloring – You will only need to use a little to achieve a vibrant color and it won’t thin out your icing, like liquid food coloring.
- Adjust the consistency if needed – You can always adjust the thickness of the icing by adding more confectioners sugar and making it thicker, or making it thinner by adding more water.
- Use meringue powder, not powdered egg whites. These are two different things and won’t create the same result. Meringue powder has cornstarch and stabilizers in it to help make for a smooth, shiny royal icing that sets.
- Be sure to sift the powdered sugar. This will ensure a smooth, lump free royal icing.
- Cover up the icing you’re not using. Keep the royal icing, you’re not using covered when not in use so it doesn’t form a crust and harden over. I place a damp paper towel over the bowls not in use so it doesn’t create a crust on top. Or if it’s in a piping bag, I like to wrap a little plastic wrap around the piping tip so it keeps it from forming a crust.

Storing Royal Icing
How do I store royal icing?
You can store this icing, covered, at room temperature for up to two weeks. Or you can store in the fridge as well, but let it come to room temperature first before using. Be sure to seal it up tight so it doesn’t dry out.
You may need to re-whisk it again before using. If it’s thickened up too much, you can a little water, or a few extra drops of coloring to thin it out.
Yes you can freeze royal icing. Be sure to store in an airtight container or bags – try to squeeze as much air out as possible. It’s best to store different colors in their own separate bags. When ready to use, thaw overnight in the refrigerator and bring to room temperature before using.
You can also freeze decorated cookies with royal icing. They freeze beautifully! Make sure your royal icing has dried and set. I like to freeze my cookies first on a baking sheet with parchment paper until frozen solid. Then I transfer them to an airtight container, and separate the cookies with a layer of wax paper or parchment paper. You can thaw overnight in the refrigerator, or more quickly at room temperature.
More Recipes To Try
Let’s Bake Together!
Subscribe to my newsletter to never miss a new recipe or baking challenge! And if you bake one of my recipes be sure to tag me on Instagram. You can also follow along with me on Facebook and You Tube.
Royal Icing
Equipment
Ingredients
- 1 teaspoon vanilla extract
- 10-12 tablespoons warm water
- 4 cups (450 g) confectioner’s sugar sifted
- 3 tablespoons meringue powder
Instructions
- In a bowl of your stand mixer, with a whisk attachment, beat together the vanilla extract, 8 tablespoons warm water, sifted confectioners sugar, and meringue powder for 6-8 minutes until soft peaks form. Start mixer on low, then gradually increase the speed to medium high.
- Gradually add the extra 2 tablespoons of water one at a time until a smooth icing consistency begins to form, The icing should have a thick, honey like consistency. Scrape down sides of then bowl as needed.
- Check the consistency of the icing. Run a spatula through the icing – the gap should fill in within 15-20 seconds. If it’s too thick, add more water a little at a time. You may need to add additional tablespoons of water (I have had to add up to 14 tbs of water on some days).
Notes
- Storage: You can store this icing, covered, at room temperature for up to two weeks. Or you can store in the fridge as well, but let it come to room temperature first before using. Be sure to seal it up tight so it doesn’t dry out. You may need to re-whisk it again before using. If it’s thickened up too much, you can a little water, or a few extra drops of coloring to thin it out.
- Freezing: Store in an airtight container or bags – try to squeeze as much air out as possible. It’s best to store different colors in their own separate bags. When ready to use, thaw overnight in the refrigerator and bring to room temperature before using.
- Freezing decorated cookies: Make sure your royal icing has dried and set. I like to freeze my cookies first on a baking sheet with parchment paper until frozen solid. Then I transfer them to an airtight container, and separate the cookies with a layer of wax paper or parchment paper. You can thaw overnight in the refrigerator, or more quickly at room temperature.



Comments & Reviews
Type your question or comment below, and tap "Post Comment". I welcome constructive criticism, but please be respectful. Rude or inappropriate comments will not be published. Thank you!Baking isn't always easy! So if you had any issues, I'd appreciate the chance to help you troubleshoot before you rate.