Small Batch Cheddar Biscuits
This Post May Contain Affiliate Links. Please Read Our Disclosure Policy.
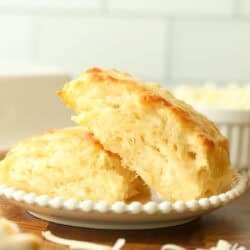
These small batch cheddar biscuits are buttery, flaky, and loaded with sharp cheddar cheese! Made with cold butter and tangy buttermilk, they bake up golden brown with tender centers and delicious flaky layers. This easy recipe makes just four biscuits, perfect for a smaller family dinner or when you’re craving homemade biscuits without making a whole batch.
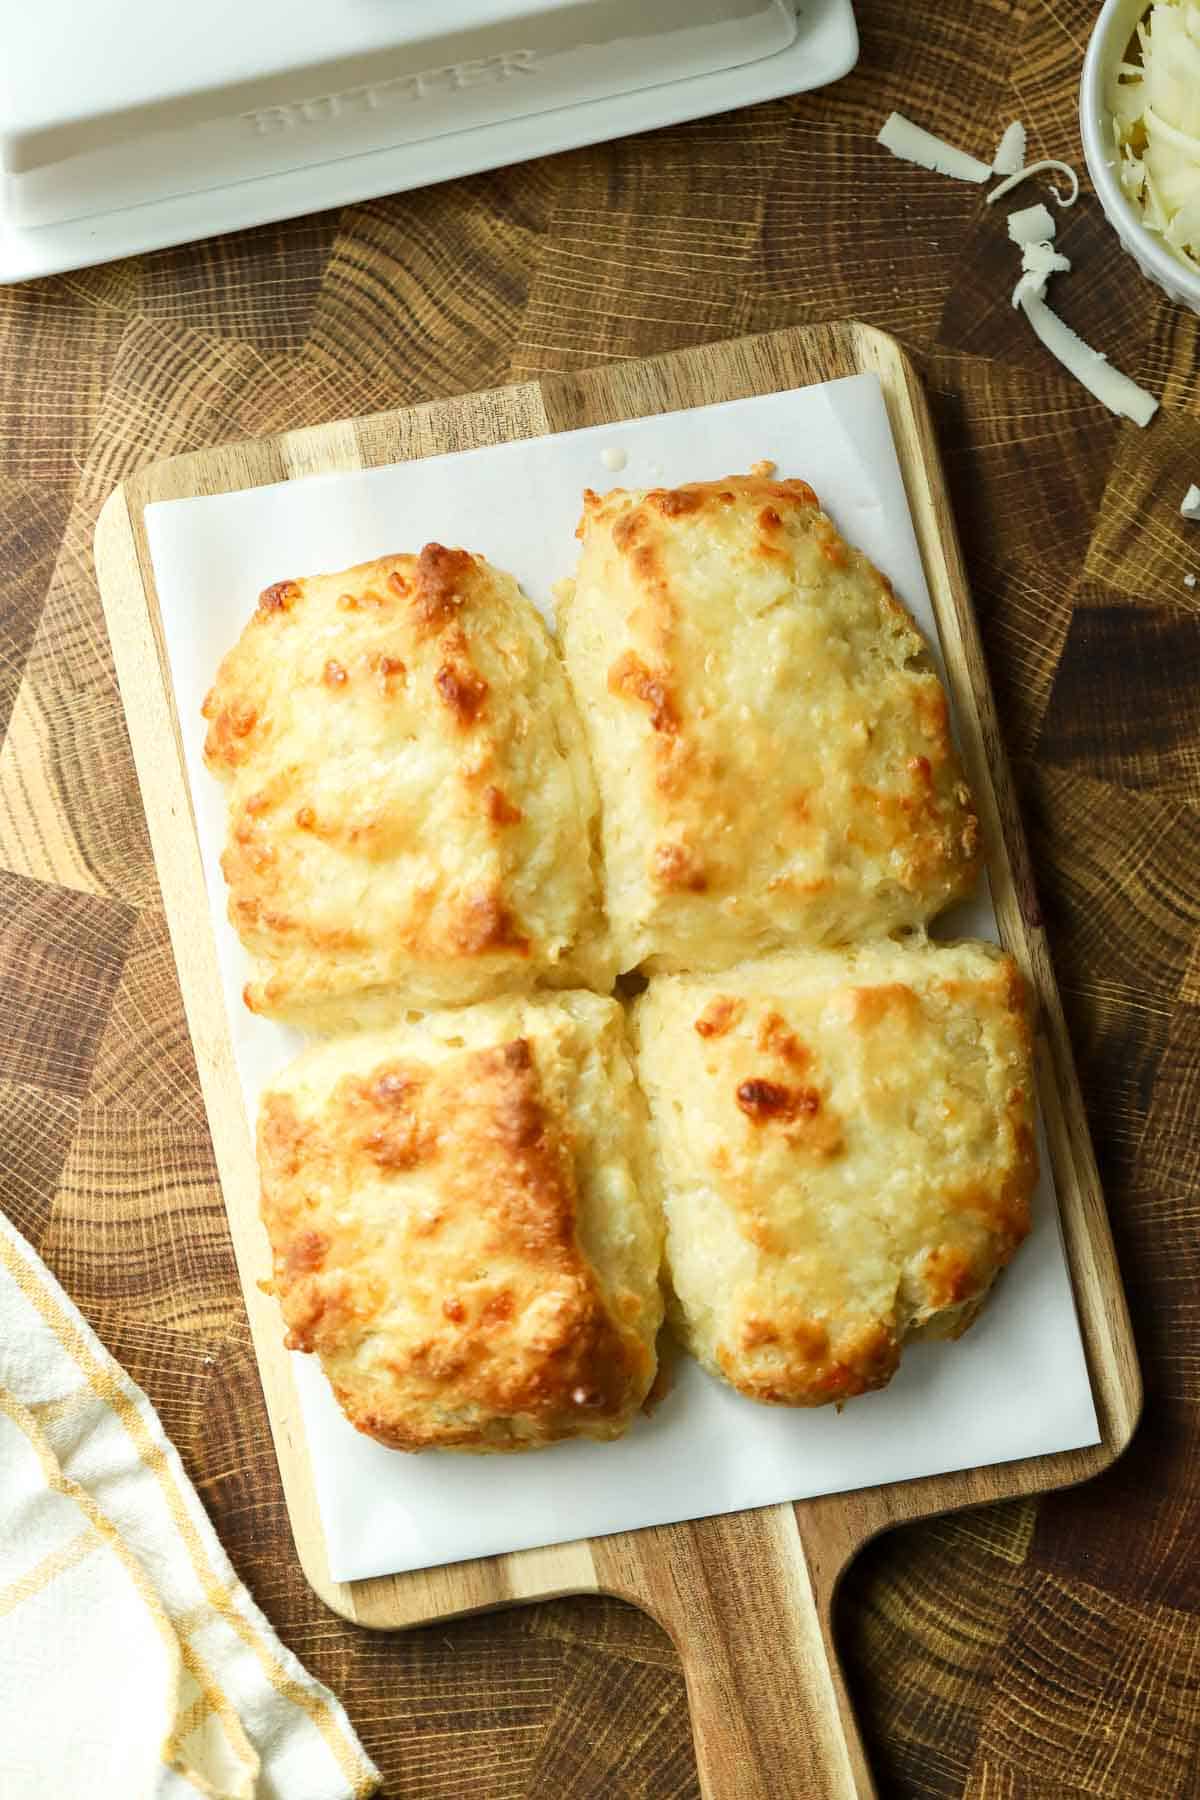
I love making homemade biscuits, but sometimes I don’t need a dozen sitting on my counter! That’s why I created this small batch version that makes just four biscuits. They’re perfect for smaller holiday gatherings, a cozy weekend breakfast, or serving alongside a bowl of soup.
I decided to add shredded cheddar cheese to my classic small batch buttermilk biscuits for a savory twist. I recommend using sharp cheddar because its bold flavor really comes through in the finished biscuits. And I always shred the cheese myself rather than buying the pre-shredded kind, which often contains anti-caking ingredients that can affect how smoothly the cheese melts.
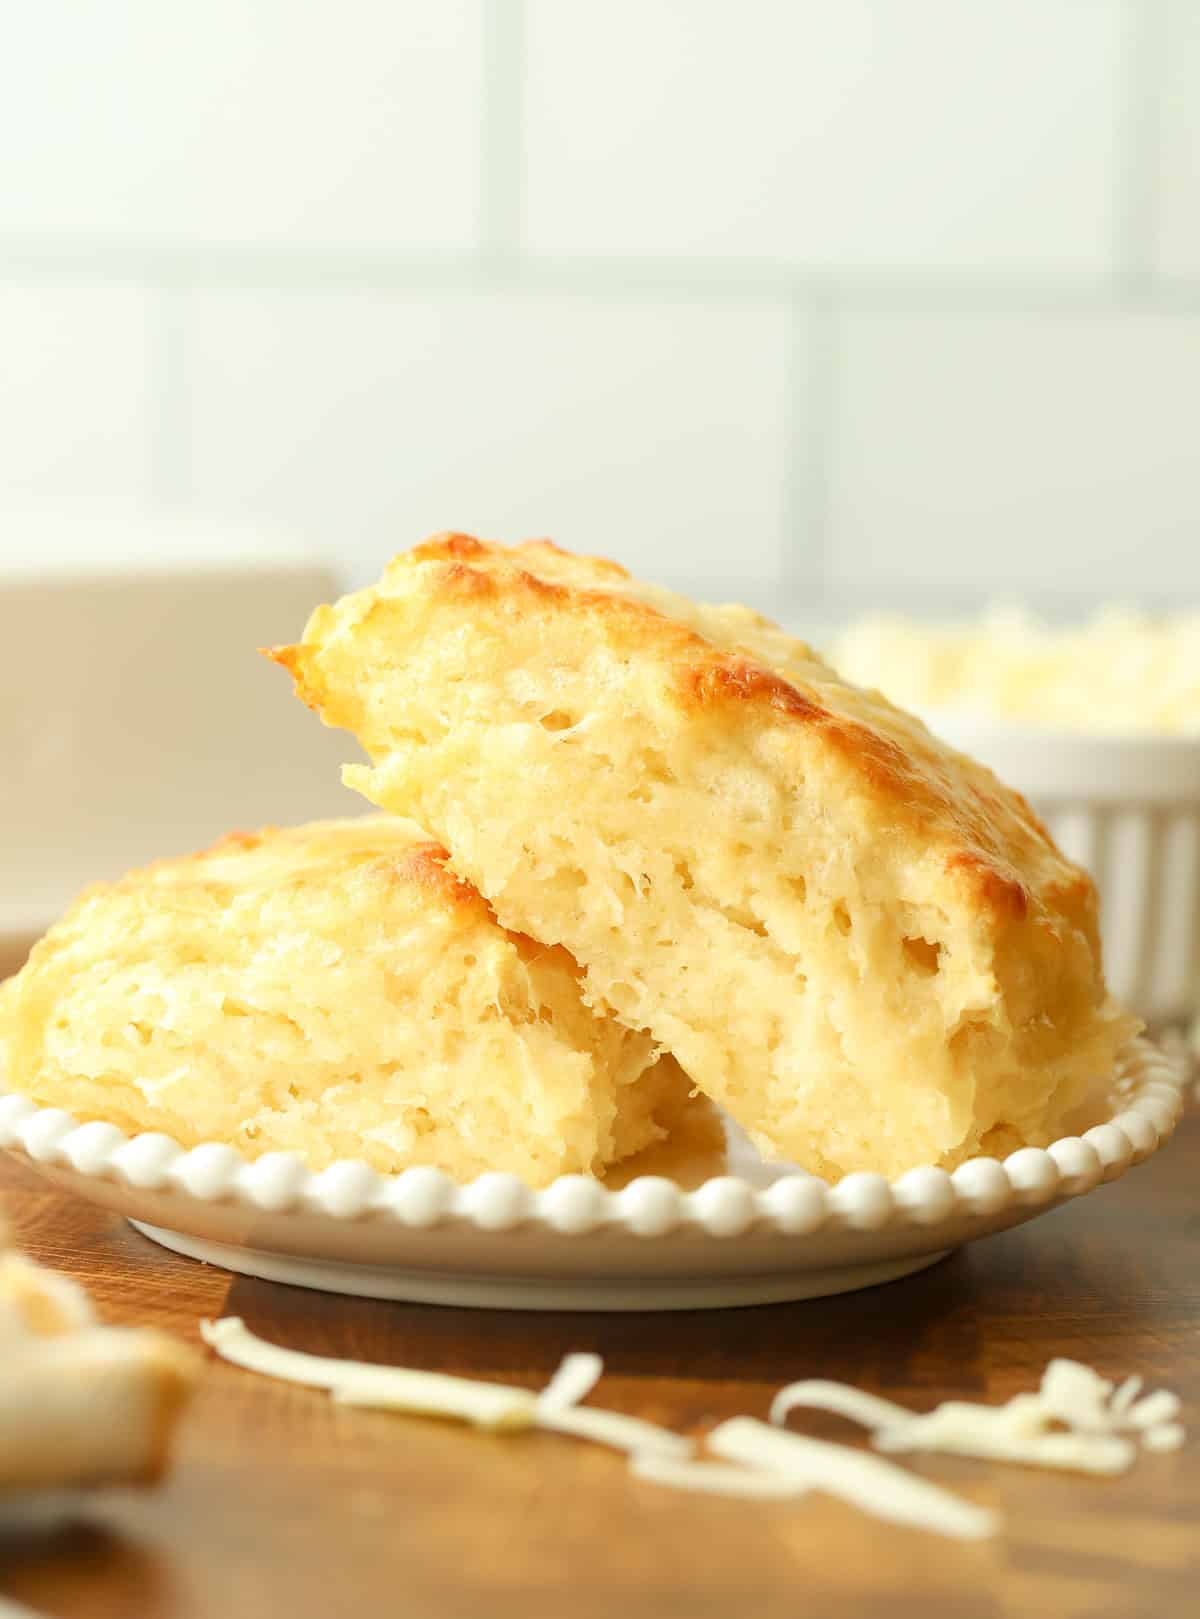
One of my favorite tricks for getting tall, flaky biscuits is folding the dough before cutting it. I fold the dough three times, which creates layers of butter and dough that separate as the biscuits bake. And instead of using a biscuit cutter, I simply cut the dough into four squares. No scraps, no rerolling, and less chance of overworking the dough!
Why This Recipe Works
- Makes just four biscuits. Perfect for smaller households, holiday dinners, or when you don’t need a full batch.
- Buttery, flaky layers. Cold butter and three simple folds help create tender biscuits with beautiful layers.
- Packed with cheddar cheese. Sharp cheddar adds a delicious savory flavor that pairs perfectly with soups, stews, and holiday meals.
- No biscuit cutter needed. Simply shape the dough into a square and cut it into four equal pieces. No scraps or rerolling required!
- Quick and easy. These homemade cheddar biscuits come together with simple ingredients and bake in about 15 minutes.
Ingredients You’ll Need
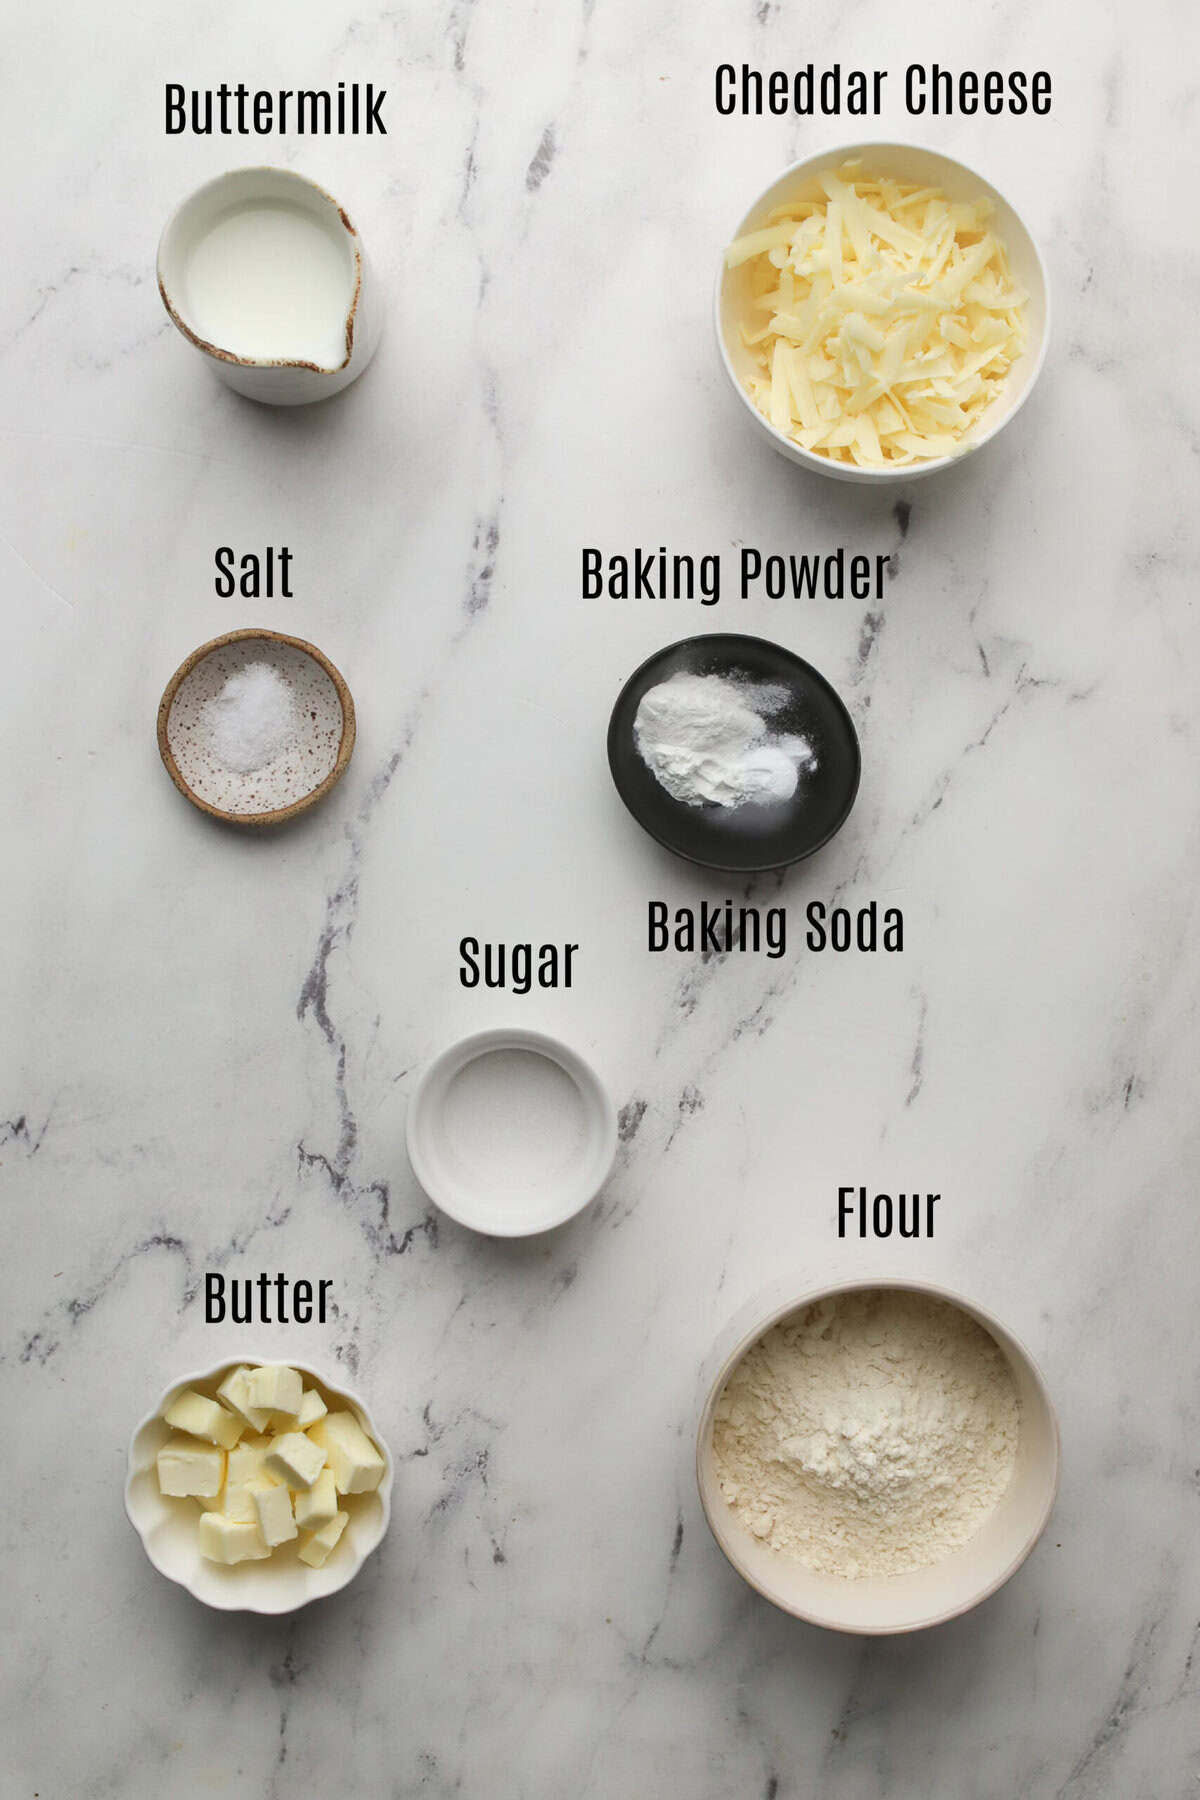
You only need a handful of ingredients to make these easy small batch cheddar biscuits!
- All-purpose flour: Be sure to measure your flour correctly. I recommend weighing it with a kitchen scale for the most accurate results. Too much flour can make your biscuits dry and dense.
- Baking powder: Make sure your baking powder is fresh so the biscuits rise properly.
- Baking soda
- Salt
- Unsalted butter: Use cold butter, cut into small cubes. The cold pieces of butter create steam in the oven, helping the biscuits rise and develop flaky layers.
- Cheddar cheese: I recommend sharp cheddar cheese for the best flavor. Shred it yourself from a block rather than using pre-shredded cheese which doesn’t melt the same.
- Buttermilk: Use cold buttermilk to keep the butter from softening while you mix the dough. The acidity also reacts with the baking soda to help the biscuits rise. You can use regular milk but the biscuits won’t have quite the same flavor. If you don’t have buttermilk, then you can make your own. Read How To Make Homemade Buttermilk.
How to Make Small Batch Cheddar Biscuits
Making homemade cheddar biscuits is easier than you might think! The key is to keep your ingredients cold and handle the dough gently so you get tall, flaky biscuits instead of dense ones.
Step 1: Preheat the Oven
Position a rack in the center of your oven and preheat to 425°F (220°C). Line a baking sheet with parchment paper.
Starting with a hot oven is important because the high heat helps the cold butter release steam quickly, encouraging the biscuits to rise and develop flaky layers.
Step 2: Combine the Dry Ingredients
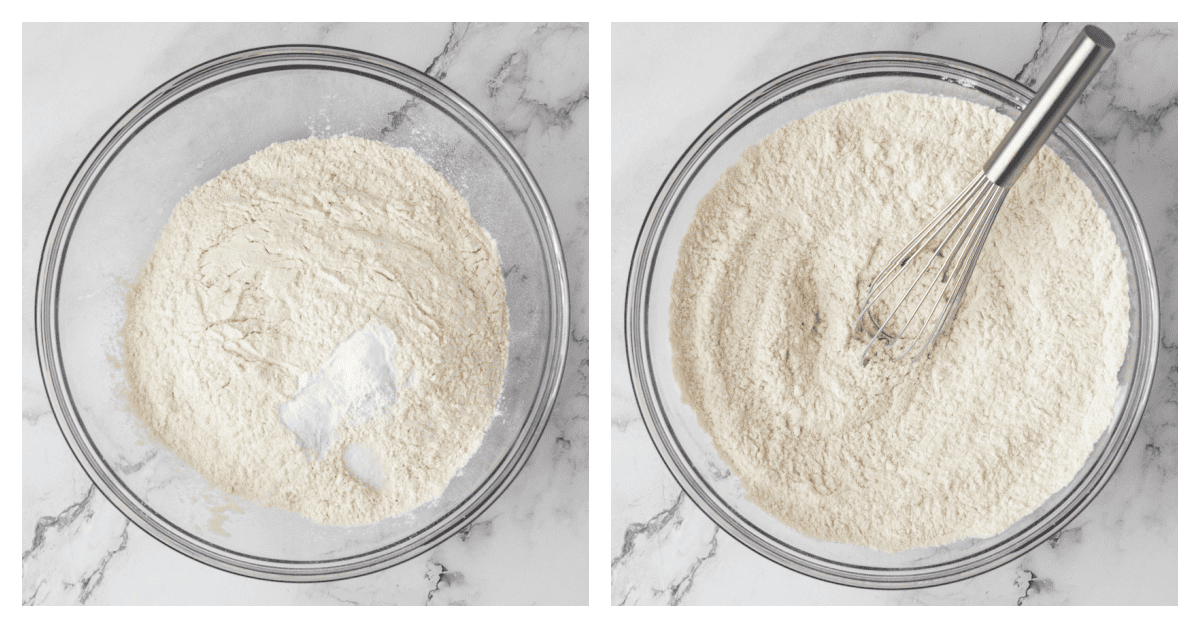
In a medium mixing bowl, whisk together the flour, baking powder, baking soda, and salt until evenly combined.
Whisking the dry ingredients first helps distribute the leavening agents throughout the flour so your biscuits rise evenly.
Step 3: Cut in the Cold Butter
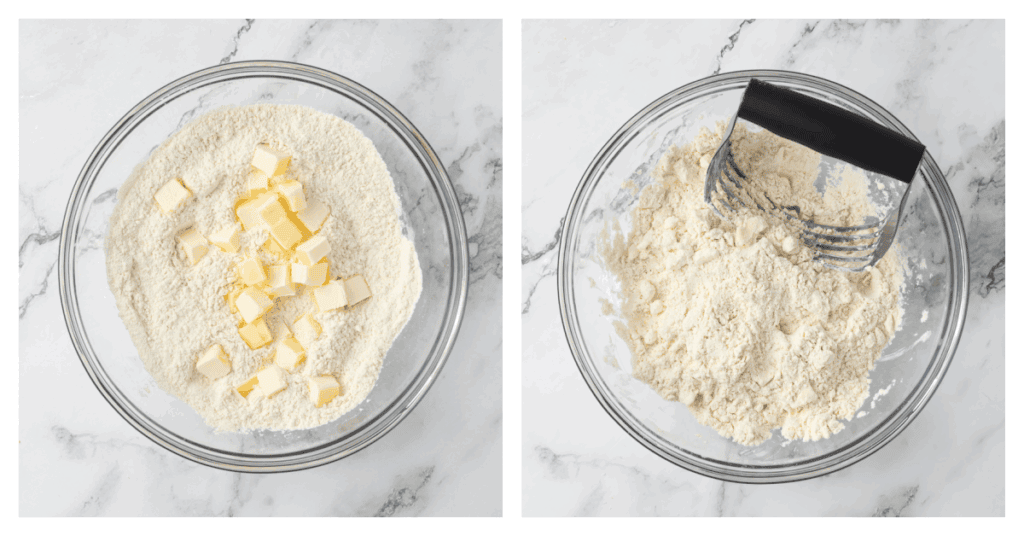
Add the cold, cubed butter to the flour mixture. Using a pastry cutter or your fingertips, work the butter into the flour until the mixture resembles coarse crumbs with some pea-sized pieces of butter remaining.
Don’t work the butter in until it completely disappears! Those little pieces of cold butter are what help create flaky layers. As the biscuits bake, the butter melts and its moisture turns to steam, helping separate the layers of dough.
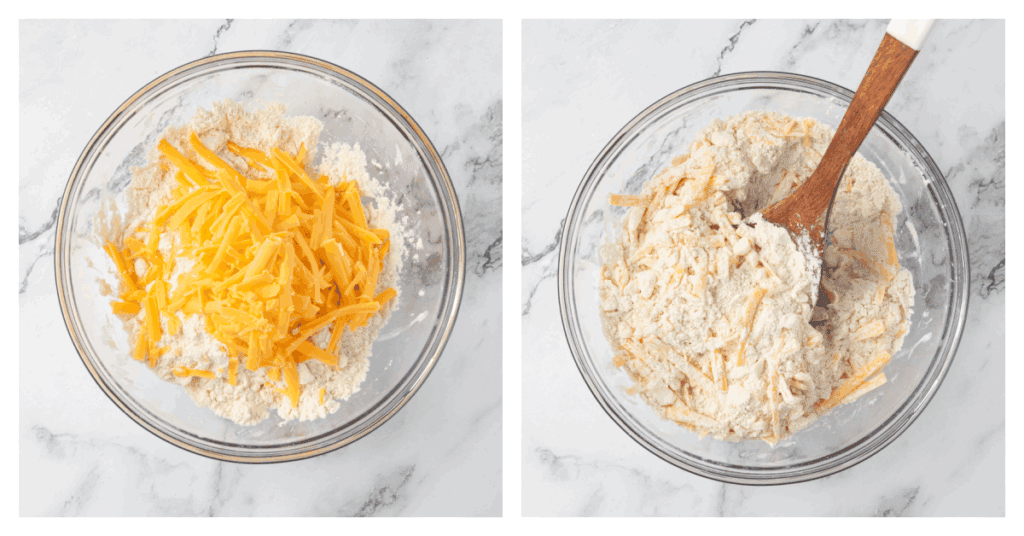
Stir in the shredded cheddar cheese until evenly distributed.
Step 4: Add the Buttermilk
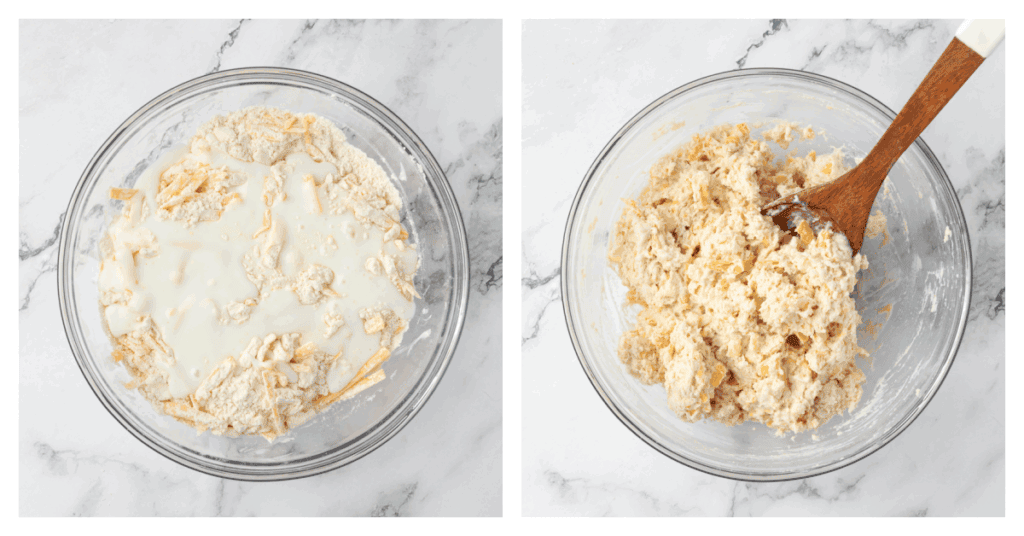
Pour the cold buttermilk into the flour mixture. Using a spatula or wooden spoon, gently stir until a shaggy, slightly sticky dough forms.
Don’t worry if the dough looks a little rough at this point. You don’t want to keep mixing until it becomes completely smooth. Overmixing develops too much gluten, which can make your biscuits tough instead of tender.
Step 5: Fold the Dough to Create Flaky Layers
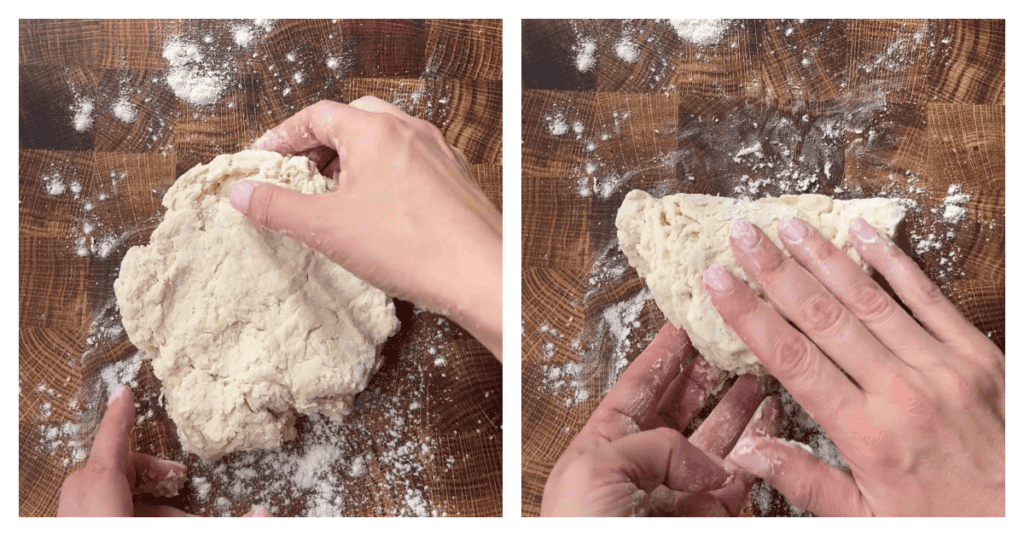
Turn the dough out onto a lightly floured work surface. With floured hands, gently bring the dough together, then pat it into a rectangle about ½-inch thick. Fold one-third of the dough toward the center, then fold the opposite third over the top, like folding a letter.
Gently flatten the dough back into a rectangle and repeat the folding process two more times. This is one of my favorite tricks for making flaky homemade biscuits!
Folding creates alternating layers of butter and dough. As the biscuits bake, steam helps separate those layers, giving you a taller, flakier biscuit.
Be gentle when handling the dough. You want to create layers without pressing all those little butter pieces into the flour.
Step 6: Shape and Cut the Biscuits
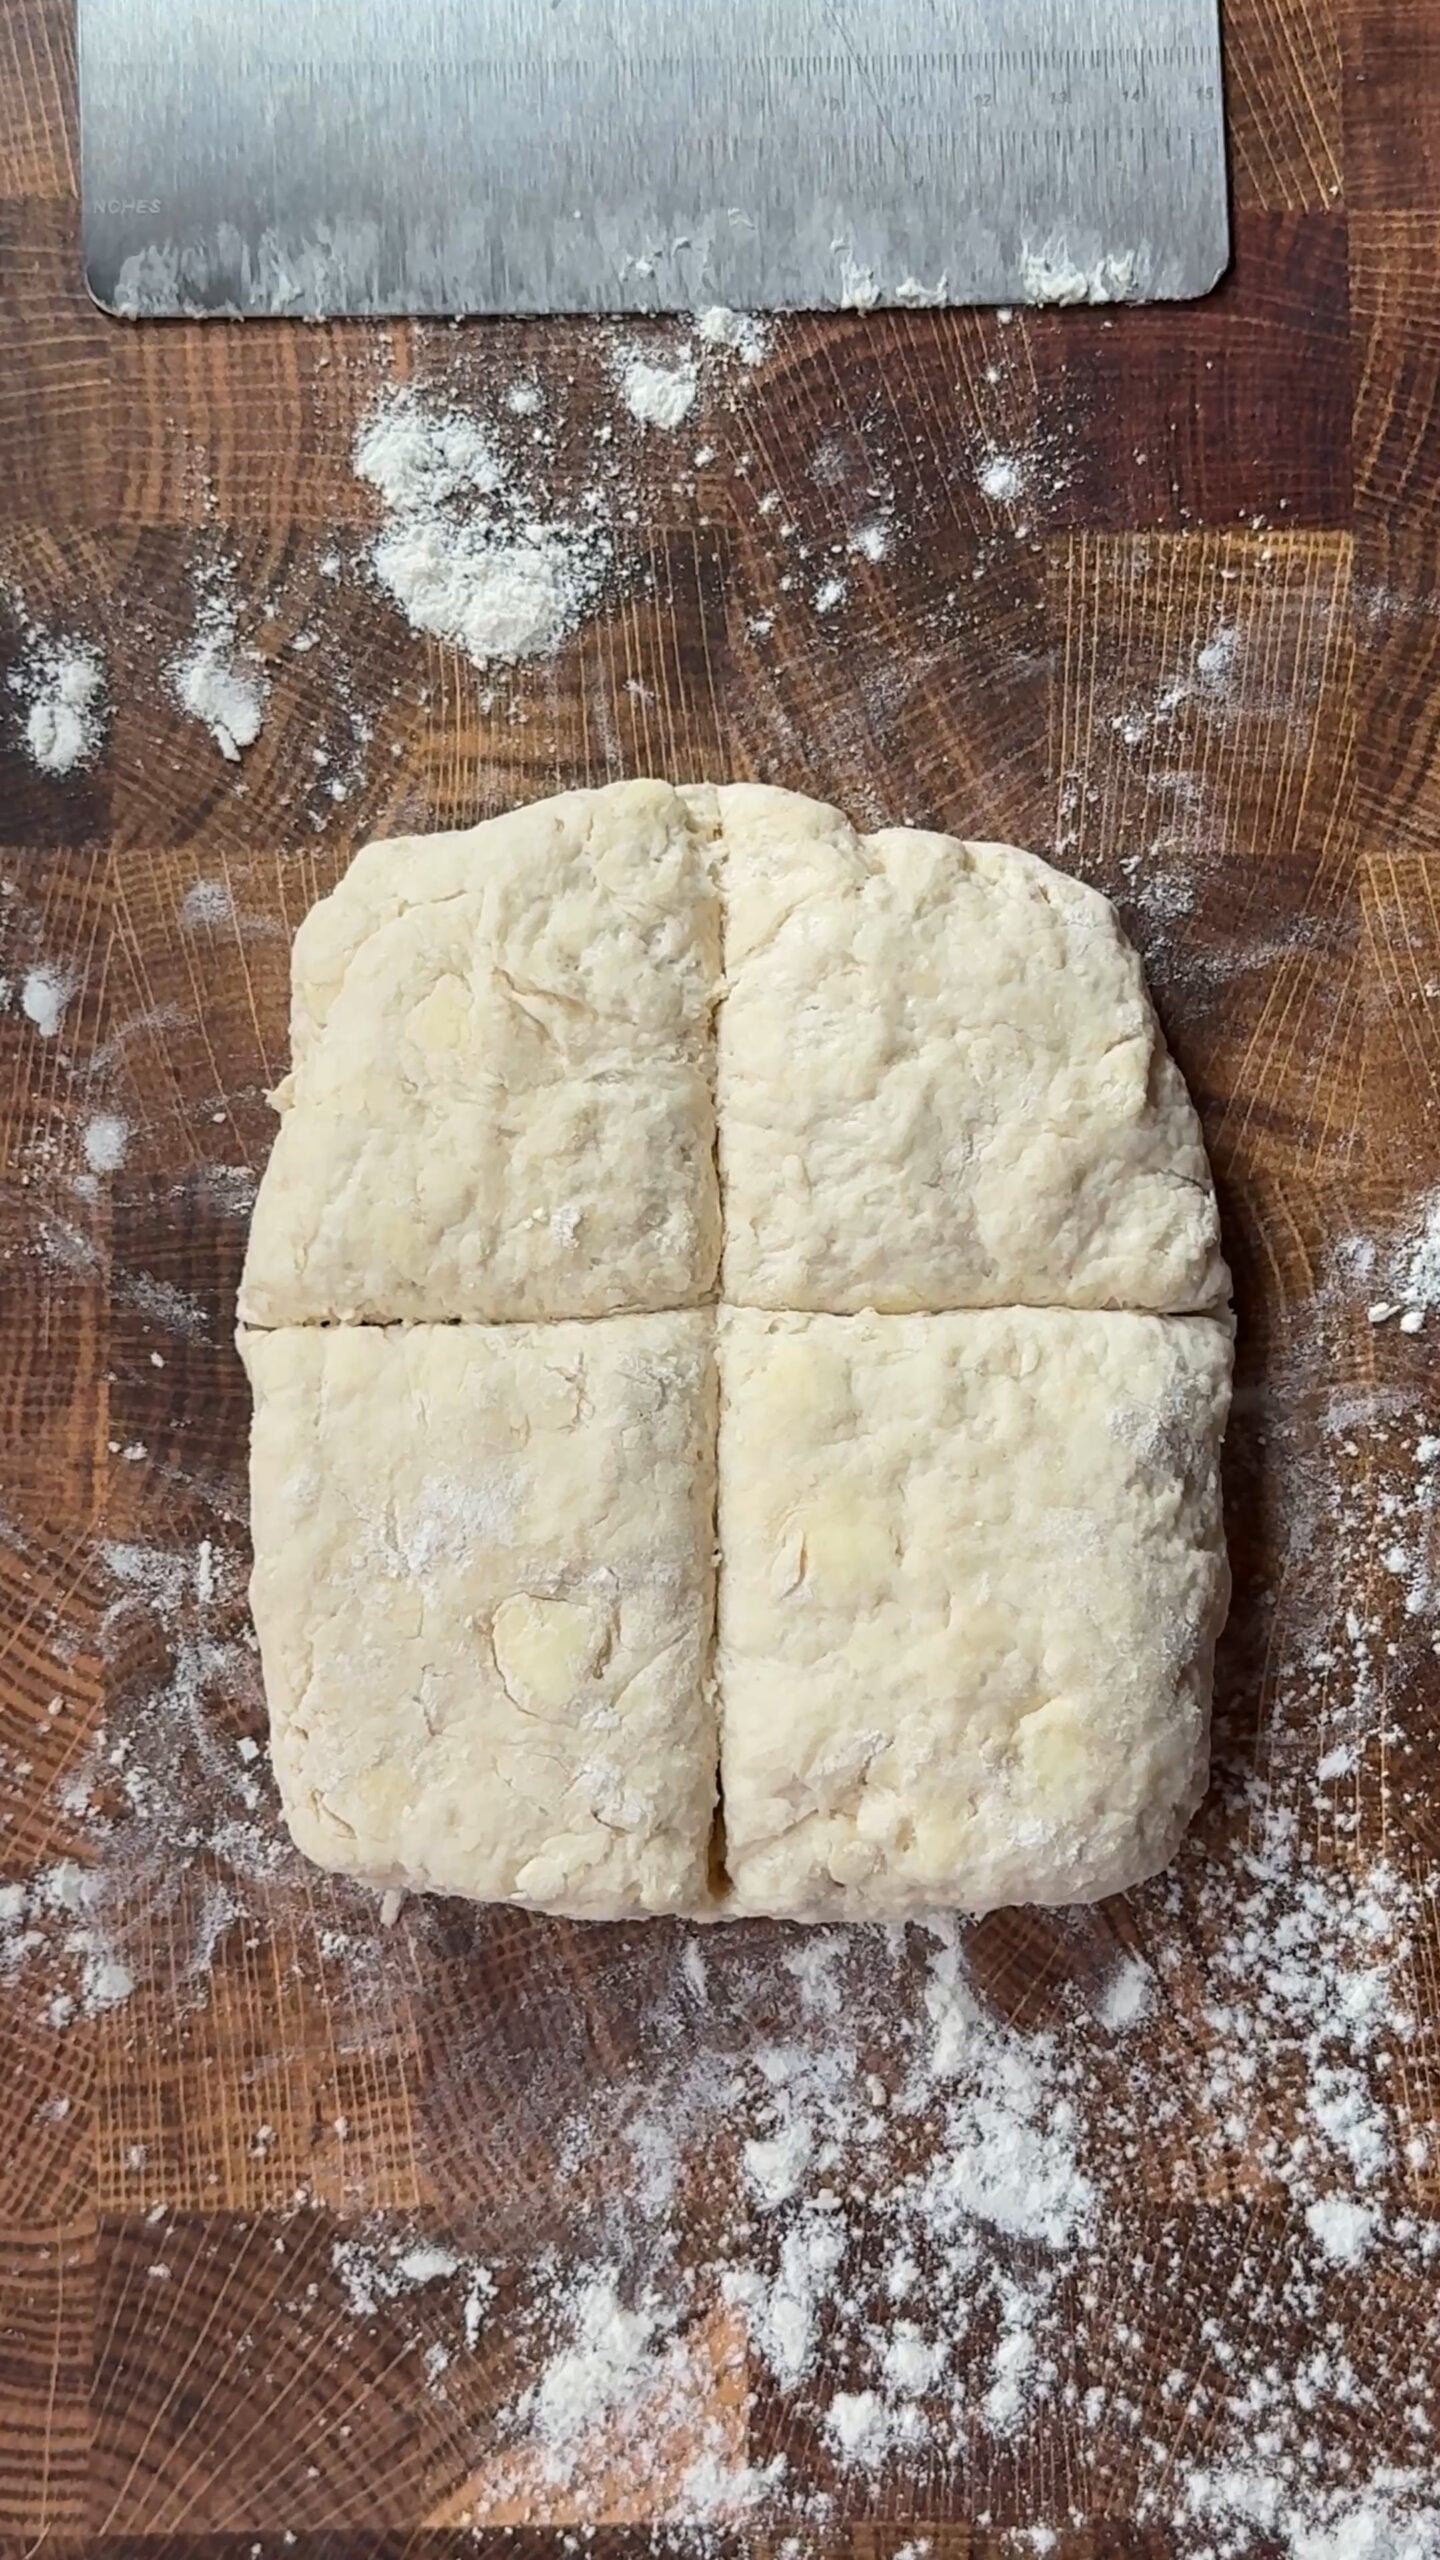
After the final fold, gently pat the dough into a square about ¾- to 1-inch thick. Using a sharp knife or bench scraper, cut the dough into four equal squares. I love making square biscuits because there’s no need for a biscuit cutter!
And since there aren’t any scraps to gather and reroll, the dough gets handled less, which helps keep the biscuits tender.
When cutting, press straight down with your knife rather than dragging it through the dough. This helps keep the edges clean so the layers can rise more easily.
Step 7: Chill and Brush the Biscuits
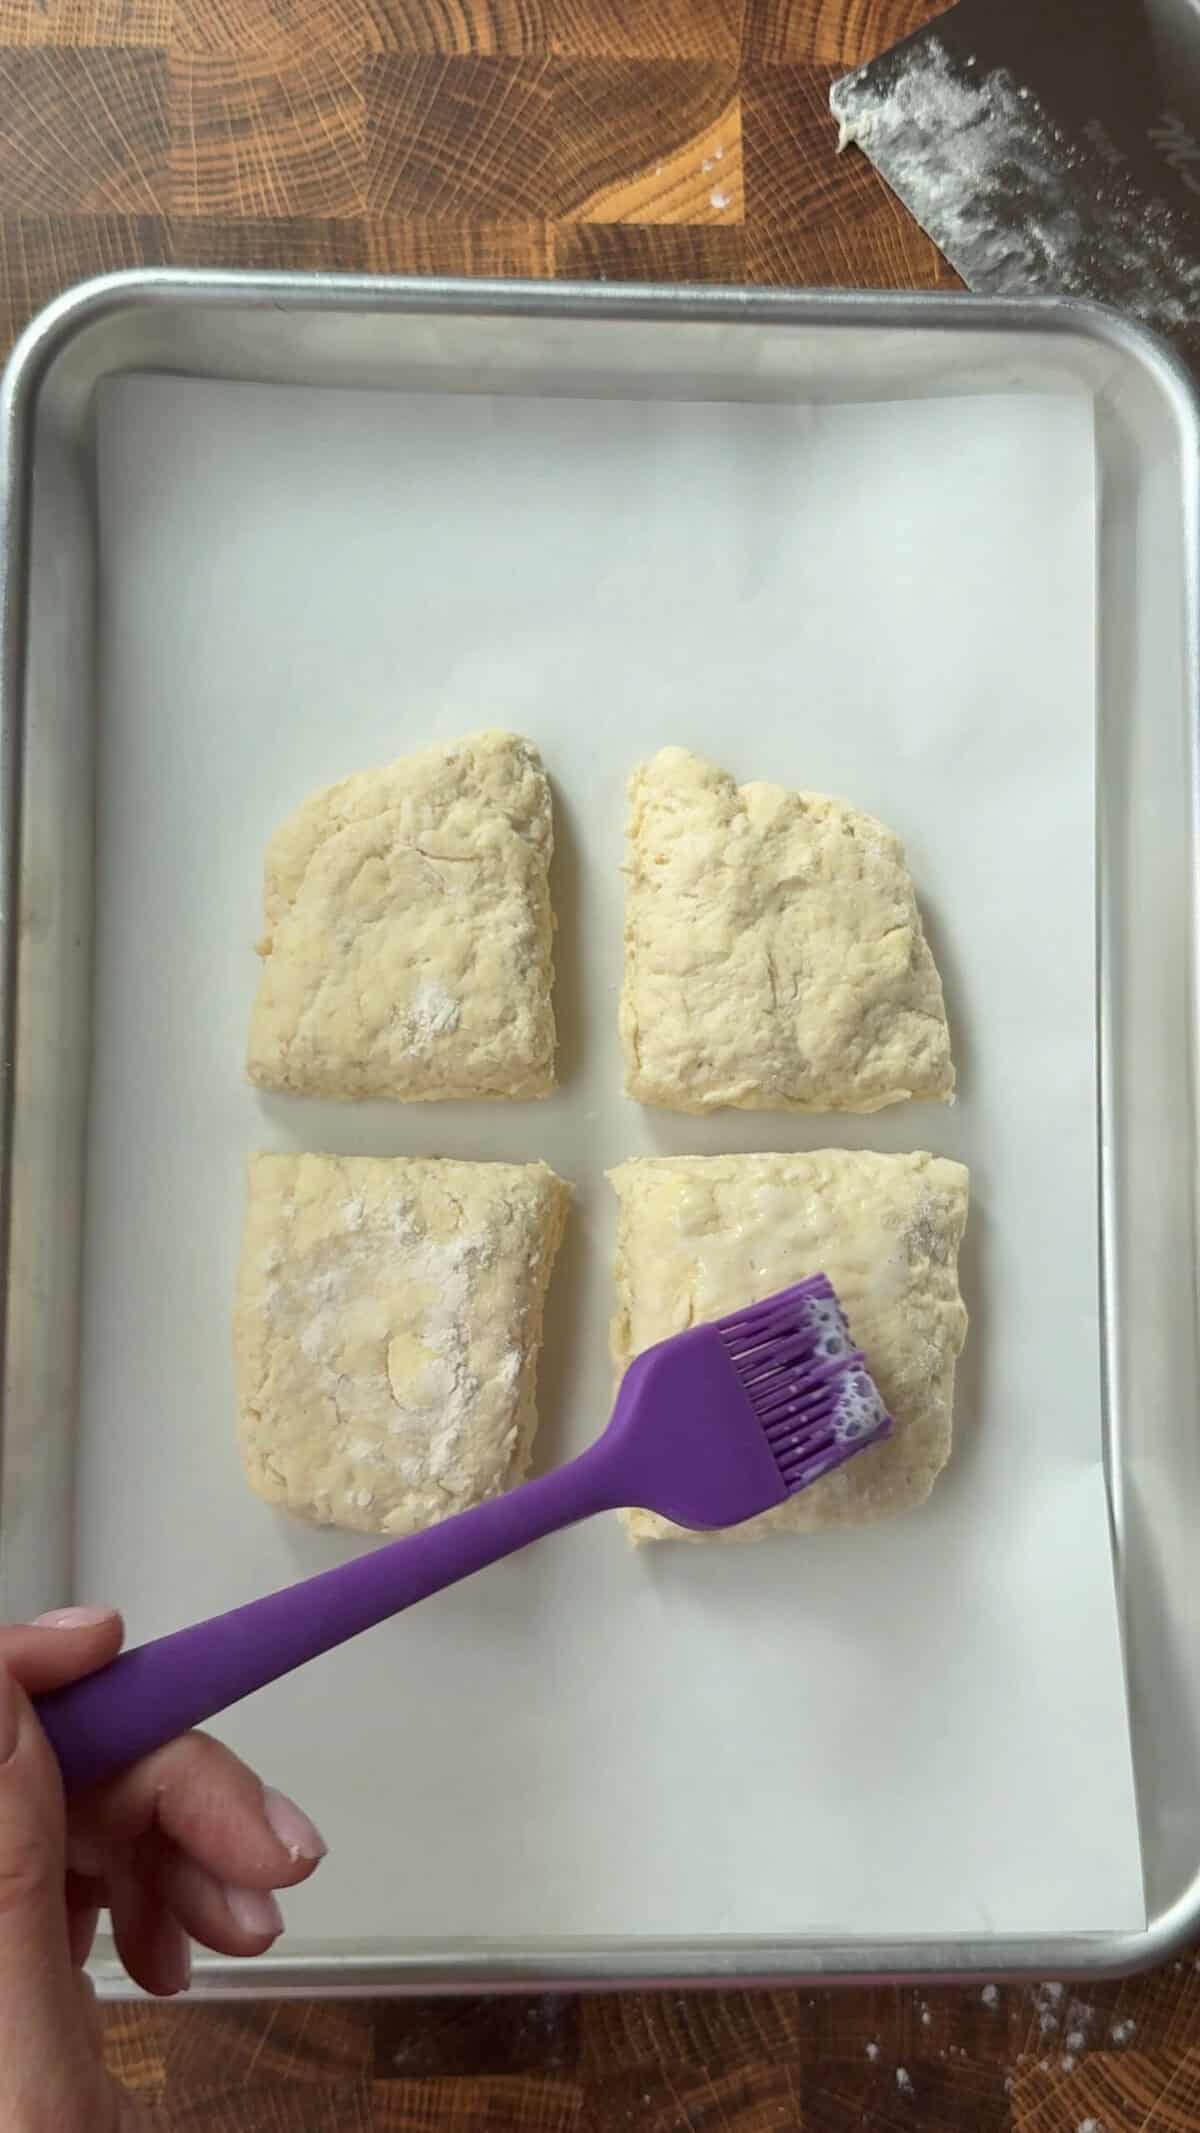
Transfer the biscuits to your prepared baking sheet, arranging them so their sides are just touching. Placing the biscuits close together can help support the sides as they rise, encouraging taller biscuits.
For extra flaky biscuits, place the baking sheet in the freezer for about 10 minutes before baking. This is especially helpful if your kitchen is warm or the butter has started to soften while working with the dough.
Lightly brush the tops with a little extra buttermilk to help them develop a beautiful golden brown color.
Step 8: Bake Until Golden Brown
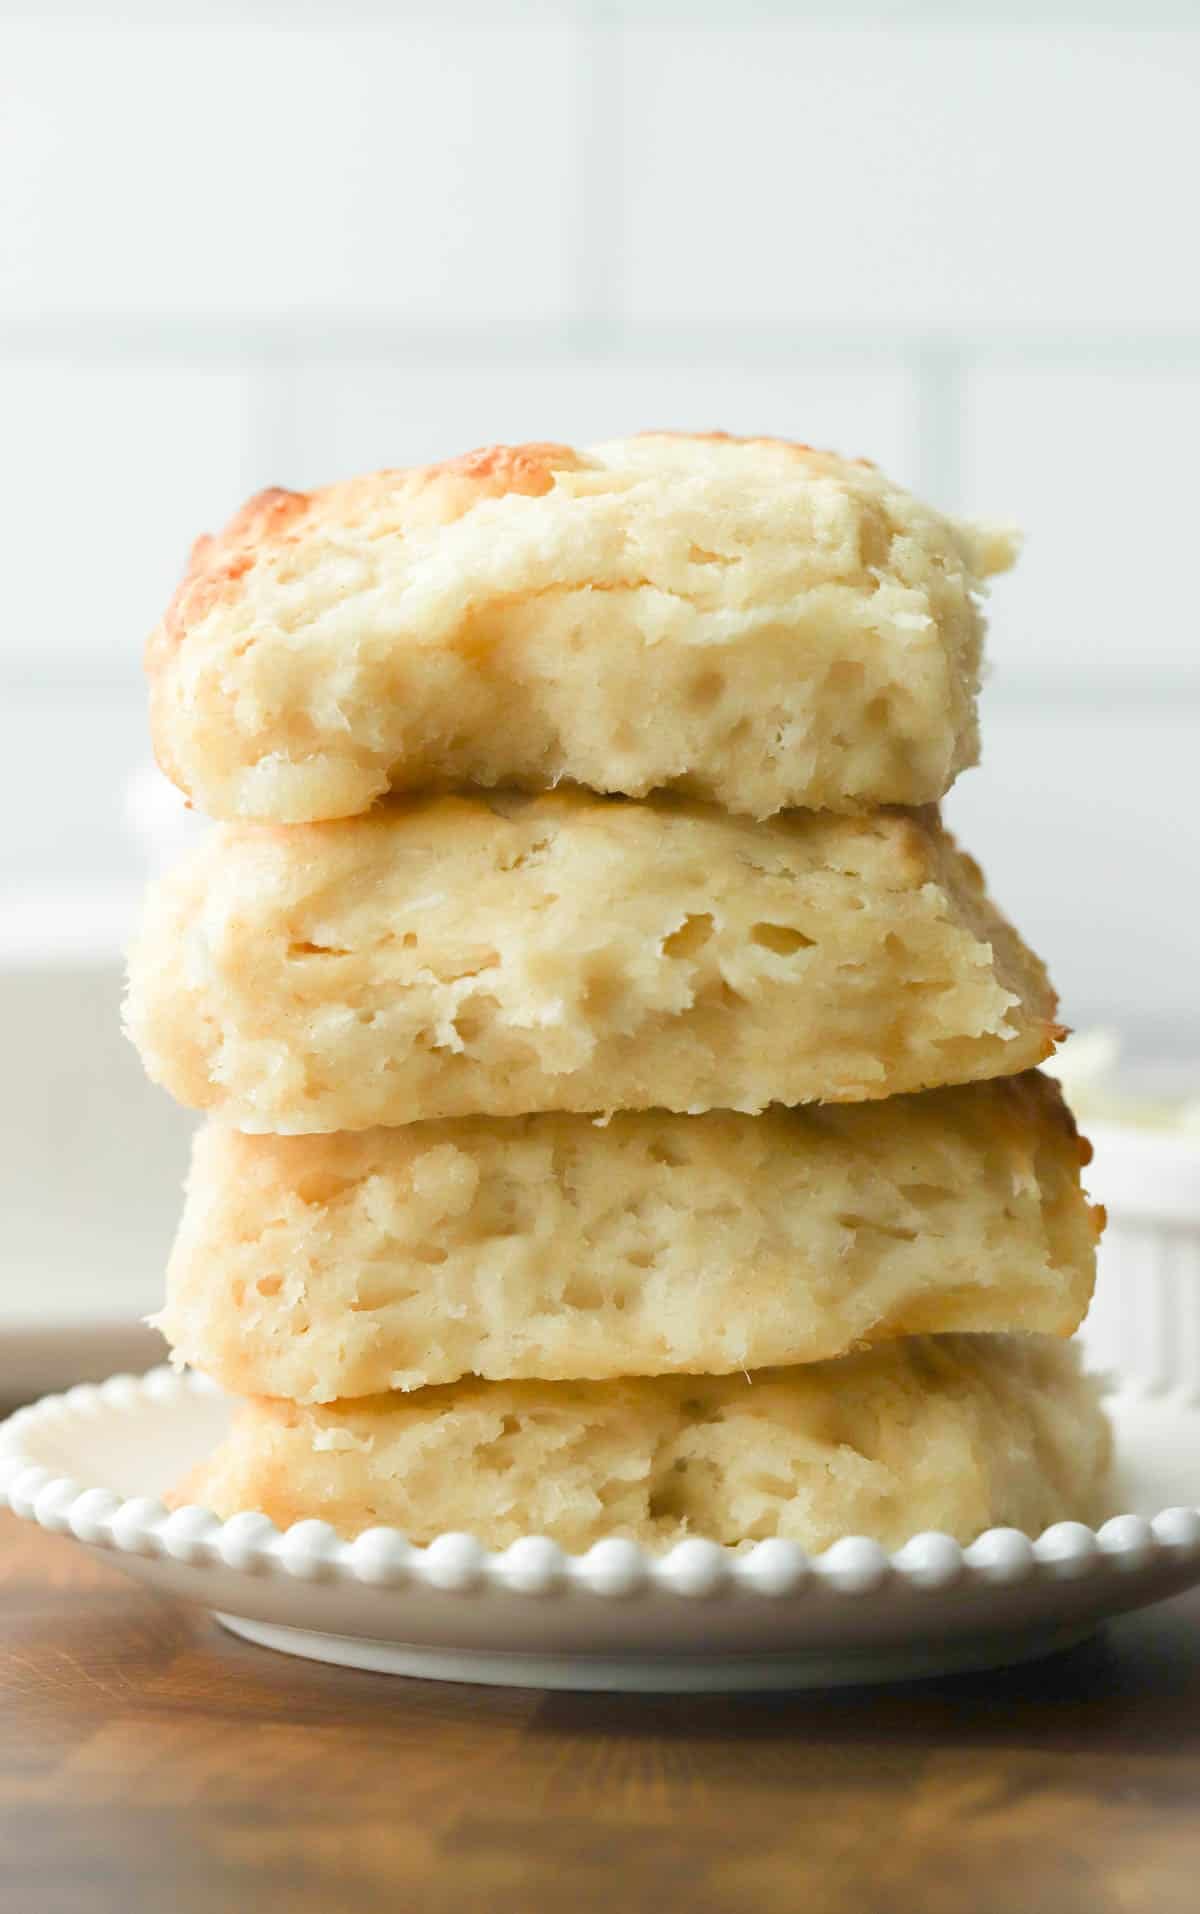
Bake the biscuits at 425°F (220°C) for 16-20 minutes, or until they’ve risen and the tops are golden brown.
Because these are square biscuits, the exact baking time may vary slightly depending on how thick you shaped the dough. The tops should be golden and the centers should be baked through, not wet or doughy.
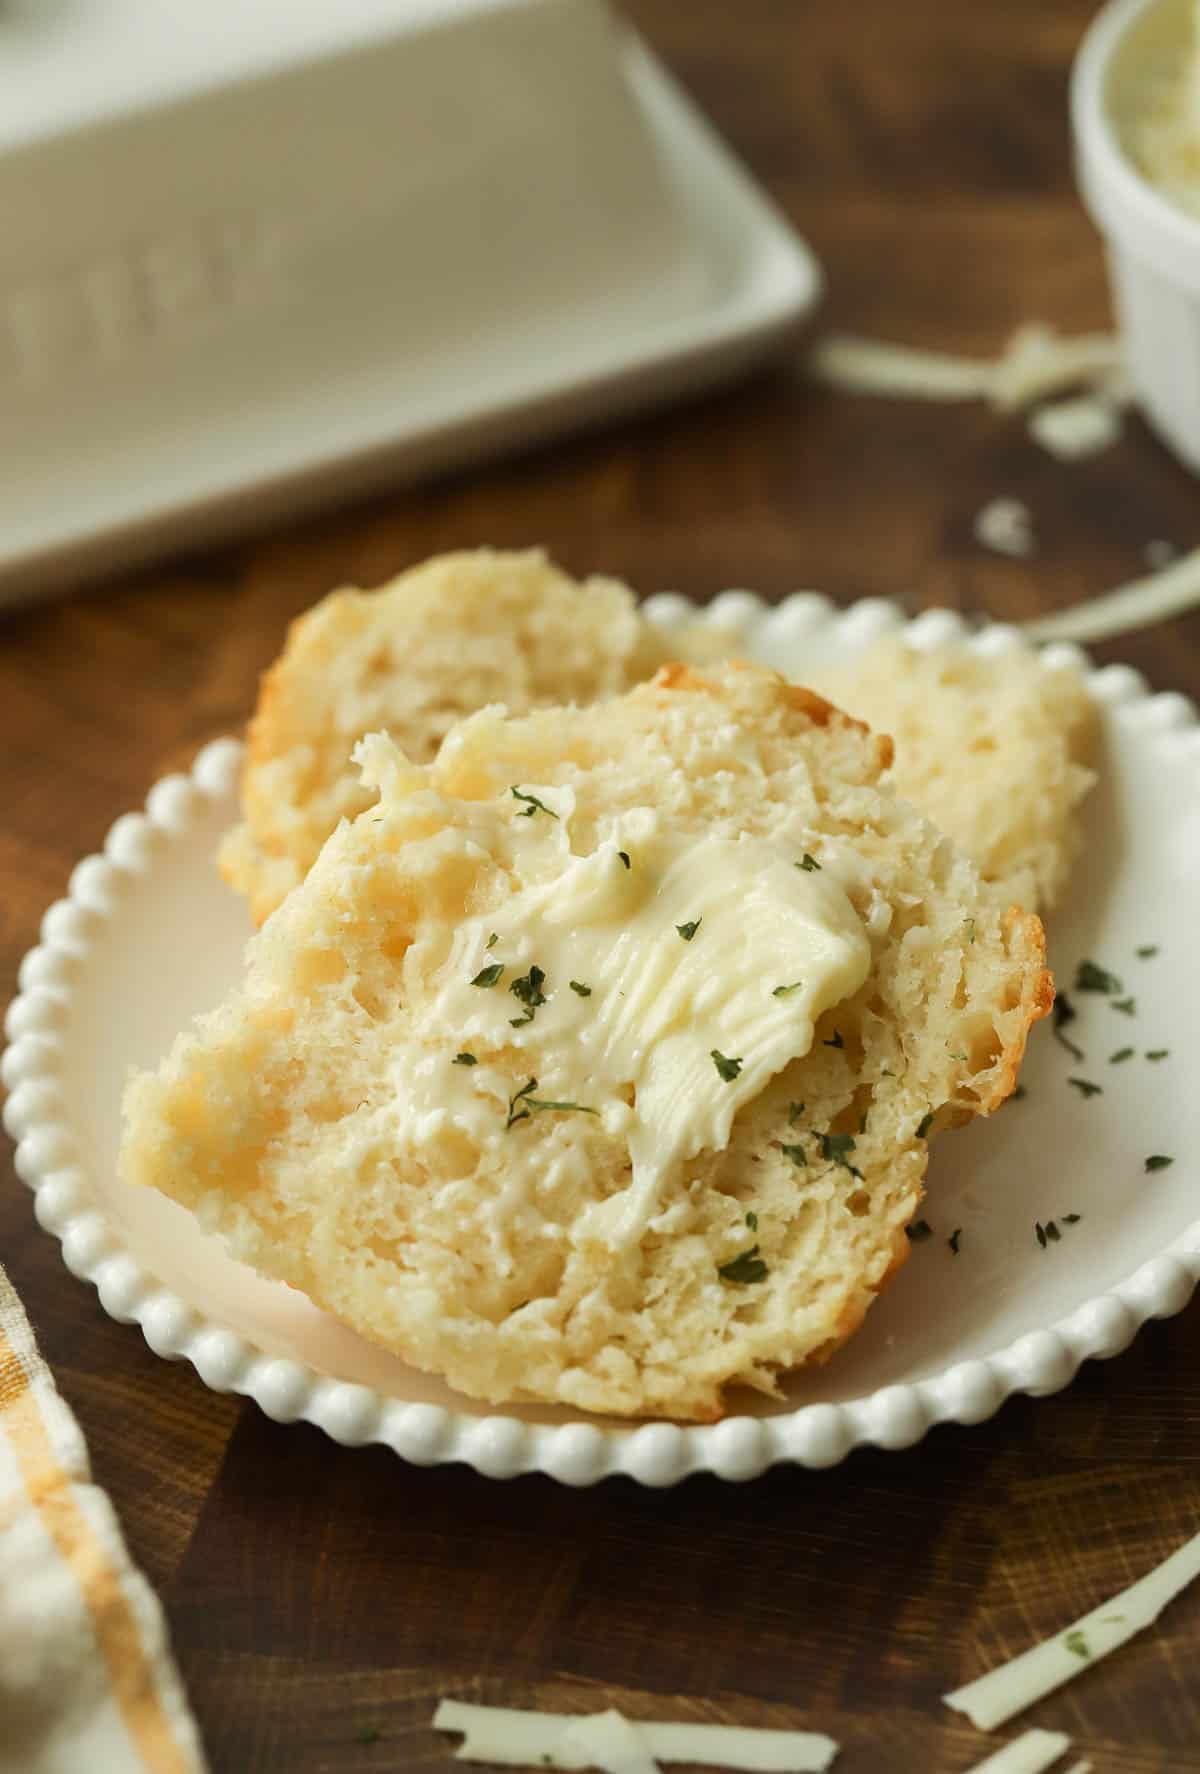
Let the biscuits cool on the baking sheet for about 5 minutes before serving. For an extra buttery finish, brush the warm biscuits with melted butter and sprinkle with a little flaky sea salt!
Recipe Tips
- Keep your butter and buttermilk cold. Cold butter is essential for flaky biscuits. If the butter melts into the flour before baking, you won’t get those distinct layers. I like to keep my butter refrigerated until I’m ready to use it.
- Shred your own cheddar cheese. Freshly shredded cheddar melts more smoothly than packaged shredded cheese, which often contains anti-caking ingredients. I recommend sharp cheddar for the best flavor.
- Don’t overwork the biscuit dough. The dough should look shaggy when you first mix it. Handle it gently as you fold and shape it. Too much mixing or kneading can lead to tough biscuits.
- Don’t skip the folds. Folding the dough three times helps create those beautiful layers. It’s a simple step that makes a big difference in the finished texture.
- Cut the biscuits into squares. Square biscuits eliminate scraps, which means you won’t have to reroll the dough. Less handling helps keep the biscuits tender and flaky.
How to Store Small Batch Cheddar Biscuits
These cheddar biscuits are best enjoyed fresh from the oven, while they’re still warm and flaky. Once completely cooled, store leftover biscuits in an airtight container at room temperature for up to 2 days. For longer storage, keep them in the refrigerator for up to 4 days. To reheat, place them in a 350°F (177°C) oven for about 5–8 minutes, or until warmed through.
You can freeze these cheddar biscuits after baking! Allow the biscuits to cool completely, then wrap each one individually in plastic wrap. Transfer them to a freezer-safe bag or airtight container. Freeze for up to 3 months. To reheat, unwrap the frozen biscuits and place them on a parchment-lined baking sheet. Warm in a 350°F (177°C) oven for about 10–15 minutes, or until heated through.
Freezing the biscuits before baking is a great option when you want homemade biscuits without doing all the prep work! Prepare the biscuit dough as directed, then cut it into four squares. Place the unbaked biscuits on a parchment-lined baking sheet and freeze until solid, about 1–2 hours.
Transfer the frozen biscuits to a freezer-safe bag or container. Be sure to label the bag with the recipe name, date, baking temperature, and instructions so you know exactly how to bake them later. Freeze for up to 2 months for the best quality.
There’s no need to thaw the biscuits before baking! Preheat your oven to 425°F (220°C) and line a baking sheet with parchment paper. Arrange the frozen biscuits on the prepared baking sheet, with their sides close together. Brush the tops with a little buttermilk, if desired. Bake for an additional 3–5 minutes to the original baking time.
The biscuits are ready when they’ve risen, the tops are golden brown, and the centers are completely baked through.
Recipe FAQs
Absolutely! Sharp cheddar is my favorite because of its bold flavor, but you can also use mild cheddar, white cheddar, Monterey Jack, or pepper Jack. I recommend using a cheese that melts well. Hard, dry cheeses like Parmesan can be added for flavor, but I wouldn’t use them as a complete replacement for the cheddar.
Yes! If you don’t have buttermilk, you can make a substitute using regular milk and lemon juice or white vinegar. For this recipe, add ½ tablespoon lemon juice or white vinegar to a measuring cup, then add enough milk to measure ½ cup plus 1 tablespoon total. Stir and let sit for about 5 minutes before using. Keep in mind that homemade buttermilk substitutes are thinner than cultured buttermilk, so the dough may be a little softer and the finished biscuits may have a slightly different texture.
There are a few reasons your biscuits might not have risen properly. First, make sure your baking powder and baking soda are fresh. Second, keep your butter cold. If the butter melts before the biscuits go into the oven, you won’t get as much steam to help create flaky layers. Finally, be careful not to overwork the dough or press it too thin before cutting.
Tough biscuits are usually the result of overmixing or handling the dough too much.
Once you add the buttermilk, mix just until a shaggy dough forms. Don’t knead it until it’s smooth like bread dough. The folding process will help bring the dough together while creating flaky layers. Also, be sure to measure your flour correctly. Adding too much flour can make your biscuits dry and dense.
Yes! I recommend preparing the biscuit dough, cutting it into four squares, and freezing the unbaked biscuits. That way, you can bake them fresh whenever you’re ready! You can also prepare the shaped biscuits and refrigerate them, covered, for up to 24 hours before baking.
More Small Batch Recipes to Try
If you love these small batch cheddar biscuits, here are a few more homemade recipes to try!
- Small Batch Buttermilk Biscuits: These classic homemade biscuits are buttery, tender, and full of flaky layers. Perfect for breakfast or serving with dinner.
- Small Batch Cornbread: Made in a loaf pan, this easy cornbread has a tender crumb thanks to buttermilk, melted butter, and a touch of honey.
- Small Batch Cinnamon Rolls: This recipe makes just four soft, fluffy cinnamon rolls with a buttery cinnamon-sugar filling and cream cheese icing.
- Small Batch Focaccia: Soft, fluffy focaccia baked in a loaf pan made with sea salt and rosemary.
Small Batch Cheddar Biscuits
Ingredients
- 1 ¼ cup (150 g) all-purpose flour spooned and leveled
- 1 teaspoon granulated sugar
- 1 ½ teaspoons baking powder
- ¼ teaspoon baking soda
- ½ teaspoon salt
- 4 Tablespoons (57 g) unsalted butter cold and cut into small cubes
- ½ cup (63 g) cheddar cheese
- ½ cup + 1 Tablespoon (135 mL) cold buttermilk plus extra for brushing
Instructions
- Preheat the oven. Position a rack in the center of your oven and preheat to 425°F (220°C). Line a baking sheet with parchment paper.
- Mix the dry ingredients. In a medium mixing bowl, whisk together the flour, baking powder, baking soda, and salt until combined. 1 ¼ cup (150 g) all-purpose flour 1 ½ teaspoons baking powder ¼ teaspoon baking soda ½ teaspoon salt 1 teaspoon granulated sugar
- Add butter and cheese. Add the cold, cubed butter to the flour mixture. Using a pastry cutter or your fingertips, work the butter into the flour until the mixture resembles coarse crumbs with pea-sized pieces of butter remaining. Stir in the cheddar cheese. 4 Tablespoons (57 g) unsalted butter ½ cup (63 g) cheddar cheese
- Add the buttermilk. Pour in the cold buttermilk and gently stir with a spatula or wooden spoon until a shaggy, slightly sticky dough forms. Be careful not to overmix. You should still see small pieces of butter throughout the dough. ½ cup + 1 Tablespoon (135 mL) cold buttermilk
- Fold the dough. Turn the dough onto a lightly floured surface. With floured hands, gently bring the dough together. Pat it into a rectangle about ½-inch thick. Fold one third of the dough toward the center, then fold the opposite third over the top, like folding a letter. Gently flatten the dough again and repeat this folding process two more times to help create flaky layers.
- Shape and cut the biscuits. After the final fold, gently pat the dough into a square about ¾- to 1-inch thick. Using a sharp knife or bench scraper, cut the square into four equal squares. Press straight down when cutting rather than dragging the knife through the dough to help preserve the layers.
- Prepare for baking. Transfer the four biscuits to the prepared baking sheet, arranging them so their sides are just touching. For extra flaky biscuits, you can place the baking sheet in the freezer for 10 minutes before baking. Lightly brush the tops with additional buttermilk.
- Bake. Bake for 16-20 minutes, or until the biscuits have risen and the tops are golden brown. Since these are square biscuits, baking time may vary slightly depending on their thickness.
- Cool and serve. Let the biscuits cool on the baking sheet for about 5 minutes. Serve warm, brushed with melted butter and a sprinkle of flaky sea salt, if desired.
Notes
- Buttermilk substitution: If you don’t have buttermilk, combine 1½ teaspoons lemon juice or white vinegar with enough milk to measure ½ cup. Let stand for 5–10 minutes before using. You can also use whole milk but the biscuits may lose a bit of flavor.
- Storage: Store cooled biscuits in an airtight container at room temperature for up to 2 days.
- Freezing baked biscuits: Freeze completely cooled biscuits in a freezer-safe container for up to 3 months. Reheat from frozen in a 350°F oven for approximately 15–20 minutes.
- Freezing unbaked biscuits: Freeze shaped, unbaked biscuits on a baking sheet until solid, then transfer to a labeled freezer bag. Freeze for up to 3 months.
- Baking from frozen: Bake unthawed biscuits at 425°F for a few extr minuts or until golden brown and baked through.