This Post May Contain Affiliate Links. Please Read Our Disclosure Policy.
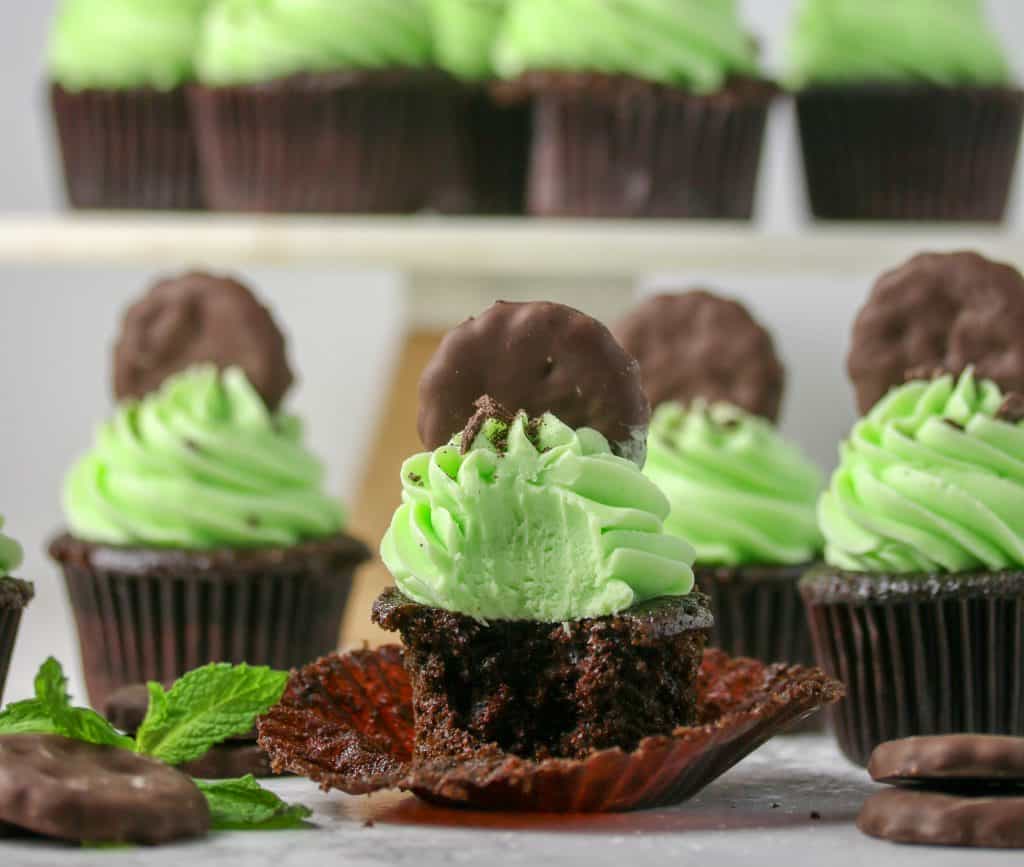
These thin mint cupcakes pair perfect chocolate cupcakes with an easy mint buttercream frosting. Top each Girl Scout Cupcake with a cookie for the best chocolate mint dessert.

I’m not going to lie it took me a long time embrace mint anything. I just couldn’t understand why mint was ruining my chocolate.
But as I grew up so did my palette. Now mint and chocolate is a welcome pairing here. Like my chocolate cookies made with Andes mints, and this easy no churn mint chocolate chip ice cream. And now these chocolate mint cupcakes decorated with a Girl Scout thin mint cookie
So when it’s what I call Girl Scout cookie season I always snag a bag of Thin mint Girl Scout cookies. I thought this year why not turn that into a Thin Mint cupcake.
These are a rich chocolate cupcakes frosted with a homemade peppermint buttercream frosting. And of course topped with a Thin mint cookie!
Super easy. Super delicious. And boy oh boy am I glad I did.
See Also:
- Peanut butter cream cheese frosting is the best frosting to pair with a chocolate or vanilla cupcake!
- When it’s summertime, then it’s time to make these S’mores cupcakes with toasted marshmallow frosting!
- Calling all Oreo lovers with these Oreo cupcakes made with a vanilla cake batter and Oreo frosting.
- Kids are going to love these Cookie dough cupcakes stuffed with edible cookie dough.
- This easy vanilla cupcake recipe is made with melted butter so it comes together in minutes!
Why You Will Love These Thin Mint Cupcakes
- Lots of mint flavor!
- The chocolate cupcake is super simple to mix up! No mixer is needed for the cupcakes!
- Decorated with Girl Scout cookie so it’s like two desserts in one!
Ingredients Needed
For the cupcakes
- Granulated sugar
- All-purpose flour – Be sure to measure the flour properly by scooping into the cup and leveling it off. For best results use a kitchen scale.
- Unsweetened Cocoa powder
- Baking powder
- Baking soda
- Salt
- Large eggs – Make sure your eggs are at room temperature so they blend in easily and your cupcakes rise nice and tall!
- Milk – You can use any type of milk. I used whole milk, but a low-fat milk or a plant-based milk will work.
- Vegetable oil – Any neutral tasting oil will work.
- Vanilla extract
- Boiling water
For the frosting
- Unsalted butter
- Confectioners sugar – aka powdered sugar. If you don’t have any powdered sugar you can make your own at home in a food processor!
- Heavy cream
- Vanilla extract
- Peppermint extract
- Green food coloring optional
- Thin mint cookies
How To Make These Girl Scout Cupcakes – Step By Step
These easy chocolate cupcakes are my variation from the perfectly chocolate cake from Hershey’s Kitchens.
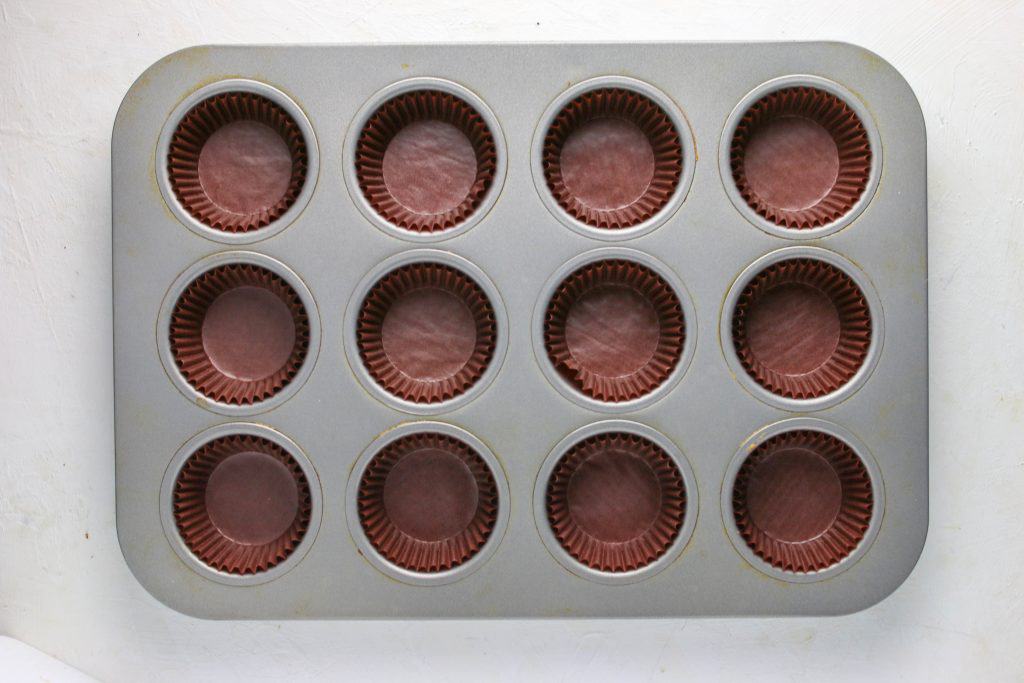
First things first. Prepare your pans and pre-heat that oven. You want to preheat the oven to 350oF and position a rack in the center of the oven. Then prepare the cupcake pans with cupcake liners. My Favorite Go To Cupcake Liners Are These.
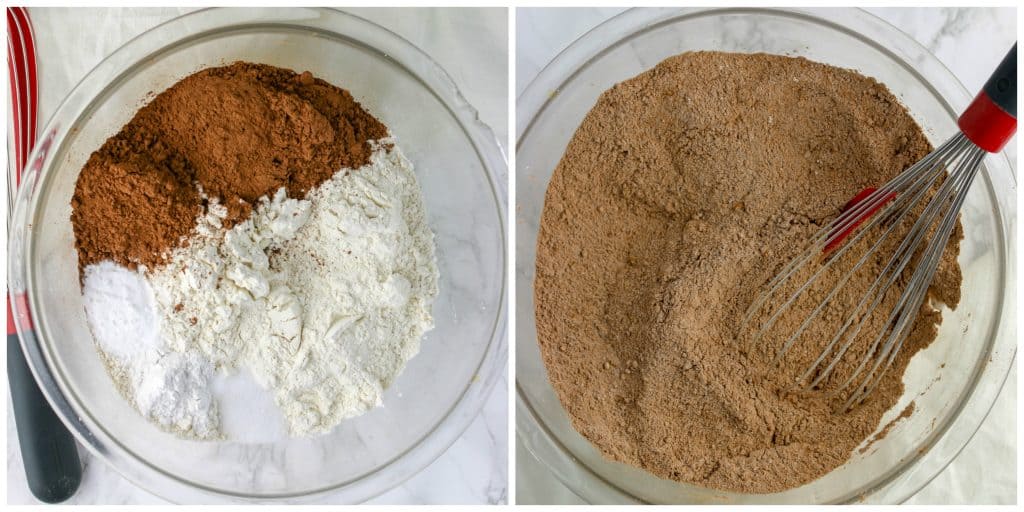
In a large mixing bowl you need to combine the dry ingredients – flour, sugar, baking powder, cocoa powder, baking soda, and salt. Then simply whisk to combine.
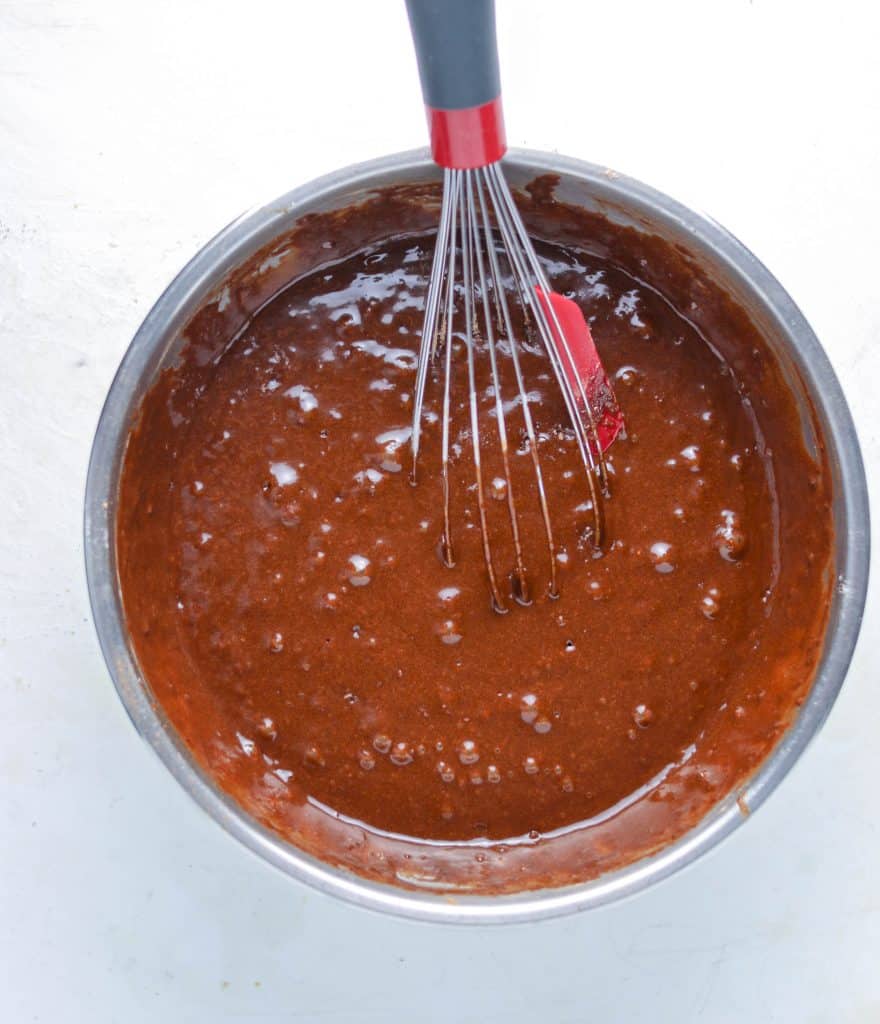
In a second mixing bowl you then whisk together the wet ingredients- milk, vegetable oil, vanilla extract, and eggs. Then add the wet ingredients to the flour mixture in the large bowl and stir to combine. At this point the batter will be thick, but it will thin out once you add the boiling water.
Then you need to add in your boiling water. The batter will be thin.
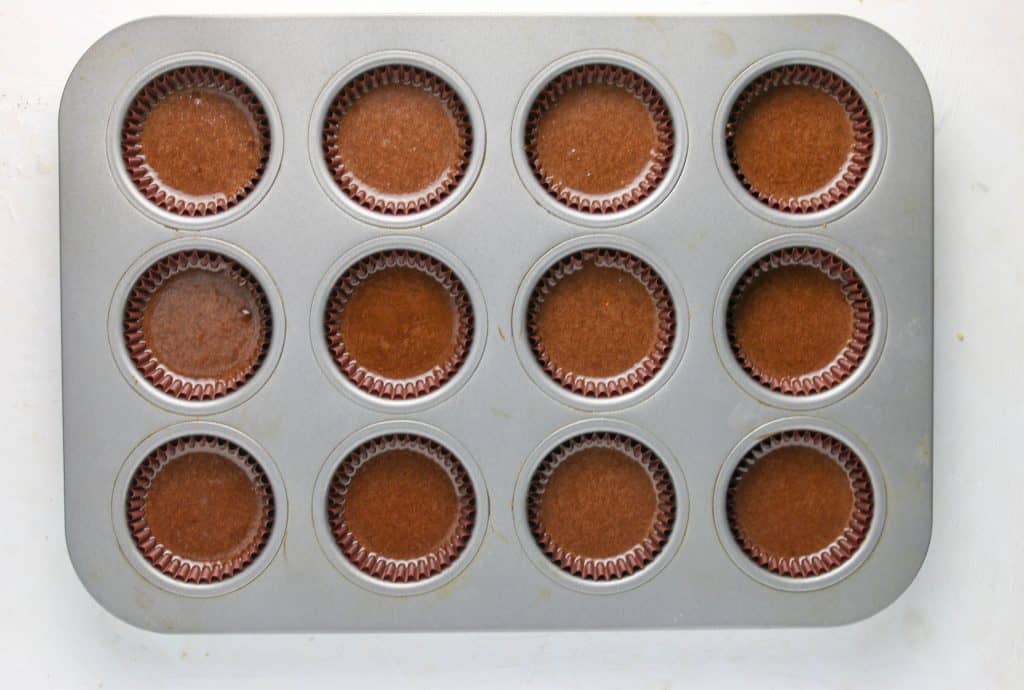
To fill your cupcake pans, I find it easiest to pour the batter into a liquid measuring cup and pour then into my cupcake pans.
You want to fill these up about 3/4 of the way to leave a bit of room for them to rise and create that beautiful domed cupcake.
Bake for 22-25 minutes or until wooden pick inserted in center comes out clean, rotating the muffin tins halfway through baking. Remove cupcakes from pans and allow to cool on a wire rack. Cool completely.
Tips For Making These Thin Mint Cupcakes
- Measure Correctly – Be sure to measure your flour accurately. It’s easy to overmeasure your flour resulting in a dense cupcake. I always give my flour a stir first. Then spoon into my dry measuring cup and then level off. For a full tutorial on how to measure your flour click here.
- Use Natural Cocoa Powder– Be sure to use natural unsweetened cocoa powder not dutch process. They are not the same. You can read about the differences here between natural and dutch process cocoa powder.
- Rotate Your Pans – When baking these, it’s best to rotate the pans halfway through their baking time. Every oven can have hot spots so they may not bake evenly. Give them a turn in the oven, so they all bake up pretty. This is just one of 15 tips for baking perfect cupcakes every time.
- Cool Completely. Once they are baked, be sure to take them out of the pans and cool on a cooling rack. Leaving them in your pans means they will continue to bake and could end up dry.
How To Make This Mint Buttercream Frosting
This mint buttercream frosting starts with making the BEST vanilla buttercream frosting recipe. <– Click for step by step photos
To turn it into a mint buttercream frosting I used peppermint extract and some green food coloring.
Start by beating together the butter and powdered sugar and mix on low speed, then increase the speed for 2-3 minutes until light and fluffy.
For the frosting you will want to use an electric mixer. I like to use my stand mixer with a paddle attachment but you can also use a hand mixer.
Add in your vanilla extract, peppermint extract, and heavy cream. Beat on medium-high for 8 minutes. This is what makes the frosting is super light and fluffy!
For step by step photos on making this mint buttercream frosting <– Click here
Related Post: Ultimate Guide To Different Types Of Frosting
How To Frost These Thin Mint Cupcakes
Once the buttercream was ready and the cupcakes were cooled I used this Wilton 2D tip to frost the cupcakes with.
If you are new to decorating cupcakes, then be sure to check out my Ultimate Guide To Decorating cupcakes.
After I frosted these I topped them with cookie crumbs and a cookie. If you don’t have any thin mint cookies, then you can also use Grasshopper cookies (found year round in the cookie aisle of your grocery store).
Recipe Variations
- Fill with chocolate ganache – You could core the cupcakes and fill with a chocolate ganache. Add peppermint extract to the ganache as well for a more minty flavor!
- Add chocolate chips – You could stir in 1/2 cup chocolate chips to the cupcake batter.
- Make into mini cupcakes – You could bake the cupcake batter into a mini muffin pan. Bake for about 15 minutes.
Recipe FAQs
You can make the chocolate cupcakes with mint frosting up to 2 days in advance, unfrosted. Just wrap in plastic wrap and keep at room temperature. You can also make the cupcakes and freeze for up to 2 months.
The mint frosting can be made up to a week in advance. Just store in your refrigerator for up to a week. You may need to place them back in your mixer and rewhip back to the same consistency.
You can also make the cupcakes and freeze for up to 2 months in an airtight container. I like to freeze the cupcakes solid first uncovered then once frozen I wrap each cupcake in plastic wrap and store in a freezer bag. I then thaw unwrapped at room temperature (they will thaw quickly.)
You can store in an airtight container for up to 2 days at room temperature. Or you can also store in the fridge, for up to 4 days, covered but I find it can dry the cupcakes out more when stored in the fridge.
More Chocolate Mint Recipes:
More Cupcake Recipes To Try:
- My easy Vanilla Cupcake Recipe
- Peanut Butter Banana Cupcakes
- Easy Pumpkin Cupcakes (Small Batch)
- Red Velvet Cupcake Recipe
If you like this recipe be sure to leave me a comment and star rating below!

Thin Mint Cupcakes
Equipment
Ingredients
For the cupcakes
- 2 cups (394 g) granulated white sugar
- 1-3/4 cups (210 g) all-purpose flour
- 3/4 cup (63 g) natural Cocoa powder
- 1-1/2 teaspoons baking powder
- 1-1/2 teaspoons baking soda
- 1 teaspoon salt
- 2 large eggs
- 1 cup (240 mL) milk
- 1/2 cup (120 mL) vegetable oil
- 2 teaspoons vanilla extract
- 1 cup (240 mL) boiling water
For the frosting
- 7 sticks (791 g) unsalted butter softened to room temperature
- 7 cups (791 g) confectioners sugar
- 6 Tablespoons heavy cream
- 6 teaspoons vanilla extract
- 1 1/2 teaspoons peppermint extract
- green food coloring optional
- Thin Mint cookies for decoration optional
Instructions
- Heat oven to 350°F. Prepare two muffin pans with cupcake liners.
- In a large mixing bowl, whisk together the sugar, flour, cocoa, baking powder, baking soda and salt in large bowl.
- In a second mixing bowl, whisk together eggs, milk, oil, vanilla extract until evenly mixed.
- Add the egg mixture to the flour mixture and stir together until just combined. Do not overmix. Stir in the boiling water. Batter will be thin.
- Fill each cupcake well about 3/4 cup full of batter. Bake for 22-25 minutes or until wooden pick inserted in center comes out clean, rotating pans halfway through baking. Remove cupcakes from pans and allow to cool on a wire rack. Cool completely. Repeat with the additional cupcake batter (about 6 additional cupcakes)
- For the frosting (note this is a triple batch, I always make 3 batches to frost all these cupcakes. If you like high swirls like I do then you will want to make a triple batch as well – but you can cut down the amount if you want) combine the butter and powdered sugar and mix on low, then increase the speed for 2-3 minutes until light and fluffy. Add in your vanilla extract, peppermint extract, and heavy cream. Beat on medium-high for 8 minutes.
- With a pastry bag and tip attached, pipe the frosting on each cupcake. Decorate with a cookie. I also crushed up a few cookies and decorated with the cookie crumbs. Store at room temperature for up to 2 days. Refrigerate for up to 3 days, just bring back to room temperature before serving.
Notes
- Be sure to measure your flour accurately. Spoon into your measuring cup and then level off.
- Be sure to use natural unsweetened cocoa powder not dutch process. They are not the same and will affect the final results.
- When baking these, it’s best to rotate the pans halfway through their baking time. Every oven can have hot spots so they may not bake evenly. Give them a turn in the oven, so they all bake up pretty.
- Once they are baked, be sure to take them out of the pans and cool on a cooling rack. Leaving them in your pans means they will continue to bake and could end up dry.
- Nutrition facts do not include thin mint cookie garnish.


Melissa says
Can you use buttermilk instead of milk?
Heather says
Hi Melissa, buttermilk will react differently with the chemical leaveners and they not rise properly. I would stick with using milk!
Melissa says
Thanks Heather. Your directions also say to stir in espresso powder but I do not see that in the list of ingredients. How much do I add to the water?
Heather says
I usually add 1 teaspoon. My apologies I’ll be sure to fix!
Juanita says
Is there a box cake mix that I can substitute for the cake?
Heather says
Yes you can use your favorite chocolate boxed cake mix and bake as directed
Dawn says
I definitely have to try these! Thin mint cookies have always been my favorite, I am just imagining the flavor in a cupcake 🙂 I like that it has the mint in the icing so I can make a couple without since one family member doesn’t like mint as much.
[email protected] says
Oh my gosh I didn’t use to love them but now as an adult can’t get enough! Hope you love them Dawn!