This Post May Contain Affiliate Links. Please Read Our Disclosure Policy.
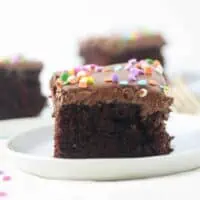
This chocolate crazy cake recipe is by far the EASIEST cake I have ever made. It’s made in the pan you plan to bake it in. So no mixing bowls! And it’s made without any dairy and zero eggs. No butter, no eggs, and no milk! This crazy cake, also known as the chocolate depression cake, is super moist and will become a family favorite! No excuse to not bake from scratch now with this crazy chocolate cake recipe in your arsenal.
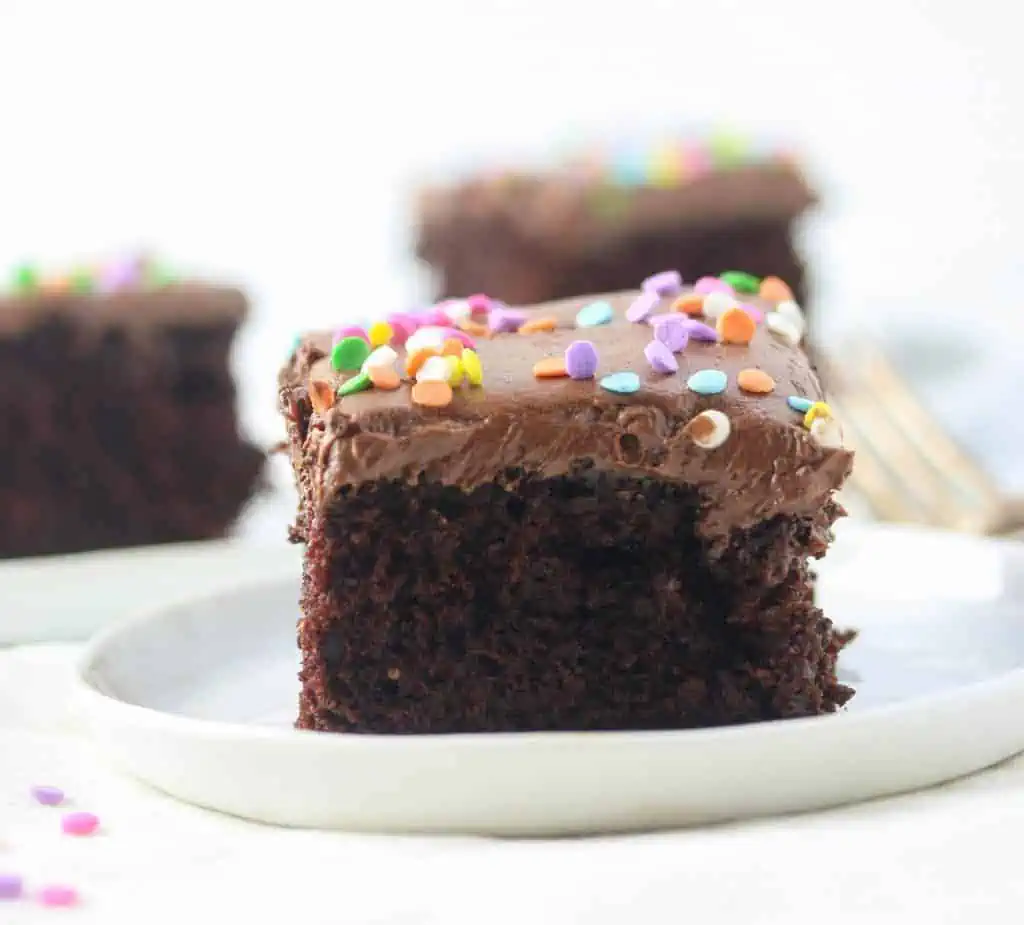
Lately it just seems stores out of the basics – from bread to eggs to milk. And it might seem then that baking anything right now is darn near impossible. But it’s not. Enter this cake.
This chocolate depression cake. Or crazy cake. Wacky chocolate cake. 5-minute cake. The names go on and on, but whatever you call it – call it delicious. Call it easy. Call me over please when you make it so I can have some.
I’ve made this cake way, way, long time ago and turned it into an Easy S’mores Chocolate Poke Cake. But this time we are keeping it simple. Just pure chocolate cake goodness. Because this cake recipe really does deserve it’s own showcase here on the blog. And top it with my EASY Chocolate Buttercream Frosting and you have seriously the best chocolate cake hands down.
This cake was actually one of the first recipes I showed my students in my new Kids online baking class, because I think it’s such an easy beginner recipe to focus on proper measuring and a perfect recipe for kids to try and make themselves. Be sure to sign up on the waiting list for when I open the doors again to the next round of the Kids online baking class!
Why You Will LOVE This Chocolate Crazy Cake
- Little prep time. Takes all about 5-minutes of hands on time before you are ready to throw this cake in the oven.
- Minimal ingredients. Seriously, no butter, eggs, or milk required.
- No mixing bowls. Yup, it’s literally all stirred together into the pan you bake it in.
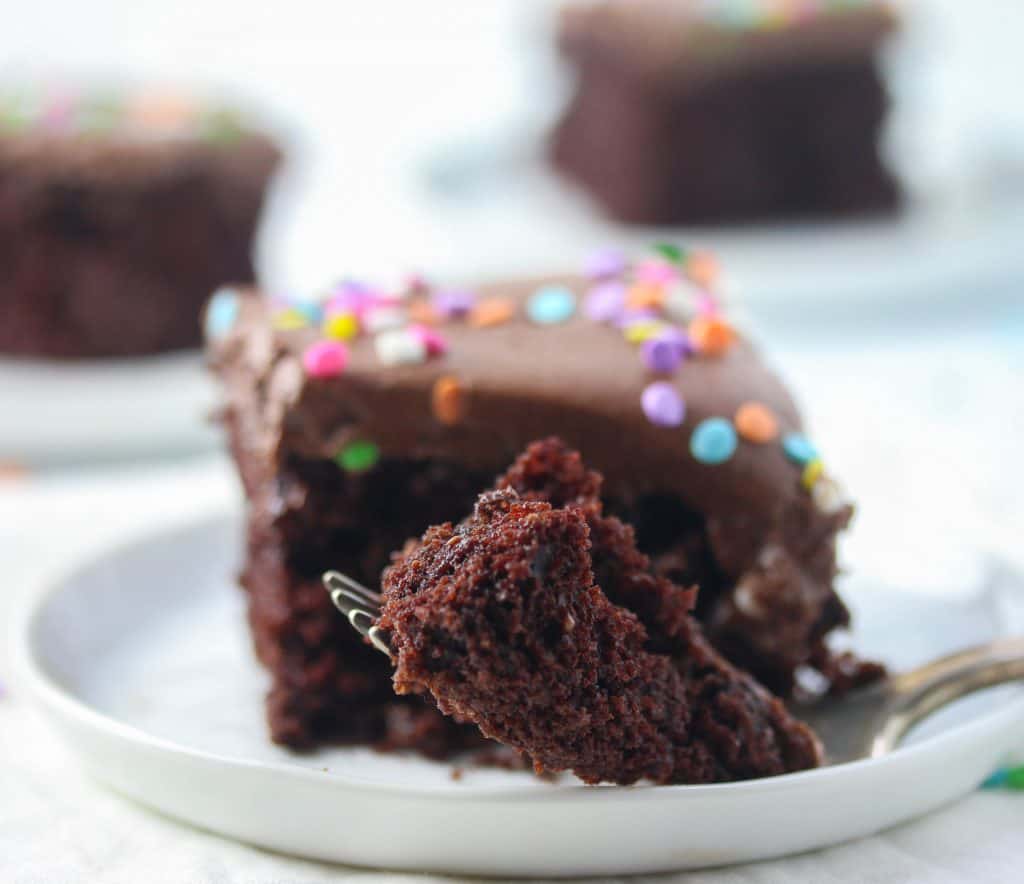
- It’s crazy good. Fudgy, moist chocolate cake that rivals any fancy more complicated chocolate cake.
Why is it called the chocolate depression cake?
So this crazy cake recipe came about during the 1930’s depression, when certain ingredients were hard to come by. Not much different than right now. So it’s no doubt that this cake would have a resurgence right now.
But honestly even when grocery stores begin to normalize and ingredients are back in stock, I beg of you to not forget about this wacky cake.
Ingredients For This Chocolate Crazy Cake
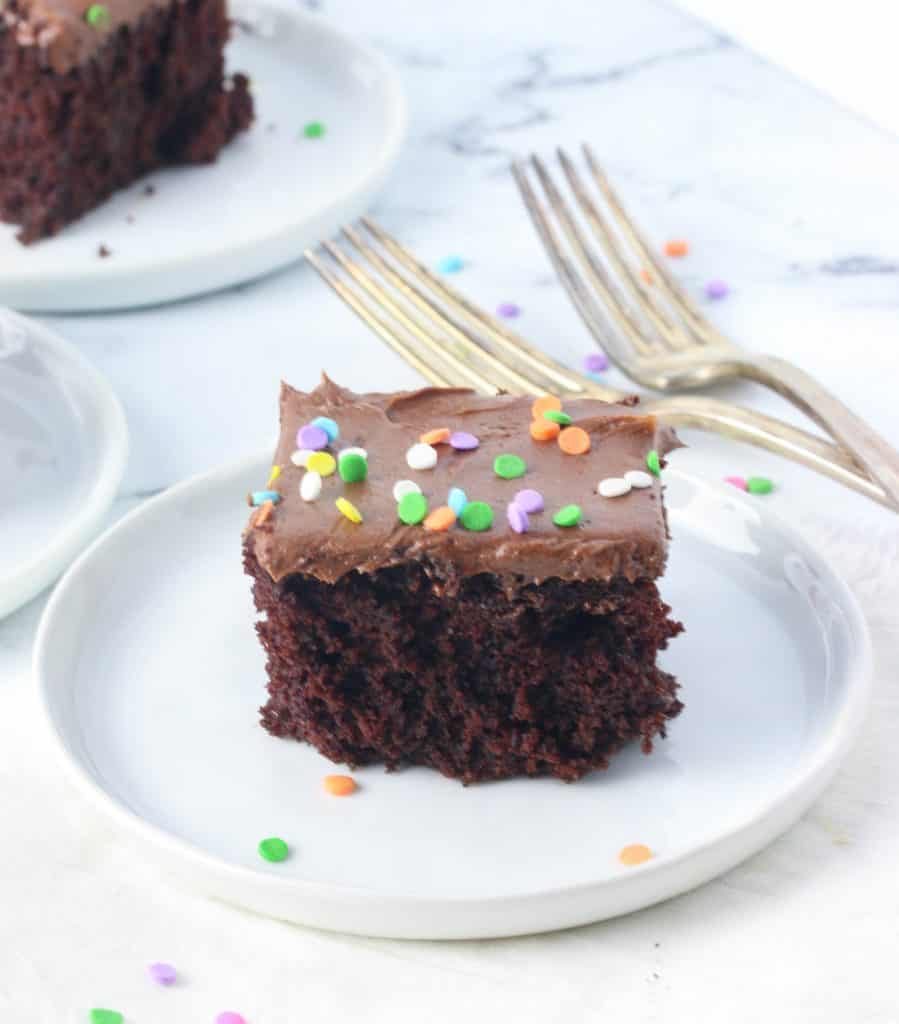
Yes you can make a moist, fudgy chocolate cake without eggs, butter, or milk.
- All-purpose flour
- Light brown sugar
- Granulated Sugar
- Unsweetened cocoa powder
- Baking Soda
- Salt
- Vegetable Oil
- Vinegar
- Vanilla extract
- Water
How To Make This Chocolate Depression Cake
This cake couldn’t be easier to make. Especially when you make it in the same pan you bake it in! Yup. Zero mixing bowls required here.
- Simply spray your 9-inch baking pan first.
- Dump in your dry ingredients and whisk them together. Be sure to not leave any ingredients hiding out in corners unmixed.
- And then make a well, and pour in the oil, vinegar and vanilla. Drizzle in the water, and then stir it all to combine.
And that’s it. Seriously. It’s now ready to bake. As my sister said, “This just seems wrong.” But it isn’t. It all works. And creates one crazy good cake. So maybe it’s called crazy cake for TWO reasons.
Crazy how you make it. Crazy how good it is. Oh and crazy how little time it takes to throw it together. So that’s three reasons. Watch the video to see how to make this crazy cake
Tips For Making This Chocolate Crazy Cake Recipe
- Measure Your Flour Accurately. Nothing will ruin a cake by adding too much flour to your recipe. It’s one of the biggest mistakes bakers make. To measure correctly, weighing your ingredients is always best. But if you are measuring by volume (using dry measuring cups) then be sure to spoon the flour into your cup and level it off. Don’t pack it down in or you will end up with too much flour which will result in a dense cake. You can read more here about How To Measure Flour
- Check your baking soda freshness. Baking soda is what makes the cake rise, but its loses it freshness over time and can expire. Test your baking soda first in a small bowl with a bit of lemon juice or vinegar to see if it bubbles. You can read more here about Baking Powder vs. Baking Soda.
- Get In The Corners! I have made this cake a few times and I always find since we are making this in a square pan sometimes pockets of ingredients can hide out in the corners. So be sure to check those corners.
- Don’t Overmix. I say this often but for good reason. Once the wet ingredients are added to the dry ingredients the flour becomes hydrated. And when this happens a protein, gluten, forms. Now we need some gluten to form because this gives our cake structure. But too much mixing causes too much gluten to form and will result in a very tough cake. So mix just until the last of the flour is mixed in and then stop stirring.
What Should I Frost This Chocolate Cake With?
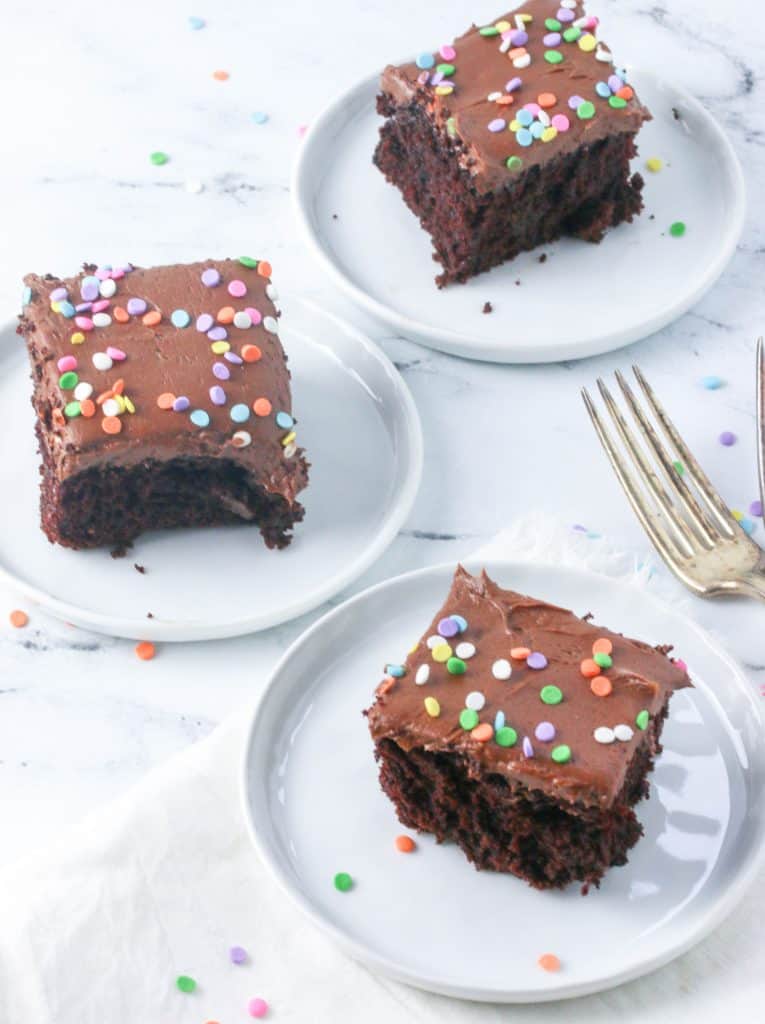
You really have lots of options here. Choose whatever you love to have your cake with. I topped mine with a 1/2 batch of my EASY Chocolate Buttercream Frosting.
But you could also top it with:
- Vanilla buttercream frosting
- Cream Cheese Icing
- Whipped Cream
- Fun flavored buttercream frosting such as Strawberry Buttercream Frosting, Coconut Buttercream Frosting, Mint Buttercream, Cake Batter Buttercream Frosting, or Caramel Buttercream Frosting.
- Dust with powdered sugar and serve with fresh fruit
Of course since you may be making this because you have no milk or butter, then regular frostings might not work. You could make this chocolate glaze from Epicurious and replace the milk with water.
Do I Need To Add The Vinegar?
The vinegar is a MUST, because this cake contains no eggs which would generally help with the lift. So we need the vinegar to react with our baking soda and help this cake rise.
You can use white vinegar or apple cider vinegar.
How do I store this crazy cake?
You can store this cake at room temperature for up to 5 days. Just be sure to cover it well with plastic wrap or foil. If you decide to refrigerate it (because maybe you topped it with whipped cream or cream cheese icing) then be sure to cover it really well so it doesn’t dry out.
More Cake Recipes To Try
- Momofuku Milk Bar Cake
- Grapefruit Pound Cake
- Gluten Free Clementine Cake
- Checkerboard Cake
- Lemon Raspberry Bundt Cake Recipe
- Banana Cake Recipe
Tools Needed To Make This Crazy Cake:
- 9-inch square pan – (If you only have an 8-inch cake pan then you will need to increase the baking time)
- Whisk (I love this whisk because it’s also a scraper)
- Dry Measuring Cups, liquid measuring cups, and measuring spoons
Let’s Connect!
I created this fun little group on Facebook and I’d love for you to join! It’s a place where you can ask questions, and see what’s new with Boston Girl Bakes. Share your own recipes and participate in the monthly baking challenges.
If you like to check it out, you can request to join HERE.
And be sure to follow me Instagram and tag #bostongirlbakes so I can see all the wonderful recipes YOU make from this blog. You can also subscribe to my newsletter so you never miss a delicious recipe again!
Don’t forget to get on the waiting list for the Kids online baking class. You’ll be the first to hear when I open the doors again!
Chocolate Crazy Cake
Ingredients
- 2 cups (285 grams) all-purpose flour
- 3/4 cup (150 grams) packed light brown sugar
- 2/3 cup (55 grams) cocoa powder
- 1/2 cup (100 grams) granulated sugar
- 1 1/4 teaspoons baking soda
- 1/2 teaspoon salt
- 1/2 cup (120 mL) vegetable oil
- 4 teaspoons vinegar
- 1 Tablespoon vanilla extract
- 1 1/3 cup (320 mL) water
Instructions
- Place an oven rack in the middle position. Preheat the oven to 350F (180C). Spray a 9-inch square nonstick pan with baking spray.
- Place the flour, brown sugar, cocoa, granulated sugar, baking soda, and salt in the pan, and stir until completely combined. Make a large well in the middle of the dry mixture. Pour the oil, vinegar, and vanilla into the well.
- Drizzle the water over the whole mixture then stir until completely combined. Wipe the inside edge of the pan to clean up any residual dry mixture.
- Bake until just firm and a toothpick inserted into the center comes out with moist crumbs, 25 to 30 minutes. Place the cake to cool completely on a wire cooling rack.
- Once the cake has completely cooled, top with frosting is using.
Video
Notes
- Measure Your Flour Accurately. Nothing will ruin a cake by adding too much flour to your recipe. It’s one of the biggest mistakes bakers make. To measure correctly, weighing your ingredients is always best. But if you are measuring by volume (using dry measuring cups) then be sure to spoon the flour into your cup and level it off. Don’t pack it down in or you will end up with too much flour which will result in a dense cake. You can read more here about How To Measure Flour
- Check your baking soda freshness. Baking soda is what makes the cake rise, but its loses it freshness over time and can expire. Test your baking soda first in a small bowl with a bit of lemon juice or vinegar to see if it bubbles. You can read more here about Baking Powder vs. Baking Soda.
- Get In The Corners! I have made this cake a few times and I always find since we are making this in a square pan sometimes pockets of ingredients can hide out in the corners. So be sure to check those corners.
- Don’t Overmix. I say this often but for good reason. Once the wet ingredients are added to the dry ingredients the flour becomes hydrated. And when this happens a protein, gluten, forms. Now we need some gluten to form because this gives our cake structure. But too much mixing causes too much gluten to form and will result in a very tough cake. So mix just until the last of the flour is mixed in and then stop stirring.
- Storage: You can store this cake at room temperature for up to 5 days. Just be sure to cover it well with plastic wrap or foil. If you decide to refrigerate it (because maybe you topped it with whipped cream or cream cheese icing) then be sure to cover it really well so it doesn’t dry out.
- Icing Your Cake: I topped mine with a 1/2 batch of my EASY Chocolate Buttercream Frosting. Or you could make this chocolate glaze from Epicurious and replace the milk with water.

Kristy Neal-Shelton says
I love this recipe.. To me, it’s so easy and fast… Thank you so much. I love all your recipe’s… Hope to see lots and lots more…