This Post May Contain Affiliate Links. Please Read Our Disclosure Policy.
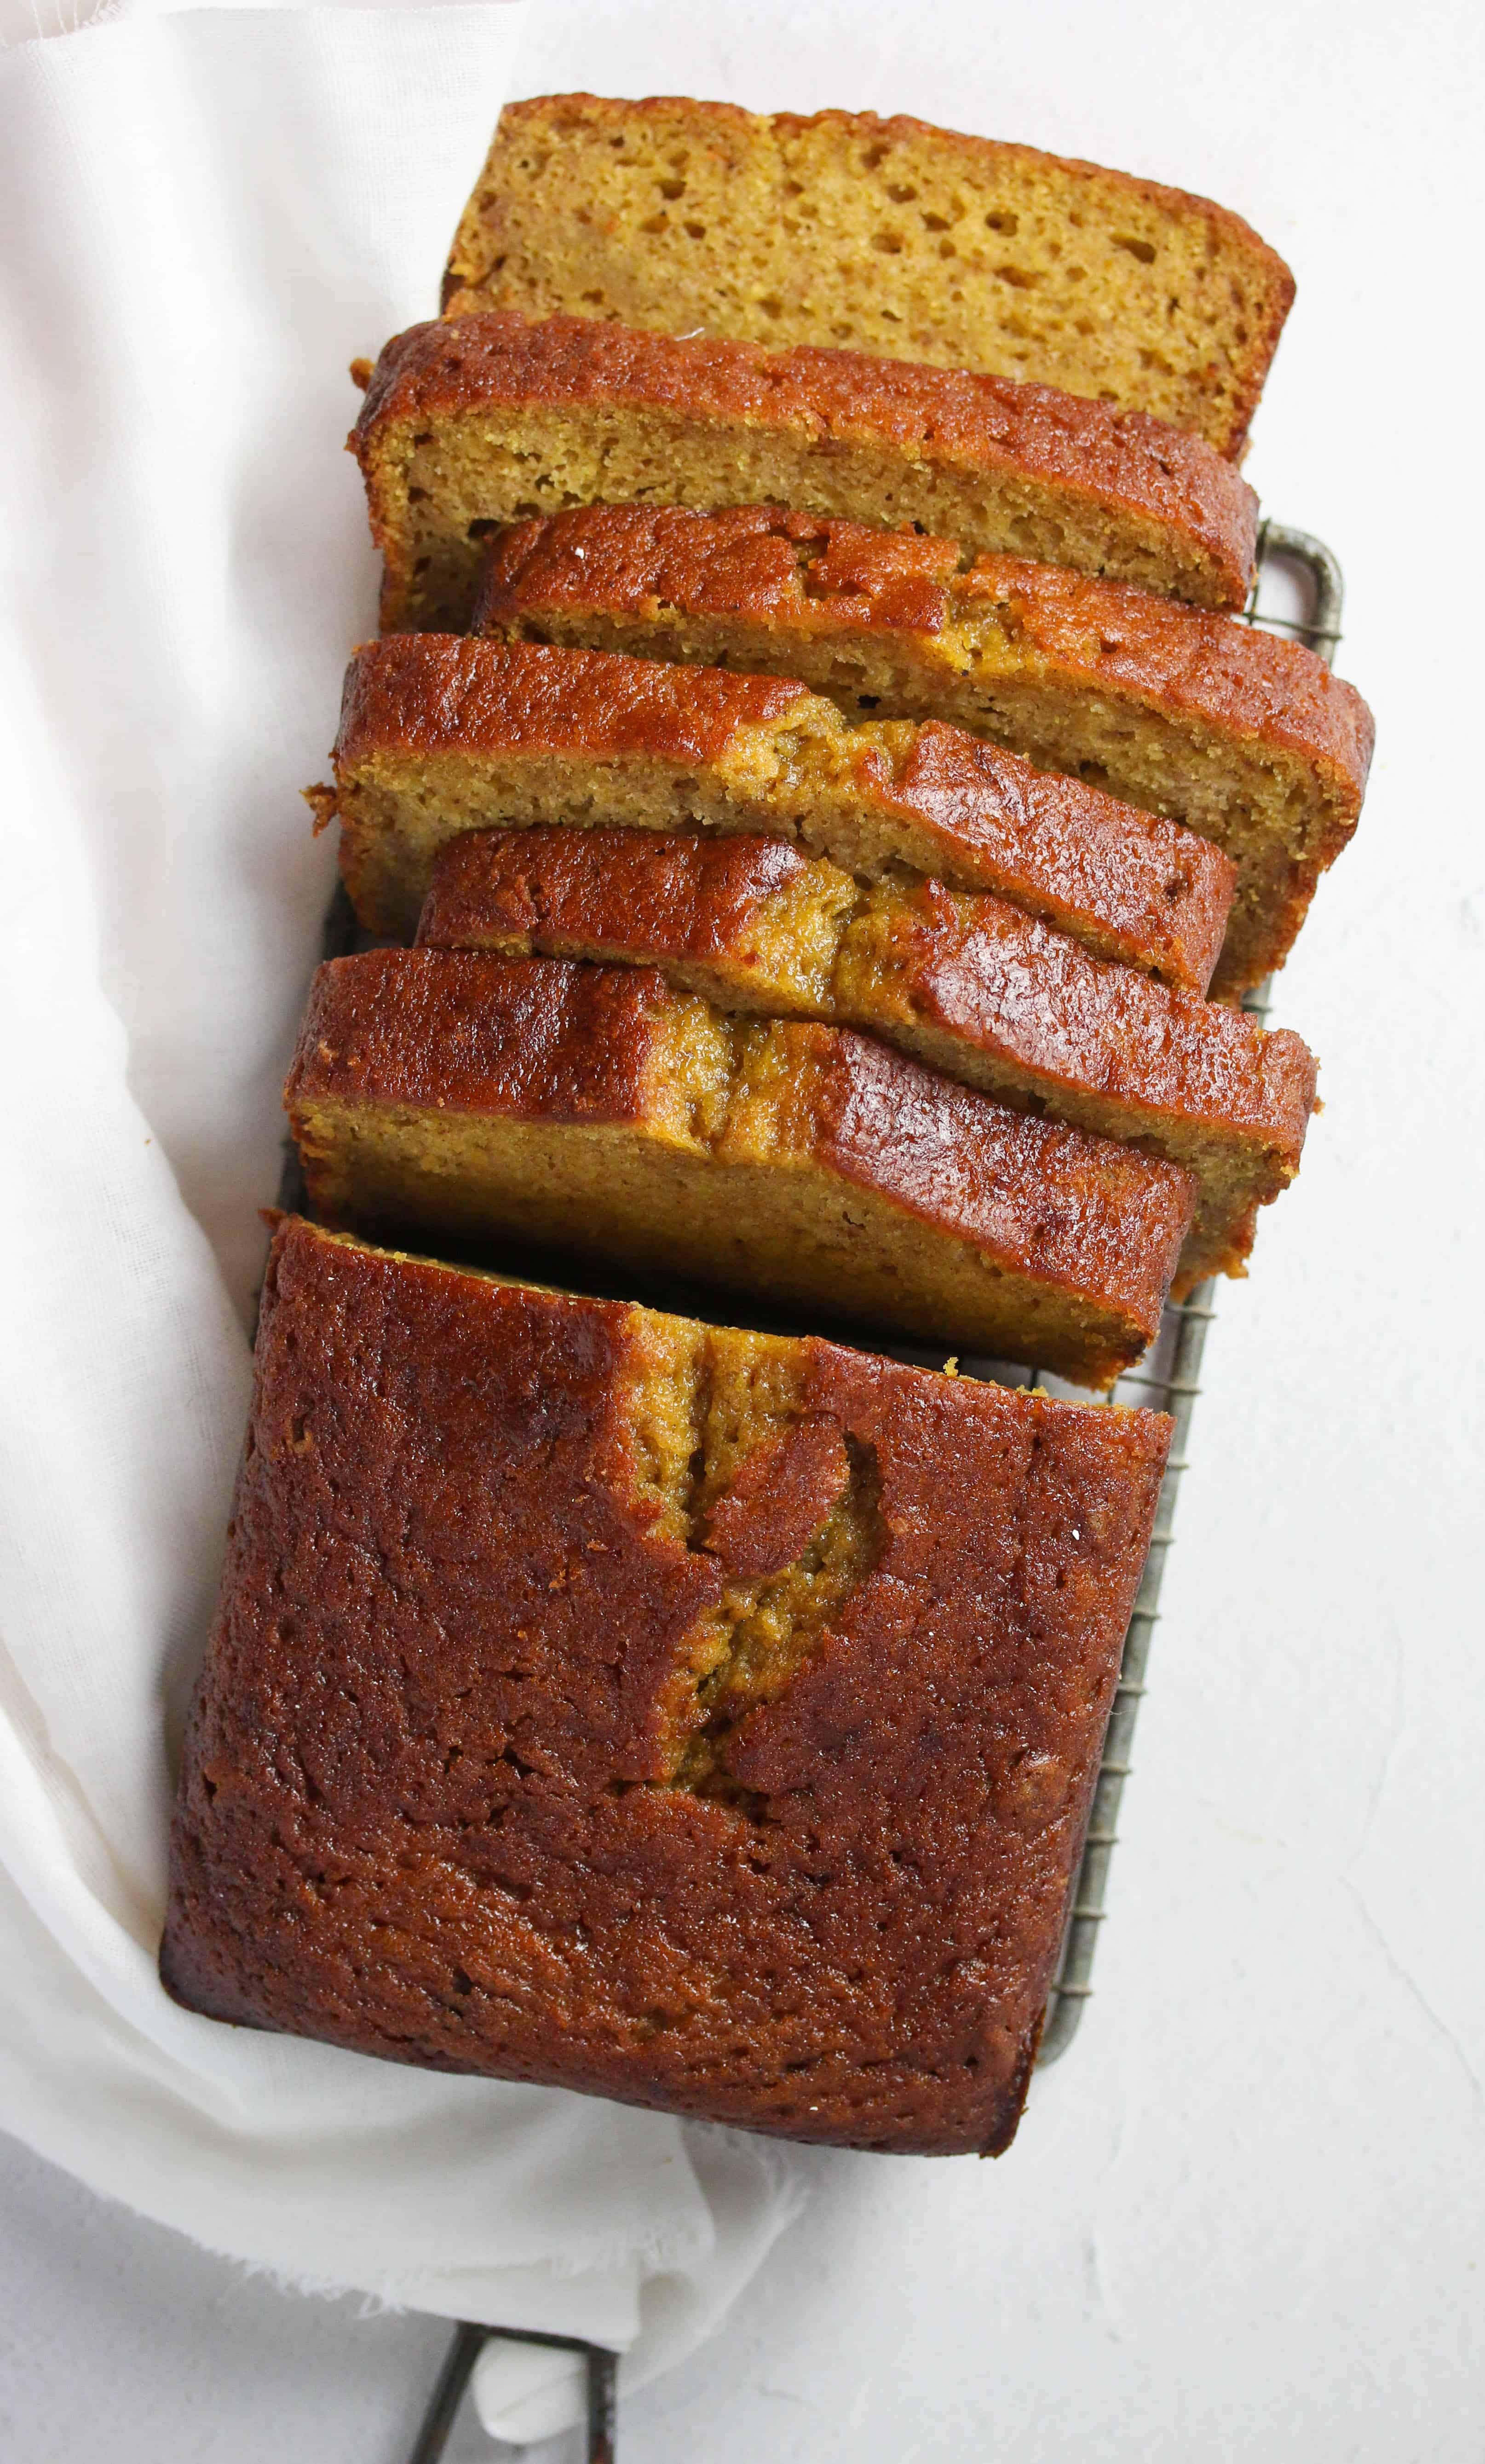
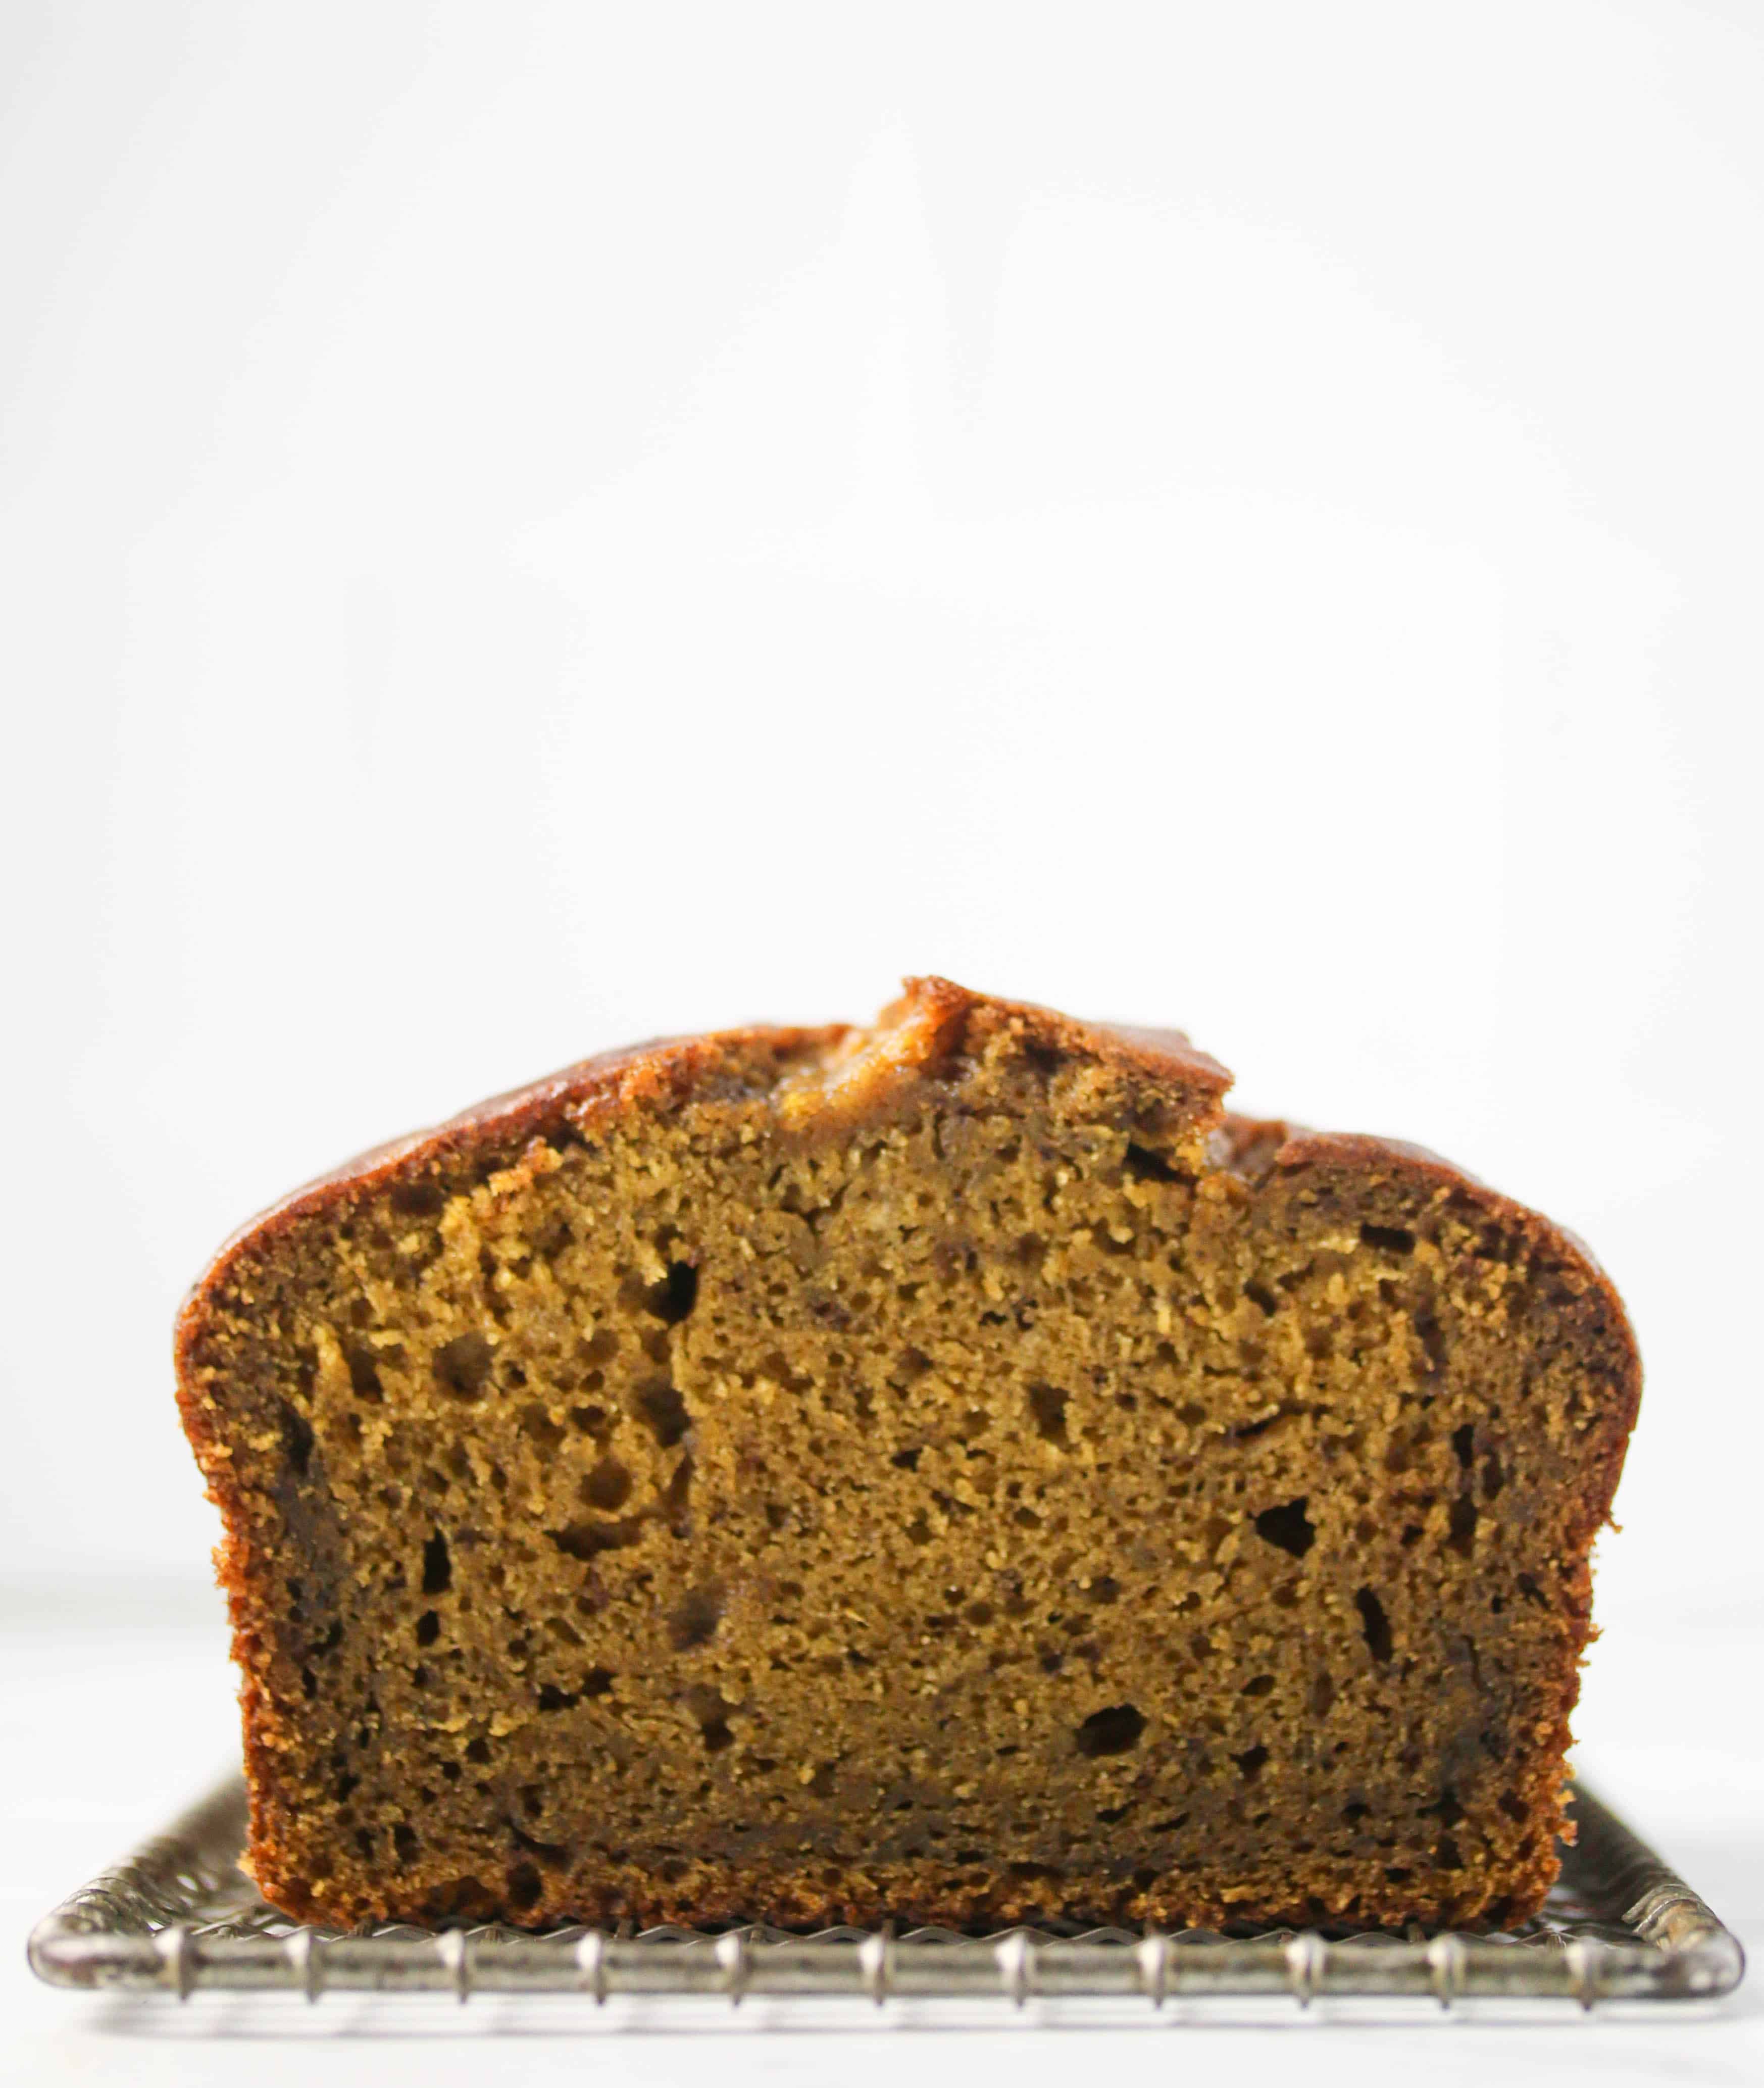
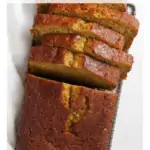
This homemade Butternut Squash Bread is deliciously moist and so simple to make! Made with butternut squash puree, warm spices, and a hint of orange, it boasts all the wonderful flavors of Autumn. This may just become your new favorite fall treat!
I just love when pumpkin season rolls around. Pumpkin cookies, lattes, cakes, breads… It’s fall heaven!
However, this year finding a can of pumpkin puree in the stores was like trying to find a unicorn! So I decided why does pumpkin have to get all the glory and fame? What about all those other wonderful Autumnal squashes?
Enter: butternut squash. If pumpkin bread is delicious, butternut squash bread must be equally amazing! For this recipe I made my own squash puree so that it had as vibrant a flavor as possible, but you can also use canned. The fresh puree gets folded into an easy batter spiced with cinnamon, nutmeg, ginger, cloves, and a little bit of orange juice to pull everything together.
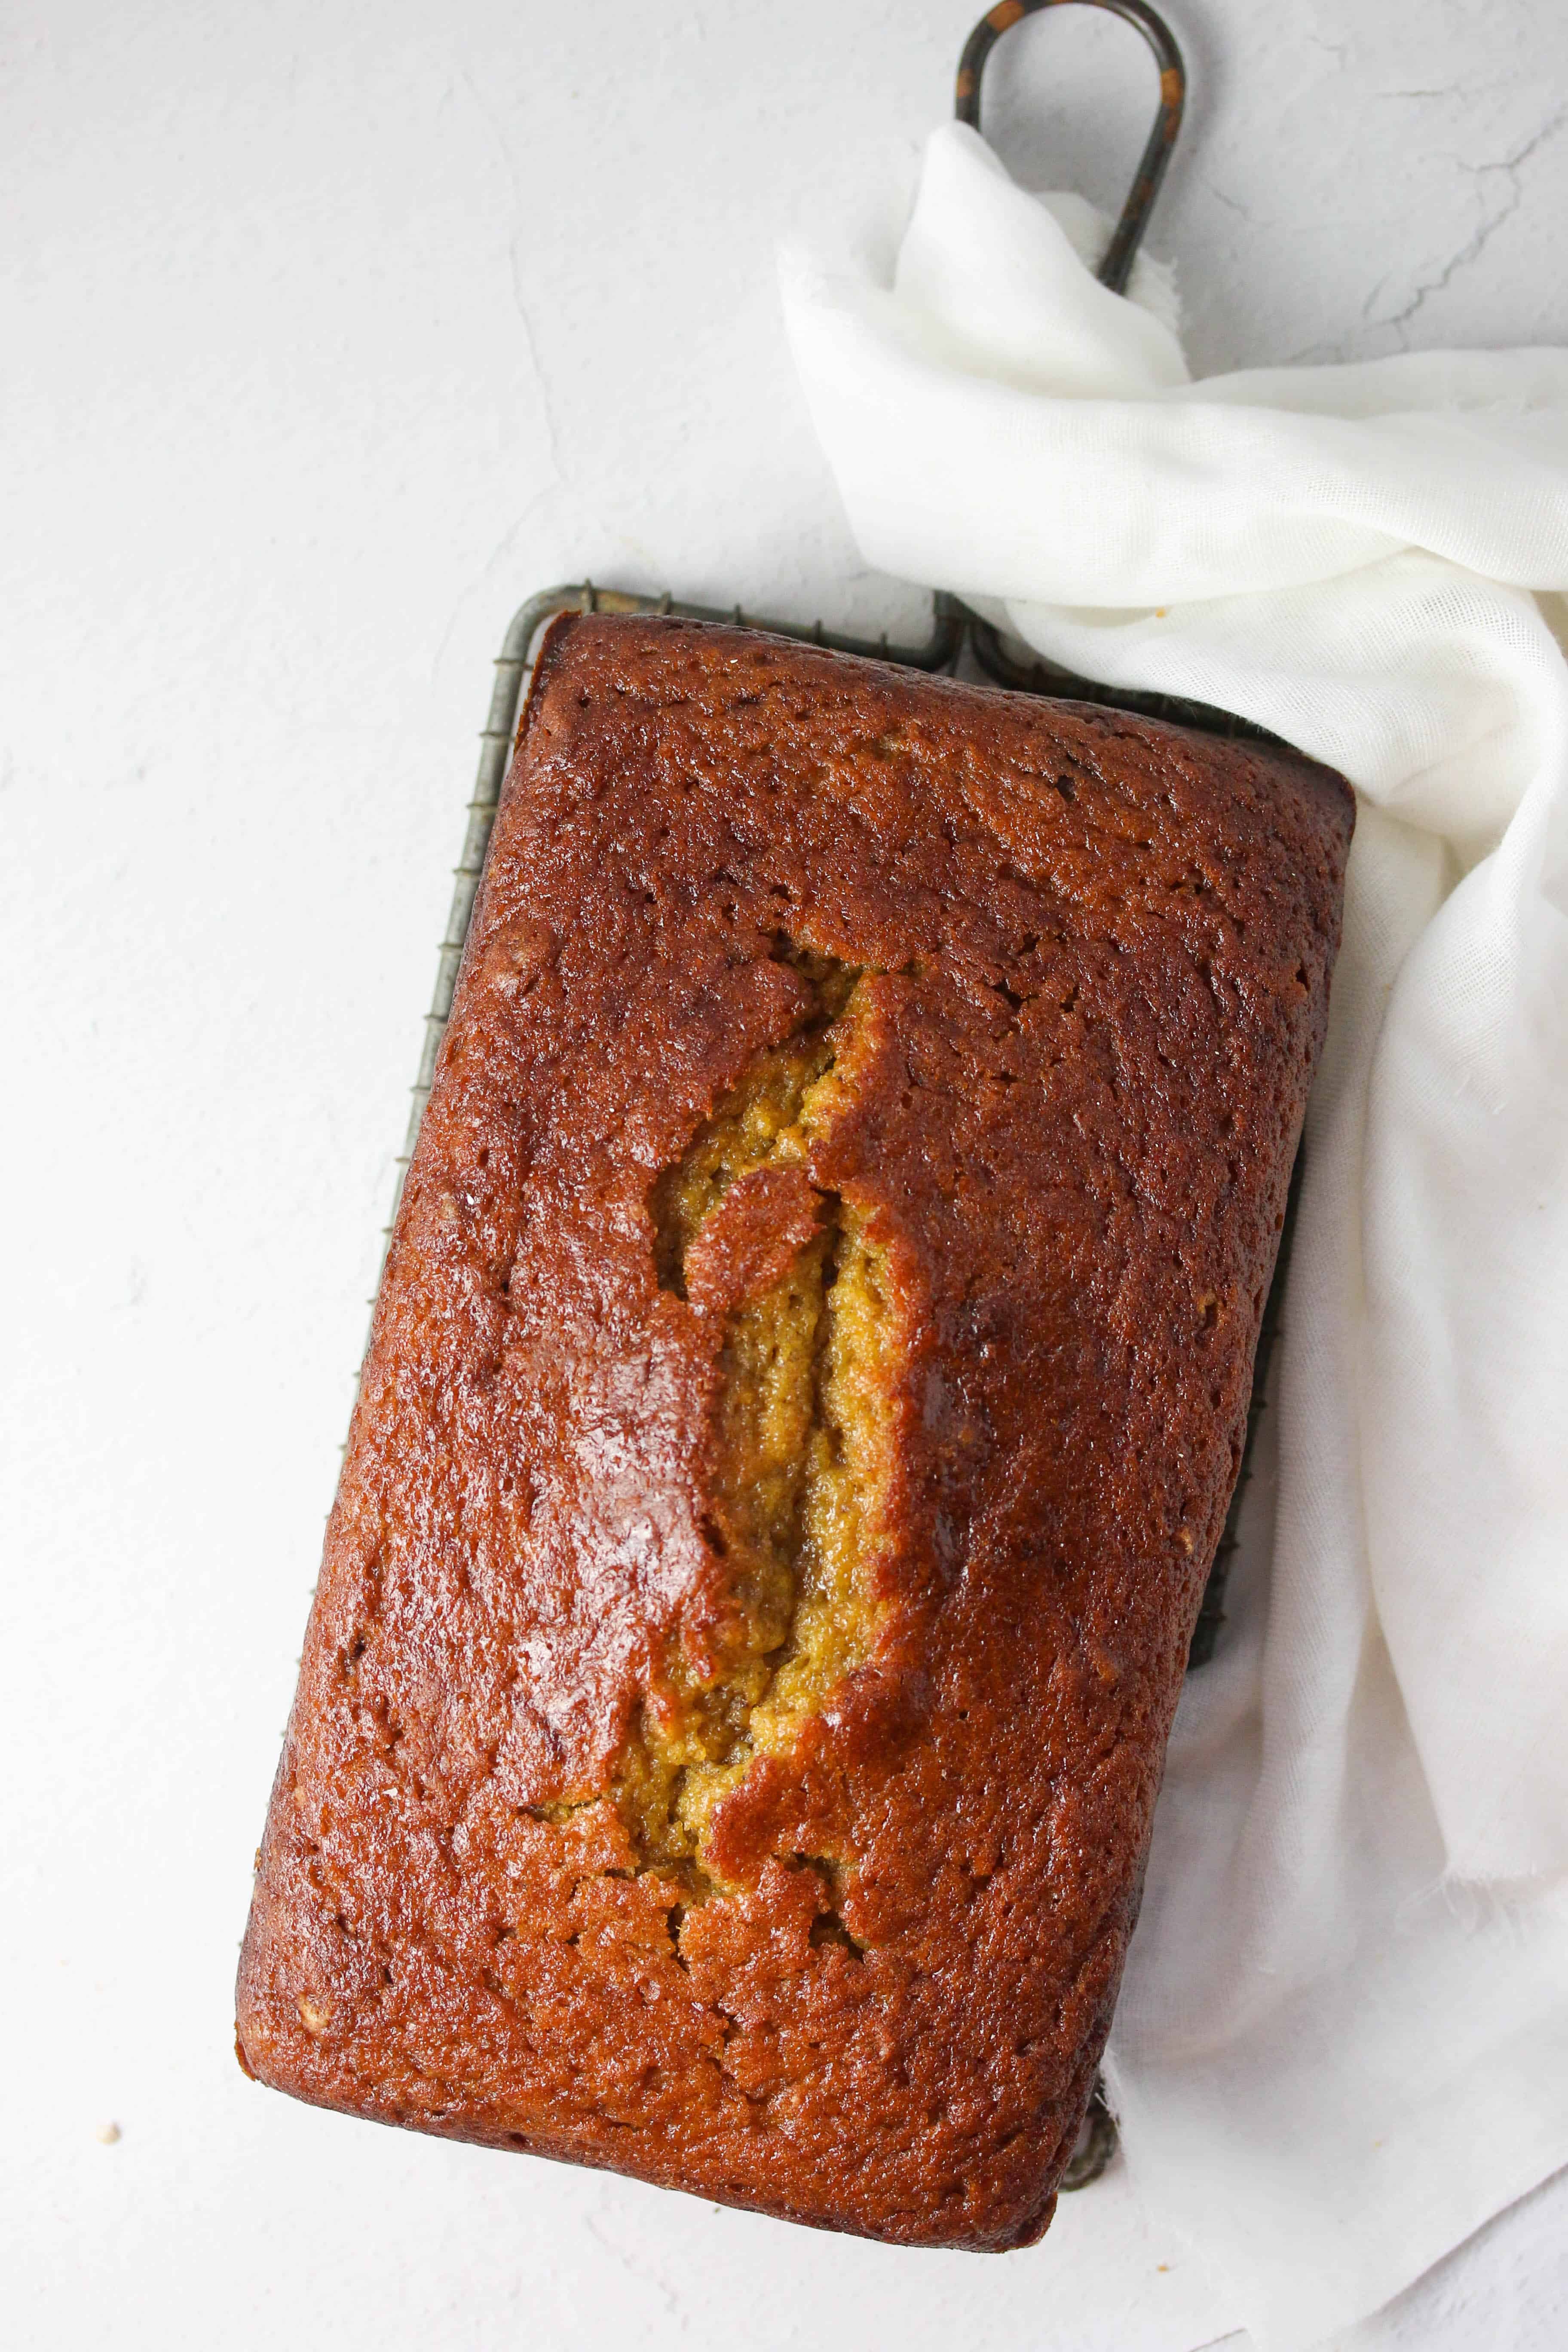
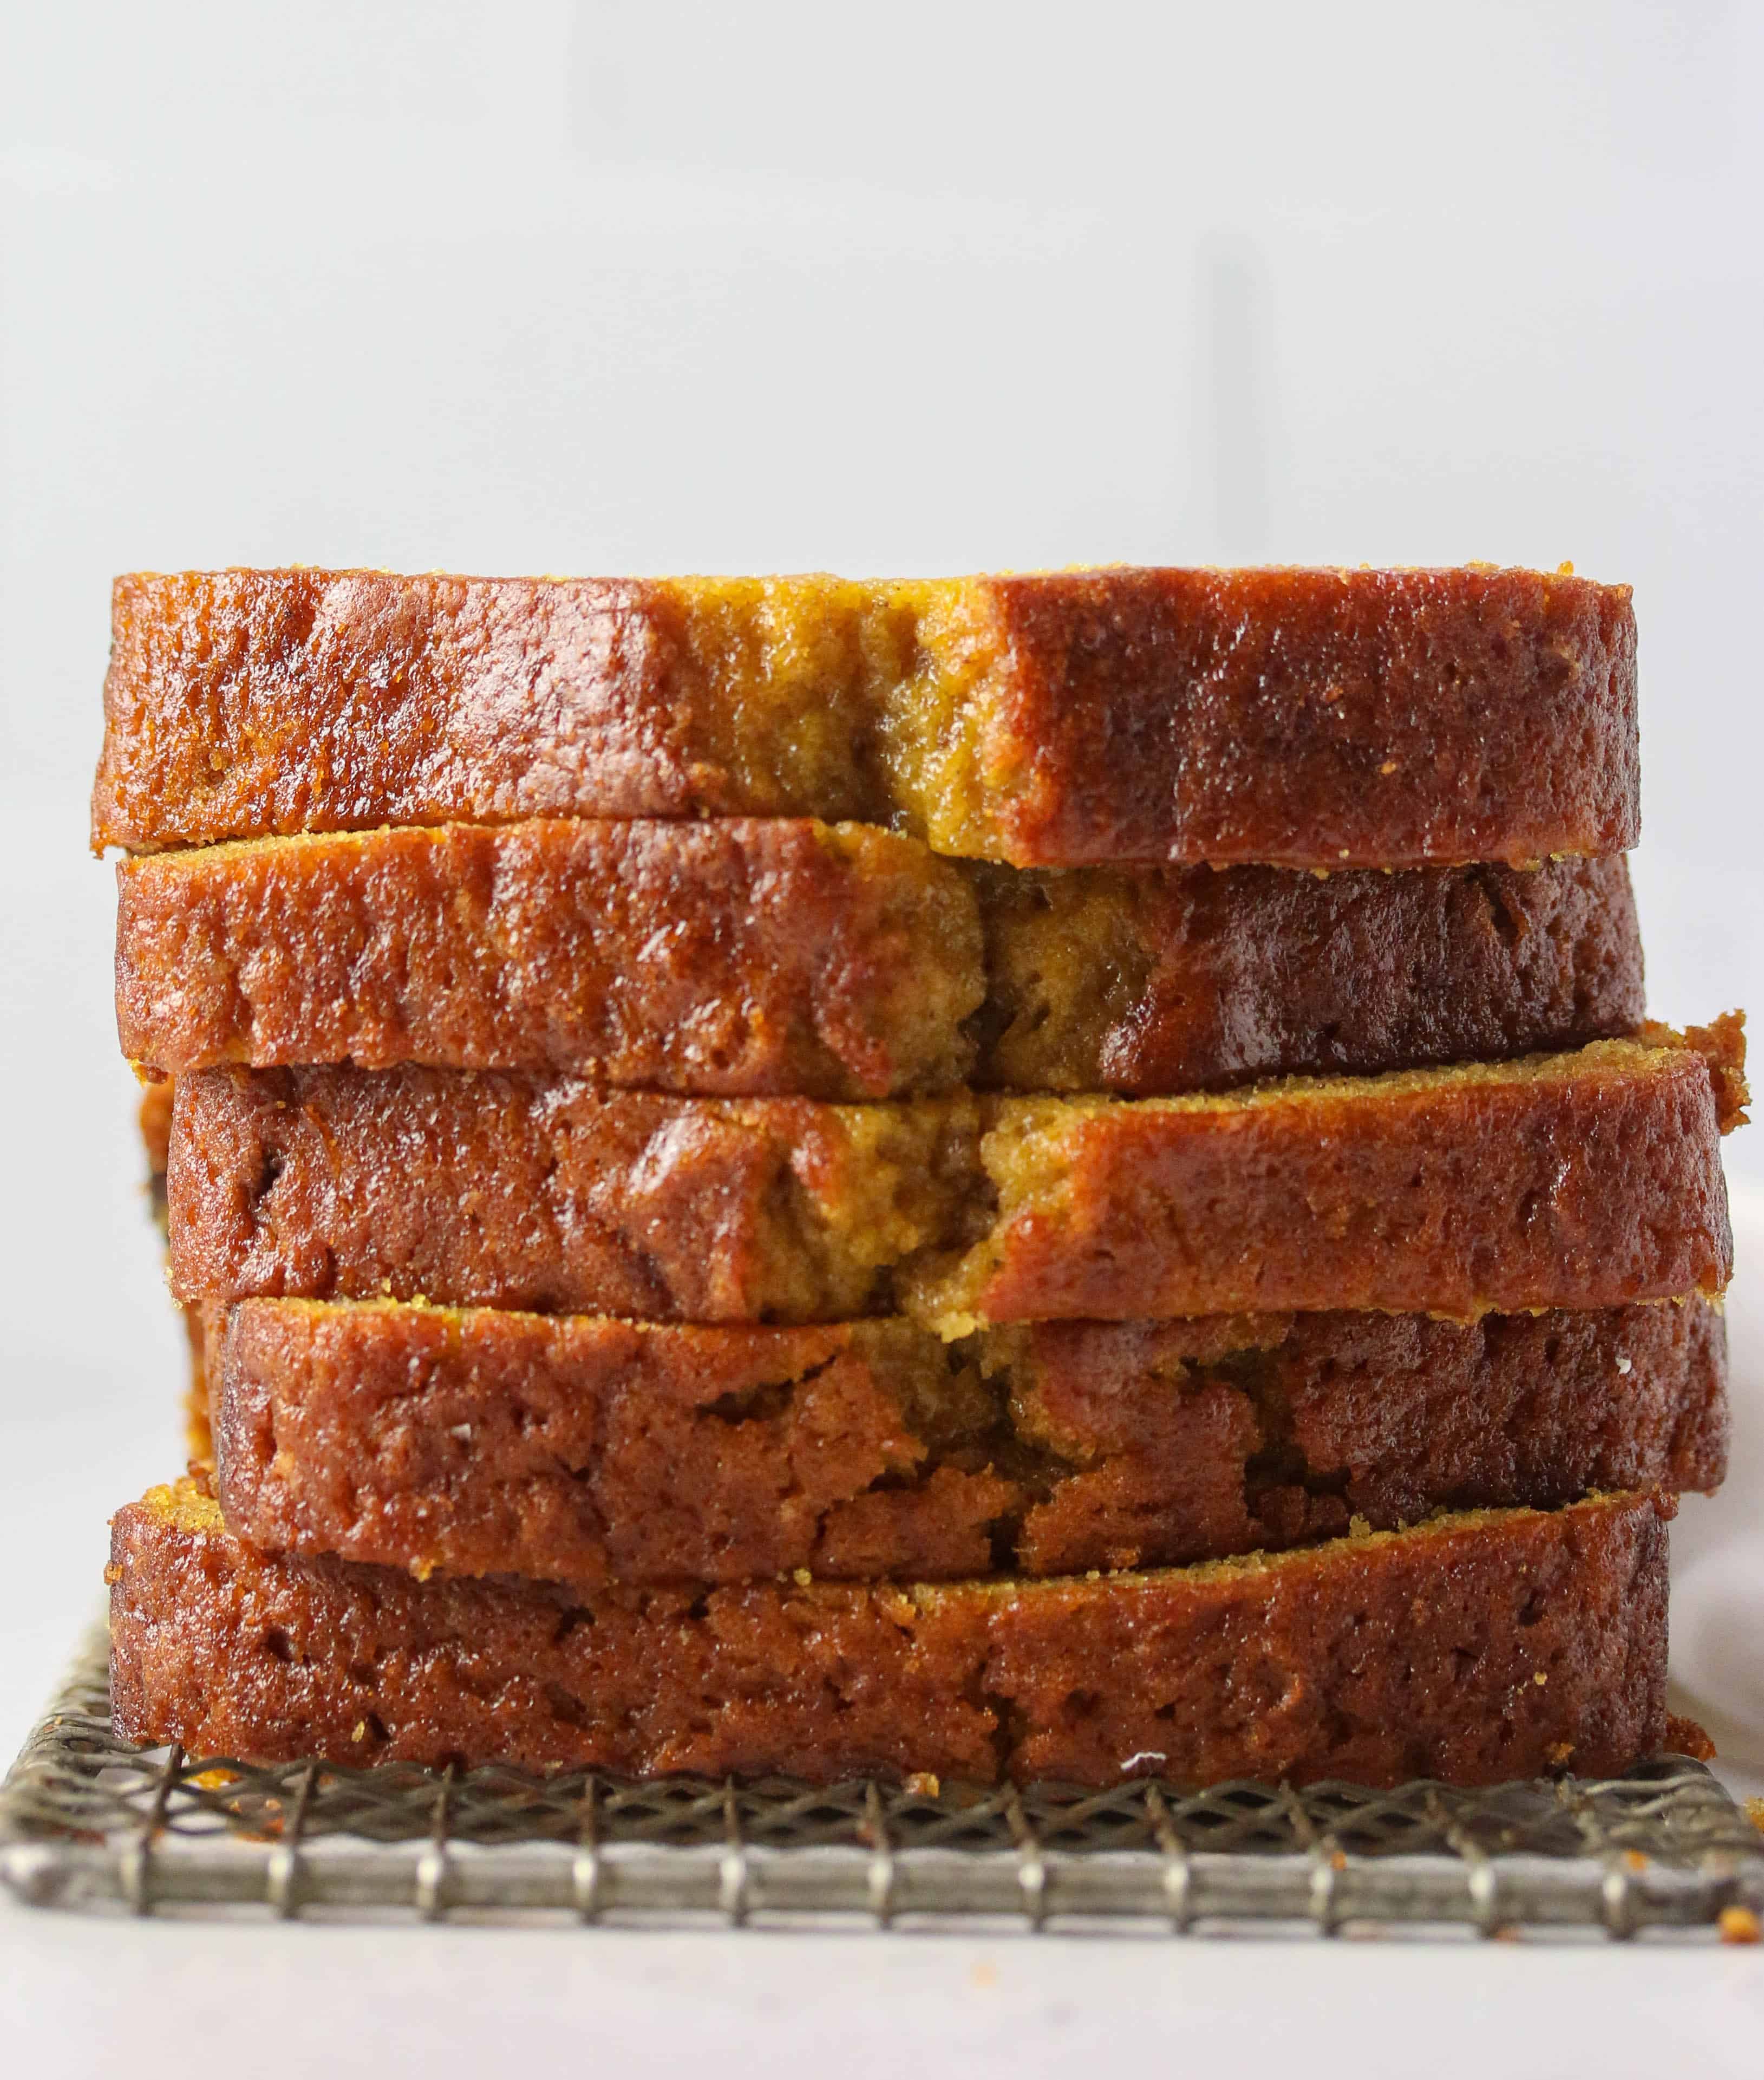
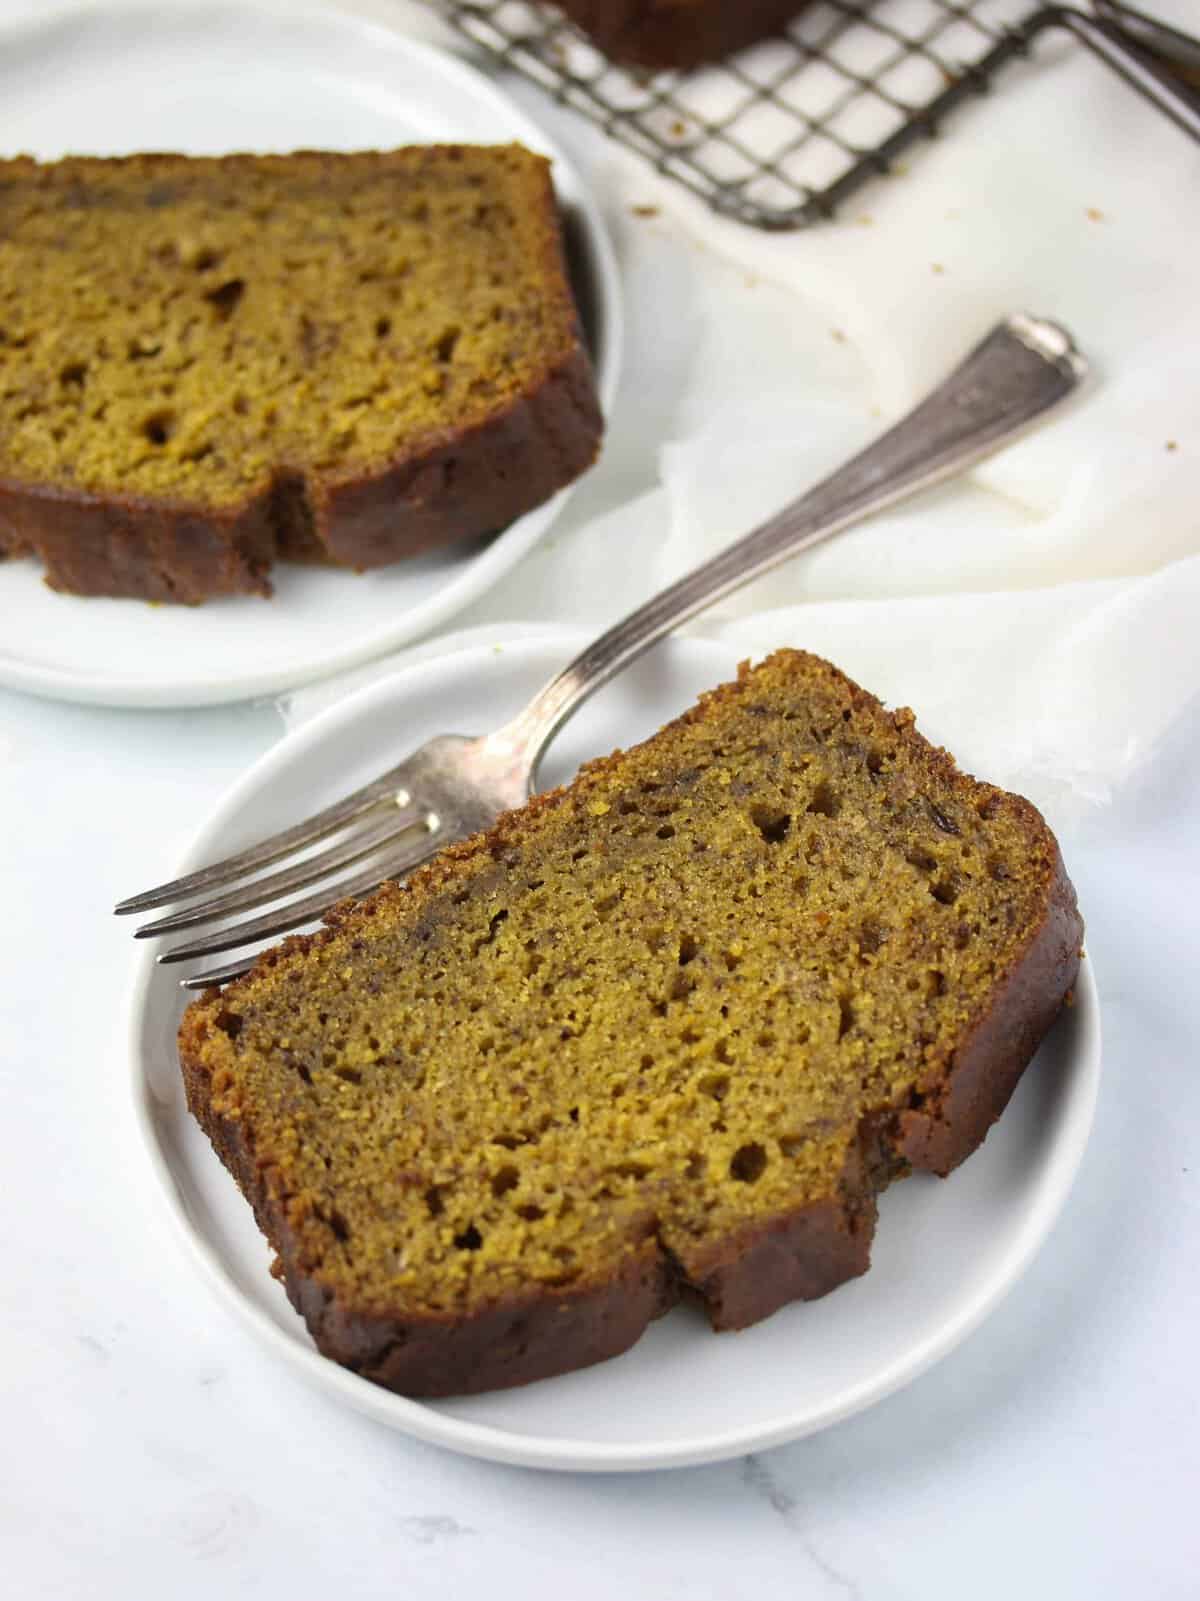
The bread turns out soft and tender, with a lovely golden top and a moist interior. It tastes like fall as soon as you take a bite, plus it makes the house smell so good while it’s baking. So if you’re like me and can’t find pumpkin on your shelves, it’s time to give butternut squash bread a try!
Table of contents
Ingredients for this Butternut Squash Bread
- All purpose flour – You can also try using 50% whole wheat flour to make it a bit more nutritious.
- Baking soda
- Salt
- Nutmeg
- Cloves
- Ginger
- Cinnamon
- Vegetable oil
- Sugar – I prefer to use organic cane sugar, but regular granulated sugar works, or coconut sugar (but that will make the bread darker).
- Light brown sugar
- Eggs
- Butternut squash puree – You can make your own using the instructions below or use canned.
- Orange juice – Just a bit of orange juice adds a perfect amount of citrus flavor to compliment the fall spices. You can also use water if you don’t have orange juice.
How to Make Your Own Butternut Squash Puree
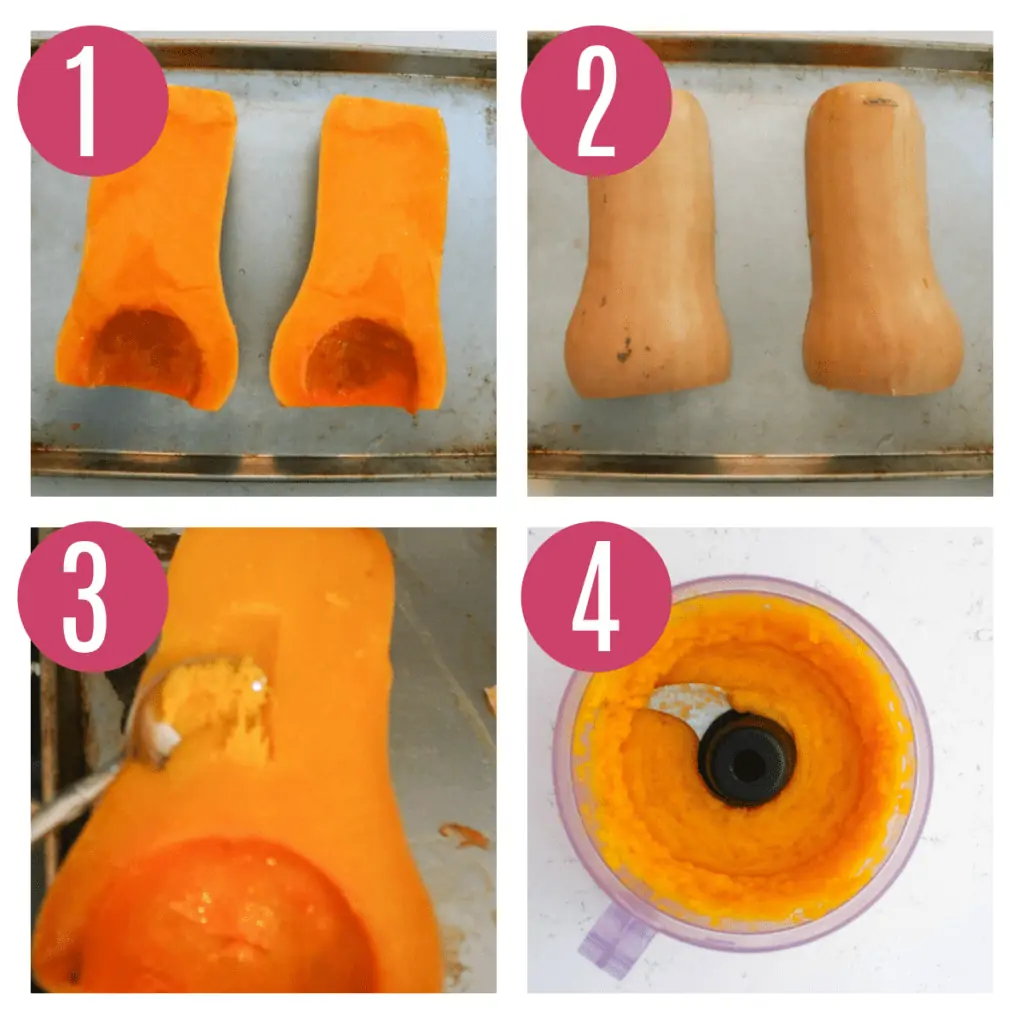
It’s a surprisingly simple process to make your own butternut squash puree. Honestly, the hardest part is cutting it. Use a large, sharp knife to carefully cut your squash in half lengthwise. Then remove the seeds and place the squash on a baking sheet that is lined with foil. I like to brush the surface with a little oil and then place face down on your baking sheet.
You want to bake at 400° for 45-65 minutes, or until the squash is tender. Once tender, allow it to cool slightly. Then scoop out the flesh (the skin can be thrown away). I just used a spoon and scraped out the cooked squash. If it’s been cooked through it will remove easily.
That wasn’t so hard now was it? Ok now that you have all this delicious cooked squash it’s time for your food processor!
I just placed all the squash into my food processor and blended it until very smooth. You may find you have some leftover squash puree. You can save it and add it to a butternut squash soup for later in the week. Yes dinner and dessert!
Can I Use Canned Squash?
I have been lucky to find sometimes cans of squash puree and have used it. It’s not quite the same as fresh, but then again what is? So if you find some, then yes by all means use it in this bread.
I did notice my bread made with canned squash vs. fresh puree yielded a slightly darker bread in the end. Still delicious just slightly different!

How to Make Butternut Squash Bread
Preheat and prepare pan. Preheat oven to 350oF. Spray a 9×5” loaf pan with non-stick cooking spray or grease with butter and set aside.
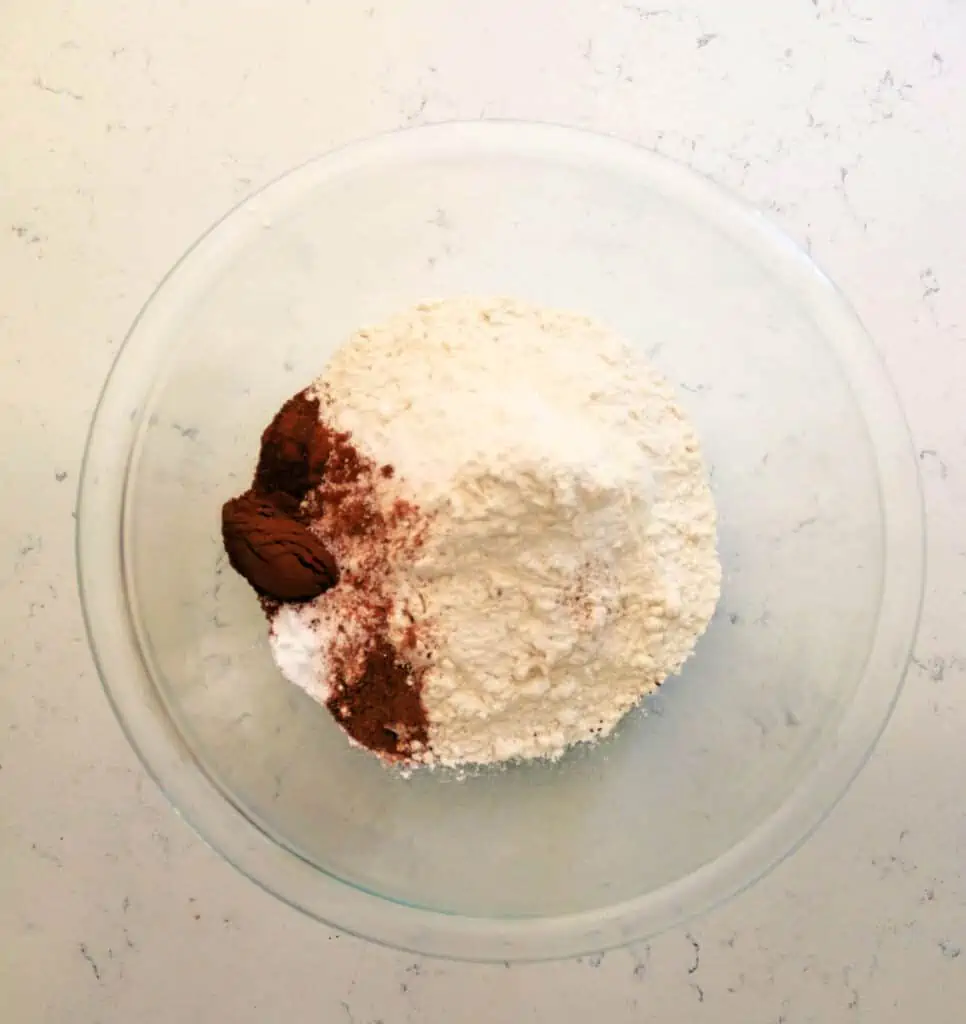
Combine dry ingredients. In a mixing bowl, whisk together flour, baking soda, salt, nutmeg, cloves, ginger and cinnamon.
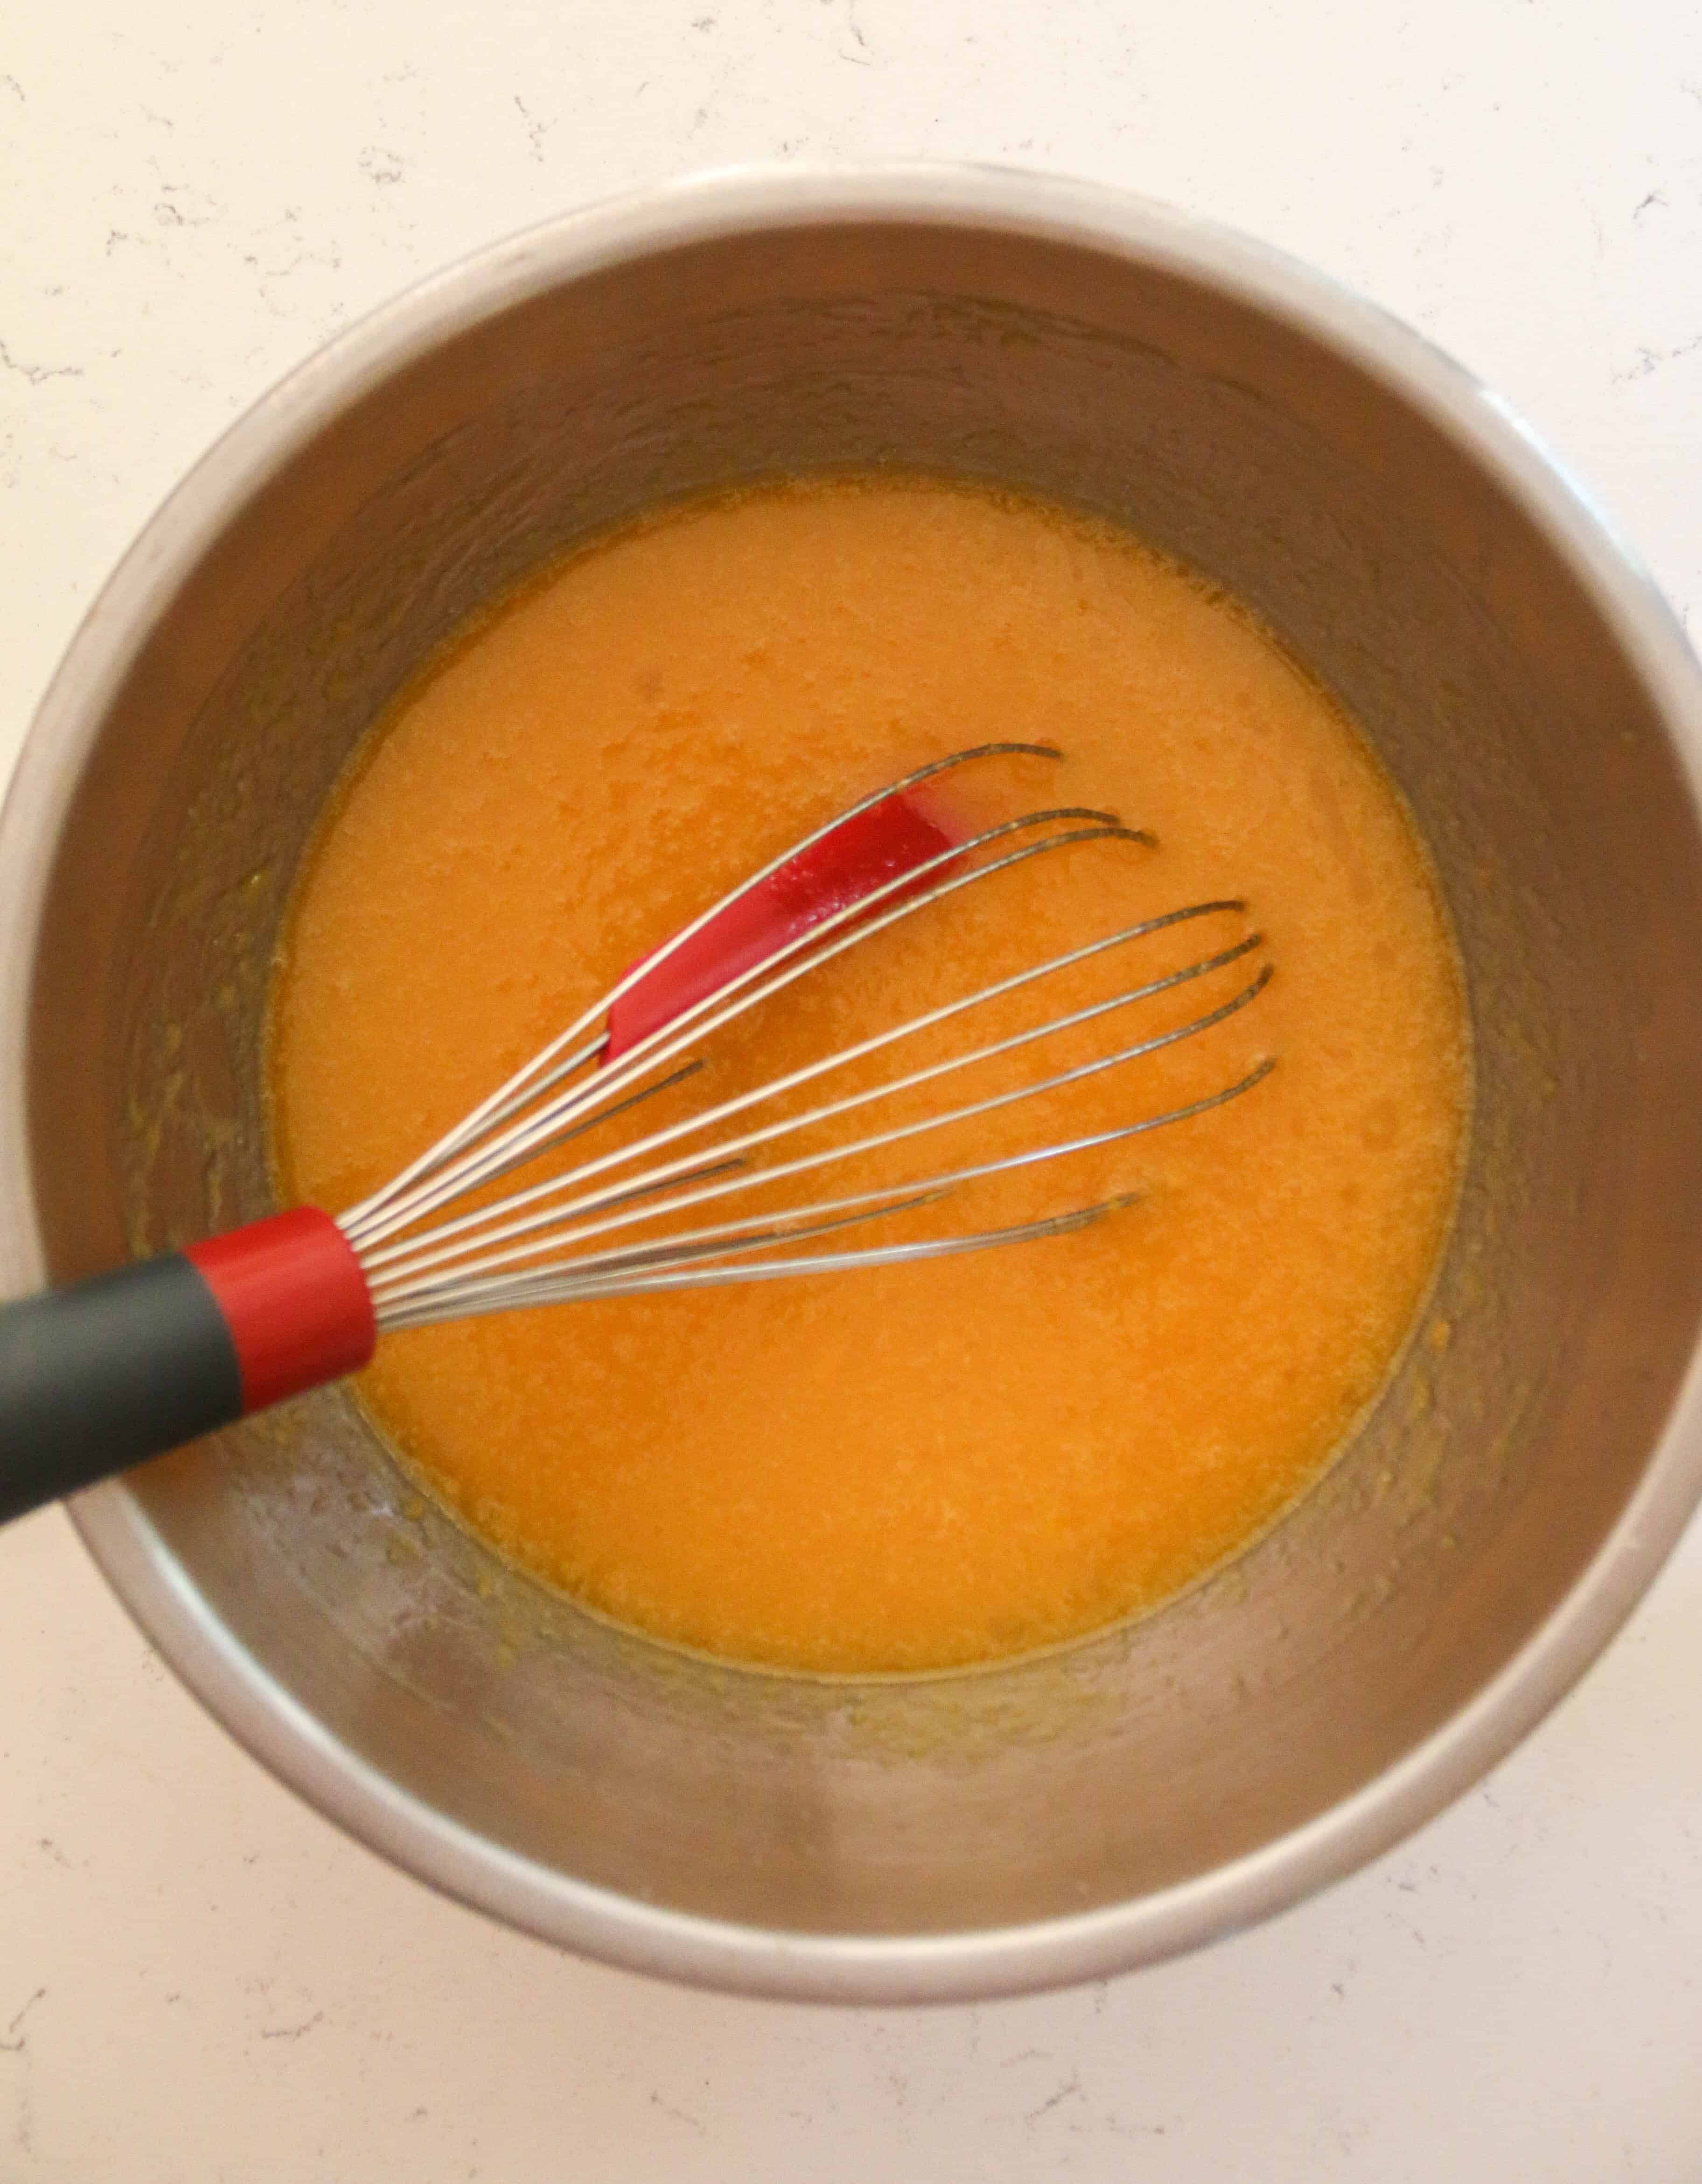
Whisk wet ingredients. In the same mixing bowl whisk together oil, sugars, eggs, squash, and water until combined.
Combine wet and dry ingredients. Add the dry ingredients to the wet ingredients and mix together with a spatula until just combined.
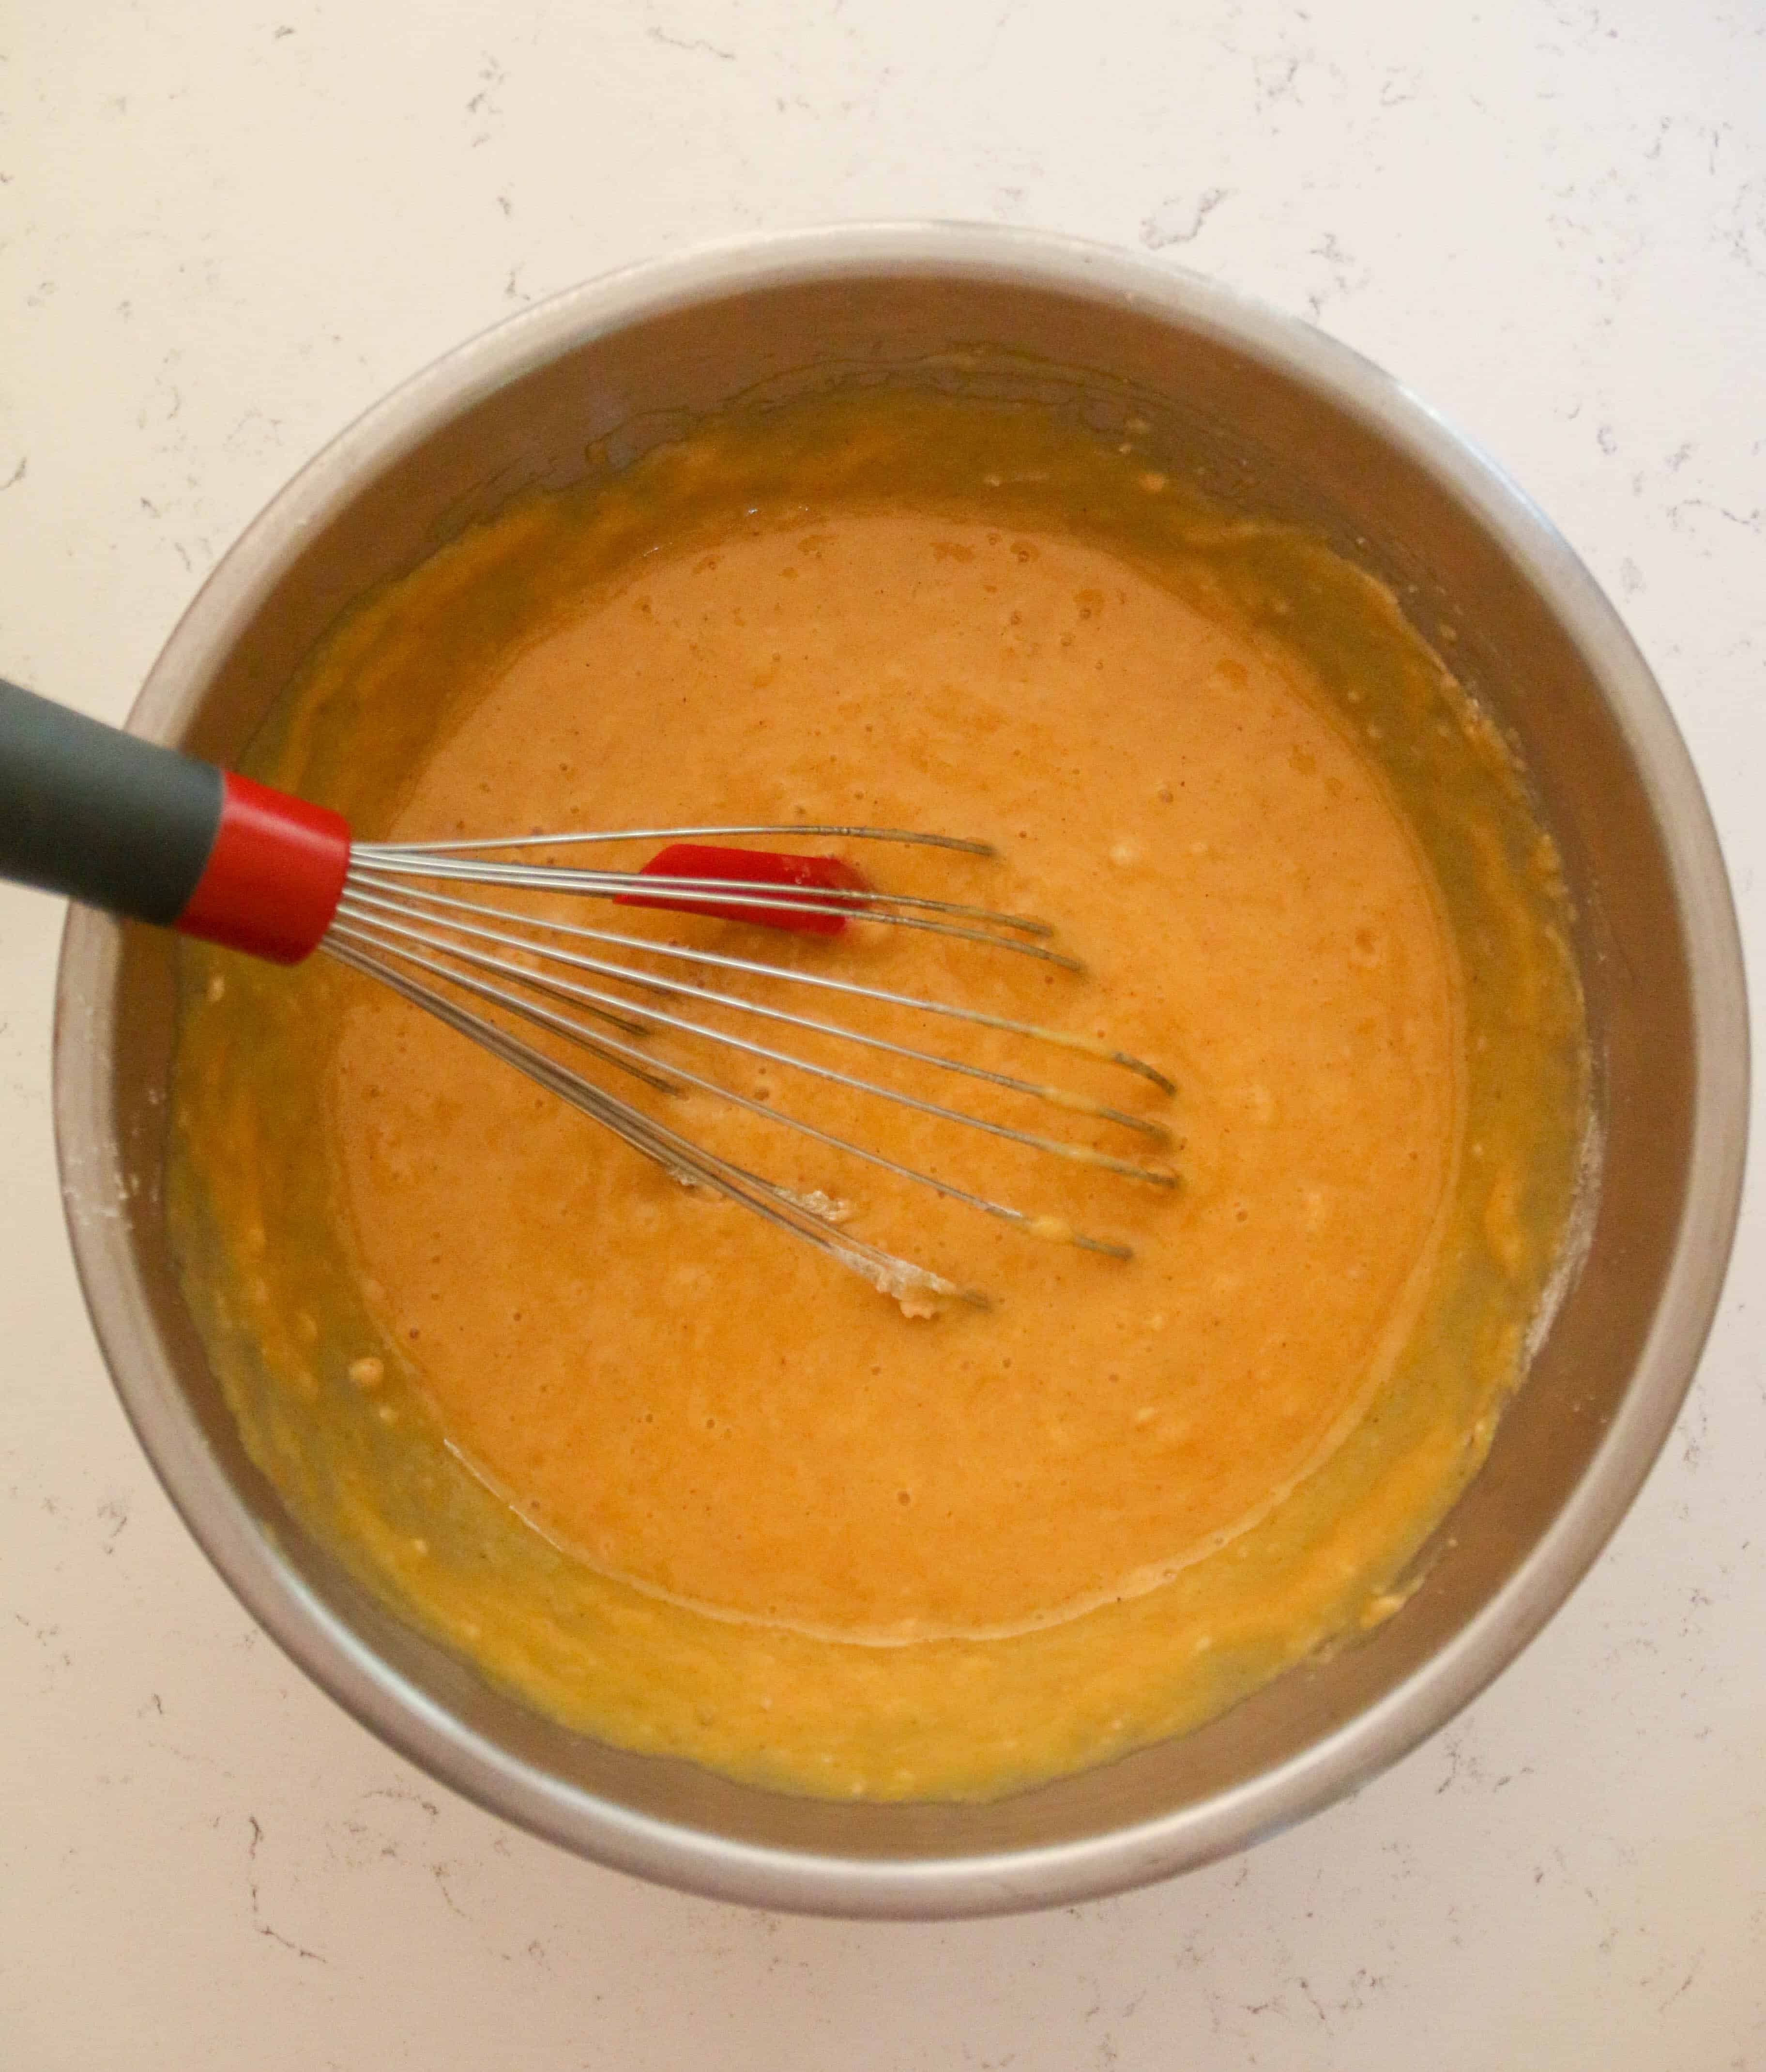
Bake. Pour the batter into the prepared loaf pan and bake for 65-70 minutes until a toothpick inserted in the center of the bread comes out clean. Remove from the oven and allow the bread to cool completely in the pan set on a wire cooling rack. Store the bread, and any leftovers, covered at room temperature for 2 days, or in the refrigerator for up to 1 week.
Recipe Tips
- Measure your flour accurately. You can use the spoon and level method or a kitchen scale to get the most accurate. Learn how to measure your flour in this post.
- Careful to not over mix. By using a spatula to fold in the dry ingredients you avoid overmixing. You want to mix until everything is just incorporated, then stop. This will prevent too much gluten from forming, which means you’ll get a soft, tender bread.
- Test With A Toothpick. It may be tough to tell when a quick bread is done. I like to use a long wooden skewer or metal skewer to ensure that no wet batter is clinging to the toothpick to see when it’s done. Every oven is different so be sure to test the bread before removing it from the oven. Moist crumbs are what we are looking for!
- Wait for the bread to cool. You will be tempted to eat this straight out of the pan (it just smells so good!). But if you wait for it to cool, you won’t regret it! The flavor actually deepens as it cools and the texture becomes soft, tender, and perfectly moist.
Recipe FAQ’s
Quick breads tend to bake well with mix-ins. You could try stirring in 1 cup of chocolate chips and make this butternut squash chocolate chip bread! You could also try white chocolate chips, chopped walnuts, or dried cranberries.
When adding mix-ins they tend to be very heavy and sink to the bottom of your bread. So I like to stir a tablespoon of the dry ingredients into a bowl of my mix-ins first. This coating of flour keeps them from sinking. You can read more here at How To Keep Chocolate Chips From Sinking.
You definitely can swap the OJ for water if need be. But I highly recommend the orange juice it really pairs well with the squash and helps enhance its flavor in a wonderful way.
Store the bread, and any leftovers, covered at room temperature for 2 days, or in the refrigerator for up to 1 week. The key to keeping it fresh and moist is to wrap it tightly in plastic wrap so that very little air gets in.
Quick breads like this one freeze beautifully. Make sure to wrap your bread tightly in plastic wrap and then provide a second layer of protection by placing it in a large zipper bag or wrapping it in foil. Then freeze for up to 3 months. Thaw it at room temperature on the counter.
Definitely! If you don’t own a loaf pan or just prefer muffins, it’s easy to make the switch. This recipe will make about 16 muffins. Bake for about 20 minutes, at the same oven temperature. Check doneness with a toothpick inserted in the middle of one of the muffins.
More Quick Bread Recipes
Butternut Squash Bread
Equipment
- 9×5” loaf pan, mixing bowls, whisk, spatula
Ingredients
- 1 ¾ cups (220 g) all-purpose flour
- 1 teaspoon baking soda
- ½ teaspoon salt
- ¼ teaspoon ground nutmeg
- ¼ teaspoon ground cloves
- ¼ teaspoon ground ginger
- 1 ½ teaspoons ground cinnamon
- ½ cup (120 mL) (120 mL) canola oil
- ¾ cup (150 g) granulated white sugar
- ½ cup (107 g) packed light brown sugar
- 2 large eggs room temperature
- 1 ½ cups (341 g) butternut squash puree
- ¼ cup (60 mL) orange juice (or water)
Instructions
- Preheat and prepare pan. Preheat oven to 350°F. Spray a 9×5” loaf pan with non-stick cooking spray or grease with butter and set aside.
- Combine dry ingredients. In a mixing bowl, whisk together flour, baking soda, salt, nutmeg, cloves, ginger and cinnamon.
- Combine wet ingredients. In the same mixing bowl whisk together oil, sugars, eggs, squash, and water until combined.
- Combine wet and dry ingredients. Add the dry ingredients to the wet ingredients and mix together with a spatula until just combined.
- Bake. Pour the batter into the prepared loaf pan and bake for 60-65 minutes until a toothpick inserted in the center of the bread comes out clean. Remove from the oven and allow the bread to cool completely in the pan set on a wire cooling rack.
- Storage: Store the bread, and any leftovers, covered at room temperature for 2 days, or in the refrigerator for up to 1 week.
Video
Notes
- Storage: Store the bread, and any leftovers, covered at room temperature for 2 days, or in the refrigerator for up to 1 week. The key to keeping it fresh and moist is to wrap it tightly in plastic wrap so that very little air gets in.
- Freeze: Freeze the cooled bread for up to 3 months, wrapped well. Thaw at room temperature, uncovered when ready to enjoy.
- Orange juice: Water can be used instead if needed.
- Measure your flour accurately. You can use the spoon and level method or a kitchen scale to get the most accurate. Learn how to measure your flour in this post.
- Careful to not over mix. By using a spatula to fold in the dry ingredients you avoid overmixing. You want to mix until everything is just incorporated, then stop. This will prevent too much gluten from forming, which means you’ll get a soft, tender bread.
- Wait for the bread to cool. You will be tempted to eat this straight out of the pan (it just smells so good!). But if you wait for it to cool, you won’t regret it! The flavor actually deepens as it cools and the texture becomes soft, tender, and perfectly moist.
- Make muffins instead: If you don’t own a loaf pan, then turn these into squash muffins! They will make about 16 muffins. Bake for about 20 minutes, at the same oven temperature.
- Mix-In Ideas: Try stirring in 1 cup of chocolate chips, white chocolate chips, chopped walnuts, or dried cranberries.



Fay says
This bread is wonderful! I added 3/4 cup of coconut to the batter, is the only thing I added extra. Thank you for a recipe that I will make from now on.
Heather says
aw that’s wonderful Fay! I’m so glad you loved it – and love the idea of adding some coconut. I’ll have to try 🙂
Becky G. says
Was looking for a recipe to help me use up some butternut squash I had, this is perfect! Kids love it. I didn’t have the time to do the loaf so did muffins instead. Used water as I didn’t have o.j.
Heather says
aw that’s great Becky! I’m so glad you loved it and was able to turn them into muffins!
Carrie Bogner says
Very Tasty! Made with regular flour and gluten free flour. Both ways turned out fabulous! Substitutions: Used coconut oil in place of canola oil. Added a cup of walnuts to recipe. Made a chocolate version by adding of Nestle Toll House Cocoa.
Heather says
Wonderful Carrie! I’m so glad you enjoyed and love the idea of adding cocoa yum!!
Mary says
Excellent recipe. I made it exact measurements and ended up getting two eight by five inch loaf pans of bread. Only thing different I did was add in a cup of chopped black walnuts.
Heather says
Oh that’s wonderful Mary! I’m so happy you loved this bread as much as I did. And LOVE the idea of adding some tasty walnuts for crunch!
Carol says
Terrific recipe. I used blue Hubbard squash and increased the spices a tiny bit used 1/2 cup of oil with great results
Heather says
aw that’s wonderful Carol I’m so glad you made it work with the squash 🙂
Hanna says
This was so delicious. I put the dough in muffin tins. Those were the perfect muffins for the cold season. Sweet and flavorful at the same time!
Heather says
aw thank you Hanna!! And love the idea of making them into muffins!
Gina says
I found this recipe after I puréed it for baby food for my granddaughter. I have a large Hubbard squash. Could I substitute that for the butternut squash? Would you add any or more of any of the spices to make it more fall-ish and not so nutty tasting
Heather says
Hi Gina, I’m not familiar with this kind of squash but if you think it’s a bit nutty you can always try increasing the amount of spices to help. Let me know how it goes!
Madeline says
I absolutely love this recipe. I was looking for a way to use up the butternut from my garden and found this. Love it! Only change I made is with the flour, I used King Arthur gluten free measure for measure and it still came out perfect. This bread is divine, an absolute treat in my house! Thanks for the recipe!!
Heather says
aw that’s awesome Madeline!! I’m so glad you loved this bread! It’s a favorite around here and I’m glad you were able to make it gluten free for you too 🙂
Amber says
I just made this as a spring treat for my workplace and everyone was so impressed! I left out the clove and orange juice (as I thought it was sweet enough) and still a HIT! I didn’t want to make it too much of a ‘fall’ bread so these were my subtractions and it still turned out so well.
Heather says
aw that’s awesome Amber! I’m so glad you loved it!!
Becca says
Can I use buttercup squash for this recipe?
Heather says
I’m not familiar with this squash but I would think so yes!
Claudia says
Made this yesterday, but I veganized it by subbing 6 tbsp JUSTEgg for the eggs, I reduced the sugar to 1/2 cup brown sugar plus 1 tbsp maple syrup, added orange zest and used 2 tsp cinnamon, 1/2 tsp nutmeg, 1/2 tsp cardamom. Add-ins of walnuts and pumpkin seeds. Turned out amazing! Thank you!
Heather says
Hi Claudia! So glad you loved the bread and were able to customize it to your needs. Love the idea of adding cardamom too, going to have to try that next time!
Lisa says
This is absolutely delicious. I used butternut squash puree from my garden butternut squash. They were harvested in the fall but kept in my garage through the winter. I think the cold, but not freezing, makes the fruit extra sweet. The puree was so naturally sweet you would not need to add any sugar if you wanted to just eat the puree as a veggie side. Anyway, I substituted a little melted butter with the oil and I used some coconut sugar with the brown sugar and allulose with the white sugar. Then I added a little local honey because allulose and coconut sugar are not as sweet as regular. This bread is amazing! I am roasting more butternut squash from the garden now to make more puree to freeze for later. Yum yum! Would love a butter nut squash cookie recipe!
Heather says
Hi Lisa! Oh I’m so glad you loved it as much as we did! And that’s cool to know about storing it to make it extra sweet. And love the idea of adding in coconut sugar and honey. I’ll put a butternut squash cookie recipe on the list to make for sure and keep you updated 🙂
BARBARA says
I love squash, but hubby? Not so much. I had a full butternut squash, baked it so I could have some for lunches at work, but used the other half (or a little less) to back this bread. It is JUST perfect. My only (unintentional) alteration was using butter instead of oil since I didn’t have a neutral oil. Still, turned out beautifully.
Next time(s), I’m planning on adding some variations below:
candied ginger (chopped fine)
allspice
chocolate chips + walnuts
possibly dried cherries?? Still deciding on that one.
Anyway, thanks for a great recipe. It’s a keeper 😀
Heather says
Aww thank you Barbara! I’m so glad you love it! And those add in sound so good! And love the idea of dried cherries – maybe with chocolate chips??
Kim says
This turned out great. I decreased the white sugar form ¾ down to ½ a cup, and might try even less next time. I juiced an orange for the orange juice, and also added in some orange rind zest as per another reviewer’s suggestion. I also added a cup of chocolate chips and some toasted pecans. the loaf disappeared way too fast! I will make this again.
Heather says
Hi Kim, glad to hear the substitutions worked out great for you! And love the idea of adding in some zest, chips and pecans. YUM!
Gigi says
This is an AMAZING recipe. I don’t say that about any recipe. I added my own spin to this recipe and made it even better. Thank you really LOVE this recipe 😋
Heather says
aw that’s awesome Gigi…so glad you loved it!!
LindaBeloin says
I’m wondering what you do for your squash purée, is it just roasted squash or do you do more to it?
Heather says
I just simply roast the squash and then puree in my food processor
Sonia says
Hello,
I finally baked this recipe for butternut squash bread! My first time ever using squash for baking a loaf of bread.
It was delicious! I made 2 loaves and my husband loved it and so did my friends….the only difference was that I added orange peel from the orange I had used for its juice which came out delicious.
Thank you
S Reedy
Heather says
Thank you Sonia! So glad you loved it!! And yes love the idea of adding in some extra orange zest..yum!
Jeremiah says
Very good tried this tonight and turned out great! Will make this again. Thanks!
Heather says
aw that’s awesome to hear Jeremiah! Thank you! glad you loved it as much as we did!
Yemi says
Your recipe looks awesome. Can’t wait to try. Can I use apple cider instead of orange juice?
Heather says
I think that would be a great substitution…let me how it turns out!
Yemi says
I ran out of apple cider and used white grape juice. It came out fantastic!! Love this recipe.
Heather says
Thanks Yemi! What a great substitution!