
Buttermilk Biscuits
This Post May Contain Affiliate Links. Please Read Our Disclosure Policy.
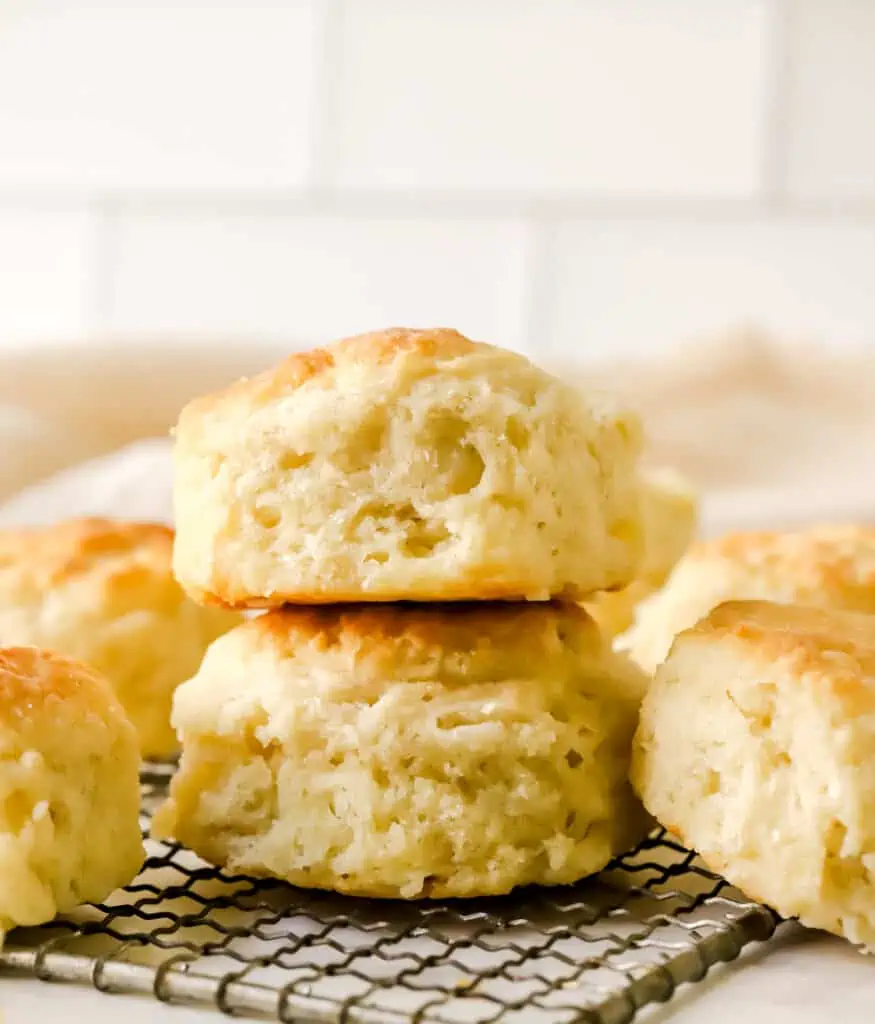
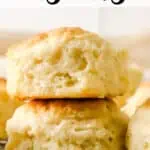
These easy buttermilk biscuits are exactly what your weekend called for. A perfect batch of flaky buttermilk biscuits made with butter and rich buttermilk. And takes only 20 minutes or less of time to throw together. Slather some butter or jam on them for the perfect Sunday brunch breakfast treat.
Believe it or not, when it comes to breakfast even though I have a sweet tooth the size of Mount Everest, I want savory foods. Like breakfast sandwiches with bacon and fried eggs that are dripping in cheese.
So when I had the opportunity to learn how to make homemade buttermilk biscuits from scratch on a trip to Nashville, you better believe I signed up for that class! I learned so much during this class and walked away feeling like a biscuit expert.
Making biscuits really comes to knowing a few baking tips and a little simple baking science for them to come out flaky and tender and slap some butter on them eat them now amazing.
So with this homemade biscuit recipe, the key is to use cold buttermilk and cold butter. And to not overwork the dough and bake in a hot oven. I’m going to show you all my tricks!
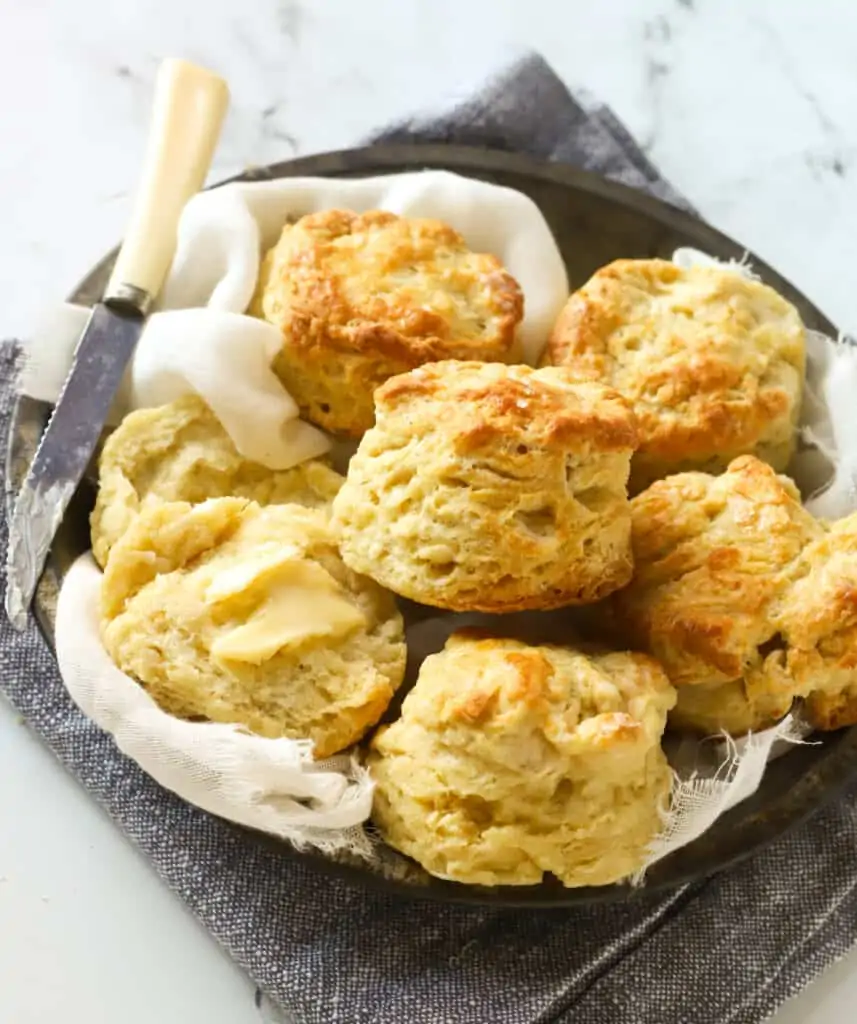
You can serve these warm with just a little butter, drizzle of honey, or jam.
But to make them extra special I recommend whipping up a batch of my cinnamon honey butter, or my regular honey butter to serve on the side!
Ingredients Needed
- All purpose flour – All purpose flour has a mid range protein content so it gives the perfect soft texture to these old fashioned buttermilk biscuits. Just be sure to measure your flour correctly so you do not end up with a tough biscuit in the end. Here is a tutorial on how to measure your flour the right way! For best results, I recommend using a kitchen scale.
- Baking powder
- Baking soda
- Salt
- Unsalted butter – I always recommend unsalted when baking. Different brands can use varying amounts of salt in their salted butter so it’s best to use unsalted and control the amount of salt you add. If you only have salted butter on hand, then simply reduce the salt called for in the recipe. And make sure you use COLD butter, so you get flaky biscuits. If your butter is too warm, it will be absorbed into the flour which will not create those flaky layers you are looking for.
- Buttermilk – I love the flavor buttermilk gives to these biscuits. If you don’t have any on hand you can make your own buttermilk by adding a tablespoon of lemon juice or vinegar to a measuring cup and adding in a cup of milk. Stir and then let it sit for 5 minutes before using.
Use Cold Ingredients!
Be sure to use COLD butter and buttermilk to ensure flakiness. You don’t want the butter becoming too warm and being absorbed into the flour but stay solid until it’s in the oven. The butter will melt in the oven, creating steam, and push apart your layers of dough.

How to make buttermilk biscuits
First, preheat your oven to 450oF. Line a baking sheet with parchment paper (or you can also use a silicone baking mat.
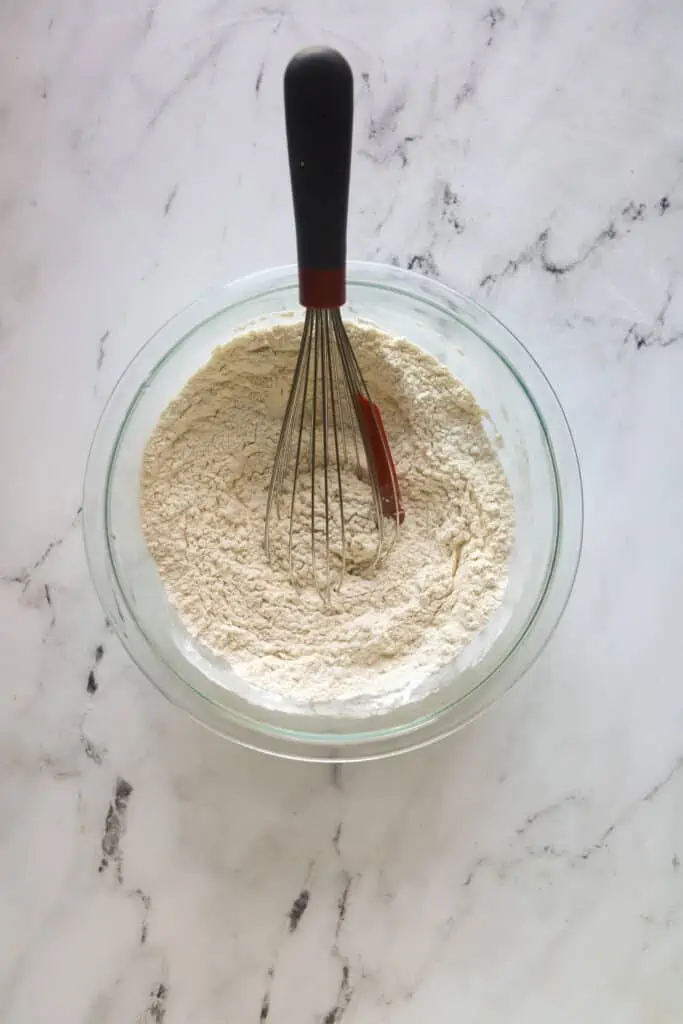
Step 1: Combine your dry ingredients.
In a large mixing bowl, whisk together the flour, baking powder, baking soda, and a little bit of salt.
Step 2: Cut the butter in.
Add the cold, cubed butter pieces to the flour mixture. I like to give them a quick toss to coat the butter pieces into the flour.
Then you will cut the butter into the flour and break down the butter pieces until they are about pea-sized. It’s ok if they are all not the same size. You can do this by hand by just squishing the pieces with your hand, or use a pastry cutter (pastry blender).
By cutting the butter in either with your fingertips or a pastry cutter, you will have small pockets of butter that are coated with flour, that will stay solid in the dough until hit by the heat of the oven. This will then create pockets of steam that will expand in the oven to create nice flaky biscuits. So be sure to use cold butter.

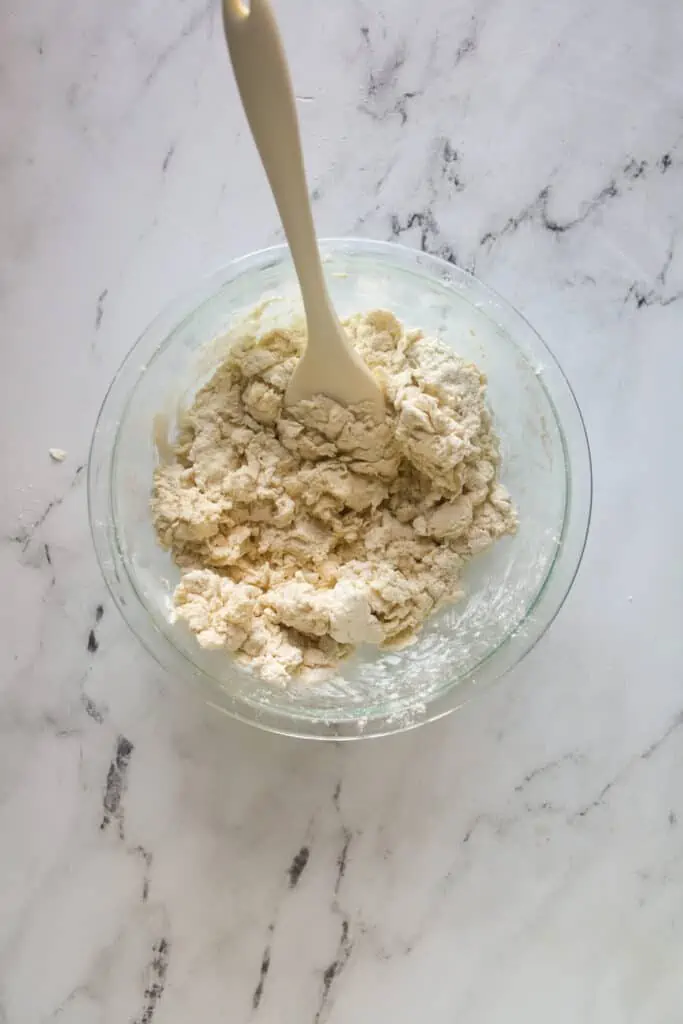
Step 3: Add the buttermilk.
Then stir in your cold buttermilk. Just stir this in with a wooden spoon or spatula.
After you’ve added the buttermilk and stirred the dough together if it still seems a bit dry add an extra splash of buttermilk to help bring the dough together. The dough will look shaggy at this point.
Step 4: Fold the dough.
The dough will be pretty wet and sticky at this point. Just dump the dough onto a lightly floured surface or one of these pastry mats. And bring the dough together gently.
You want to handle the dough as little as possible. Overhandling the dough will develop the gluten in your biscuits, which will in turn make the texture of your biscuits very tough. So handle as little as possible.
I simply press my dough together. Then I press down and fold the dough in half. I repeat this a few more times to create those layers. But do not continue to work the dough. If you keep playing with the dough then it will warm up the butter too much, and create too much gluten which will create for a tough, chewy biscuits.
Be sure to keep the surface and hands floured. The dough will be sticky as you bring it together!

Step 5: Cut out the biscuits.
After you have kneaded the dough together a few times then pat the dough into a 1/2-inch thick circle. You will need some sort of biscuit cutter. But if you’re in a pinch, even the top of a mason jar will work great. You can also simply use a sharp knife and the dough into square biscuits.
You want to dip the cutter into flour, and then press down but don’t twist the cutter.
You can shape and cut out the biscuits, then cover and refrigerate for up to 2 days before baking.
Heather’s Baking Tip
Don’t twist your cutter, but just press straight down. Twisting the cutter will end up in creating lopsided biscuits. Just press straight down and back up.

Step 6: Bake the biscuits.
I placed these biscuits on a parchment paper lined cookie sheet. I got about 8-10 biscuits every time I made these. I like mine a bit thicker so I tended to get about 8. And brushed these with a bit of buttermilk on top. As an extra added step I recommend – I like to pop my biscuits in the freezer for about 10 minutes (or you can place then in your fridge for 15-20 minutes) to help firm up the butter before baking them.
These bake in a 450oF for 13-15 minutes until golden brown on top.
Heather’s Baking Tip
I place mine together so they are touching which helps them rise taller and result in fluffy edges. If you want crispy edges then be sure to separate them but your biscuits may not rise as tall.

Storage Instructions
You can store the biscuits in an airtight container in the refrigerator for up to one week or you can store in an airtight container in your fridge for up to a week as well. I prefer storing in the fridge to help them retain moisture and not dry out. I like to warm mine back up in the microwave for 20-30 seconds, or in a warm 350oF oven until heated through.
You can freeze baked biscuits in an airtight container for up to 3 months. I love putting them in a sealable plastic bag and squish as much air out as possible. They will thaw pretty quickly at room temperature. I also love warming them up in the microwave for about 15-30 seconds.
You can also freeze unbaked biscuits. Place them onto a parchment lined baking sheet and freeze solid (about 1 hour), and then transfer to sealable plastic bag or airtight container for up to 3 months. When ready to bake, simply place bake frozen, no need to thaw. You may need to just add on a few minutes of baking time.

More Recipes To Try
If you’re looking for more delicious breakfast pastries be sure to try my homemade kolache recipe made with different fillings! I also love baking up a batch of my monkey bread recipe to serve guests for brunch!
And if you’re looking to bake up more biscuits, then be sure to my most popular recipe on the blog, these self rising flour biscuits. Or try my easy drop biscuits (a fun variation on this recipe!)

Buttermilk Biscuits
Ingredients
- 2 cups (240 g) all purpose flour spooned and leveled
- 1 Tablespoon baking powder
- ¼ teaspoon baking soda
- 1 teaspoon salt
- 6 Tablespoons (85 grams) unsalted butter cold, cut into small cubes
- 1 cup (240 mL) cold buttermilk plus additional for brushing on top
Instructions
- Prepare pan and oven. Pre-heat your oven to 450°F. Prepare a cookie sheet with parchment paper or silicone baking mat. You can also bake these in a cast iron skillet or a round cake pan.
- Combine dry ingredients. In a large mixing bowl, whisk together the flour, baking powder, baking soda, and salt. 2 cups (240 g) all purpose flour 1 Tablespoon baking powder ¼ teaspoon baking soda 1 teaspoon salt
- Cut in butter. Add the cubed, cold butter to the mixing bowl. Cut the butter into small pieces with a pastry blender, until pea-sized. You can also do this with your fingertips by squishing the butter pieces into the flour. 6 Tablespoons (85 grams) unsalted butter
- Add your buttermilk. Add the cold buttermilk and stir to combine. It will form a slightly wet, sticky dough and butter pieces will remain visible. 1 cup (240 mL) cold buttermilk
- Shape the dough. Dust the top of the dough with flour. Empty the bowl onto a lightly floured surface and bring the dough together with lightly floured hands You want to gently knead the dough by patting the dough into a 1/2-inch thick rectangle and then fold the dough one side into the center. Then fold the other side into the center on top (like a book). Repeat 2 more times.
- Cut out the biscuits. Using a 2 1/2-inch biscuit cutter, press straight down into the dough. Do not twist the cutter, which can cause your biscuit sides to seal shut and not rise fully and come out lopsided. Press out as many biscuits as you can with the first batch, then gently press the dough scraps together to cut out the remaining biscuits. Do not overwork the dough.
- Bake the biscuits. Place the biscuits next to each other on the cookie sheet so they touch (optional step: freeze for 10 minutes before baking to help firm up the butter). Brush tops with additional buttermilk right before baking. Bake for about 13-15 minutes until tops are golden brown. Remove from the oven and cool on the baking sheet for 5 minutes. Transfer to a cooling rack to continue cooling. I like to brush on butter and a sprinkle of flaky sea salt before serving.
Video
Notes
- Tools: Pastry cutter, pastry mat,biscuit cutter
- Make ahead: You can shape and cut out the biscuits, then cover and refrigerate for up to 2 days before baking.
- Storage: Store the biscuits in an airtight container in the refrigerator or at room temperature for up to one week (fridge is best to retain moisture).
- Freezing: You can freeze baked old fashioned buttermilk biscuits in an airtight container for up to 3 months. I love putting them in a sealable plastic bag and squish as much air out as possible. They will thaw pretty quickly at room temperature. I also love warming them up in the microwave for about 15-30 seconds. You can also freeze unbaked biscuits. Place your biscuits onto a parchment lined baking sheet and freeze solid (about 1 hour), and then transfer to sealable plastic bag or airtight container for up to 3 months. When ready to bake, simply place bake frozen, no need to thaw. You may need to just add on a few minutes of baking time.
- Measure your flour correctly so as not to overmeasure it. Here is a tutorial on how to measure your flour the right way!
- Be sure to use COLD butter and buttermilk to ensure flakiness.
- Handle the dough as little as possible so you end up with a tender biscuit.
- When you cut out the biscuits, press straight down and up. Don’t twist the cutters. Otherwise, the biscuits will come out lopsided.


what can you use instead of buttermilk?
For the best results, I really recommend buttermilk! If you need a quick substitute, you can easily make your own. This is a great guide: https://www.bostongirlbakes.com/make-buttermilk-3-easy-steps
These were perfect biscuits 10/10
Yay! So happy you loved them—thank you for the 10/10! 😊🥐
I’m going to try these but a TABLESPOON of baking powder seems an awful lot of baking powder! Is this amount correct and not a TEASPOON of baking Bowden ??
Yes, it’s correct—a full tablespoon gives these biscuits their perfect rise! The recipe has been tested many times with great results. Let me know how they turn out for you!
In New Zealand scones do not have eggs. The only scone recipe that I have that has eggs is a pumpkin scone recipe. And of course our biscuits are your cookies.
I used this recipe it was my first time making homemade biscuits and they were terrific! Great recipe, great directions.
Thank you!
aw thank you Kelly! I’m so glad you loved the biscuits 🙂
I made these the night before I went into the hospital for surgery. My intent was to have great biscuits for my recovery and I am not disappointed. These biscuits rose perfectly, turned golden brown and are delicious. Thanks and I can’t wait to use this recipe for cheddar and garlic biscuits!
aw I’m so glad they worked out for you! And I hope the surgery went well and you’re doing OK 🙂
Is there a substitute for baking soda? Esp if you have ALL the ingredients in hand but that?
Hi Angela, baking soda is key to reacting with the buttermilk and making them rise properly. You could try experimenting with replacing it with baking powder (but you need three times as much) – so you would need to try adding an additional 1 1/2 teaspoons baking powder. But I can’t say for sure how they would turn out. Let me know if you try!
We loved the buttermilk component. This is now my go to recipe for classic biscuits. Yay!
aw that’s wonderful thank you so much Jenny!
These are the best buttermilk biscuits I’ve ever tried. o easy to make, and the flavor is unbelievable! Can give you six stars?
aww so sweet Thank you Enri!!!
Thanks for this recipe! They were the best biscuits ever. Your tip for not handling the batter too much was so helpful. My biscuits came out so fluffy.
thank you Amy..I’m so glad you had such great success!
These buttermilk biscuits look so so good. On my to make list for next week.
Let me know how they turn out 🙂
This recipe is amazing! I made it yesterday and we already ate all the biscuits 😉 Going to make again a new batch tomorrow.
glad to hear you loved them Veronika! 🙂
The layers of soft, flaky dough is the sign of a perfect biscuit. These with a hot bowl of soup sounds like perfection to me!
Perfection! Light and crumbly goodness! Thanks for a great recipe.
thanks!
Thank you for the tip on how to arrange the biscuits to make them fluffier. Good to know!
you’re welcome 🙂
These biscuits are so incredibly fluffy! I’d never made biscuits before but couldn’t resist giving them a try after seeing your photos. I’d made scones before so I was familiar with the mixing process. Perfect result!
glad they worked out so well for you Marie!
These biscuits turn out perfectly! So tender and flaky. This will be my go-to biscuit recipe. Thank you.
happy to hear!
made these last night.. crispy in all the right places and fluffy in the middle. they plumped up when baking making beautiful golden biscuits… and delicious too. great with the gravy.
Thank you for sharing your experience! I’m so happy the biscuits turned out perfectly for you!
Thank you so much for sharing this recipe. I have to tell you this though – in the UK this is how we make ‘scones’ lol. The type of scone you guys make would be called a biscuit here. 🙂