This Post May Contain Affiliate Links. Please Read Our Disclosure Policy.
Learn how to make your own homemade French Baguette recipes with this baking tutorial and video to help shape the baguettes. Making your own homemade french baguettes is totally doable! And totally worth it!

Now if you know me you know I love to travel. Like really travel. In the last few years I’ve been to Europe now a handful of times. I can’t get enough. The culture. The architecture. And of course the foooooooooood. Oh my word the food.
Last year I was lucky enough to travel to Paris. (You see where this is going right?). While I was there I think I ate my weight in pastries and breads. I mean it’s Paris people. In fact, I walked into a French bakery and bought a whole baguette. And then proceeded to walk around Paris for the next two days just eating my baguette. Piece by piece. Can a person survive on just bread? Well I apparently did.
So you know it was only a matter of time before I attempted making French baguettes at home with this recipe from King Arthur Flour. So when a blizzard hit awhile back, I took the opportunity to make my very own French baguettes. I mean I couldn’t leave my house. So why not bake some bread, right?
Now if baking bread intimidates you. I get it. It involves yeast. A living thing. Sounds scary right? Then there is the whole proofing and rising and shaping. Oh my! I promise you by the end of this post you will have the confidence to tackle this bread in your own home.
So let’s get started….

How To Make Homemade French Baguettes
This recipe starts with what is called a poolish, or basically a yeast starter that you will prepare the night before. Basically you mix your yeast, part of your flour with a bit of water. Easy peasy. Dust off your jeans and walk away.
If you’re new to baking with yeast, give my Ultimate Guide To Baking Homemade Bread Recipes a read, be sure to check out my Yeast 101 post and don’t forget to download my Baking with Yeast Cheatsheet. Before you know it you’re going to be all #breadninja and posting those bread recipes on Instagram.
Then the next day, you will combine the rest of your ingredients with the poolish starter. You can do this in your stand mixer with your dough hook attachment, by hand or in a bread machine. My preference is with my stand mixer, because it makes quick work of otherwise a tiring arm workout!
After kneading, you need to allow the dough to rest which is called the fermentation phase. The dough will rest for about 90 minutes at a warm room temperature. After the first 45 minutes, you want to deflate the dough and flip it over. This helps to expose new yeast to the surface to help with the rising.
How To Shape Your Baguettes
Once the dough has risen, now it’s time to shape the dough. This can be the most difficult step, so I made a video on how to shape your baguettes. The baguettes are going to go through two rises, and two shapes.
The first shape is taking the dough and shaping each portion of dough into a round ball. Then after the first rise, the dough will get shaped into the true baguette shape of a long piece of dough with tapered ends.
I figured the best way for you to see how this is done, is in video form! So watch the video below, to see how to shape your baguettes.
How To Get That Crusty Exterior
Now to be a true baguette it needs that crusty exterior if you ask me. And the only way to get that is to create steam inside your oven. And the secret? Using your cast iron.
While the bread is going through its final rise, near the end, go ahead and pre-heat your oven and place a cast iron either on the floor of your oven or on a bottom rack. You will fill this with hot water after you place the bread in the oven to bake to help create steam. The steam will help to create that beautiful exterior on the bread we all love.
After the baguettes have been shaped, it’s time to give them a good slashing. The best way to get this done is to use a bread lame. A bread lame is special tool used to cut slashes into the top of the bread which allows steam to escape as the bread bakes in the oven.
You can use a really sharp knife. I mean really, really sharp. Honestly, I didn’t think I need one of these handy dandy bread slashing tools but it’s made a world of difference! I can’t recommend one enough if you’re into making bread at home.
Then it’s time to bake! You want to bake these on a cookie sheet or a baking stone. Be sure to also add the water to the cast iron pan, and then shut the oven door quickly. You want to bake these until an internal temperature reaches about 190°F.
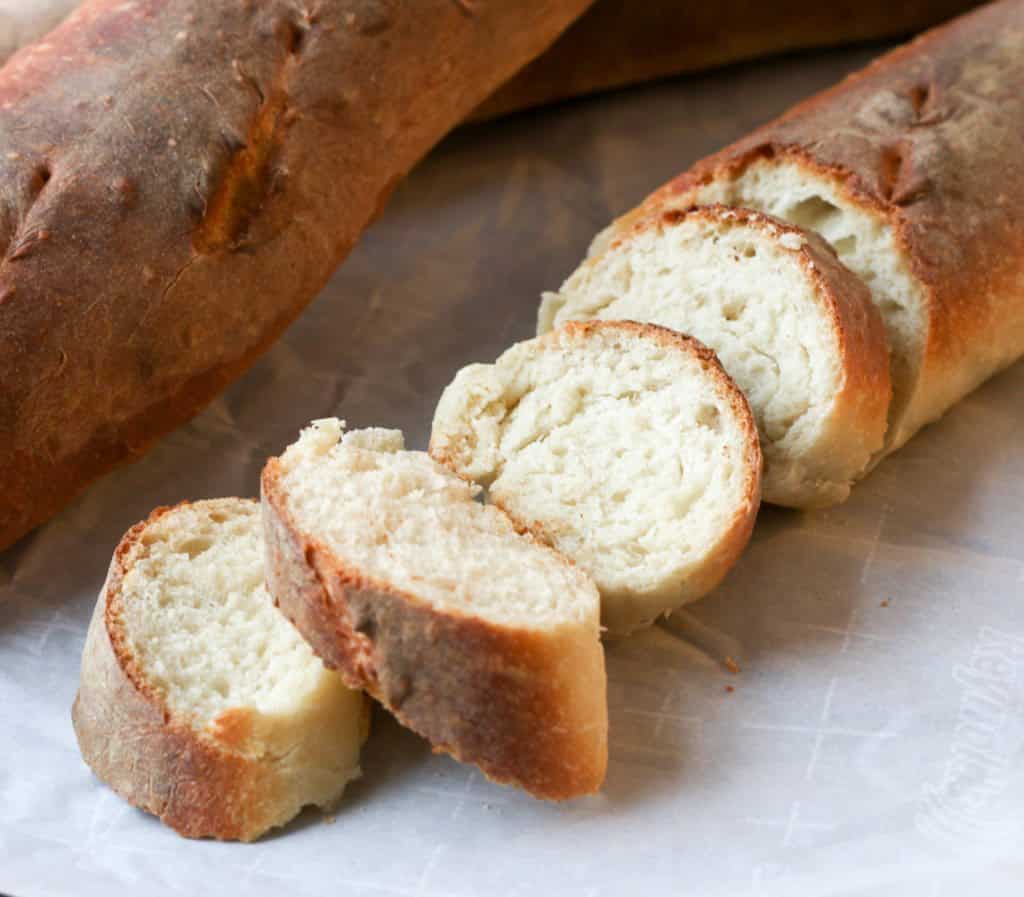
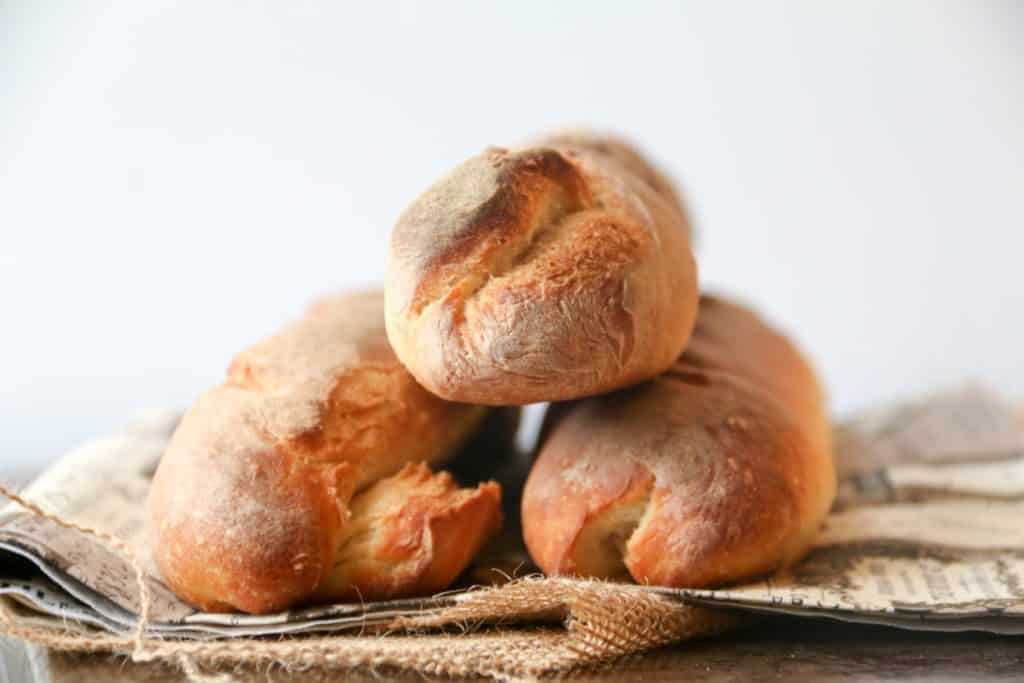
And in about 20 minutes, you will have beautiful homemade french baguettes. And just like my few short days in Paris, I lived off these homemade french baguettes that I made.
Not a bad way to spend your time during a blizzard right?


French Baguettes
Ingredients
For the (starter) poolish
- 1/2 cup (120 ml) cool water
- 1/16 teaspoon active dry or instant yeast
- 1 cup (120 g) all-purpose flour
For the dough
- 1 1/2 teaspoons active dry yeast or instant yeast
- 1 cup + 2 tablespoons (270 ml) lukewarm water
- all of the starter
- 3 1/2 cups (420 g) all-purpose flour
- 2 teaspoons salt
Instructions
- To make the starter: Mix everything together to make a soft dough. Cover and let rest at room temperature for about 14 hours; overnight works well. The starter should have expanded and become bubbly.
- To make the dough: Mix and knead everything together — by hand, mixer or bread machine set on the dough cycle — to make a soft, somewhat smooth dough; it should be cohesive, but the surface may still be a bit rough. If you’re using a stand mixer, knead for about 4 minutes on medium-low speed (speed 2 on a KitchenAid); the finished dough should stick a bit at the bottom of the bowl.
- Place the dough in a lightly greased medium-sized bowl, cover the bowl, and let the dough rise for 90 minutes, gently deflating it, folding the edges into the center, and turning it over after 45 minutes.
- Turn the dough out onto a lightly greased work surface. Gently deflate it, and divide it into three equal pieces.
- Round each piece of dough into a rough ball by pulling the edges into the center. Cover with greased plastic wrap, and let rest for 15 minutes; or for up to 1 hour, if that works better with your schedule.
- Working with one piece at a time, flatten the dough slightly then fold it nearly (but not quite) in half, sealing the edges with the heel of your hand. Turn the dough around, and repeat: fold, then flatten. Repeat this whole process again; the dough should have started to elongate itself.
- With the seam side down, cup your fingers and gently roll the dough into a 16″ log. Your goal is a 15″ baguette, so 16″ allows for the slight shrinkage you’ll see once you’re done rolling. Taper each end of the log slightly to create the baguette’s typical “pointy” end.
- Place the logs seam-side down onto a lightly greased or parchment-lined sheet pan or pans. Cover them with lightly greased plastic wrap, and allow the loaves to rise until they’re slightly puffy. The loaves should certainly look lighter and less dense than when you first shaped them, but won’t be anywhere near doubled in bulk. This should take about 45 minutes to an hour at room temperature (about 68°F).
- Towards the end of the rising time, preheat your oven to 450°F with a cast iron pan on the floor of the oven, or on the lowest rack. If you’re using a baking stone, place it on a middle rack. Start to heat 1 1/2 cups water to boiling.
- If your baguettes have risen in a dish towel or couche, gently roll them (seam side down) onto a lightly greased (or parchment-lined) baking sheet. If you plan on baking them on a baking stone, roll them onto a piece of parchment, and lift the parchment onto a baker’s peel.
- Using a baker’s lame (a special curved blade) or a very sharp knife held at about a 45° angle, make three to five long lengthwise slashes in each baguette.
- Load the baguettes into the oven. If you’re baking on a stone, use a baker’s peel to transfer the baguettes, parchment and all, onto the hot stone. Carefully pour the boiling water into the cast iron pan, and quickly shut the oven door. The billowing steam created by the boiling water will help the baguettes rise, and give them a lovely, shiny crust.
- Bake the baguettes — on the pan, or on a stone — for 24 to 28 minutes, or until they’re a very deep golden brown. Remove them from the oven and cool them on a rack. Or, for the very crispiest baguettes, turn off the oven, crack it open about 2″, and allow the baguettes to cool completely in the oven, until both baguettes and oven are at room temperature.
- Store any leftover baguettes in a paper bag overnight; freeze for longer storage. Thaw and reheat just before serving.

Sheryl says
I am planning my meal around these baguettes. 😉 Cheesy potato soup and baguettes. If there happens to be any baguettes left over, I will make Cuban sandwiches with them. I have a baguette pan that holds 3 loaves. Amazon sent it to me by mistake in another order so I will use it for the first time since I got it over a year ago. Wish me luck.
HEATHER says
Oh that sounds wonderful!! I love soup and bread together 🙂 Perfect Fall meal!
Supriya Kutty says
Awesome recipe and amazing explantion most thanks for video which giving me confidence to try this now
Heather says
Thank you Supriya! I’m so glad I’ve given you the confidence to try it…homemade bread is so worth all the effort!
Jere says
Awesome video and great tip with the cast iron skillet.
Heather says
Thanks Jere! It makes a huge difference and so easy to do! If you don’t have a cast iron..another trick you can try is throwing ice cubes into the bottom of your oven 🙂