This Post May Contain Affiliate Links. Please Read Our Disclosure Policy.
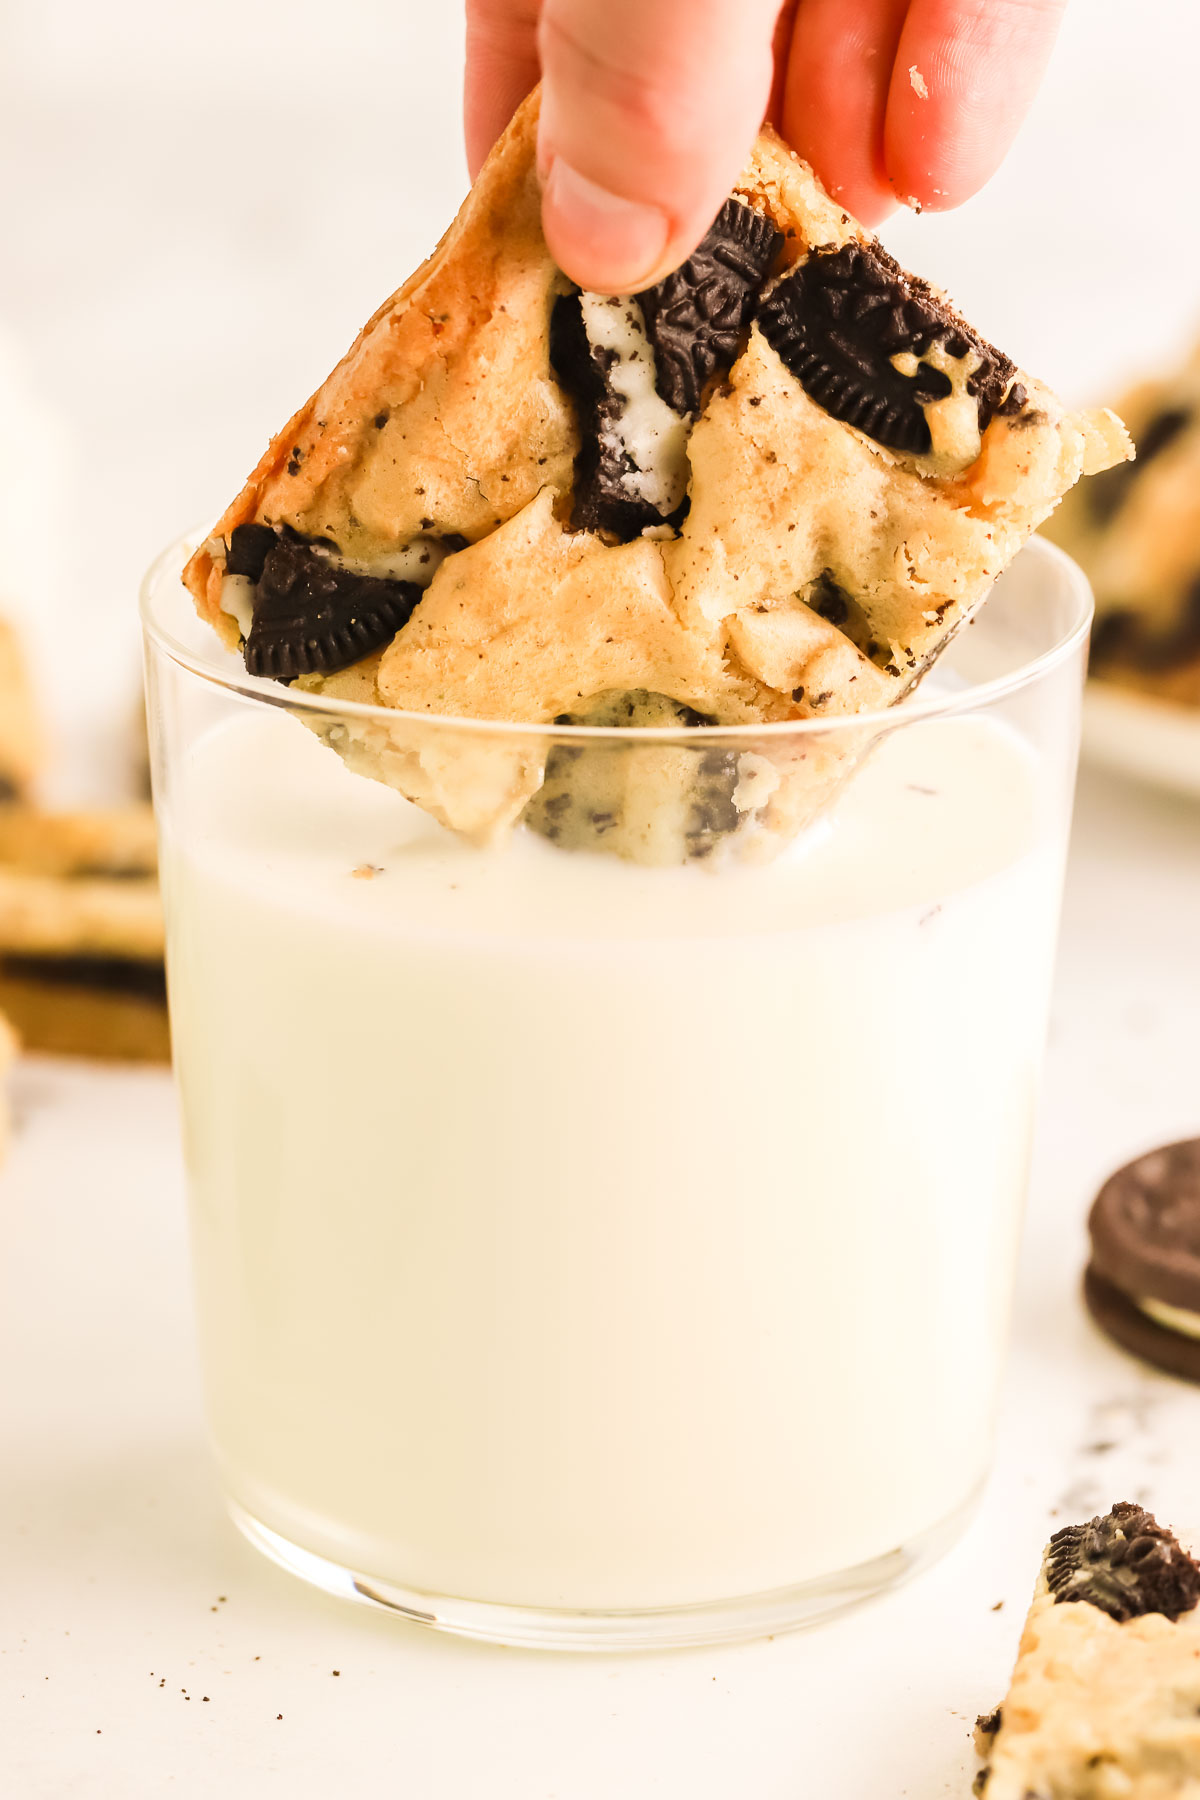
These Oreo blondies are soft, chewy, and chock full of Oreo cookies. The best part is you don’t need a mixer to make them and they take about 10 minutes of prep time. These cookies and cream blondies, with their buttery vanilla flavor, are super easy to make and will be a big hit at your next party.
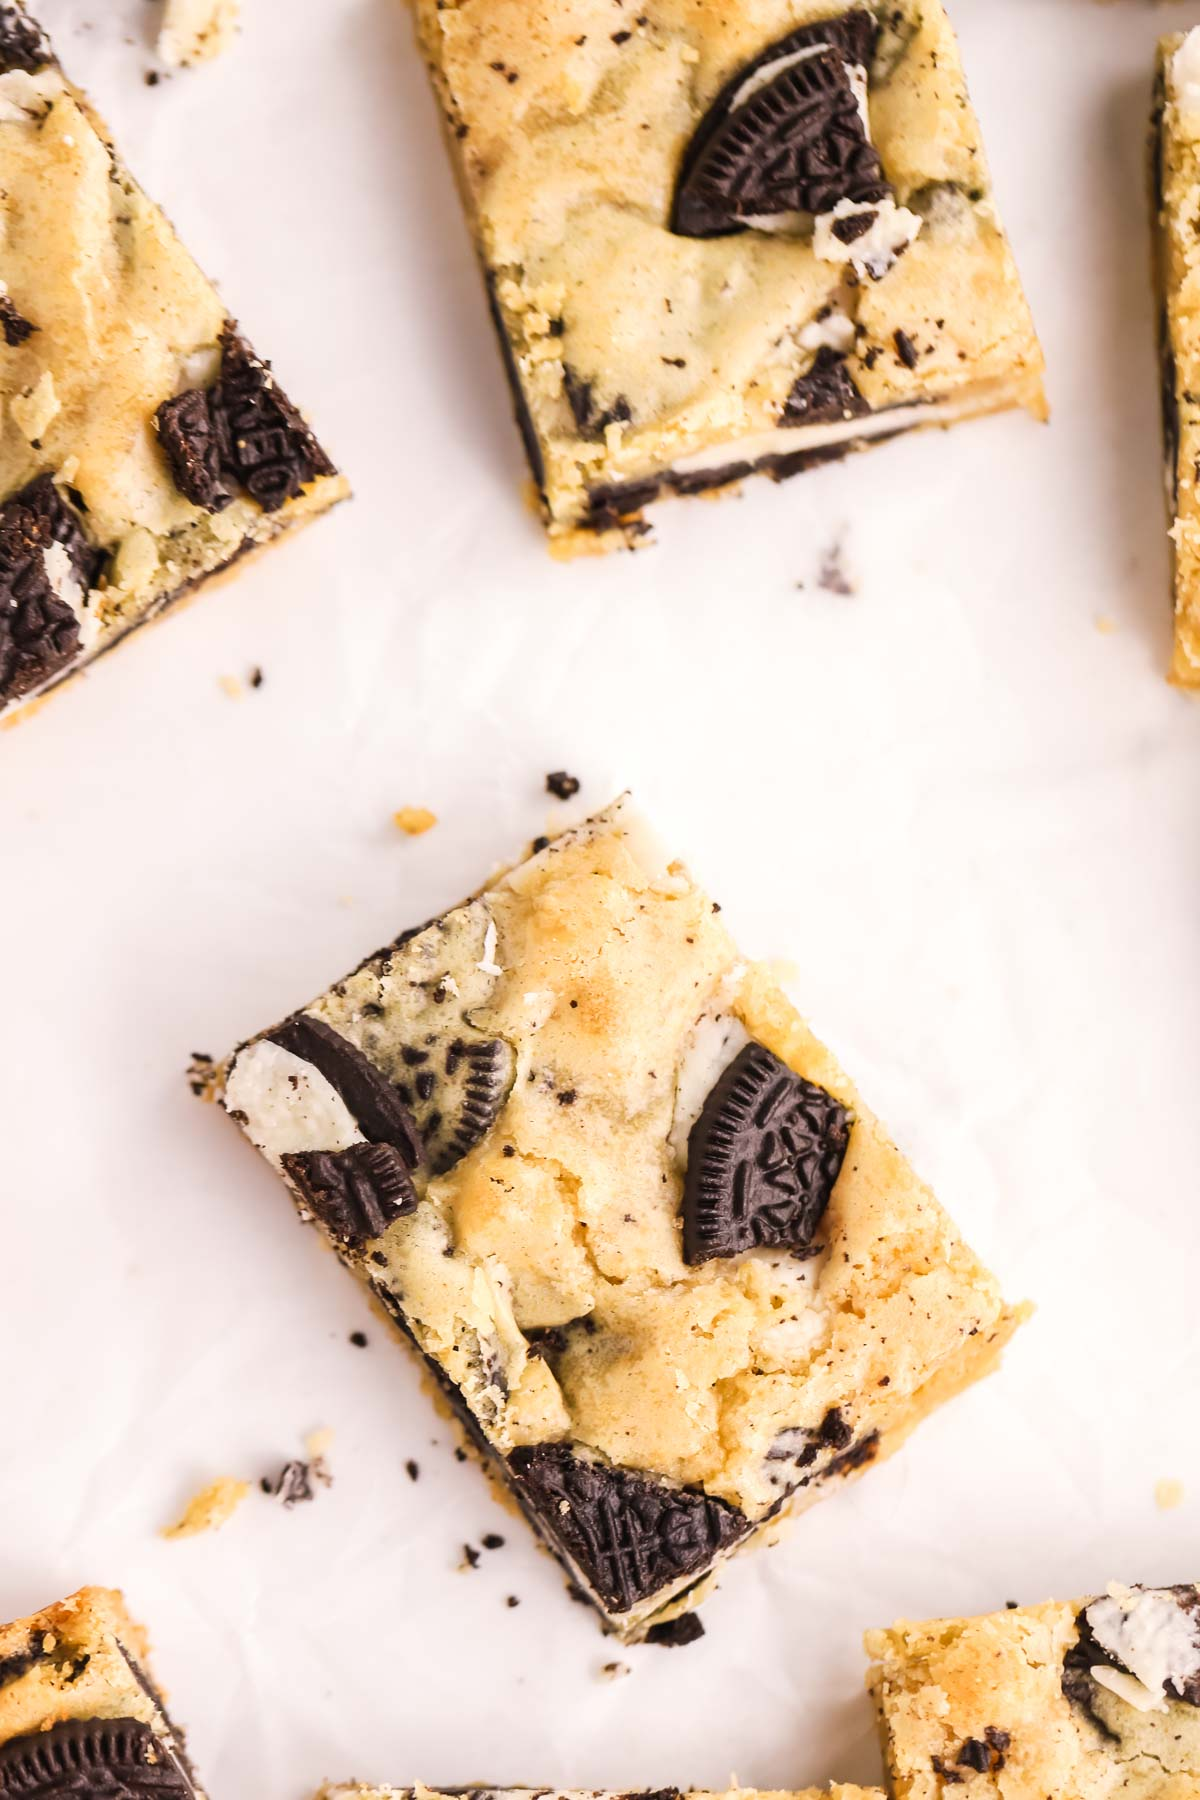
I seriously love my blondies around here. I think they might be the perfect dessert ever. I mean what’s not to love about an easy dessert that takes about 10 minutes to mix up, bakes in less 30 minutes, and is so versatile?
I’ve made all sorts of blondie versions on the blog – like my these browned butter M&M blondies, white chocolate raspberry blondies, almond blondies with chocolate chips, and these Reese’s peanut butter blondies.
So when I tinkering around in the kitchen and a whole bag of Oreos was staring at me, I decided to whip up these Oreo blondies on a whim. I had no original intention to share them on the blog right away, but then I took one bite of these cookies and cream blondies, and then another bite. I quickly realized if I didn’t share this Oreo blondie recipe with you right away I’m the most selfish person on the planet, because OMG they are crazy delicious.
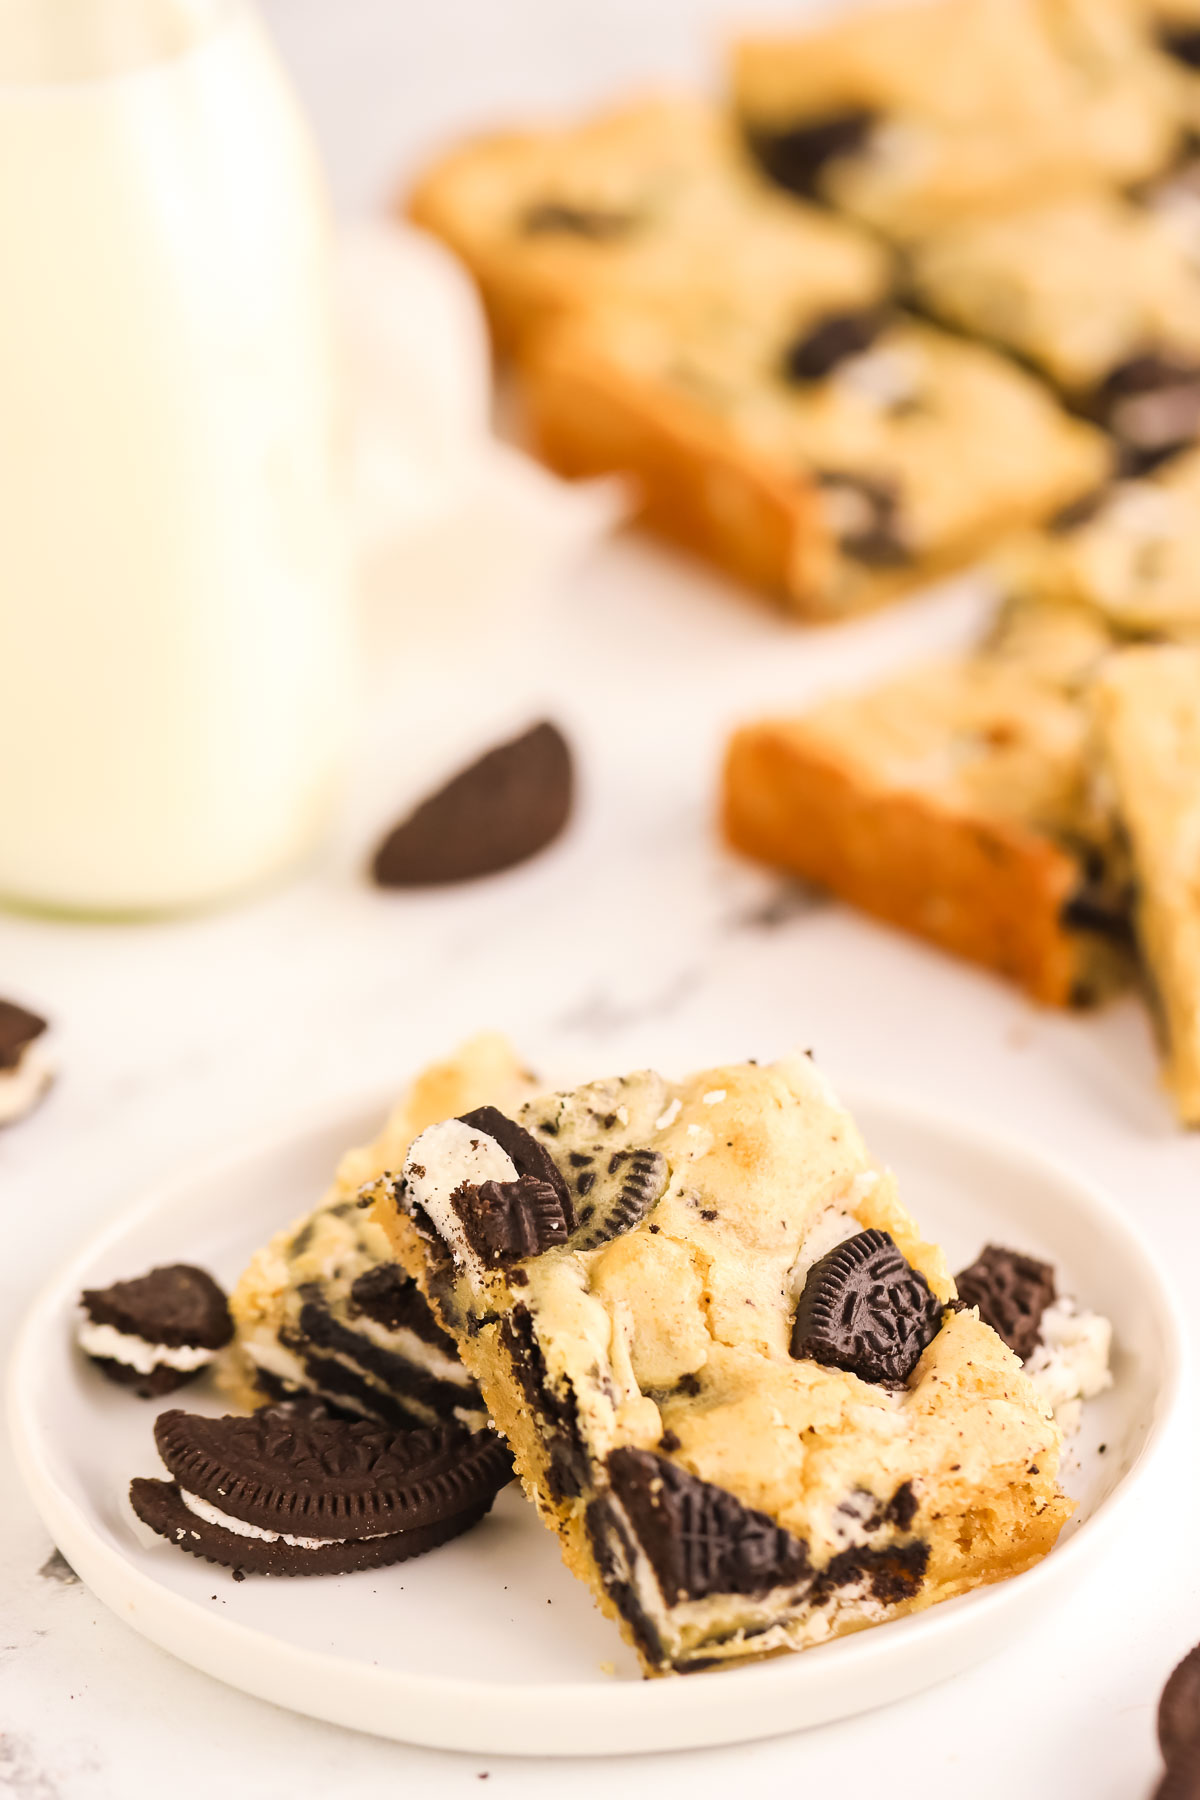
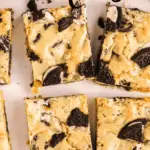
These Oreo blondies are soft, chewy, with a buttery vanilla flavor, and that signature crackly top like a good brownie also has. And don’t forget these blondies have all the Oreo chunks going on in the middle! Oreo lovers, yes you will be a big fan of this dessert!
What kind of Oreos should I use?
I used regular Oreo cookies for this recipe but I think double stuff or even the Oreo thins would work. You could also experiment with using a different flavor of Oreo cookies in this recipe for a new fun twist!
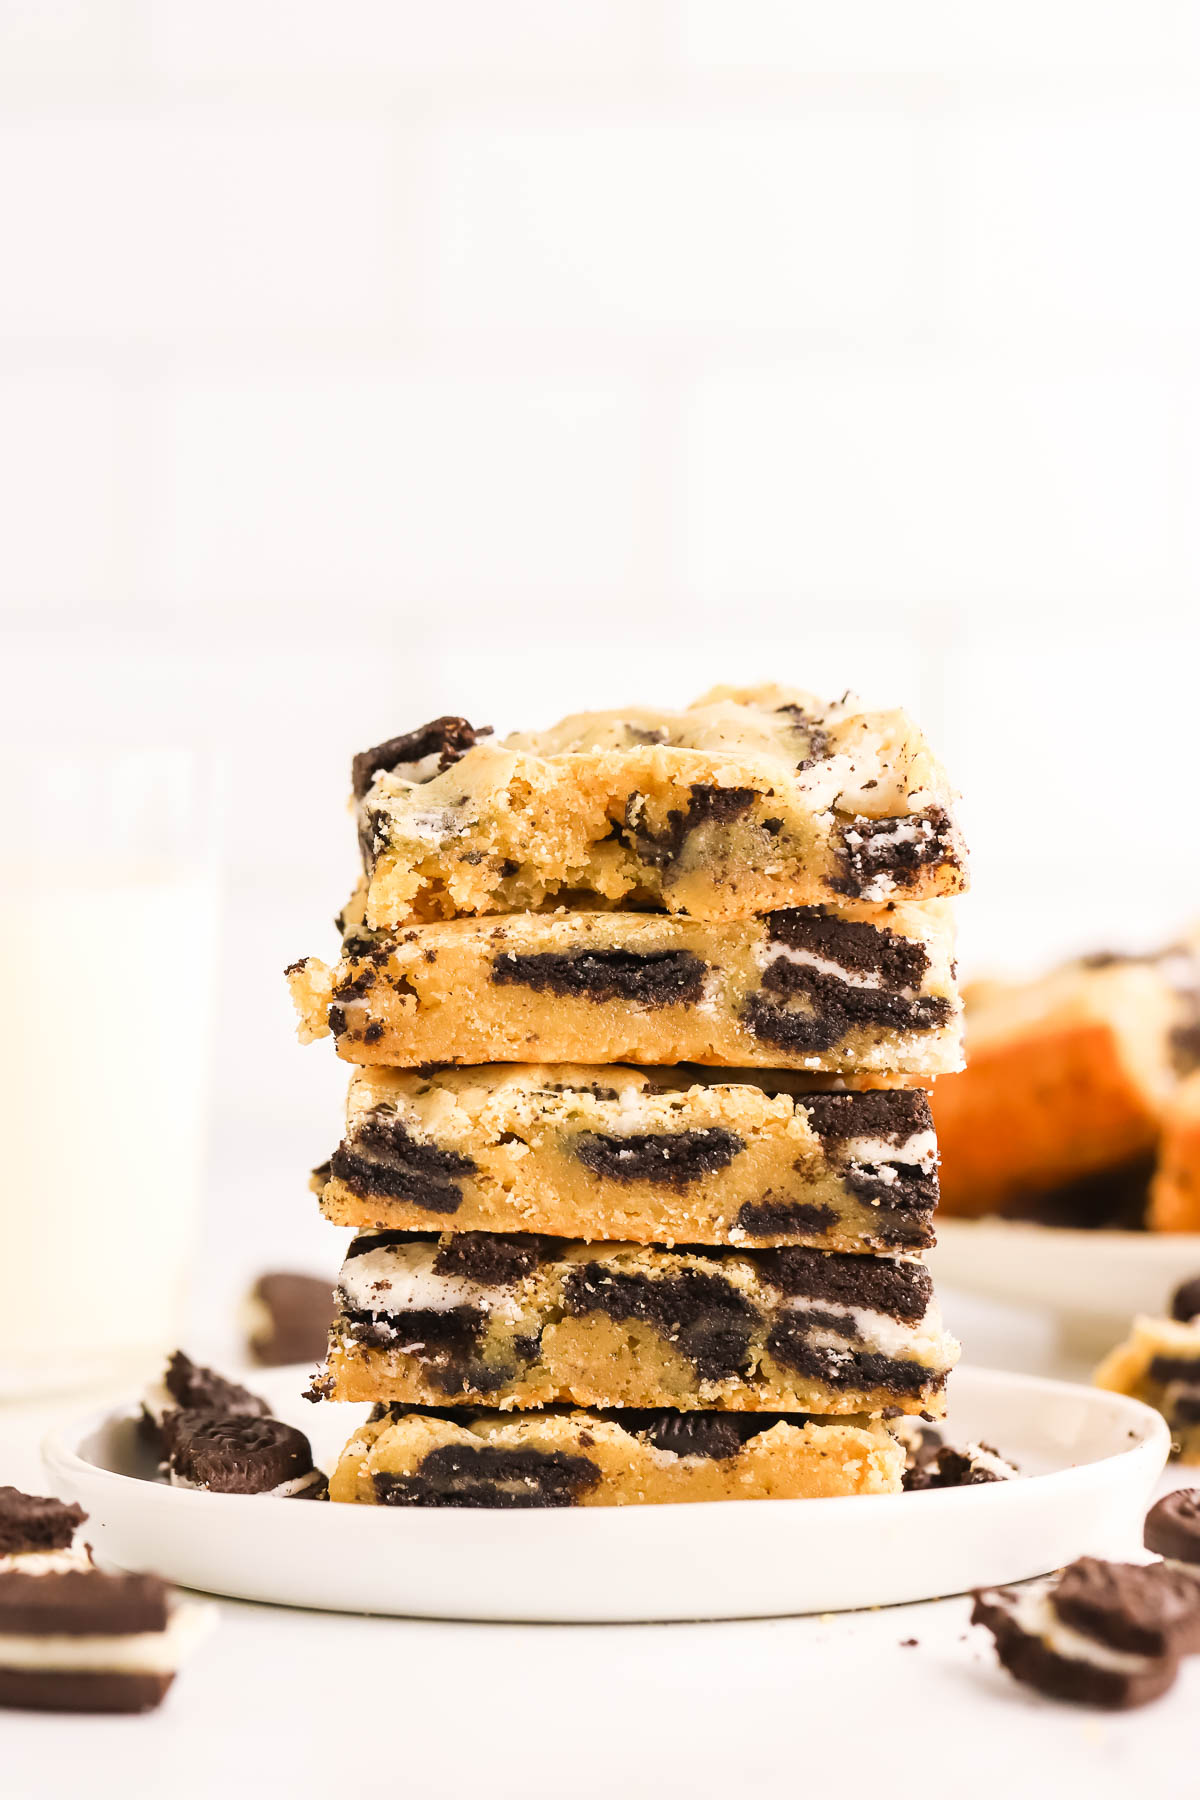
What Are Blondies Made Of?
Blonde brownies, or blondies, are basically a brownie but no cocoa powder is used. Vanilla is the star flavor that is substituted for the cocoa instead.
They are made from some pretty typical pantry ingredients: flour, brown sugar, vanilla, granulated sugar, butter, eggs, and a leavening agent (baking powder, baking soda or sometimes both).
Why You Will Love These Oreo Blondies
- No mixer needed – This Oreo blondie recipe is made with melted butter so that means you don’t need a mixer to make these. I love easy desserts where all I need is a whisk and a spatula and I don’t need to bust out my stand mixer!
- Quick prep time – These Oreo blondies take about 10 minutes to mix up and then are ready to bake!
- Perfect make ahead dessert – These Oreo blondies bake up in under 30 minutes, but I do like to let them cool to room temperature before cutting into them. They also keep at room temperature for a few days so you can make these ahead of time and then serve the next day making for an easy dessert.
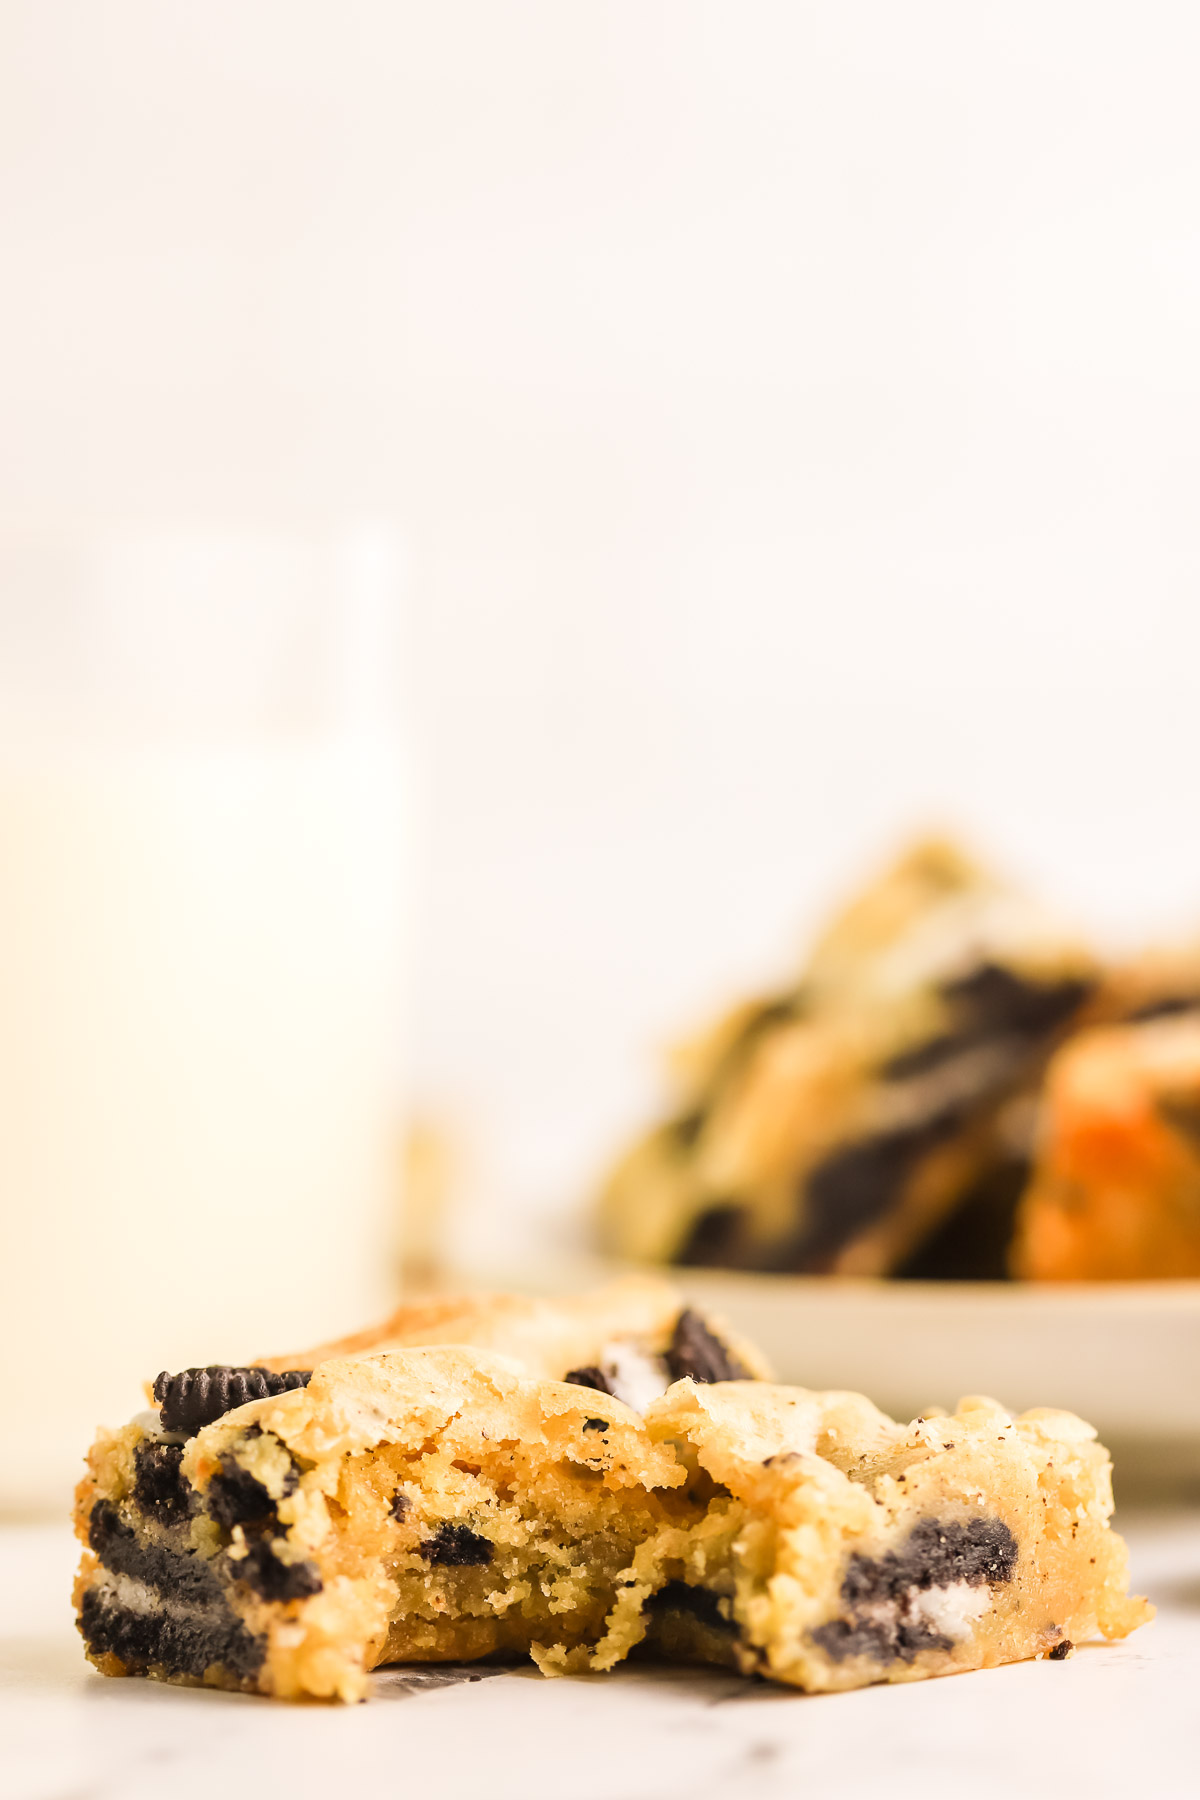
Ingredients Needed
- All purpose flour – Just use regular all purpose flour for these blondies. Be sure to either weigh your flour or use the “spoon and level” method. Spoon the flour into your cup, do not pack it down, and then level off a heaping cup.
- Baking powder – This will help give our Oreo blondies a bit of a rise. Do not use baking soda. The two ingredients are not interchangeable. You can read about the differences here between baking powder and baking soda.
- Salt – To balance out the sweetness of this Oreo blondie recipe. I like to bake with sea salt for it’s pure taste and fine crystals that dissolve into the batter easily. You can also use table salt, and kosher salt if that’s what you have.
- Butter – I always bake and recommend using unsalted butter vs. salted butter. It’s fresher and I can control the amount of salt. However if you only have salted butter, than reduce the salt in your recipe.
- Brown sugar – I use light brown sugar in my baking, but you can also use dark brown sugar. Your blondies will be slightly chewier if you use dark brown sugar. If you don’t have any brown sugar on hand, then make this 2-ingredient homemade brown sugar.
- Granulated sugar – I like to use a combination of brown sugar and granulated sugar for the perfect texture of chewy and crispy edges.
- Eggs – Make sure your eggs are at room temperature before using them so you get better lift in your blondies, and the cold eggs don’t seize up your butter. Place them in a bowl of warm water for 10 minutes before using.
- Vanilla extract – I prefer vanilla extract to flavor these blondies, but imitation vanilla extract will also work.
- Oreo cookies – I used 20 Oreo cookies in the batter, crushed up, and then I also crushed a up a few cookies to sprinkle on top of the blondies before baking.
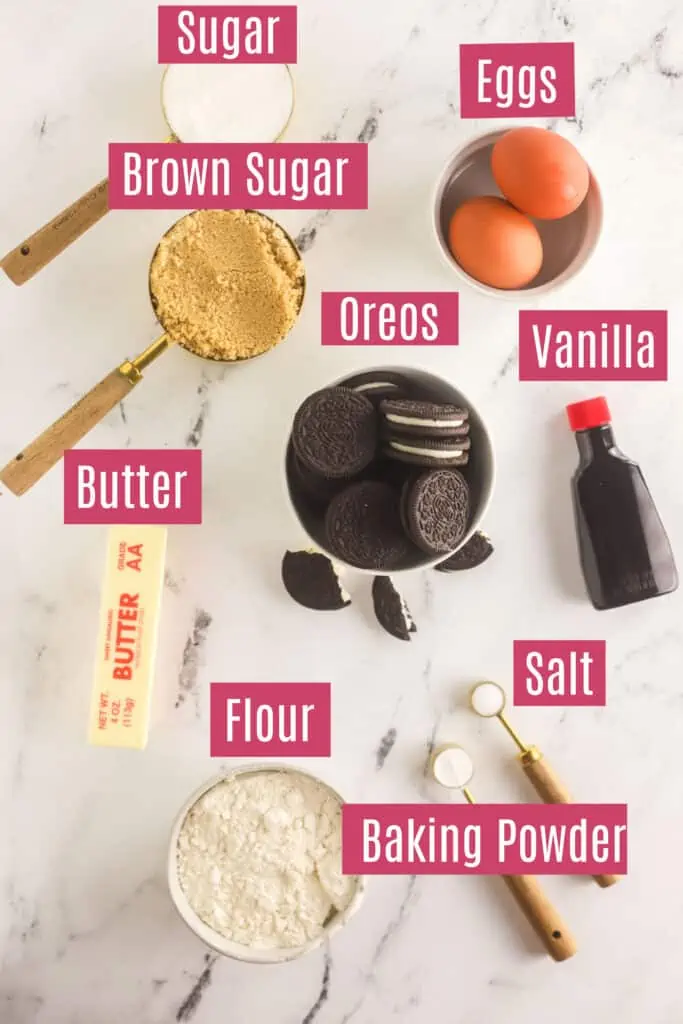
How To Make Oreo Blondies
Preheat the oven and prepare the pan. Preheat the oven to 350° F and adjust the oven rack to middle position. Line a 9×13 inch baking pan with foil or parchment paper. Spray with cooking spray and set aside. I like to leave a little overhang of the parchment paper so I can easily lift out the bars.
Combine Dry Ingredients. Whisk flour, baking powder, and salt together in a large bowl; set aside.
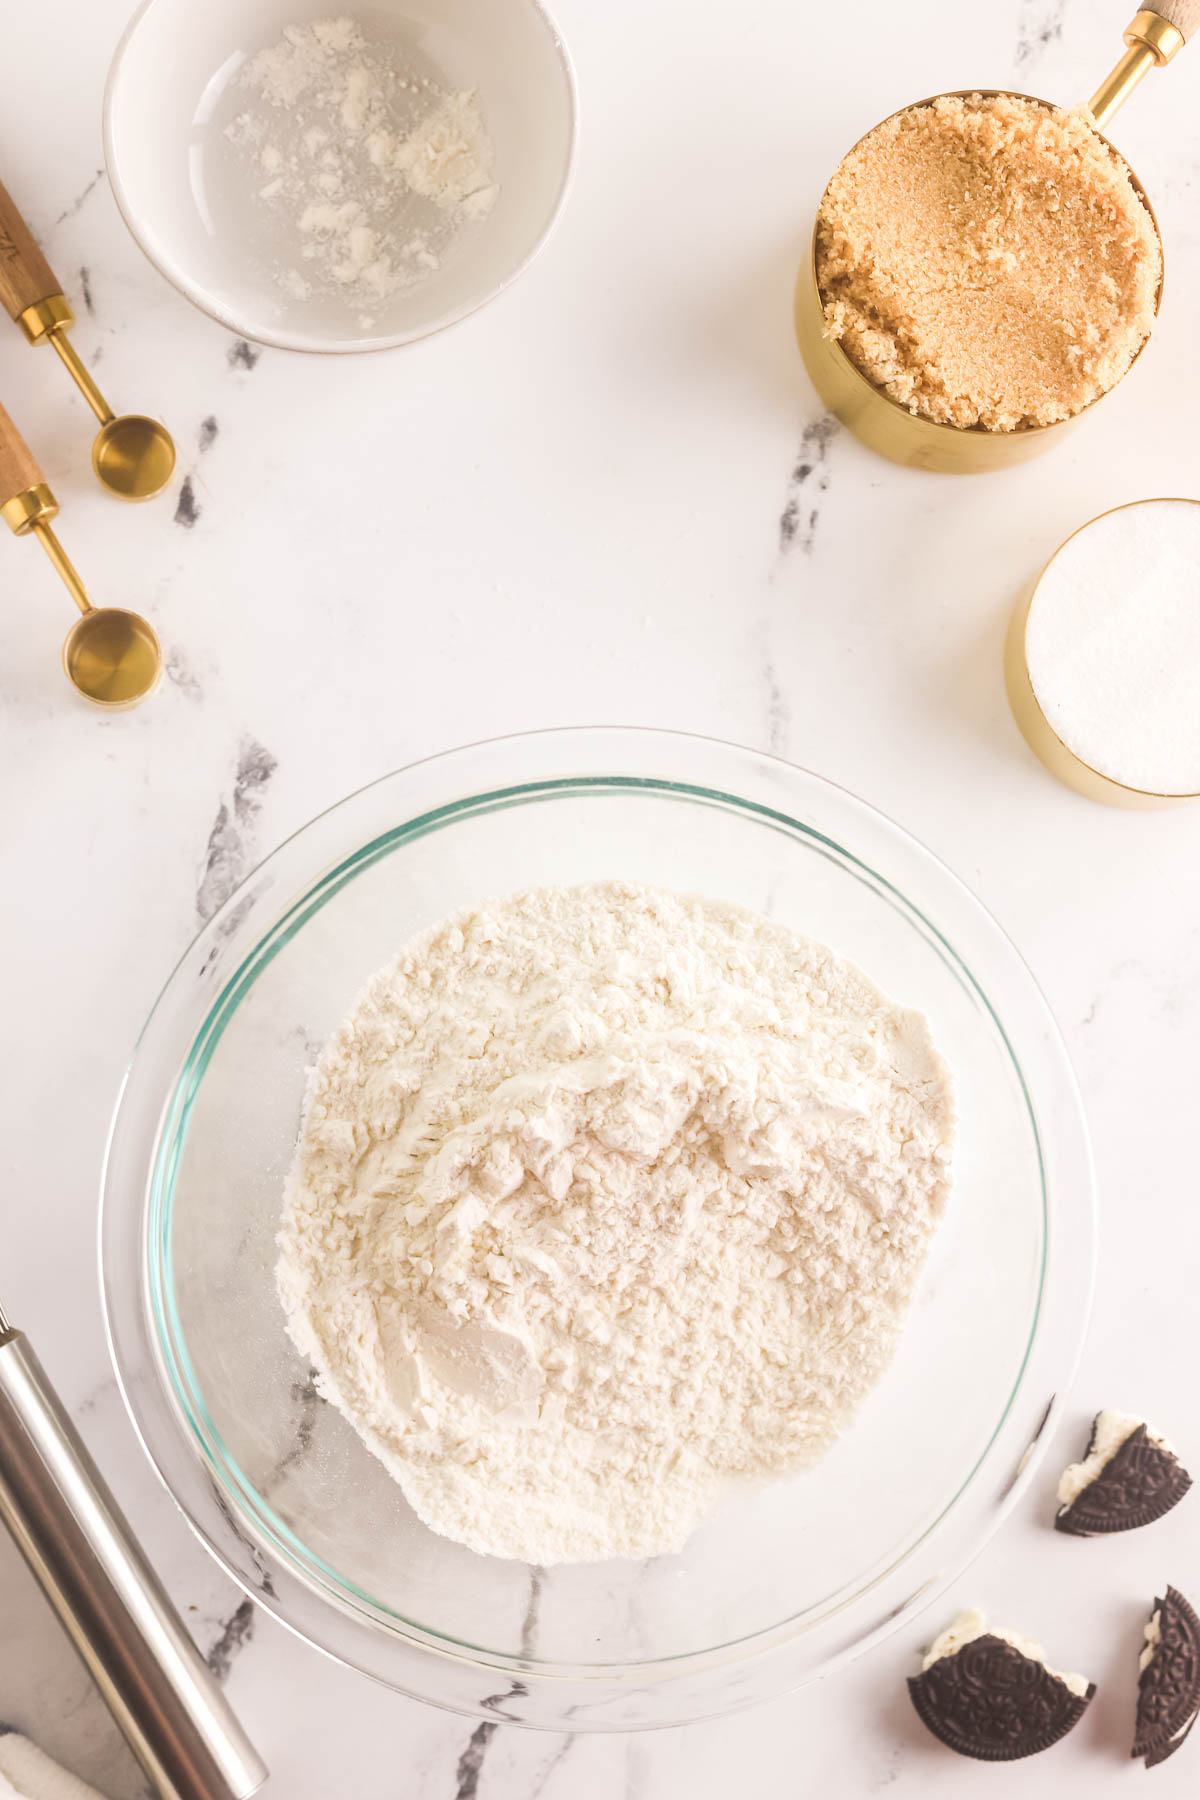
Combine Wet Ingredients. Whisk melted butter, granulated sugar, and brown sugar together in a second large bowl until combined.
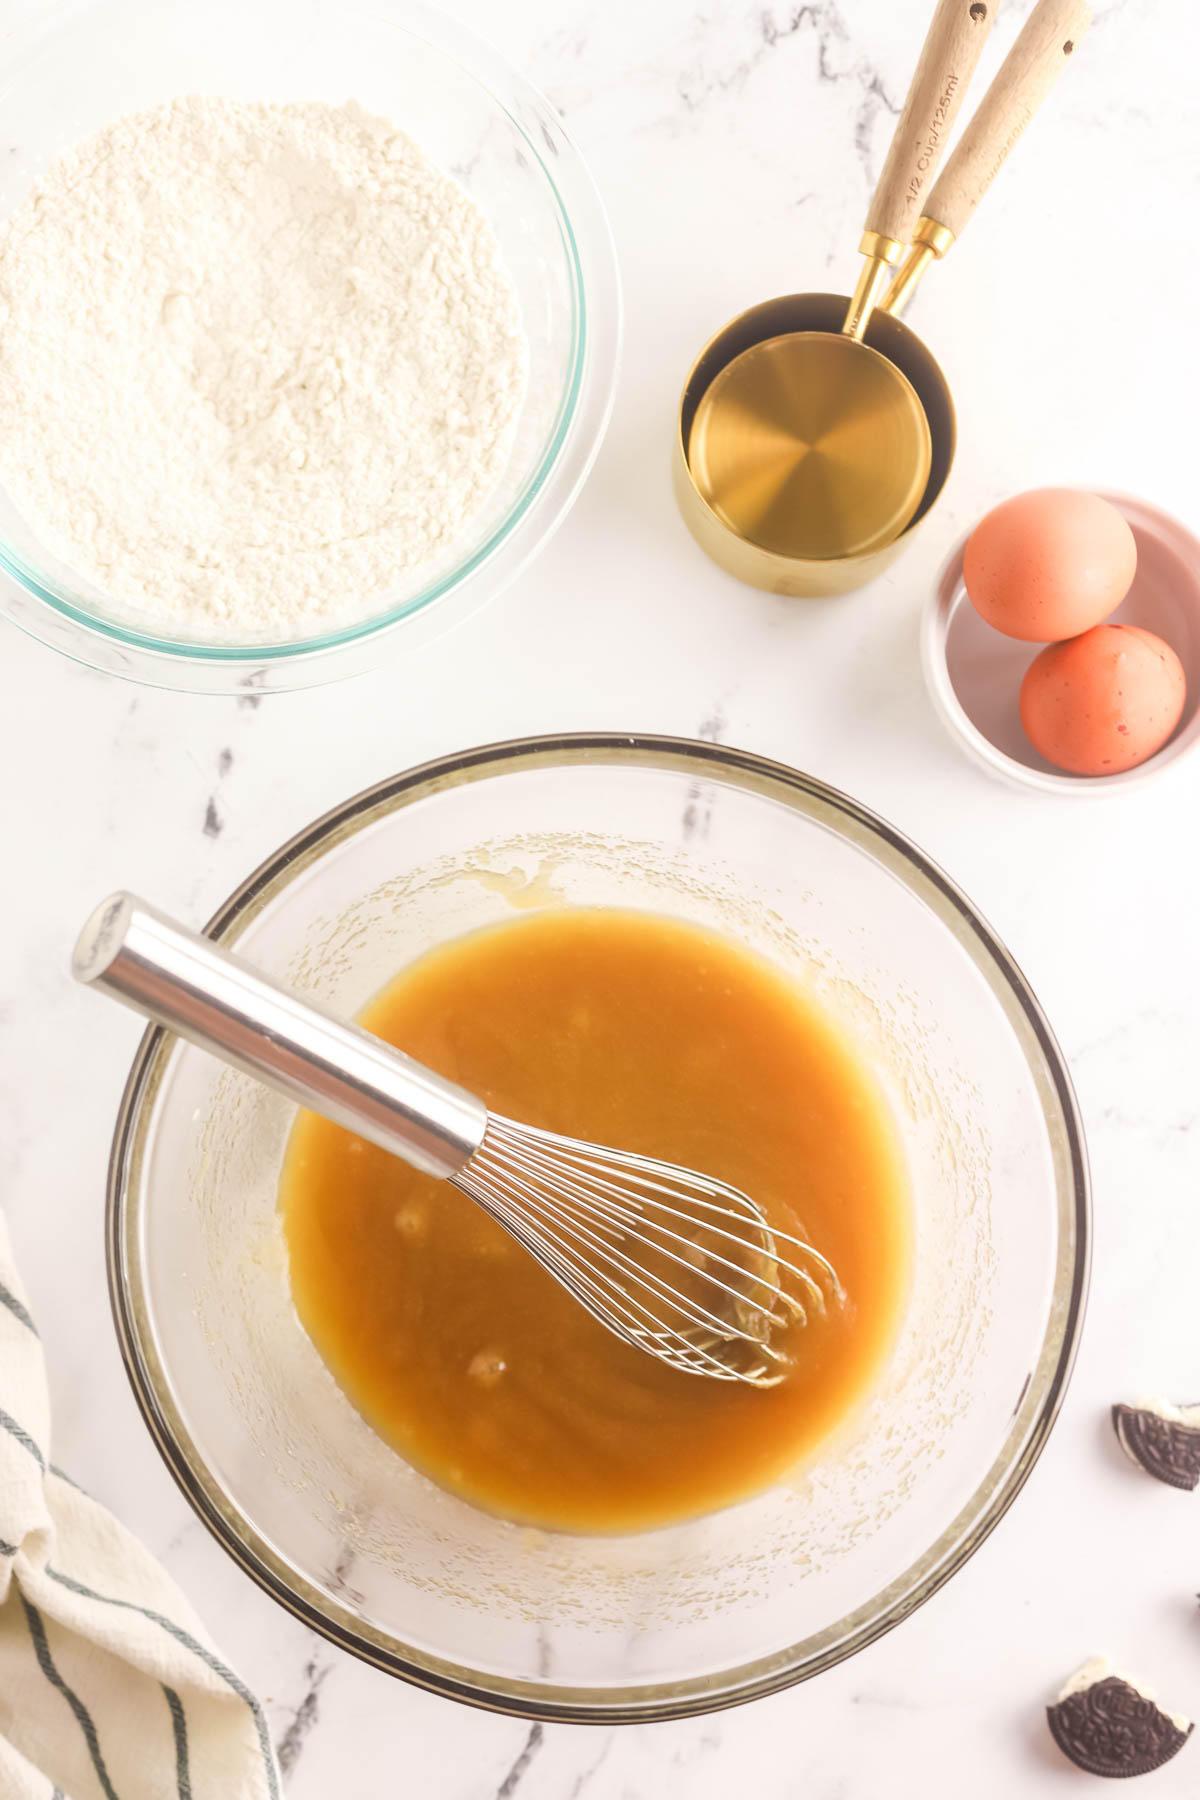
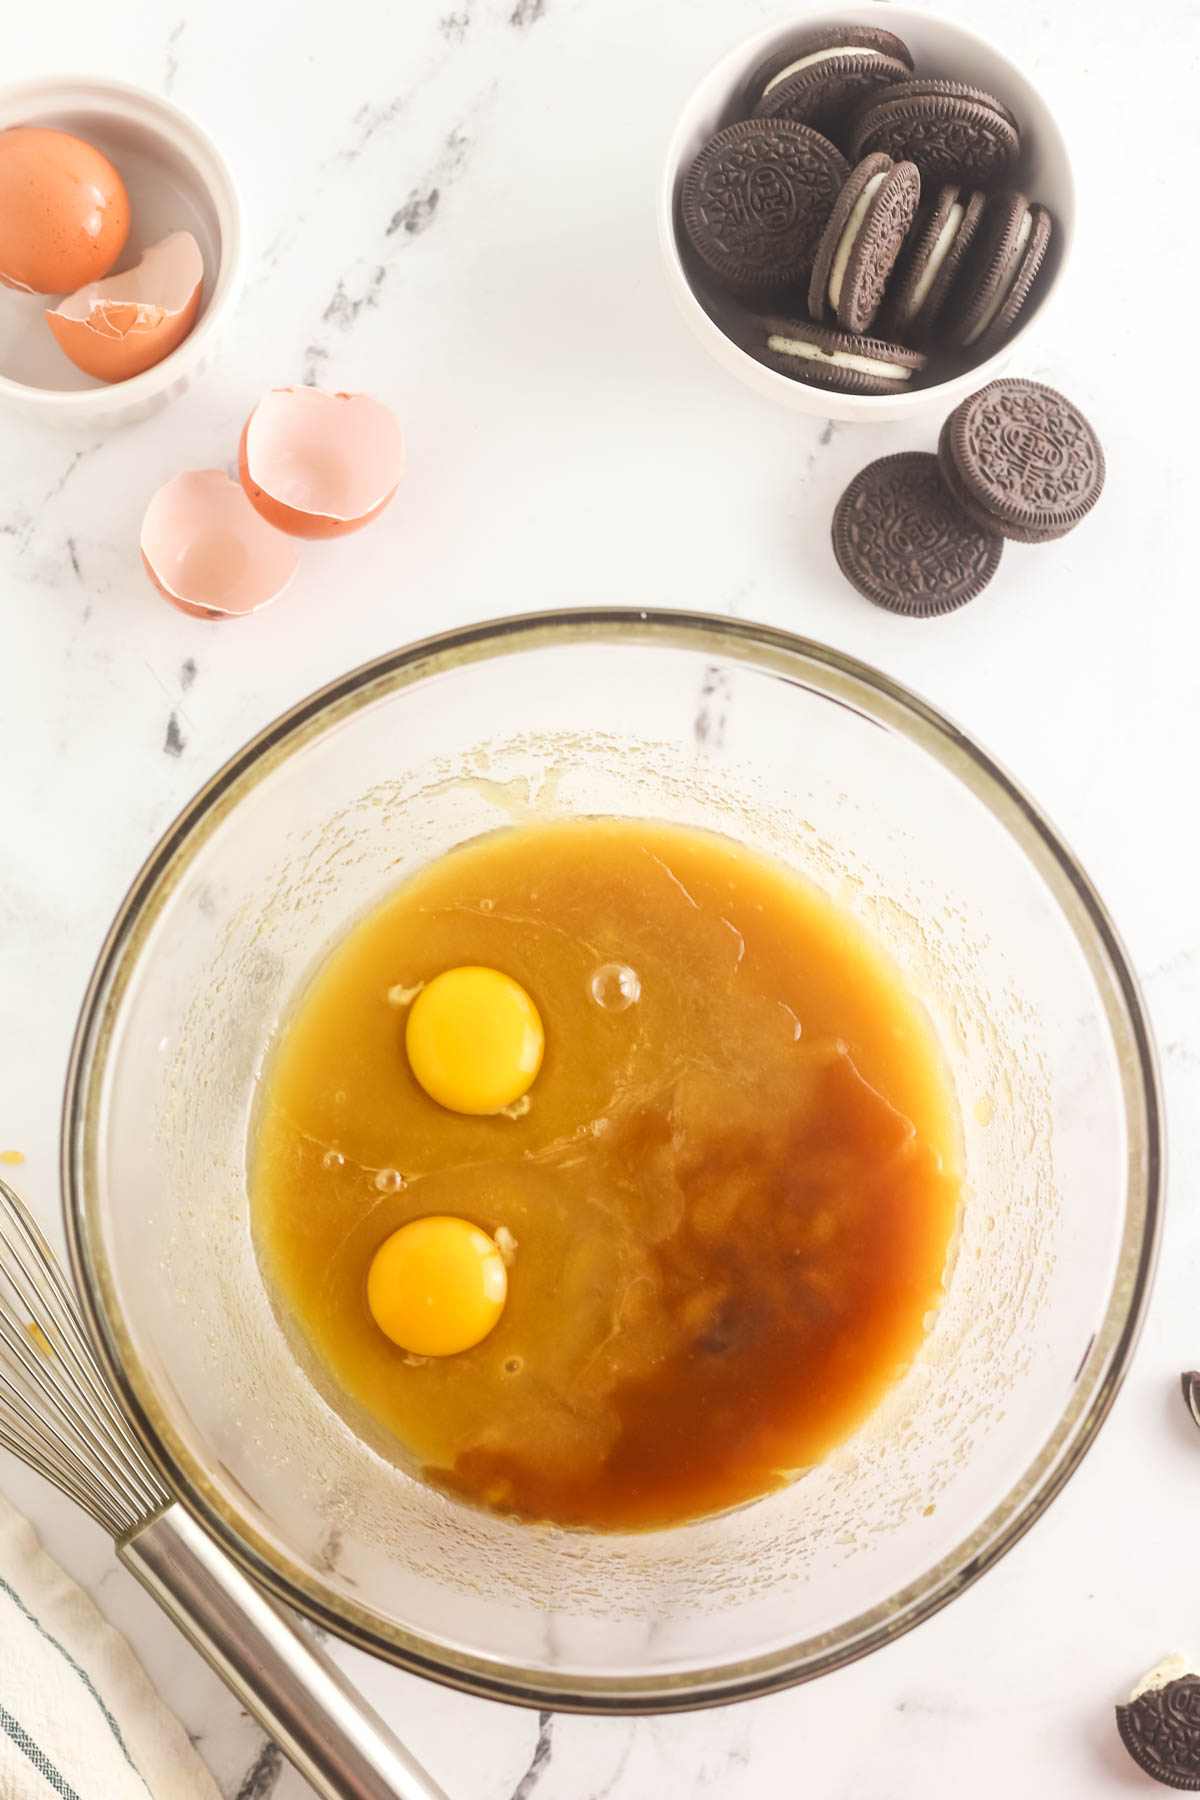
Add eggs and vanilla. Then stir in your eggs and vanilla and mix well. Make sure your eggs aren’t cold straight from the fridge or it will seize up your melted butter. I place my eggs in a bowl of warm water for 10 minutes before using.
Combine wet and dry ingredients. Using rubber spatula, stir the flour mixture into the butter mixture until just combined. You want to stir just until the last of the flour has been stirred in. Do not overmix.
Baking 101
Overmixing will yield a tough, overly chewy blondie. When you mix the flour into your batter, gluten begins to form which is the structure-building protein in our baked goods. But too much mixing will cause too much gluten to form and create a tough textured bar. To prevent this, stir just until the last of the flour has been mixed in and then stop mixing.
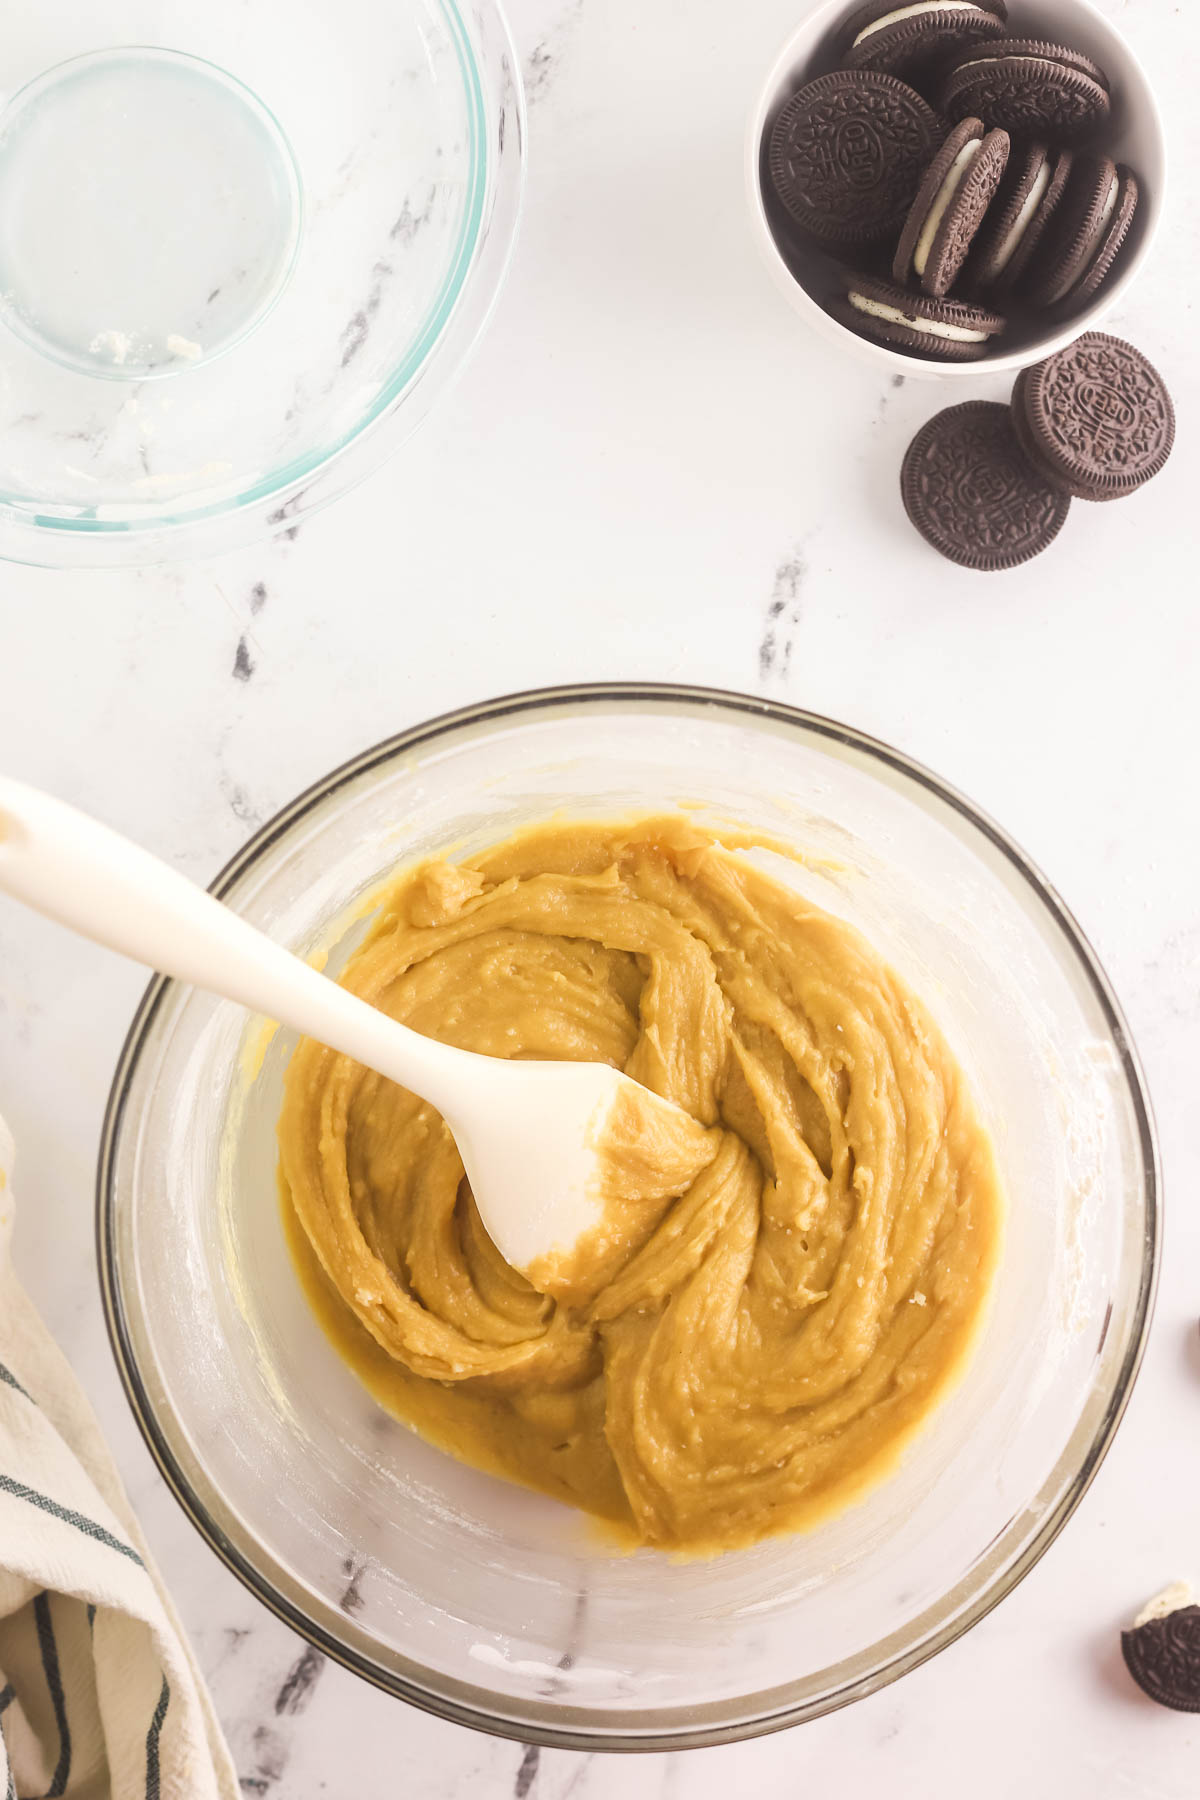
Stir in Oreos. Stir in the chopped Oreos. I crushed up 20 Oreo cookies for the blondies batter and stirred them in. You can place the Oreos in a bag and crush them with a mallet or rolling pin. You can also chop them up with a knife, or you could even just break them up with your hands!
You want some bigger chunks and smaller pieces, so I don’t recommend using a food processor which will make them too small.
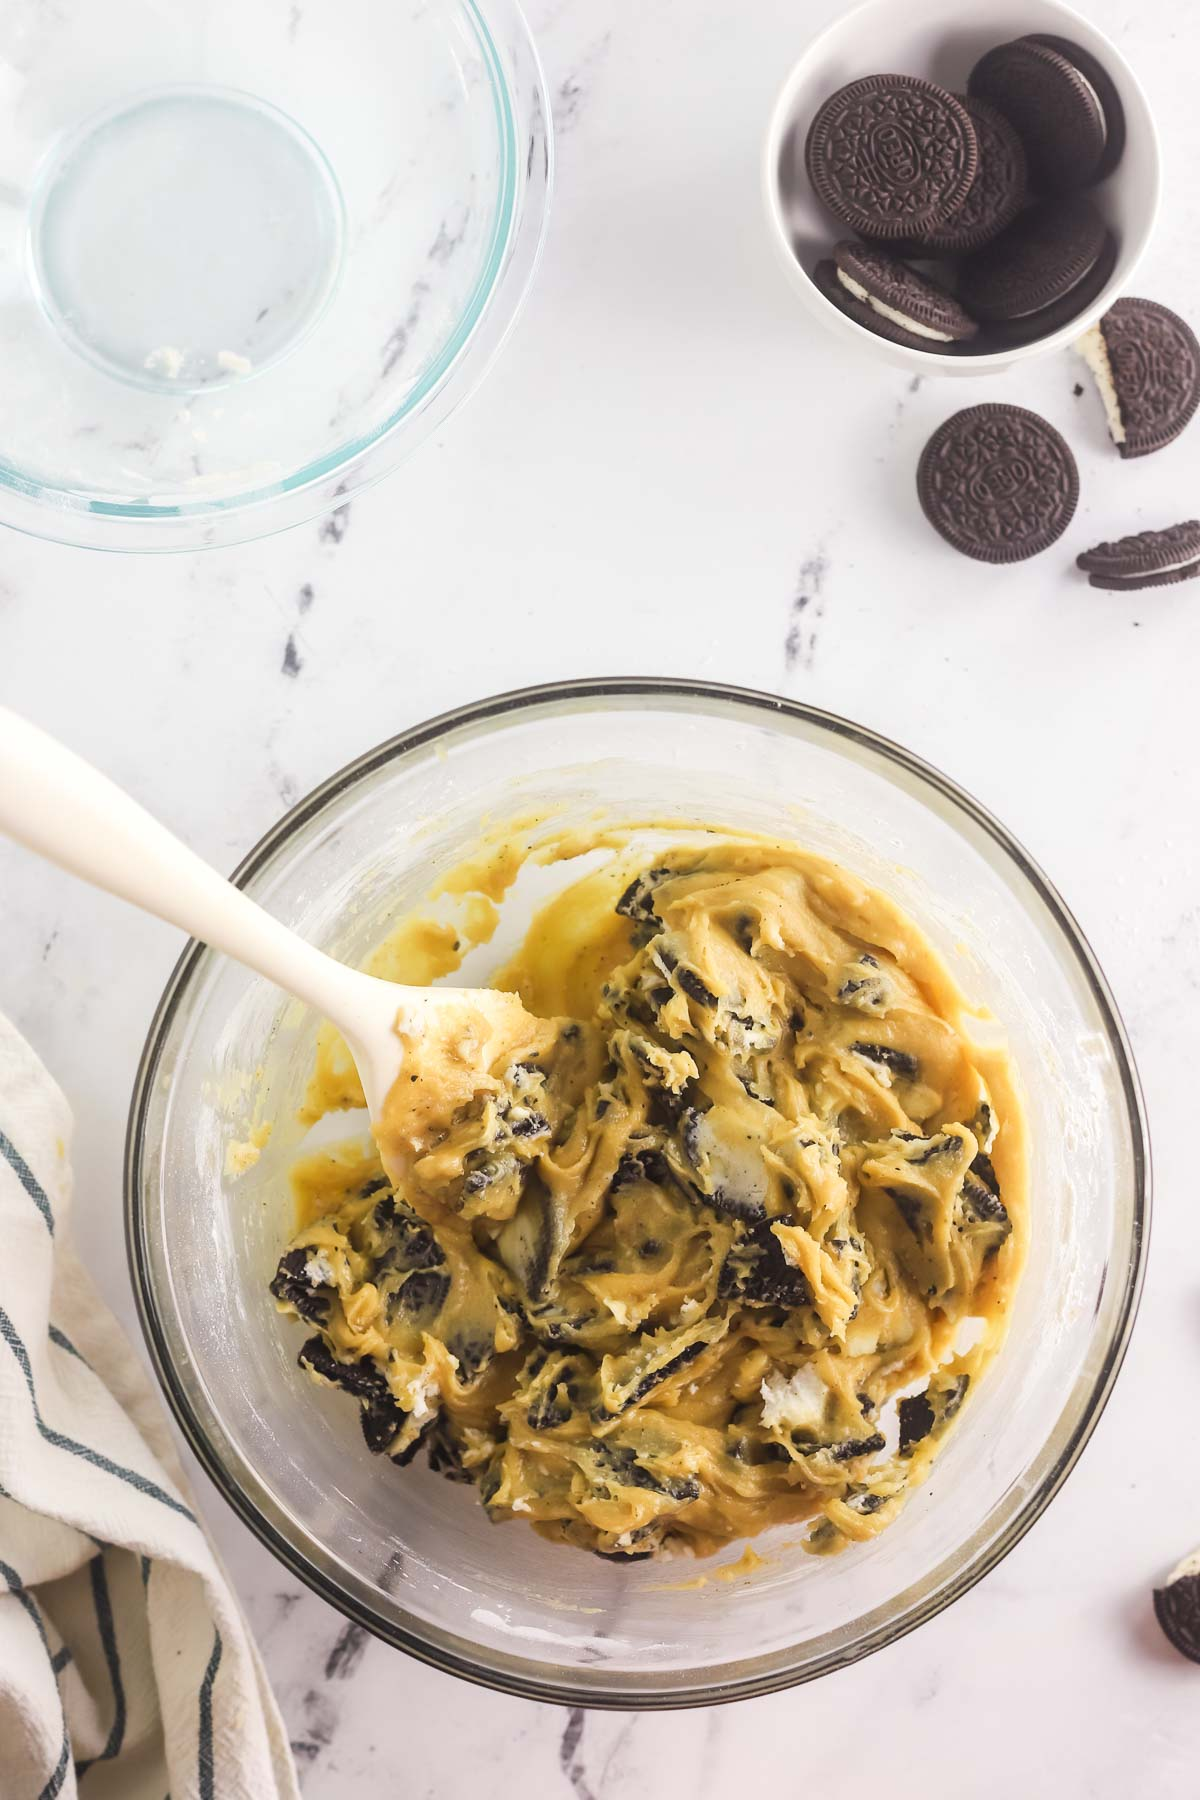
Add to pan. Add the batter into the prepared pan, smoothing top with rubber spatula. Top with a few more chopped Oreo cookies.
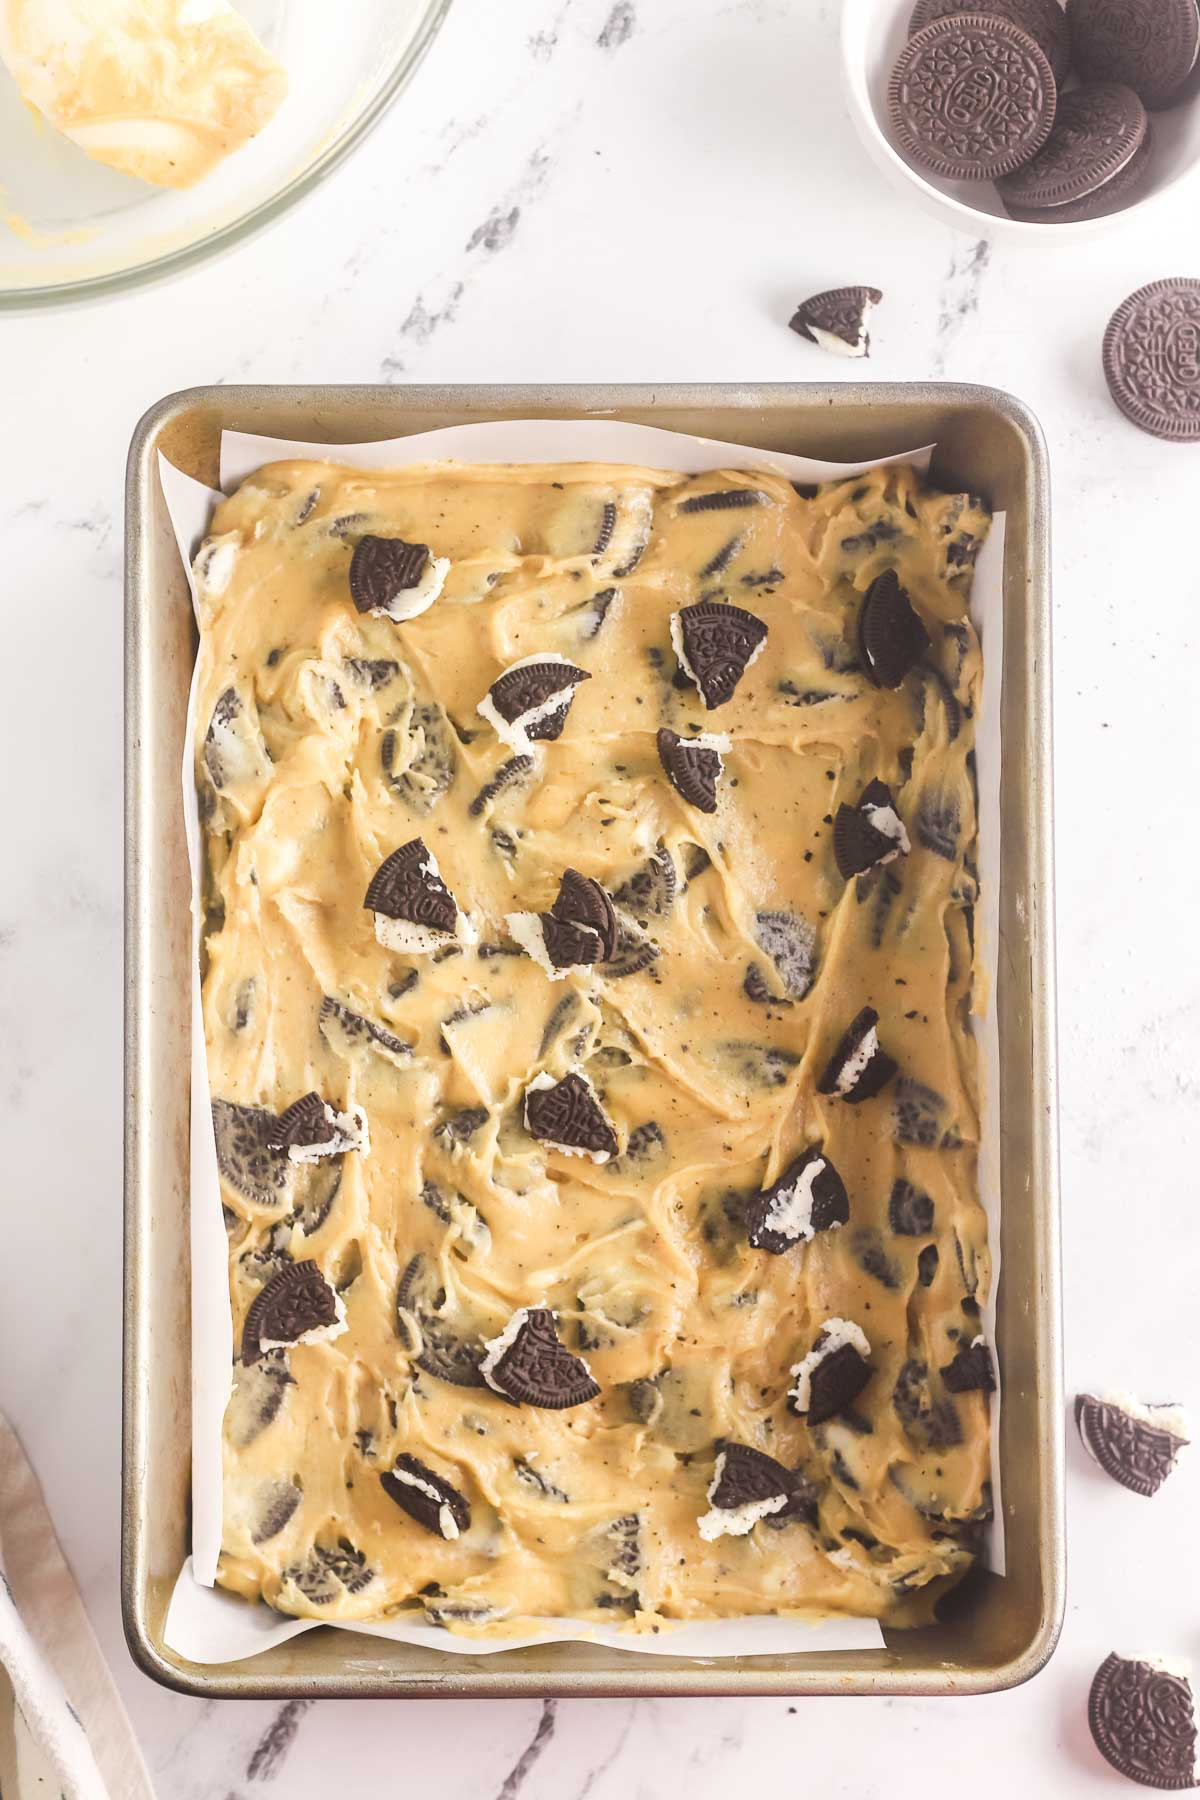
Bake the bars. Bake until top is shiny, cracked, and light golden brown, 22 to 25 minutes; do not overbake. The bars may not look fully cooked yet, but will continue to firm up as they cool. Cool on a wire rack to room temperature.
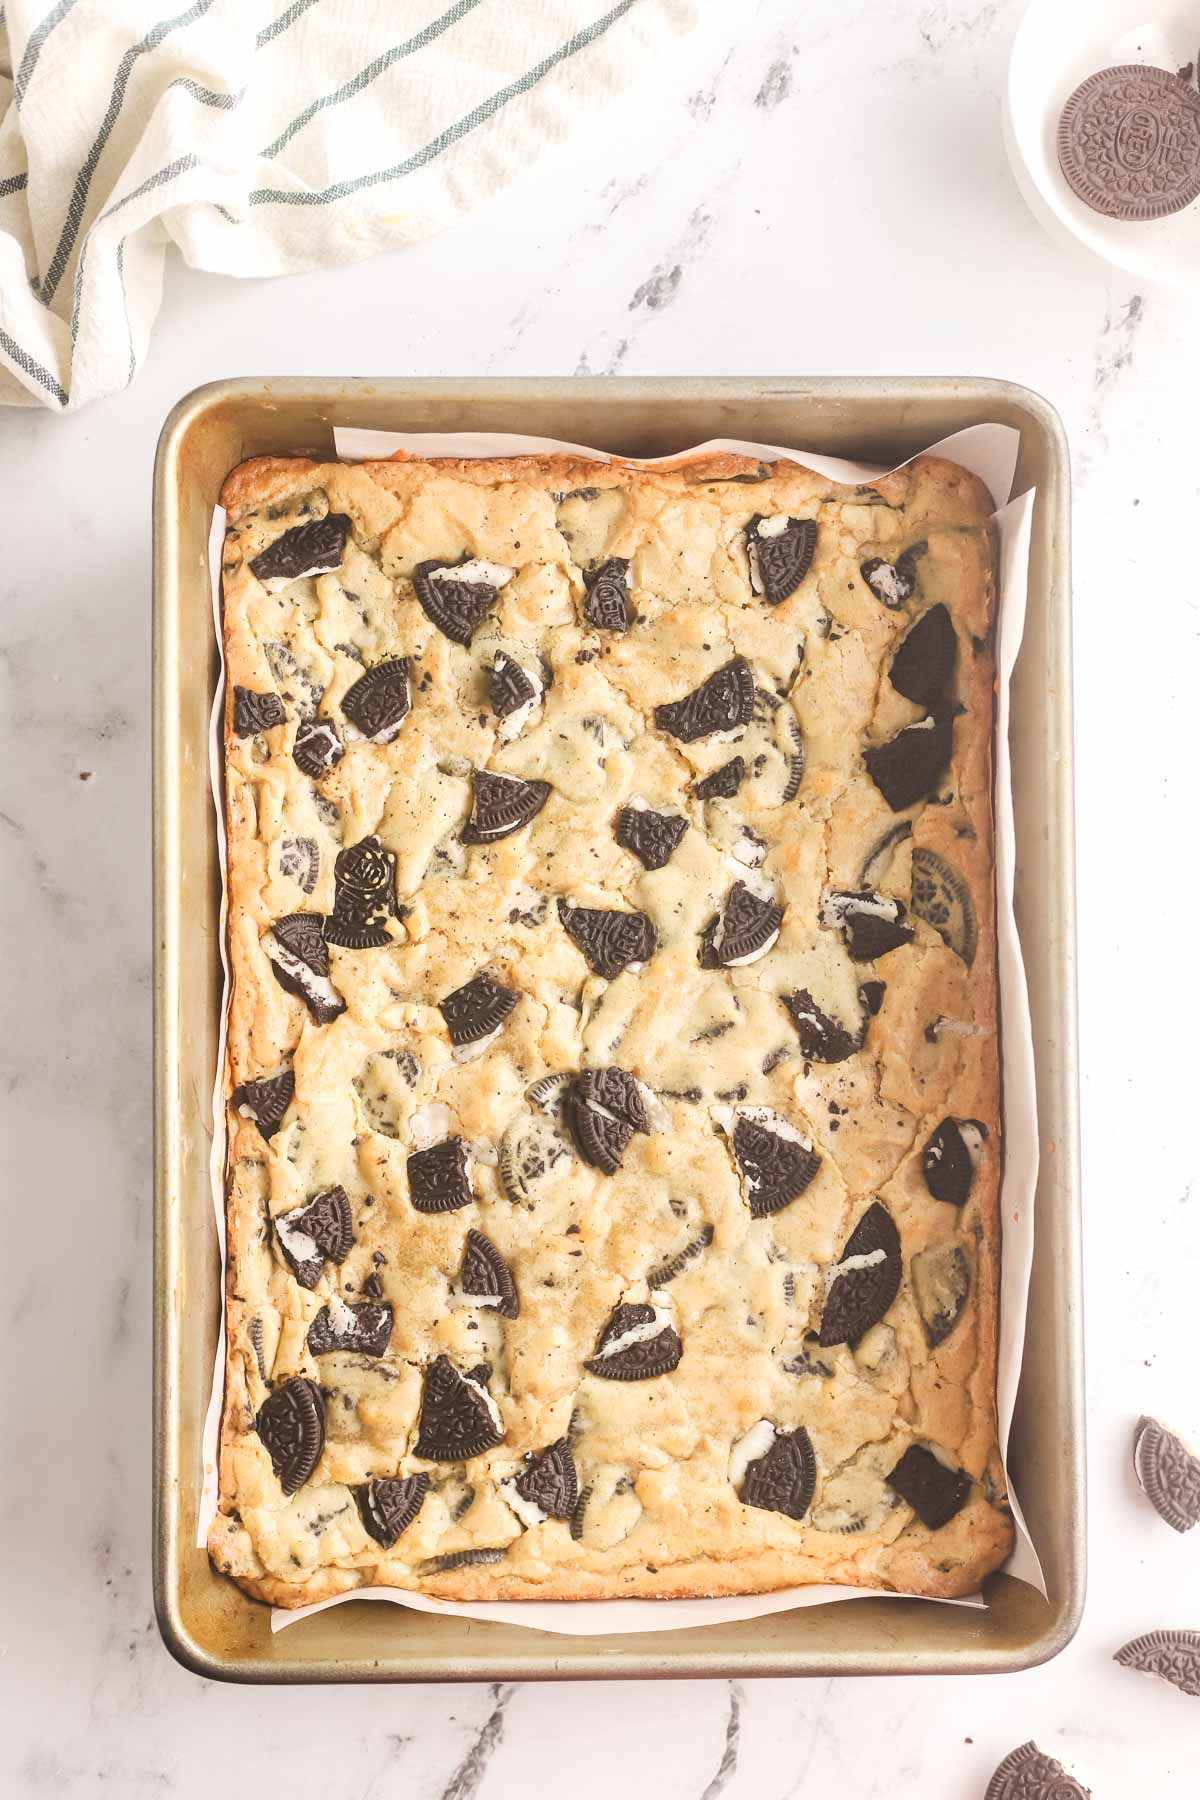
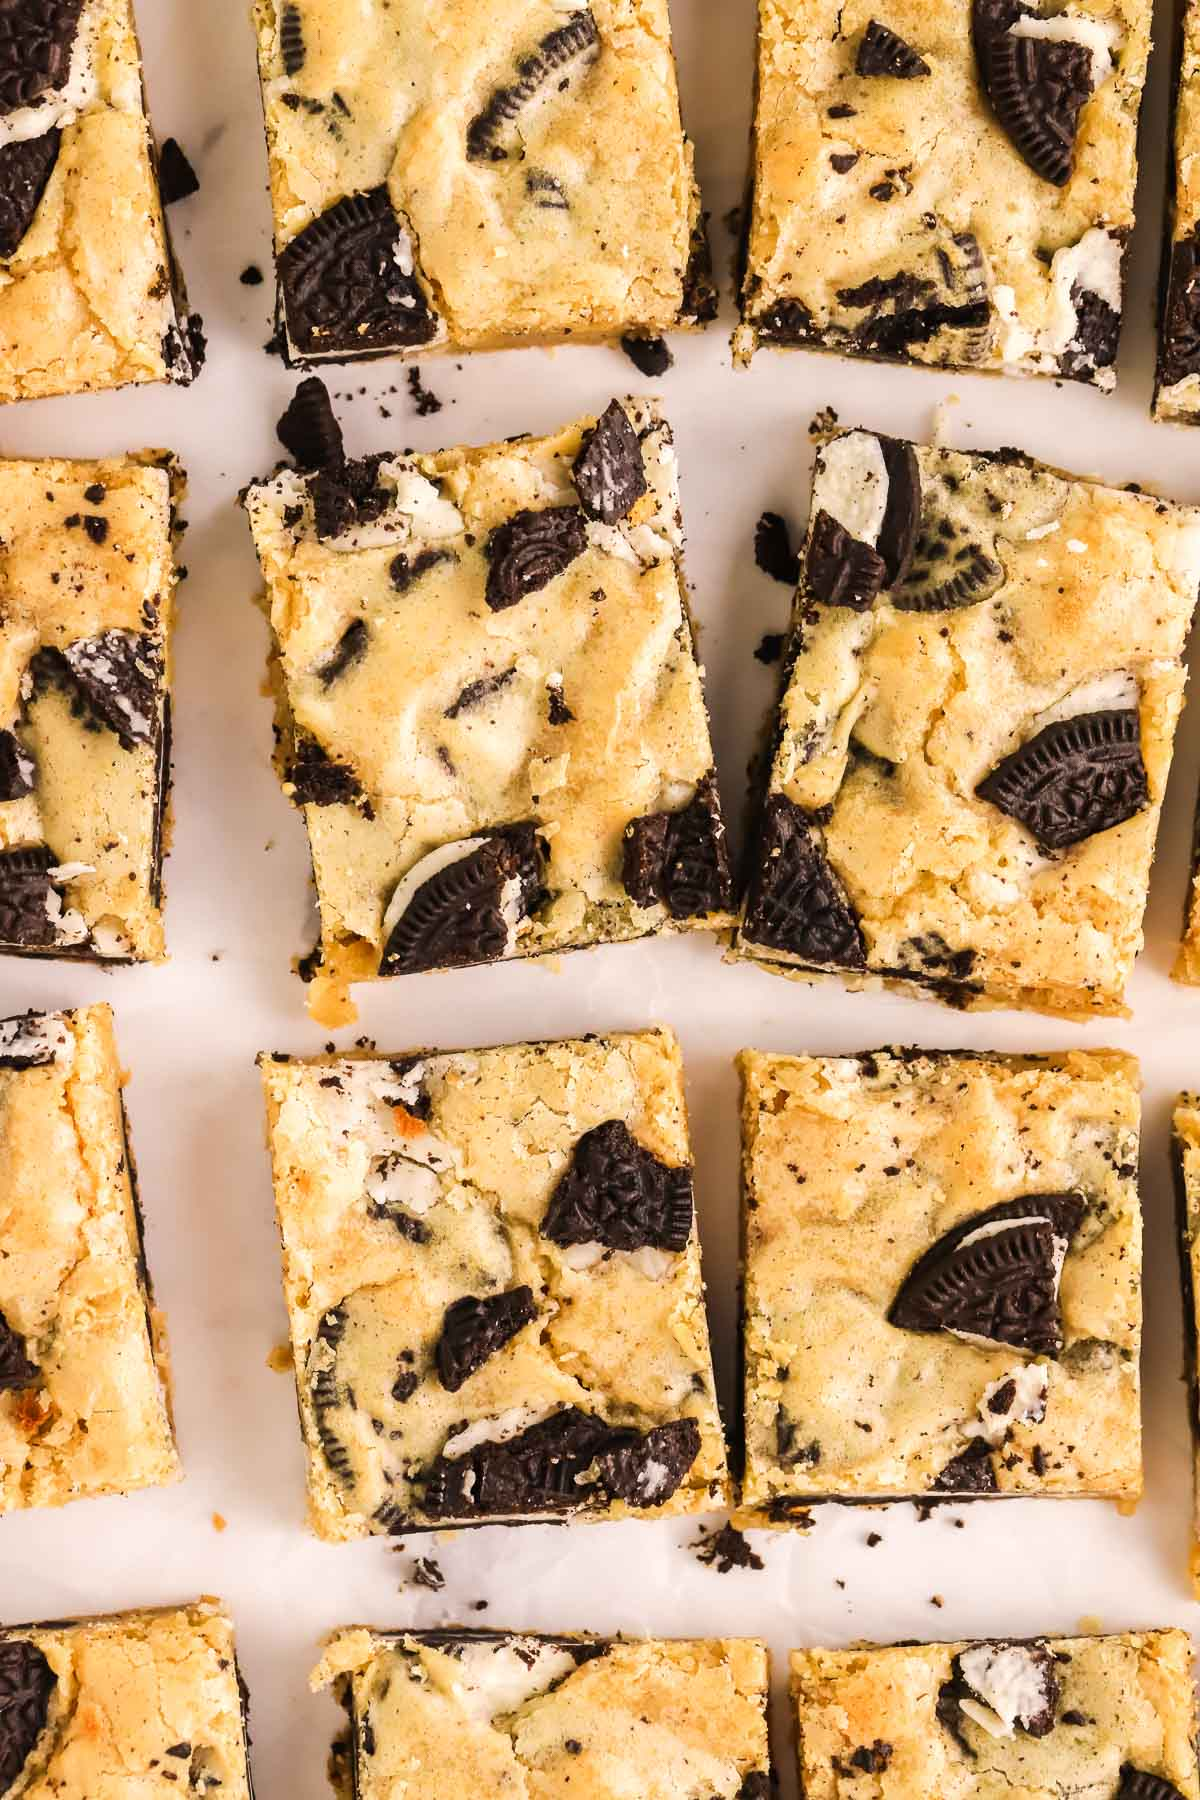
Cut into bars. Remove blondies from pan by lifting the parchment paper or foil overhang and transfer to cutting board. Cut into 16 bars and serve.
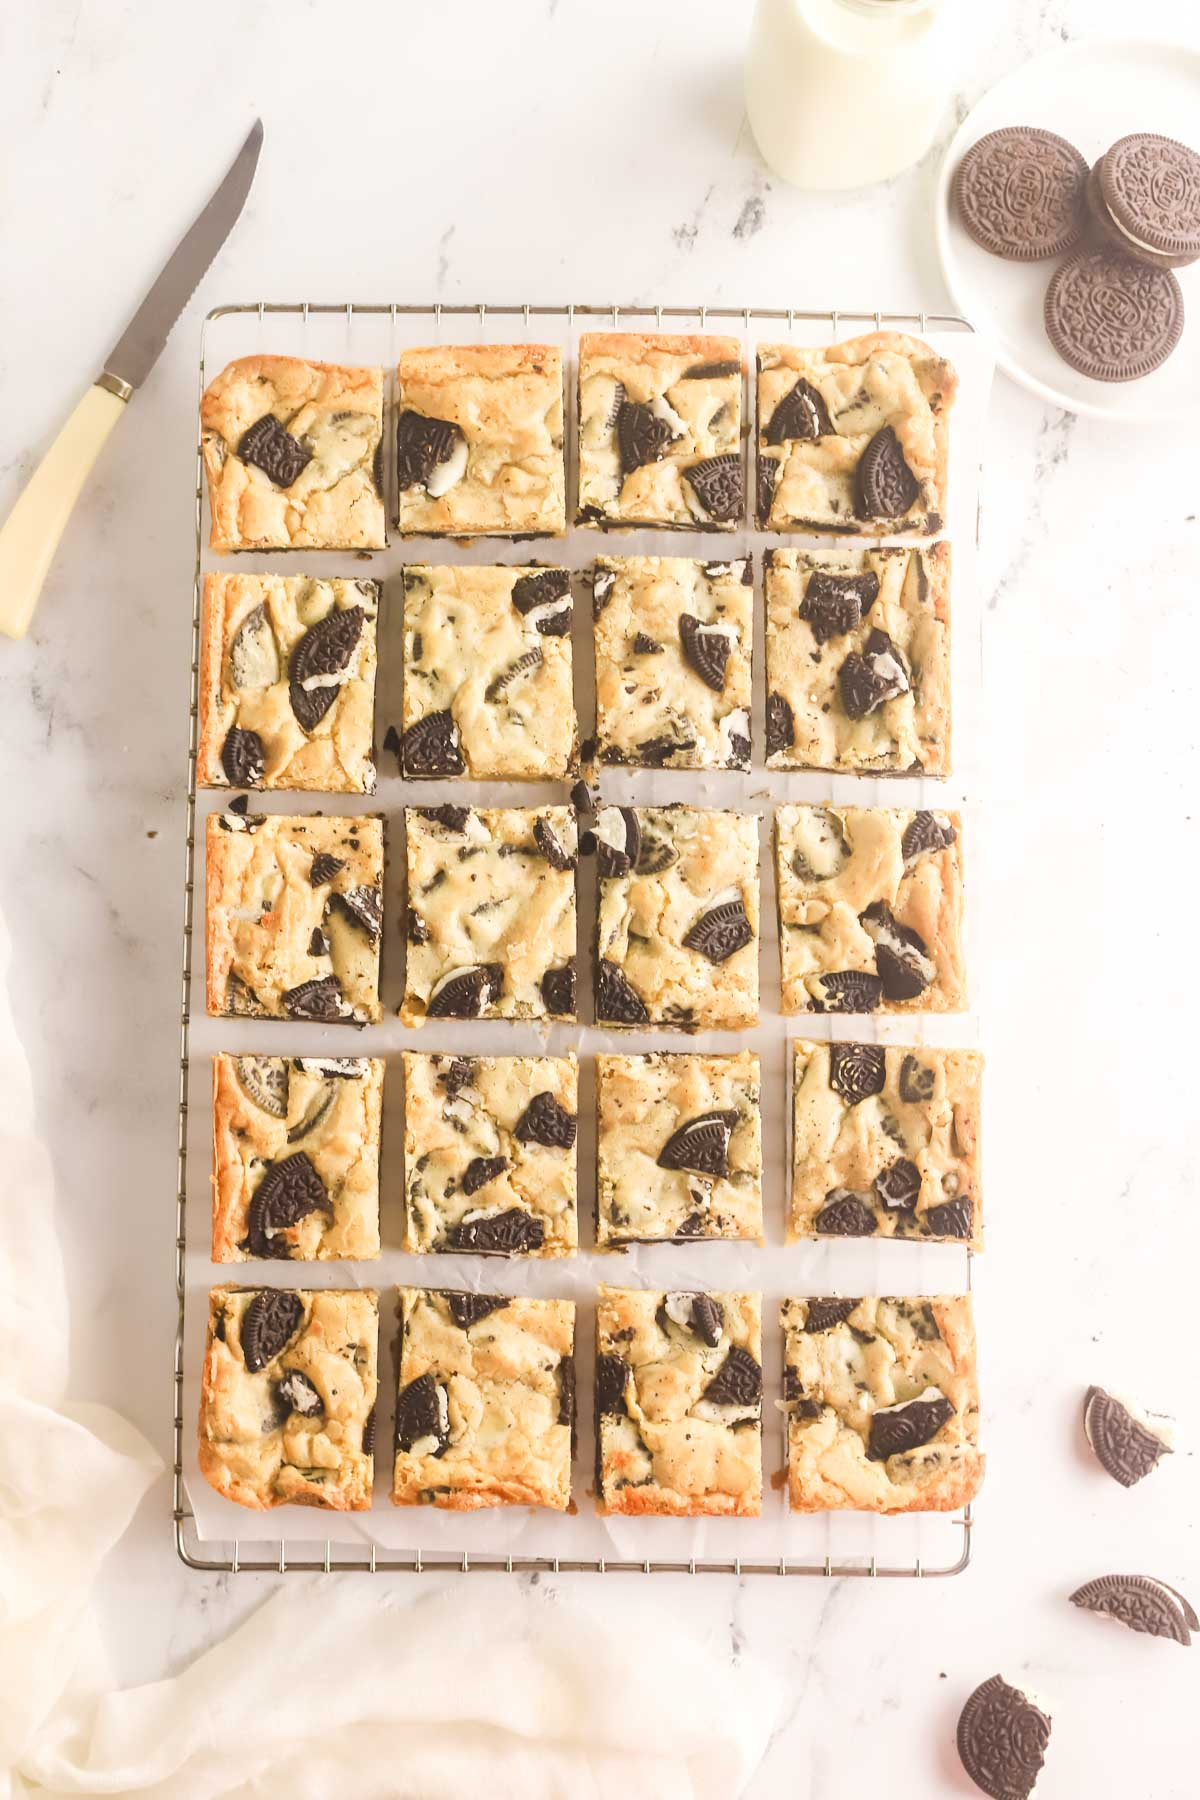
How To Cut These Oreo Blondies:
You could just bring the whole pan to your party and call it a day. No one would care once they taste one of these Oreo blondies. But if you want to cut them into attractive bars here a few tips:
- Line your pan with parchment paper (or tinfoil) and spray lightly with cooking spray. This will make it easier to simply lift out the entire pan of blondies at once and cut into bars.
- Allow the Oreo blondies to cool completely. Cutting these Oreo blondies warm can be very difficult. Let them sit on the counter until they come to room temperature to allow the blondies to set up and not be an ooey gooey mess.
- Use a plastic knife or warm metal knife. I recommend using a plastic knife to get neat cuts, or you can also use a warm metal knife to cut down cleanly. Wipe the knife on in between cuts to get clean cuts.
Heather’s Baking Tips
- Be sure to measure your flour correctly. Over measuring can result in a cakey texture instead of the perfect chewiness that we are going for. You can get the full tutorial on how to measure your flour here.
- Make sure your ingredients are at room temperature, like your eggs. To bring your eggs to room temperature quickly place them in a bowl of warm water for 10 minutes.
- Do not overbake. They may appear not done at this time, but taking them out during that time, ensures you won’t overbake them!
- Allow blondies to cool completely before cutting. Do not try to cool when they are warm or they will be very difficult to cut. Once they have cooled and set up, use a plastic knife or a hot metal knife and wipe the knife in between cuts to cut them. Plastic won’t heat up and will cut them neatly.
Recipe FAQs
I love these Oreo blondies because not only are they simple to make but you can also make them ahead of time. In fact I recommend it, because they need time to set up before you cut into them. You can also store these on your counter, covered in an airtight container for up to 3 days.
You can also freeze these for up to 3 months. Just make sure to cool completely and store in an airtight container. Thaw overnight in the fridge, or at room temperature quickly.
I don’t recommend it. Storing them at room temperature if best. Refrigerating these Oreo blondies can end up making them dry.
This may be because you used too much flour. Be sure to spoon the flour into your cup and level it off and do not pack it down or you will end up with too much flour. Using a kitchen scale and weighing your flour is best. Or you may have overbaked them. They may still look not fully baked at 25 minutes, but they will continue to bake and set up as they cool.
I thought these were sweet enough of their own, but yes you could add in up to 1 cup of chocolate chips. Semi-sweet, milk chocolate chips would be great. I also think white chocolate chips would be wonderful!
More Recipes To Try
If you love Oreos as much as I do then check out these Oreo recipes!
Let’s Bake Together!
Subscribe to my newsletter to never miss a new recipe or baking challenge! And if you bake one of my recipes be sure to tag me on Instagram. You can also follow along with me on Facebook and You Tube.
Oreo Blondies
Equipment
Ingredients
- 1 1/2 cups (180 grams) all purpose flour *spooned and leveled
- 1 teaspoon baking powder
- 1/2 teaspoon salt
- 12 tablespoons (170 grams) unsalted butter melted slightly cooled
- 1 cup (213 grams) packed light brown sugar
- 1/2 cup (100 g) granulated sugar
- 2 large eggs room temperature
- 1 Tablespoon vanilla extract
- 24 Oreo cookies, crushed up
Instructions
- Prepare the pan and pre-heat. Adjust oven rack to middle position; heat oven to 350° F (177°C). Line a 13 by 9-inch baking pan with foil, or parchment paper and spray lightly with non-stick cooking spray. Set aside. I like to leave an overhang so they can be easily lifted out once baked and cooled.
- Combine the dry ingredients. Whisk flour, baking powder, and salt together in medium bowl; set aside.
- Combine the wet ingredients. In a second mixing bowl, together the melted butter, granulated sugar, and brown sugar until evenly combined. Whisk in the eggs, and vanilla until evenly combined.
- Combine the wet and dry ingredients. Add the dry ingredients to the wet ingredients and stir together with a wooden spoon or spatula. Be sure to not overmix. Stop whisking once the flour has just been incorporated.
- Fold in Oreos. Using a rubber spatula, fold in 20 crushed Oreo cookies. Spread batter into prepared pan. Crush up remaining 4 cookies on top of the batter.
- Bake and cool your bars. until top is shiny, cracked, and light golden brown, 22 to 25 minutes; do not overbake. The edges should be set, but the middle should be dry to touch but may still feel soft. The bars will continue to bake and set up as they cool. Cool on wire rack to room temperature. Remove bars from pan by lifting foil overhang and transfer to cutting board. Cut into 16 bars and serve.
Notes
- Storage: You can also store these on your counter, covered in an airtight container for up to 3 days. You can also store these on your counter, covered in an airtight container for up to 3 days. Storing them at room temperature if best. Refrigerating these Oreo blondies can end up making them dry.
- Freezing: You can also freeze these for up to 3 months. Just make sure to cool completely and store in an airtight container. Thaw overnight in the fridge, or at room temperature quickly.
- Chocolate Chips: I thought these were sweet enough of their own, but yes you could add in up to 1 cup of chocolate chips. Semi-sweet, milk chocolate chips would be great. I also think white chocolate chips would be great!
- Oreos:I used regular Oreo cookies for this recipe but I think double stuff or even the Oreo thins would work. You could also experiment with using a different flavor of Oreo cookies in this recipe for a new fun twist!




Molly says
These tasted amazing! I baked for 25 minutes and when I took them out they were still very raw in the center… is it possible to make this recipe into cookies? Feel like there’s less room for error if I do cookies instead but not sure if I can use the same recipe for that. Hoping I can because they were so delicious! Making these for a work baking competition so I need to be on my A game!
Heather says
Hi Molly, yes they will be soft after baking I prefer to let them firm up in the fridge for them to get to the best texture. I haven’t tried as cookies so can’t say for sure. I would recommend chilling the dough first if you try as it’s quite soft. Let me know if you try!
Dana says
These are so so good! My husband and kiddo are all about Oreo EVERYTHING so these were gone in two days. Haha.
Heather says
so glad everyone loved them! Yes they don’t last long 🙂
Biana says
These blodies look delicious! They will go great with a cup of coffee or tea.
Emily says
These were so easy to make! I served them at an open house and they disappeared in a flash! So good!
Heather says
so happy everyone enjoyed them!
Jamie says
My family loved these oreo blondies! They taste great and satisfied my sweet tooth!
Heather says
yay so glad to hear!
Andrea says
We are fans of blondies and this version with Oreos sounds incredible!
Kris says
These were so fun and tasty – my kids loved them!
Heather says
so glad the kiddos loved them as much as we did!