This Post May Contain Affiliate Links. Please Read Our Disclosure Policy.
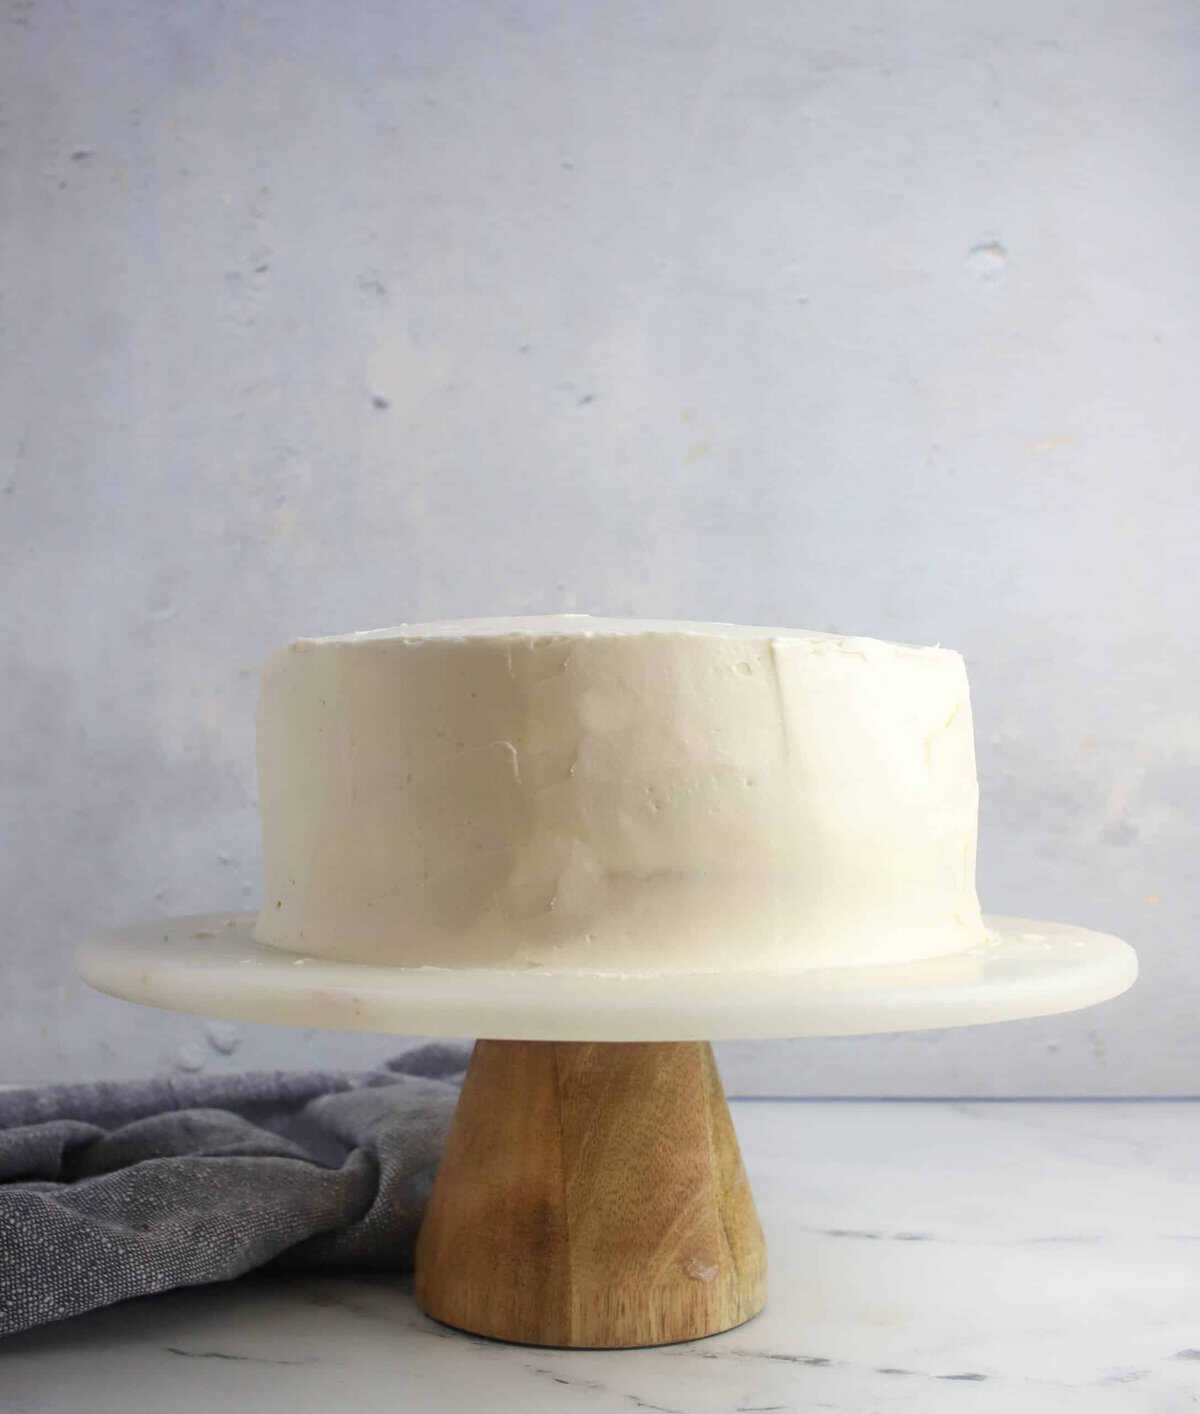
This is a step by step baking 101 tutorial on how to frost a layer cake. I will show you the right tools and steps to take to have a beautifully frosted layer cake to present to family and friends.
Let me start this post off by saying that frosting layer cakes to a professional level takes practice. And lots of patience! So if your first cake doesn’t look like it should go in a bakery window yet, don’t fret. You will get better!
I am not a trained pastry chef (don’t I wish!) and it has take me a many, many cakes to be able to frost a layer cake now without getting frustrated. I took as many classes as I could in person and then I just kept practicing!
Don’t worry all those cakes did not go to waste! But I’m hoping that if you are a beginner to cake decorating then this post will prove quite useful to you.
Cake Decorating Tools
First let’s start with the right tools! You’re only as good as your tools. Here are the tools I recommend for frosting a layer cake:
- Revolving Cake Stand – You can do it without this but it will make it MUCH easier. And if you’re getting serious about cake decorating it’s a good investment.
- Large Angled Spatula – I use this to frost on the final layer of frosting. I like that it’s large and I turn it sideways as I frost the sides.
- Pastry Scraper – I love this tool to help smooth out the sides of frosting and scrape off excess buttercream.
- Serrated Knife – To help level the cake if it needs it. But we’ll talk more about levelling your cake later!
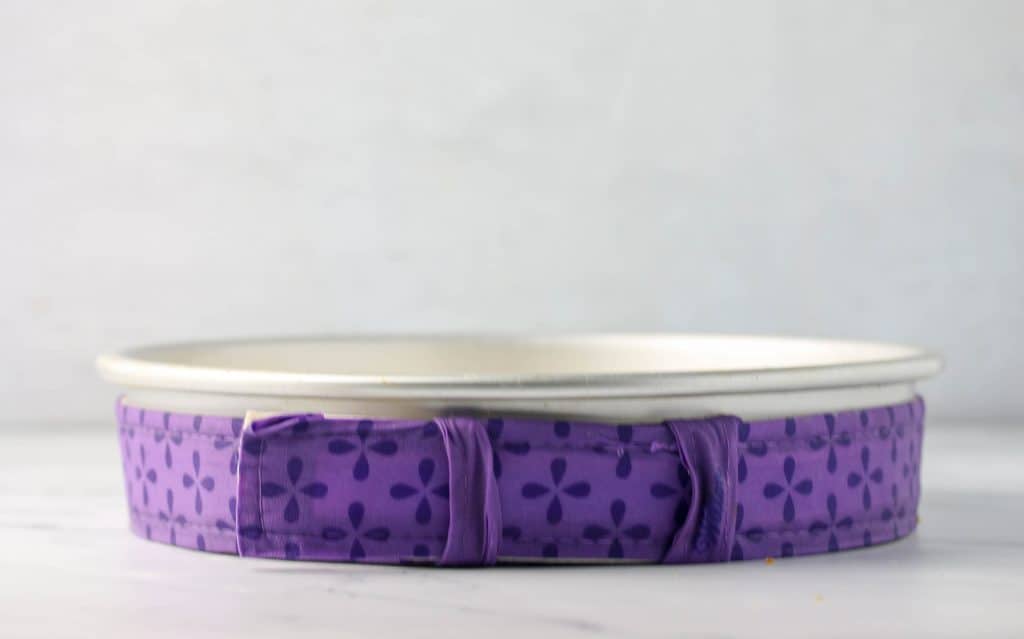
- Wilton Cake Strips– I use these to wrap around my cake pans so I get flat cake layers every time.
- Cake boards – I don’t always use this but if you’re transferring the cake or delivering it to someone then you want a cake cardboard round under your first layer that fits your cake.
- Piping Bags – I love using large disposable piping bags when frosting my cakes. The reusable piping bags I find I can never get clean after, so I get the large 18-inch ones so I don’t have to refill them as often.
- Round Piping Tip – I’ve started using to get an even layer of frosting on as opposed to just plopping on a random amount on to my layers.
- Cake Icing Tip – I also own and use this tip as well but it’s quite large and hard to find a bag that fits it. I have a very large reusable bag just for this tip! You can use this to do a final layer of buttercream instead of an angled spatula.
- Small Spatula – I use this to fill in any gaps and holes after applying a final layer of buttercream.
- Large Cake Transfer – If you don’t own cake boards and want to move your final cake from your revolving cake stand to a prettier stand to present it or to a container to store it in then this basically giant spatula to move it is amazing. I’ve used it so many times!
Start With Flat Cake Layers
Before we get to frosting our cake you want to make sure to start with FLAT cake layers. Domed cake layers don’t look as professional and you will never get that beautiful flat cake look.
I like to use Wilton cake strips around my cake pans to help achieve completely flat layers. You can check out my full post on How To Bake Flat Cake Layers.
If you don’t own these strips and want to get flat layers, you can also use a serrated knife and trim the tops of the layers off. I start by just using a sawing motion back and forth with the knife in a bout an inch and rotating the cake as I go and keep increasing the knife inwards little by little.
If you are torting the layers (aka cutting them in half) then do this now before you start frosting. Another helpful tool to get this done, is this cake slicer.
Use A Good Frosting
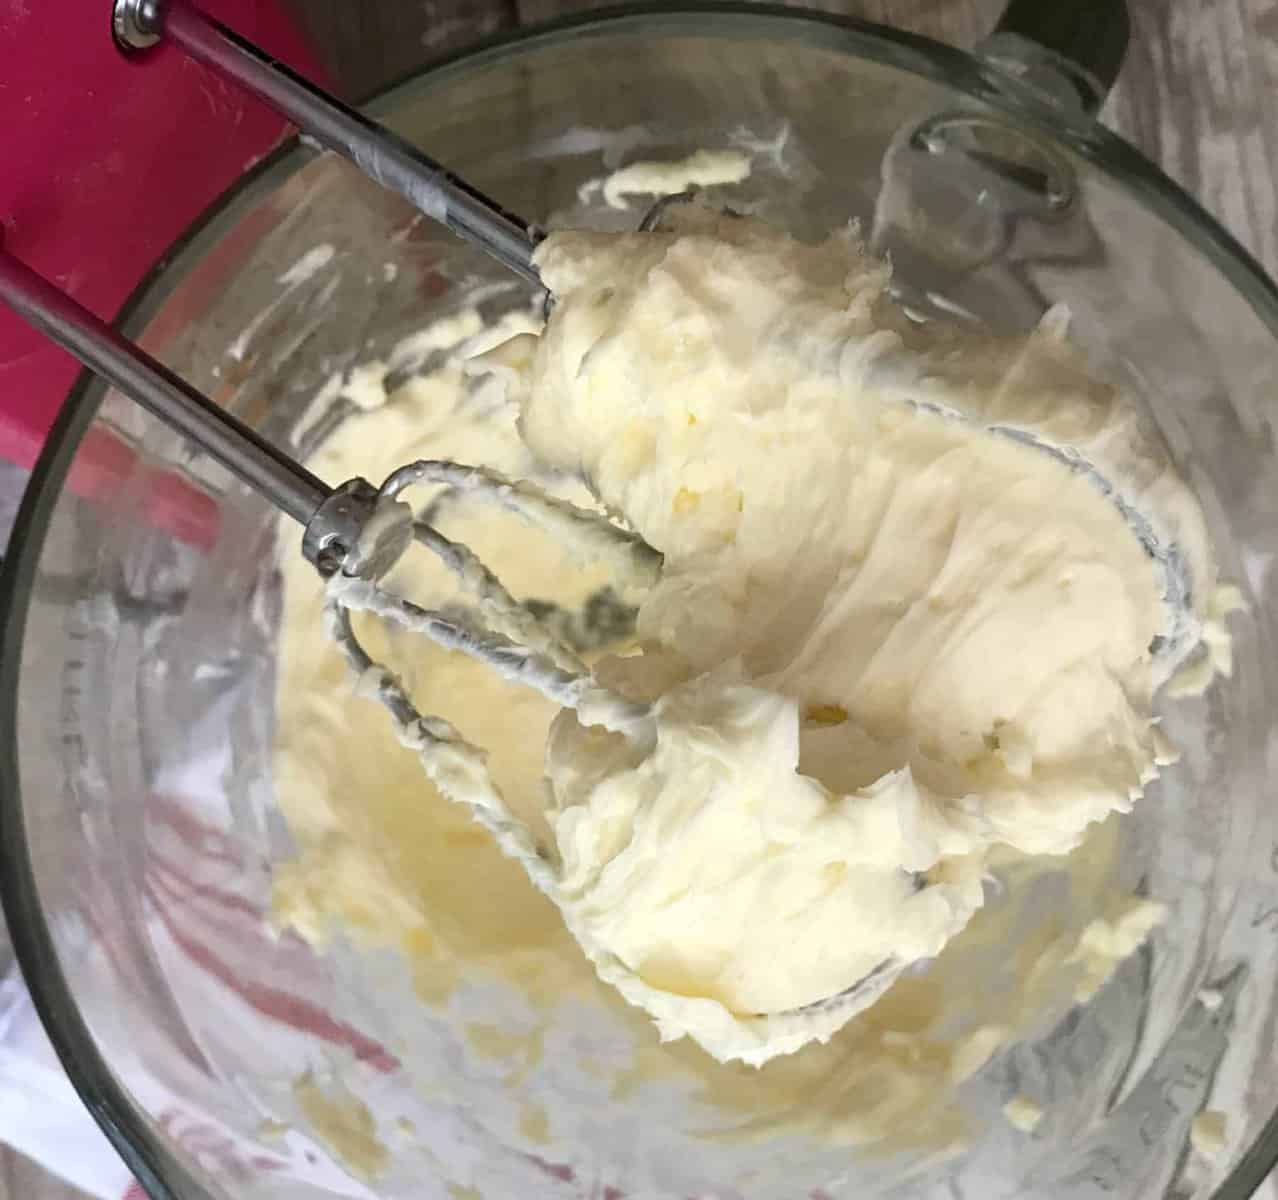
I always recommend using a good whipped, stiff buttercream frosting. I love using my vanilla buttercream frosting. If your frosting is too soft for the cake try chilling it for a little bit in the fridge. But you don’t want it too cold, because it needs to spread easily. If it’s too cold it will tear up your cake and leave a crumbly mess!
I find that I like 3 batches of my buttercream so I know I have enough to fill between the layers, frost the final coat, and enough to pipe on some pretty border. If you don’t use it all, you can store your leftover buttercream.
If your buttercream when applying has too many air bubbles put it back in the bowl and just stir it around some to knock some of the extra bubbles out of it.
Here are some more great buttercream recipes to try:
- Chocolate Italian Buttercream
- Cream Cheese Frosting Recipe
- Mint Buttercream
- Coconut buttercream
- Peanut Butter Buttercream
- Cake Batter Buttercream
- Brown Sugar Cinnamon
- Mixed Berry Buttercream
- Strawberry Buttercream Frosting
- Brown Sugar Buttercream
- EASY Chocolate Buttercream Frosting
- EASY Caramel Buttercream Frosting
- Swiss Meringue Buttercream
- Italian Meringue Buttercream
Stacking The Layers And Filling
1. Put A Little Frosting On To Your Cake Board
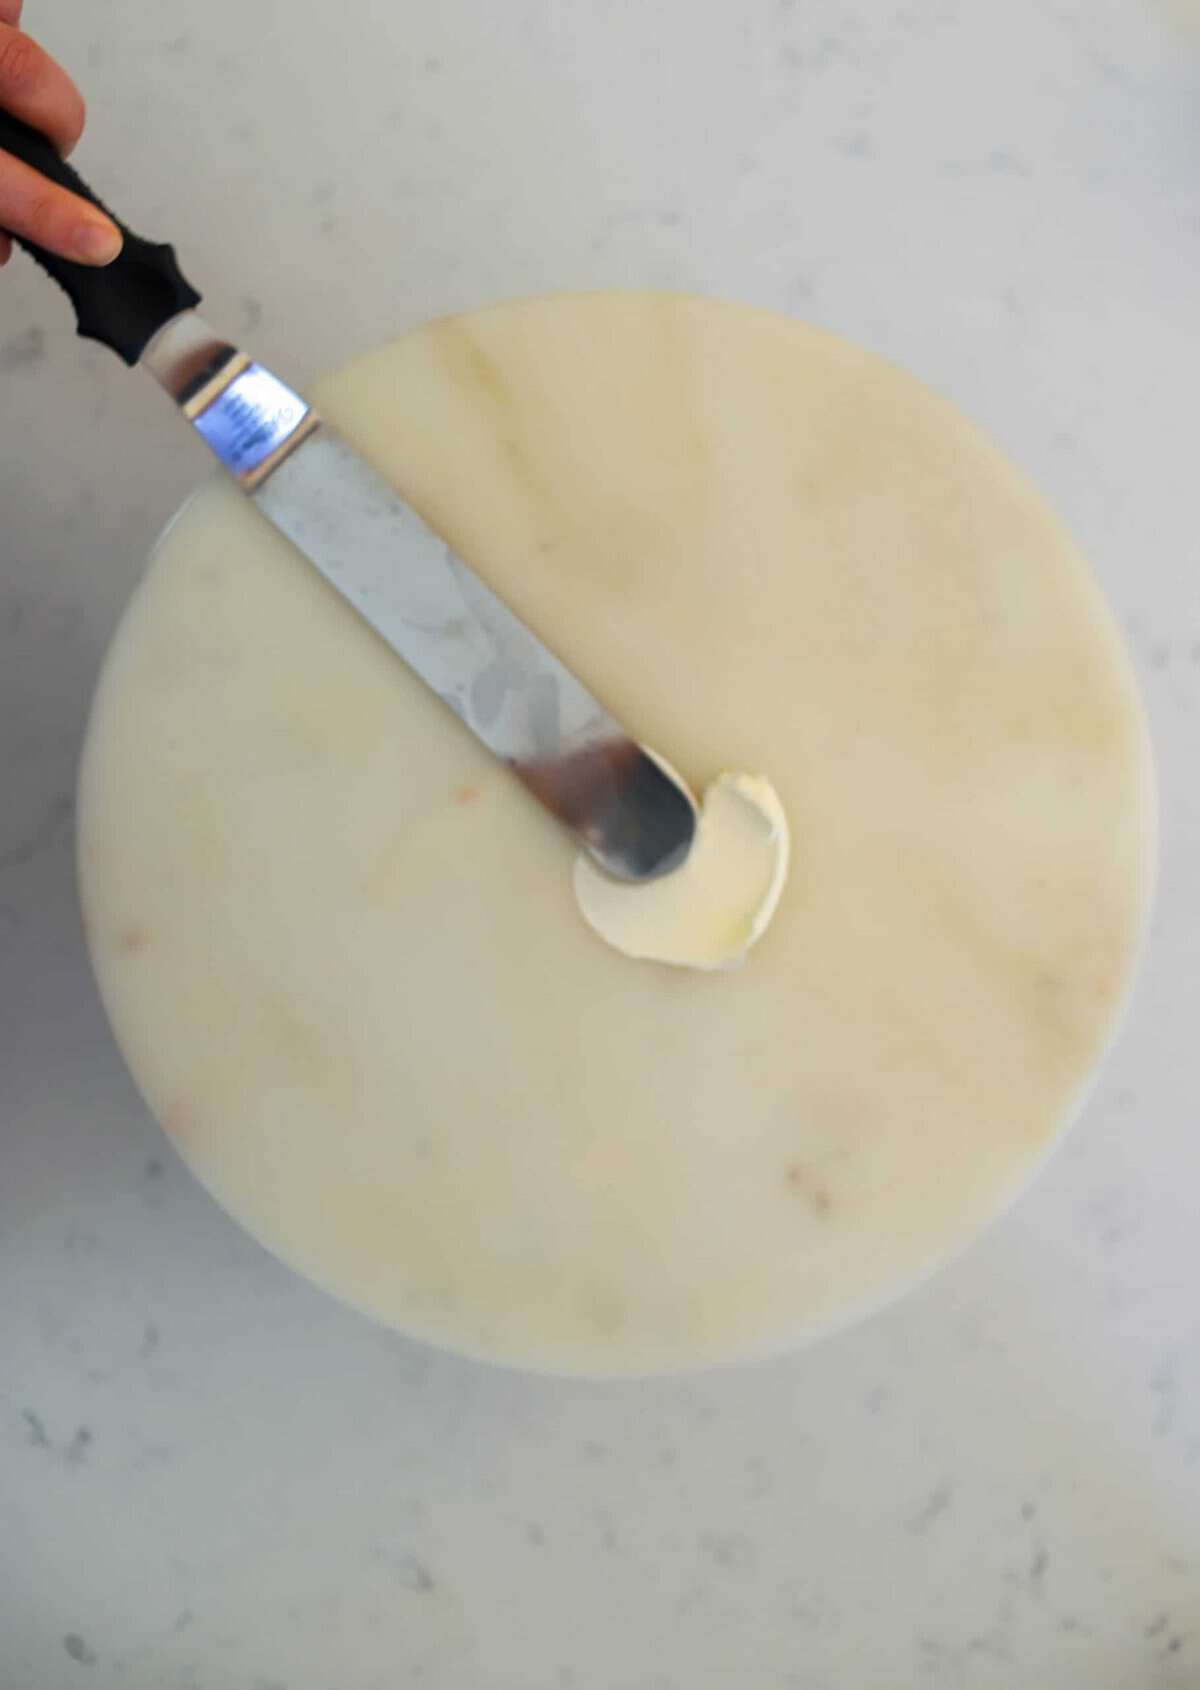
I like to use a little frosting as “glue” to hold the cake to the cake board. I dollop a small amount in the middle of the cake board and place my cake layer on top. You don’t need much!
Pro Tip: If you trimmed your cake layers, I place the trimmed side down to cover up the crumb side and keep the smooth side up.
If you’re not using a revolving cake stand, you can do this directly onto your cake serving plate. But this dollop of frosting will help the bottom layer from sliding around.
2. Fill First Layer
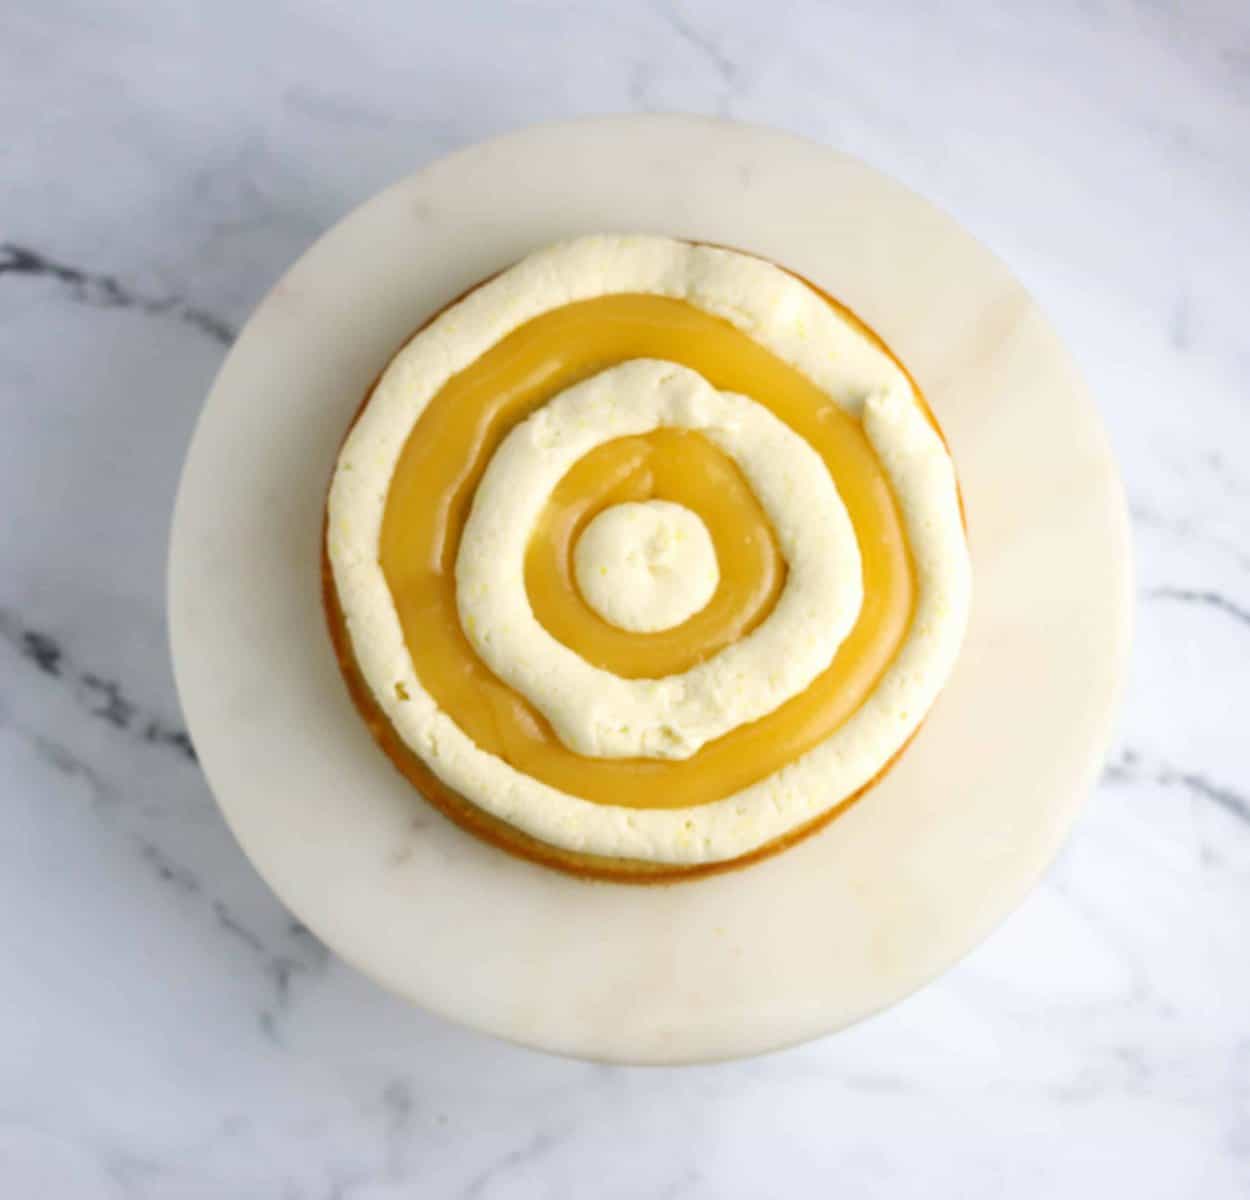
Addng A Soft Filling – Make A Dam!
If you are filling your layers with something other than frosting (like the lemon curd shown below) I like to make a “dam” going around the outside to create a wall that will help keep the filling in and so it doesn’t seep out the sides.
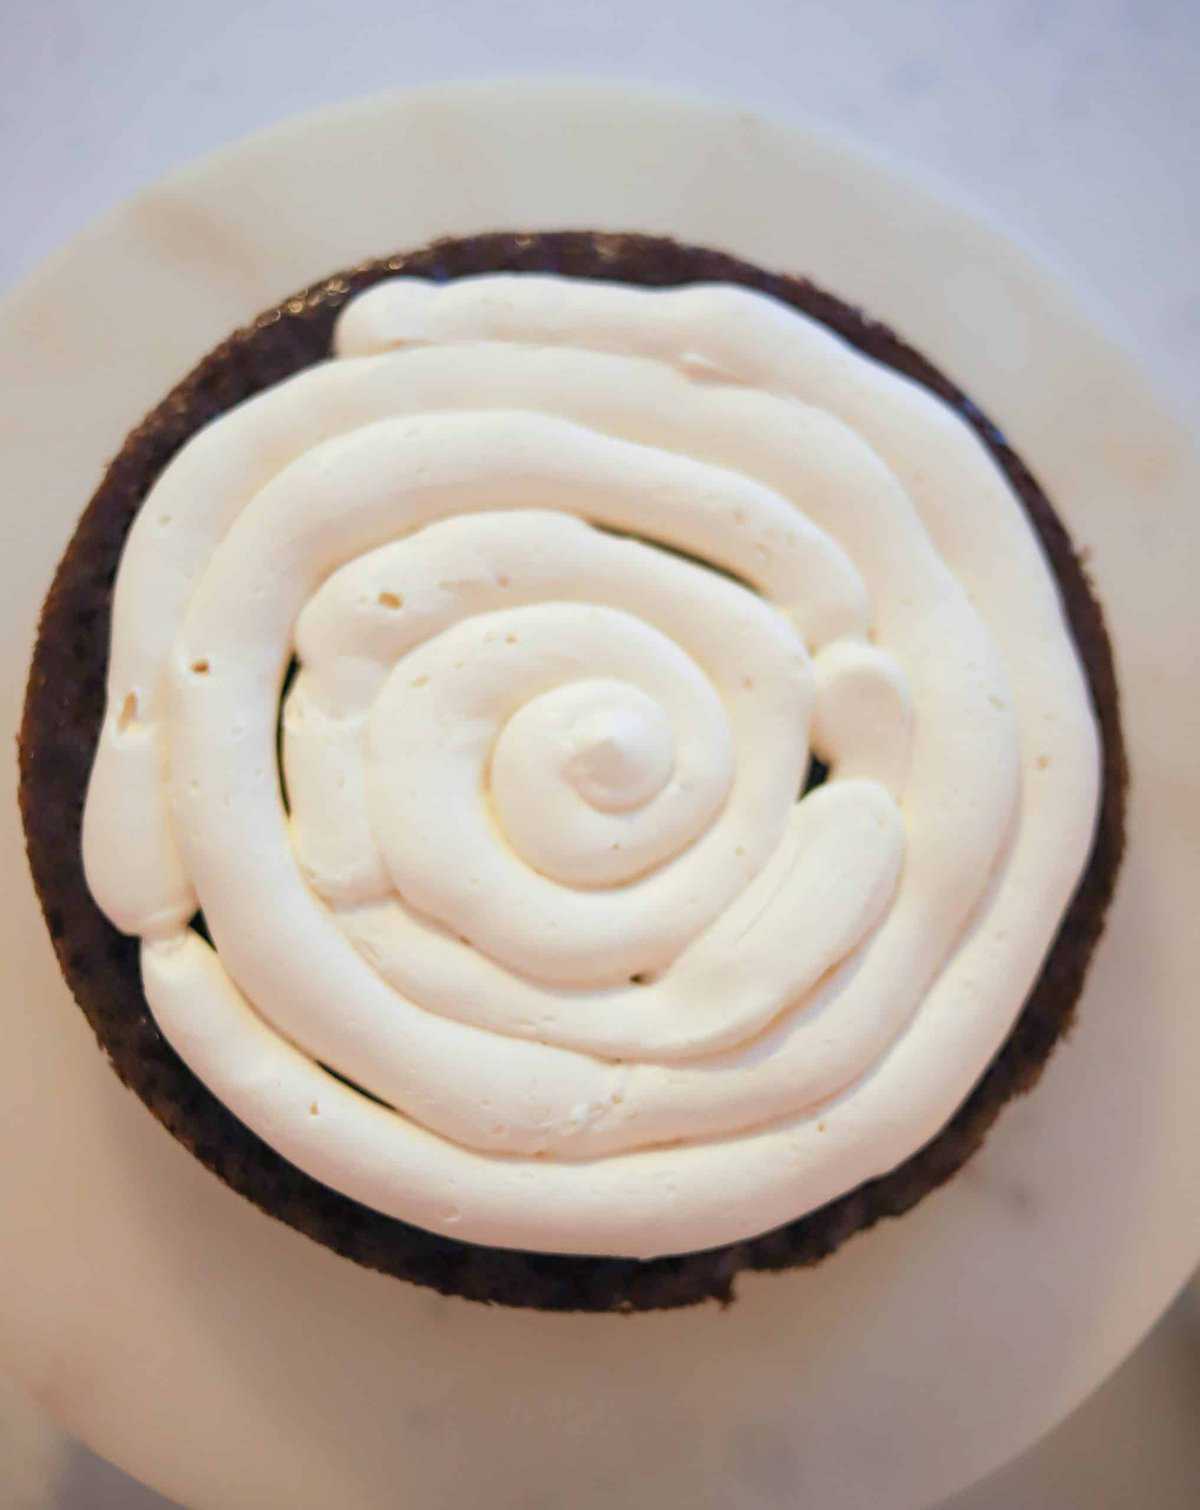
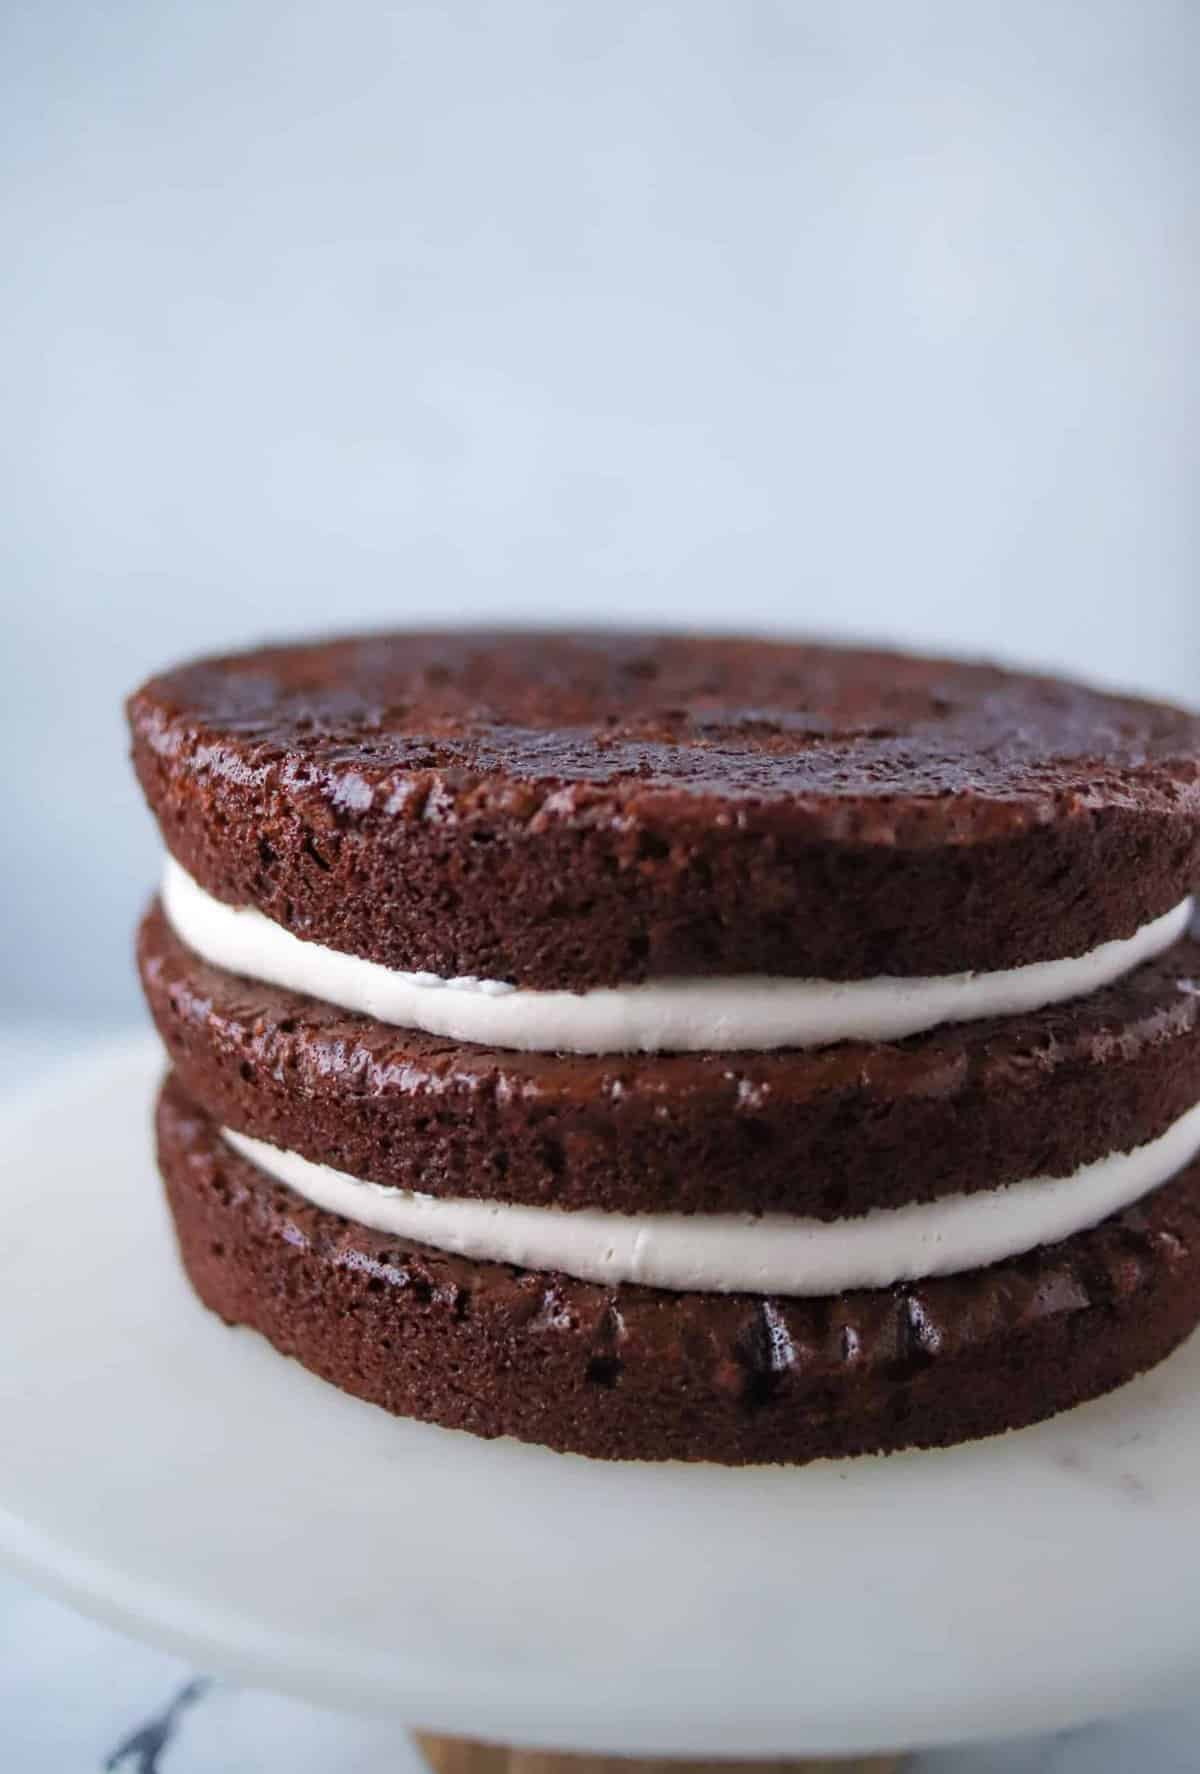
You also want to make sure to put the same amount of frosting in between your layers if you’re doing a multi-layered cake. You can measure it out or I like to pipe it on with a piping bag and tip. I aim for frosting/filling that is about half the thickness of my layers.
Make sure to use enough frosting so when you go to spread it out it doesn’t tear up the cake underneath.
Pro Tip: Pipe frosting about 1/4″ inch from the edge so when the top layer goes on the frosting has some room to move to the edge.
3. Repeat With Remaining Layers
Once you’ve adding filling/frosting to the first layer place your next layer on top. Remember to place the next layer upside down. Press down on the cake in the center, so it’s flat on top and this will push the buttercream to the edge.
Add more filling/frosting if this is a middle layer.
Crumb Coat!
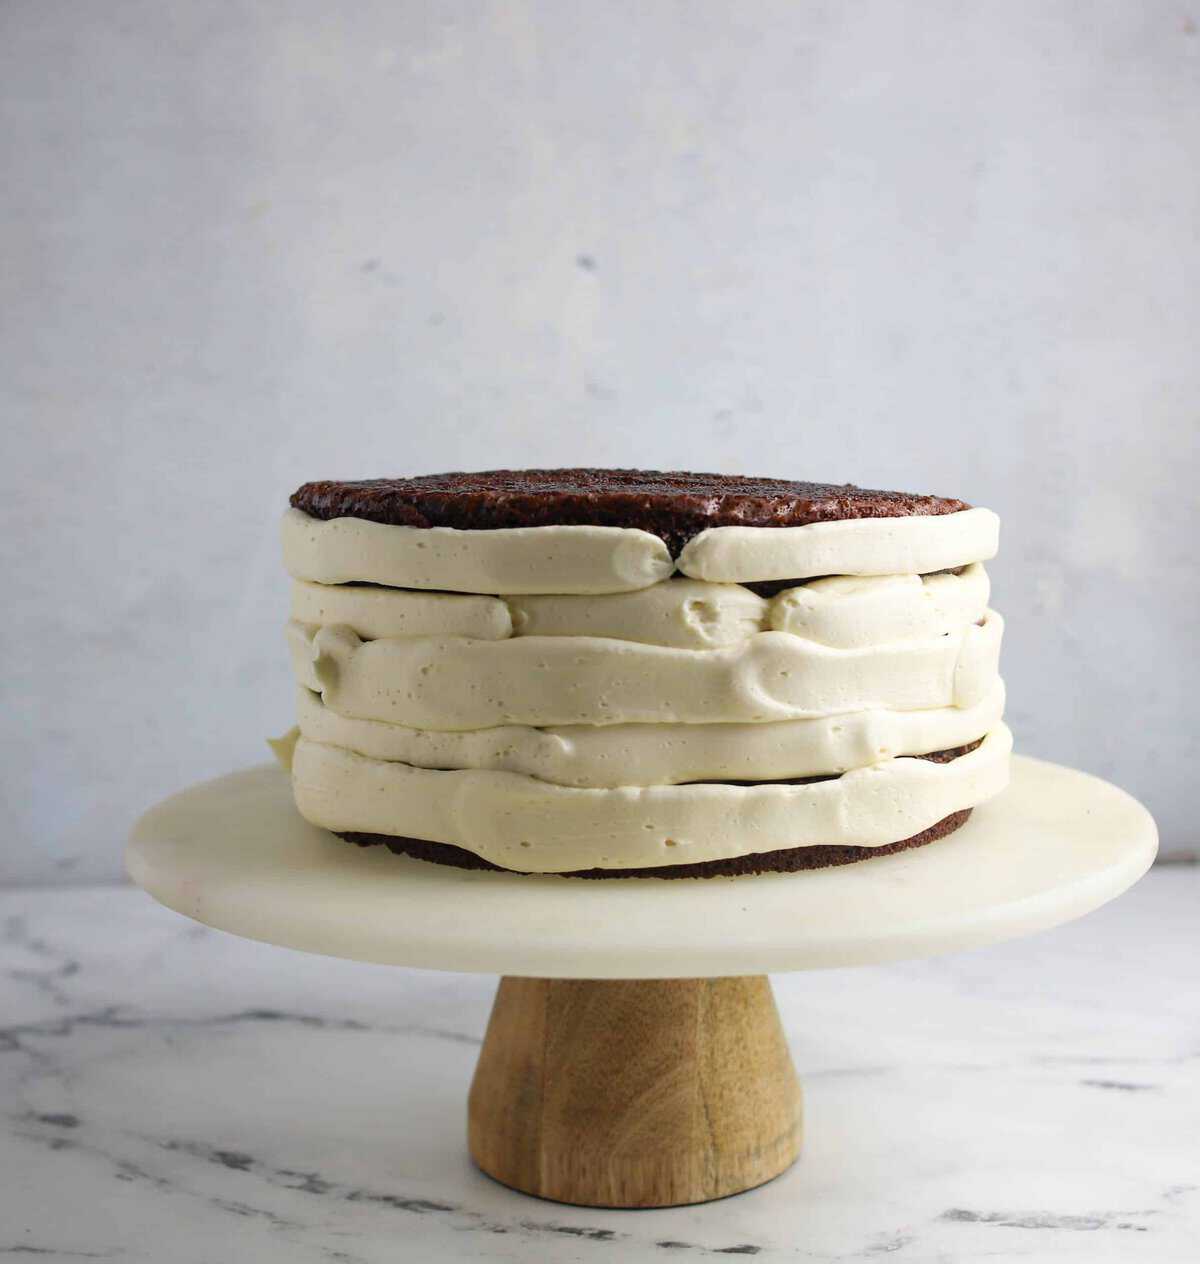
Ok first of all let’s talk about what a crumb coat is. I frost the cake in a very thin layer of frosting. This is called the “crumb coat”. Then refrigerate the cake for 30 minutes to help seal in the crumbs. I’ve also done this step the night before. After the 30 minutes is up, I then carefully cover the cake in plastic wrap and keep refrigerated until I finish fully frosting it the next day.
By frosting in a thin layer of frosting and then refrigerating it helps to “seal in the crumbs” so your final layer of frosting has no crumbs in it and looks very neat.
1. Pipe Or Use An Angled Spatula and Frost Cake Top And Sides
You can add the crumb coat on with a piping bag and tip, or with a spatula. I like to use the piping bag and tip again to get the same amount of frosting going around the whole cake. I use a large round tip (or you can use the large cake icer tip).
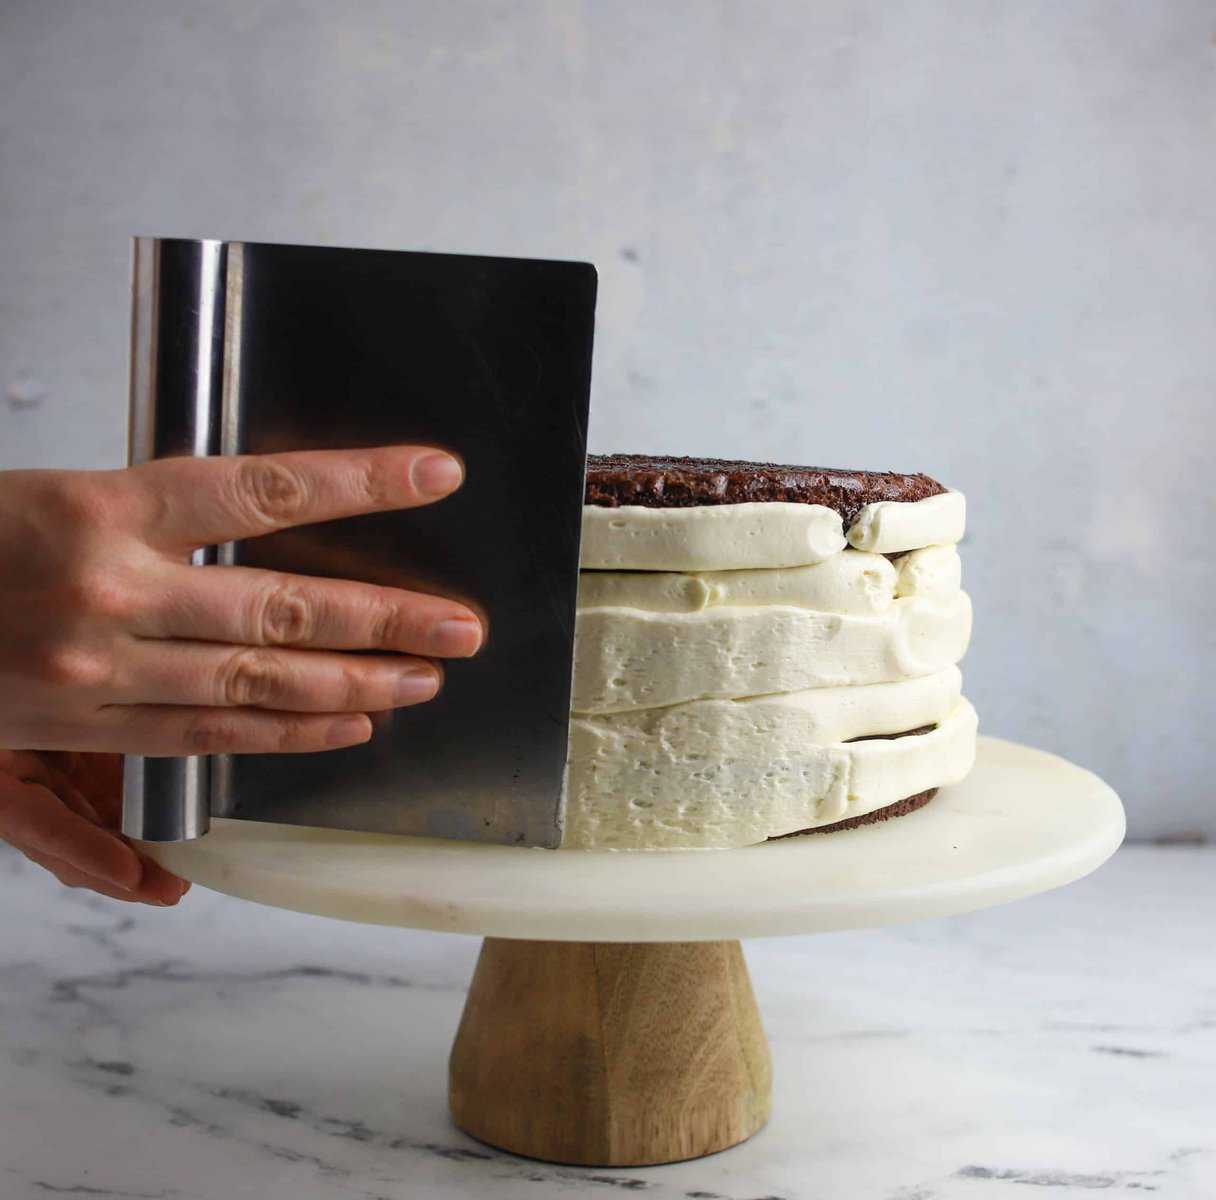
2. Scrape off the excess frosting
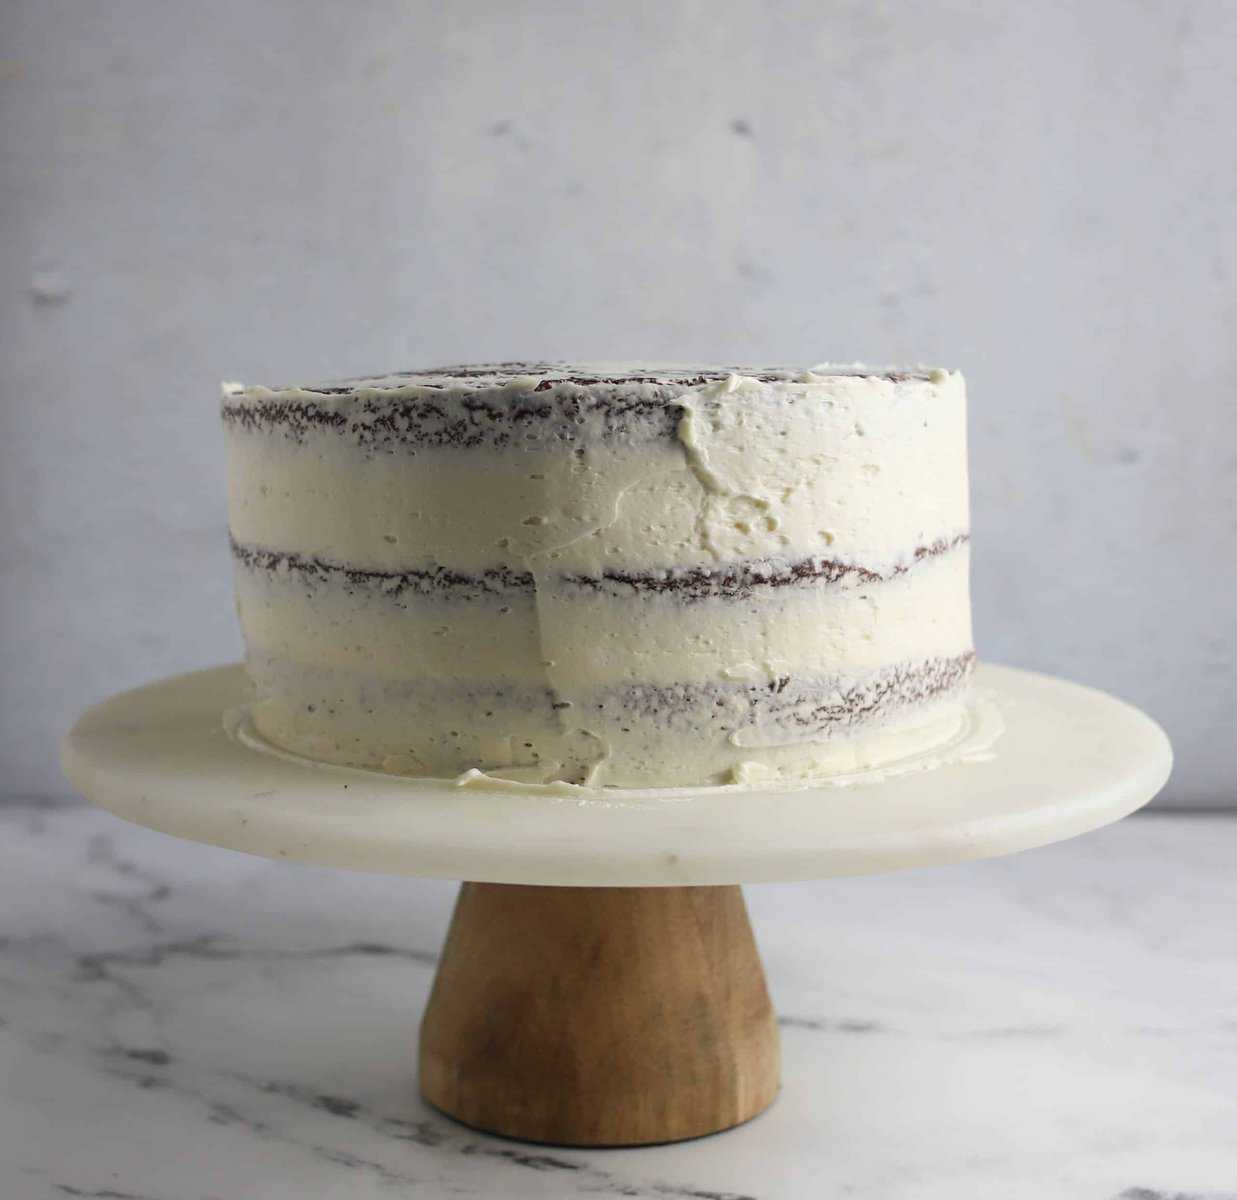
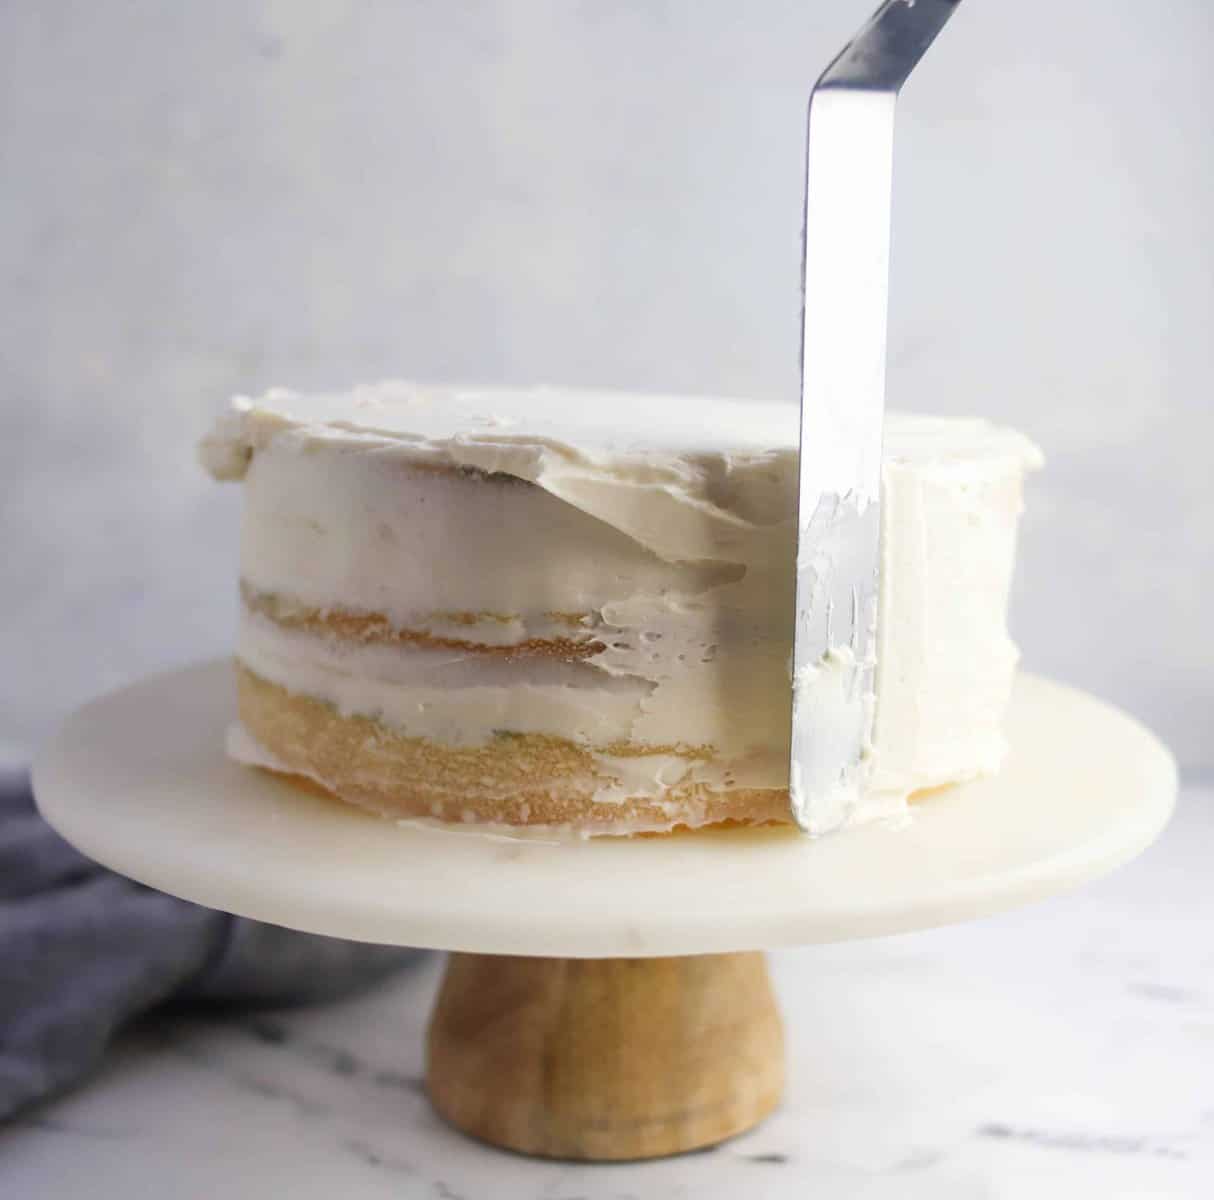
I use my pastry scraper (or you can use an offset spatula) and scrape off the frosting leaving behind a “naked cake”. If there’s no crumbs in the frosting I’ll save it. But if there’s crumbs then I’ll discard it (aka save it to eat with my cake scraps from levelling my cakes. I mean why let it go to waste? 🤣)
3. Refrigerate The Cake
Once the cake is covered in a thin layer of frosting, refrigerate for at least 30 minutes. I usually aim for 30 minutes (and sometimes do this step overnight – just cover in plastic wrap with it lightly touching the frosting – it’s fine if it’s being refrigerated).
So at this point, it’s a naked cake and you could call it done! But let’s say we want to keep going…
You can also crumb coat with a spatula of course! Again just focus on using a thin layer of frosting. Start by dolloping some on top of the cake, and push the frosting back and forth with your spatula.
After I have spread the frosting on then I scrape off the excess by holding the spatula at a 45-degree angle. I repeat the process with the sides as well.
Final Layer Of Buttercream
Once the cake has been crumb coated it’s time to do the final layer of buttercream! This step can take some time, depending on your level of perfectionism. But now that’s it crumb coated it should go much smoother (yes pun intended).
1. Apply Layer Of Buttercream On Top
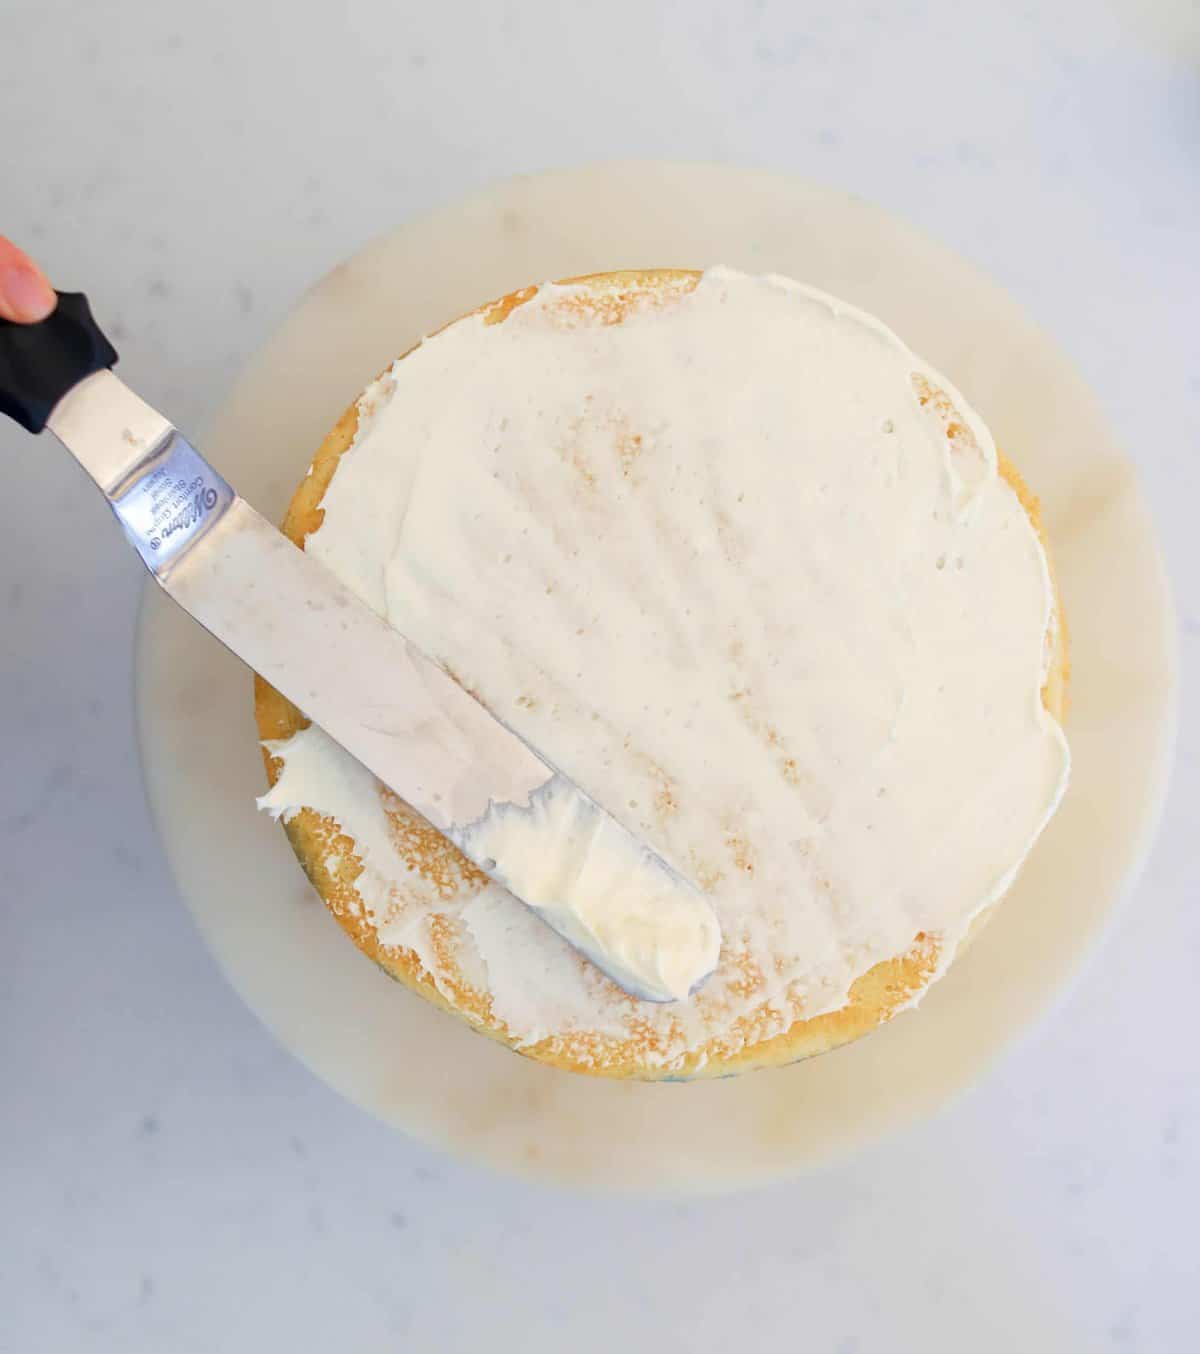
I start by applying a good dollop of buttercream with an angled spatula in the center of my cake. Make sure to use a good amount of frosting at first so it’s easily spread out over the cake. Start by moving your spatula back and forth to push the frosting to the edges of the cake. The frosting that gets to the edge, I then turn my spatula upright and push that frosting onto the sides of the cake.
2. Frost The Sides
Once I have frosting on the top I start applying frosting to the sides with my angled spatula. Again make sure to use a good amount of frosting as you do this. I turn my cake stand and continue to add frosting to the sides in an even layer and enough to cover up the crumb coat. I move my spatula in a back and forth motion to again spread the frosting out.
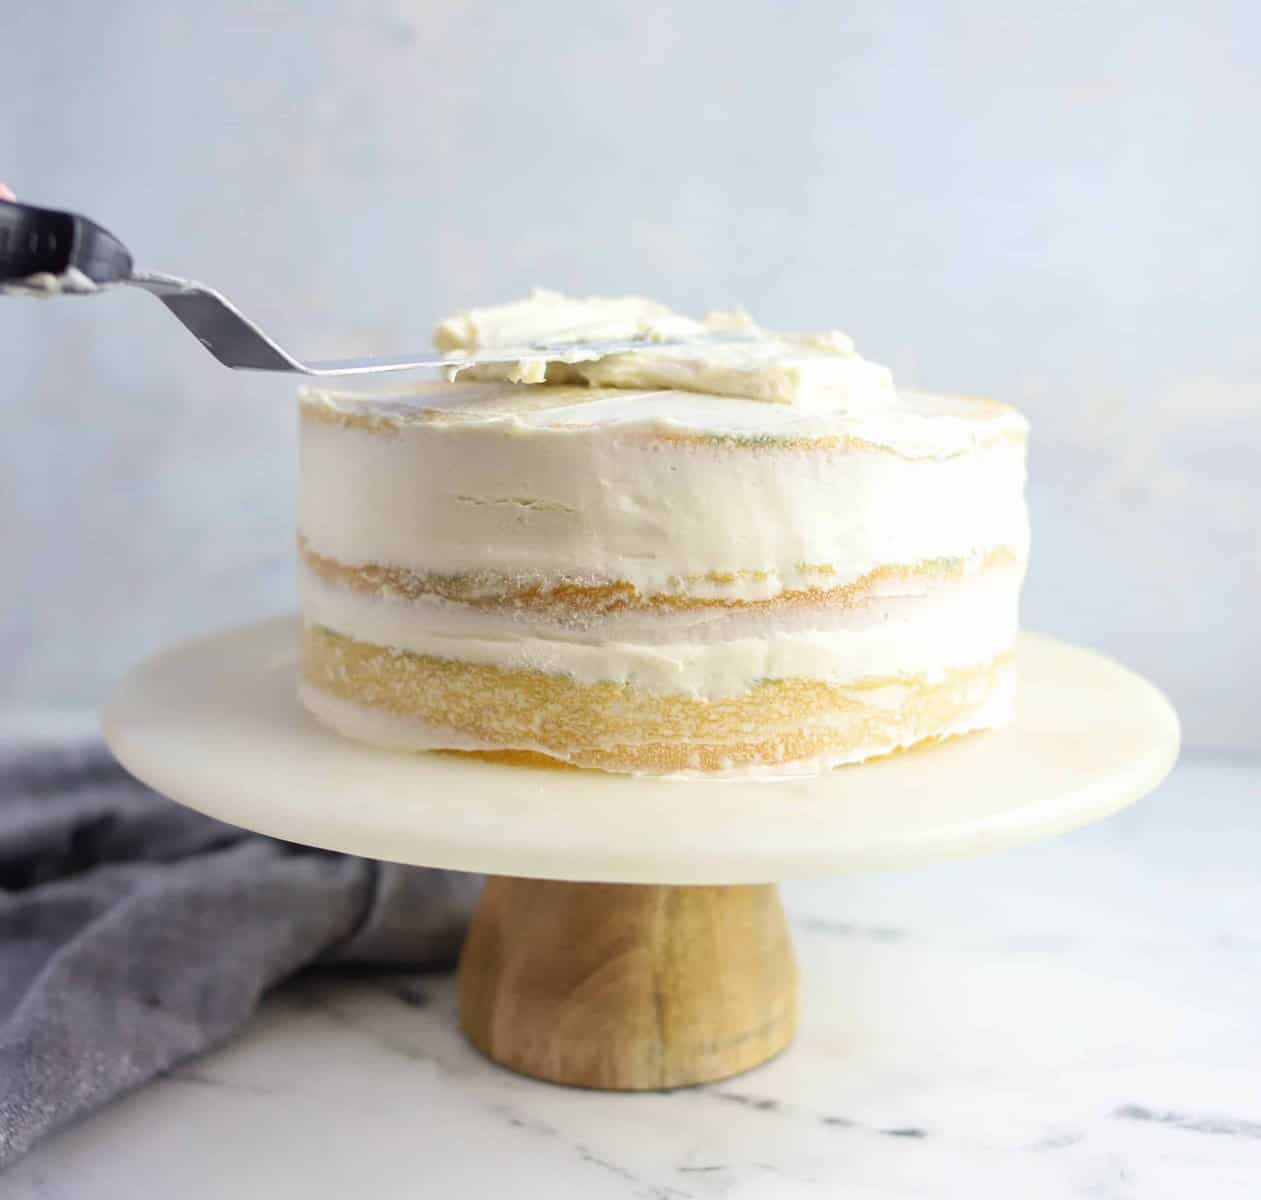
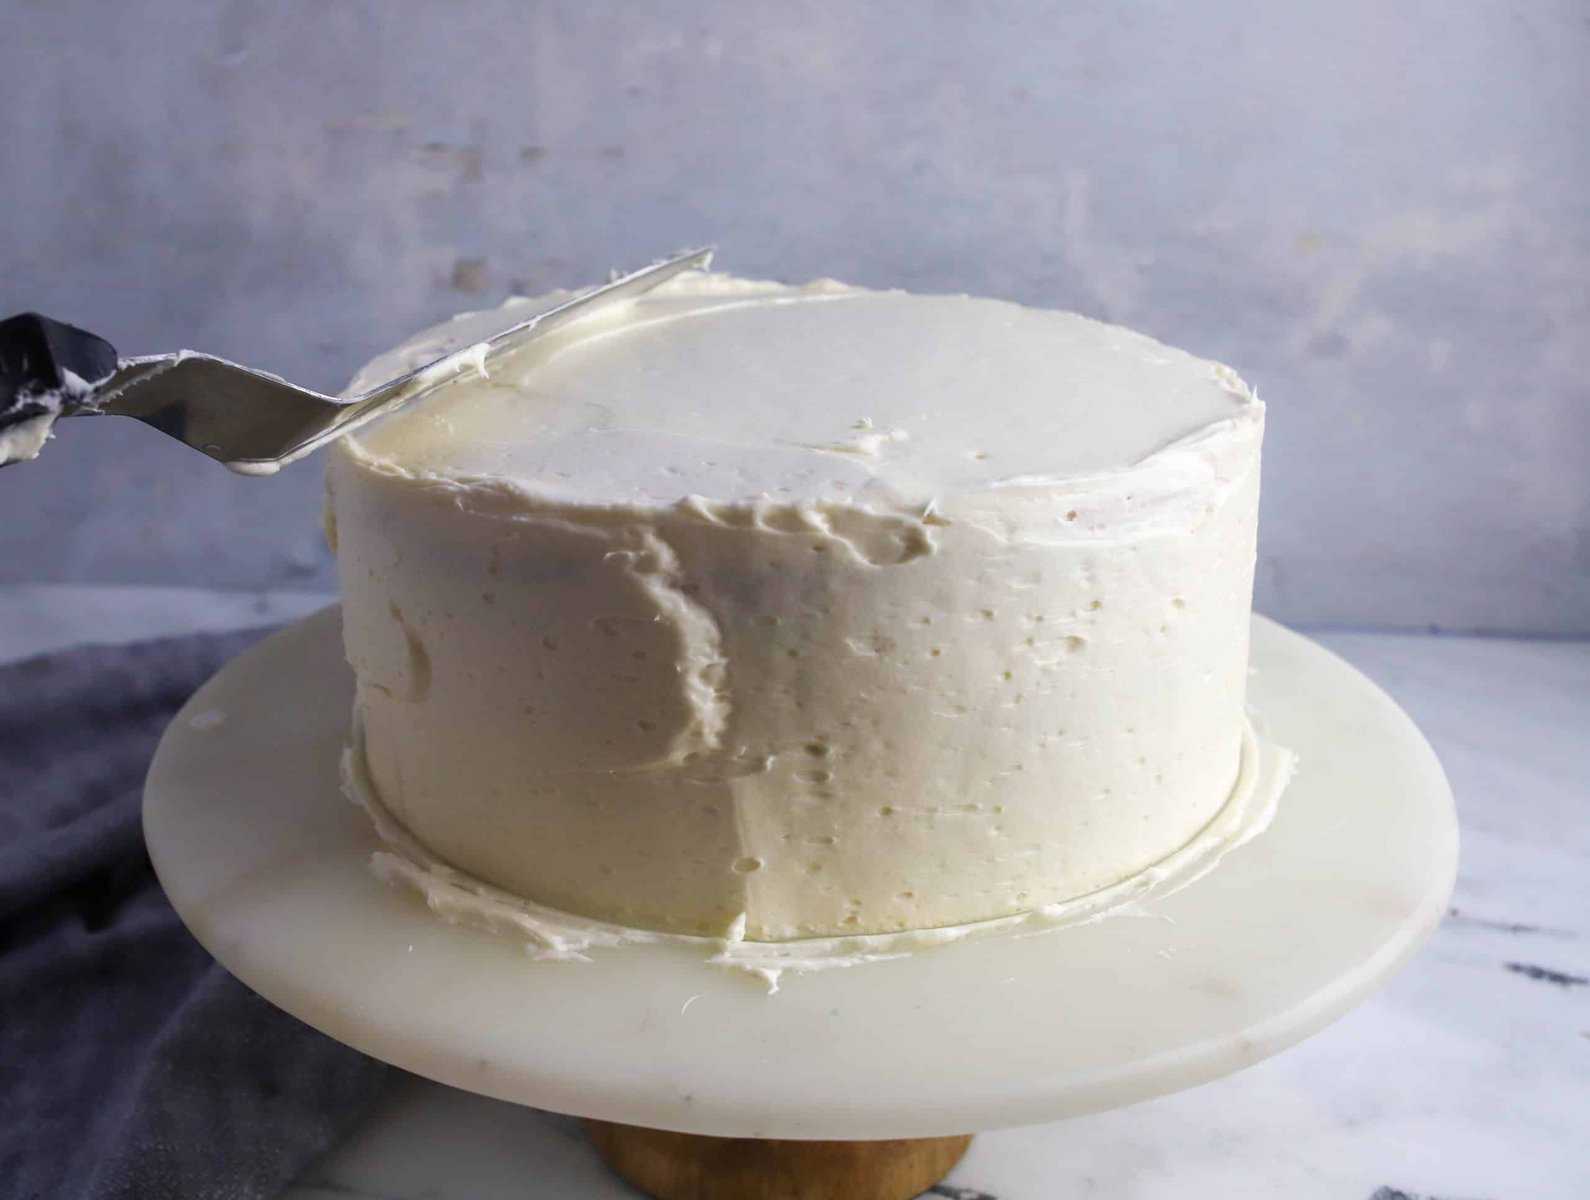
When I frost the sides I usually get a lip of frosting that goes higher than the cake on the edges. I simply take my spatula and run it over the cake horizontally across the top of the cake to get rid of the lip.
3. Smooth The Sides
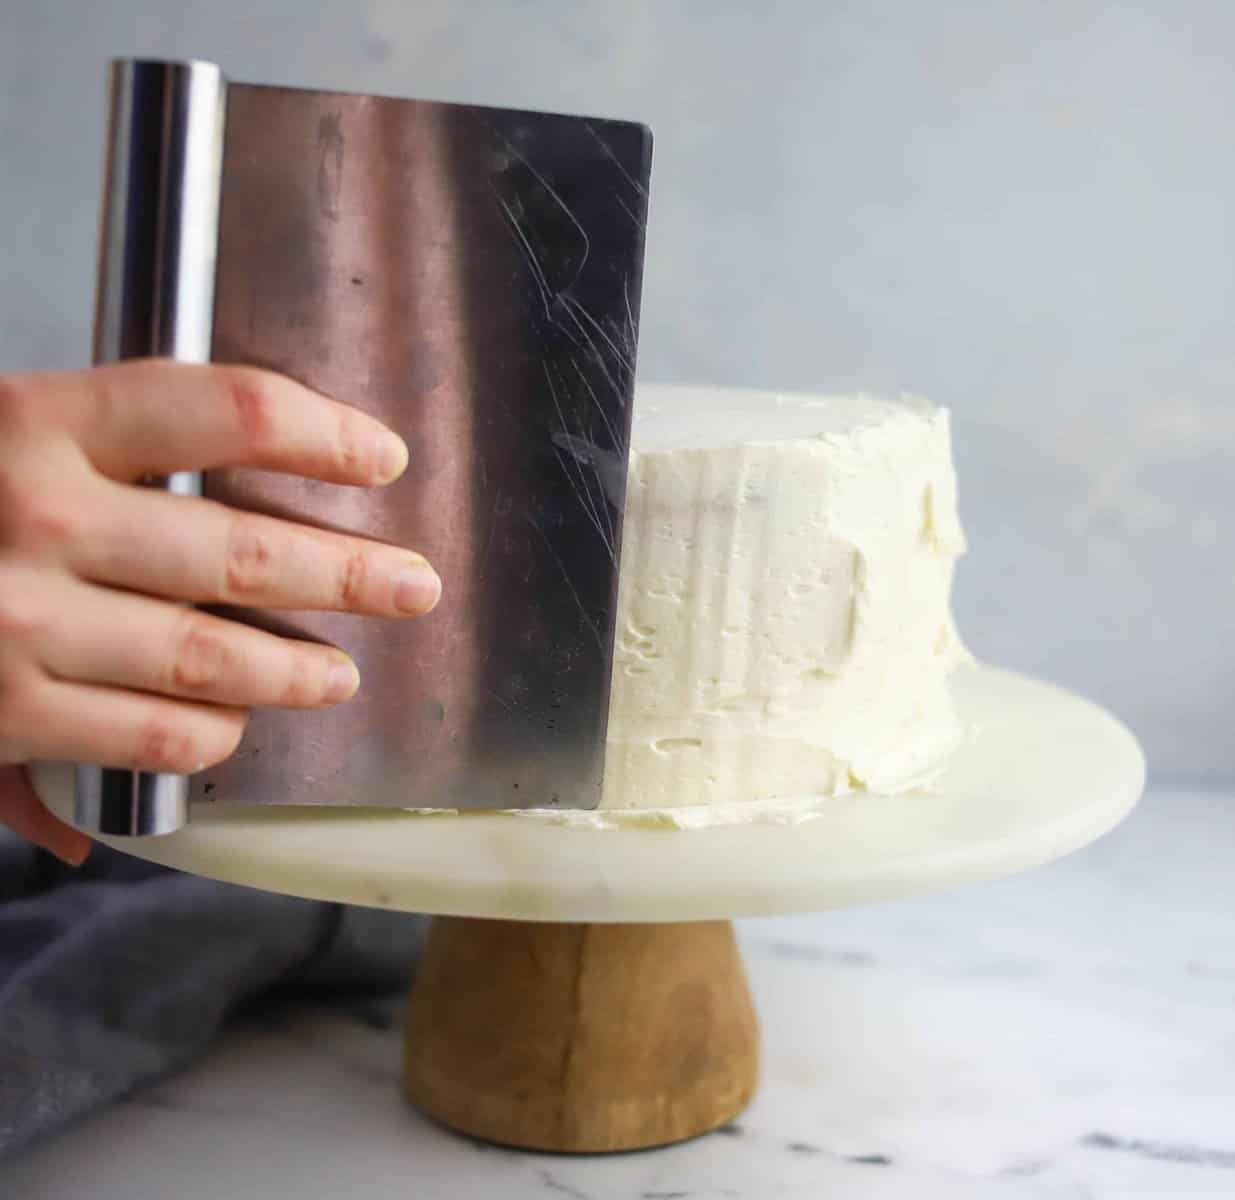
After the cake is covered, I like to use my pastry scraper and hold it upright, at a 45 degree angle against the cake. And then turn my cake stand as it runs along the edges of my cake as I smooth it out. But you could use an offset angled spatula turned upright and held perpendicular to the cake to smooth it out.
Be careful while doing this so you don’t remove all the frosting you just applied!
4. Smooth The Top
I do the same for the top, but I switch and use my large angled spatula so it covers the cake in motion as I run it over the top. I get down eye level as I do this. I start at the edge and move the spatula across the top into the center and continue doing this in a circle. And then I go across the top with the spatula to remove the frosting that has mound up in the top.
5. Fill In The Gaps
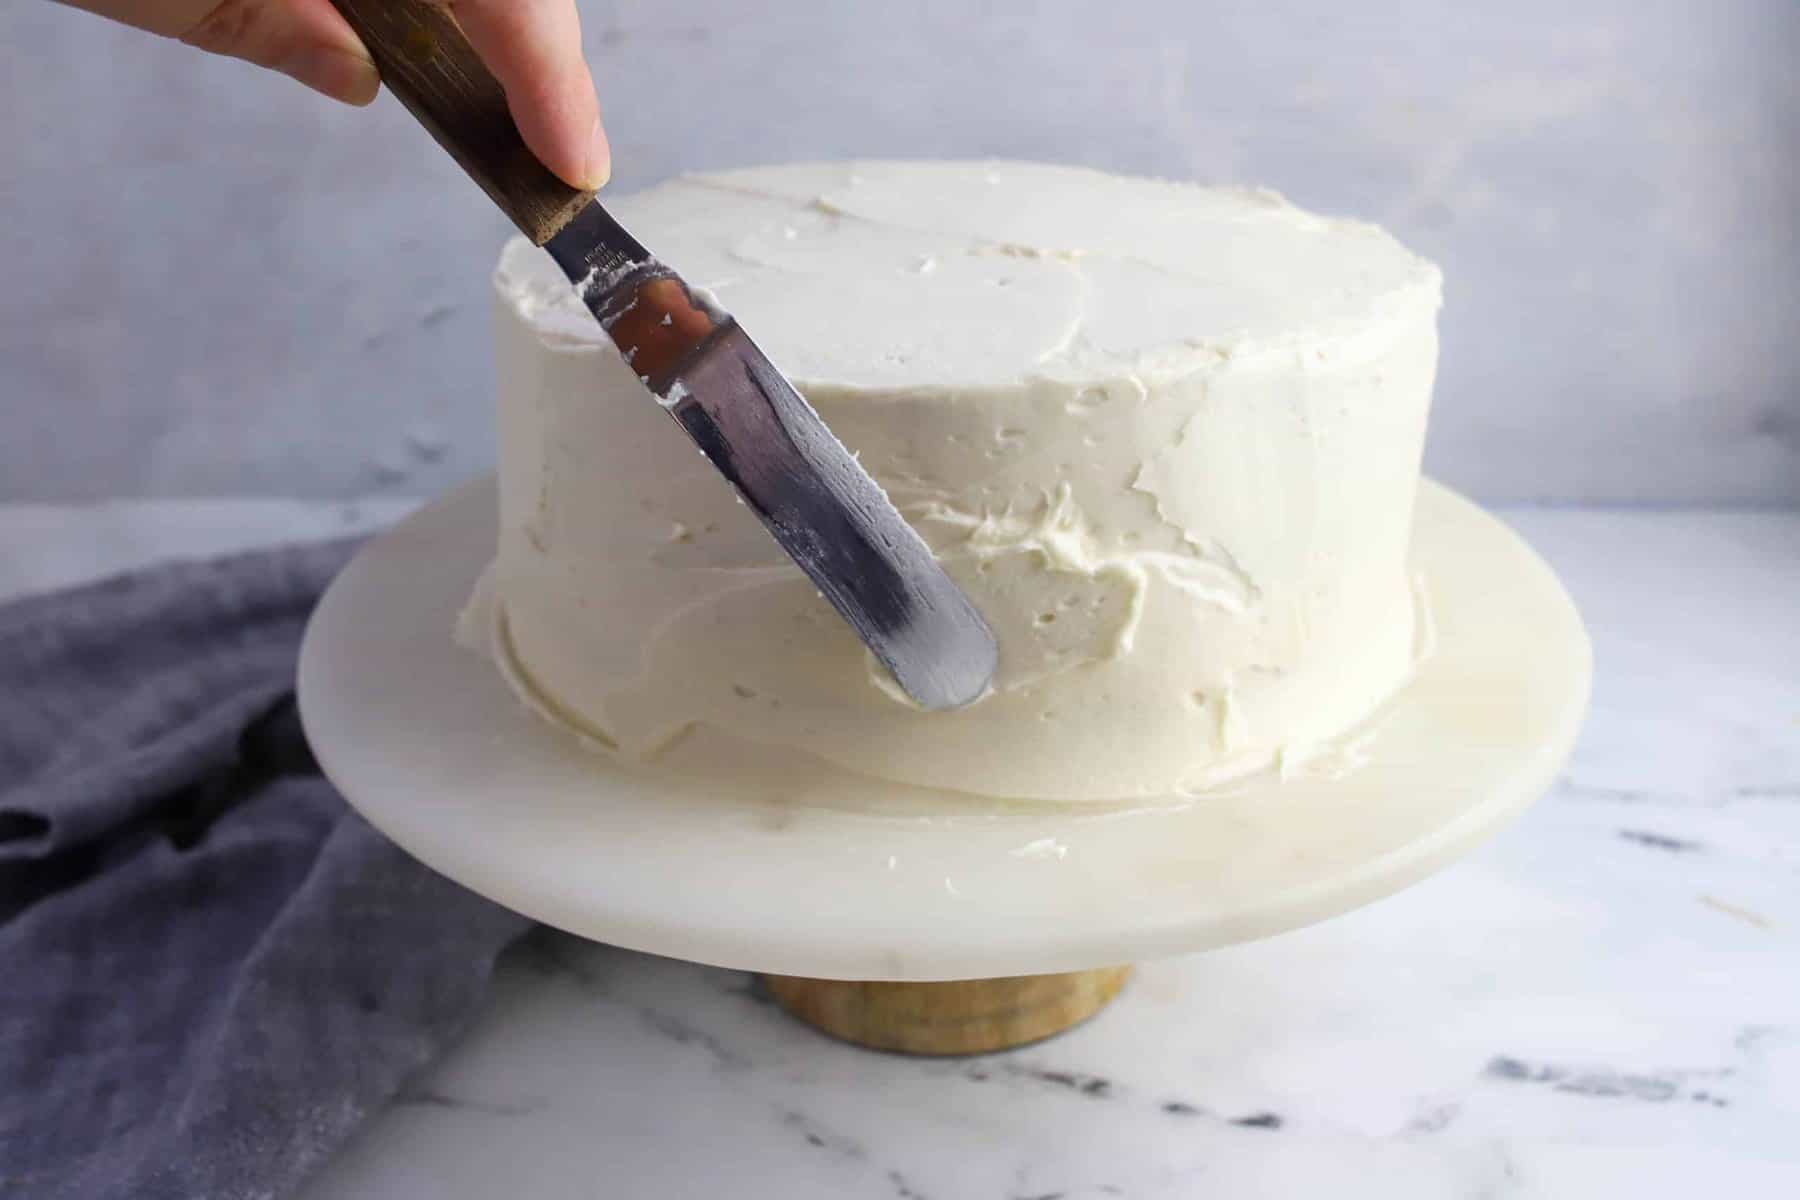
Once it seems fairly smooth, I look for any holes that need patching. I apply a small amount of frosting with a smaller spatula at this point to any hole in the frosting and then smooth it back out with my scraper.
How To Get The Frosting Smooth
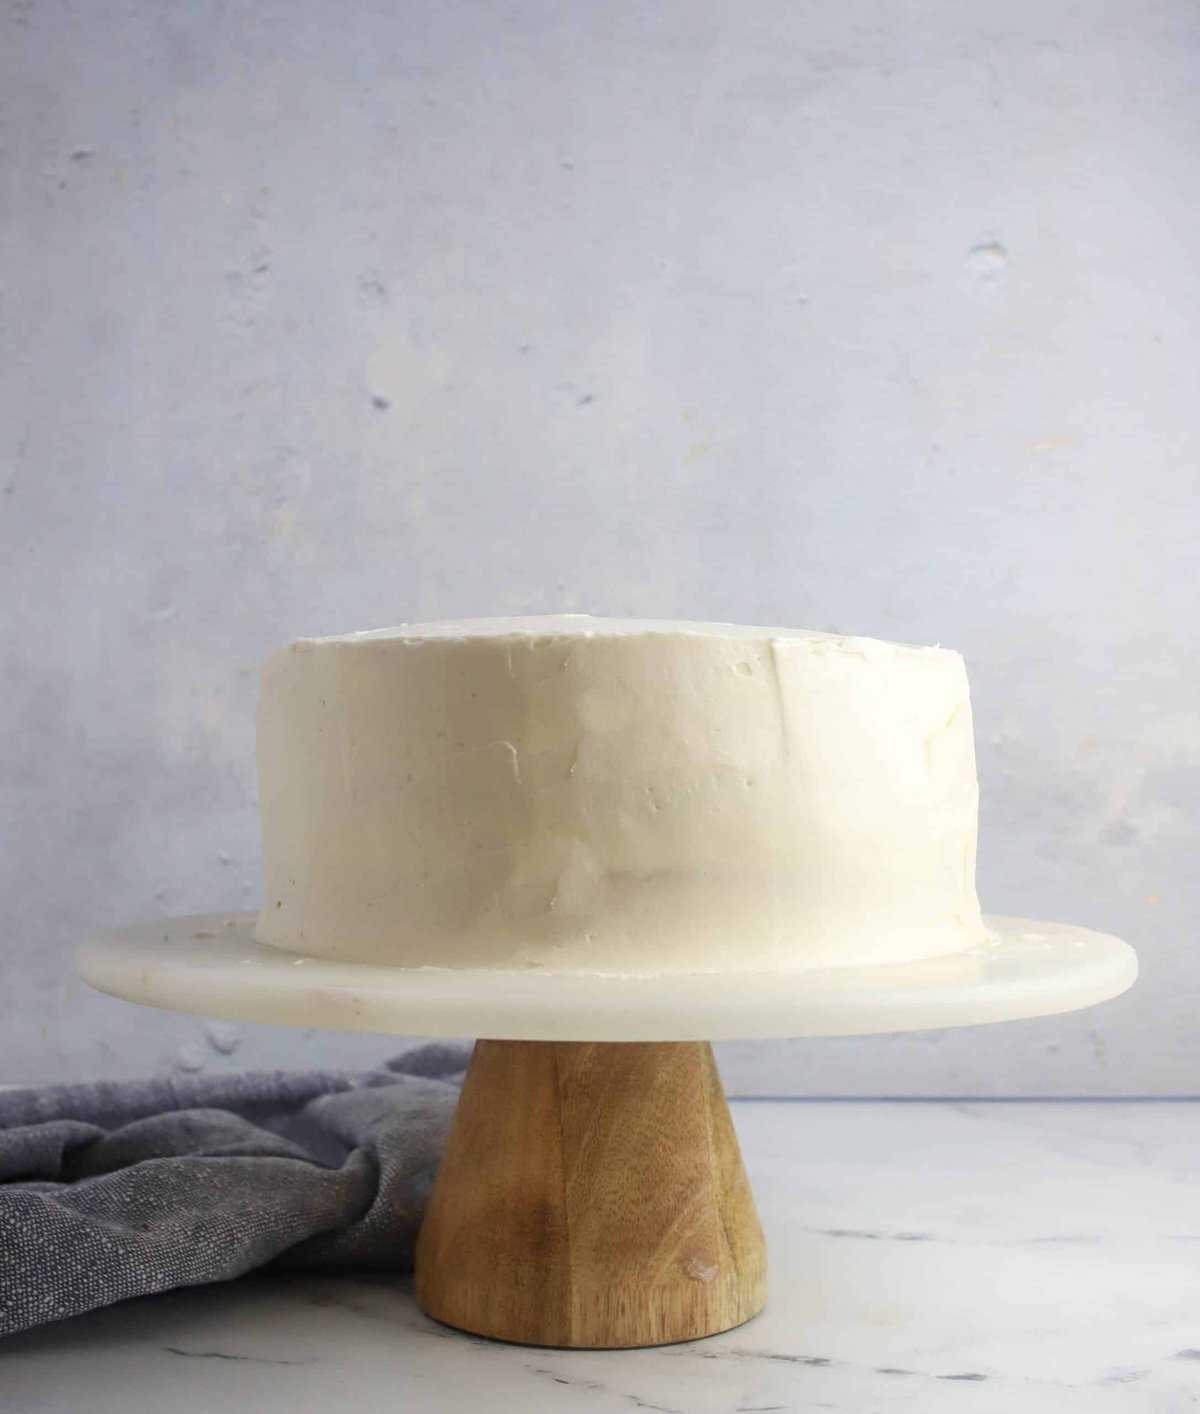
Now that the cake is basically smooth I like to give it one last finishing touch and smooth it out one last time. I’ve seen and tried lots of methods to make the buttercream super smooth. First the only way you’re going to get your frosting smooth and professional looking is to:
- Don’t skip the crumb coat!
- Use the right tools.
- Take the time to fill in the holes and gaps.
- Don’t use a frosting that leaves big air holes.
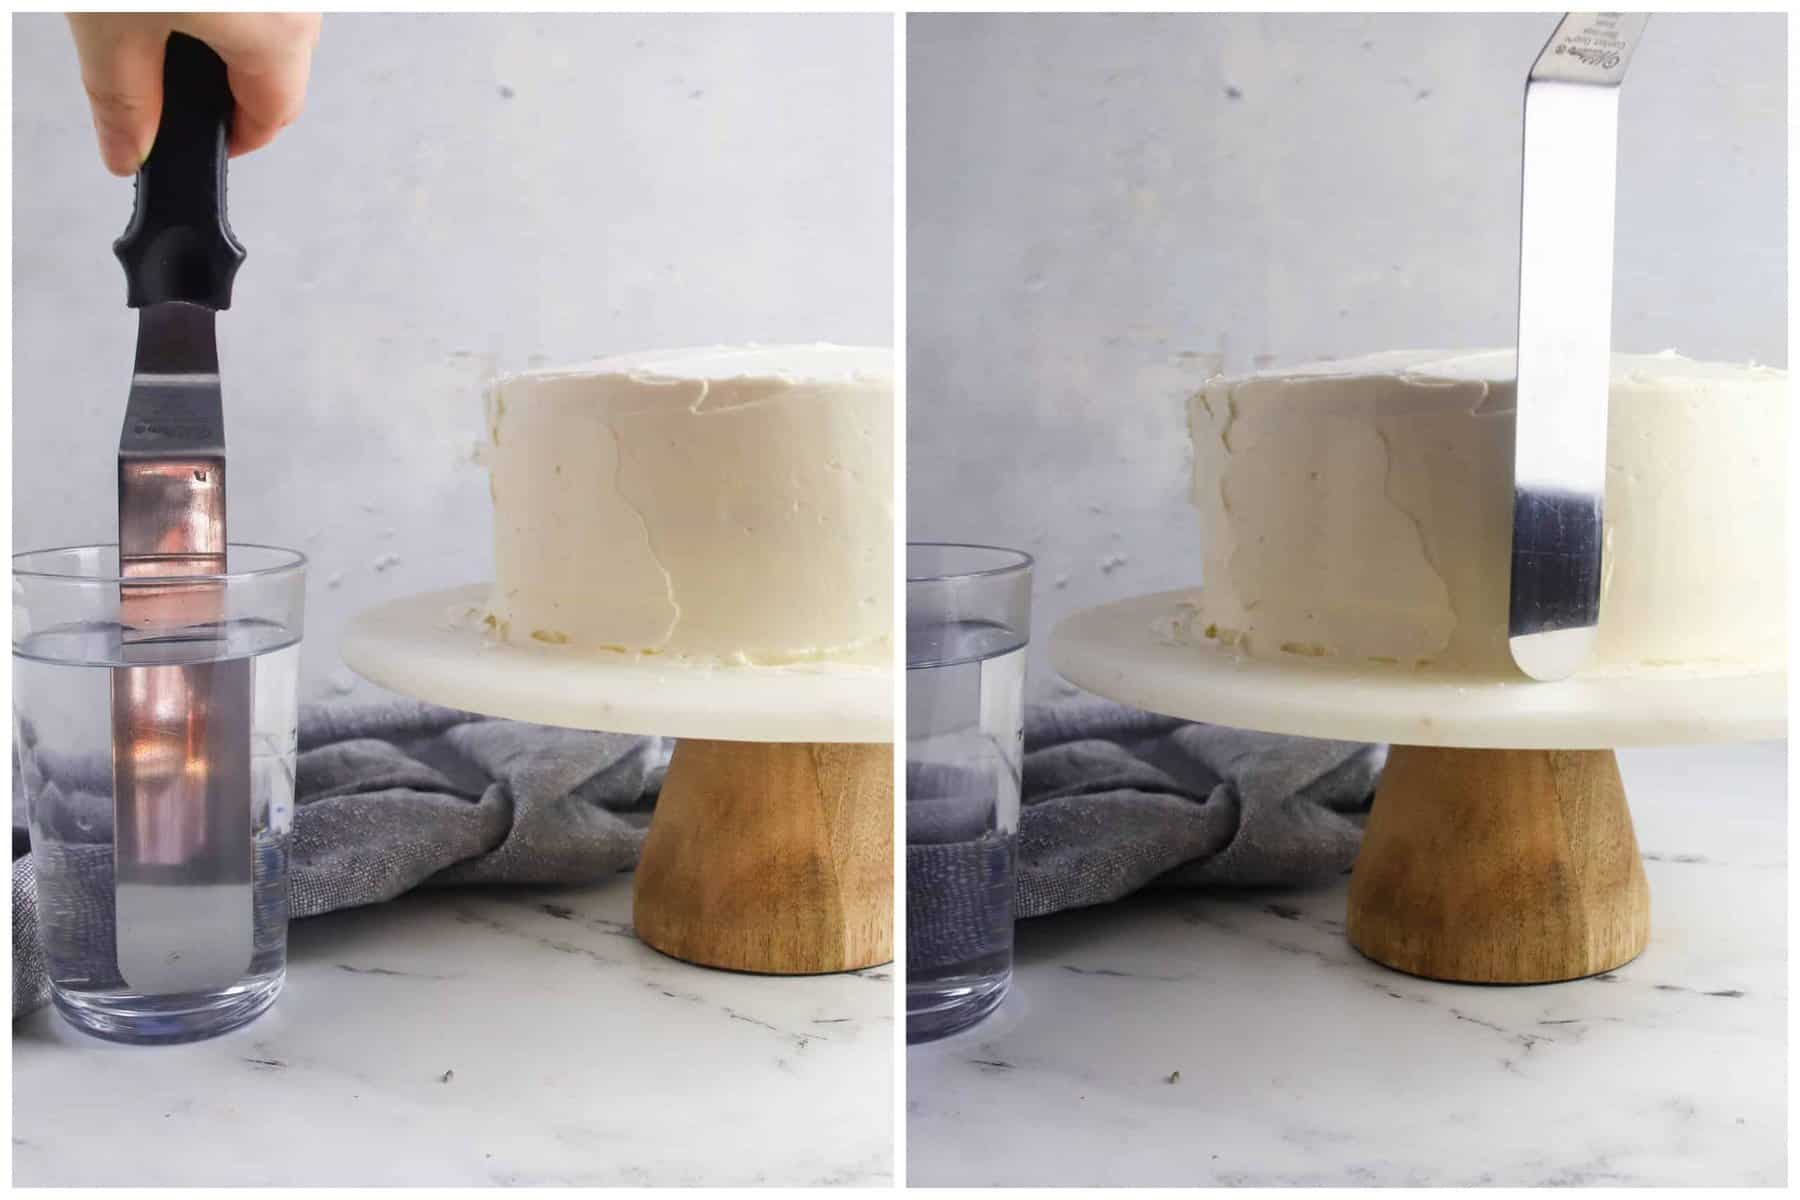
Ok so assuming you’ve done all those things, and your cake isn’t mostly smooth, but not quite smooth yet, don’t fret. My favorite method is to use a glass of hot water. I get a very hot glass of water (make sure it’s a tall glass!) and I dip my spatula in it and then give it a quick wipe with a paper towel and use the hot spatula and then run the spatula lightly across the cake to smooth it out. I hold the spatula at a 45-degree angle to the and glide it over the cake.
Pro Tip: Wipe off the knife if frosting gets on it, and dip it back into the hot water and wipe it off again. Keep repeating this as you smooth out the cake.
Finish Decorating!
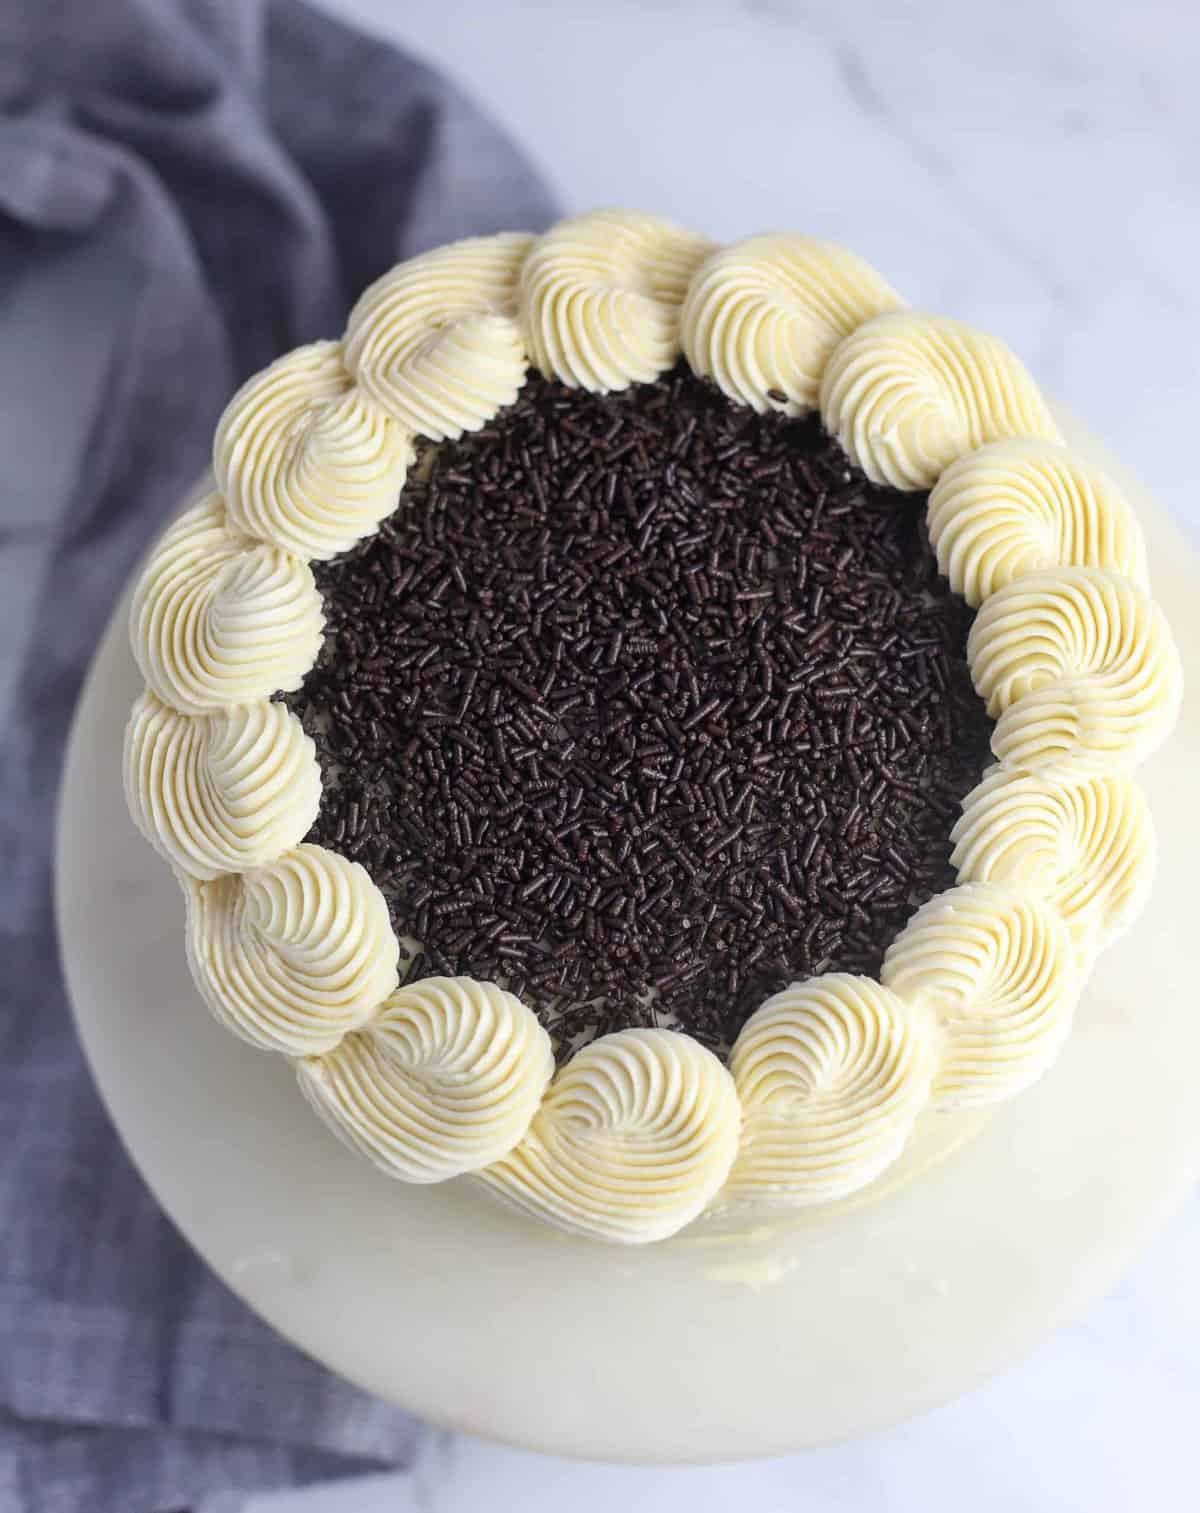
At this point you can finish decorating the cake. You an add sprinkles, a pretty buttercream border on top and along the bottom if you want. For a decorative border I like to use large star tips.
You can always cover up a not so perfect cake with your decorations!

Comments & Reviews
Type your question or comment below, and tap "Post Comment". I welcome constructive criticism, but please be respectful. Rude or inappropriate comments will not be published. Thank you!Baking isn't always easy! So if you had any issues, I'd appreciate the chance to help you troubleshoot before you rate.