This Post May Contain Affiliate Links. Please Read Our Disclosure Policy.
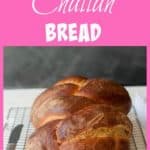
Learn how to make and braid challah bread! I’ve included a step by step video for you so you can master this traditional challah bread recipe at home!
Baking bread. Does the thought of that immediately have you quivering in your boots and running for the hills?
I know I get it. It’s yeast and you are working with a live creature here. Ok I mean we aren’t talking tigers and bears oh my but still. Live and sometimes finicky and dear goodness time consuming yes? But oh the rewards. The amazing best smell ever rewards.
So if you are here to learn how to make challah bread then good for you! I can’t wait to show you how easy it really is. Making bread I don’t believe has to be hard at all! I actually got a chance to take a bread making class at the Cambridge Culinary School a few weeks ago- an intensive 4- hour class where we learned about the different kinds of yeast, proofing bread, how to shape bread (and yes specifically the challah bread I am going to share with you today!) and of course how to bake bread so it’s perfect every time. No more guessing on that last one.
Yes this is me hard at work making challah bread during the class….concentration face ON. So let’s get started..let’s make some bread!
What Is Challah Bread?
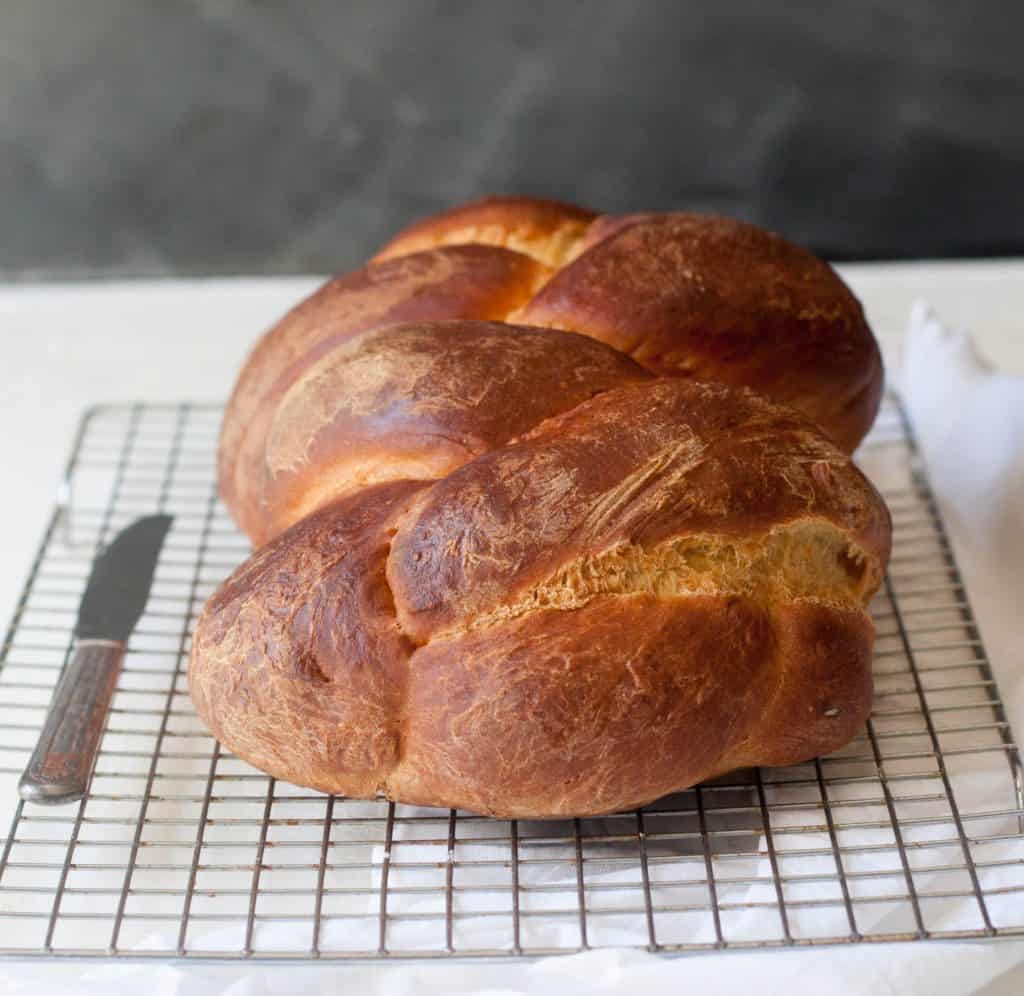
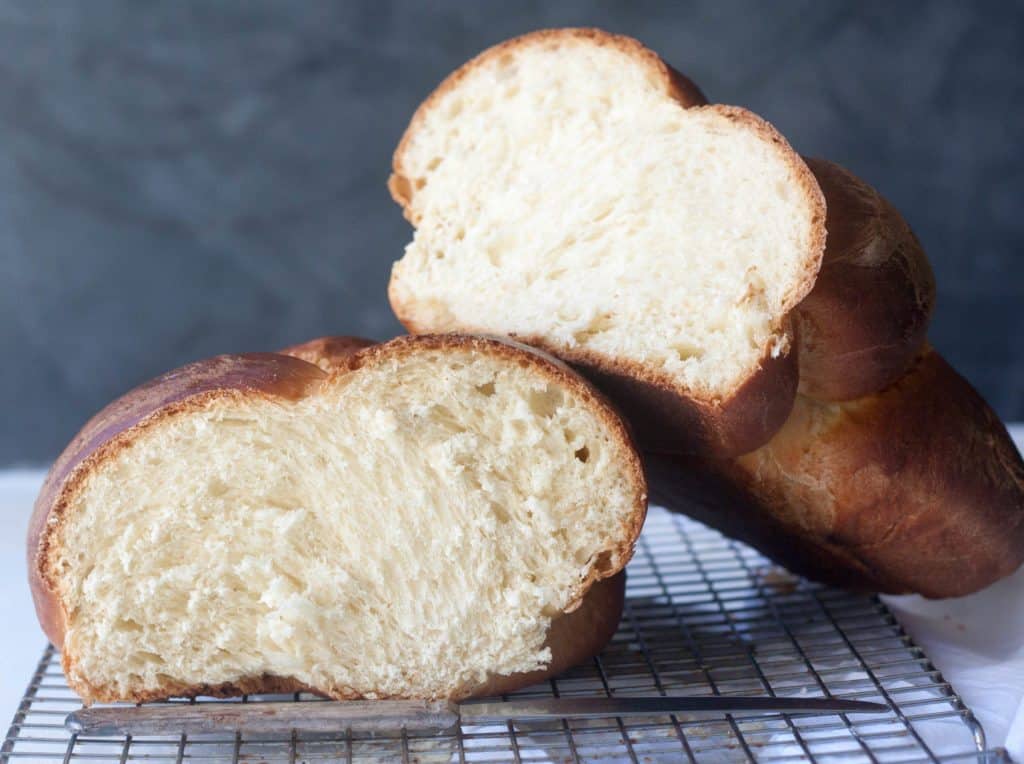
First what the heck is challah bread? If you are unfamiliar bread this is a rich bread made with eggs that is braided into a beautiful loaf and baked. This bread is the perfect bread to make a french toast casserole or bread pudding perhaps. It holds up so well in those kind of dishes.
This dough because it’s contains eggs and sugar is called an enriched dough. Challah is in the same family as some other sweet yeasted breads like a babka, or a brioche. It’s considered a rich dough because of the addition of those rich ingredients, usually eggs, sugar, milk and butter. You know all the things you love and hate at the same time.
Because of those “rich” ingredients it can mean a dough that will take a little bit longer to make rise due to those additions. The sugar can slow down the rise time, because it absorbs some of the liquid so the yeast will take longer to become hydrated and start doing it’s thing- aka creating the carbon dioxide which creates the rise. The eggs can also slow down the process because the eggs coats the flour. So the yeast will also have a harder time consuming hte flour’s starches. So yes, longer rise time. But I’m telling you it’s totally worth it. This is definitely a weekend project. But with the best results in the end. And it can be done in one day.
How To Make Challah Bread Recipe
To make this challah bread, you need to start with making a starter. Good name for it isn’t it? A starter is simply just flour, water and yeast. By making a starter, you are basically giving the yeast a jumpstart before you add this to your dough. For this bread, you are going to use instant yeast. This starter is going to hang out for about 45 minutes for the yeast to do it’s thing. This is a perfect time to catch up on your Netflix show. I mean clean. No, who am I kidding. I mean Netflix.
After the 45 minutes is up, you are going to add that starter to the rest of the dough ingredients. Again, the rest of the ingredients are basic bread ingredients I bet you have on hand- more flour, a little bit of salt, sugar, vegetable oil, 2 whole eggs, and 1 egg yolk. All of this is going to get added to your stand mixer with your dough hook attachment. You are going to knead your dough for about 10-15 minutes. If you find your dough a bit on the sticky side, go ahead and add a few tablespoons of flour. It should be smooth and supple by the end.
If you don’t have a stand mixer, you can accomplish this by hand, just be prepared it may take a bit longer and be one heck of an arm workout. But it can be done.
To know if your dough has been kneaded enough, you want to take a bit of the dough in your hand and give it a stretch. It should be like a little dough window that holds together but you can still see through it. That means the gluten has formed a strong network which is what you want for a yeasted dough.
Proofing Your Challah Dough
Once the dough has been kneaded, just simply place it in a bowl that has been lightly oiled and let it rise in a warm place for about an hour and half until it’s doubled in size. This is the ever important proofing step. If your house is cold (like mine is generally) this process may take longer. You can also help proof your bread by placing it in the oven on a middle rack. Place a loaf or cake pan on a lower rack and fill with hot boiling water. Then voila instant homemade proofing box!
If you want to really step up your proofing bread game, you can invest in a proofing container which will be much easier for you to tell if the bread has doubled in size because of the measurements on the container.
Braiding The Challah Dough
Once the dough has doubled in size it’s time to turn that dough into the challah bread braid we know and love. You can keep it simple and do a 3 strand braid but I decided to do a 4-strand braid instead. For this I have a video for you on how to braid the bread. The video takes you through the whole process of making the dough if you’re interested, but if you want to just see how to braid the dough you can skip ahead to 4:00 where I start braiding the dough.
You will cover the bread with a glaze- for this bread I used an egg white and sugar mixture which will give it more of a crispier crust. If you want a shinier crust, you can simply use a traditional egg wash of an egg and water. After it’s braided it’s time to let the dough rise one more time! Yup, one more rise. Another hour of rising time. Simply cover the bread with some plastic wrap that has been lightly sprayed with cooking spray.
Time To Bake Your Challah Bread
Yes, we made it! Time to actually bake the challah bread! Which means almost time to eat. My favorite part and why we go to all this trouble isn’t it? Once it has gone through a second rise, take off that plastic wrap, glaze it once more and pop it in a 375ºF pre-heated oven. The bread will take about 35-40 minutes to bake. Sit back, enjoy the amazing smells in your kitchen. Why hasn’t Yankee Candle come up with this scent yet? I would buy one in an instant.
If you’re unsure as to whether or not the bread is done, simply insert a digital thermometer near the bottom of the bread. The bread should have an internal temperature of 195ºF.
And yes once it’s done, you need to let it cool before slicing into it. Yes, after that difficult process of making the bread this will be the hardest step. But man oh man that first bite. Slather it in some butter and call yourself a baker. You just made homemade challah bread.
I hope this post gives you the confidence to make our own challah bread! For more help in tackling this recipe, be sure to give my Ultimate Guide To Making Homemade Bread Recipes a read! If you liked this post or find it helpful, let me know and leave me a comment. And would you do me a favor, and share this on Pinterest? I would be forever grateful.
Happy baking everyone!

Challah Bread
Ingredients
For the starter
- 1 cup (120 g) Unbleached All-Purpose Flour
- 1 cup (240 ml) lukewarm water
- 2 teaspoons instant yeast
For the dough
- all of the starter
- 3 1/2 cups (420 g) Unbleached All-Purpose Flour
- 1 3/4 teaspoons salt
- 1/3 cup (67 g) sugar
- 1/4 cup (60 ml) vegetable oil
- 2 large eggs + 1 yolk save 1 egg white for the glaze, below
For the glaze
- 1 egg white saved from above
- 1 teaspoon sugar
- 1 tablespoon water
- poppy seeds or sesame seeds optional
Instructions
- Mix the 1 cup flour, 1 cup water and yeast together in a large bowl. Let the mixture sit for about 45 minutes.
- Add the dough ingredients to the starter and mix and knead together — by hand, mixer or bread machine — until a smooth, supple dough is formed. Add a few tablespoons more of flour if you find your dough is very sticky still after a few minutes of kneading. I used a couple more tablespoons and kneaded the dough in my mixer for about 10-15 minutes.
- Place the dough in a greased bowl, turning it over once to coat it lightly with oil. Cover it and let it rise for 1 1/2 hours, or until it's not quite doubled in size.
- Turn the dough out onto a lightly floured surface and fold it over once or twice, to expel the carbon dioxide. Divide the dough into four pieces, and roll each into a snake about 18" long.
- On the lightly greased or parchment-lined baking sheet, braid a four-strand braid (see instructions in our blog,) or fashion a simpler three-strand braid.
- In a small bowl, make the glaze by mixing together the reserved egg white, sugar, and water. Brush the loaf, reserving some for a second application.
- Cover the loaf with lightly greased plastic wrap and allow it to rise for 45 minutes to 1 hour, or until it's almost doubled in size. Towards the end of the rising time, preheat the oven to 375°F.
- Brush the loaf with the remaining glaze (this will give the finished loaf a beautiful, shiny crust, as well as provide "glue" for the seeds), sprinkle with poppy seeds, if desired, and bake for 35 to 40 minutes, or until the challah is golden brown, slightly firm to the touch, and the internal temperature is 195°F.
- Remove the bread from the oven, and cool completely before slicing. Store completely cool bread, well wrapped, at room temperature for several days; freeze for longer storage.
Video
Notes
- Crispy Crust: If you would like less of a crispy top and more of a golden color use an egg white only. You could also shape this into a 3-strand braid, or into a circle shape after braided as well for an impressive loaf of bread! This bread freezes very well- just simply wrap in plastic wrap first then place in a plastic freezer bag or wrap again in tinfoil. To use leftover challah bread- turn it into the most amazing french toast, or bread pudding, or just use as the best vehicle for the best sandwich ever. I liked it with literally just a slather of butter on top.

Comments & Reviews
Type your question or comment below, and tap "Post Comment". I welcome constructive criticism, but please be respectful. Rude or inappropriate comments will not be published. Thank you!Baking isn't always easy! So if you had any issues, I'd appreciate the chance to help you troubleshoot before you rate.