This Post May Contain Affiliate Links. Please Read Our Disclosure Policy.
Nothing beats a homemade fluffy donut dripping in a sweet glaze am I right? But baking homemade donuts can be a bit tricky, especially when it involves yeast and frying! In this ultimate guide I’ll walk you through all about how to perfect donuts at home – from how to fry, to filling your donuts, and glazing.
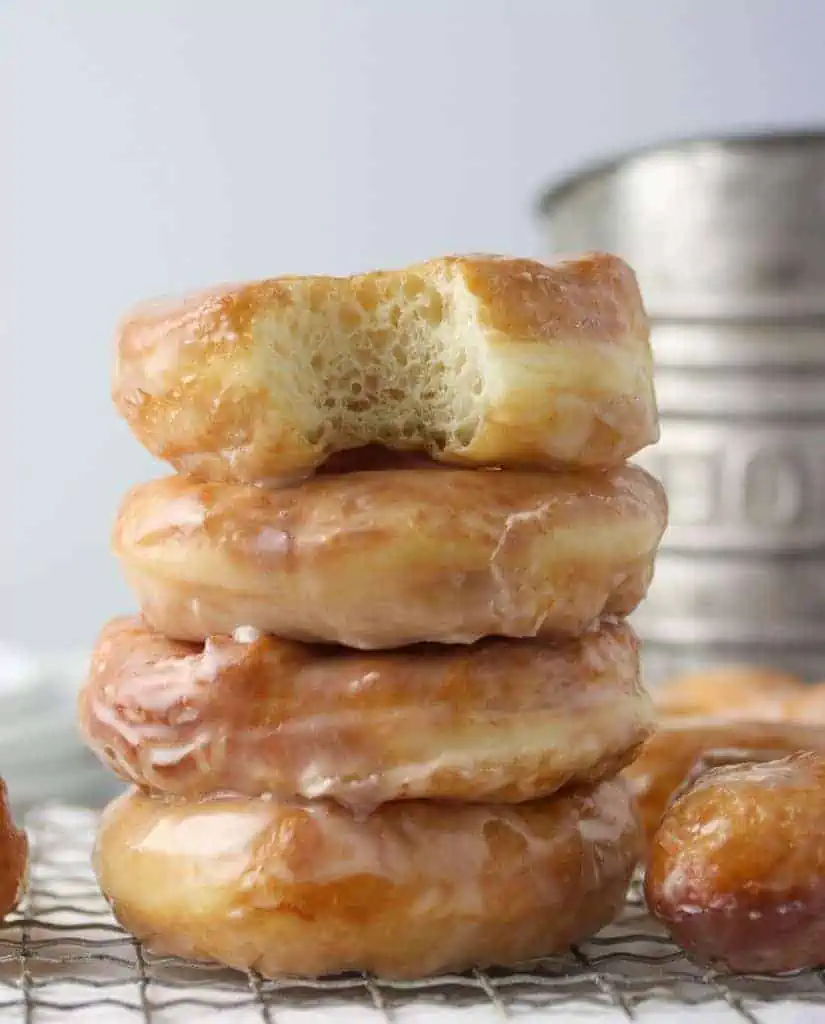
Growing up there was this quaint little donut shop on Main Street in my town. Now they had a wonderful selection of homemade donuts, but the one I always got every time we got them (which was about every Saturday) was their glazed donuts.
Sure their chocolate donuts were great. And I once and awhile veered and got a coconut donut. Or a homemade chocolate eclair. But nothing beat their fluffy sweet soft yeast donuts.
Now unfortunately I don’t live at home anymore. And that donut shop doesn’t exist anymore. So it wouldn’t matter if I did live close by! So what does a girl do? She makes her own glazed yeast donuts obviously.
But making perfect donuts in my own kitchen did take some practice. Not every donut was a winner. And frying them took some patience and practice as well. Now I have to say though I have gotten pretty darn good at frying up homemade donuts, so I wanted to put together this ultimate guide for you so you can master making donuts too!
For more donut recipes check out –> 90+ Donut Recipes
Table of contents
- What’s the difference between a cake donut and a yeast donut?
- Who invented donuts?
- Is it donuts or doughnuts?
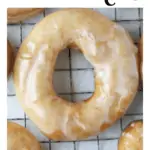
- How Do You Make Glazed Yeast Donuts?
- Donut Frying Tips
- Yeast (Fried) Donut Troubleshooting
- How To Fill Donuts
- Donut Glaze Options
- Baked Vs. Fried
- Donut Recipe FAQ’s
- More Donut Recipes To Try
- My Favorite Donut Tools
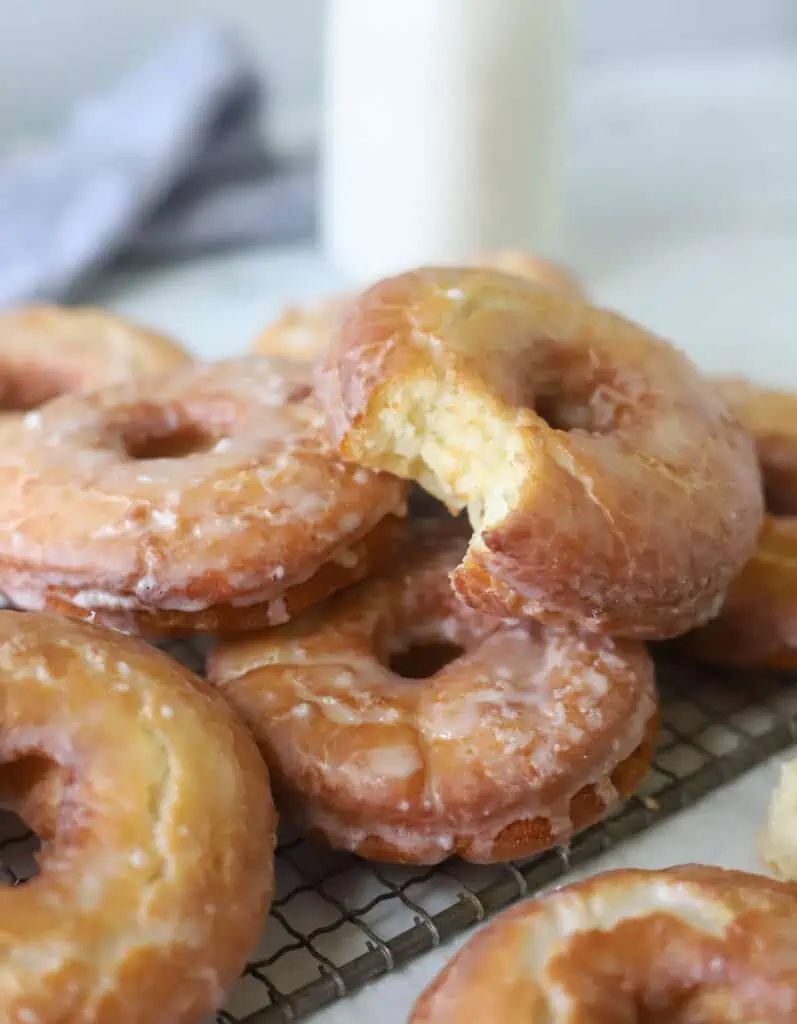
What’s the difference between a cake donut and a yeast donut?
Both of these donuts are FRIED. However, a cake donut is made with a chemical leavening agent (such as baking powder or baking soda). Cake donut will have a cakier, dense-like texture to them.
Yeast donuts, as the name suggests, are made with yeast, but result in a more fluffy, airy-like texture (think Krispy Kreme).
So what are these donuts then? These old fashioned sour cream donuts are definitely a cake donut. It uses baking powder to help them rise, and they are also fried. These are those dense cakey fried donuts that are basically a meal in itself. Um, delicious is another word to describe them.
Who invented donuts?
This fabulous fried pastry creation goes to a man named Hanson Gregory. He claims he invented in 1847, when he was 16, aboard a lime trading ship.
Before the classic “hole in the middle” they were fried in different shapes, twisted, and left with a raw middle…so he cut the middle out! And the donut was born. Thank you Mr. Gregory.
Is it donuts or doughnuts?
So doughnuts is the correct spelling, but we can all blame (or thank?) Dunkin’ Donuts for “donuts” become a popular way to spell this popular fried treat.
And since I live in Boston now and there is a Dunkin’ Donuts on just about every corner…I think I’ll stick with donut!
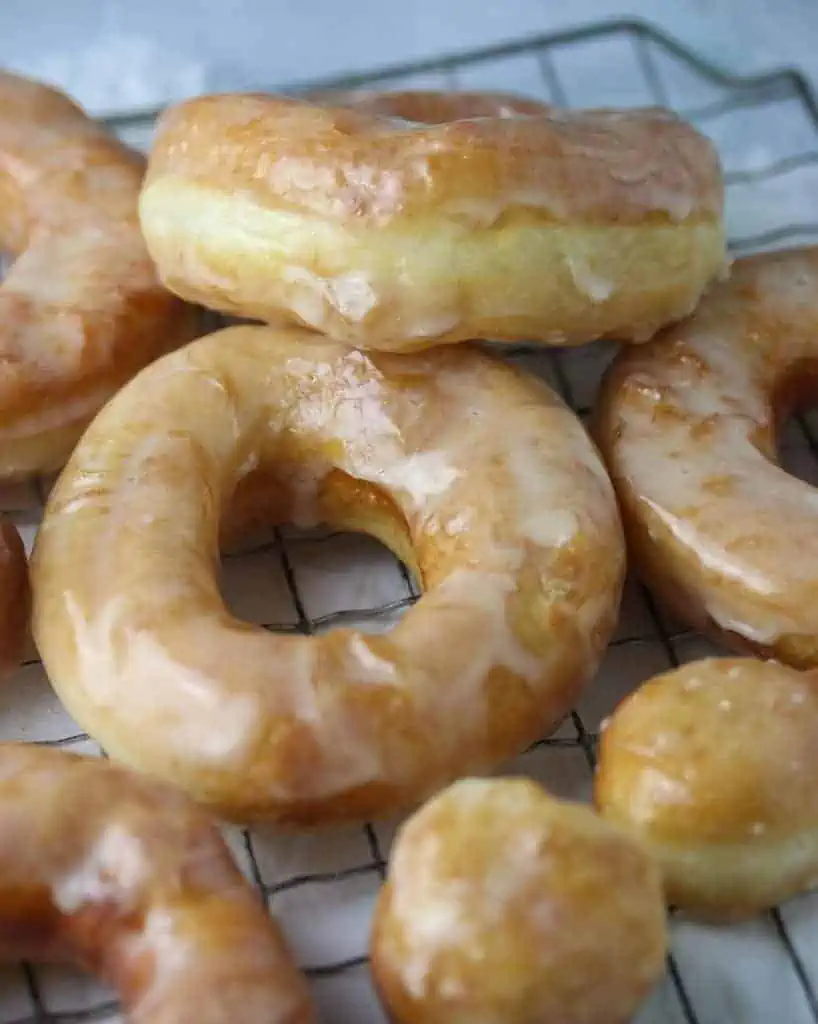
How Do You Make Glazed Yeast Donuts?
Make the yeast dough
- You want to combine the liquid ingredients in a small mixing bowl – egg, vanilla, milk, and melted butter.
- And then in your stand mixer, with your paddle attachment, you want to combine the dry ingredients – flour, yeast, and salt.
- Then once the dry ingredients are combined you want to add the liquid ingredients and combine the ingredients.
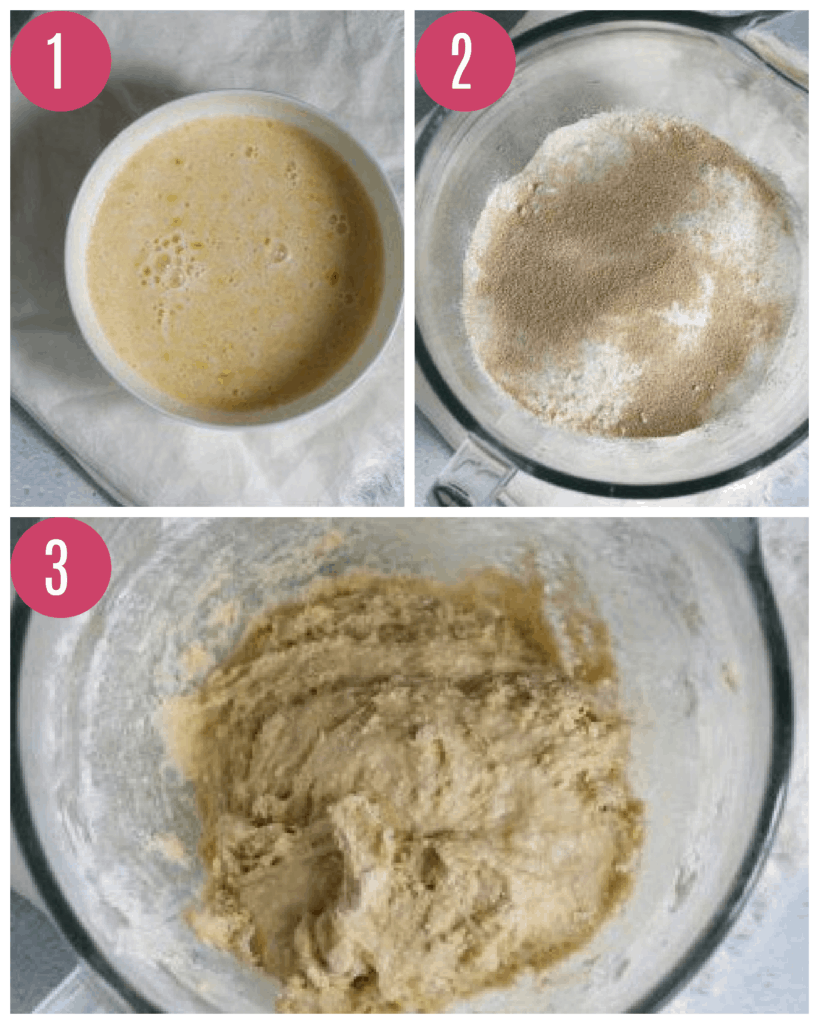
4. Once the dough has come together let the dough rest for 5 minutes. After its rested, switch to using a dough hook attachment, and knead the dough for 6 to 8 minutes until the dough is smooth and soft.
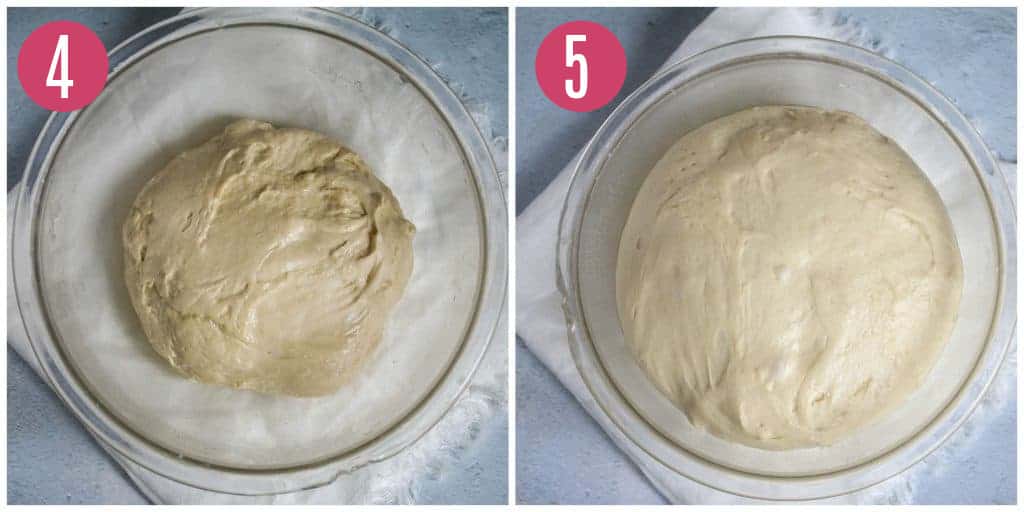
5. And this point you want to place the dough into a greased bowl and cover to let rise for about 2 hours, until doubled in bulk.
HEATHER’S BAKING TIP: You want to let the dough rise in a warm, draft-free place about 75oF. If your kitchen is cold like mine then you can move the dough to a warmer spot, like top of your fridge or place in an oven that is OFF, but has the oven light on.
Roll And Cut The Donuts:
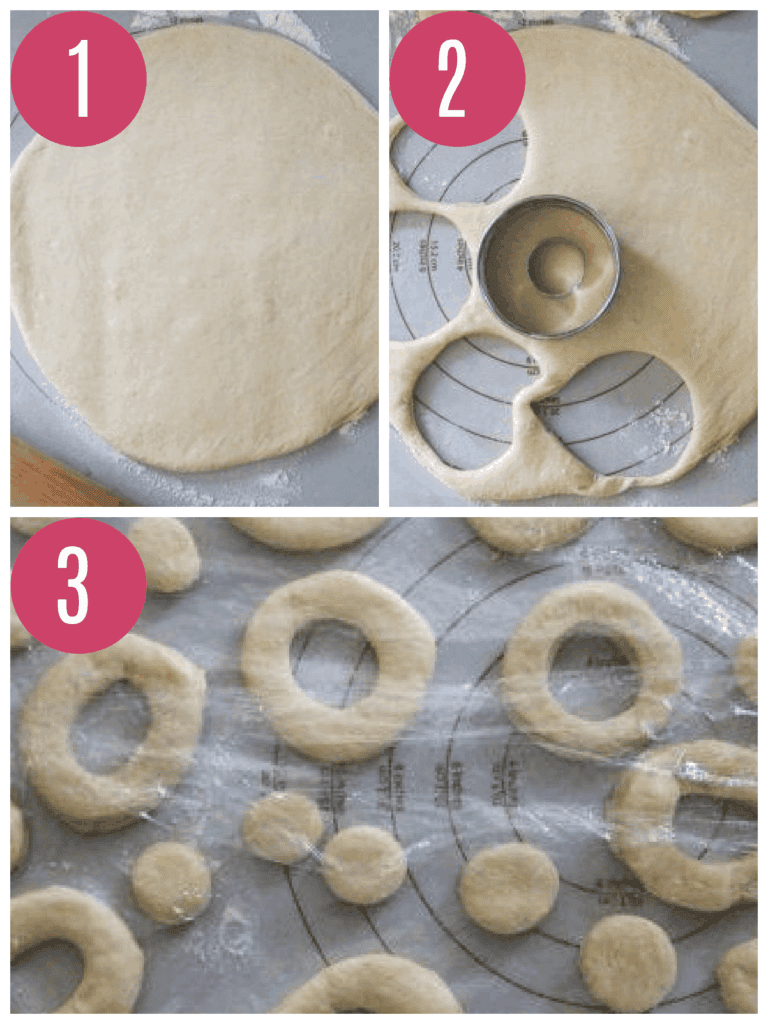
- Once the dough has risen, you want to roll out the dough onto a lightly floured surface. It should about 1/4-inch thickness.
- And then using a round 3-1/2 inch donut cutter cut out the doughnuts. If using the donut cutter, then donut shape is all done for you. If you don’t have a donut cutter, then use a round biscuit/cookie cutter. And you can always leave them as full circles (no donut hole) or use a piping tip to cut out the round center or a smaller biscuit cutter. You can leave them a full circle or take a smaller cutter and cut out a center. Save these small rounds so you can make doughnut holes!
- Then you want to cover the doughnuts with greased plastic wrap and let them rise for another 30 minutes to an hour until they are doubled.
HOW CAN I TELL WHEN MY DONUTS ARE DONE PROOFING? Give the donuts a poke – the donut dough should indent, and the indent should slowly fill back out. If it snaps back too quickly, it needs more time. If it stays indented, then fry them immediately!
Fry The Yeast Donuts:
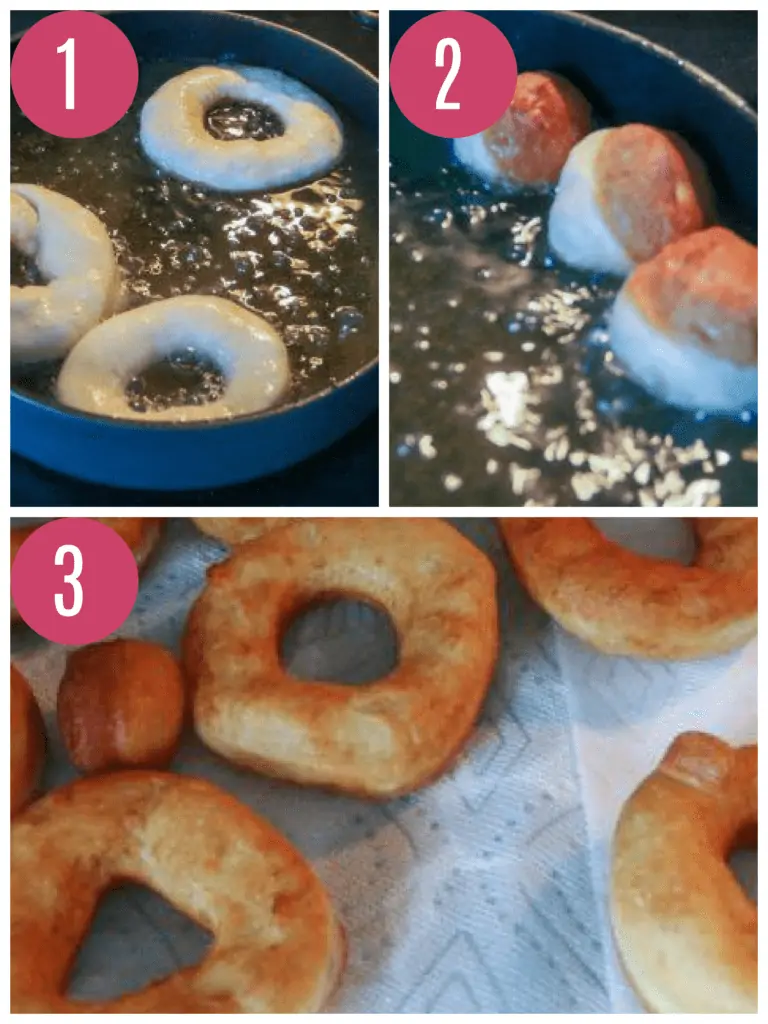
HEATHER’S BAKING TIP: As you are nearing the end of the second rising time I like to heat up the oil to fry the donuts in. You want to heat the oil up to 350°F to allow perfect frying of the donuts. I like to use a digital thermometer to ensure the temperature is perfect. And then be sure to set up a drying station for when the donuts are done frying. I place a cooling rack over a baking sheet and place a few paper towels over the cooling rack.
- When you are ready to fry the donuts, make sure to only fry a few at a time.
- If you add too many to the oil it will drop the temperature too much. You want to fry each donut on each side for about a minute each until golden brown. Then flip over and fry the other side for another minute.
- Once the donuts are golden brown, remove them with a slotted spoon and place on the paper towels.
Make The Glaze:
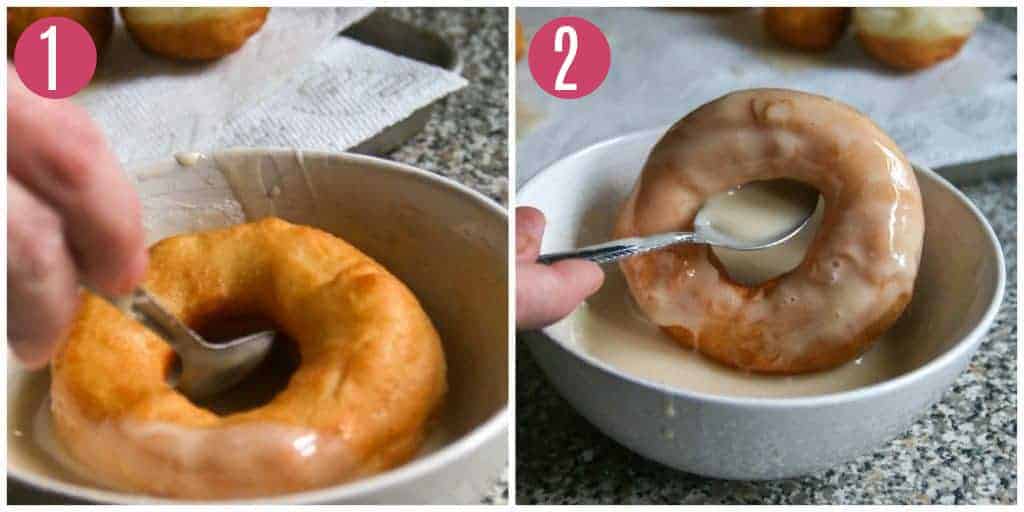
- Once the donuts are fried, you want to whip up the vanilla glaze. It’s easy peasy. Just whisk the glaze ingredients together and then dunk each donut in the glaze.
- I used a spoon to dunk the donuts in. One good flip on either side. Ready. To. Eat.
HEATHER’S BAKING TIP: Make sure your donuts are slightly cool enough to handle so you can glaze them. Slightly warmer donuts are a bit easier to glaze then completely cooled donuts – but I’ve done it both ways and had no issue! Just make sure they aren’t piping hot!
Donut Frying Tips
- Use a large pot. Always fry in a large deep pot or skillet like a 5-quart Dutch Oven or large skillet. This will ensure you can fill the pot/skillet sufficiently with oil and not have it splatter. Speaking of..
- Fill Pot 1/2 Full Of Oil. You don’t want to fill the pot too much (first of all..big waste.) Second of all, you don’t want it to splatter all over you. Let’s just say, OUCH. It should be at least 2 inches deep of oil (I use about 6 cups).
- Watch That Temperature Oil. You want your oil to 350°F. Use a digital thermometer, ideally one that clips to the side of the pot. Or do a test donut with one of your donut holes. If your oil temperature is too cold then your donuts will absorb too much oil and become greasy. And if it’s too hot, well, you know. Burnt crispy city.
- Only Fry A Few At A Time. Again it all comes down to that pesky oil temperature. If you fry too many at a time then it will drop the oil temperature. And if that happens, greasy donuts.
- Use A Neutral-Flavored Oil. You want to use an oil that has a high smoke point, and not much flavor. Think canola or vegetable. But sunflower, corn, or peanut oil also work. You don’t want to use an oil that has a low smoke point or will impart too much flavor, like olive oil. You can also reuse frying oil twice before disposing of it.
Yeast (Fried) Donut Troubleshooting
- Flat Donuts: This could be because your donut dough was over proofed. The time it takes for the donuts to proof can vary on the temperature of your kitchen for the day (so it could take more/less time) than the recipe indicates. Aim for a 75-78oF temperature. Keep an eye on the donuts. I always aim for a tad under proofed then the other way around. Give the donuts a poke – the donut dough should indent, and the indent should slowly fill back out. If it snaps back too quickly, it needs more time. If it stays indented, then fry them immediately!
- Greasy Donuts: This could be because your oil temperature was too oil. The oil becomes trapped by the dough and you end up with greasy donuts.
- Stiff/Dense Donuts: Under proofed dough. Poke the dough, if it springs back too quickly they are under proofed and need more time.
- Cracked Donuts: The donuts could be under-proofed, you didn’t get a clean cut on the donuts when cutting them out, or the dough was too cold. For my old-fashioned sour cream donuts, the donuts should crack when they fry so in that case you’re doing it right!
How To Fill Donuts
If you want to make a filled donut, then you want to make sure to cut out full circles of dough (aka donuts with no center!) For this I use just a simple round cutter (about 2 1/2″ in diameter). I do not use my donut cutter as that would obviously cut out the middle too.
Then you would fry them as normal, and after they cool you would fill them. Always fill before you glaze otherwise it’s way too messy! To fill your donuts you want to use a piping bag and piping tip. I have this awesome donut piping tip now that has a long tip on it so you can stick it directly into the donut.
Then simply squeeze in your filling. Stop squeezing when you either see the filling come to the top, or you can feel the pressure on the inside, letting you know you filled them enough.
You can fill donuts with lots of things! Here are a few options:
- Vanilla Pastry Cream – Dip them in chocolate and you have a Boston Cream Donut
- Vanilla Buttercream Frosting
- Jelly/Jam
- Nutella
- Chocolate Ganache
Donut Glaze Options
Of course a donut wouldn’t be complete without a fun topping right?! So once they have been slightly cooled, and filled if you’re filling it’s time to dip, baby, dip.
You can cover the whole donut in a glaze or just the top depending on the glaze. If dipping a whole donut in a glaze, I like to place the donut into the glaze with a fork or spoon, so I can turn it over easily without getting the glaze all over my fingers.
If dipping just the tops, I just dip the donut upside down into the glaze and lift up. Give it a little swirl with your wrist to get the excess glaze to drip off and place back onto your wire rack.
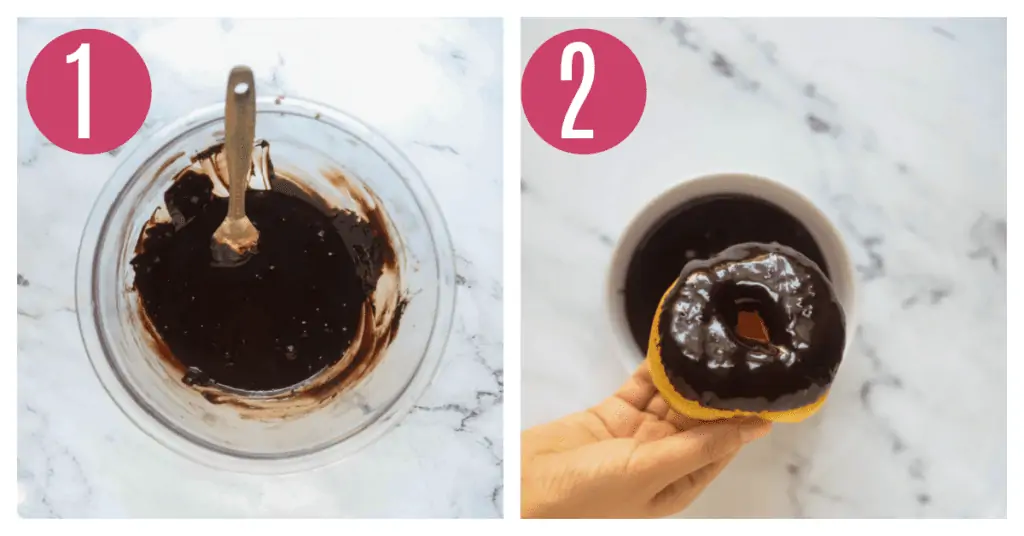
Here are a few fun ways to glaze (or dip your donuts). I dip/glaze my donuts once they are cool enough to handle. They can be glazed once completely cooled.
- Powdered Sugar: Just simply roll your donuts in powdered sugar in the end!
- Cinnamon/Sugar: I used this topping for my apple cider donuts .
- Vanilla Glaze: I dipped my glazed yeast donuts in this simple glaze (recipe is below). I also used my glaze on my old fashioned-sour cream donuts.
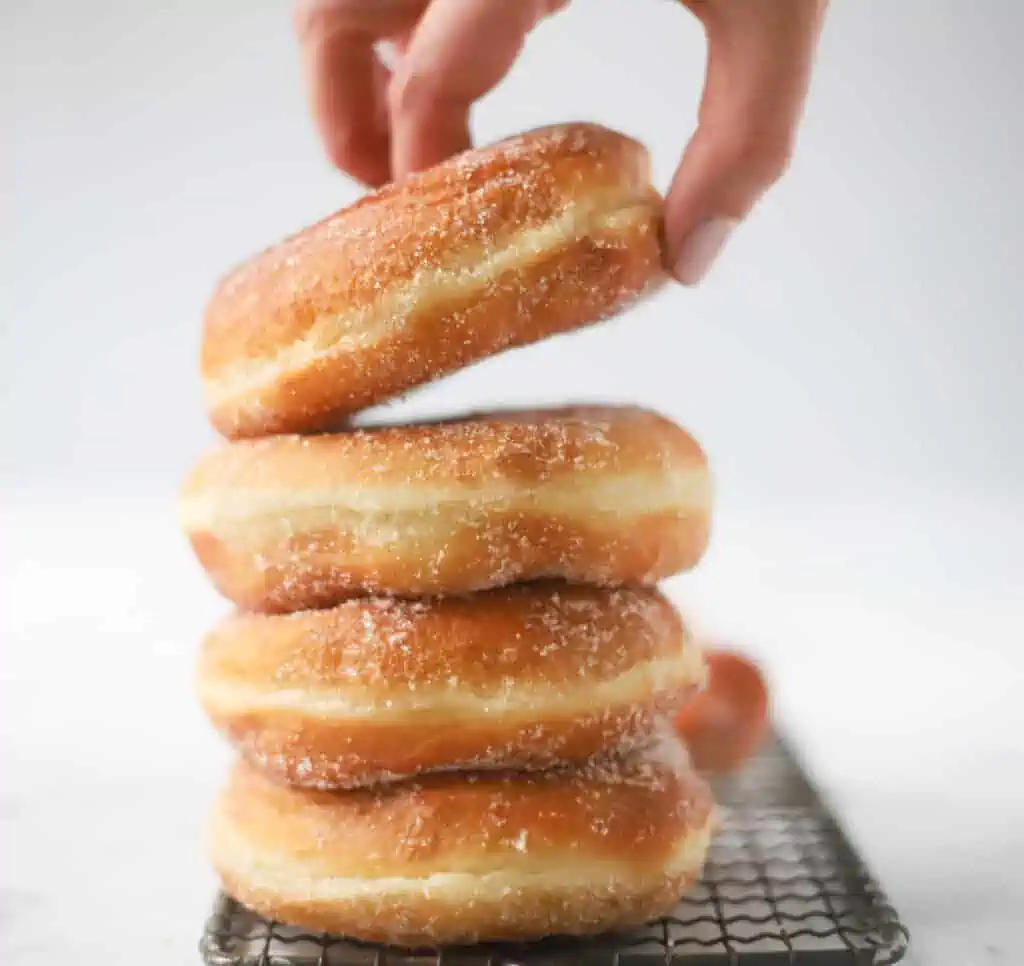
- Granulated Sugar (this is what I did for my Sugar Donuts you see below ⬇️)
Baked Vs. Fried
Instead of frying donuts, you can bake donuts instead. And there are baked donuts that use baking powder/baking soda and do not yeast. For baked donuts I use a donut pan.
The key to good baked donuts is to:
- NOT overmix the batter. This is similar to making muffins. Overmixing will create gluten which creates a tough, chewy donut and not a light fluffy one.
- Make sure your leavening agents are fresh. The type of baked donut do not rely on yeast so you need to make sure your leavening agents are fresh and still active (aka will create bubbles to help your donuts rise). You can read more here about Baking Powder vs. Baking Soda.
- Do NOT overfill the donuts. I aim for about 2/3 to 3/4 full and try to keep the batter below the line of the well. If you fill them too much they will bake over the center well and not create that donut shape. If you do overfill them, use a small pastry tip after they are baked to cut out the center again.
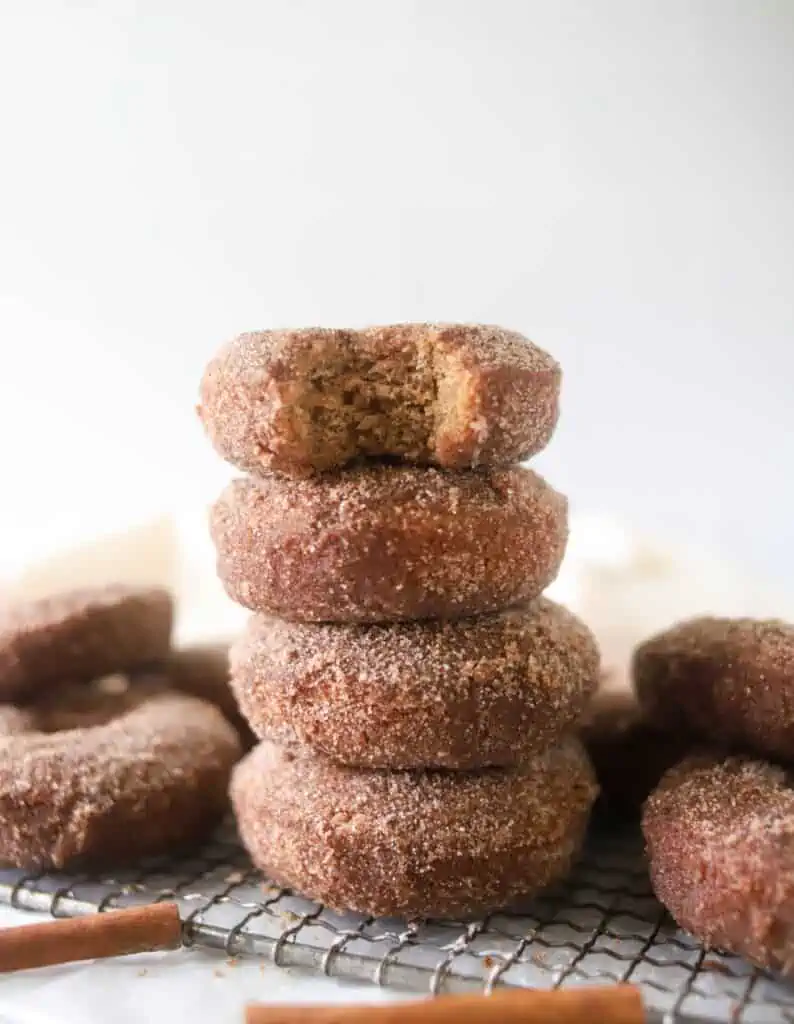
Check out these Baked Apple Cider Donuts …aren’t they gorgeous?! These were made in my donut pan and require NO yeast! ⬇️
Donut Recipe FAQ’s
Some baked donut recipes will not require a mixer, or at least a hand mixer will get the job done (if it’s calls for a creaming step. ) If it’s a dough that requires yeast and kneading, you can make the dough by hand or again with a hand mixer, and then knead the dough by hand as well. The time to mix the donut dough will take a bit longer.
I like to use a neutral-tasting oil like canola. Canola oil has a mild flavor and high smoke point. Sunflower oil is another great option. Vegetable, peanut, or corn oil is another great option. Frying oil can usually be used twice before disposing of it.
If you don’t own a donut cutter yet (<– this is the one I own and it’s awesome!) you can use a 3″ round cutter, and then a smaller 1″ round cutter for the center or use a piping tip (large end) to cut out the center. You could also use for cutting out the donuts a large water drinking glass.
I think homemade donuts are best the day they are made, however I’ve enjoyed 2-3 days after. I store them at room temperature, covered. If they are glazed the donuts might get a bit sticky over time.
I would freeze donuts without a glaze, and they should keep for up to 3 months. Thaw at room temperature and glaze as normal.
More Donut Recipes To Try
Once you’ve mastered this donut recipe here are a few more donut recipes to try!
My Favorite Donut Tools
When it comes to making perfect donuts at home, I rely on a few tools to make the job much, much easier! These are the ones I own and recommend:
Glazed Yeast Donuts
Ingredients
For the donuts
- 3 cups (360 g) All-Purpose Flour
- 1/4 cup (50 g) granulated white sugar
- 1/2 teaspoon salt
- 2 teaspoons instant yeast *see note if using active dry yeast
- 1 large egg
- 1 cup (240 ml) milk
- 2 tablespoons (28g) melted butter
- 1 teaspoon vanilla extract
- 6 cups oil for frying
For the glaze
- 2 cups confectioners sugar
- 1/4 cup milk
- 1 teaspoon vanilla extract
Instructions
- In a bowl of your stand mixer, wit a paddle attachment, stir together the dry ingredients. Add to bowl, egg, milk, melted butter, and vanilla. Mix to combine. Cover and let rest for 5 minutes.
- Switch to a dough hook attachment, and knead the dough for 6 to 8 minutes, until it's smooth and soft. You can also knead the dough by hand, but it will take longer to knead. Place the dough in a lightly greased bowl, turn it over to coat the top,. Cover with a clean kitchen towel and let it rise for 1 1/2 to 2 hours, until doubled in size.
- Gently deflate the dough by pressing your fist down into the dough. Turn the dough onto a lightly floured surface. Using a lightly floured rolling pin, roll it 1/4" thick, and cut out doughnuts with a 3-1/2" donut cutter. (if you don't have a donut cutter – then use a round cookie cutter or biscuit cutter, then a smaller cutter to cut out the hole in the middle – a round piping tip or smaller cutter works great! Cover loosely with greased plastic wrap and let the doughnuts rise for about 30 minutes to an hour, until doubled in size.
- Heat the oil or shortening in a heavy frying pan or skillet to 350°F. Set up a wire cooling rack, and place paper towels over it (this will be used to cool and drain the cooked donuts when you take them out of the oil). Carefully place the doughnuts in the oil and fry until golden brown, about 1 minute, then flip over and cook on the second side for no longer than a minute. Cook only 2 to 3 donuts at a time, otherwise you will crowd the pan and the oil temperature will drop. Remove from the oil with a slotted spoon and place on the cooling rack.
- In a small mixing bowl combine the glaze ingredients. Dip each doughnut into the glaze. Coat on each side.
Video
Notes
- Storage: These are best eaten the day they are made.
- Yeast: If you are using active dry yeast the rising times will be longer.
- Make ahead: After cutting out the donuts, place on a baking sheet, cover and keep in the fridge and fry the next day.
- Baking: If you wanted to bake the donuts instead of frying, after the donuts have been shaped have gone through the final rise then bake the donuts for about 14 minutes in a 350oF oven. They won’t be quite as crispy on the outside and get that deep-fried flavor but this process will be much easier.
- Oil: Use a neutral flavored oil to fry these donuts in, like vegetable or canola oil. But you can also use sunflower, corn, or peanut oil are also great choices. Do not use an on oil with a low smoke point or that would impart flavor, like olive oil.
- Slightly adapted from King Arthur Flour




Charlotte says
Hello there, from the UK! Love the sound of your recipe, they look incredible. Just had a question, hope that’s okay 🙂 how much longer would you recommend prooving the dough for if using dry yeast? And how much would you recommend using?
I’m also looking to do big doughnuts (10cm long) for a party with no holes in the middle. Do you have a suggestion for the temperature and length of time per side at all?
Thank you SO much in advance! 🙂
Heather says
Hi Charlotte! Greetings from this side of the pond 🙂 So yes I use dry yeast (either instant or active dry). So you can follow the recipe shown. I haven’t made big donuts before but I think the frying time shouldn’t be too much longer -maybe 30 seconds to 1 minute longer? I would do a test donut and then cut it open to see if the time was long enough so you know the donuts aren’t raw in the middle. Hope that helps!!