This Post May Contain Affiliate Links. Please Read Our Disclosure Policy.
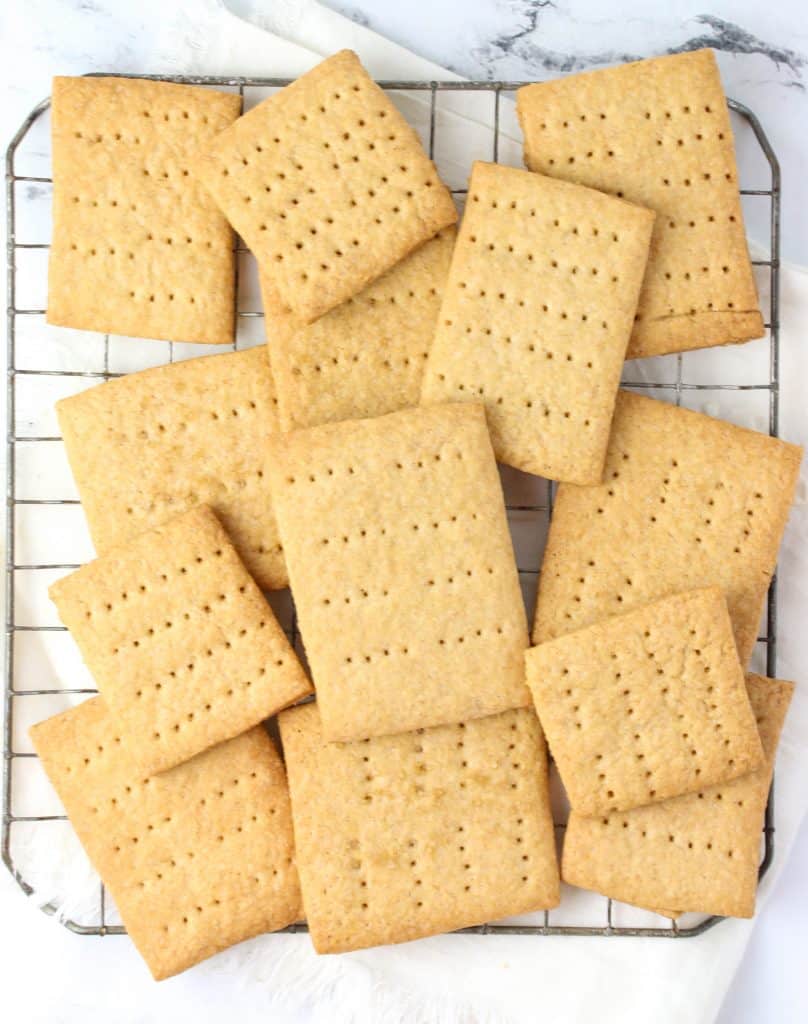
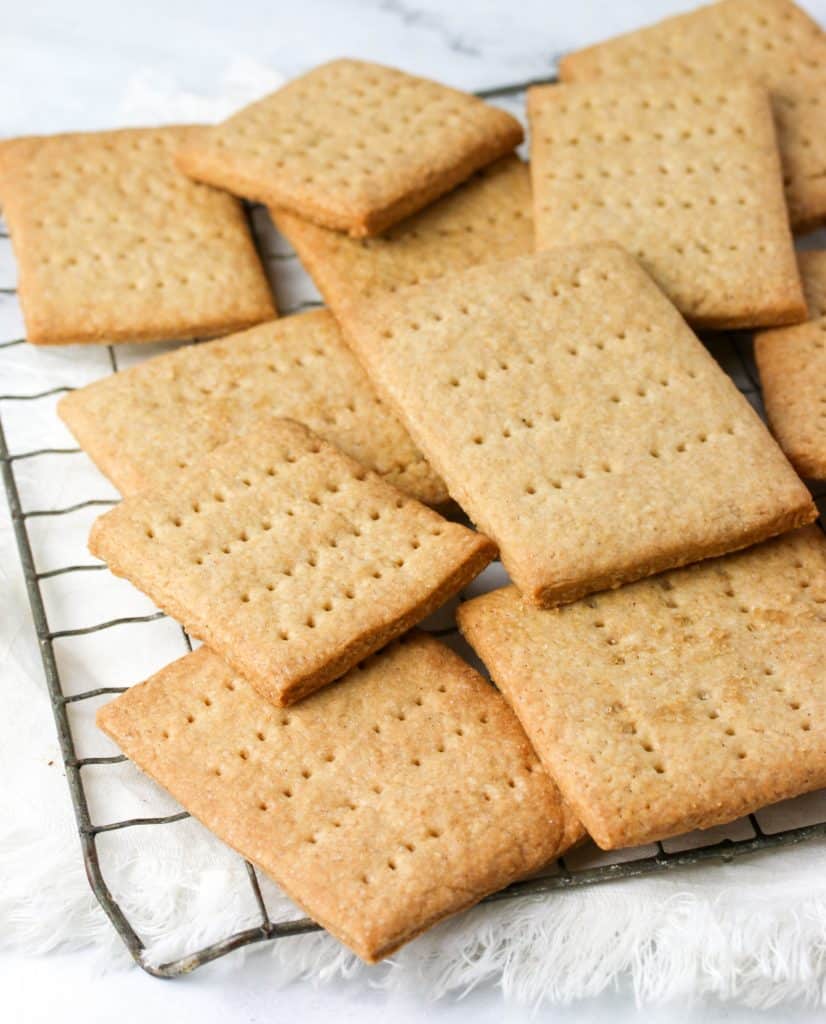
Making homemade Graham crackers is easy and fun! Skip all those weird extra ingredients and use this Graham crackers recipe to make your own instead. They’re sweet, crunchy, and perfectly golden – perfect for S’mores, pie crusts, and dessert sandwiches!
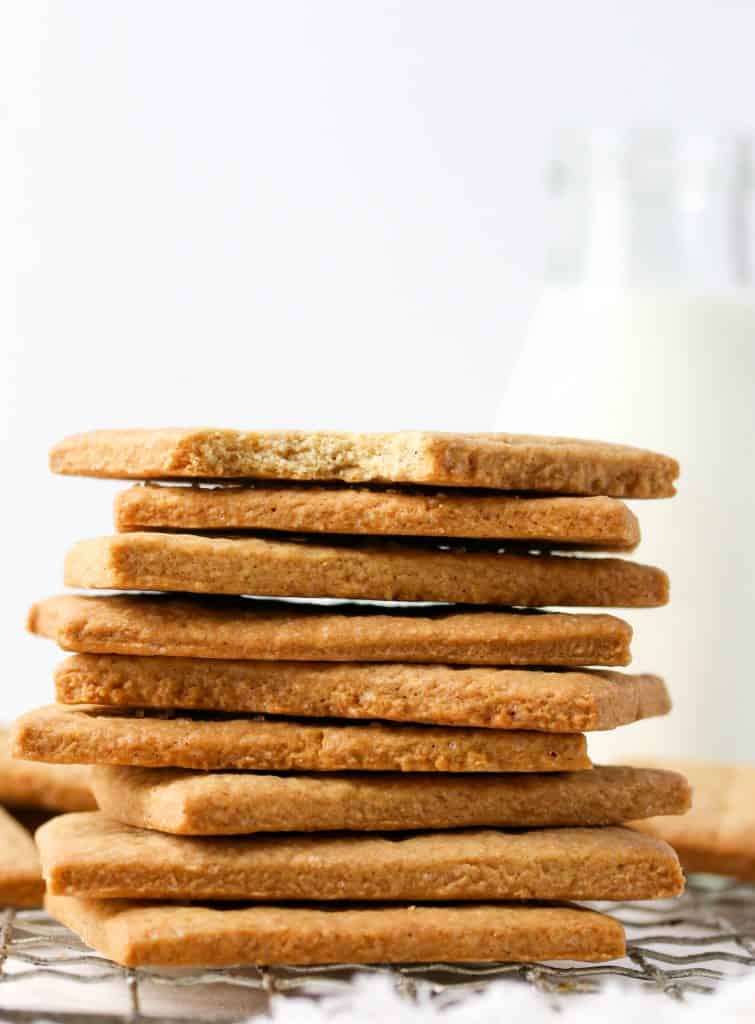
I should start out by saying that Graham crackers are nothing I ever really think about until there is a campfire, a bag of marshmallows and couple Hershey bars involved. Sure, they can be a fine snack. Just not one I gravitate towards on their own. I want them to be the vehicle behind my lovely, perfectly charred marshmallow and soon to be melted chocolate. Otherwise, I can leave them.
These crackers on the other hand? Well it’s insulting really to put them in the same category as the store bought version. These are just..well better. That’s it. Hands down. Not even a contest. Where have these crackers been all my campfire days? Oh S’mores, you don’t know what has hit you this summer.
I beg you to try and make these at least once this summer. Put down that blue box with their brown paper wrapped crackers inside. Walk away. Instead go get the ingredients for these. And say hello to a better s’more. Or at least a very addictive snack. A snack you will feel much better about eating.
Ingredients for Homemade Graham Crackers
- All-purpose flour – Start with basic white flour, nothing too fancy.
- Whole wheat flour – A bit of whole wheat flour adds the signature Graham crackers flavor.
- Cinnamon – A little goes a long way to add a warm, toasty flavor to the crackers.
- Baking soda – This helps the crackers rise just a little while baking.
- Salt – Salt draws out the flavor in the flours, sugars, and cinnamon.
- Unsalted butter – There is already added salt in the recipe, so you can use unsalted butter. Leave it on the counter for a few hours to soften before baking.
- Granulated sugar – Graham crackers are always lightly sweet, so of course you need sugar.
- Light brown sugar – Brown sugar lends sweetness and a delicious, slightly caramel-y taste to the crackers. Dark brown sugar is a little overpowering for this recipe, so stick with light.
- Vanilla extract – This is my adaptation to the original recipe because I just love adding a little vanilla to just about anything!
- Water – This will help pull the ingredients together to form a soft, moist dough.
- Turbinado sugar – Turbinado sugar is a lightly textured natural brown sugar. If you don’t have any, you can substitute with regular brown sugar or granulated sugar.
How to Make Homemade Graham Crackers
Combine the dry ingredients.
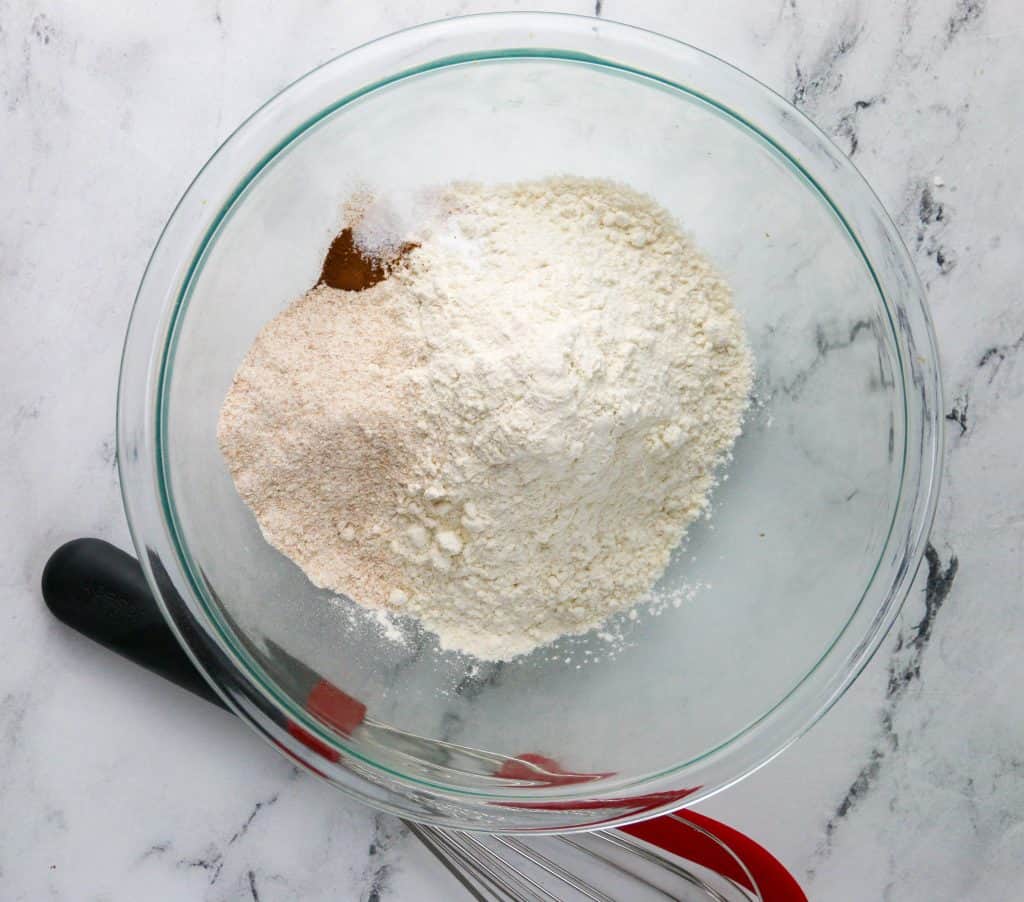
In a medium bowl, mix together the flours, cinnamon, baking soda, and salt. Set aside.
Make the dough.
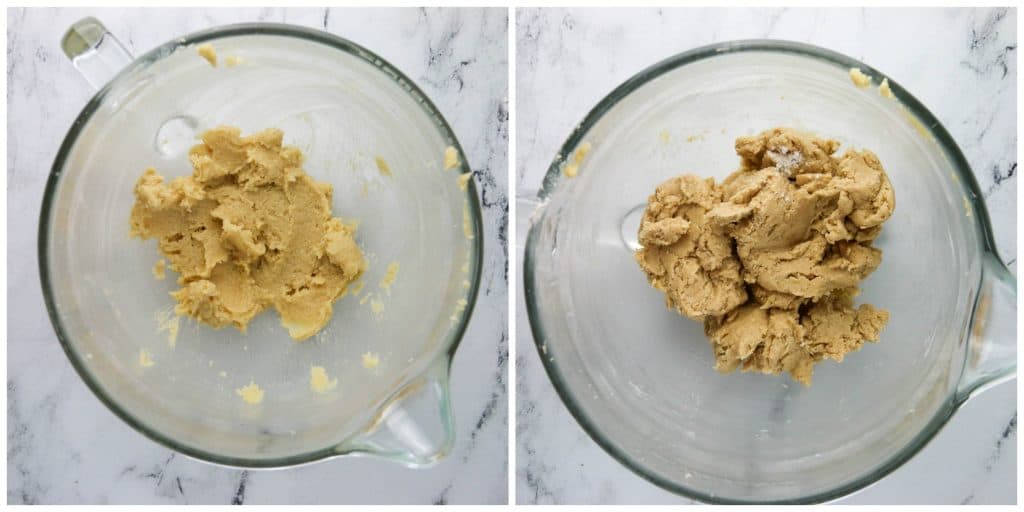
In the bowl of an electric mixer fitter with a paddle attachment, beat the butter, granulated sugar, and brown sugar until light and fluffy, about 3 minutes. With the mixer on low speed, add 1/3 of the flour mixture and 1/4 cup of water. Mix for 30 seconds. Repeat once, then add the last 1/3 of the flour mixture and mix until just combined.
Roll out dough.
Turn the dough onto and cover with plastic wrap and refrigerate for 30 minutes. Then roll out the to 1/8 inch thickness on a lightly floured surface.
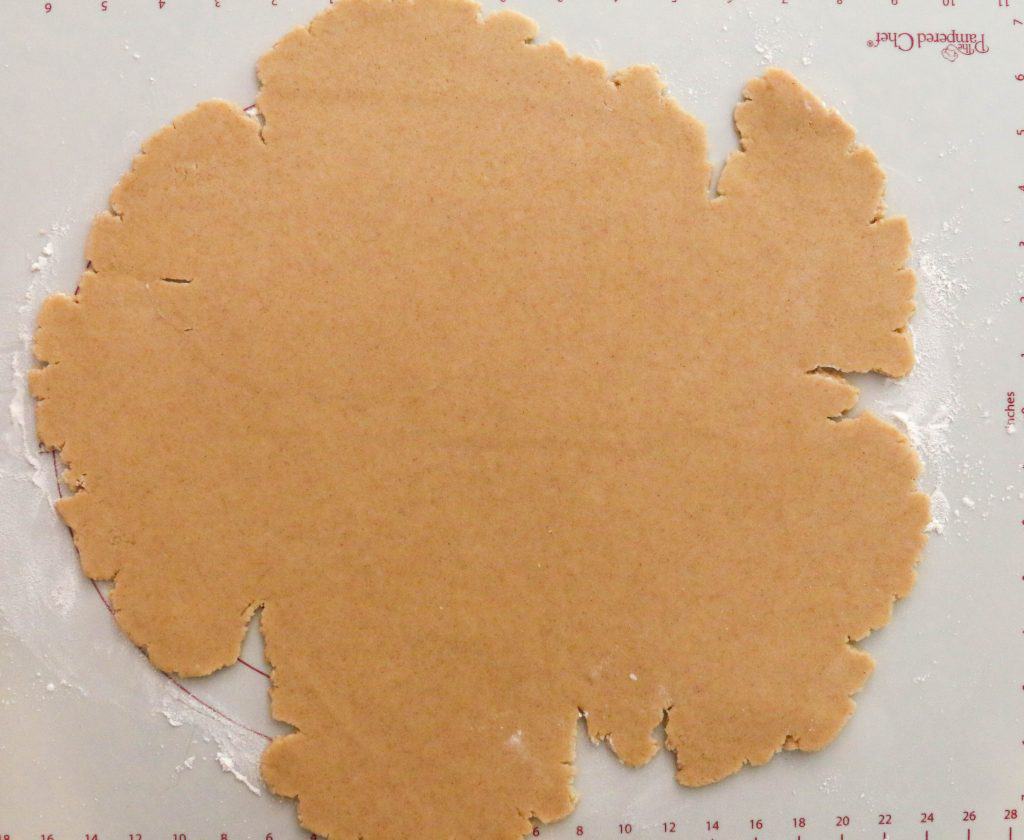
Shape the Graham crackers.
Using a square cookie cutter, sharp knife, or pizza wheel cut the dough. I cut mine into rectangles of 2 1/2 inches by 3 1/2 inches. But you can also cut them into squares.
Re-roll the scraps twice to cut out additional cookies. Place onto a baking sheet lined with parchment. I like to then give them their signature look by pressing into the dough with the tines of a fork.
Sprinkle with turbinado sugar, and bake at 350F for 20 minutes. Rotate the sheet halfway through for even cooking. Cool for 10 minutes on the baking sheet, then move to cooling rack to cool completely.
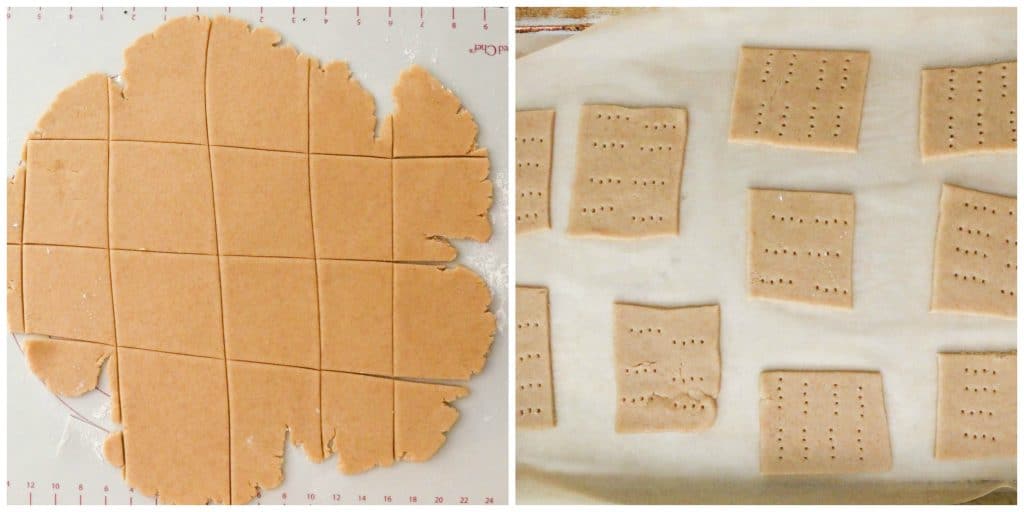
Recipe Tips
- Refrigerate before baking. After you roll and cut them out, place the crackers on your cookie sheet and pop them back in the refrigerator. I hate when they say, work fast before your dough becomes too soft! Ugh the pressure! I just can’t deal with that. So if your dough becomes soft, work at your own pace and then use the fridge as your friend.
- Move the dough around. As I am rolling out the dough I like to turn the dough a 1/4 turn each time I roll so I ensure it isn’t sticking. If it is, I just dust with a little flour.
- Be flexible with the shaping. If you don’t have a square cookie cutter, use a ruler and a pizza cutter or knife to cut them out. You can use a fork to add the signature scoring before baking or leave them as-is.
Recipe FAQ’s
Graham crackers should be stored in an air-tight container on the counter for up to 5 days (no need to refrigerate). If longer than 5 days, try freezing them (see directions below).
Yes! Whole wheat flour adds the signature nutty flavor to the crackers. Making it without whole wheat flour really isn’t the same.
Yes! You can make and cut the dough, then freeze the crackers before baking for up to three months. Bake straight from frozen as directed, adding an additional few minutes if needed. You can also freeze the cookies after baking. Just store in an airtight container or freezer zipper bag, then freeze for up to 10 months. Thaw at room temperature.
Other Recipes To Try
Homemade Graham Crackers Recipe
Ingredients
- 2¼ cups (270 g) all-purpose flour
- ¼ cup (27 g) whole wheat flour
- ¼ tsp cinnamon
- ¼ tsp baking soda
- ¼ tsp salt
- ½ cup (1 stick) unsalted butter at room temperature
- ½ cup (99 g) granulated sugar
- ¼ cup (53 g) light brown sugar packed
- 1 tsp. vanilla extract
- 1/4 cup water
- ¼ cup turbinado sugar or substitute with regular brown sugar or granulated sugar
Instructions
- In a medium bowl, whisk together the flours, cinnamon, baking soda, and salt.
- In the bowl of an electric mixer fitted with the paddle attachment, beat together the butter, granulated sugar, and brown sugar on medium speed until the mixture is light yellow and fluffy, about 3 minutes. Add the vanilla extract.
- With the mixer on low speed, add a third of the flour mixture and half of the water. Mix for 30 seconds. Repeat this step once, then add the remaining flour mixture and mix until just combined.
- Turn the dough out onto plastic wrap and wrap up. Refrigerate for 30 minutes.
- On a lightly floured surface, roll the dough out to about 1/8-inch thickness.
- Preheat the oven to 350 degrees. Line a baking sheet with parchment paper.
- Using a sharp knife or pizza wheel cut the dough into rectangles, about 3 1/2 inches by 2 1/2 inches. Not every rectangle will be perfect it's ok! Or you can use a square cookie cutter (the yield will be different). Place rectangles onto a baking sheet, spaced about 2 inches apart. Prick the cookies with a fork. Sprinkle each cookie with a pinch of turbinado sugar.
- Bake for 20 minutes, rotating the sheet halfway through, or until the cookies are a dark golden color around the edges. Let cool for 10 minutes, then move to a wire rack to cool completely.
- As the first batch is baking, go ahead and re-roll the scraps and cut out more cookies. Prick the tops with a fork and sprinkle with sugar. Place the on a second baking sheet and refrigerate while the first batch bakes.
Notes
- Refrigerate before baking. After you roll and cut them out, place the crackers on your cookie sheet and pop them back in the refrigerator. I hate when they say, work fast before your dough becomes too soft! Ugh the pressure! I just can’t deal with that. So if your dough becomes soft, work at your own pace and then use the fridge as your friend.
- Be flexible with the shaping. If you don’t have a square cookie cutter, use a ruler and a pizza cutter or knife to cut them out. You can use a fork to add the signature scoring before baking or leave them as-is.
- Storing: Store in an air-tight container on the counter for up to 5 days.
- Freezing: Freeze raw crackers in an air-tight container for up to three months. Bake from frozen as directed, adding an additional few minutes of baking time if needed. Or freeze cooked crackers for up to three months and thaw at room temperature.
- Adapted from One Girl Cookie cookbook


Kathryn Smith says
These were really good. They are very crispy & have a lovely cinnamon taste. Not too sweet which is good since I’m not a fan of super sugary foods.
Heather says
thank you Kathryn!!
Rachel Balfour says
Would they keep for 2 weeks in a sealed bag?