
Peppermint Meringue Cookies
This Post May Contain Affiliate Links. Please Read Our Disclosure Policy.
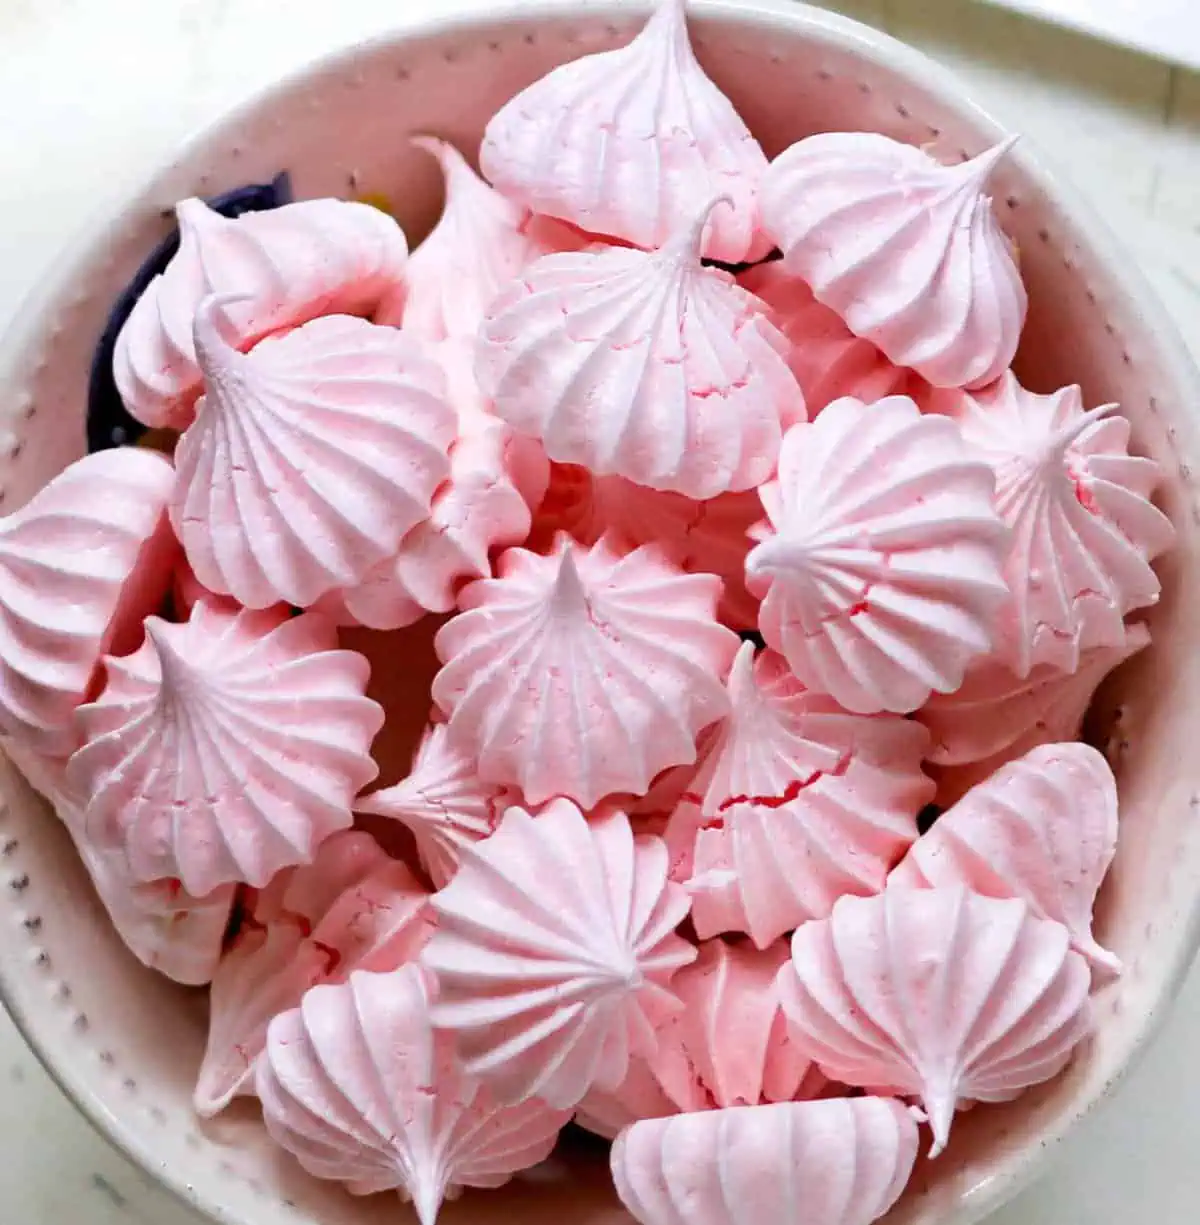
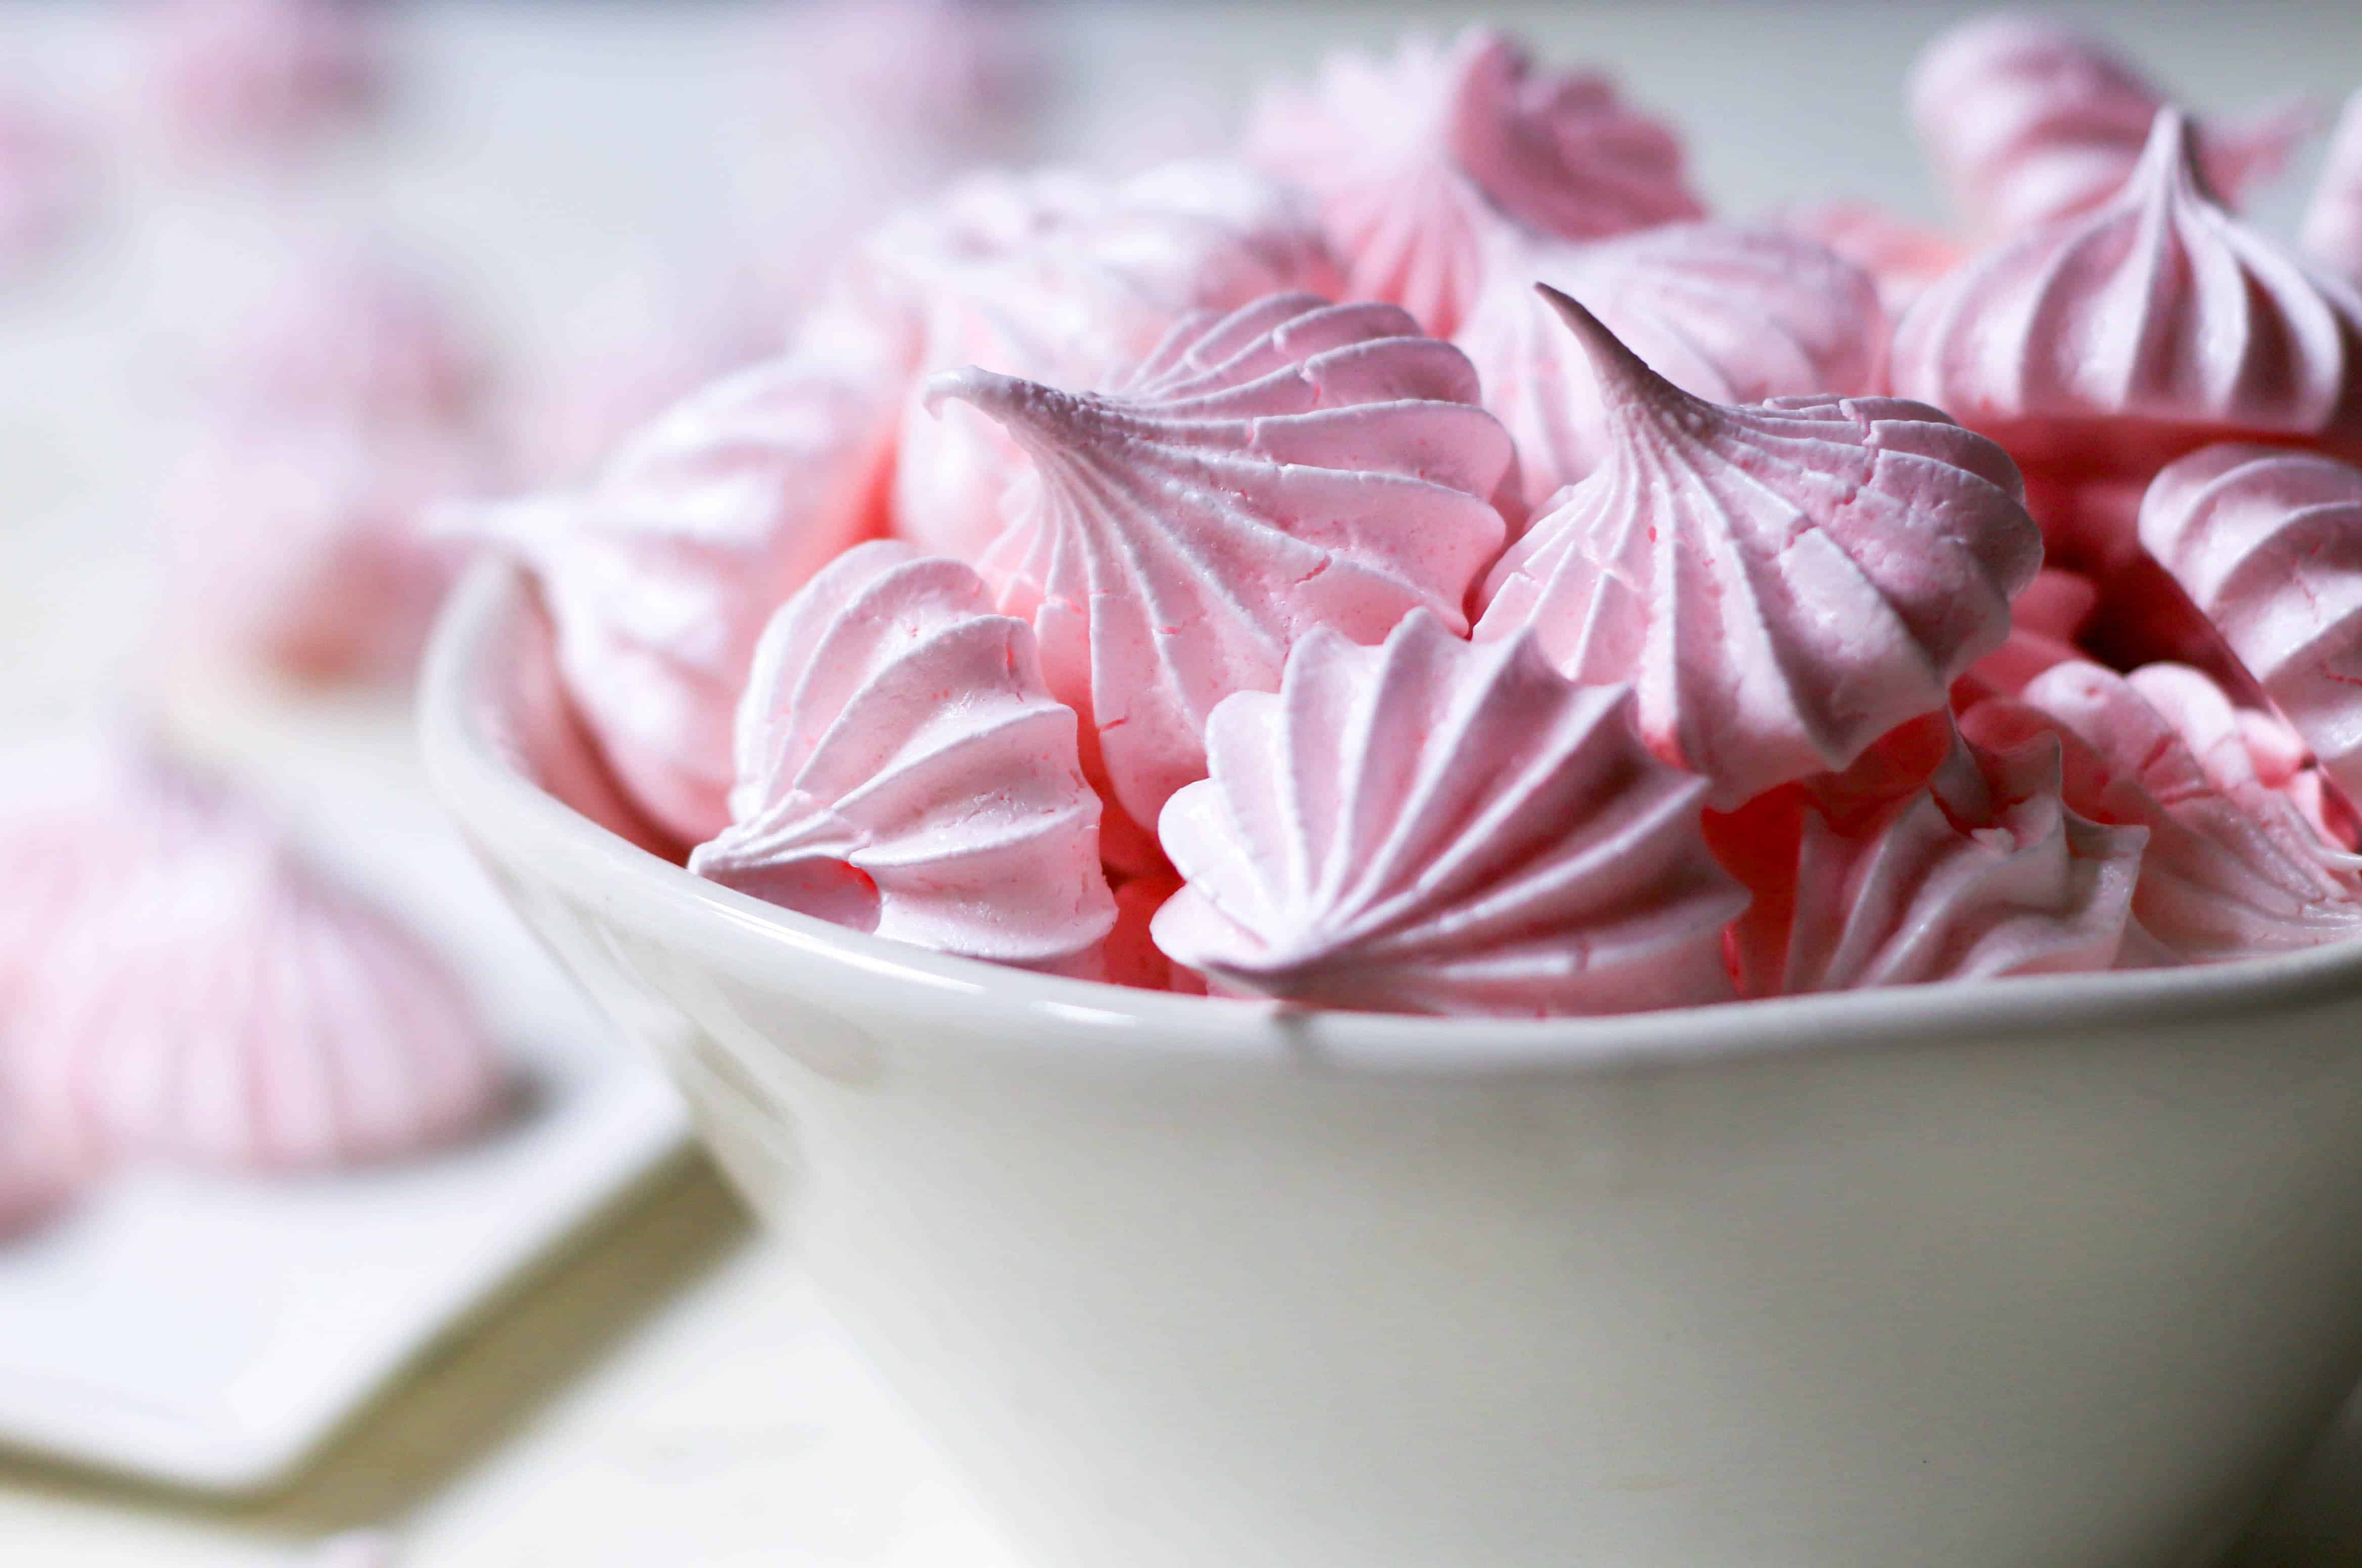
Looking for a cookie that doesn’t kill the diet but also encompasses the holiday season? These chewy and airy pink peppermint meringue cookies are easy to make and a perfect gluten free cookie to add to your holiday cookie platter.
Listen I’m all for indulgence during the holiday season. The cookies, the mulled wine, the platters of meats and sides, and appetizers. Sure, bring it all on. But sometimes it’s nice to have your holiday and eat it too (and still fit into your pants).
Yes this time of year I can be found baking up a storm. From these Chocolate Cinnamon Rolls, to No-Chill Sugar Cookies, and asking for a second slice of this No Bake Turtle Pie. But I also love when my sweet tooth can be indulged and I don’t feel guilty about it. Enter these peppermint meringue cookies.
If you’re a fan of peppermint desserts, you’ll love these delicious options! Try the decadent Chocolate Peppermint Cake for a perfect balance of chocolate and mint. Or indulge in Peppermint Bark Cookies for a crispy, minty treat. And for an extra creamy delight, make the Peppermint Cheesecake, which is sure to impress any peppermint lover!
Since they are a meringue after all, that means no butter or flour in the recipe. But with the addition of peppermint extract it gives it a minty holiday spin to these cookies. And I tinted them with a little red food coloring to make them pretty in pink. Big on flavor. Low on guilt. Yes please!
Get My Christmas Cookie Book!
Grab a copy of The Christmas Cookbook to guide you with the best and most delicious cookie recipes to serve these holidays! In this e-book I am sharing with you fun, and easy cookie recipes perfect for Christmastime!
Over 25 cookie recipes, plus easy no-bake cookies + easy icing recipes to decorate your cookies with. In addition, I’ll be sharing with you:
- My favorite cookie baking tools
- Cookie Ingredients 101
- How To Store and Freeze cookies guide
- +Ultimate Cookie Troubleshooting Guide
Make this Christmas the most memorable! Get my Christmas Cookie Book now!
What Are The Three Types Of Meringues
Wait there’s more than one?! Oh yes! There’s three and it really boils down (pun intended, you’ll see why in a second) to how the sugar is added to the egg whites.
- French – This is by far the easiest method! And the one we are using today (hip, hip hooray!). Sugar is added SLOWLY to the egg whites while they are being whipped.
- Swiss – With this type, the sugar and egg whites are heated to 160F and then whipped. You can use this base to make a silky Swiss Meringue Buttercream.
- Italian – Probably the trickiest, but worth it in the end if you try it. Here a sugar syrup is made and heated, and then poured into the egg whites to stabilize them as they whip. You can use this as base to make Italian Meringue Buttercream.

Ingredients For Meringue Cookies
- Egg whites – You need 3 large egg whites at room temperature. It’s important they are at room temperature so they properly whip up in volume.
- Cream Of Tartar – This ingredient, also known as tartaric acid, helps to stabilize your egg whites! Don’t leave it out!
- Granulated Sugar – These will help sweeten the meringues and will be added gradually to the egg whites so as not to deflate them.
- Peppermint Extract – This adds a bit of mint flavor. You don’t need much as these extracts are quite strong.
- Red food coloring – You don’t have to add this if you don’t want but I love the pink color it gives to these meringues!

How To Make These Meringue Cookies
- Prep Your Pans And Oven. You want to start by pre-heating your oven to 200 degrees Fahrenheit. Meringues get cooked low and slow! Then line two cookie sheets with parchment paper or silicone baking mats so they don’t stick.
- Start whipping your egg whites. Next you will need to whip your egg whites. You want to make sure you are using a clean, grease-free metal (or glass) bowl beat egg whites with whisk attachment and cream of tartar on low for 1 minute. Egg whites will be foamy at this point but no peaks will form yet.
- Add your your sugar but slowly. Gradually sprinkle sugar into mixer while running on low, about a tablespoon at a time. You don’t want overwhelm and deflate the egg whites.
- Now it’s time for some flavor! Go ahead and add peppermint extract.
- Stiff Peaks! You need to then continue to whip the egg whites on medium speed until stiff peaks form, about 7 minutes. I have a picture below so you can see what it looks like. Basically it’s going to taste like a peppermint marshmallow fluff!
- Add the food coloring. At this point if you want to make it all pretty and pink add a few drops of red food coloring, and stir with a spatula. You can mix less if you want a more swirled effect. Or until a uniform pink color is achieved. You can also use a clean paintbrush and paint stripes of coloring on the inside of a piping bag to achieve a striped effect.
- Then it’s time to pipe! With a piping bag fitted with a #32 star tip. Transfer meringue to bag. Pipe 1-1/4-in.-diameter cookies 2 in. apart onto baking sheets.
- Time to bake. Bake your meringues for about 40-45 minutes or until firm to the touch. Turn off oven (do not open oven door); leave meringues in oven 1 hour. Remove from oven; cool completely on baking sheets. Remove meringues from paper; store in an airtight container at room temperature.

Tips For Making These Peppermint Meringues
- Room Temperature Egg Whites. You want to use room temperature egg whites so they whip up to full volume. I place my whole uncracked eggs into a bowl of warm water for 10 minutes to get this done fast.
- Grease Free. You want a clean grease free bowl to whip your egg whites. Any grease will inhibit the egg whites from whipping up properly.
- Crack Each Egg Separately. When cracking your egg whites, crack each one separately in a small bowl then add to your large bowl. This is in case any egg yolk gets in the egg white, the whole batch is not ruined. Any egg yolk in your egg whites will prevent the egg whites from whipping up properly. Read this post on more ways to separate your eggs cleanly.
- No plastic bowls. Do not use a plastic bowl because over time it can hold on to grease and fat. Metal is best. Glass will work as well but can be slippery.
- Add the sugar slowly. You need the sugar to dissolve so it needs to be added slowly. I recommend adding a tablespoon at a time! If you’re not sure if it’s dissolved, you can feel the mixture between your fingertips. If it feels gritty keep mixing before adding more.
- Stiff Peaks Then Stop. You need to mix to stiff peaks that are smooth and glossy (like the photo above). This will take a while. But if it’s reached this stage, then STOP. Do NOT overbeat! This can make your meringue dry and grainy instead.

How do I pipe meringue cookies?
First you want to use a large piping tip so you can nice open swirl. I used a #32 Star tip. Then squeeze your piping bag from the top not the bottom and hold it in place but gently raise it up as you pipe out the meringue to pipe meringue “kisses” then stop squeezing and pull the piping bag away. Don’t worry it takes practice!
Why Are My Meringues Chewy?
This is due to the sugar pulling moisture from the air, so it’s why we need to let them sit in the oven with the door closed. If you do find your cookies chewy, you can crisp them back up in a 200F oven for 10 minutes.
How long do meringue cookies last?
The best part about these cookies is they last 2 weeks! As long as they are kept dry. Just pop them into an airtight container and store at room temperature.
How do I know when my meringues are done?
You want them crisp and light, but not browned. That’s why it’s important they bake for a long time at a low heat. If they are done, you should be able to easily lift them off the parchment paper and the bottoms should be dry.
Craving More Mint? Try These Recipes
Get My Christmas Cookie Book!
Grab a copy of The Christmas Cookbook to guide you with the best and most delicious cookie recipes to serve these holidays!

Peppermint Meringues
Ingredients
- 3 egg whites large, at room temperature
- 1/4 teaspoon cream of tartar
- 2/3 cup (133 g) granulated sugar
- 1/4 teaspoon peppermint extract
- Drops of red food coloring optional
Instructions
- Pre-heat oven to 200oF (93°C). Line two baking sheets with parchment paper or silicone baking mats.
- In the bowl of stand mixer, fitted with a whisk attachment, beat egg whites with and cream of tartar together on low for 1 minute until foamy.
- With mixer running low speed, gradually add sugar into mixer, one tablespoon at a time.
- Stir in peppermint extract.
- Continue to whip egg whites on medium speed until stiff peaks form, about 7 minutes.
- Add a few drops of red food coloring, and stir with a spatula. You can mix less if you want a more swirled effect. Or until a uniform pink color is achieved. You can also use a clean paintbrush and paint stripes of coloring on the inside of a piping bag to achieve a striped effect.
- With a piping bag fitted with a #32 star tip. Transfer meringue to bag. Pipe 1-1/4-in.-diameter cookies 2 in. apart onto baking sheets.
- Bake 40-45 minutes or until firm to the touch. Turn off oven (do not open oven door); leave meringues in oven 1 hour. Remove from oven; cool completely on baking sheets. Remove meringues from paper; store in an airtight container at room temperature.
Notes
- Storage: The cookies last 2 weeks. As long as they are kept dry. Just pop them into an airtight container and store at room temperature.
- Room Temperature Egg Whites. You want to use room temperature egg whites so they whip up to full volume. I place my whole uncracked eggs into a bowl of warm water for 10 minutes to get this done fast.
- Grease Free. You want a clean grease free bowl to whip your egg whites. Any grease will inhibit the egg whites from whipping up properly.
- Crack Each Egg Separately. When cracking your egg whites, crack each one separately in a small bowl then add to your large bowl. This is in case any egg yolk gets in the egg white, the whole batch is not ruined. Any egg yolk in your egg whites will prevent the egg whites from whipping up properly.
- No plastic bowls. Do not use a plastic bowl because over time it can hold on to grease and fat. Metal is best. Glass will work as well but can be slippery.
- Add the sugar slowly. You need the sugar to dissolve so it needs to be added slowly. I recommend adding a tablespoon at a time! If you’re not sure if it’s dissolved, you can feel the mixture between your fingertips. If it feels gritty keep mixing before adding more.
- Stiff Peaks Then Stop. You need to mix to stiff peaks that are smooth and glossy (like the photo above). This will take a while. But if it’s reached this stage, then STOP. Do NOT overbeat! This can make your meringue dry and grainy instead.


This is a great recipe. Although one down side of making any meringue is when piping it out, it will come out the top & make a sticky mess.
Thanks Kathryn! Haha yes that is one downfall 🙂