This Post May Contain Affiliate Links. Please Read Our Disclosure Policy.
This post will go into detail and answer the question that’s on your mind, “What Is Sourdough?”. You will learn what make this type of bread so special is, and all the benefits of making this bread made from wild yeast plus recipes and tutorials!

I have seen the light, friend. The sourdough light and I am never going back. And if you are making your first ever sourdough bread recipe, you too will see the light.
Let me show you the way. Ok that’s a bit dramatic but seriously this naturally leavened bread is a game changer.
Let’s not waste another second.
What Is Sourdough?
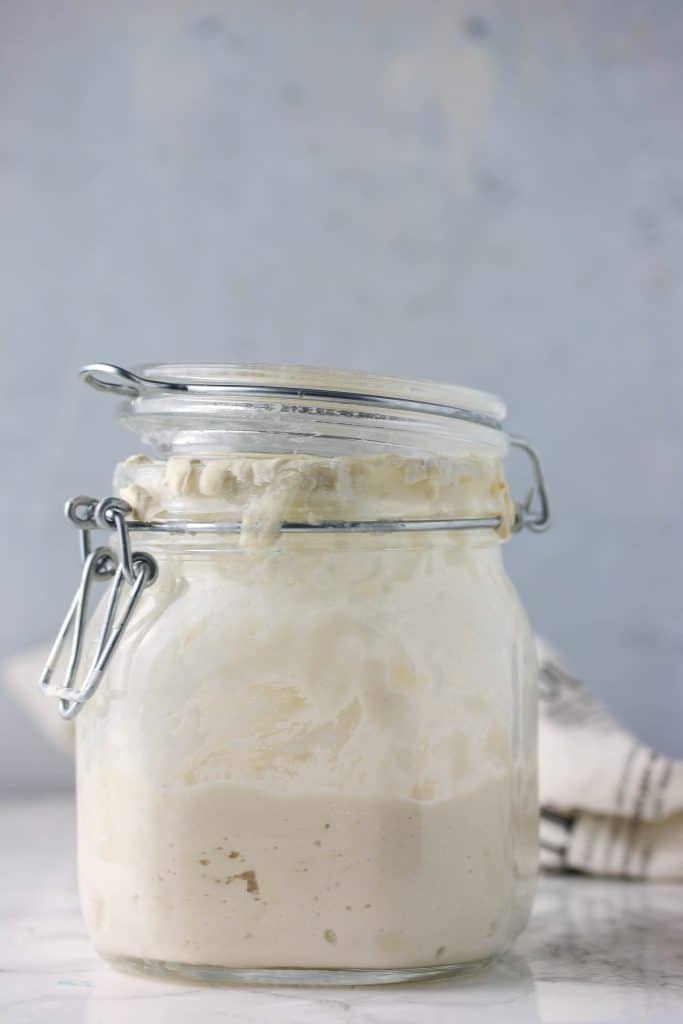
Sourdough is basically an ancient way of making bread. It doesn’t rely on commercial yeast, but on wild yeast. By simply combining flour and water, you create a live fermented culture from the wild yeast found on the grains of the wheat that the flour is made from. The more it is “fed”, meaning fresh flour and water, allows the wild yeast to multiply.
Because it relies on wild yeast, the process can take much longer than commercial yeast bread recipes. But the complex flavor and texture is far superior of any other bread you will ever eat.
Is Sourdough Bread Better For You?
Yes. 1000% yes. Sure at first glance, the nutrition label might look the same to conventional bread. But the long fermentation process is what has sourdough sailing past the conventional bread loaves by a mile for its health benefits. Plus it’s made with just a few simple ingredients compared to store-bought bread that has added chemicals and preservatives.
Phytic Acid Breakdown
Whole grains, in general, that bread is made with can contain lots of great minerals. But the body can have a hard time absorbing those minerals due to phytic acid that is present in grains. But the lactic acid created from the fermentation process helps to break down the phytic acid, which allows your body to be able to absorb more of those minerals than you would be able to with bread made from commercial yeast.
Gluten Breakdown
Also, this naturally leavened bread can be much more easily digested and enjoyed, especially those with a gluten sensitivity. The long fermentation process helps to already start the process of breaking down the gluten in the bread making it much easier to digest.
So more vitamins, minerals, and it’s easier to digest. Basically, sourdough is awesome.
Glucose Breakdown
Sourdough will also help break down the glucose because the natural yeast will feed on it. This means it will not spike your blood sugars, like a store-bought sandwich bread.

What Makes Sourdough Bread Sour?
So the thing that makes this type of bread, well, sourdough, is its “sour” flavor. And although the bread relies on the wild yeast, the sourness doesn’t actually come from it.
According to the Kitchn, The sour flavor is due from two kinds of good for you bacteria — Lactobacillus and acetobacillus . These bacteria grow alongside the wild yeast in the sourdough culture creating lactic and acetic acid, creating that sour flavor.
The amount of sour your bread will have in the end can depend on how you develop the culture, the age of the starter, the flours used – but ideally it will have a touch of sourness that plays well with the earthy, sweet, yeasty flavors of the rest of the bread.
Recipes And Tutorials
Tutorials:
- How To Make Sourdough Starter From Scratch
- How To Feed And Maintain A Sourdough Starter
- My Favorite Sourdough Bread Tools and Resources
- Sourdough A To Z Book and Course (Traditional Cooking School)
- Ultimate Guide To Sourdough Discard (Tips, FAQ’s, and Recipes!)
Recipes:

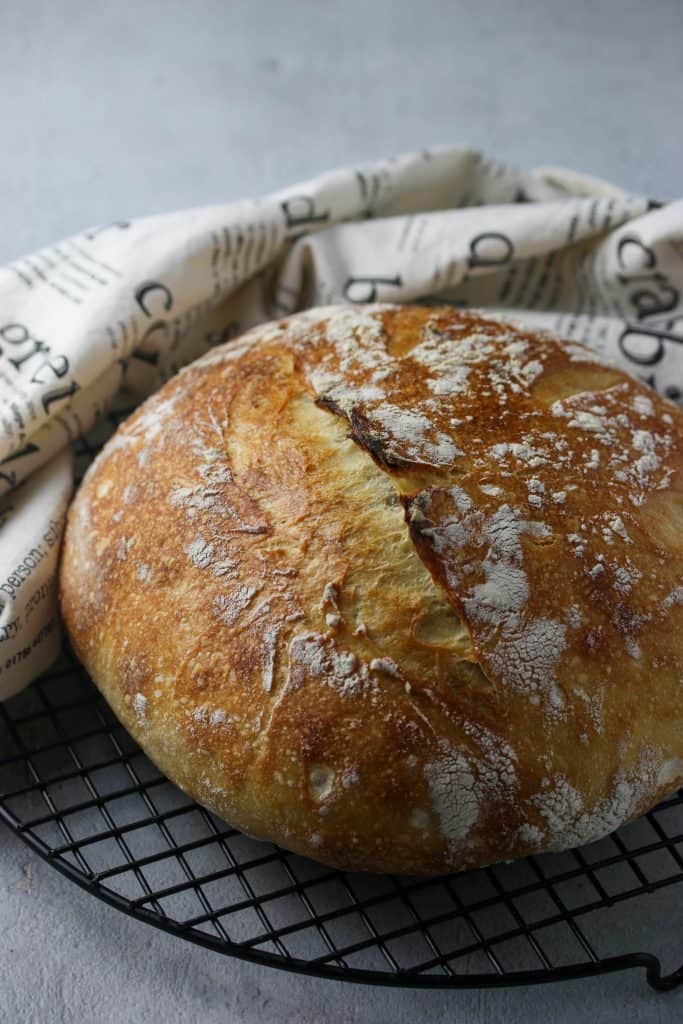
Sourdough Bread
Ingredients
- 50 g (1/4 cup) bubbly, active starter
- 350 g (1 1/3 cup + 2 Tbs.) warm water
- 500 g (4 cups + 2 Tbs.) bread flour
- 9 g (1 1/2 tsp.) salt
Instructions
- Make The Dough. Whisk the starter and water in a large bowl. Add the flour and salt. Squish everything together with your hands until all of the flour is absorbed. Cover with a damp towel and rest for 30 minutes.
- Shape The Dough. After the dough has rested, work the dough in the bowl into a rough ball. To do this, grab a portion of the dough and fold it over, pressing your fingertips into the center. Repeat, working with your way around the dough until it begins to tighten, about 15 seconds.
- Bulk Rise. Cover the bowl with a damp towel and let rise overnight at room temperature. This will take about 8 to 10 hours (at 70oF, 21oC). The dough is ready when it no longer looks dense and has doubled in size.
- Shape. After the bulk rise, remove dough from bowl and place onto a lightly floured surface. Shape into a round. Start at the top and fold the dough toward the center. Turn the dough slightly and fold over the next section of dough. Repeat until you have come full circle. Flip the dough over and let rest for 5 to 10 minutes. Meanwhile line an 8-inch bowl with a towel and dust with flour. With floured hands, gently cup the dough and pull it toward you in a circular motion to tighten its shape. Using a bench scraper, place the dough into the bowl, seam side up.
- Second Rise. Cover the bowl and let rest for 30 minutes to 1 hour. The dough is ready when it looks puffy, and has risen slightly but has not yet doubled in size. Nearing the end of the rise, preheat the oven to 400oF.
- Score. Place the parchment over the dough and invert the bowl to release. Sprinkle the dough with flour and gently rub the surface with your hands. Using a bread lame, or the tip of sharp knife score the dough. I keep it simple and do 4 cuts, but you can get creative! Use the parchment paper transfer the dough to your dutch oven.
- Bake. Bake the dough on the center rack, in a preheated 400oF oven, for 20 minutes, covered. Remove the lid and continue to bake for 20-30 minutes. Optional: Remove from oven, and remove the loaf from the pot and bake the crust for an additional 10 minutes to crisp the crust. (My crust is always dark at this point, so I skip this step). Transfer to a wire rack. Cool for 1 hour before slicing.
Notes
- Adapted From Clever Carrot
- Make sure your starter is active before you start. Drop a small piece in a bowl of water to see if it floats. It it does, then it’s ready! If not, then it may need 1-2 more feedings.
- Use Bread Flour. Yes you can use all purpose flour, but bread flour gives the best texture.
- Use A Kitchen Scale. For best accuracy, it’s best that you weigh your ingredients and not rely on volume (measuring cups)
- Damp Towel!! When you let the dough rise overnight, be sure to use a damp towel to cover it so it doesn’t dry out and not rise properly.
- Use A Bread Lame. Yes you can try and use a sharp kitchen knife to make the cuts in the top of the bread but a bread lame is a great handy tool that makes clean cuts every single time. I love my bread lame!!
- Bread Timeline: Thursday night: Remove Starter from Fridge and Feed Friday: Feed twice (once in the morning, and one at night) Saturday morning: Feed again Saturday evening: Remove the amount of starter I need to make my dough. Feed my starter again, and pop back in the fridge until next week. Sunday morning: Finish and bake my bread!

Kryshia says
Hi Heather , you are just wondeful , i got so excited when i first found you on the utube, ty ty for being on , i made your sourdough and for the first time in years whalla , your recipe for sourdough starter is the Best , im on the 18th day of feeding my sourdough and gosh is it ever bubbling , so yesterday i made your sandwich bread with sourdough it grew amazing , loved the flavor ,only complaint i have is the crust ,is a bit rubbery , have to chew a bit harder on the crust , is there a remedy for this ? its soft so nice except for this one problem , do you bake this bread uncovered ? ty sooo much keep up the good work love to try more recipes with your wondeful instructions ty ty ty Kryshia
Heather says
Hi Kryshia! That’s so sweet I’m so glad you loved the starter recipe! And with the sandwich bread yes I always bake the bread uncovered – but you could always try maybe halfway through baking just cover the bread loosely with tinfoil to prevent it from further browning. And thank you so much!!