This Post May Contain Affiliate Links. Please Read Our Disclosure Policy.
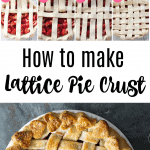
In this step by step photo tutorial you will learn how to make a beautiful lattice pie crust. Show off the beautiful pie filling and learn just how easy it is to create one of these types of crusts!
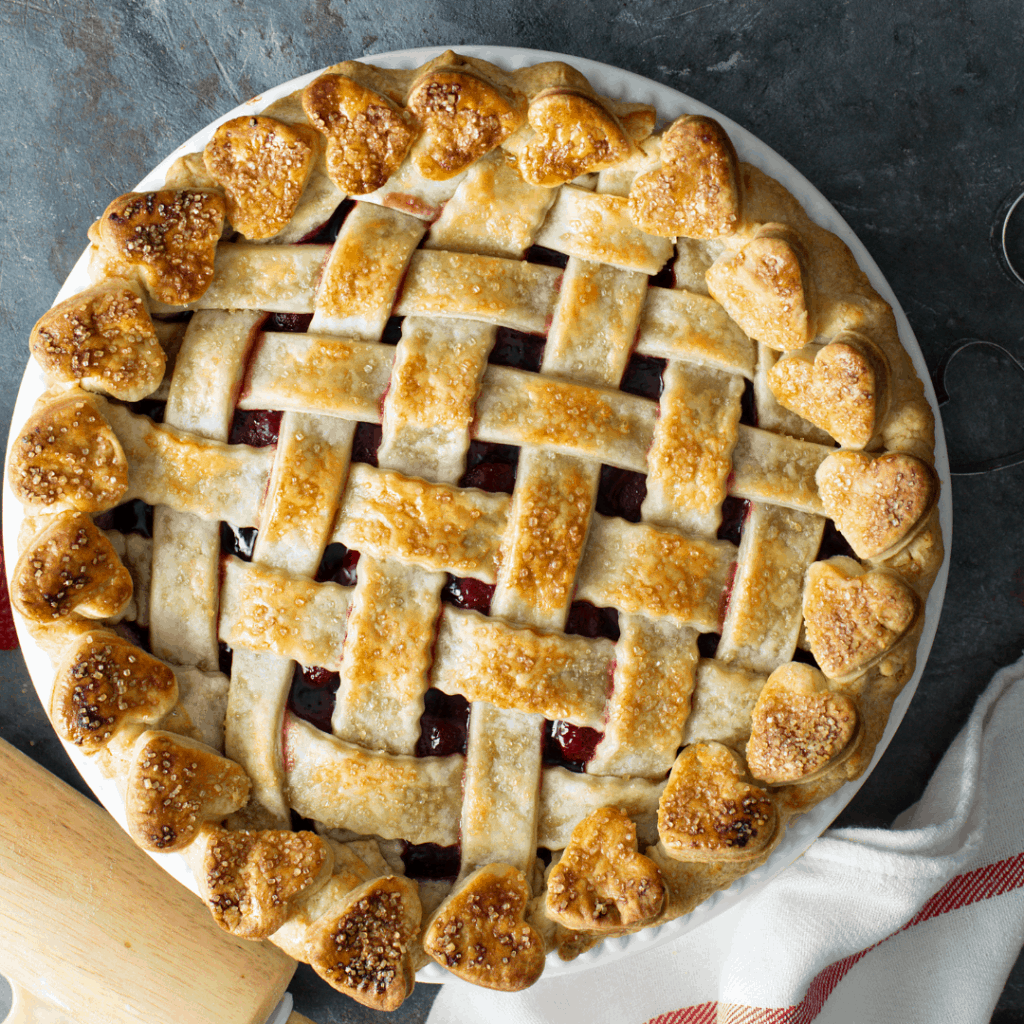
When it comes to pie crust, there is nothing prettier than a beautiful lattice pie crust.
I know it can seem intimidating, but weaving a lattice pie crust is easier than you think.
Before you know it, you will have one beautiful pie ready to bake!
What type of crust is best for a lattice pie crust?
For a lattice pie crust I recommend a pie crust that has some shortening. I’m not the biggest fan of shortening, however when it comes to pie crust that will hold it’s shape and design shortening works better than all-butter.
Shortening has a higher melting point than butter, so it will retain its shape in the oven. I’ve done it with an all-butter crust however I highly recommend (especially if you’re new to making pie crust!) than start with a pie crust recipe that is 1/2 butter, 1/2 shortening.
Don’t want to use shortening? I get it. It’s icky. If you use an all-butter crust, just make sure to keep that pie dough cold, cold, cold. Make sure to refrigerate your pie one last time before baking to firm up your pie crust one last time before baking.
Why weave a lattice pie crust?
Ok if you’re like me then you thought a lattice pie crust was just a fancy, beautiful design for you top crust. I also thought what a hassle if it’s only for looks! Boy, was I wrong.
A lattice top crust actually serves a purpose! A lattice crust is a perfect way to vent your bubbling, fruit filling inside. If you have a berry filling, like the strawberry pie used in this lattice pie demo a lattice pie crust is actually recommended. The more vents the better!
How do you make a homemade pie crust?
Making a homemade pie crust is easy and totally worth the extra effort. You can use a store-bought pie crust if you want, but I love a homemade pie crust. You can make pie crust in a food processor for fast easy prep, in by hand in a mixing bowl.
For a lattice crust you want to make a double pie crust, and use one disc of dough for the lattice crust.
Here is a step by step photo tutorial on how to make a flaky pie crust.
How do you make a lattice pie crust?
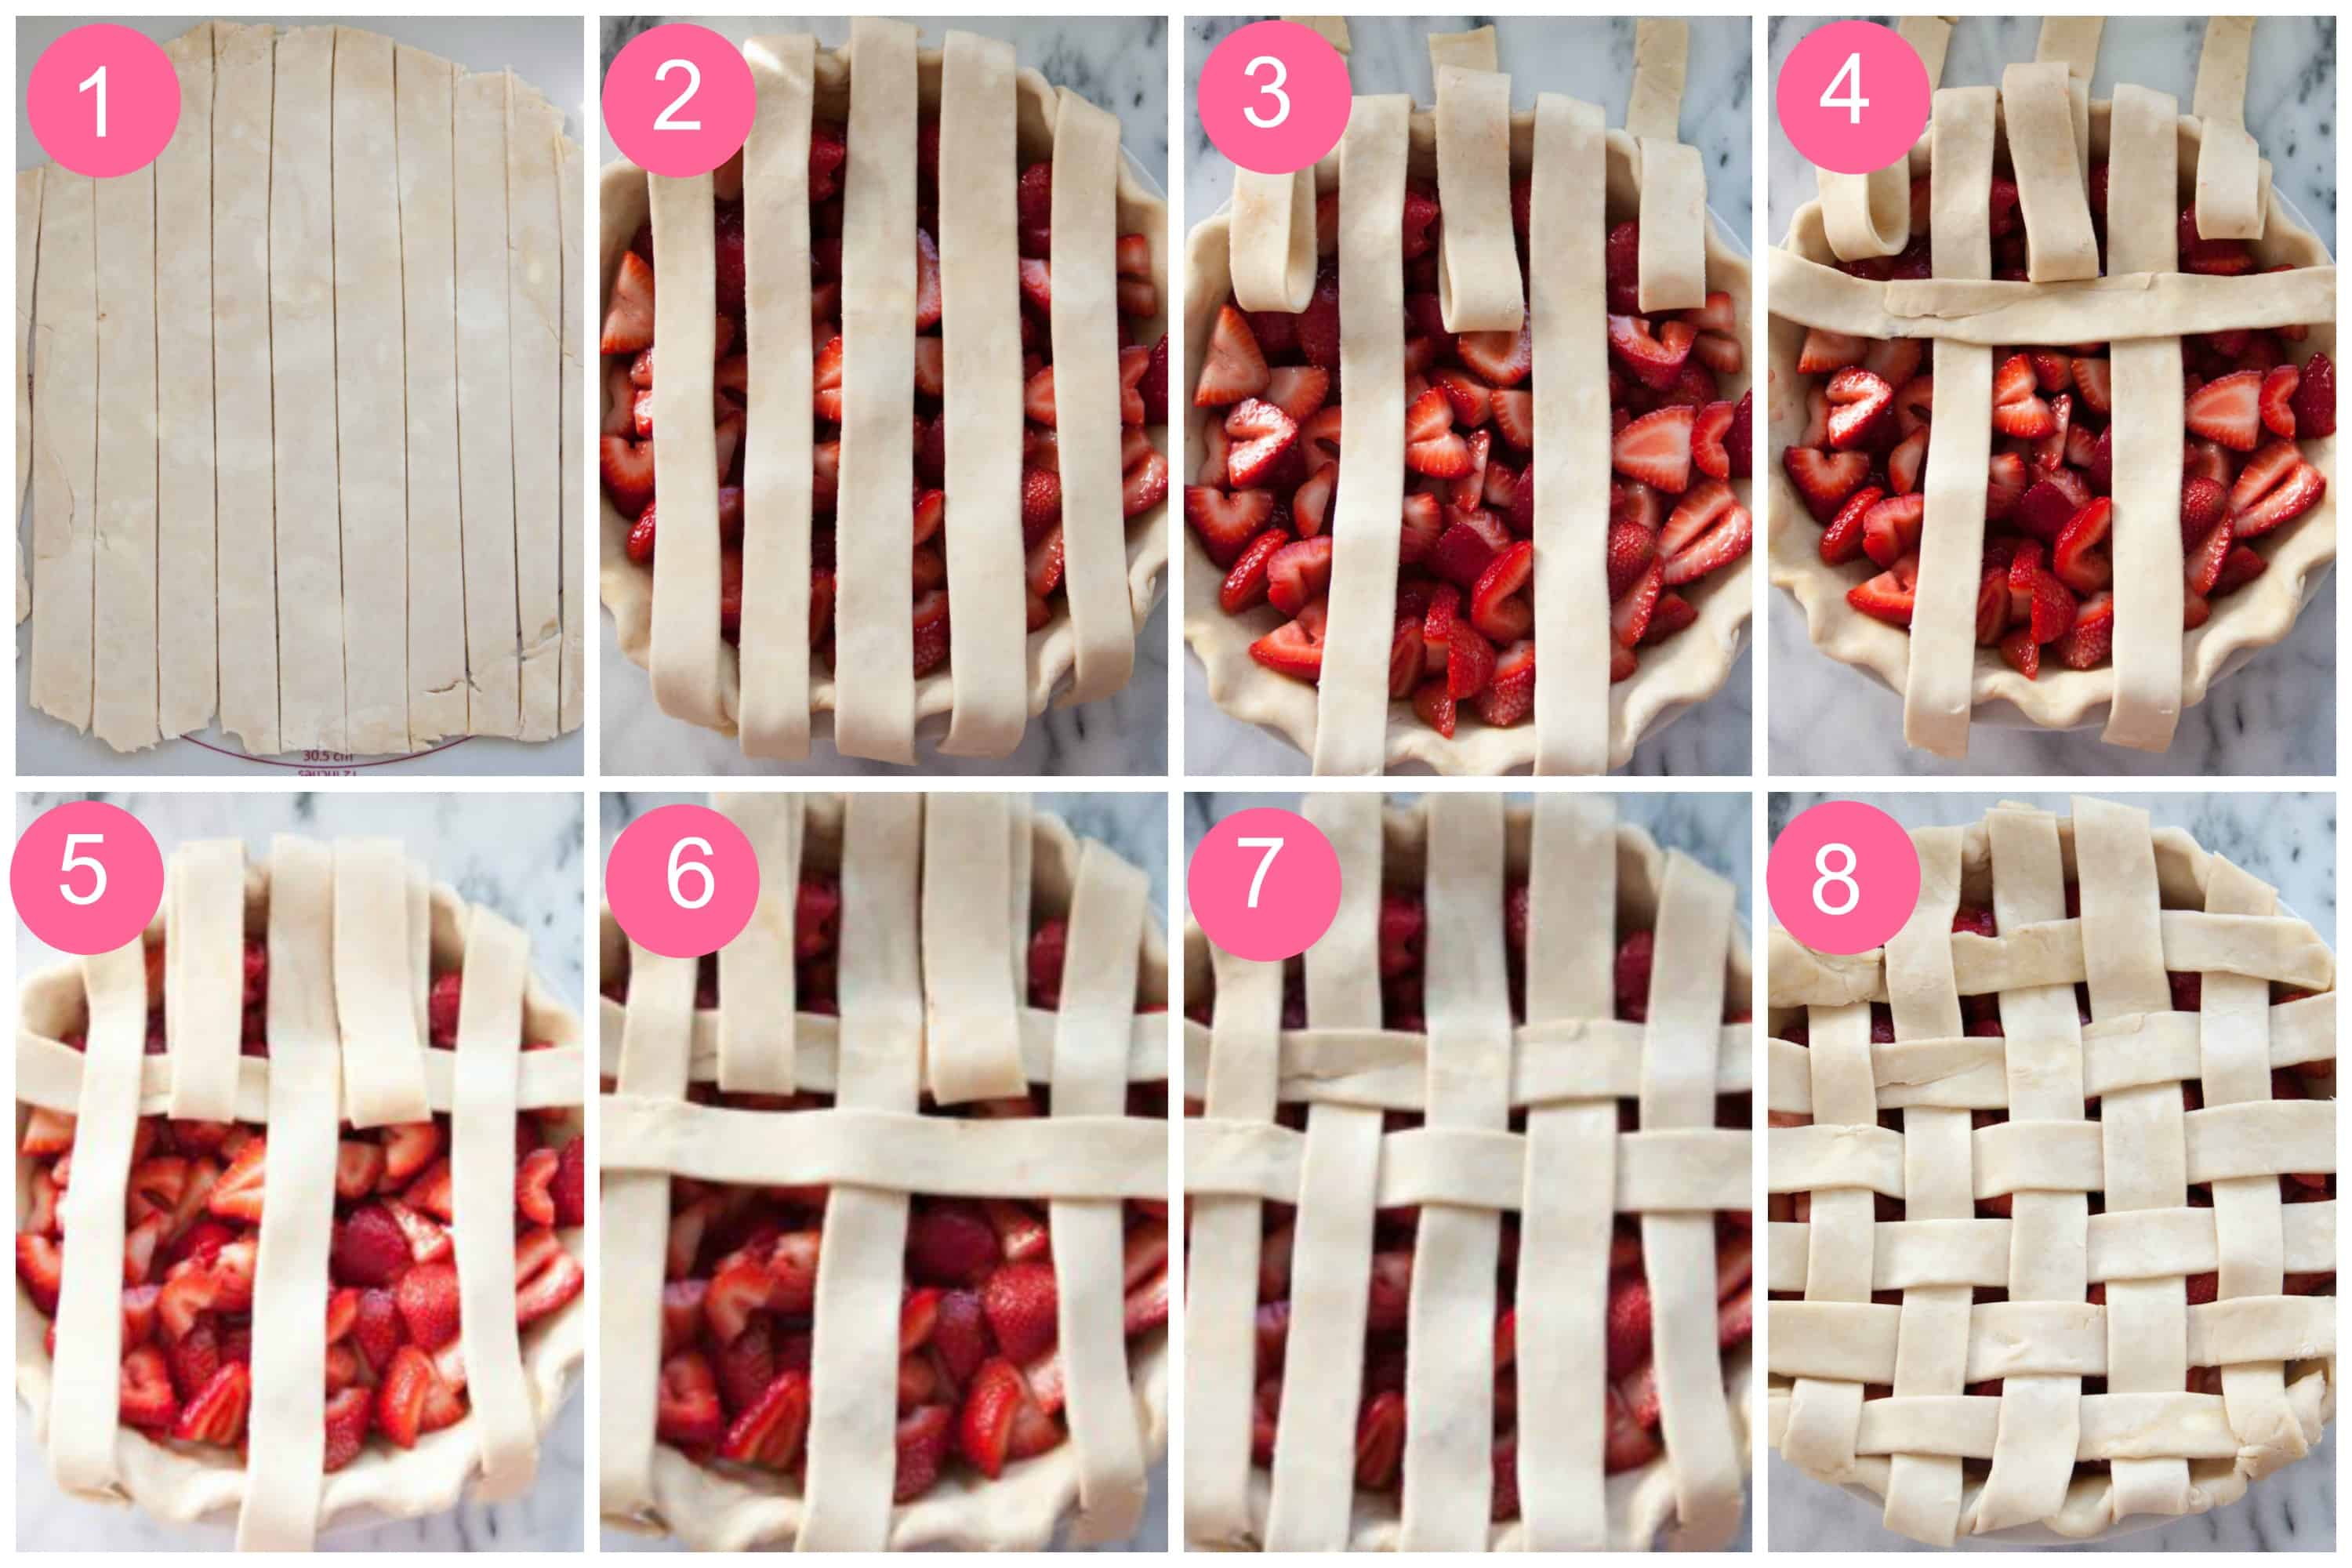
Step 1: To create a lattice top, you want to start by rolling out your second pie dough disc and cut into 1-inch strips. I used my pizza cutter to do this, but a knife works as well.
Step 2: From there you want to lay 5 strips of dough on top of the filling.
Step 3: Then fold back every other strip.
Step 4: And lay another strip of dough going in the opposite direction. Then fold the strips you folded back back into place.
Step 5: Repeat this step again by folding back the other two strips you did NOT fold back
Step 6: Now lay a pie strip down going in the horizontal position. You will see this pie strip now lies across first 3 strips you originally folded back.
Step 7: Fold the strips back into place.
Step 8: Repeat Steps 3-7 until your entire pie has a lattice crust!
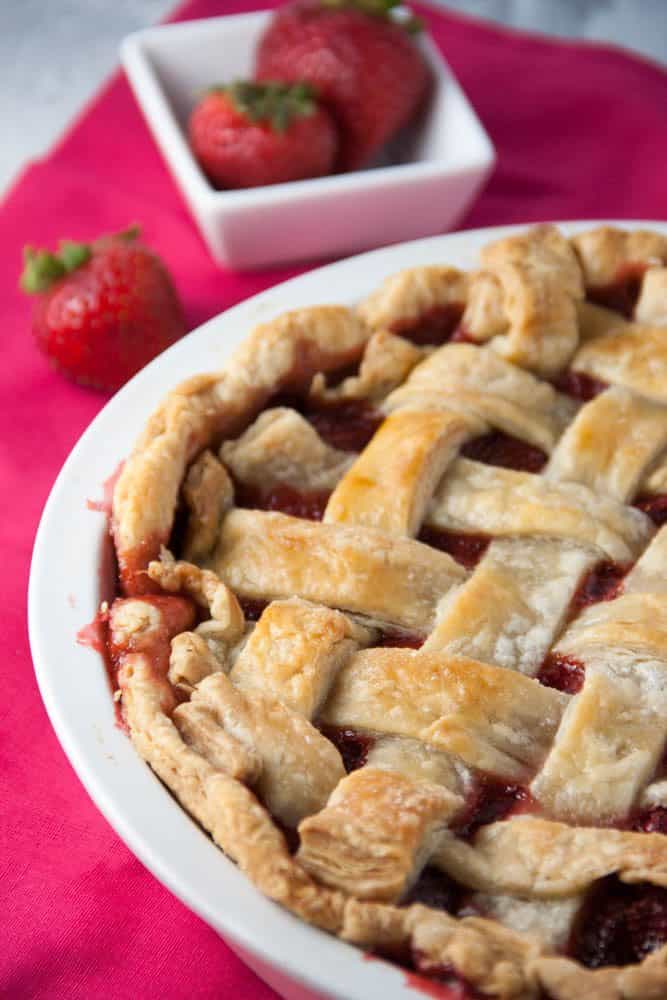
Once your crust is ready, you just need to egg wash it and then bake!
Tips For Making A Lattice Pie Crust:
- Chill Your Finished Pie Before Baking. To keep your beautiful lattice design in tact and from shrinking I like to refrigerate my pie 30 minutes to 1 hour before baking.
- Use A Ruler. If you want even strips, a large ruler is your friend. You can always eyeball it too, but every strip might not be completely the same!
- Don’t Crimp Until The End. I learned this one the hard way. Roll out your bottom crust but leave the overhand (extra dough). You will then complete the lattice work on top. And then fold the extra dough under hiding the lattice work edges with your crimping. Did I do this in my step by step photos? No, but I’ve learned a little since then 😉
What is an egg wash?
An egg wash is a great little baker’s trick. Simply whisk together 1 egg with 1 Tablespoon water or milk and then brush on to your crust.
The egg wash helps to brown the crust when baking. You can also add a sprinkle of sugar for a nice crunch.
More Pie Recipes To Dig Into:
- Click here for the strawberry pie recipe used in the photos
- Apple Pie
- Blueberry Pie
- Nectarine Pie (with Almond Crumb Topping!)
- Easy To Make Eggless Pumpkin Pie
More Pie Baking 101:
- 9 Tips To Make The Best Pie From Scratch
- 4 Easy Ways To Decorate Your Pie Crust Edge
- 9 Must Have Pie Tools
- 20 Tips For The Perfect Pie Crust
If you loved this tutorial, then be sure to leave me a comment and star rating below!

Comments & Reviews
Type your question or comment below, and tap "Post Comment". I welcome constructive criticism, but please be respectful. Rude or inappropriate comments will not be published. Thank you!Baking isn't always easy! So if you had any issues, I'd appreciate the chance to help you troubleshoot before you rate.