This Post May Contain Affiliate Links. Please Read Our Disclosure Policy.
Making pie dough can be a bit tricky..but these 20 pie crust tips for the perfect pie crust should help you achieve pie success every time!
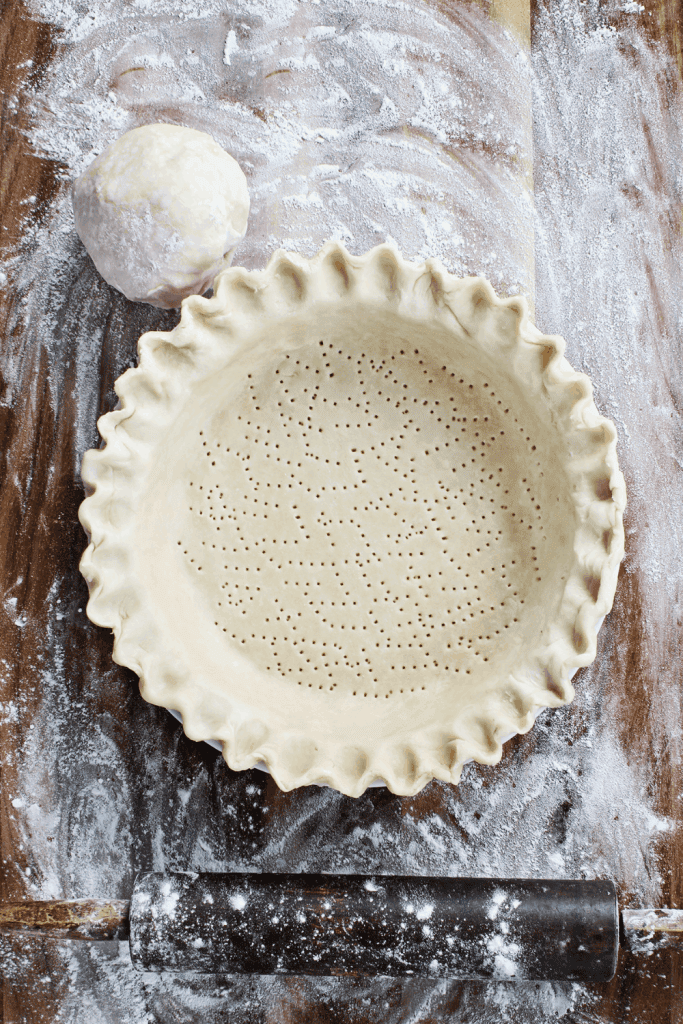
What is it about making pie dough from scratch that has people running for the hills? I remember growing up thinking my mom could whip up a mean pie in minutes. Her dough was always perfectly flaky and tender.
I then learned as I grew up that she bought pre-made pie crust. *insert shocked face emoji here* Love you more than anything Mom. But I had no idea she was buying her pie dough that whole time!
And I get it. Many of us do. But I’m here to tell you making your own pie dough shouldn’t be scary. Although pie dough does involve a few tricks to master, it really is easier than pie.
Master these and you will be cranking out perfect pie for Thanksgiving in no time.
Which Fat Is Best For A Pie Crust?
I love an all butter pie crust because of the flavor, but my easy flaky pie crust recipe uses a mix of both butter and shortening, which also has its benefits.
I’ve never used lard in my crusts, but I know some people do like using it, especially in a savory pie. It can create a very flaky pie crust so I’m told, but finding good quality rendered leaf lard that won’t have a strong piggy flavor might be tough to find in your local grocery store.
You could also use a liquid oil as your choice of fat for each pie crust, such as coconut oil, olive oil, or vegetable oil. A great option if you need to make a vegan pie crust! But an oil pie crust create a crumbly dough that’s tough to roll out.
Here is a quick rundown of some pros and cons between my two favorite options – butter and shortening.
Butter:
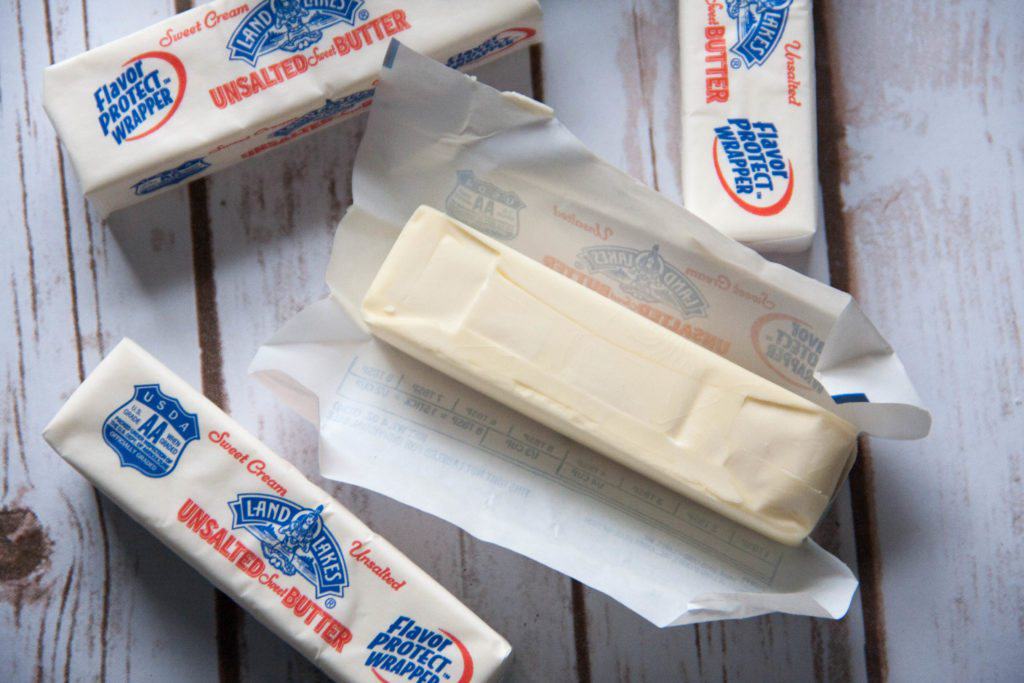
Pros: Brings the most flavor. I mean butter makes it all better doesn’t it? Butter contains water, which can result in the water turning to steam. That steam will push apart the flour layers, puffing up your crust and creating one lovely flaky crust. A nice light texture can be achieved with all butter. Butter is 80-85% fat, and 15-20% water. Whereas, shortening is 100% fat.
Cons: Butter has a lower melting point than shortening or lard, and therefore can be tougher to work with. So if it gets too warm, it can become too soft to work with and tear easily. If you do choose butter, just make sure to chill your dough if it looks like it’s becoming soft and tearing.
Shortening:
Vegetable shortening is 100% fat. It’s usually hydrogenated vegetable oil made from palm, cottonseed, or soybean oil. It has a higher melting point than butter.
Pros: Because of it’s higher melting point, it tends to hold its shape better which makes its easier to work with making a lattice pie crust, or any fun, pretty pie crust designs. The edges and designs will keep their shape while baking. It’s also perfect if you need to make a vegan pie crust for someone since it’s made from vegetable oil.
Cons: Has zero flavor since it’s basically just grease. And since it is all fat, it can also leave a greasy mouthfeel.
New to making pie crust? If you’re new to making pie crust I highly recommend using a combination of butter and shortening. It will be easier to work with, you will still get flaky layers, and flavor from the butter.
What Tools Do I Need To Make This Easy Homemade Flaky Pie Crust?
Believe it or not, you don’t need much. You can make a pie crust in a food processor or as I am going to show you by hand in a bowl.
You will need:
- Mixing bowls (I always recommend metal or glass, but not plastic. Plastic can retain odors and grease over time.)
- Measuring spoons <–I love my magnetic double-sided measuring spoons!!!
- Glass measuring cup (for the ice water)
- Kitchen scale <– my new favorite gadget.I recommend using this to measure the ingredients and to evenly divide your dough)
- Pastry blender (if making by hand), Food processor, or stand mixer
- Spatula <– I highly recommend a spatula that is 100% silicone. That way the handle doesn’t seperate or become a home for some nasty mold and bacteria!
To make a complete pie, start to finish, be sure to check out my 9 favorite pie tools
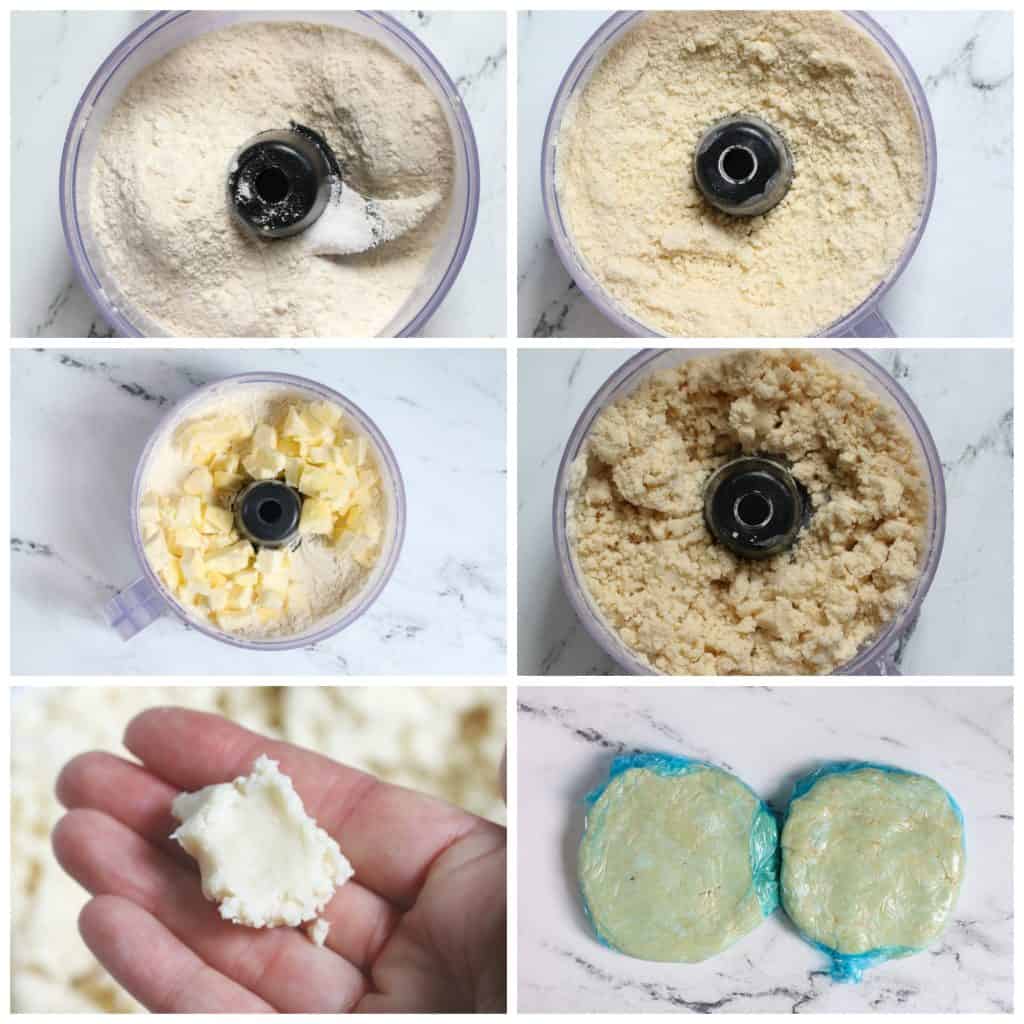
Here is a step by step breakdown of how to make pie crust in your food processor.
What’s The Secret To A Good Pie Crust?
Ahh, yes the infamous “secret”. Well to be honest, I think there are a few good secrets! So I thought let me share with you 13 of my tips or so called secrets so you can achieve a perfectly flaky pie crust at home. Buh-bye boxed pie crusts! Before we start you might also like to see how to make a flaky pie crust in this video…
Tip #1: Use COLD ingredients
Cold ingredients is KEY. Why cold? Cold ingredients don’t interact well together.
And that’s super important when it comes to your pie dough. You do not want that butter playing well with the flour. Chunks of butter visible in your pie dough in the end means flaky crust for you. Those chunks of butter will then melt in the oven and create pockets of flaky goodness for you.
Butter contains water, and that water will turn to steam in the oven. And when it does the steam will try to escape and push apart your layers of flour. And that means a flaky pie crust for you!
If the butter is too warm then it will get absorbed by the flour and you will end up with more a texture than a cookie than a flaky pie crust.
So think cold. VERY cold. The butter, the water, even the flour!
I like to use frozen butter that has been cut into small cubes. If your butter isn’t frozen when you start, cut the butter into small cubes and then place in your freezer.
Be sure to also use ice cold water! When I go to make pie dough. I put ice cubes in my measuring cup of water that I plan to use.
Your pie dough the experts say should never go above 60 degrees F. So, hey, lets listen to the experts ok? If it’s a warm day. Just keep placing your ingredients, or your dough back in the fridge if things are getting too warm and toasty for you.
Tip #2: Add Your Water One Tablespoon At A Time
There is a reason your pie recipe gives you a range of water to add. There is never one set amount that will work for your pie dough.
Well I use to think (or maybe read?) that it had to do with the weather and humidity. But I learned from this Science Of Pie dough post that it actually has to do with how you cut in the butter. It will never be exactly the same, so that means neither will the amount of water you add either.
It will vary everytime so you just need to add your water sparingly.
So start by adding one tablespoon at a time. And pulse (if you are using a food processor) or incorporate with your pastry cutter. Add your water one tablespoon at a time to ensure you don’t mix in too much water. Add just enough for the dough to begin to form clumps. Undermixing is better than overmixing.
Not sure if you have added enough? Try the pinch test (like in the photo below). Take a small amount of pie dough between your fingers, and pinch it. Does it just hold together with some small dry cracks in it? Perfect. Stop adding water.

Tip #3: Chunks Are A Good Thing.
I’m talking about the butter! I used to aim for “pea-sized” amount of butter that are visible. Or some recipes might say “cornmeal”. But now I try to maintain slightly large pieces of butter that are still visible. I think cornmeal is WAY too small.
Again, we need solid chunks of butter until they go into the oven. Solid butter visible in our pie crust will result in a flaky tender crust in the end. If you work your butter into smaller and smaller pieces then you won’t get as puffy, lofty flaky layers.
Plus, larger pieces means you haven’t overworked the dough! Just check out the chunks in this dough!
Tip #4: Handle The Dough As Little As Possible
This tip goes for when you mix the dough and when you go to roll it out. You do not want to over mix the dough.
I find using my pastry cutter to cut the butter into the flour can ensure I do not overmix. But if you are short on time and need to use your food process to quicken the process. I like to pulse my dough to ensure I do not overmix it.
And you can even make it in your stand mixer according to King Arthur Flour!
After you mix your dough, I also make sure I handle the dough as little as possible with my hands. Your hands will
warm up the dough so If at any point the dough is getting too warm, place it back in the fridge to firm up a bit.
When handling the dough, try just using your fingertips because your palms will add too much heat.
Is it warming up too much? Place your dough back in the fridge. The fridge is your friend when making pie dough. Use it.
Tip #5: Let The Dough Rest.
After you make your dough, allow it to rest in your fridge for 30 minutes.
This will allow the dough to relax and become cold again making for a flakier and tender crust. Flour contains two protein, gliadin and glutenin that when liquid is added form gluten. Gluten is a long protein that forms a net, that can trap gasses and provide structure and chewiness.
And remember your dough can always go back into the fridge at any point if it is getting too warm. After I roll it out and place it in my pie plate, I like to then stick it back in the fridge again for another 30 minutes.
Tip #6: Weigh Your Flour
I know that for some of you that’s just not how you want to measure! Or maybe not what you’re used to. I get it. I grew up and have used, up until a few years ago, used my trusted metal measuring cups.
Now if you want to still use them, or don’t own a kitchen scale then give this How to Measure flour post a read. That will at least teach you the BEST way to measure your flour using volume measuring cups.
But if you do own a kitchen scale, I highly recommend you use a scale and take the guesswork out of it. I always give the analogy to my students that it’s like packing a suitcase. We might all own the same sized suitcase but we can all pack it differently. And in the end it will weigh differently!
And since flour is a main ingredient and deciding factor to whether or not you end up with a tough, crumbly, dry pie crust and one that is flaky and tender. Weigh your flour.
Tip #7: Stir Your Water In By Hand.
I find it’s super easy to add too much water. So I highly recommend when it comes to add the water, do this with a spatula and stir it in by hand.
If you are using a food processor (my favorite way of making pie dough because it’s efficient) then it’s super easy to add to much water and overwork your dough! So after you’ve cut the butter (or other fat) into your crust transfer your mixture to a mixing bowl and start adding your water a little at a time.
Tip #8: Use A Teatowel.
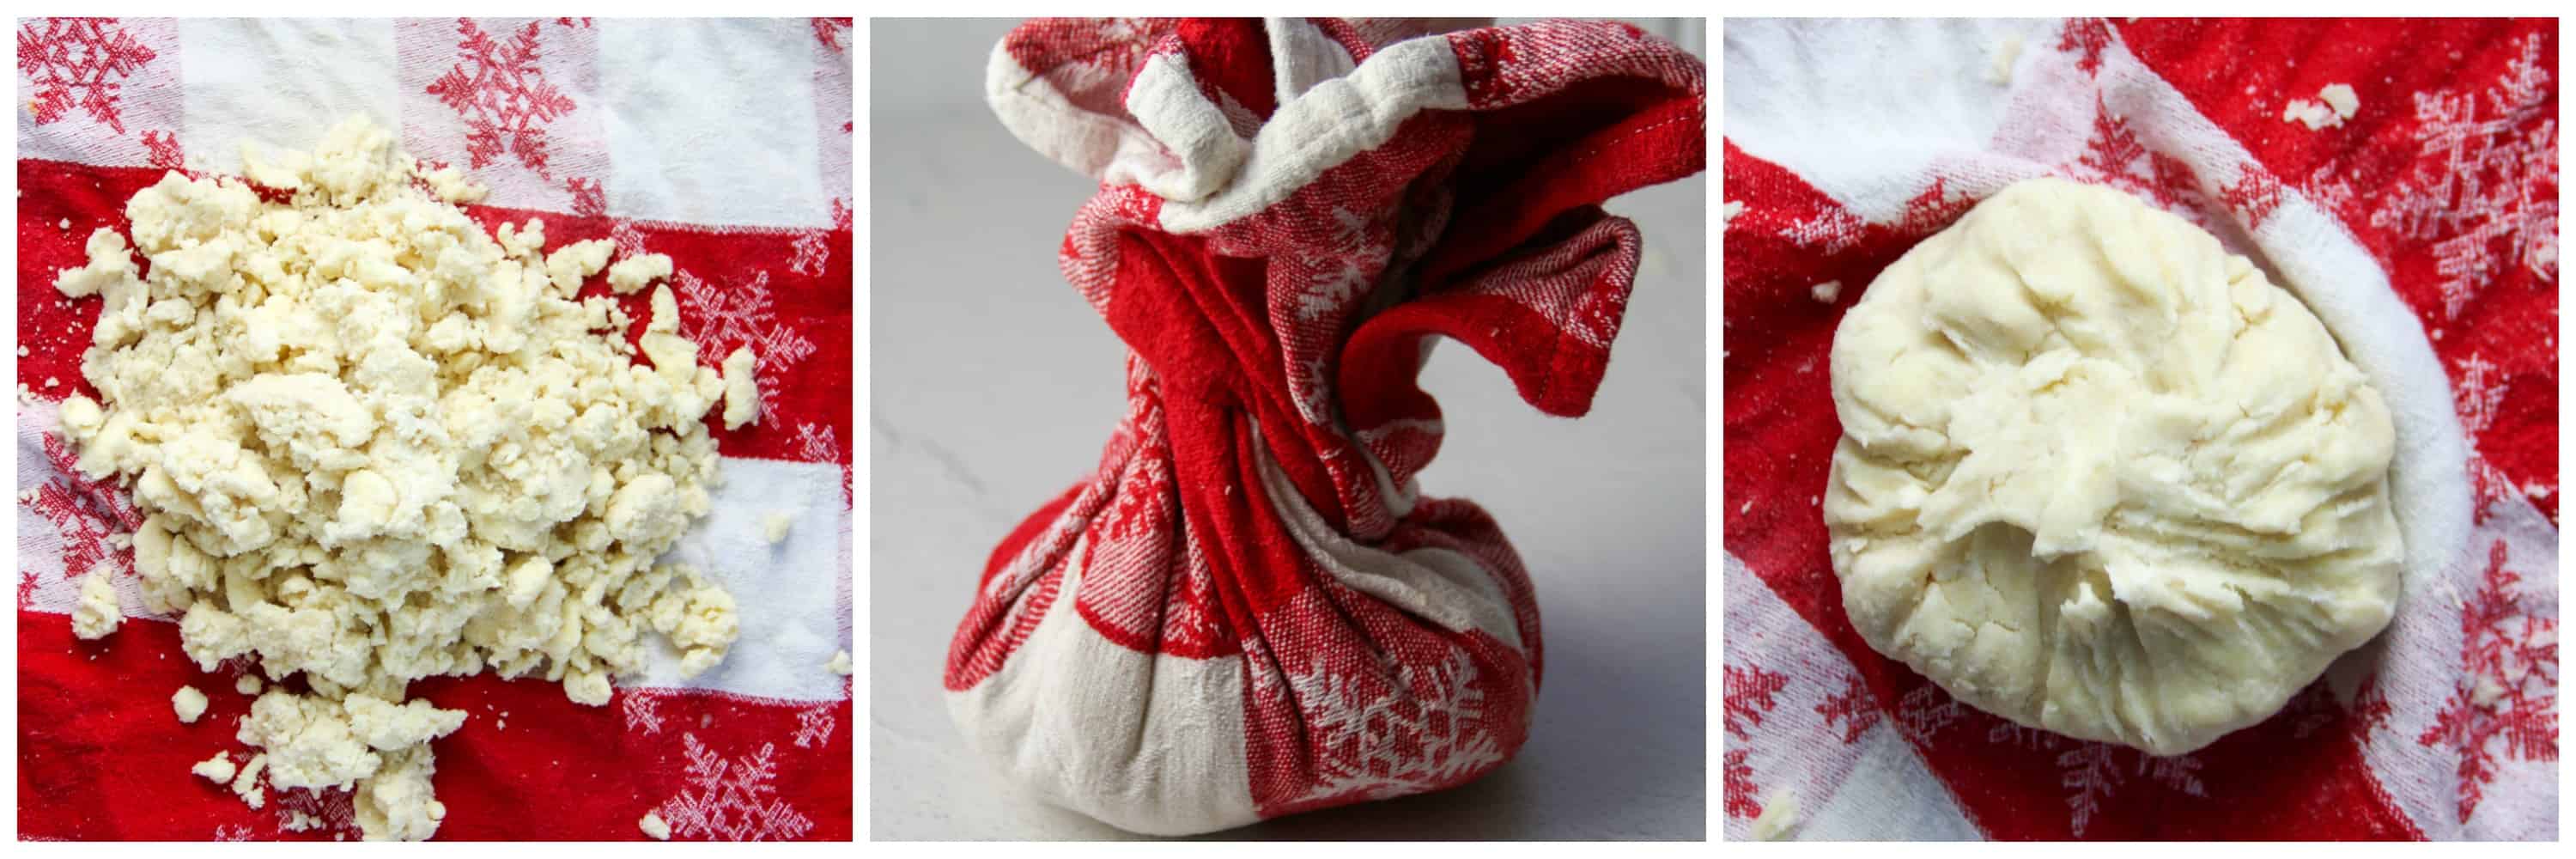
This trick is so handy and it’s something I’ve just learned. Apparently it’s a French thing. I mean they do know food. Once your pie crust mixture is made, dump the mixing bowl of pie crust contents onto a clean tea towel in the center.
Bring up the edges to make a little purse and twist. When you unfold the teatowel again you will find a perfectly formed disc of pie dough. It’s magic. I love it. Never doing it any other way again.
Tip #9: Roll Your Disc Of Dough
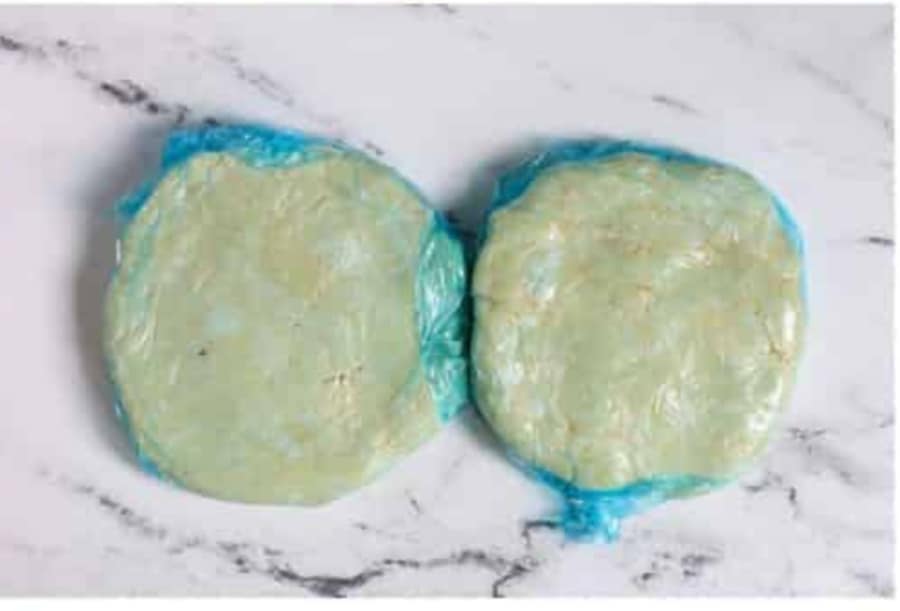
This is one handy dandy tip I picked up from King Arthur Flour. After you’ve wrapped up your disc of dough and it’s ready to be chilled. Give it a roll.
Roll the edge of the disc so it forms a perfect circle. This will help maintain more of a circle when you go to roll it out!
Tip #10: Use A Spray Bottle.
Sometimes you think you added the correct amount of water and you find that in the end it’s still dry and crumbly. If you are attempting to roll out your pie dough and it’s crumbling and breaking on you. Then give it a spritz with a spray bottle. It will lightly mist your dough. You can then work the water into your dough.
Afterwards I like to chill my dough again before proceeding.
Tip #11: Roll Away And Turn.
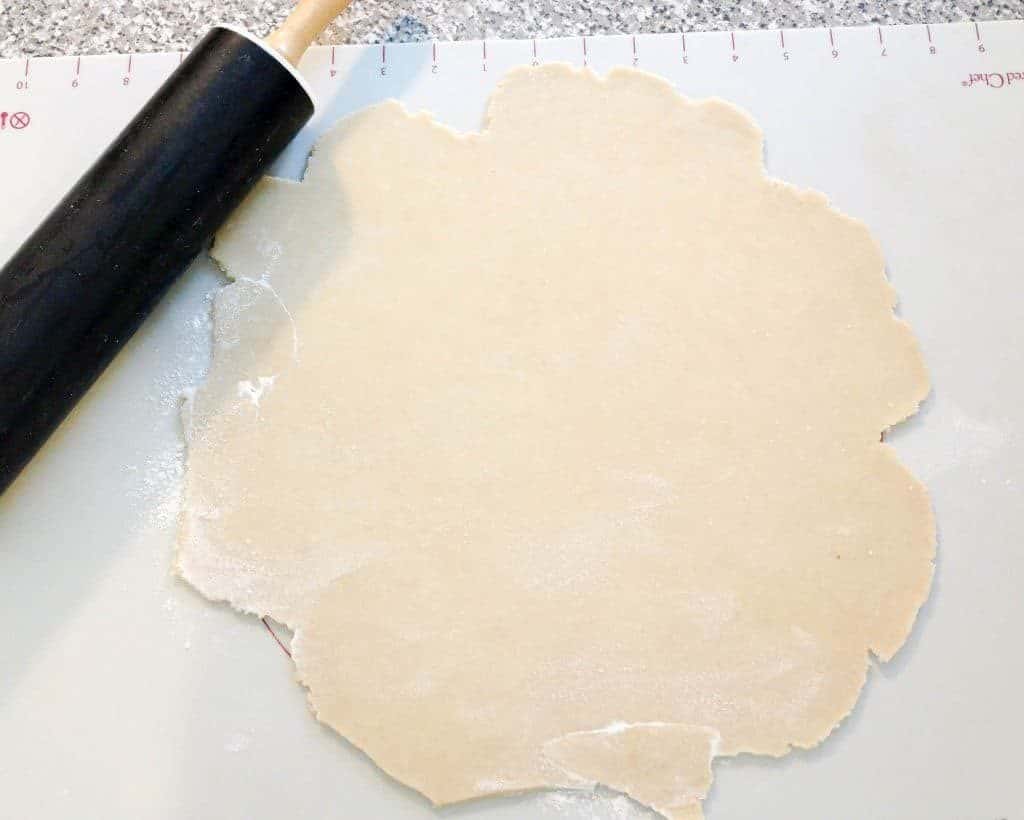
When you are ready to roll out your disc of dough I like to use a heavy duty rolling pin and a lightly floured surface. And as I roll out my dough I roll away from me and then give the dough a quarter turn.
This ensures the dough isn’t sticking. Also when rolling, I always stop a little short of the edge. We tend to put more pressure on at the end and end up with a skinnier outside edge than middle. So just stop a little short of the edge on each roll and this will help ensure more even thickness.
Tip #12: Choose The Right Pan
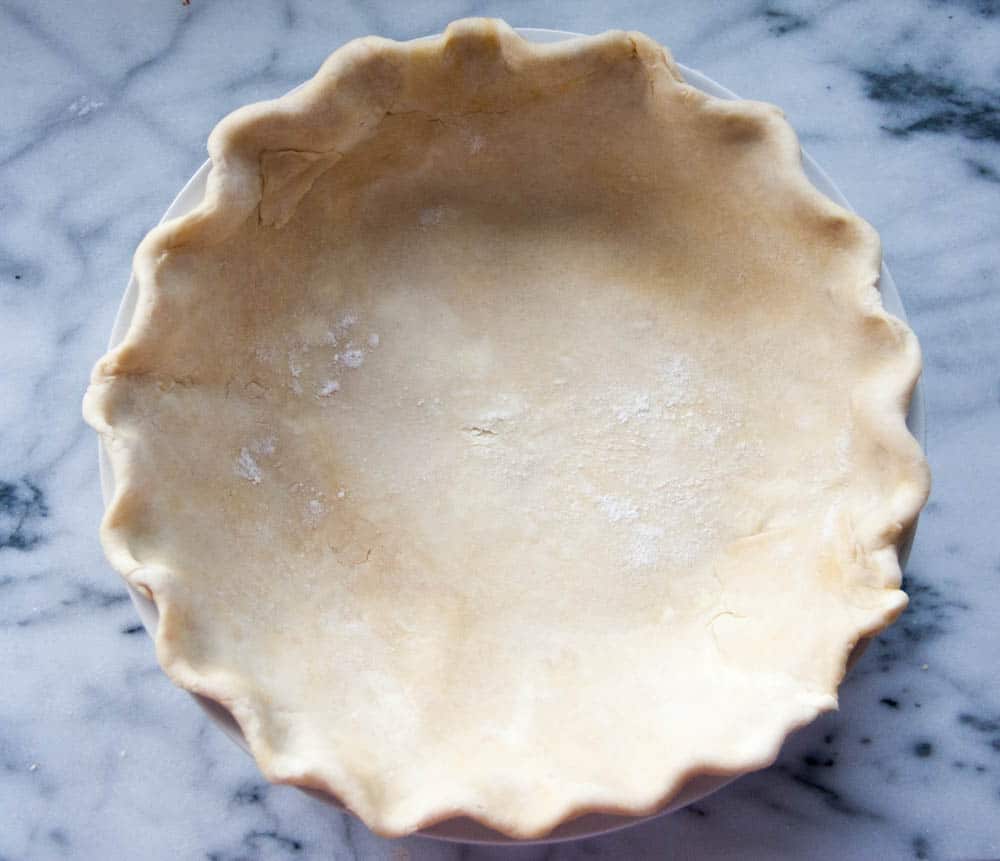
You can use a glass pie plate. I used to all the time. You will be able to see if the crust has browned properly. But I prefer a metal dish or a cast iron pan. Nothing conducts heat quite like it. You will get a lovely crisp bottom crust. No soggy bottoms for you!
Pro Tip: Use a pie plate that has a wide edge as well. This will give your crimped edge somewhere to rest. And useful if you are using cut-outs or a braided edge!
Tip #13: Transfer Your Dough Easily.
There are two easy ways to get that giant circle into your pan. You can roll the dough up on your rolling pin and then roll it back out.
Or fold it into quarters and then unfold it into your pie pan. Either works! I do both.
Tip #14: Chill Your Dough One Last Time.
Your pie dough or fully finished pie will benefit from last one chill before hitting that hot oven. If you are blind baking your crust for a pumpkin pie a chilled pie crust will help it from shrinking.
And the same goes for a fully assembled pie. You will ensure a flaky pie crust where your edges and designs stay in tact.
Tip #15: Use A Pie Shield
Pies are generally baked at a high temperature and for a very long time. What does this mean for your pie crust edges? This could result in a burnt pie crust edge! And nobody wants that. At least I don’t.
So what are you to do? Use a pie crust shield. You can make one out of tinfoil. Or use a store-bought one. I have a metal pie crust shield and a silicone adjustable pie crust shield. I prefer the adjustable pie crust shield because it’s more delicate and doesn’t result the delicate edge breaking off like it can with the metal one.
Tip #16: Bake On A Lower Rack
We want a nice fully baked crust top to bottom. The problem is a pie crust loaded up with a big juicy filling like an apple pie can result in a soggy bottom crust that never gets crisp.
So I recommend always baking on a lower rack so the bottom crust is closer to the heat.
Tip #17: Prevent Soggy Crusts With An Egg White
Soggy crust is the worst. So to prevent a soggy crust brush that bottom crust with an egg white with a silicone pastry brush. That egg white will create a barrier from your filling to your crust.
To also help prevent those soggy crusts, blind baking for certain pies like pumpkin pie is also key.
Pro Tip: And only keep your pie in the fridge unbaked for only a couple hours so the pie dough doesn’t absorb that filling and become soggy.
Tip #18: Start With A Hot Oven Then Reduce The Temperature
Start with a hot oven (425F) then reduce the oven temperature after 15 minutes. This will help create a blast of heat that will help create that steam when the butter melts. And remember that steam = flaky layers. This tip works when you’re making a fruit-based pie where you don’t need to blind bake the crust but just plan on baking the pie crust and filling all at once.
Pro Tip: Use an oven thermometer to ensure your oven is running at the correct temperature. For more oven 101- read this.
Tip #19: Brush The Crust With An Egg Wash
A perfectly browned crust is key. And it’s simple to achieve. Just use an egg wash before placing it in the oven. An egg wash is simply an egg with a bit of water that you brush on the crust. Use a silicone pastry brush to brush on the egg wash.
You can also add a sprinkle of sugar on top which will caramelize and give it some crunch as well!
Tip #20: Cut 3 Slices First.
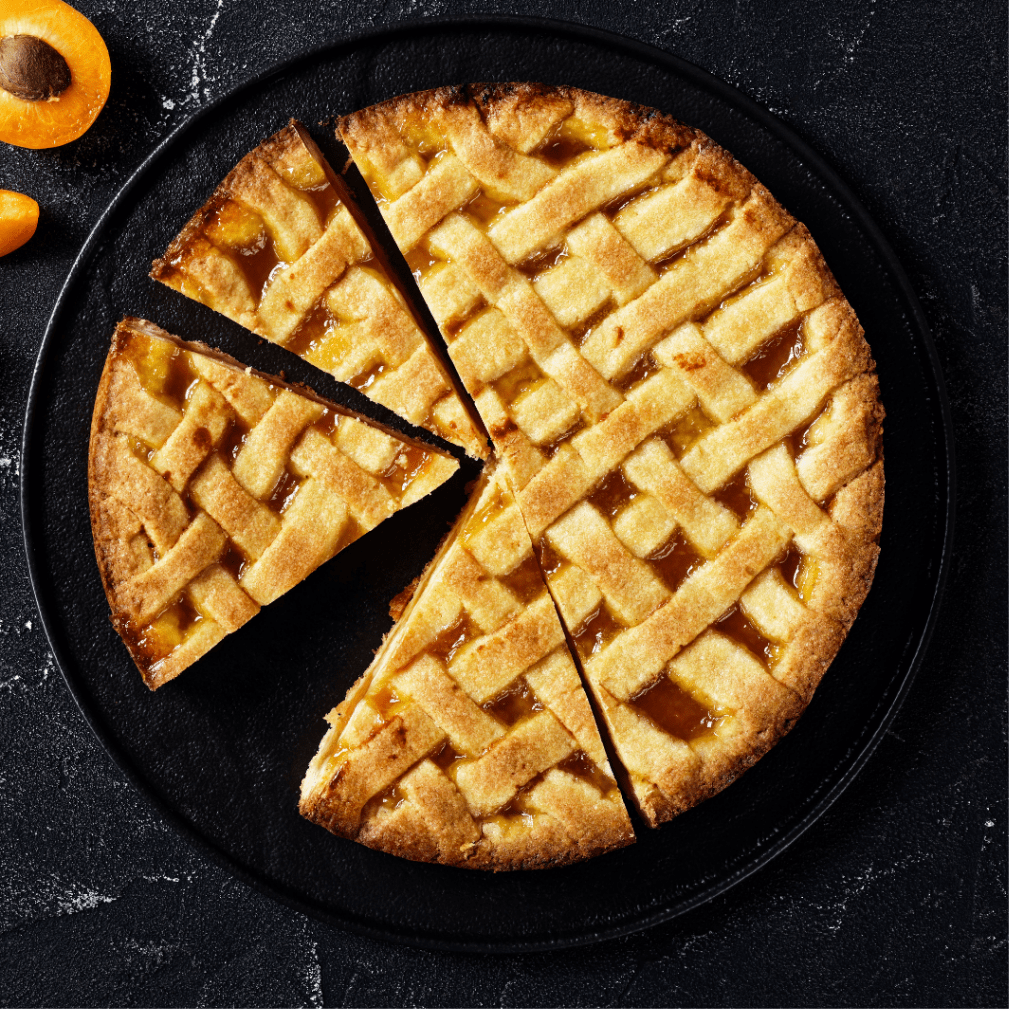
If have ever tried to slice a pie and serve it you know how tricky it can be to get that first slice out! So instead cut three slices. This will give the slices some wiggle room making it easier to get that first slice out.
Need More Pie Help? Check Out These Pie 101 Posts
- How To Make A Lattice Pie Crust
- 9 Pie Tips To Make The Best Pie From Scratch
- How To Blind Bake A Pie Crust
Pie Recipes To Try:
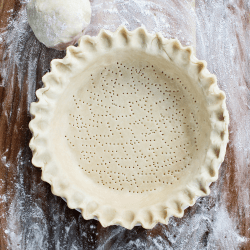
Flaky Pie Crust
Ingredients
- 1 1/2 cups (177 g) all purpose flour *spooned and leveled
- 1 Teaspoon granulated sugar
- 1/2 teaspoon salt
- 4 tablespoons vegetable shortening chilled
- 6 tablespoons unsalted butter frozen
- 3-5 tablespoons ice water
Instructions
- Prepare your ice water for later use. I simply take a glass measuring cup and measure out about 1/2 cup of water and add a few ice cubes. Place this in the refrigerator to keep cold until ready to use.
- In a mixing bowl, combine your flour, salt and sugar and whisk to combine. (If using a food processor, process until combined for about 5 seconds). Or you can do this in your stand mixer with your paddle attachment.
- Scatter shortening over the top and using a fork (or pastry blender) work the shortening in until it resembles coarse crumbs. (For the food processor method, pulse for about 10 seconds). Or turn your hand mixer on until the shortening is pea-sized – about 30 seconds on medium.
- Using a food grater, grate the butter into the bowl. If your hands are warming up the butter, use the butter wrapper to protect the butter. (For the food processor, cut the butter into 1/2 inch pieces first, then scatter over the top and pulse to combine about 10 pulses.). For the stand mixer: turn the mixer on medium for about 30 seconds. If there are still some large pieces, just simply squish those with your fingertips.
- Take your ice water from the fridge. Add one tablespoon at a time and stir the dough after each addition. The dough will need about 4-6 tablespoons of water, but can vary. Once the dough begins to stick together, do not add any more water.
- Turn dough onto sheet of plastic wrap and press the dough together into a round disc. Keeping the plastic wrap between your hands and the dough press the dough together. (I use my knuckles for this step to “smoosh” the dough together!). Wrap and refrigerate for at least 30 minutes, up to an hour.
- When ready to roll out the dough, let the dough sit out for a few minutes to soften slightly.
- Pre-heat the oven to 375 degrees.
- Roll the dough into a 12-inch circle on a lightly floured counter. Loosely roll the dough around the rolling pin and gently unroll into your 9-inch pie plate, allowing the excess dough to hang over the edge. Ease the dough into the pie plate by gently lifting the edge of the dough with one hand while pressing into the plate bottom with the other hand. Leave any dough that overhangs the plate in place.
- Trim the excess dough to 1/2 inch beyond the lip of the plate. Tuck the overhand under itself. The folded should be flush with the edge of the pie plate. Crimp dough evenly around the edge of the pie using your fingers. Wrap the pie loosely in plastic wrap and place in the refrigerator for 1 hour, or freezer for 30 minutes until firm.
- For a partially baked crust: Line pie shell with aluminum foil, covering edges to protect from burning and fill with pie weights. Bake until pie dough looks dry and and is light in color about 22 to 25 minutes. About halfway through, remove the pie weights so the bottom of the pie crust can cook through and lose its "rawness". Transfer pie plate to wire rack and remove weights and foil. (Crust must still be warm when filling is added.)
- For a fully baked crust: Line pie shell with aluminum foil, covering edges to protect from burning and fill with pie weights. Bake until pie dough looks dry and is light in color, 25 to 30 minutes. Remove weights and foil and continue to bake crust until deep golden brown, 10 to 12 minutes longer. Transfer pie plate to wire rack and let crust cool completely, about 1 hour.
Notes
- If your dough is sticking you can always pop it back into the fridge. If your dough is breaking, it may be too dry. Add a few sprinkles of water to the dough.
- This dough can be wrapped tightly in plastic wrap refrigerated for up to 2 days, or frozen for up to a month.
- If using frozen dough, let the dough thaw completely on the counter before rolling out.
- If you are not sure if you have rolled the dough to the correct size, use your pie plate as a guide. Turn the pie plate upside down onto your dough. There should be about 3 inches extra in diameter of the dough.

Julia (@imagelicious) says
Love your tips especially the one with the pinch test! I away worry that I didn’t add enough water so I’ll definitely try your suggestions next time
Heather @Boston Girl Bakes says
Thanks Julia! Sometimes its better just to make it by hand, then no over mixing or not adding the wrong amount of water..gives you more control!
Michelle @ Vitamin Sunshine says
My mom taught me how to make pie crust with this same method 🙂 I am now gluten free, so making pie crust that was is a whole different ball game.
Heather @Boston Girl Bakes says
Ooh let me know if you have a gluten free tips or gluten free pie recipes!
@chefmireille says
these are really great tips for beginner pie bakers!
Heather @Boston Girl Bakes says
Thanks Mireille! Hopefully it gets people over their fear and gets them digging out their rolling pins!
Patti Winters says
Great tips for the perfect flaky pie crust! Thanks!
Heather @Boston Girl Bakes says
Thanks Patti! It’s all about the flakiness 😉