Small Batch Apple Crisp
This Post May Contain Affiliate Links. Please Read Our Disclosure Policy.
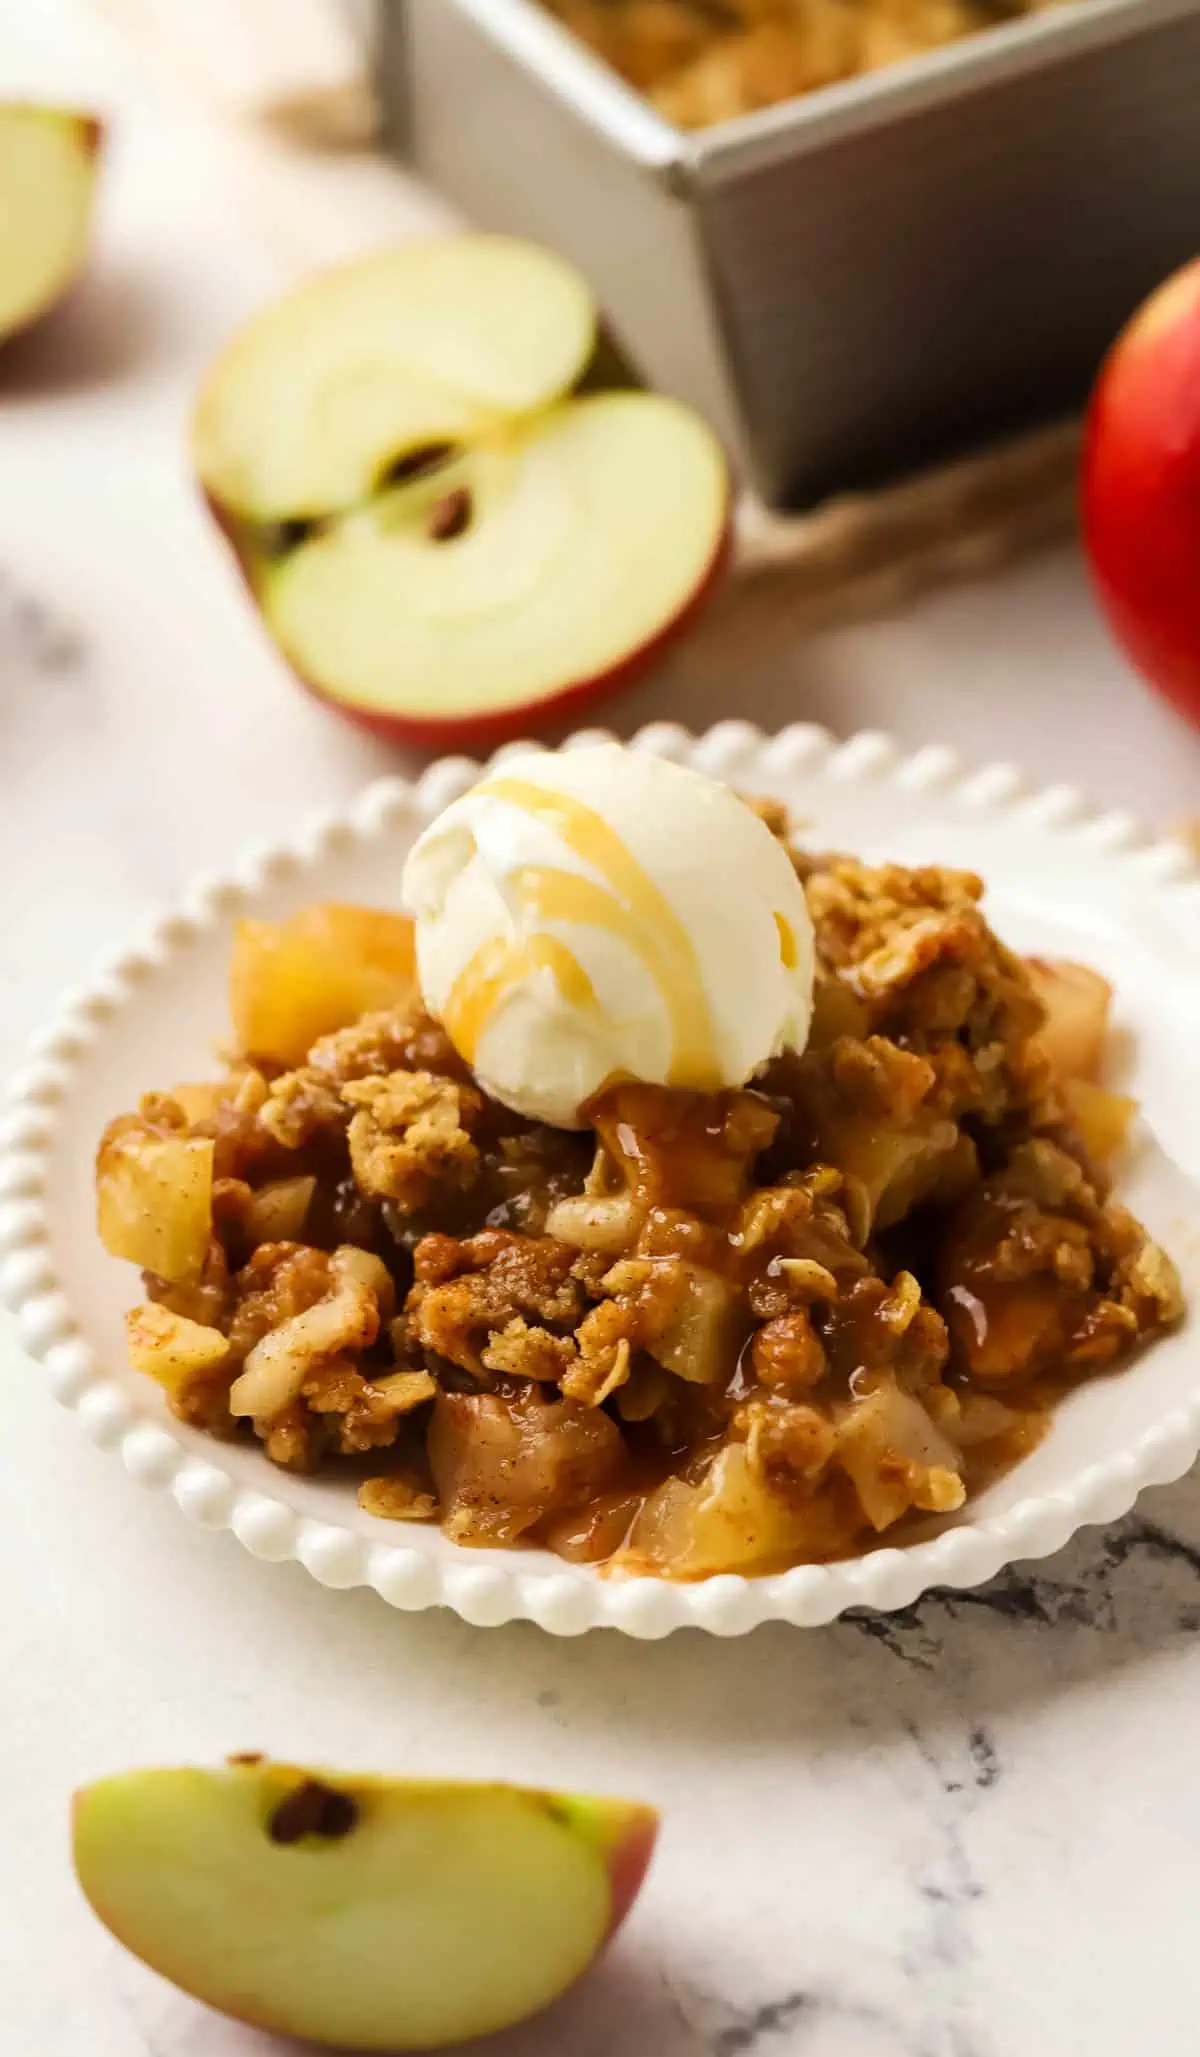
This small batch apple crisp has tender cinnamon apples baked underneath a buttery brown sugar oat topping, all made in a loaf pan. It makes about 4 servings, so you can enjoy a warm homemade apple crisp without committing to a full pan.
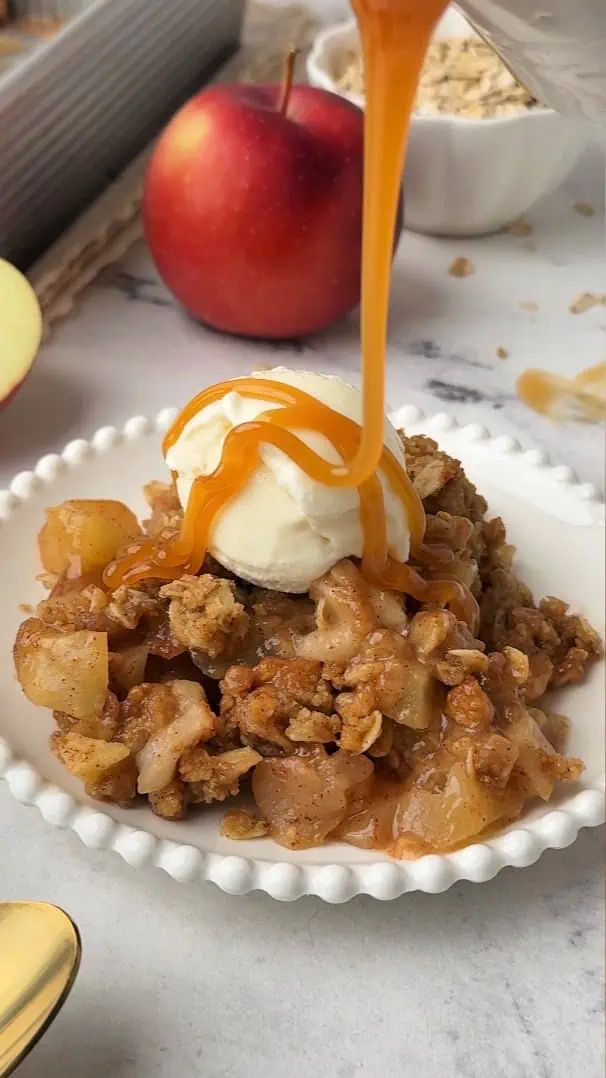
Apple crisp is one of my favorite desserts to make after apple picking, but sometimes I don’t need a big pan of it sitting around for days. So I took my classic apple crisp and scaled it down to make a smaller version that’s just right for dessert for a few nights — especially with a scoop of vanilla ice cream on top. Sort of like my apple crisp for two but slightly bigger so it serves a few more people!
I tested this version with a generous amount of topping because, let’s be serious, that’s the best part of an apple crisp! You still get plenty of tender apples underneath, but there’s a thick layer of buttery oats, brown sugar, and cinnamon in every serving.
And this recipe couldn’t be much easier. You can mix the apples in one bowl, wipe it out, and use that same bowl for the topping. There’s no mixer, no pie crust, and no complicated prep — just a simple fall dessert baked right in your loaf pan.
Why This Recipe Works
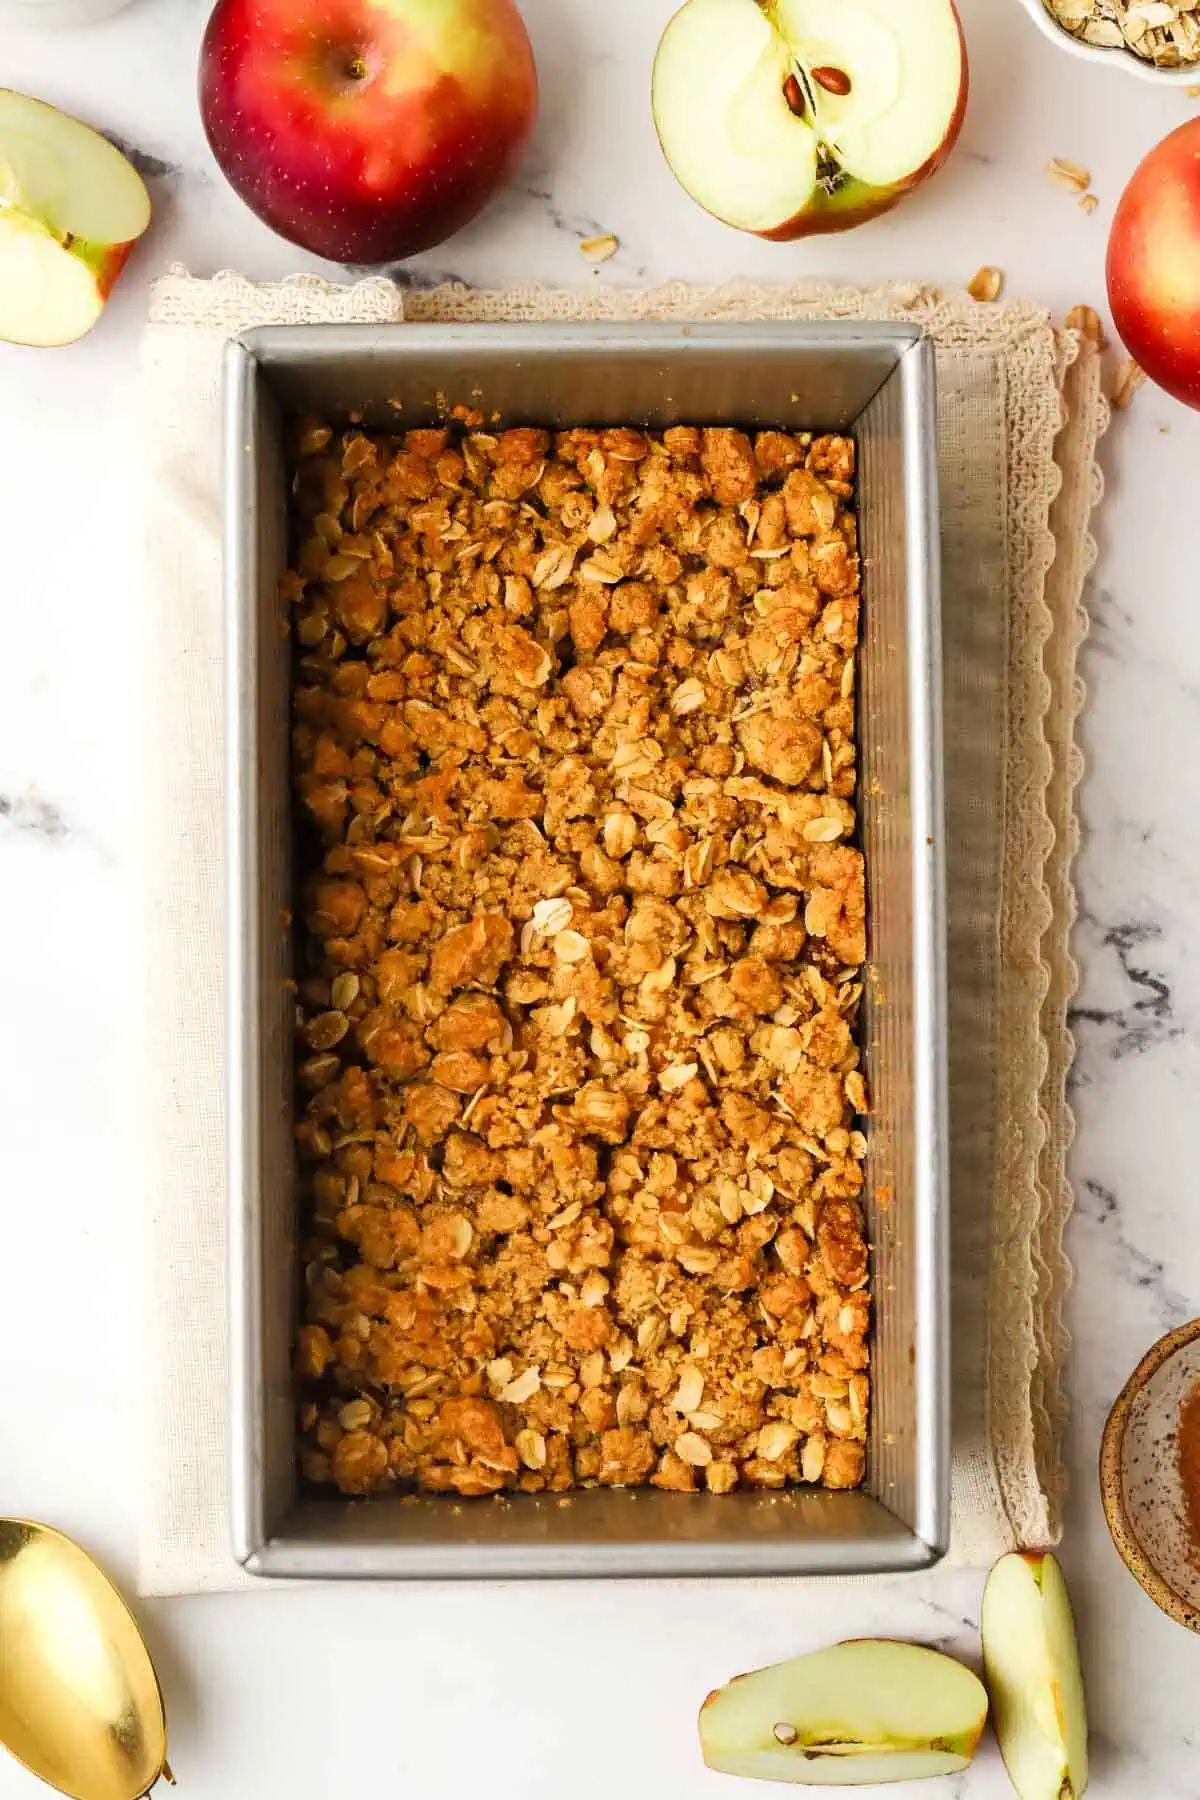
- It’s the perfect small batch size. This apple crisp is baked in a 9×5-inch loaf pan and makes about 4 servings instead of a full pan.
- There’s plenty of crisp topping. The apples are covered with a generous layer of buttery brown sugar and oat crumble.
- You only need one mixing bowl. Make the apple filling first, wipe out the bowl, and use it again for the topping.
- Melted butter keeps the topping easy. There’s no need to cut cold butter into the dry ingredients. Just stir in melted butter until you have a crumbly mixture.
Ingredients Needed
For The Apple Filling
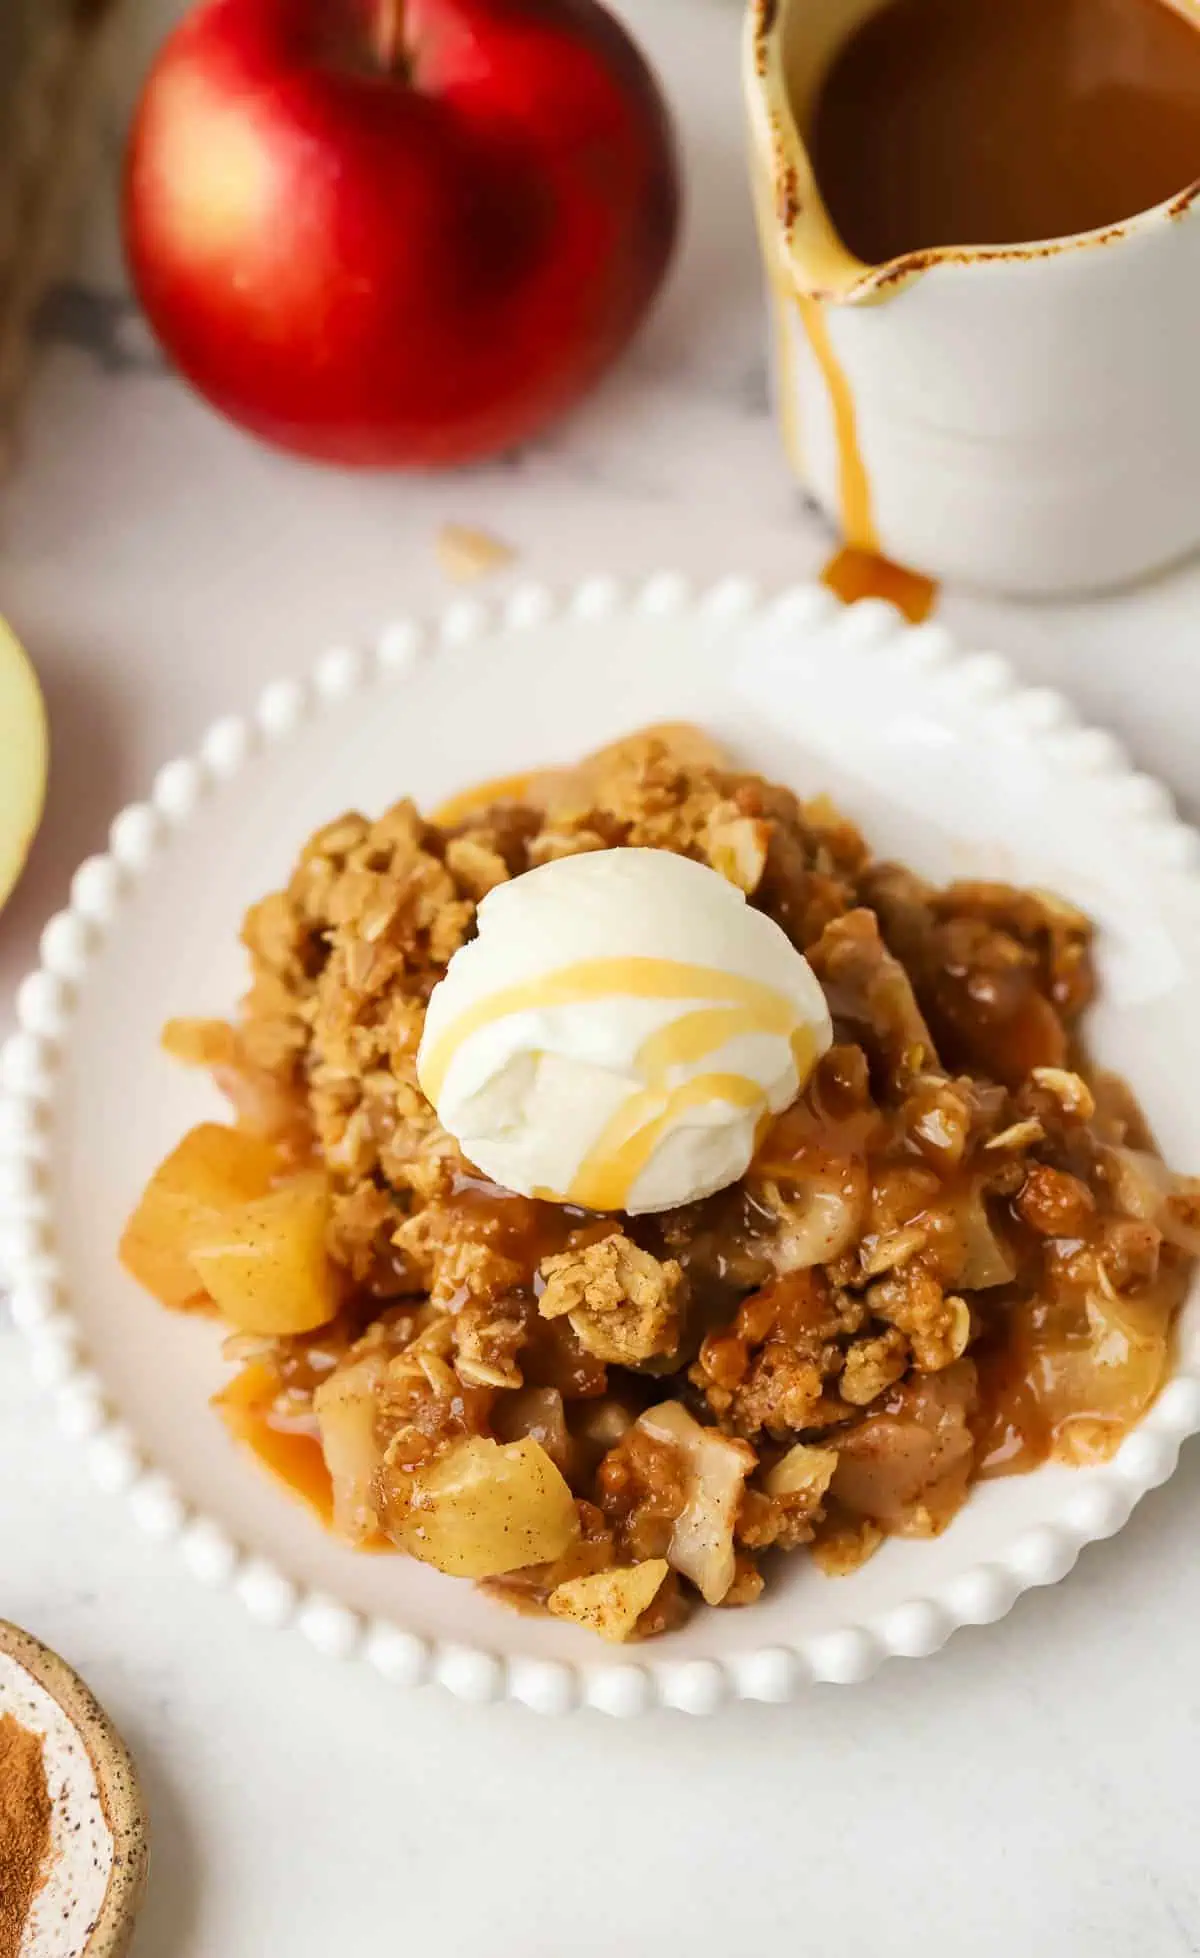
- Apples: You’ll need about 3 large apples. Peel, core, and cut them into ½-inch pieces so they become tender in the time it takes the topping to brown.
- All-purpose flour: This helps thicken the juices released by the apples as they bake.
- Brown Sugar: I tested with granulated sugar and brown sugar. Both work but brown sugar gives a ton more flavor.
- Ground cinnamon
- Lemon juice: This adds a little acidity to balance the sweetness of the filling.
- Salt: Just to balance the sweetness.
For The Oat Topping
- All-purpose flour: For the best results, measure your flour with a kitchen scale or spoon it into the measuring cup and level it off.
- Old-fashioned oats: I recommend old-fashioned rolled oats rather than quick oats for the best crisp, chewy texture.
- Light brown sugar: Make sure to pack the brown sugar into your measuring cup.
- Ground cinnamon
- Salt
- Unsalted butter: Melt the butter before stirring it into the dry ingredients.
- Vanilla: A little bit gives so much flavor. It’s like giving oatmeal cookie vibes.
How To Make Small Batch Apple Crisp
1. Prepare the oven and pan.
Preheat the oven to 350°F. Lightly grease a 9×5-inch loaf pan with non-stick cooking spray or butter.
There’s no need to line the pan with parchment paper since you’ll be scooping the apple crisp directly from the loaf pan rather than lifting it out and slicing it.
2. Make the apple filling.
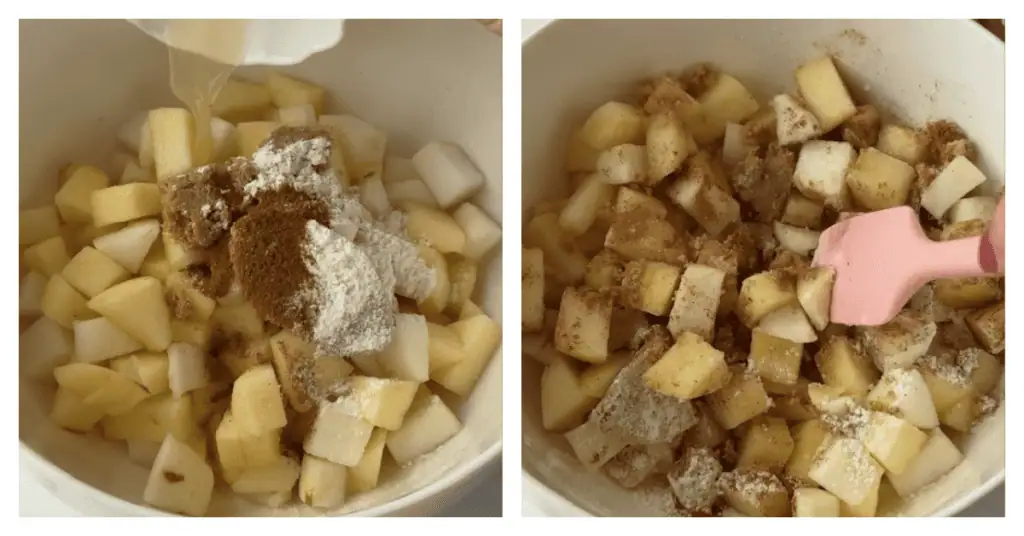
In a mixing bowl, toss together the chopped apples, flour, brown sugar, cinnamon, and lemon juice until the apples are evenly coated.
Make sure you cut the apples into roughly ½-inch pieces. If your pieces are much larger, they may still be firm by the time the topping is golden brown.
Spread the apple mixture evenly in the prepared loaf pan.
3. Make the oat topping.
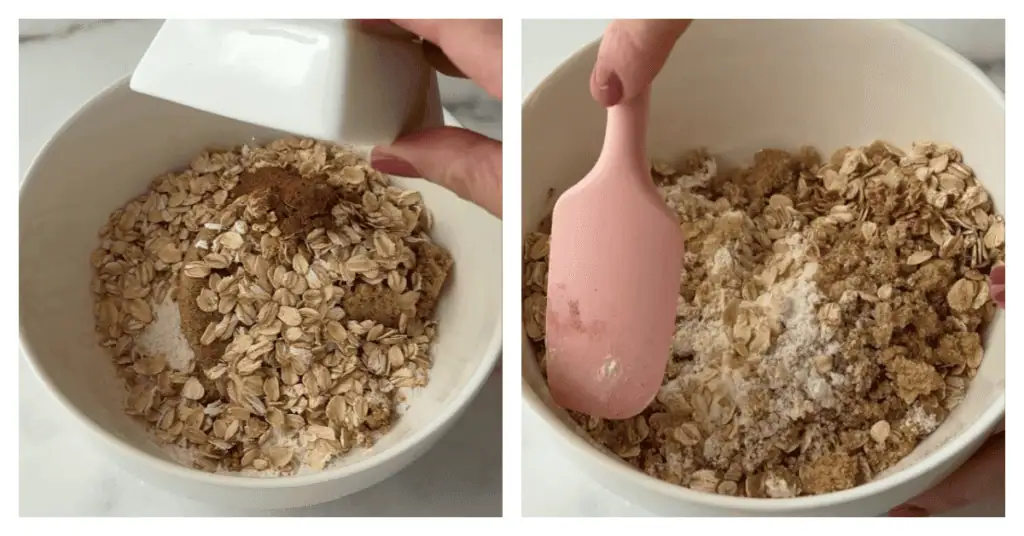
In a small bowl, add the flour, old-fashioned oats, brown sugar, cinnamon, and salt. Stir until everything is evenly combined and there aren’t any large clumps of brown sugar.
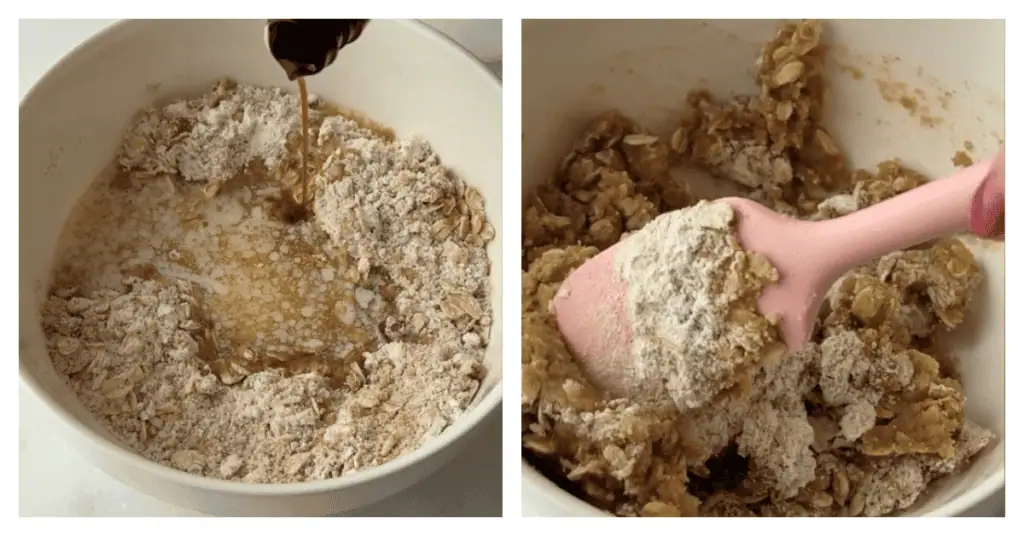
Pour in the melted butter and vanilla and stir until all of the dry ingredients are moistened. The mixture should be crumbly with some larger clumps throughout.
Those clumps are exactly what you want. They’ll bake into all those buttery, crispy pieces on top.
4. Assemble the apple crisp.
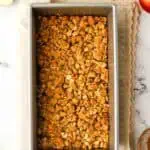
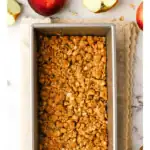
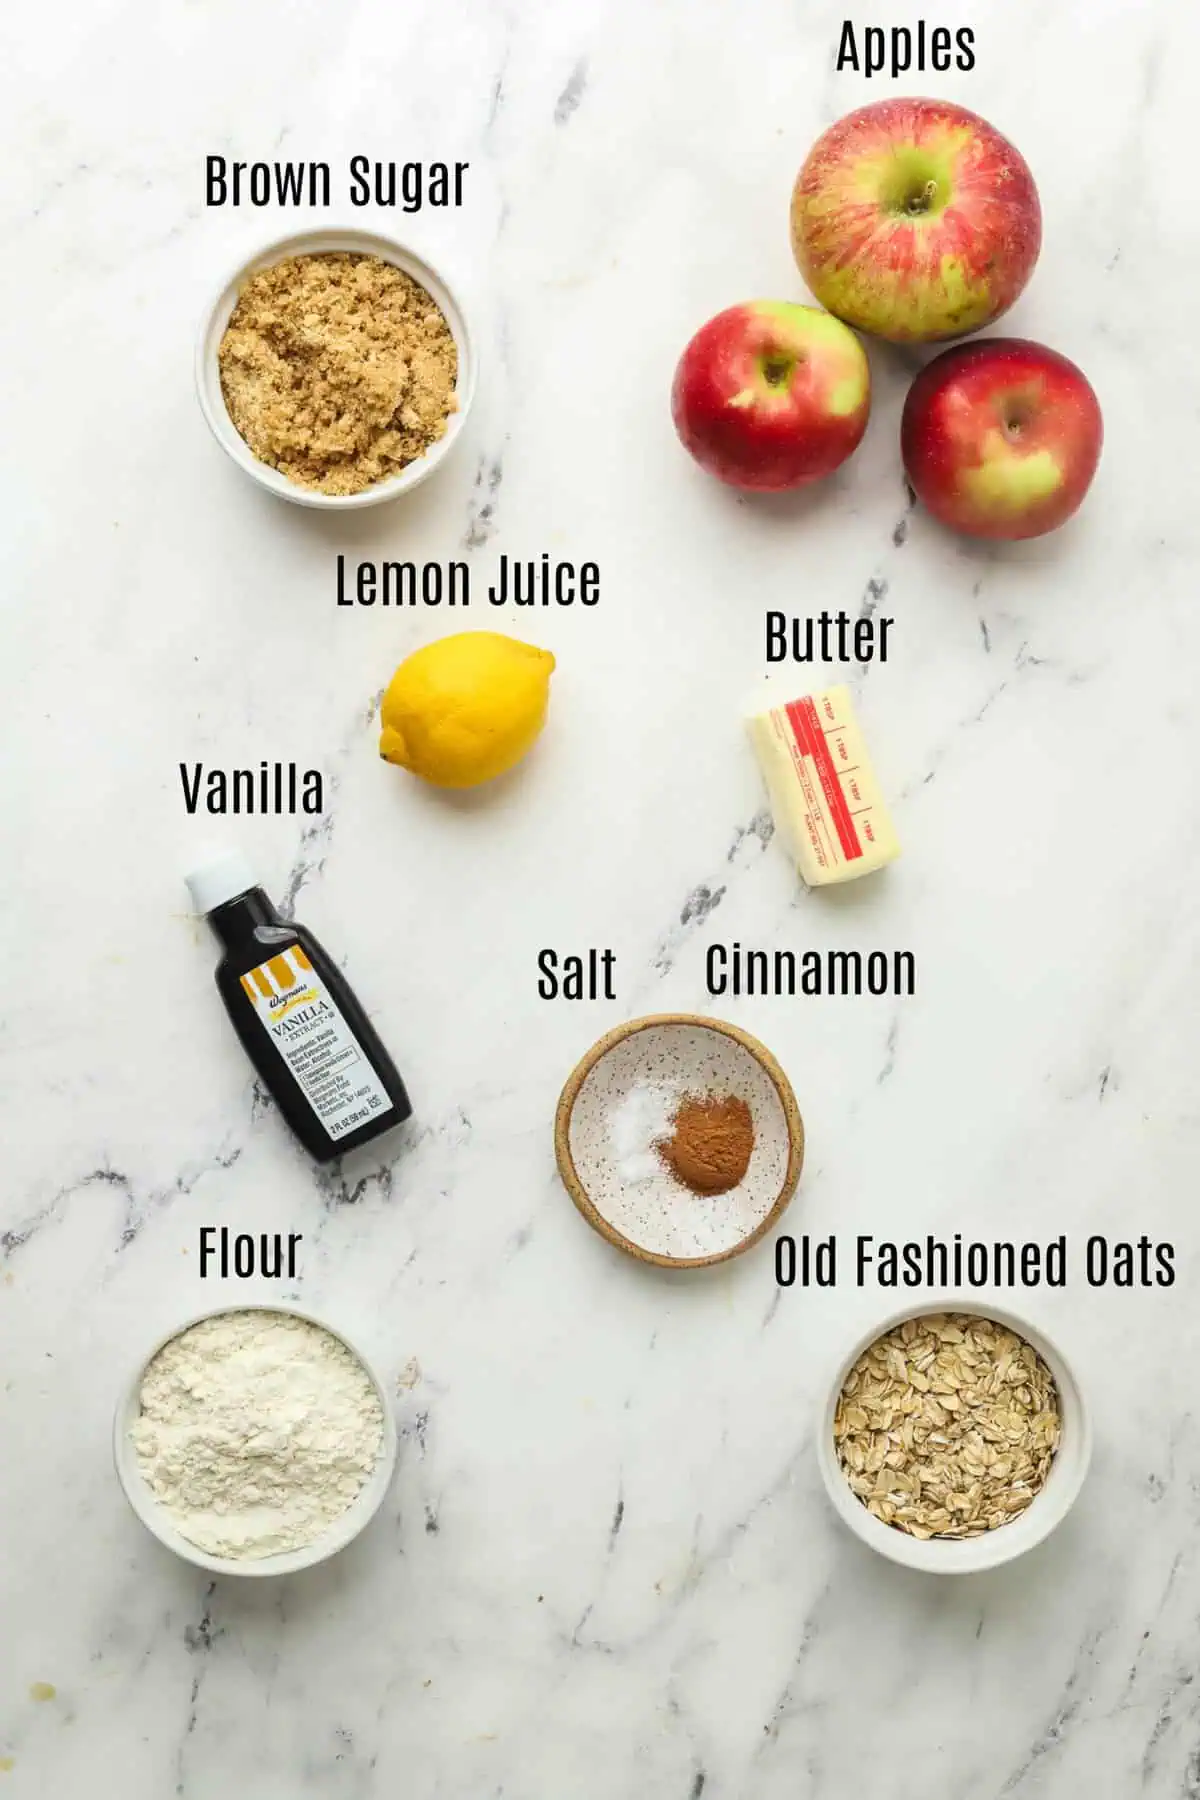
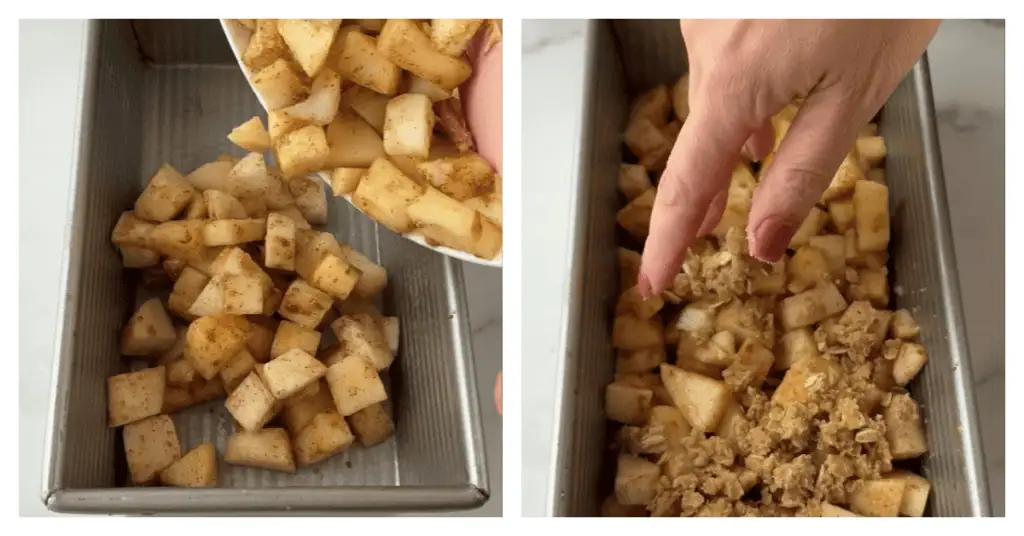
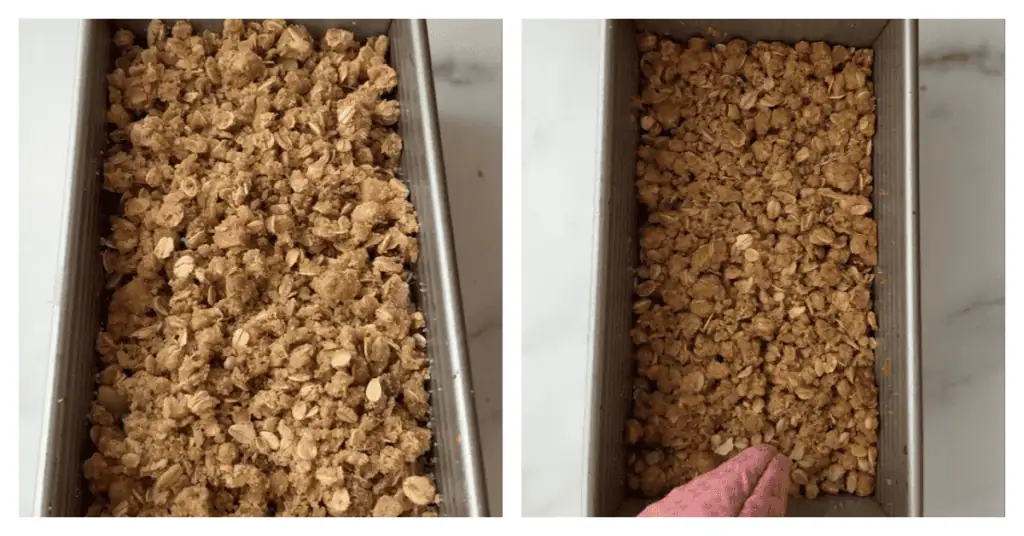
Crumble the oat topping evenly over the apples.
Don’t press or pack the topping down. Keeping it loose allows the heat to circulate around the crumble so you get a crisp, golden topping instead of a dense layer.
5. Bake.
Bake the apple crisp at 350°F for about 30 to 35 minutes.
You’ll know it’s ready when the topping is golden brown, the apple filling is bubbling around the edges, and the apples are tender when pierced with a knife.
If the topping is browning before the apples are tender, loosely tent the loaf pan with aluminum foil and continue baking until the apples are done.
6. Cool and serve.
Let the apple crisp cool for about 10 to 15 minutes before serving.
That short cooling time allows the juices in the apple filling to thicken slightly so you don’t end up with a watery crisp when you first scoop into it.
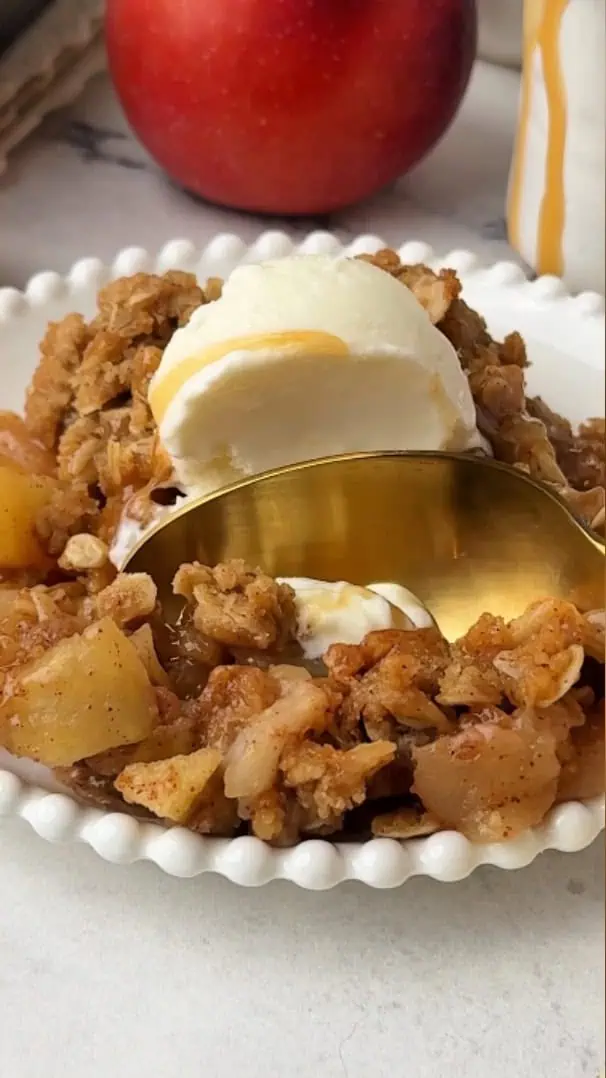
Serve warm on its own or add a scoop of vanilla ice cream or a dollop of whipped cream.
Recipe Tips
- Cut your apples into evenly sized pieces. Keeping them around ½-inch thick helps them cook at the same rate so you don’t end up with some crunchy pieces and some mushy ones.
- Don’t pack down the oat topping. Sprinkle and crumble it loosely over the apples so it bakes up crispy rather than forming a dense layer.
- Check that the apples are actually tender. A golden topping doesn’t necessarily mean the filling is finished. Insert a thin knife into the apples to make sure they’re soft before removing the crisp from the oven.
- Cover the topping if it’s browning too quickly. Loosely tent the loaf pan with foil and continue baking until the apples are tender.
- Let the crisp rest before serving. Giving it 10 to 15 minutes to cool allows the apple juices to thicken and makes it easier to serve.
How To Store
You can keep apple crisp covered at room temperature for up to 1 day. After that, I recommend transferring it to the refrigerator.
Store leftover apple crisp covered in the refrigerator for up to 4 days. Keep in mind that the oat topping will soften as it sits.
To reheat individual servings, microwave until warmed through. If you want to bring back some of the crispness in the topping, reheat the apple crisp in a 350°F oven until warm.
You can also freeze baked apple crisp. Let it cool completely, then cover it tightly or transfer individual portions to freezer-safe containers. Freeze for up to 2 months. Thaw overnight in the refrigerator and reheat at 350°F until warmed through.
Recipe FAQs
I like using apples that hold their shape well when baked, such as Granny Smith, Honeycrisp, Braeburn, or Pink Lady. You can also combine a tart apple like Granny Smith with a sweeter variety for a more balanced flavor. Read Best Apples For Baking
Yes, but the apple and topping layers will be slightly thicker, so your crisp may need a few extra minutes in the oven. Use the apples as your guide rather than relying only on the baking time.
I like to stick a knife through the topping to see if it stabs through an apple chunk easily without resistance. And the topping should be golden brown. If not, bake a few minutes longer!
More Apple Recipes To Try
If you have more apples to use up, here are a few more of my favorite apple desserts to bake next:
- Small Batch Apple Cobbler: Tender cinnamon apples underneath a soft cake-like topping, baked in a loaf pan.
- Mini Apple Coffee Cake: A soft sour cream coffee cake layered with apples and buttery streusel.
- Apple Cinnamon Rolls: Soft, fluffy cinnamon rolls filled with sweet cinnamon apples.
- Apple Turnovers: Flaky puff pastry filled with homemade apple filling for an easy alternative to apple pie.
- Apple Crumb Cake: A tender apple cake topped with plenty of buttery crumb topping.

Small Batch Apple Crisp
Ingredients
Apple Filling
- 2 ½ cups apples peeled, cored, and cut into ½-inch pieces (300 g, about 3 large apples)
- 1 tablespoon all-purpose flour
- 2 Tablespoons packed light brown sugar
- ½ teaspoon ground cinnamon
- ¼ teaspoon lemon juice
Oat Topping
- 6 Tablespoons (75 g) all-purpose flour
- 6 Tablespoons (75 g)old-fashioned oats
- ½ cup (107 g) packed light brown sugar
- ¼ teaspoon ground cinnamon
- ¼ teaspoon salt
- 4 Tablespoons (1/2 stick, 57 g) unsalted butter melted
- ½ teaspoon vanilla extract
Instructions
- Preheat the oven to 350°F (180℃). Lightly grease a 9×5-inch loaf pan.
- Make the apple filling. In a mixing bowl, toss together the apples, flour, brown sugar, cinnamon, and lemon juice until the apples are evenly coated. Spread the apple mixture evenly in the loaf pan. 2 ½ cups apples 1 tablespoon all-purpose flour 2 Tablespoons packed light brown sugar ½ teaspoon ground cinnamon ¼ teaspoon lemon juice
- Make the oat topping. In the same bowl, stir together the flour, oats, brown sugar, cinnamon, and salt. Pour in the melted butter and vanilla and stir until the mixture is evenly moistened and crumbly. 6 Tablespoons (75 g) all-purpose flour 6 Tablespoons (75 g)old-fashioned oats ½ cup (107 g) packed light brown sugar ¼ teaspoon ground cinnamon ¼ teaspoon salt 4 Tablespoons (1/2 stick, 57 g) unsalted butter ½ teaspoon vanilla extract
- Assemble. Crumble the oat topping evenly over the apples. Don't press the topping down—you want to keep it loose and crumbly so it gets crisp in the oven.
- Bake. Bake at 350°F for about 30–35 minutes, or until the topping is golden brown and you can see the apple filling bubbling around the edges. If the topping starts getting too brown before the apples are tender, loosely cover the pan with foil.
- Cool and serve. Let the apple crisp cool for about 10–15 minutes before serving. It's especially good warm with vanilla ice cream or whipped cream.
Notes
- Apples: Granny Smith, Honeycrisp, Pink Lady, or Braeburn are all good choices. You can also use a combination of sweet and tart apples.
- Oats: Old-fashioned rolled oats will give you the best topping texture. I don’t recommend instant oats.
- Pan size: An 8×4-inch loaf pan can also be used, but the crisp may need a few additional minutes of baking time.
- Storage: Store covered at room temperature for up to 1 day or refrigerate for up to 4 days.
- Freezing: Freeze the baked and cooled apple crisp for up to 2 months. Thaw overnight in the refrigerator before reheating.