
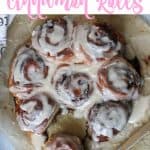
Sourdough Cinnamon Rolls
This Post May Contain Affiliate Links. Please Read Our Disclosure Policy.
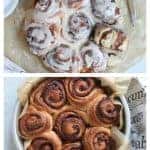
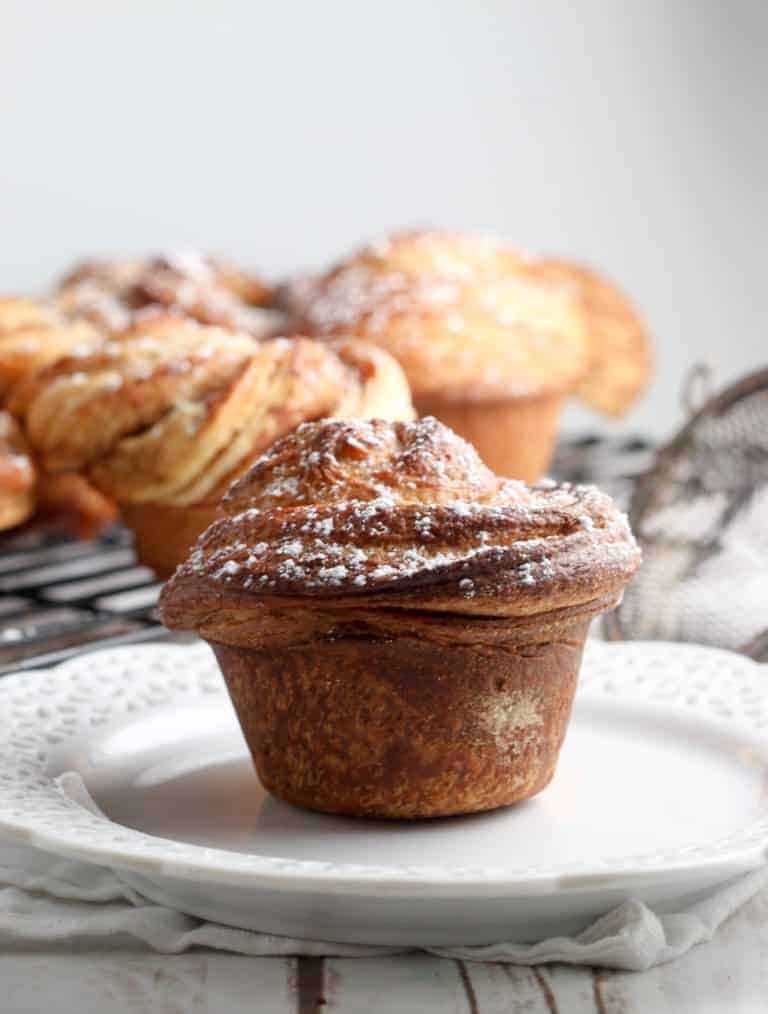
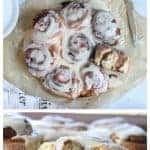
These sourdough cinnamon rolls are hands down the best cinnamon buns I have ever eaten. Light and fluffy cinnamon rolls that use a sourdough starter. Perfect recipe for breakfast or hosting a brunch on Christmas morning!
Listen I’ve had a few cinnamon rolls in my day. I’ve made them, bought them, devoured. But I might just declare these sourdough cinnamon rolls are the best I’ve ever had.
They are sourdough cinnamon rolls so they do take some time and a nice bubbly active sourdough starter. But in the end every minute you spend making these will be SO worth it. Seriously. Light, fluffy, Cinnamony (not a word but it’s cool). Finger licking. Save the last one for yourself and don’t feel guilty kind of amazing.
You’ll see. Trust me…
Ready To Take Your Baking To The Next Level?
Join the Ultimate Baking Bootcamp and master essential techniques like mixing methods and the why behind every recipe! Whether you’re a beginner or looking to refine your skills, this step-by-step class will help you bake with confidence and create flawless desserts every time. Start your baking journey today!

Ingredients Needed
This sourdough recipe uses the sweet dough recipe from Clever Carrot‘s cookbook, Artisan Sourdough Made Simple.
For the dough:
- Your bubbly, active starter – you’ve got that ready to go right? 🙂 Good.
- All Purpose Flour – my preference is King Arthur Flour, organic if you can.
- Egg – One large, room temperature egg. Place your egg in a bowl of warm water for 10 minutes.
- Sugar – I used granulated white sugar, this will help sweeten the dough.
- Milk – I like to use full fat milk, but I think a lower fat milk would be fine. I haven’t tried this with alternative milks.
- Warm water – Warm is best to keep that yeast alive and happy.
- Salt – Salt is very important when making bread. It helps to strengthen the dough. You can read more here about the role of salt in baking.
- Unsalted Butter – I always recommend using unsalted butter vs. salted butter. Different brands of butter will add varying amounts of salt, so it’s better to use unsalted butter and add the salt yourself. If you only have salted butter then be sure to reduce the salt in the recipe. You can read more here about Unsalted Butter Vs. Salted Butter In Baking.
For the filling:
- Softened, unsalted butter – You want to use very soft butter so it spread easily on the dough and doesn’t tear the dough.
- Light brown sugar – Of course this adds flavor and sweetness. You can also make your own homemade brown sugar.
- Cinnamon – Of course a cinnamon roll wouldn’t be one without cinnamon.
For the glaze:
I used my cinnamon roll icing recipe for these rolls. But you could also use this cream cheese frosting for cinnamon rolls.
- Confectioner Sugar – this is an easy simple powdered sugar glaze.
- Butter – A little melted butter adds richness and flavor.
- Vanilla extract – Of course pure vanilla is best and adds great flavor!
- Milk – This will help thin out the glaze and make it the perfect consistency to spread on top of your warm rolls.
How to make these sourdough cinnamon rolls
Make the dough:
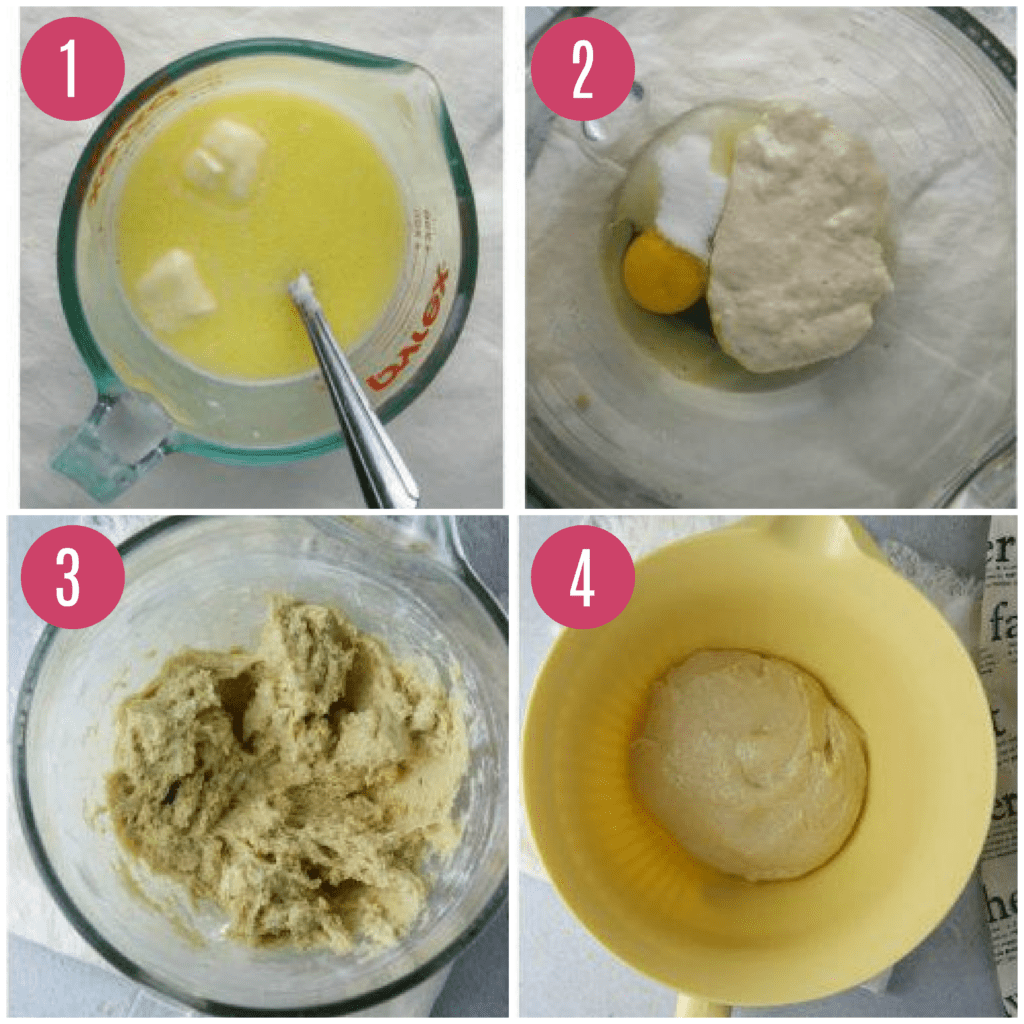
- We want to start by making our sweet dough. You want to warm the milk and butter in a small saucepan (or microwave). Be sure to let it cool slightly before using.
- In the bowl of a stand mixer, you want to combine the starter, egg, and sugar. Mix this using your paddle attachment. And then add the milk mixture.
- Then add your flour and salt. You want to let the dough rest for about 30 minutes.
- Ad this point, switch to your dough hook attachment, and knead the dough for about 6 to 8 minutes.
Bulk Rise:
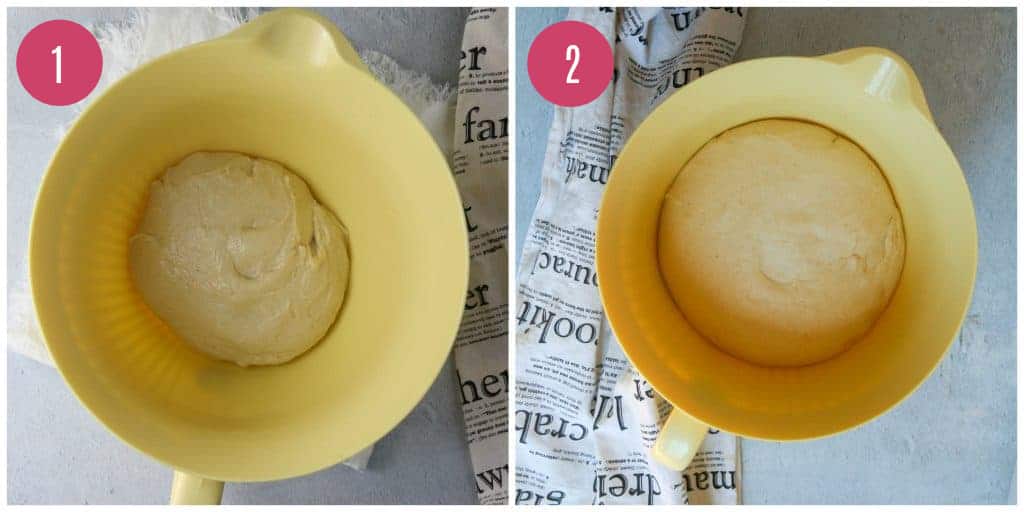
- At this point you want to move the dough to an oiled bowl and cover with a damp towel and let the dough rise, at room temperature for 8 to 10 hours.
- The dough should double in size.
Rolling and filling the rolls:
Now that the dough has risen it’s time roll out the dough and add the filling. I adjusted the amount of filling from my 1 Hour Cinnamon Rolls and used a little less since this only made 8 cinnamon buns.
I like to use a pastry mat to roll out my dough.
- You want to lightly flour your surface and roll out the dough using a lightly floured rolling pin to a 12 by 12 inch square.
- Then spread the softened butter.
- In a small bowl stir together the brown sugar and cinnamon. Sprinkle on the cinnamon sugar mixture.
- And then roll up the dough into a tight log.

Shaping Rolls:
Now that our dough is filled and rolled it’s time to cut into rolls. This recipe makes 8 perfect rolls. Here is how I accomplish perfectly shaped cinnamon rolls. My secret…
Dental Floss!!! Just make sure it’s not MINT flavored! Or you can use thread. This ensures you don’t squish the dough as you cut through it. You can also use a sharp knife and cut the rolls if you don’t have any string or floss. I find a serrated bread knife is best so it doesn’t tear the dough.
- To cut the rolls, start in the middle of the log. Place the floss underneath the log of dough going perpendicular, then criss cross the floss.
- Pull the floss so it cuts through the dough revealing the beautiful spiral inside! Repeat this to make 8 even sized cinnamon rolls.

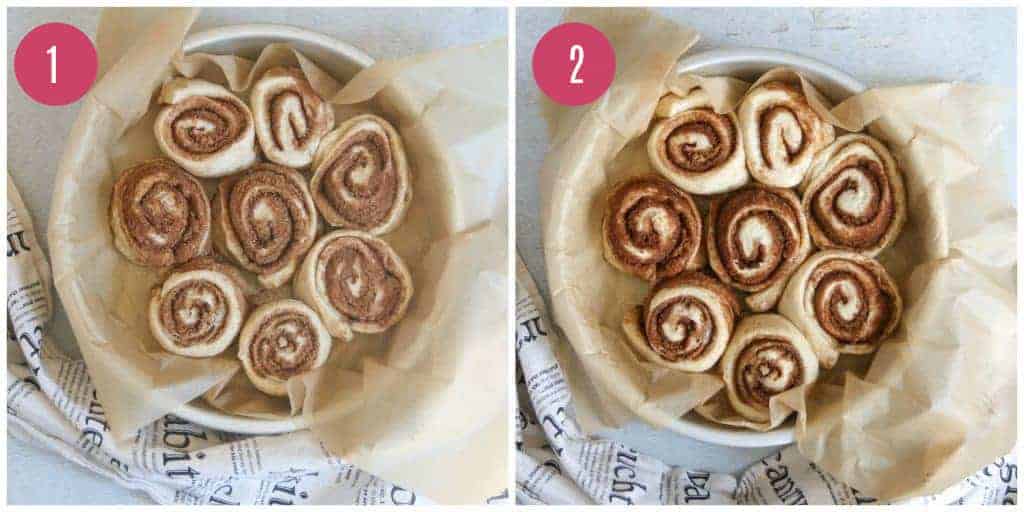
Final Rise:
- You want to place the rolls in your pan. I used a 9-inch round cake pan, lined with parchment paper.
- Then cover with a towel and let the rolls rise for another 1- 2 hours until almost doubled in size and puffy.
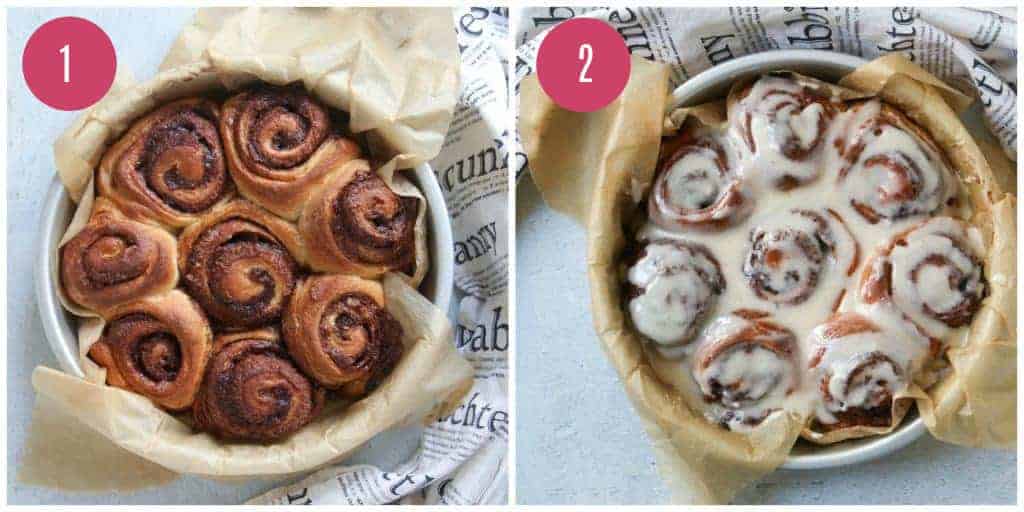
Bake And Glaze:
- Then it’s time to bake!!! (Yes all those exclamations are necessary.) It will take about 40-45 minutes in a 350°F oven. You want to bake the rolls until golden brown and the internal temperature of the rolls should be 190oF.
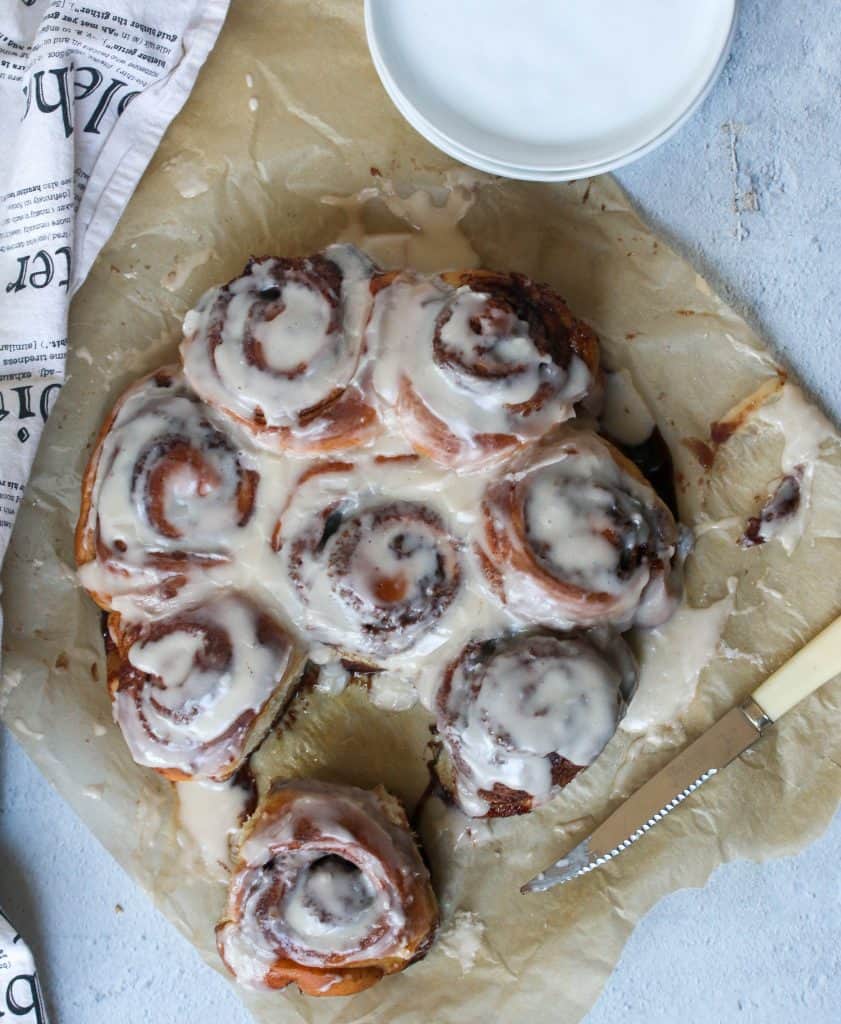
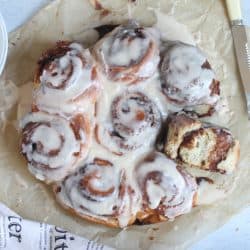
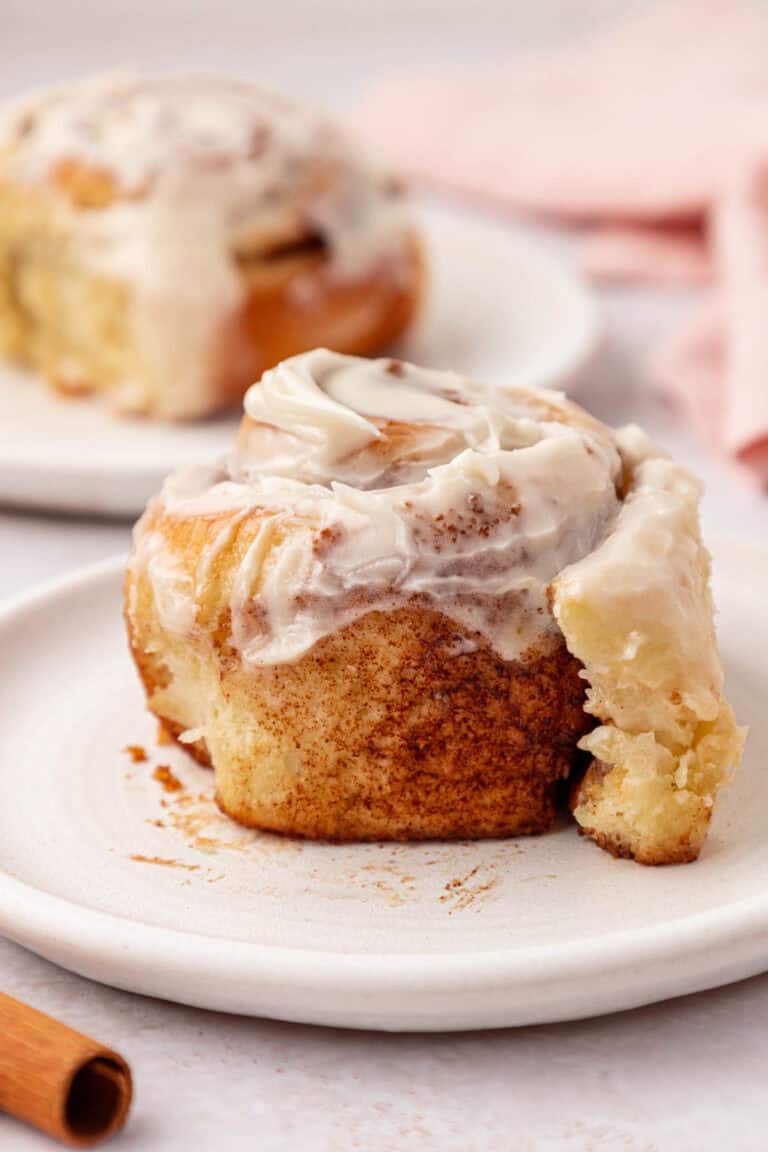
- And then once baked, time to glaze! I like to glaze them while they are still warm.
Seriously, are you drooling on your computer screen yet?
Heather’s Best Baking Tips
- Make sure your starter is active before you start. Drop a small piece in a bowl of water to see if it floats. It it does, then it’s ready! If not, then it may need 1-2 more feedings. The starter should be at it’s peak point (aka doubled in size from when you first fed it – usually within 4 hours).
- Measure Your Flour Using A Kitchen Scale . You can use measuring cups but for best accuracy it’s better use a kitchen scale and weigh out your flour. This ensures you don’t overmeasure, which can result in dense rolls. You can read my post on How To Measure Flour here. Or you can read this post on How To Measure Ingredients (with a video!).
- Damp Towel!! When you let the dough rise overnight, be sure to use a damp towel to cover it so it doesn’t dry out and not rise properly.
- Use Floss (Or Thread). If you use a knife, you risk squishing the dough and not getting a clean cut and neat spiral. Just make sure your floss isn’t mint flavored. Place the floss underneath and then bring it up on either side, criss cross it, and then pull the thread through the dough.
Storage Instructions
Sourdough rolls will be fine at room temperature for 4 to 5 days. I think they are best, however, if eaten within the first two days. Once the rolls has cooled completely be sure to cover and store the rolls well. I like to keep them in an airtight container or wrap in plastic wrap.
You can also freeze these cinnamon rolls. I just let them cool completely before freezing. If you have the icing on them, you may want to freeze them first, uncovered, until they are frozen solid and then transfer them to a sealable plastic bag. These should freeze well for up to 3 months. I would then thaw at room temperature uncovered. You can always reheat in the microwave for 10-15 seconds until warmed through.
Recipe Variations
- Use my cream cheese frosting for a thicker frosting to ice the rolls with. Or try my cinnamon cream cheese frosting.
- Add a little maple syrup to the glaze for a little extra flavor!
- Pour 1/3 cup of warmed heavy cream over the top before baking for added richness.
Recipe FAQ’s
This could be because your sourdough starter wasn’t quite bubbly and active enough. Be sure to do the “float test” before you begin. Another culprit could be a cold kitchen (ideally these should rise in a warm environment between 70-80oF). So if your kitchen is colder these will just take longer to rise. Make sure your water is warm. Just like the dough likes a warm kitchen, it will also like warm water to keep it happy and keep it rising.
I bake these cinnamon rolls in a round cake pan, but you could also bake in a glass pie plate or cast iron skillet.
Yes once the rolls have been assembled cover the rolls and refrigerate for up to 24 hours for a great make-ahead option. The next morning, let the rolls sit at room temperature until puffy, about 45 minutes to an hour. Time can vary!
More Recipes To Try
If you are craving more cinnamon rolls, try my one hour cinnamon rolls with an easy cinnamon roll icing! If you need just a few, make my small batch cinnamon rolls.
Or try my apple cinnamon rolls in the Fall, or banana bread cinnamon rolls for Christmas morning!
Master The Art Of Baking!
Don’t miss out on the chance to elevate your baking skills! Join the Ultimate Baking Bootcamp today and unlock the secrets to creating perfect desserts every time. With expert guidance, step-by-step lessons, and insider tips, you’ll be baking like a pro in no time. Sign up now and start mastering your baking!
Sourdough Cinnamon Rolls
Ingredients
For the Sweet Dough
- 160 g (2/3 cup) milk, whole or 2%
- 28 g (2 tbsp) unsalted butter
- 1 large egg room temperature
- 100 g (1/2 cup) bubbly, active starter
- 24 g (2 tbsp) granulated white sugar
- 300 g (2½ cups) all-purpose flour (I use King Arthur)
- 3 g (½ tsp) salt
For the Filling
- 4 Tablespoons (57 g) unsalted butter very soft
- 2/3 cup (143 g) light brown sugar
- 4 teaspoons cinnamon
For the Glaze
- 1 cup confectioners sugar
- 1 tablespoon unsalted butter melted
- 1 teaspoon vanilla extract
- 2 tablespoons milk
Instructions
Make the Dough
- Warm the milk and 2 Tbs. butter in a shallow pan or microwave. Cool slightly before using. 160 g (2/3 cup) milk, whole or 2% 28 g (2 tbsp) unsalted butter
- Add the egg, starter, and sugar to the bowl of a stand mixer. Mix to combine using the paddle attachment. With the machine running, slowly pour in the warm milk mixture. 1 large egg 100 g (1/2 cup) bubbly, active starter 24 g (2 tbsp) granulated white sugar
- Add the flour and salt, and continue mixing until a rough dough forms, about 1 minute. Scrape down the sides of the bowl as needed. Cover with a damp towel and let rest for 30 minutes. 300 g (2½ cups) all-purpose flour (I use King Arthur) 3 g (½ tsp) salt
- After the dough has rested, switch to the dough hook and knead on medium-low speed for 6-8 minutes. Transfer the dough to a lightly oiled bowl.
- Cover again with a damp towel, and let rise overnight at room temperature until double in size. This can take anywhere from 8-10 hours or more.
Roll and Fill the Dough
- The following morning, lightly flour your countertop to prevent sticking. Gently coax the dough out of the bowl. Let it rest for 5- 10 minutes to relax the gluten. It will be easier to roll out this way.
- With a floured rolling pin, roll the dough into a large rectangle (mine was about 12×12).
- In a small bowl, mix together the brown sugar and cinnamon. Spread the softened butter over the dough, and top with brown sugar and cinnamon mixture. 4 Tablespoons (57 g) unsalted butter 2/3 cup (143 g) light brown sugar 4 teaspoons cinnamon
Roll & Cut the Dough
- Using lightly oiled or floured fingertips, roll it up pressing down as you go. Take your time with this step. You want the log to be somewhat tight so that the swirls stay in tact when baked. Once you get to the end, make sure the dough is facing seam side down.
- To cut the dough and to ensure you don’t squish the spiral, use unflavored dental floss or sewing thread. If you have neither, then use a very sharp knife. To use the floss, I place it underneath the dough in the middle. Bring the floss up on either side, and criss cross it, then pull the floss evenly on both sides so it cuts through the dough. I repeat this with each half (Making 4 logs of even size). Then repeat again to make 8 even sized cinnamon buns (about 1 1/2 inches in size).
Final Rise
- Place the rolls into an 9-inch parchment lined round pan and let rest for about 1-2 hours, or until the dough puffs up. The time can vary depending on the temperature of your kitchen.
Bake the Rolls
- Preheat your oven to 350 F. Place the dough onto the center rack and bake for 40-45 minutes. The tops should be light golden brown and the internal temperature should read 190 F. Cool in the pan for 15 minutes, and then remove to a wire rack.
Make the glaze
- While the rolls are cooling make the glaze. In a small mixing bowl, whisk together the glaze ingredients. You can adjust the consistency by adding a little more milk, or more sugar. Then spread the glaze on top of the rolls (I like to do this while they are still a bit warm). 1 cup confectioners sugar 1 tablespoon unsalted butter 1 teaspoon vanilla extract 2 tablespoons milk
Notes
- Make sure your starter is active before you start. Drop a small piece in a bowl of water to see if it floats. It it does, then it’s ready! If not, then it may need 1-2 more feedings.
- Measure Your Flour Using A Kitchen Scale . You can use measuring cups but for best accuracy it’s better use a kitchen scale and weigh out your flour. This ensures you don’t overmeasure, which can result in dense rolls. You can read my post on How To Measure Flour here.
- Damp Towel!! When you let the dough rise overnight, be sure to use a damp towel to cover it so it doesn’t dry out and not rise properly.
- Use Floss (Or Thread). If you use a knife, you risk squishing the dough and not getting a clean cut and neat spiral. Just make sure your floss isn’t mint flavored. Place the floss underneath and then bring it up on either side, criss cross it, and then pull the thread through the dough.
- Storage: Store cooled cinnamon rolls, covered, at room temperature for up to 5 days. Or freeze for up to 3 months.
- Adapted From Artisan Sourdough Made Simple cookbook


This was my first time making cinnamon rolls and I found this recipe to be accessible to my limited knowledge lol. Really yummy!!!!
So happy to hear the recipe worked well for you, and that you enjoyed the cinnamon rolls! Thanks for sharing! 😊
How warm to do you get the mike and butter? Does the butter need to be melted?
Hi Augusta, yes melted and no hotter than 120°.
These are delicious cinnamon rolls! I am always looking for new ways to use my sourdough and these had a great flavor and were light and fluffy. Will certainly make them again!
Wonderful, I am so glad that you loved them, Adrienne! Thank you so much for taking the time to let me know how they turned out for you!
I want to love these, but mine didn’t rise. I left them for about 10 hours for the first rise and it barely increased. I went ahead and rolled them out. Not sure if it was the dairy free substitutes (I used almond milk and cocnut oil in place of milk and butter) or the temperature of my kitchen. My starter was good. I make yummy breads with it often. They tasted good (not great), but weren’t fluffy at all.
Hi Kayla, not sure to say what went wrong. It does sound like maybe your starters wasn’t active enough, or perhaps the substitutions may have affected it. If your kitchen was too cold it may have just needed more time to rise at all. These rolls are delicious so I hope you give them another try!
Is it possible to freeze these after shaping and cutting but before baking?
Thanks for any advice!
Yes you definitely can!
These are hands down, the best cinnamon rolls. I’m new to sourdough baking and I’ve tried several other recipes with mixed results. Not this recipe. I’ve made it 3 times and they come out perfect. Going to start several batches tonight and freeze. Thank you for such a wonderful recipe, especially for beginners. It definitely builds your confidence in bread baking!
aw that’s so great to hear Melissa!! These are hands down my favorite 🙂 so I’m glad you also agree! And glad you have had such success!
These are absolutely amazing!!! Made a batch last week and making a batch today. I am new to sourdough baking. The recipe is very easy to follow! Thank you so much
thank you Rachela,..so glad you had success and enjoyed these as much as we did 🙂
I have made this once and they were wonderful..silly question when you freeze before baking do you let them rise overnight first?
Hi Pattie, no I freeze before letting them rise. I shape then freeze. And then I’ll let the thaw overnight and let them rise the next day at room temperature. Hope that helps!
Just made these and they are divine! Such an easy recipe to follow. I also love that its a small batch of rolls instead of other recipes I’ve made with a yeasted dough and bread maker. I baked mine for a little less than 40 minutes. I also made these dairy free! Vegan butter and almond milk. Still very much light and fluffy.
That’s awesome Stephanie!! I’m so glad you loved them…and were able to make with vegan butter and almond milk too.
I am making these as I type and the dough is so sticky! I can’t even get it into the oiled bowl without thinking something is wrong. So I am going to a more flour in hopes of making it easier to handle. Hope I don’t ruin it!
How sticky should it be!?
Hi Deanna, I do like a soft, slightly sticky dough but if it seems overly sticky you can try adding a little flour in by hand.
Made these today…..By far the easiest and most successful sourdough cinnamon rolls I have made. So easy to roll out and filling stayed in. This is a no fuss must try recipe. I did sub 1/2 bread flour 1/2 AP flour and used buttermilk in place of whole milk. SOOOOOOOO EASY. My starter is about 12 months old.
that’s awesome Dani I’m so glad you loved them as much as we did! And glad the flour and buttermilk changes worked out well too!
Great recipe! I love using my starter for new recipes. Thank you 🙂
Yay!!
Can the overnight rise be longer if it’s moved into the fridge in the morning? Trying to figure out the best timeline to make for work one day 🙂
Hi Sarah! I haven’t tried this with an overnight in the fridge, but have other sourdough breads. It should be fine to let it rise in the fridge for 24 hours!
Hi! I am excited to try this recipe. What if Iwant to make it into 9 to fit a square pan or 12 buns instead of 8 and use a 9,x12 pan? How do I adjust the recipe? Thank you!
Hi Ann! You would just need to adjust the baking time and cut them smaller. If making more than 8, I would reduce the baking time slightly.
My sour dough starter is only 2 months old. Should I add a package of yeast?
Hi Sheila I haven’t tried with yeast.I would say you’re fine without it. However, If you do want to try You could try to add a little – maybe a teaspoon but I can’t say for sure (and this would affect the fermentation rate.) I would make sure that your starter is very active before you start,especially since it’s going. Give it a couple feedings a few days leading up to it. And If you decide to not add yeast then your bulk rise time might just differ than mine. Hope that helps!