This Post May Contain Affiliate Links. Please Read Our Disclosure Policy.
When it comes to baking recipes you may have seen the ingredients listed in both volume measurements and weight measurements and wondered what’s better. Weight vs. volume: is one better than the other? Yes! Keep reading to find out which method is preferred and how to measure each way correctly.
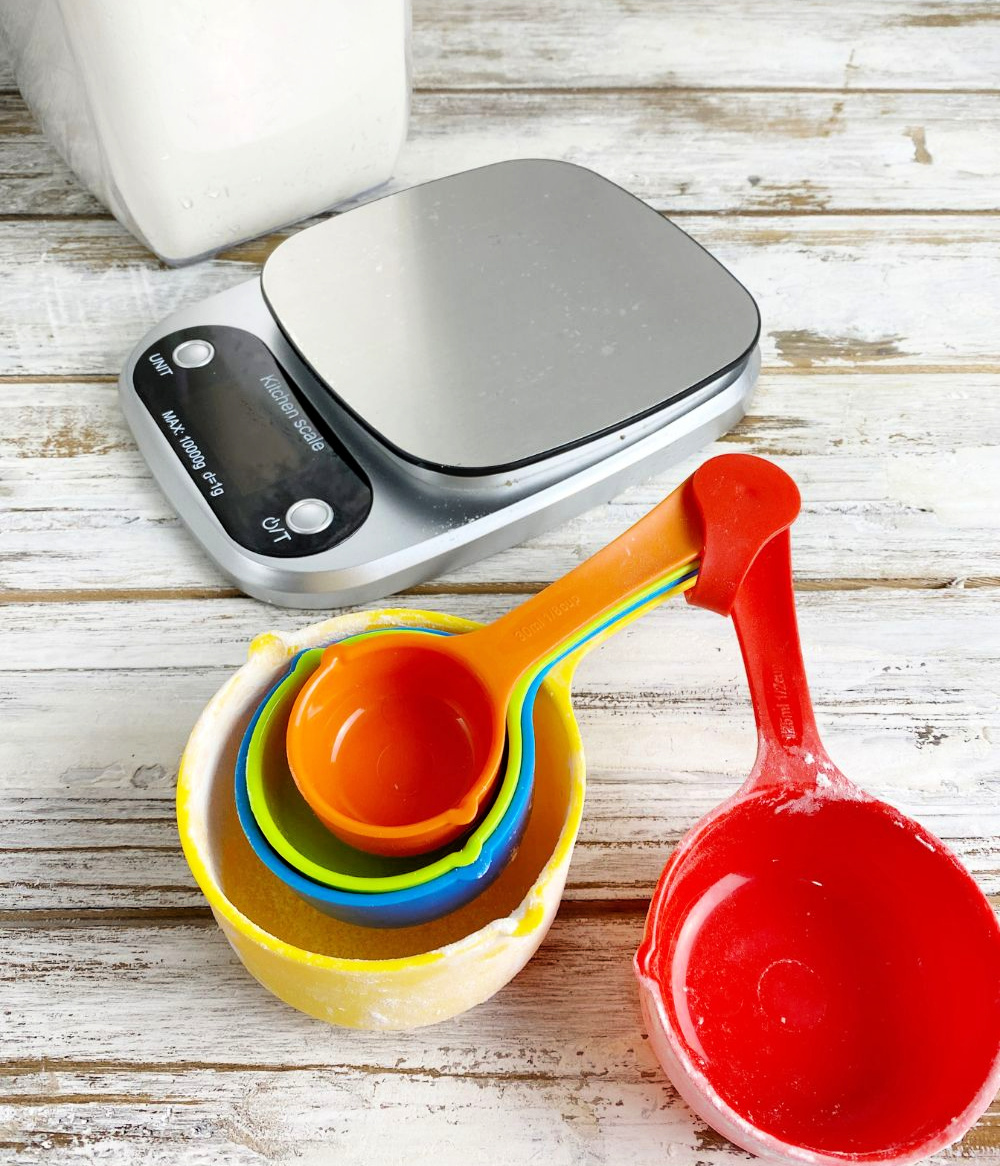
Weight vs volume measurements in baking
When it comes to baking, there are two ways to measure -by weight or by volume. When it comes to baking, weighing ingredients is more accurate then measuring ingredients by volume.
If measuring by weight, you would use a kitchen scale and measure in either pounds, ounces or grams. If measuring by volume, then you are measuring cups, and measuring in cup amounts.
Measuring by weight means you are measuring how heavy or dense the ingredient is. If measuring by volume, you are measuring how much space it takes up.
Why is it better to weigh ingredients in baking?
When it comes to baking, precision is everything. For the best results, it’s better to weigh your ingredients because it’s more accurately measured.
Most bakers in the US rely on measuring by volume, but there is a lot of room for error there. Two different people can fill up a measuring cup of flour very differently. It’s too easy to add too much or too little of the flour into your cup. But if a recipe calls for 120 g of flour – there is no guessing there. It weighs 120 grams or it doesn’t.
This is what can make it tricky to be as accurate when measuring by volume vs. weight.
If you follow and bake a recipe measuring by weight you will be making the recipe according to how the baker intended. There’s less room for error and that means better success for you. Switching to measuring by weight in your baking will make a huge difference in your results.
Because not all bakers will fill up a measuring cup the same, so unless you know how they measured it you may be adding more or less of the ingredient than they intended.
Another great reason to measure by weight instead of volume, is the ingredients can be added to the same bowl. That means fewer dishes! You don’t need to wash a bunch of cups and measuring utensils.
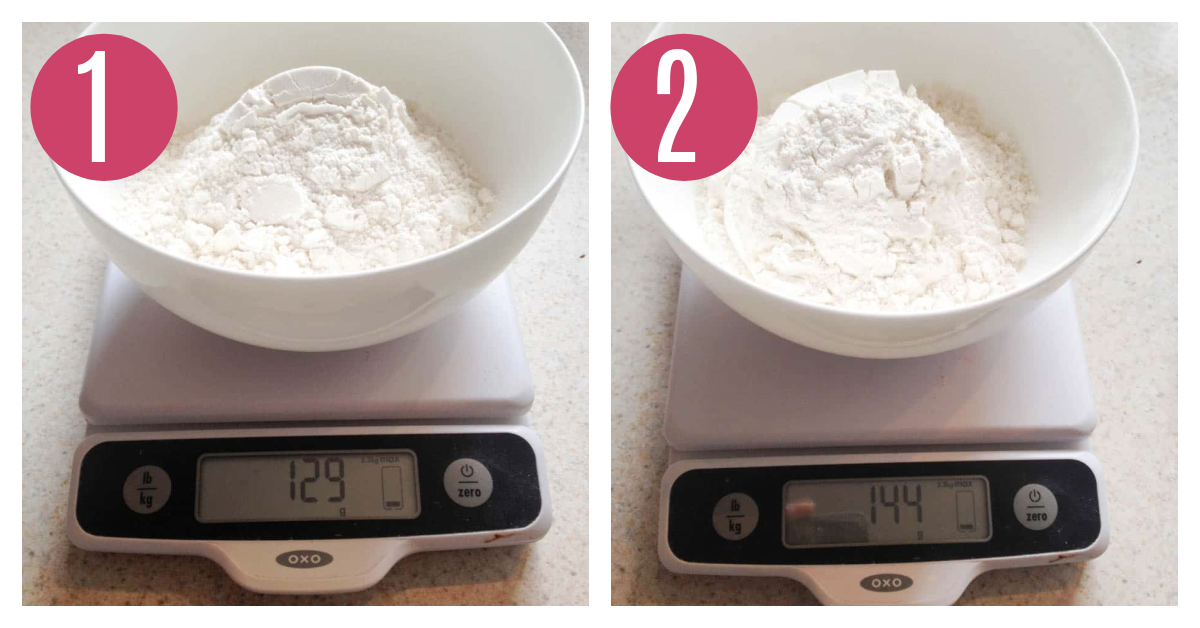
You can see in the photo below of two cups of flour measured in different ways by volume. Both were 1 cup of flour, but because they were measured in different ways, ended up with different amounts by weight. Measuring by volume incorrectly can result in 25-30% more per cup in your recipe!
Fluid ounce confusion
The confusion usually comes from that we are taught 1 cup = 8 ounces. That is true in fluid ounces. One cup of water is the same as 8 fluid ounces (a measurement of volume).
However that doesn’t mean 1 cup of an ingredient will weigh 8 ounces. Fluid ounces and ounces by weight are not the same.
Think of it this way – you can have a cup of water and a cup of flour – both the same volume, but the flour would weight a lot more. The cup of water would weigh 8 ounces, but the flour would weigh much more.
Measuring by volume
When measuring ingredients by volume, you would use measuring cups. You will need a set of dry measuring cups, a liquid measuring cup, and a set of measuring spoons when measuring by volume.
Most American bakers measure ingredients by volume because this is the way we have always done it and learned this way. However, this much less accurate.
The reason is a person can fill up a measuring cup with an ingredient differently than the next person. If measuring flour one person can pack the flour into the cup, another can spoon it in, and another might scoop directly from the bag. All methods would result in different amounts of flour.
Different amounts of flour in a recipe can drastically change how the baked goods turn out! That’s why weight is best. However that being said, you can still use your measuring cups and get great results as long as you know how to use them.
Units of volume measurements in baking:
- Teaspoons and Tablespoons
- Cups (c)
- Fluid ounces (fl oz.)
- Pint (pt)
- Quart (qt)
- Gallon (gal)
- Milliliter (mL)
- Liter (L)
How to use dry measuring cups
When measuring dry ingredients, it’s important to use dry measuring cups and not liquid measuring cups. If you use a liquid measuring cup, you won’t be able to level the ingredient across the top and get an inaccurate amount.
I recommend using metal measuring cups and NOT plastic ones. Plastic ones can easily break, the measurements can wear off over time, and the plastic can build up with grease and residue over time.
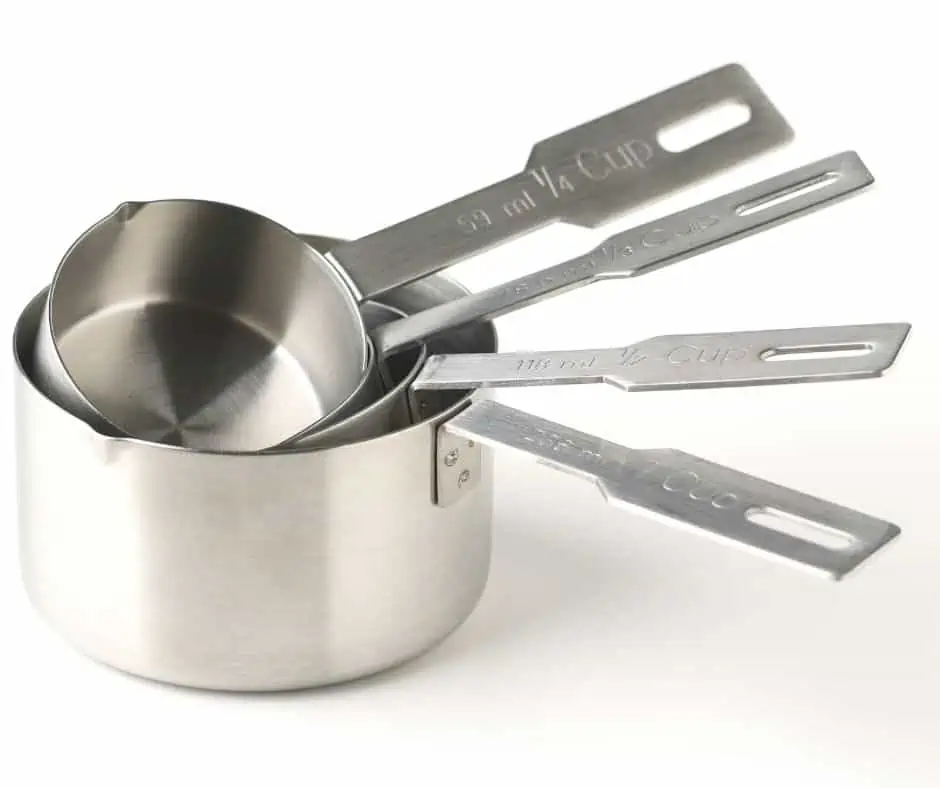
A set of measuring cups will usually come in a set of four in the following amounts (some sets may include smaller or larger sizes):
- 1 cup
- 1/2 cup
- 1/3 cup
- 1/4 cup
When measuring dry measuring cups, how you measure with them will differ depending on what ingredient you are measuring.
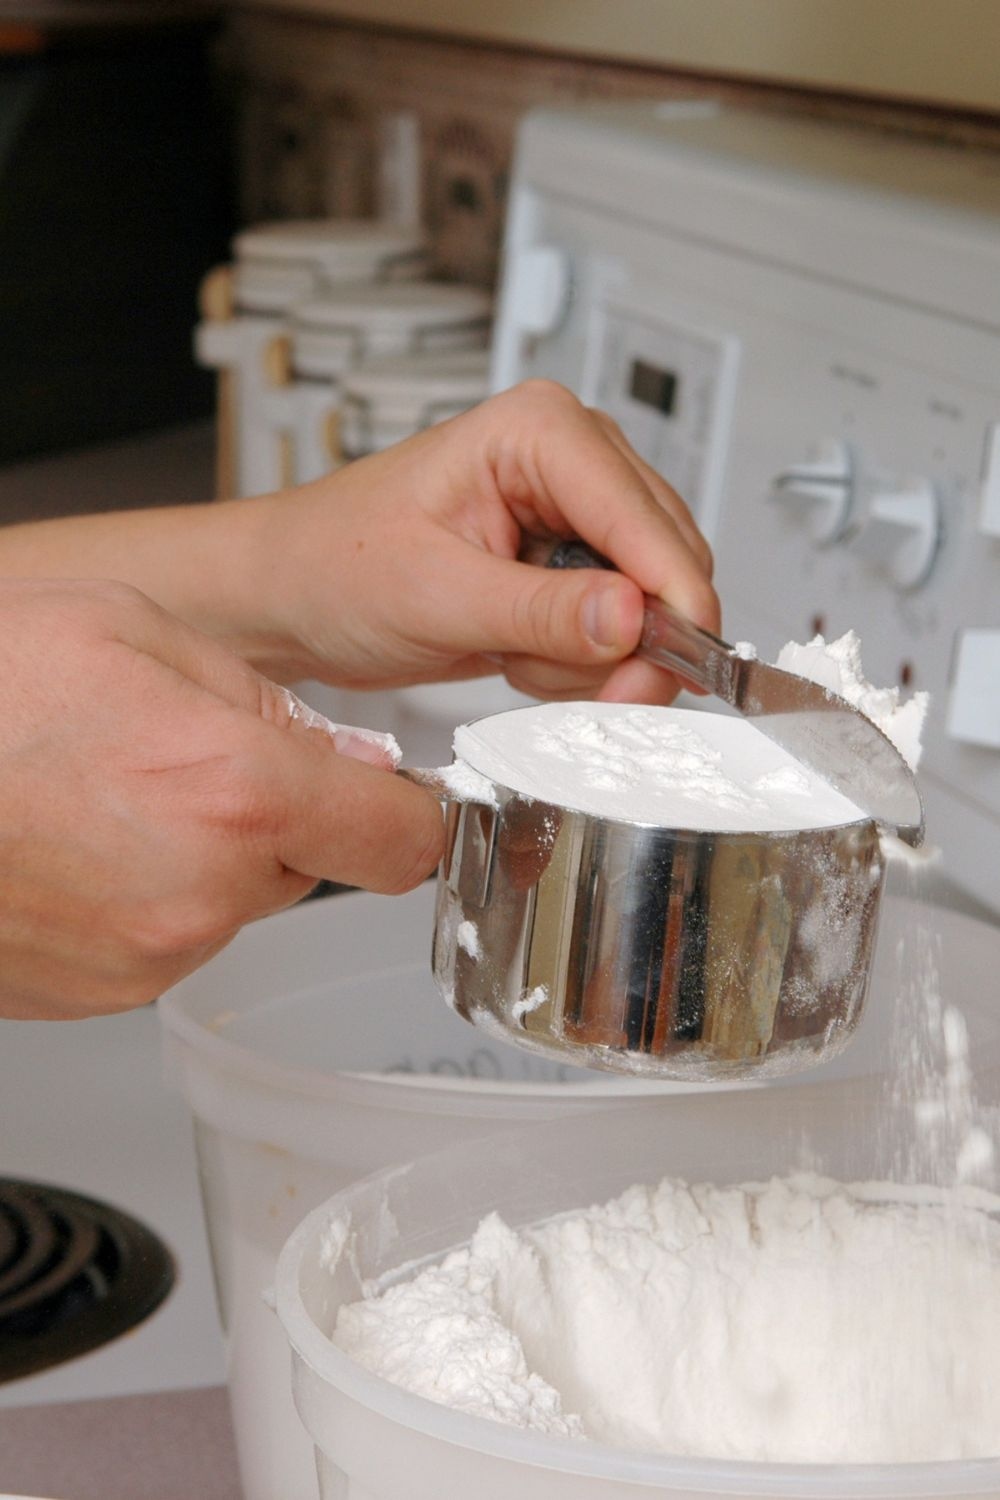
To measure flour (and other powdery ingredients):
Powdery ingredients can get packed down into the cup so it’s important to be careful when measuring these ingredients and doing it correctly. When measuring powdery, dry ingredients like all purpose flour, cocoa powder, or powdered sugar I recommend you measure this way:
- Stir the ingredient first in the bag (product can settle in the bag)
- Spoon the ingredient into dry measuring cup until you have a heaping cup.
- Level off the top with a straight edge like a spatula or butter knife. Make sure there are no holes or “hills” – the ingredient should be flat across the top.
Brown sugar vs. white sugar
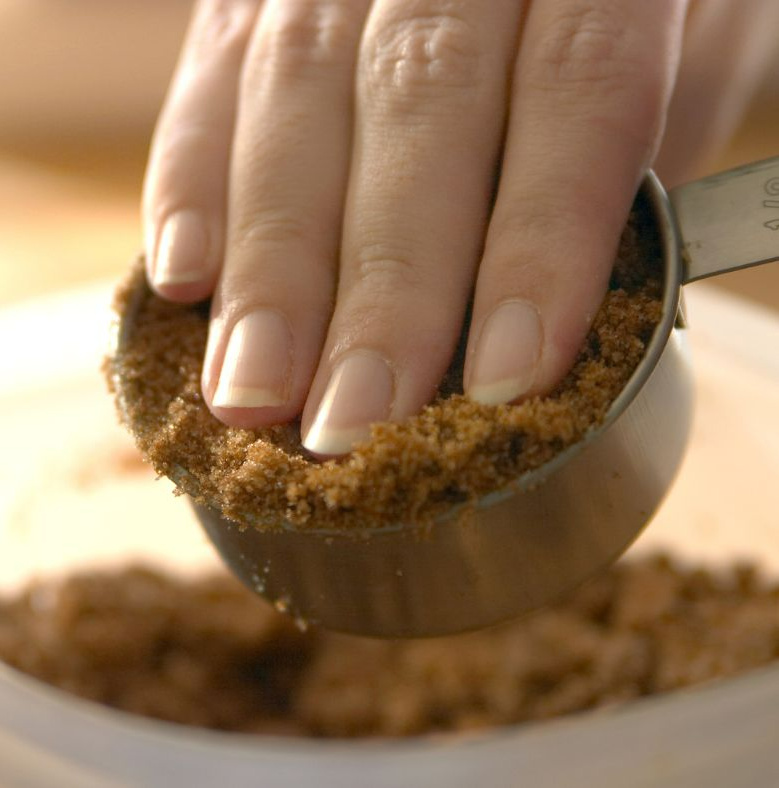
These two ingredients need to be measured differently. Brown sugar contains molasses, making it moist, compared to granulated white sugar. Because of this addition, brown sugar needs to be measured differently.
To measure granulated sugar:
- Scoop directly from the bag or container using your dry measuring cup.
- Level off the top of the cup using a flat edge.
To measure brown sugar:
- Scoop or spoon the brown sugar into the cup.
- Pack it into the cup by pressing down the brown sugar. I do this easily with the back of a spoon.
- Fill to the top and scrape off the top to get a level amount.
Sticky ingredients
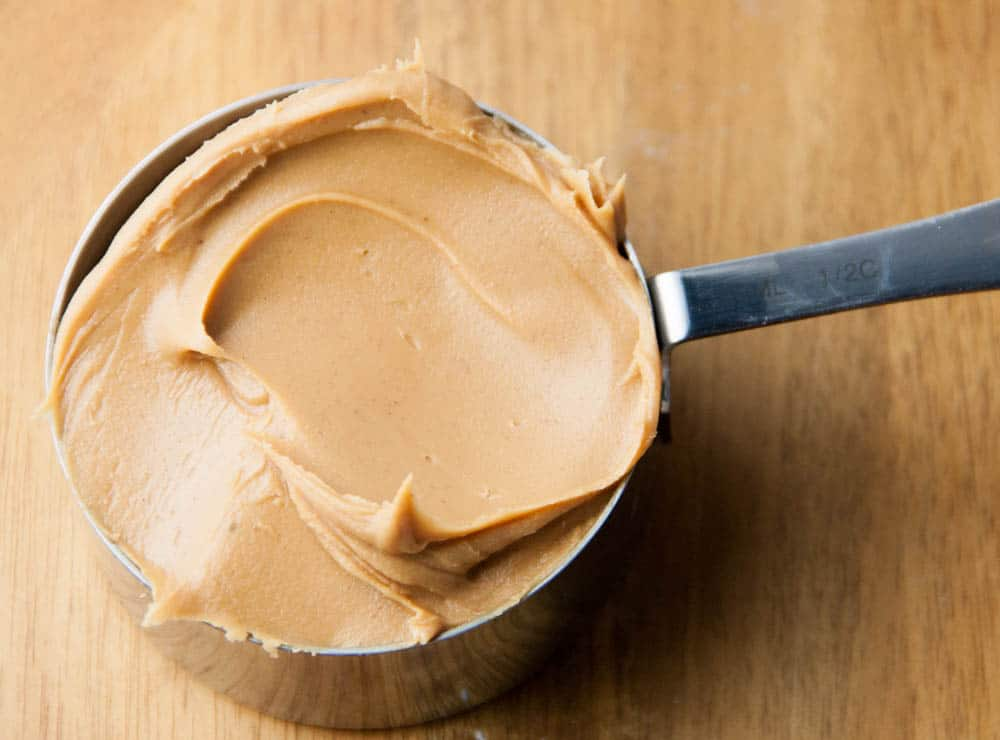
Certain dry ingredients are sticky, like peanut butter and shortening, making them unique in how you measure them.
To measure peanut butter:
- Spray the measuring cup with non-stick cooking spray. (This step is optional but helps for the peanut butter to slide right out after).
- Spoon the peanut butter into the cup using a spoon or spatula making sure to pack it down, so there are no air pockets. Spoon the peanut butter up to the top.
- Scrape off the peanut butter using a flat edge so the peanut butter is flat across the top. Using a spatula, knife or spoon, scrape the peanut butter out of the cup.
To measure vegetable shortening:
- Use a spoon or a spatula and scoop the shortening into the cup.
- Be sure to press or pack the shortening into the cup leaving no air pockets.
- Fill to the top and then use flat edge to level off the top and scrap off any excess.
- Use a spatula or butter knife and run it around the inside edge to scrape the shortening out of the cup. I like to wipe the cup down with a paper towel before trying to wash it!
How to use liquid measuring cups
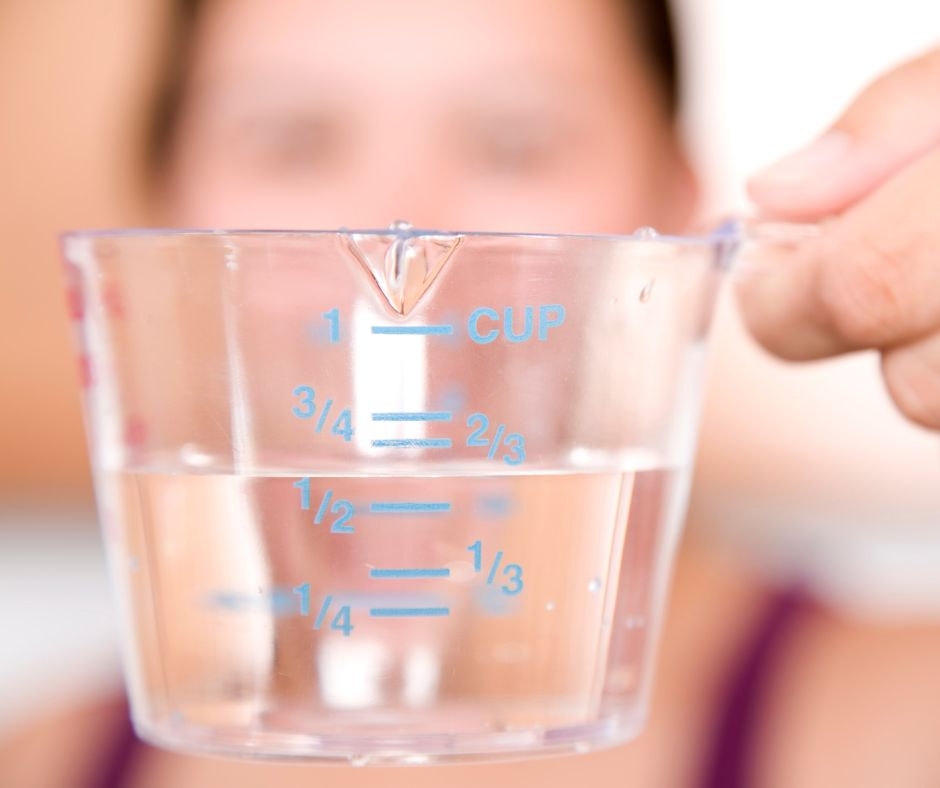
When measuring liquids you need to use a liquid measuring cup. Liquid measuring cups have a spout for pouring, and measurements on the side. I recommend using a glass measuring cup because they are easier to wash than plastic and will not have the measurements wear off on the side.
You can use a liquid measuring cup to measure any liquid, such as milk, juice, buttermilk, and even sticky liquids like honey or molasses.
To measure a liquid correctly follow these steps:
- Keep the liquid measuring cup on a flat surface. It’s better for getting a level amount.
- Pour the liquid into the cup.
- Look at the liquid measuring cup at eye level with the liquid to read the amount and make sure it’s at the correct line. If you look down into the cup you will get an inaccurate reading.
How to measure small amounts of ingredients
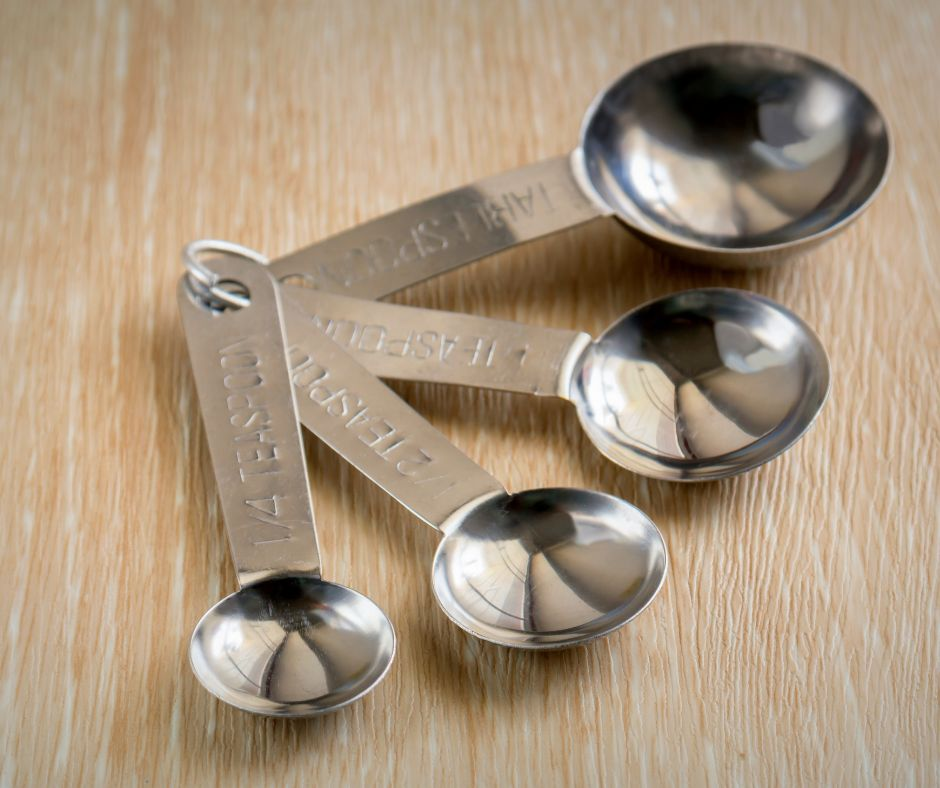
Whenever you need a small amount of an ingredient you want to use a set of measuring spoons. You can still use measure using the metric system and measure in grams, but I prefer making a volume measurement since it’s a small amount.
You will use measuring spoons to typically measure baking powder, baking soda, vanilla extract (or other extracts). But a set of measuring spoons can be used for any ingredient. When a recipe calls for an amount less than a 1/4 cup, you will use measuring spoons.
Measuring spoons come in a set usually in these amounts:
- 1 Tablespoon (Tbs., Tbs, or T.)
- 1 teaspoon (tsp., or t.)
- 1/2 teaspoon
- 1/4 teaspoon
Sometimes you can find a measuring spoon set with additional spoons in smaller or larger sizes. This is my favorite set of measuring spoons, they are magnetic and double-sided, so I can use one side for liquids and another for dry ingredients.
To measure using measuring spoons you can simply scoop the ingredient and level it off. Or if it’s a liquid pour into the top.
Measuring by weight
When measuring by weight you will use a kitchen scale. When you measure using a scale, you are measuring the exact weight of an ingredient. It’s the most accurate way to measure and the preferred method for bakers.
For example, not all bakers will agree on what they think 1 cup of flour should weigh. The reason is you can fill up a measuring cup differently! You can pack in a little, or a lot.
I rely on the King Arthur’s Baking ingredient chart, and use 120 g in all my recipes as my standard for 1 cup of flour. But flour weights can vary amongst bakers. Not all agree on how much 1 cup of flour should be. Another good reason to use weight vs. volume to get consistent results!
For example:
- Alton Brown says 1 cup measures weighs 135 g
- In Julia Child’s cookbook, 1 cup of flour weighs 140 to 145 g.
But if you’re following the recipe and measuring by weight, you don’t have to worry about how they filled up their measuring cup and just use the weight measurement given. So although I use 120 g in my recipes, if I was to follow on of Julia Child’s recipes I would use 145 g of flour.
If measuring by weight you can measure in different measurements. I prefer measuring in grams.
Units of weight measurements:
- Grams (g or gr)
- Ounces:(oz.)
- Pounds (lbs. or #)
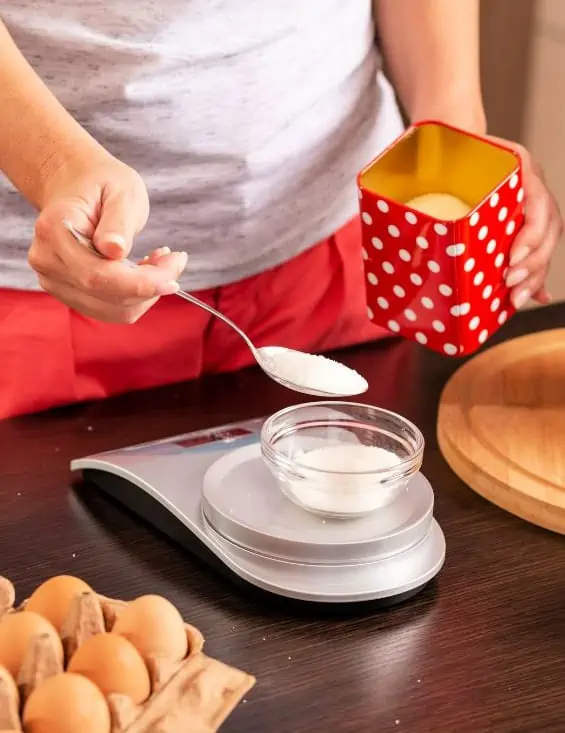
How to use a digital scale to measure by weight
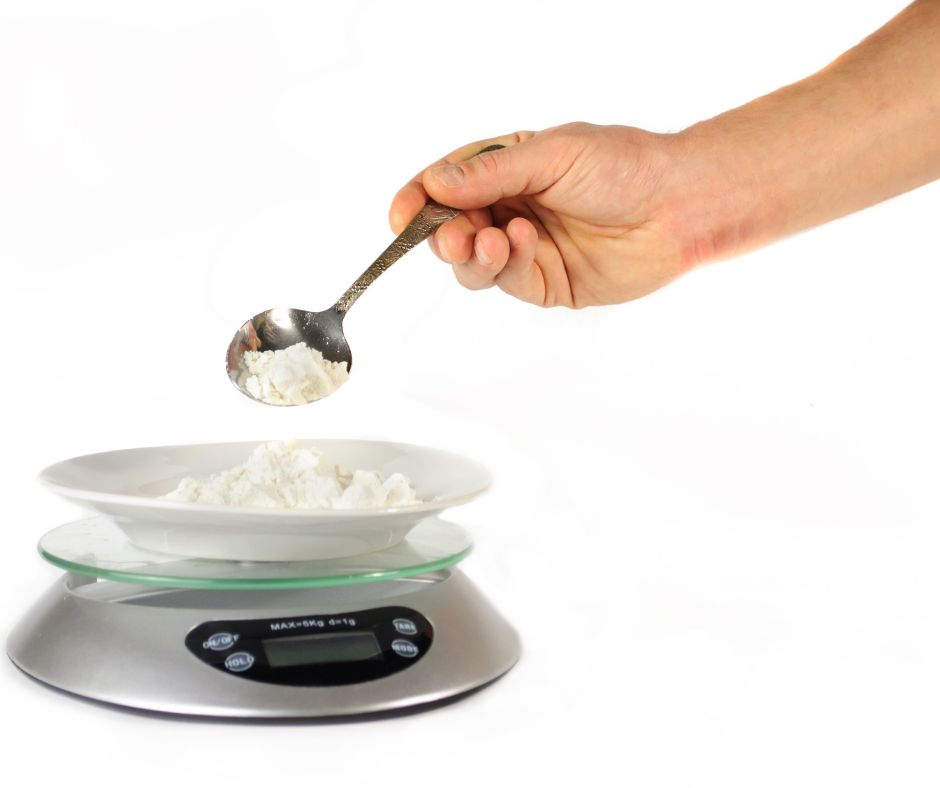
To measure by weight using a digital scale you want do so in the following way:
- Place your bowl on the scale. Make sure you have your scale set to the correct unit.
- Press the zero button, or tare button, this will zero out the scale so you don’t include the weight of the bowl in the measurement.
- Add your ingredient to the mixing bowl until the desired.
How to convert volume to weight measurements
If you come across a recipe that has measurements you don’t use, it’s easy to convert from one to the other. So if a recipe uses cups but you want to use metric, or grams, you can convert from one to the other.
Note: Keep in mind if you are converting from cups to grams, you may choose a different standard than what the original author may have used.
I created this volume to weight conversions chart to make conversions easy for the most common baking ingredients that you grab here.

Comments & Reviews
Type your question or comment below, and tap "Post Comment". I welcome constructive criticism, but please be respectful. Rude or inappropriate comments will not be published. Thank you!Baking isn't always easy! So if you had any issues, I'd appreciate the chance to help you troubleshoot before you rate.