
Brown Sugar Chocolate Chip Cookies
This Post May Contain Affiliate Links. Please Read Our Disclosure Policy.
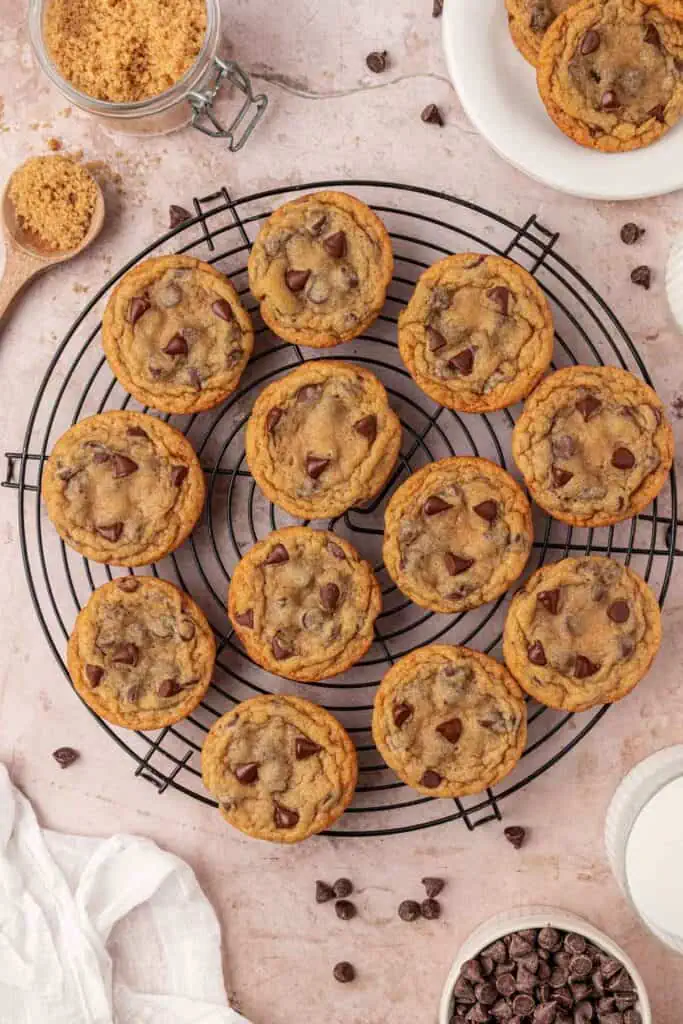
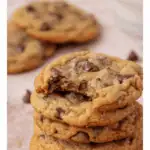
These brown sugar chocolate chip cookies are super easy to make, come together quickly, and result in thick, soft chocolate chip cookies with crispy edges. This chocolate chip cookies recipe is going to become a family favorite! Made with all brown sugar!
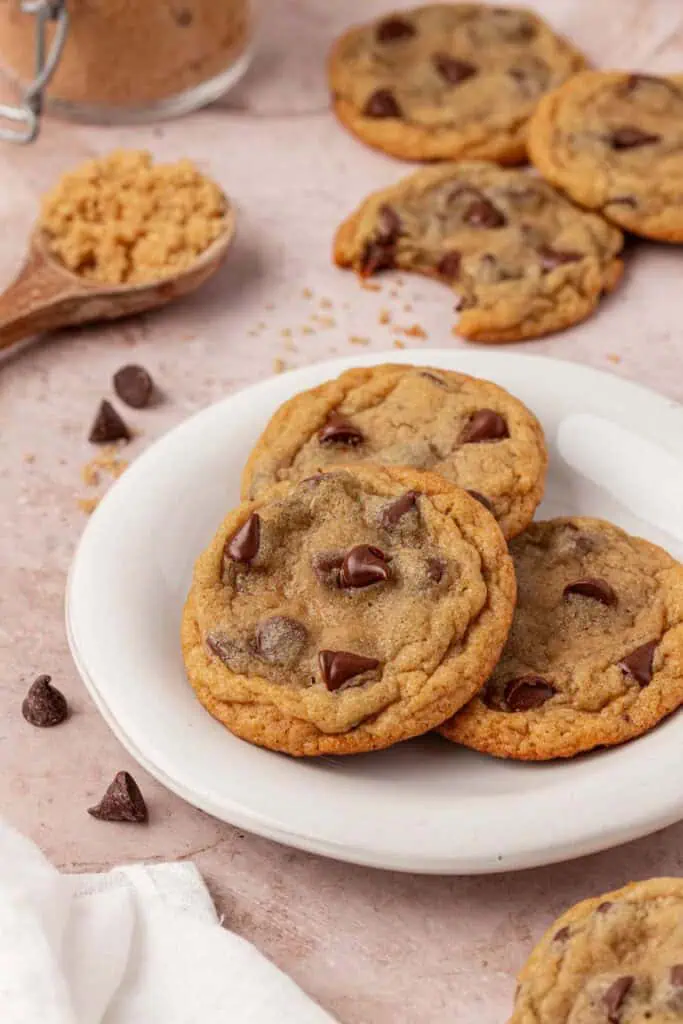
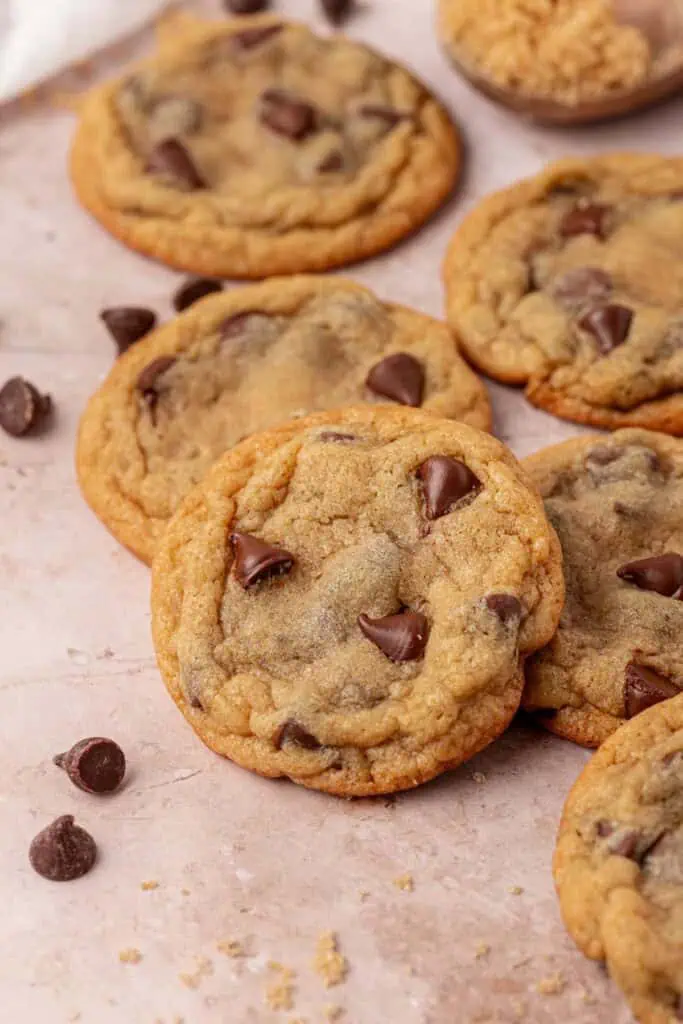
What is it about a homemade chocolate chip cookie? Warm, gooey, thick, chewy – can’t resist. The aroma in your kitchen when they are baking.
I seriously have no willpower around a great soft chocolate chip cookie. Like maybe these cheesecake stuffed chocolate chip cookies? Or maybe a big warm pizookie (aka skillet cookie) topped with ice cream. Or for a really over the top treat, these cookie dough cookies topped with edible cookie dough.
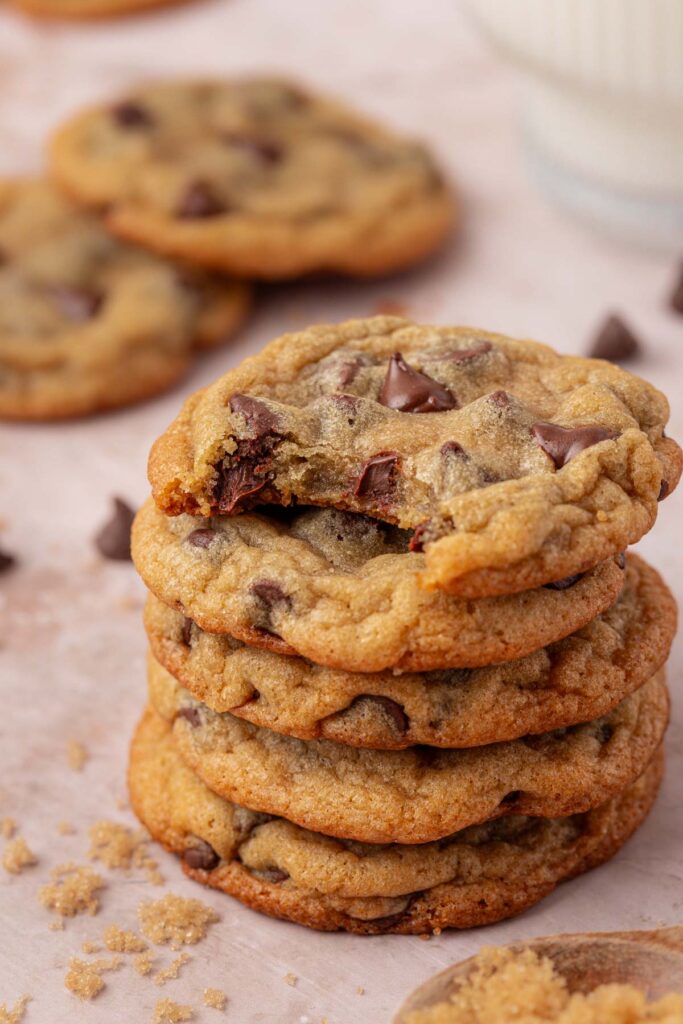
And these brown sugar chocolate chip cookies are the BEST chocolate chip cookie recipe. Find the fat pants. Stock up on milk. Please don’t hate me.
Ready To Take Your Baking To The Next Level?
Join the Ultimate Baking Bootcamp and master essential techniques like mixing methods and the why behind every recipe! Whether you’re a beginner or looking to refine your skills, this step-by-step class will help you bake with confidence and create flawless desserts every time. Start your baking journey today!
White Sugar Vs. Brown Sugar
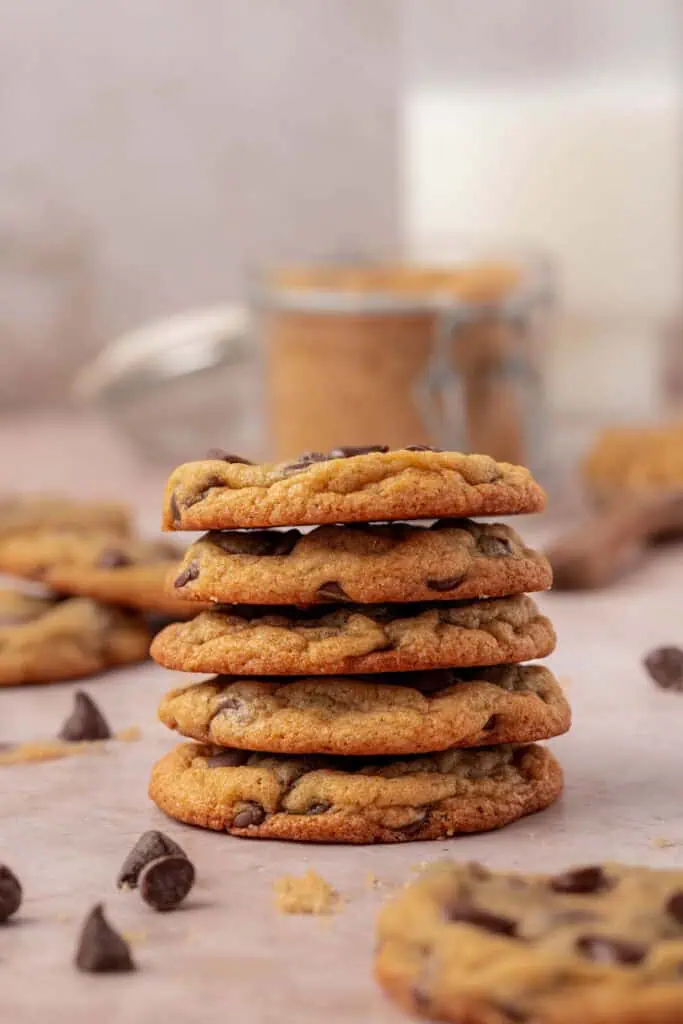
This recipe calls for all brown sugar in the cookie, and no granulated sugar. This makes for a chocolate chip cookie that is very chewy, and does spread less than if you were to use some granulated sugar. Over the years I have received many comments from readers having difficulty with their cookies coming out perfectly. They were either too dry or cakey and not soft and chewy like we wanted.
So after many rounds of testing, I have since updated this recipe and increased the amount of brown sugar (from 1 1/2 cups to 2 cups). More brown sugar provided more moisture to these cookies. I think this new and improved version will be a big hit in your kitchen and make for some foolproof chocolate chip cookies made with all brown sugar!
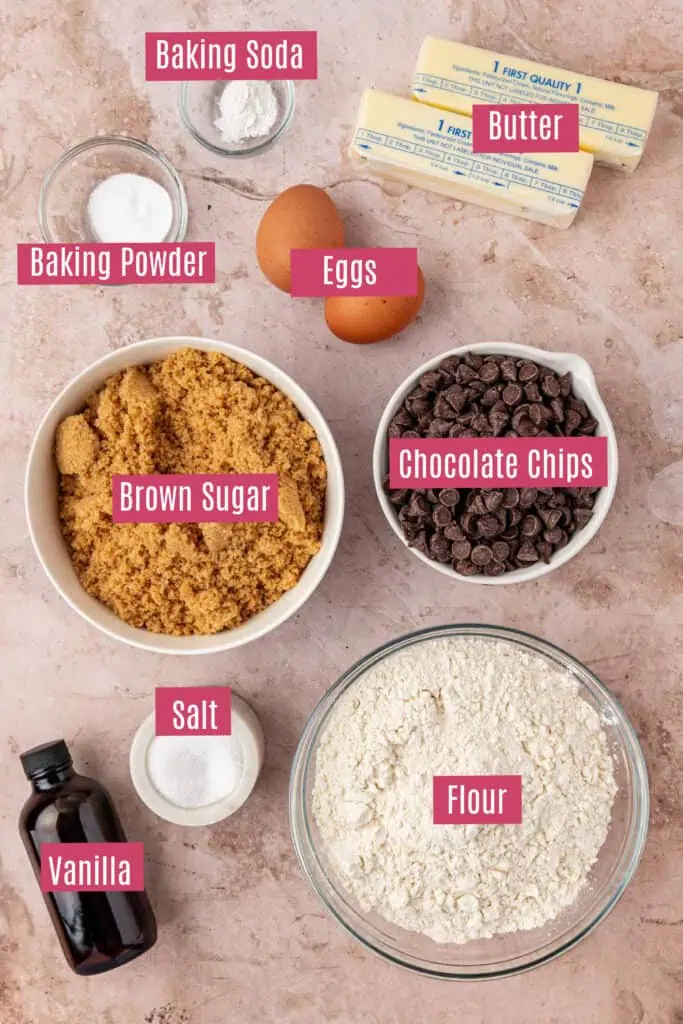
Ingredients needed:
- All purpose flour – I have made cookie recipes that have called for different types of flour, but I love a cookie recipe that calls for simplicity of all purpose flour. We all have this on hand, which means we can make these anytime we want.
- Baking Powder
- Baking soda
- Salt
- Unsalted butter – it’s important to use unsalted butter because you can control the amount of salt in your recipe this way. But yes salted but can work just reduce the added salt. The butter needs to be softened to room temperature, which mean you can slightly indent your thumb in the butter but shouldn’t easily smoosh all the way through. If you forget to take your butter out in time, cut the butter into small chunks and leave out at room temperature.
- Light brown sugar – If you don’t have any make my homemade brown sugar recipe. For a chewier cookie, use dark brown sugar instead of light brown sugar.
- Eggs – You will need 2 room temperature large eggs. I always place mine in a bowl of warm water for 10 minutes to bring them to room temperature quickly.
- Vanilla extract
- Chocolate chips – I have used semi-sweet chips, but milk chocolate as well. You can also use a combination of regular chips, mini chocolate chips, discs, chunks, and bars chopped up, which is what I love to do. I like using a combination so that I get chocolate of every shape and size in every single bite. Basically pure heaven.
How To Make These Brown Sugar Chocolate Chip Cookies
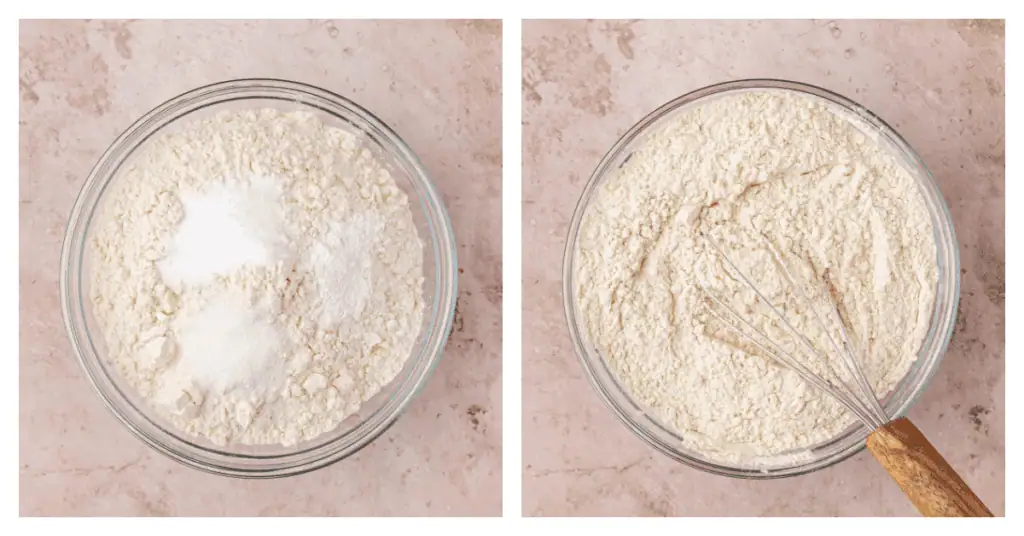
Step 1: Measure Your Dry Ingredients
Pre-heat oven to 350oF (180oC). I updated this recipe to bake at 350oF instead of 375oF and found the cookies had better spread, flavor and texture. Prepare a baking sheet with parchment paper (or silicone baking mat).
For best results I recommend using a kitchen scale. But if you are using measuring cups than you want to pay attention to how you measure. Too much flour can result in a dense cookie. Don’t just scoop the flour directly into your measuring cup. This can result in a major over measurement! After you have spooned the flour in, then use a knife to level off the flour. Don’t tap the sides of the measuring cup, or pack your flour down. Both can also result in too much flour. You can read a full tutorial on how to measure flour here. You can read more about Which Flour Is Best For Cookies?
You want to whisk together your flour, baking powder, baking soda, and salt.
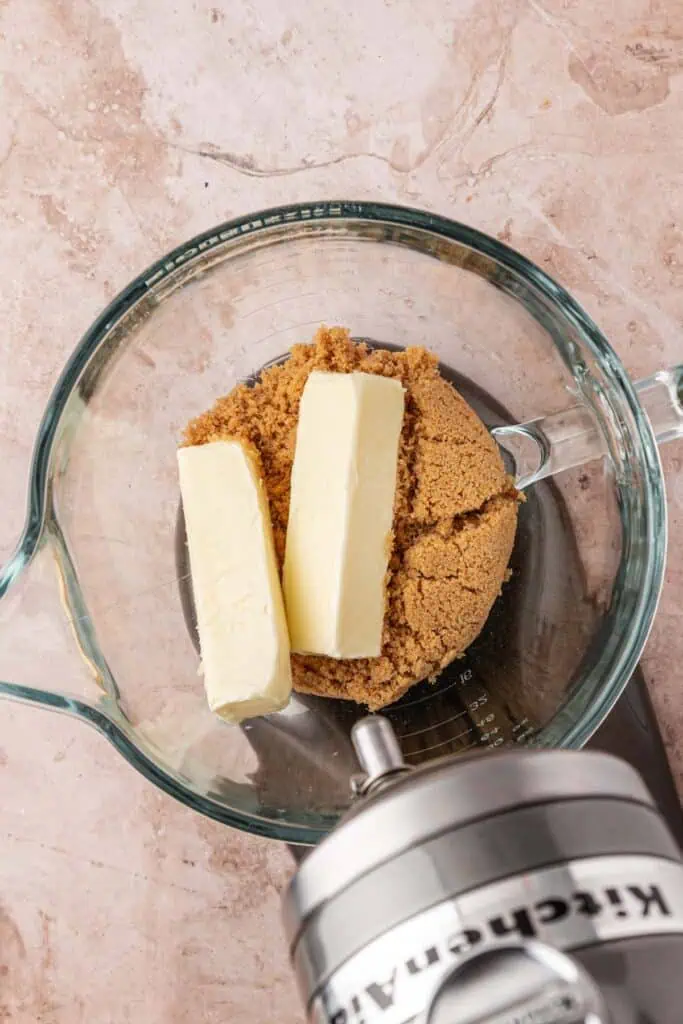
Step 2: Cream Butter and Brown Sugar
In a large bowl with a mixer (you can use a hand mixer or stand mixer fitted with a paddle attachment) cream your butter and sugar together for about 3 minutes until light and fluffy. Proper creaming with properly softened butter is what helps to aerate the mixture.
The butter needs to be softened to room temperature, which mean you can slightly indent your thumb in the butter but shouldn’t easily smoosh all the way through. If you forget to take your butter out in time, cut the butter into small chunks and leave out at room temperature. It will soften much faster this way. When you cream the butter and sugars together it’s also important to let this happen for 2-3 minutes to allow enough air into the batter and helps leavens the cookies. For 3 quick ways to soften your butter, you can read this post.
The sugar basically punches holes into the butter creating air pockets, which then will fill with the gasses created with the leavening agents which can help create some lift in the cookies.
Step 3: Add Your Eggs
Once the mixture has properly creamed together, then add in your room temperature eggs, and vanilla extract. Make sure they are thoroughly mixed in. You want to make sure your eggs are room temperature so they don’t seize up the butter mixture.
Pro tip: You can place the eggs in a bowl of warm water for 10 minutes before using them to bring them to room temperature quickly.

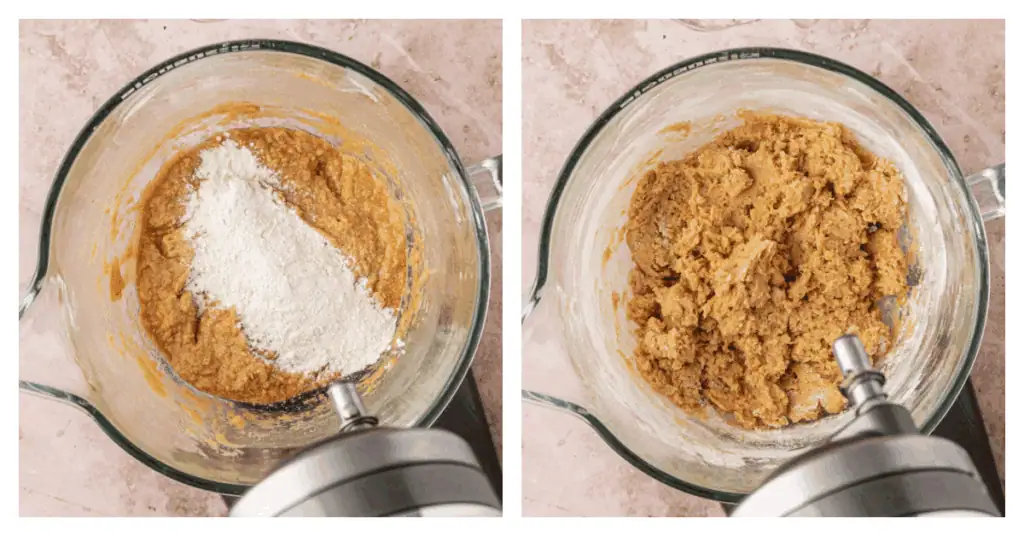
Step 4: Add Your Dry Ingredients
Now add your dry ingredients. You want to make sure to not overmix once you’ve added the flour mixture. I like to stop the mixer right before it’s all mixed in, and then finish mixing with a spatula.
This will be a thick dough, but don’t worry it’s supposed to be!
Note: I have heard from a few readers that their dough was too thick (it’s supposed to be!) and tried to adjust the cookie dough after everything is mixed together. Please trust the process and know you have done it correctly, do not try to adjust the consistency at this point with extra ingredients.
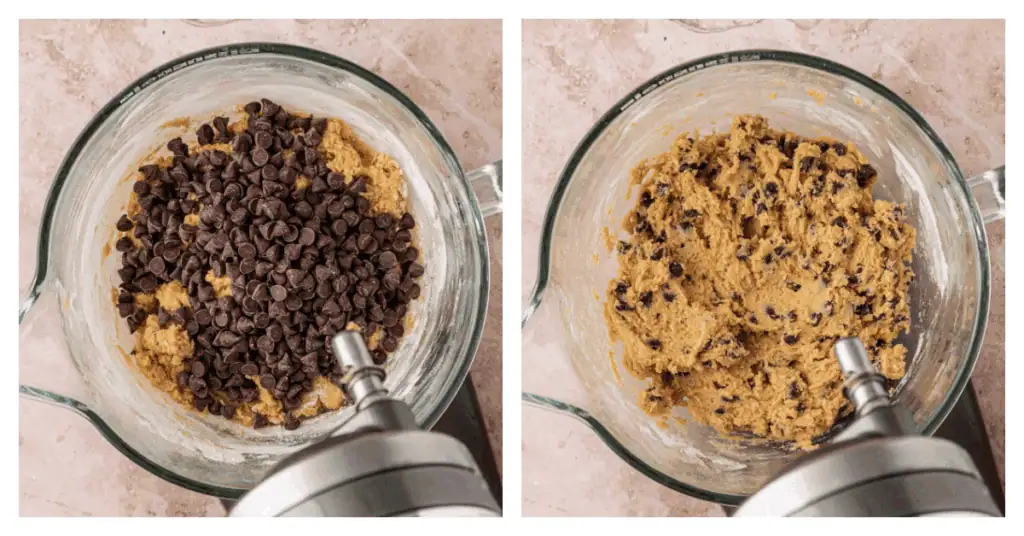
Step 5: Add Your Chocolate Chips
Again, I love a combo. Miniature chocolate chips. Regular semi-sweet chocolate chips. And chocolate chunks. The difference in sizes results in chocolate in every bite.
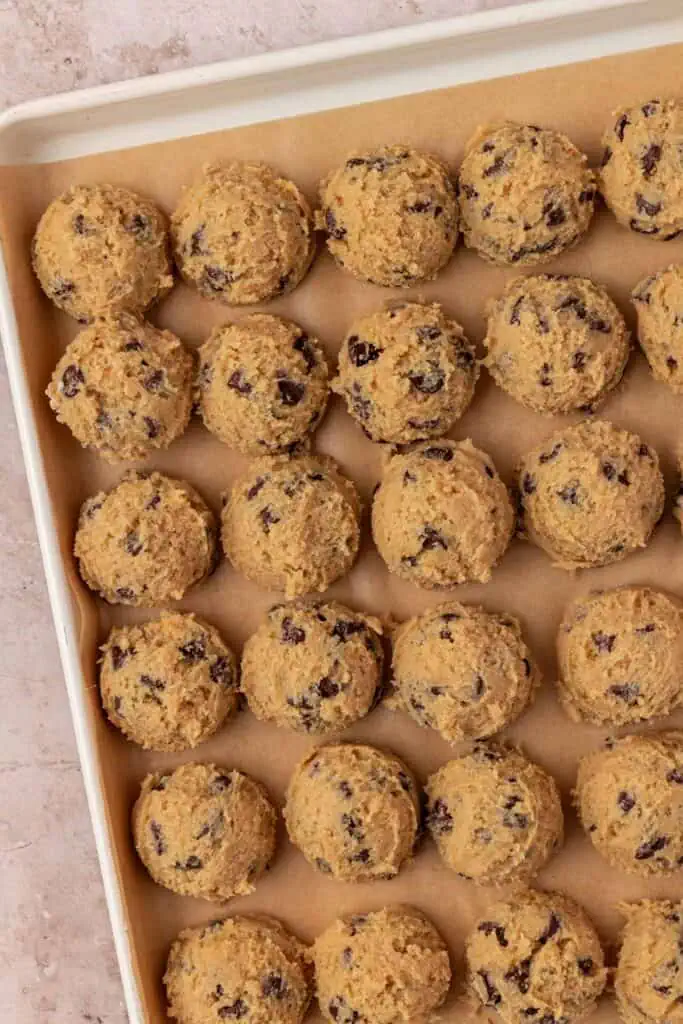
Step 6: Scoop The Cookies
You can then stir in the chocolate chips at this point. Again just stir enough to mix them in and then stop mixing.
Next you need to scoop the cookies. You can make them regular sized using a medium cookie scoop (cookie scoop #40) that holds about 2 Tablespoons. A cookie scoop results in even-size balls of dough that will cook evenly. Even size = even baking.
I also like to chill the cookie dough for best texture. You can bake them right away but for best results I love to chill for 2 hours, or ideally overnight. If chilling, just scoop and place on a cookie sheet then wrap with plastic wrap and chill in the refrigerator.
When ready to bake, you want to make sure your oven is preheated to 350oF and positioned a rack in the center of the oven.
Place the cookie dough balls about 2 inches apart prepared cookie sheet. Bake until golden brown but still soft, 10-12 minutes. The top of the cookies should still look soft and puffy, but not wet or raw. The edges will be crispy and golden brown. The cookies will continue to bake when you take them out of the oven so it’s important to not overbake and take them out when the middles look dry but not quite done.
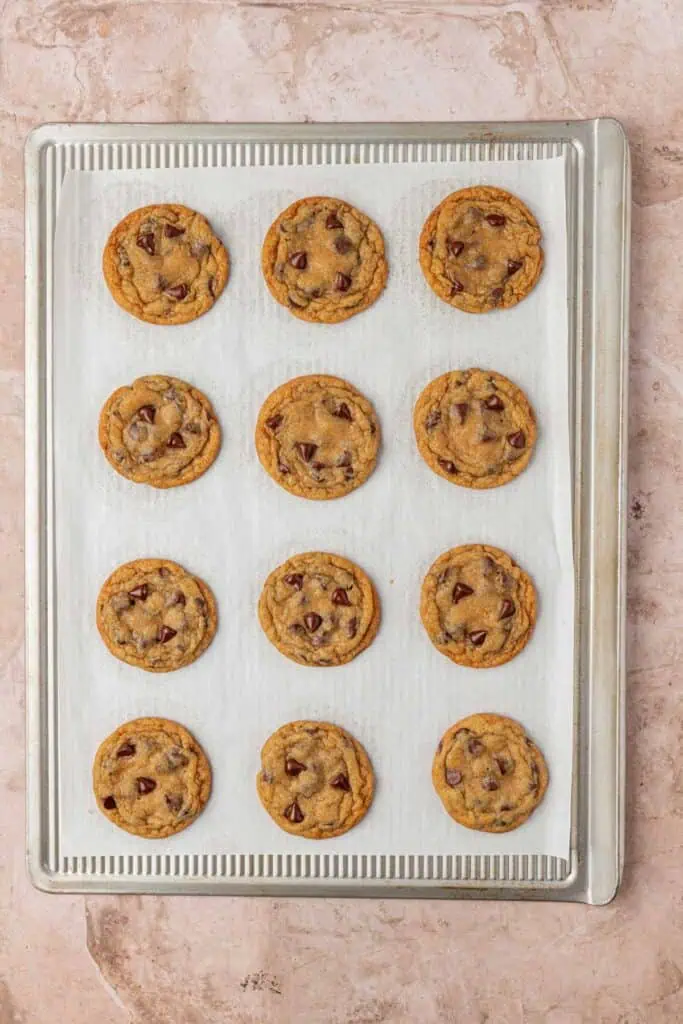
Transfer the baking sheet to a wire rack for 10 minutes, then slip cookies onto another rack to cool a bit more. Repeat with remaining dough, or reserve dough, refrigerated, for baking remaining batches the next day.
Storage Instructions
Keep covered at room temperature for up to 3 days. Although most likely will stay fresh if covered or stored in a container.
You can also freeze any leftover cookies. To freeze unbaked: Scoop the cookies onto a cookie sheet, and freeze solid. Then place into a sealable plastic bag or airtight container. You can bake frozen, without thawing, but add on a few extra minutes of baking time.
To freeze baked: Allow the cookies to cool completely. Then when ready to eat, allow to thaw. I like to pop them into the microwave for about 20 seconds to bring them back to ooey gooey life.
Click here to learn how to freeze your cookie dough.
Recipe FAQs
Cookie spreading is a bummer. There 8 reasons that I can think of why your cookies may have spread. If your cookies do spread in the oven, you can try this little trick I picked up from Sally’s Baking Addiction, which is to take them out of the oven and take a spoon and press the edges of the cookie inward. You can also try and chill your cookie dough to help keep the cookies from spreading so much.
You may have used too much flour. Use a kitchen scale for best accuracy. And do NOT scoop directly into the measuring cup but spoon it in to the cup and level it off. For more help check out my post, How To Make Perfect Cookies Every Time (Ultimate Guide).
Or this could be because you overbaked the cookies. If the dough is too warm (remember that chilling time!) then it could cause them too spread too much resulting in a cookie that gets too thin and gets too crispy and hard.
Your oven temperature may also be too high. I recommend using an oven thermometer to ensure your oven is running at the correct temperature. Click here to read more about using your oven properly when baking.
Bake Up My Most Popular Cookie Recipes!
If you love cookies as much as I do then bake up some of my more popular cookie recipes from the blog, especially when it’s Christmas time!
Like my peanut butter chocolate kiss cookies with a Hershey kiss in the center, or my grandmother’s cookie recipe for Russian Tea Cakes, or these old fashioned peanut butter cookies with criss cross pattern.
For all my Christmas cookie recipes, check out my 25+ Christmas cookie recipes!
Master The Art Of Baking!
Don’t miss out on the chance to elevate your baking skills! Join the Ultimate Baking Bootcamp today and unlock the secrets to creating perfect desserts every time. With expert guidance, step-by-step lessons, and insider tips, you’ll be baking like a pro in no time. Sign up now and start mastering your baking!

Brown Sugar Chocolate Chip Cookies
Ingredients
- 3 cups (360 g) all purpose flour spooned and leveled
- 1 teaspoon baking soda
- ½ teaspoon baking powder
- 1 teaspoon salt
- 1 cup (2 sticks, 227 g) unsalted butter softened
- 2 cups (414 g) packed light brown sugar
- 2 large eggs
- 2 teaspoons pure vanilla extract
- 12 ounces semi-sweet chocolate chips
Instructions
- Position a rack in the center of the oven. Pre-heat oven to 350oF (180℃). Prepare a baking sheet with parchment paper (or silicone baking mat).
- Start by measuring your flour (I recommend using a kitchen scale). But if measuring by volume, then first stir the flour in the bag/container as flour tends to settle. Then spoon the flour into your measuring cup, and then level it off at the top. Do not pack it down into the cup, or tap the sides as more flour will pack into the cup. Add the flour to your mixing bowl. Whisk together flour, baking soda, baking powder and salt into a bowl. Set aside. 3 cups (360 g) all purpose flour 1 teaspoon baking soda ½ teaspoon baking powder 1 teaspoon salt
- Using a mixer fitted with paddle attachment, cream butter and sugar together until very light, about 2-3 minutes. 1 cup (2 sticks, 227 g) unsalted butter 2 cups (414 g) packed light brown sugar
- Add eggs, one at a time, mixing well after each addition. Stir in the vanilla. 2 large eggs 2 teaspoons pure vanilla extract
- Reduce speed to low, add dry ingredients and mix until just combined, 5 to 10 seconds. This will be a thick dough but it's supposed to be, don't worry! Add chocolate and stir in, on low speed, just until combined. You can chill the cookie dough at this point (at least 2 hours, ideally overnight) for cookies that spread less and bake up thicker and chewier. 12 ounces semi-sweet chocolate chips
- Scoop cookie dough, using a medium cookie scoop (size #40) that holds 2 tablespoons, and place on prepared cookie sheet. Bake until golden brown but still soft, 10-12 minutes. The top of the cookies should be puffy but set, and edges golden brown. Transfer sheet to a wire rack for 10 minutes, then slip cookies onto another rack to cool a bit more. Repeat with remaining dough, or reserve dough, refrigerated, for baking remaining batches the next day.
Video
Notes
- Recipe Updated 09/18/2022: Many readers were stating they were having issues with their cookies being dry, or cakey. The recipe has since been updated to increase the amount of brown sugar from 1 1/2 cups to 2 cups to provide more moisture. I’ve also changed the baking time to 350oF from 375oF.
- Store cookies at room temperature. Cookies will last 2-3 days at room temperature.
- To freeze unbaked: Scoop the cookies onto a cookie sheet, and freeze solid. Then place into a sealable plastic bag. You can bake frozen, without thawing, but add on a few extra minutes of baking time.
- To freeze baked: Allow the cookies to cool completely. Then when ready to eat, allow to thaw. I like to pop them into the microwave for about 20 seconds to bring them back to ooey gooey life.
- Measure your flours correctly. After you have spooned the flour in, then use a knife to level off the flour. Don’t tap the sides of the measuring cup, or pack your flour down.
- Soften your butter correctly. The butter needs to be softened to room temperature, which mean you can slightly indent your thumb in the butter but shouldn’t easily smoosh all the way through.
- Cream properly. When you cream the butter and sugars together it’s also important to let this happen for 2-3 minutes, on medium speed, to allow enough air into the batter and helps leavens the cookies.


these cookies were delicious and so easy to make! Perfect hit to my sweet tooth!
So glad you loved them! Brown sugar chocolate chip cookies are hard to beat. Thanks for trying the recipe!
What great cookies nice and chewy. Definitely a top favorite of mine.
Yay! Love hearing that. Brown sugar really makes all the difference for that perfect chewy texture. So glad you love them!
Delicious cookies! The brown sugar caramelized when baking and added an extra depth of flavor compared to all white sugar. Highly recommend.
Thank you so much! Yes, that caramelized brown sugar really does make all the difference—adds such a rich, deep flavor. So glad you loved them!
We really wanted chocolate chip cookies and we didn’t have enough sugar. This was the perfect alternative.
Yes! That’s exactly why I love this recipe—brown sugar to the rescue when you’re running low on granulated. So glad it worked out perfectly for your chocolate chip cookie craving!