This Post May Contain Affiliate Links. Please Read Our Disclosure Policy.
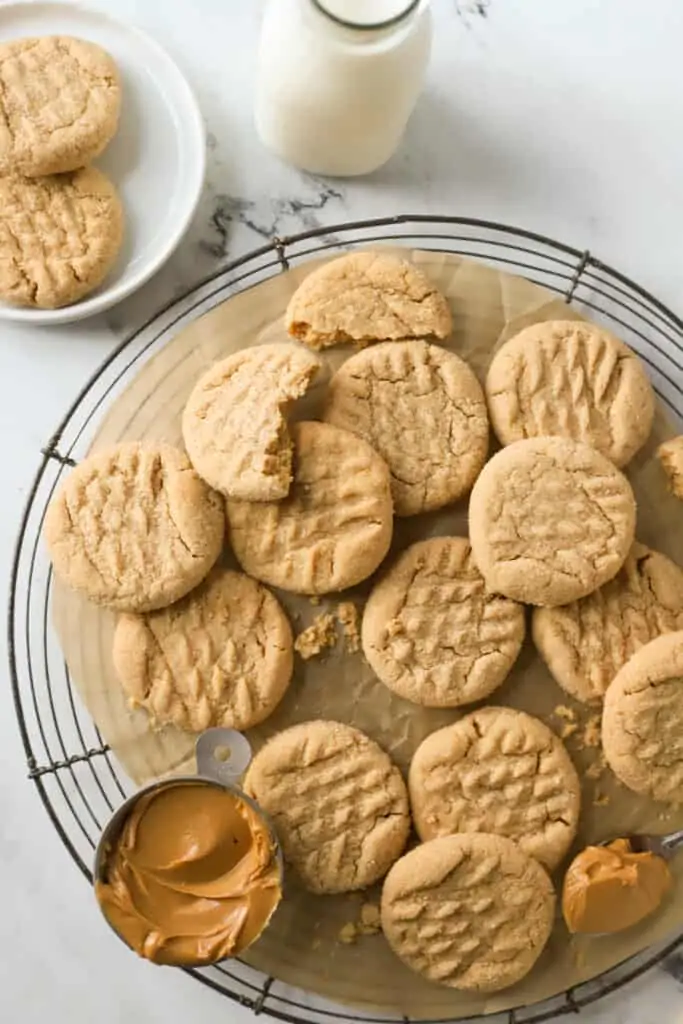
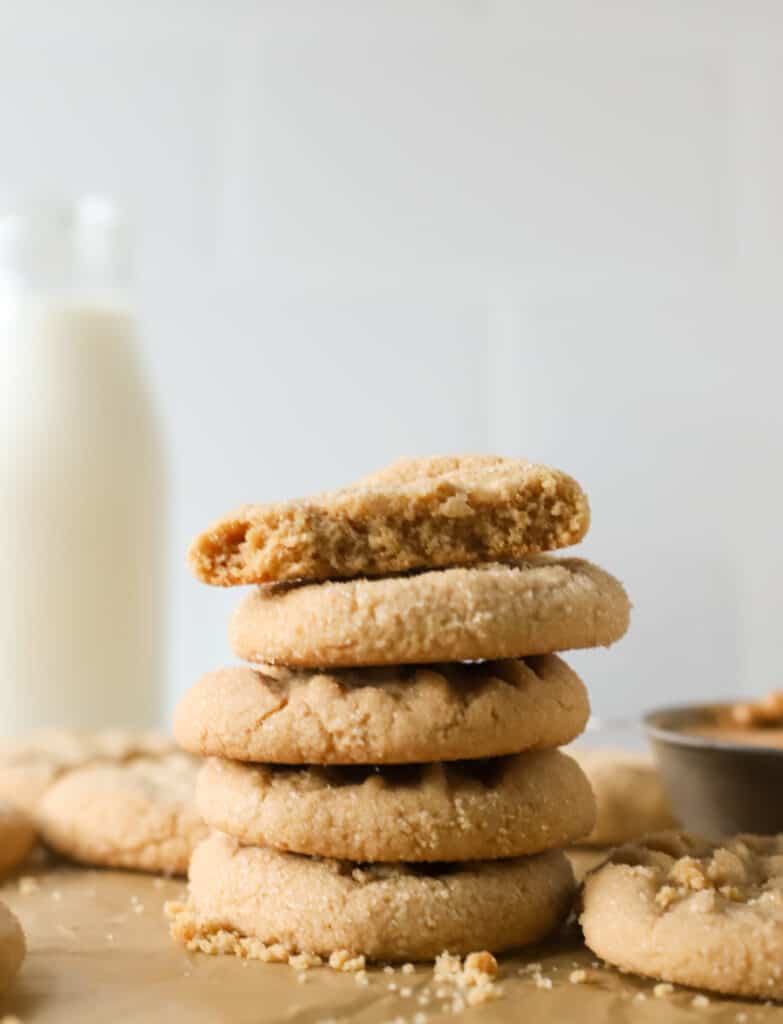
Perfectly, soft chewy old fashioned peanut butter cookies – lots of peanut butter flavor and the classic criss cross pattern on top! I have two secrets for achieving the perfect peanut butter cookie recipe…and there’s no chilling required so they are ready in 30 minutes or less.
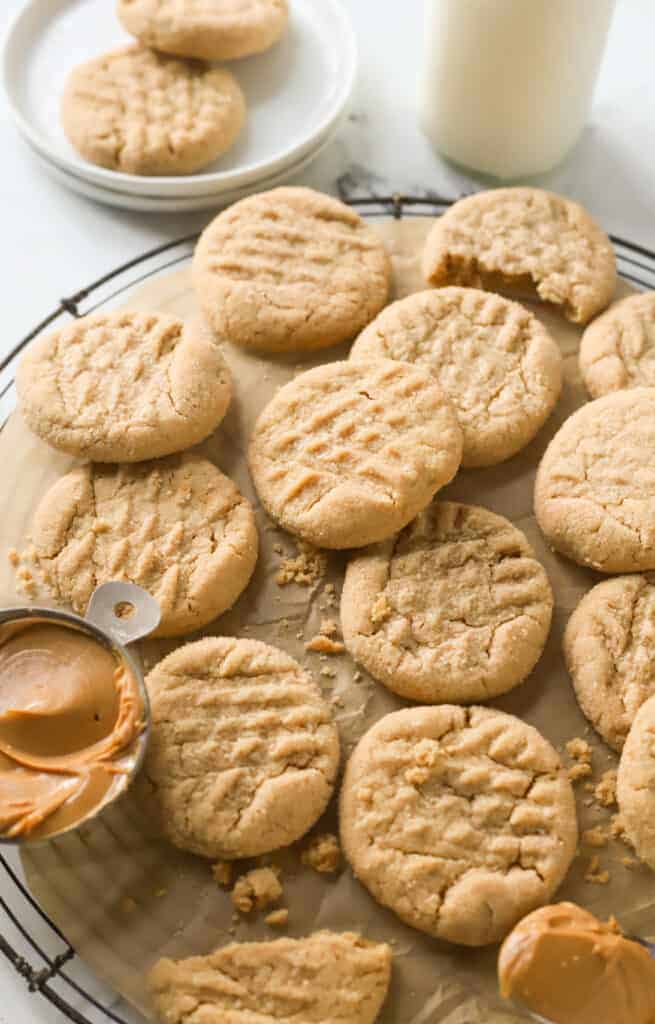
When it comes to making time for dessert, I always find the time. But finding the time to make a fancy layer cake to enjoy. Not so much. But the time to whip up a batch of homemade peanut butter cookies.
Now that’s time I always have.
So when I was craving a peanut butter cookie. Hmm, either way. You know the mixer came out in no time. But here’s the thing I wanted a thick, chewy, soft peanut butter cookie. And let’s be honest, I’ve had so crummy (or maybe it was crumbly?) and dry peanut butter cookies in my day that no glass of milk could save.
I also wanted this to be an EASY peanut butter cookie – aka no chilling required. So I took a peanut butter cookie recipe I’ve made before, and got to tweaking the recipe a bit. With a only a few minor changes, I took an OK cookie to EPIC. Yes epic status in just two changes. Who knew it was that easy?
I bet you want to know my secret 😉 Of course you do. Why the heck else are you still reading?
Bake For LESS Time.
So simple right? For this old fashioned peanut butter cookie recipe, I found that baking them for only about 10 minutes was the trick. Maybe 12 minutes max. And you will have a soft peanut butter cookie on your hands. In fact, these stayed soft for a few days. What about a week you ask? I couldn’t tell you. They were gone by then.
But by baking them for a little less time, kept them from getting too crispy in the oven.
Use More Brown Sugar Than White Sugar
Brown sugar is bringing moisture to the party. And some chewiness as well. Well, welcome to the party brown sugar. Come on in. And put your shoes over there.
By using more brown sugar than white, you end up with a soft and chewy peanut butter cookie. I used this same mentality to create my Peanut Butter Chocolate Kiss Cookies!Yes I truly believe these are the best peanut butter cookies you’ll ever eat.
See Also:
- Pucker up and enjoy one of these homemade lemon cookies with easy lemon glaze drizzled over them!
- Coconut macaroons are an easy gluten free chewy coconut cookie. Dip in chocolate for an easy chocolate treat!
- Make these brown sugar chocolate chips cookies made with 100% brown sugar making them wonderfully chewy!
My Recommended Tools
 Buy Now →
  Buy Now →
  Buy Now →
  Buy Now →
  Buy Now →
 Ingredients Needed
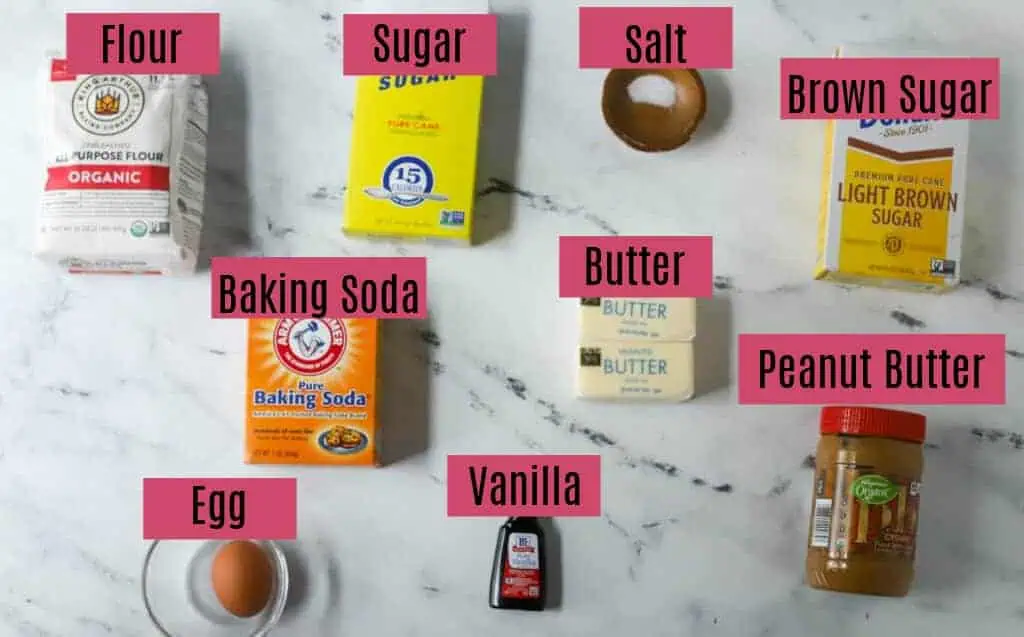
- Flour
- Baking Soda
- Salt
- Unsalted butter – I use unsalted butter vs. salted butter because it’s fresher and I can control the amount of salt. If you only have salt on hand then you can reduce or omit the salt.
- Sugar
- Brown Sugar
- Vanilla
- Eggs
- Peanut Butter – I like using a peanut butter that doesn’t need to be stirred so it doesn’t make for an oily cookie dough that separates.
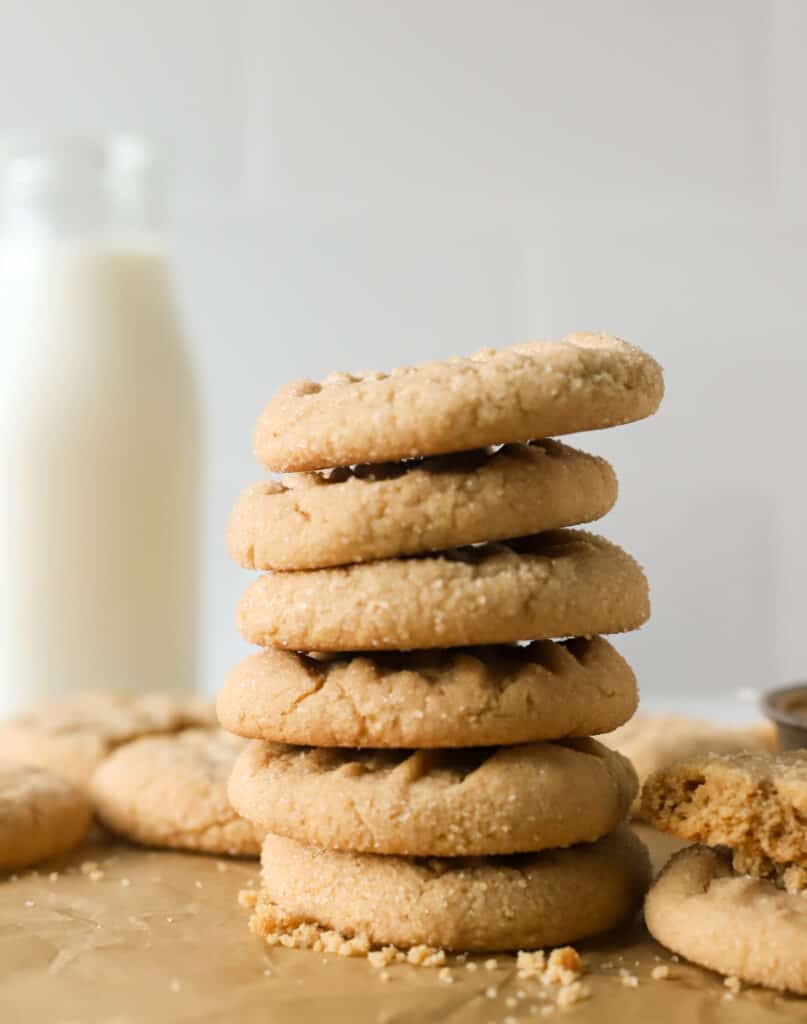
How To Make Peanut Butter Cookies
Make peanut butter cookie dough:
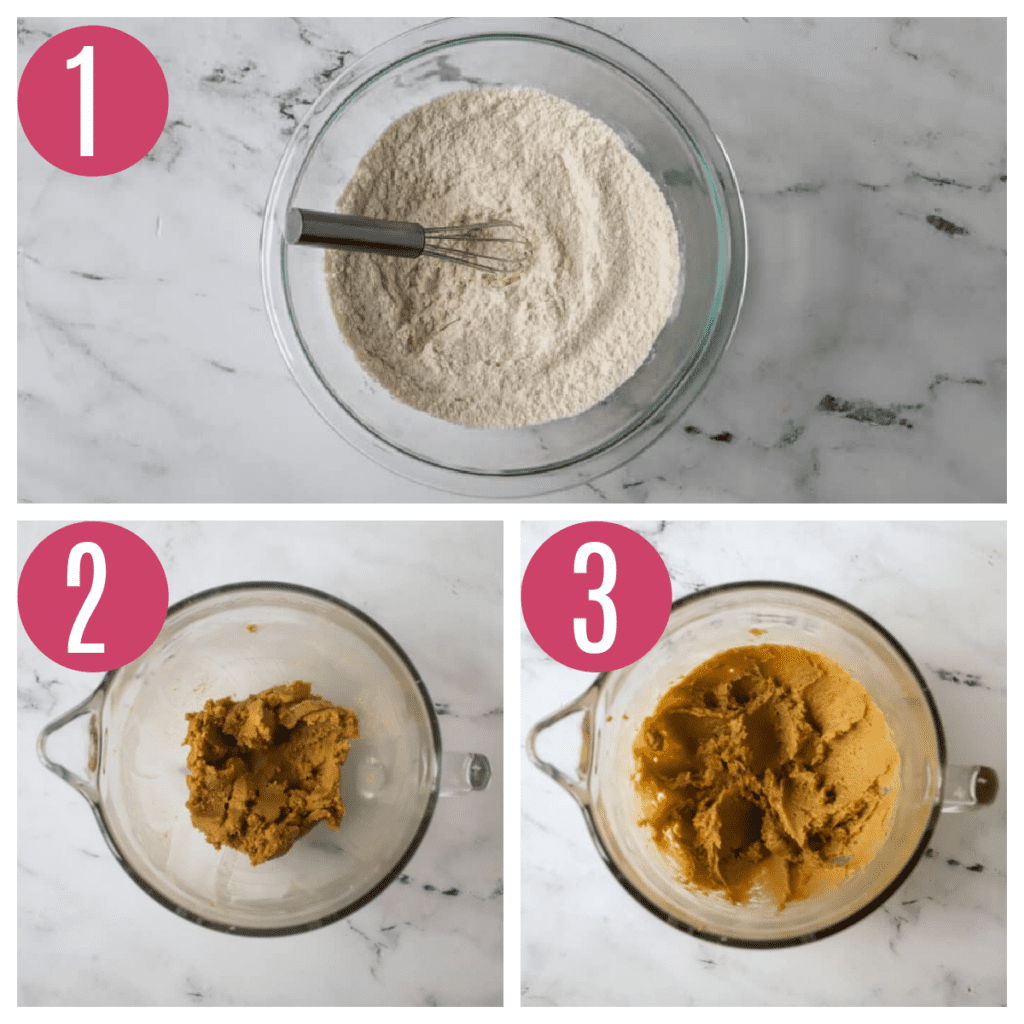
- Mix dry ingredients together. In a small mixing bowl, stir together the flour, baking soda and salt. Set aside.
- Cream butter and sugar. In the bowl of your stand mixer or a large mixing bowl with an electric mixer, cream together the butter, granulated sugar, and brown sugar until light and fluffy (about 2 minutes). Add in the egg to the butter mixture and stir to combine. Mix in peanut butter and vanilla until smooth and creamy.
- Add dry ingredients. Stir in salt, baking soda and flour until well combined.
Shape and bake cookies
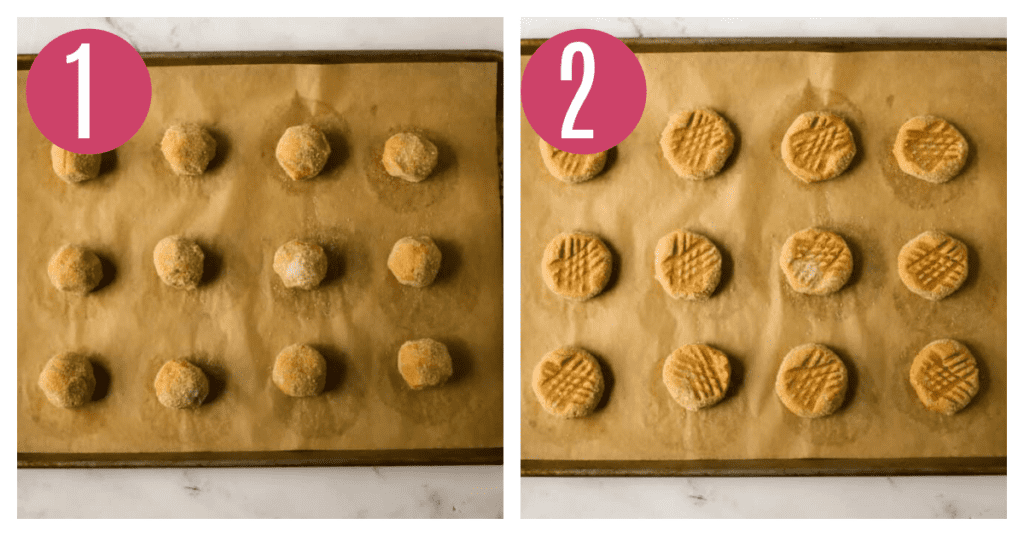
- Shape cookies. Roll dough into 1 inch balls and then roll in sugar.
- Make fork marks. Place on baking sheet and flatten with fork in a crisscross fashion. Bake for 10-12 minutes. Cool on a wire rack.
Recipe Tips
- Be sure to measure your flour correctly. Over-measuring your flour is going to result in a dry, crumbly cookie. Read my full post on how to measure your flour correctly here.
- Use room temperature butter. By softening your butter properly (and here are 3 ways you can do that in a hurry!) will allow the sugar to punch tiny holes into the butter incorporating air into the dough. Cold butter won’t allow this to happen. So room temperature, unsalted, and you’re good to go.
- Don’t forget to take those eggs out early too. You also need a room temperature egg as well. Remember you want your ingredients all playing along well together. So a cold egg and room temperature butter just don’t play nice on the playground together. You’ll end up with butter that starts to seize up in your bowl. My trick? Put your eggs in a bowl of warm water for 5 to 10 minutes and you’re good to go.
- Flatten those cookies a bit. These cookies won’t spread much, so you want to help them out a bit and flatten them a bit. I prefer the fork criss cross method, but even a quick flatten with the palm of your hand will do the trick. Have you read my post on why your cookies are flat? Check it out here!
Recipe FAQ’s
Baked cookies will keep at room temperature for up to 2 days (they may keep longer but I think they are best enjoyed within a few days. You can make the dough and scoop them then cover and refrigerate (up to 24 hours). These will also keep for 2-3 days at room temperature. I just store mine in a ziploc bag.
You can freeze the dough and/or cookies. Freeze baked cookies for up to 3 months, just thaw at room temperature. If you freeze the dough, when ready to bake just bake froze and then add a few minutes of baking time. Read here on How To Freeze Cookie Dough.
This could be because your butter was too warm when you creamed it, or you overmixed the dough as well. Try chilling your cookie dough next time. Making cookie dough ahead of time does magical things for it. It actually makes the dough better I think. It also helps the cookies from spreading too much.
This is probably because you added too much flour. When measuring the flour, it’s best to use a kitchen scale. But if you’re using a measuring cup, make sure to SPOON IN THE FLOUR, and LEVEL IT OFF. Do NOT pack it down into the cup, or scoop directly from the bag. Remember you also need to flatten your peanut butter cookies a bit as they don’t spread as much as regular cookies do.
Peanut butter cookie dough is a dense dough and won’t spread like other cookies, so by pressing them down slightly with the criss cross fork marks we are helping the cookies attain the perfect shape. You can skip the fork marks, and simply press down with the palm of your hand. But for that old fashioned peanut butter cookie look, fork marks are required!
Bake Up My Most Popular Cookie Recipes!
If you love cookies as much as I do then bake up some of my more popular cookie recipes from the blog, especially when it’s Christmastime!
Like my peanut butter chocolate kiss cookies with a Hershey kiss in the center, or my grandmother’s cookie recipe for Russian Tea Cakes.
For all my Christmas cookie recipes, check out my 25+ Christmas cookie recipes!
More Recipes To Try
- Self Rising Flour Biscuits
- Lemon Cookies
- Brown Sugar Chocolate Chip Cookies
- 20 Self Rising Flour Recipes
- Milk Bar Cake
Old-Fashioned Peanut Butter Cookies
Equipment
Ingredients
- 1 3/4 cups (210 g) all purpose flour spooned and leveled
- 1/2 teaspoon baking soda
- 1/2 teaspoon salt
- 1/4 cup (50 g) granulated sugar plus additional sugar to roll cookies in
- 3/4 cup (160 g) packed light brown sugar
- 1/2 cup (1 stick, 113) unsalted butter softened to room temperature
- 1 large egg room temperature
- 1 cup (270 g) smooth peanut butter
- 1 teaspoon vanilla extract
Instructions
- Preheat oven to 375°F (190°C) degrees. Line a cookie sheet with parchment paper.
- In a medium mixing bowl, whisk together the flour, baking soda, and salt. Set aside.
- In a large bowl, (I use my stand mixer with my paddle attachment, but a hand mixer also works) cream together the sugars and butter on medium speed until light and fluffy about 2-3 minutes. Scrap down the bowl as needed.
- Add in the egg to the butter mixture and beat to combine. Mix in peanut butter and vanilla until smooth and creamy.
- Stir in the dry ingredients until just combined. Do not overmix.
- Using a small cookie scoop, scoop about 2 tablespoons of dough and roll into balls with your hands and then roll in sugar. Place on baking sheet and flatten with fork. I flatten with a criss cross.
- Bake for 10-12 minutes until edges are set and middles are still slightly soft. Remove from the oven and allow to cool on the baking sheet for 5 minutes. Transfer to a wire rack to continue cooling.
Video
Notes
- Make ahead/storage: Baked cookies will keep at room temperature for up to 2 days (they may keep longer but I think they are best enjoyed within a few days. You can make the dough and scoop them then cover and refrigerate (up to 24 hours). These will also keep for 2-3 days at room temperature. I just store mine in a ziploc bag.
- Freezing: You can freeze the dough and/or cookies. Freeze baked cookies for up to 3 months, just thaw at room temperature. If you freeze the dough, when ready to bake just bake froze and then add a few minutes of baking time. Read here on How To Freeze Cookie Dough.
- Be sure to measure your flour correctly. Over-measuring your flour is going to result in a dry, crumbly cookie. Read my full post on how to measure your flour correctly here.
- Use room temperature butter. By softening your butter properly (and here are 3 ways you can do that in a hurry!) will allow the sugar to punch tiny holes into the butter incorporating air into the dough. Cold butter won’t allow this to happen. So room temperature, unsalted, and you’re good to go.
- Room temperature eggs: Don’t forget to take those eggs out early too. You also need a room temperature egg as well. Remember you want your ingredients all playing along well together. So a cold egg and room temperature butter just don’t play nice on the playground together. You’ll end up with butter that starts to seize up in your bowl. My trick? Put your eggs in a bowl of warm water for 5 to 10 minutes and you’re good to go.
- Flatten those cookies a bit. These cookies won’t spread much, so you want to help them out a bit and flatten them a bit. I prefer the fork criss cross method, but even a quick flatten with the palm of your hand will do the trick. Have you read my post on why your cookies spread too much? Check it out here!
- Cookies NOT spreading (cakey/dry): This is probably because you added too much flour. When measuring the flour, it’s best to use a kitchen scale. But if you’re using a measuring cup, make sure to SPOON IN THE FLOUR, and LEVEL IT OFF. Do NOT pack it down into the cup, or scoop directly from the bag.



Michelle says
Made these cookies for my husband and he loves them. Good recipe!
Heather says
aw thank you so much!
Susan Cavada says
For the peanut butter, is it 1 cup or 1/2 cup? You have 1 cup = 135 g, but I believe 1/2 cup = 135 g. Thanks for clarifying!
Heather says
Hi Susan, thank you for catching that – it’s 1 cup (270 g) I’ll be sure to fix the metric measurement!
Sandy S says
You are now my go-to cookie recipe girl. I made the PB cookies and they are delish. I measured in grams with my kitchen scale for the first time. I liked it! The other thing I really appreciated about the BP cookies was your ratio to sugar/flour/egg/butter to PB. They came out really peanut buttery. I am looking for chocolate chip and oatmeal raisin next. 🙂
Heather says
Thank you Sandy!! That means so much! And I have a great oatmeal cookie recipe on the blog you should try next 😉
Mika says
Hello..can you used selfrising flour if you don’t have All purpose flour
Heather says
Hi Mika, self rising flour has baking powder and salt added to it so it would change the overal texture eand results.
Aly says
These cookies are INCREDIBLE. They remind me of the ones my mom used to make growing up. Perfectly soft after 12 mins. I might skip rolling them in sugar next time (mainly because I’m lazy). Will make these again and again! Thank you!
Heather says
aww thank you so much Aly!!! I’m so glad you loved them! And hey nothing wrong with skipping the sugar and saving time ;)..You’re welcome!