This Post May Contain Affiliate Links. Please Read Our Disclosure Policy.
If you have ever had a cake stick on you, then it’s time to make your own cake release and say BUH-BYE to cakes sticking once and for all.
Listen. I think if we are being honest with ourselves we can all say we have had cakes stick on us. The bottom clings to the cake pan and just doesn’t want to join the party.
It’s the baking worst. I get it. I’ve been there.
No more. That’s it. It’s 2020 and it’s time to do things better. Enter this homemade cake release (aka Cake Goop) as this stuff around the internet is called. Whatever you call it, you need some in baking arsenal.
What Is Cake Release?
A cake release is just simple combination of three ingredients:
- flour
- shortening
- oil
I’ve been trying to use more organic ingredients.
And the best part is you can use equal parts of all three. So you can double or triple (or half!) this recipe easily.
How Do You Make Your Own Cake Release?
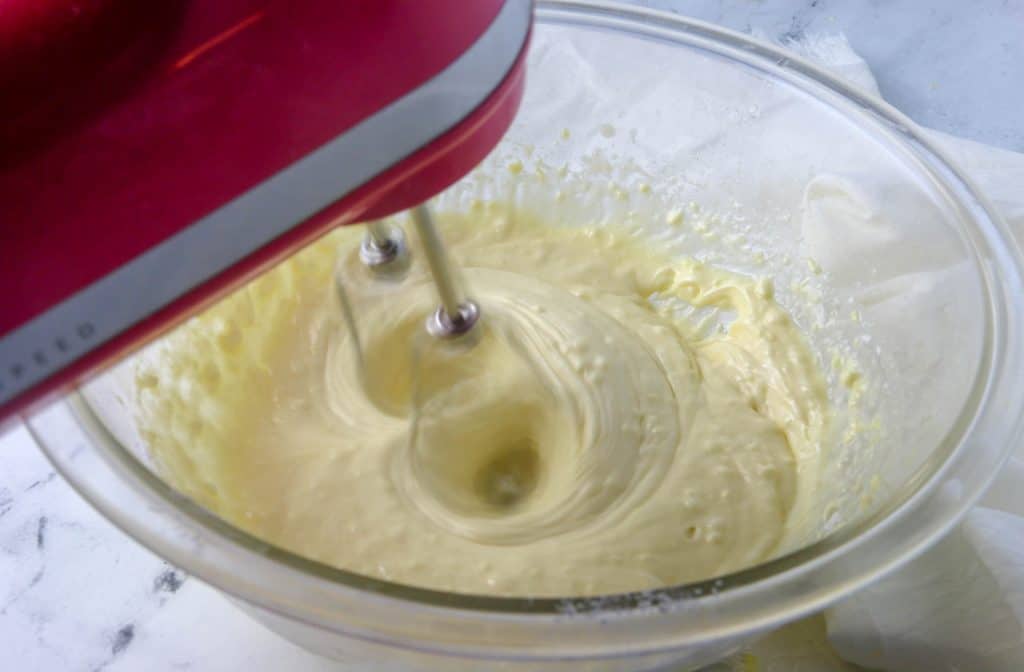
It’s easy to make your own cake release. Just simply mix together all the ingredients.
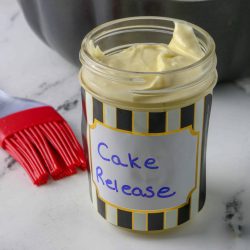
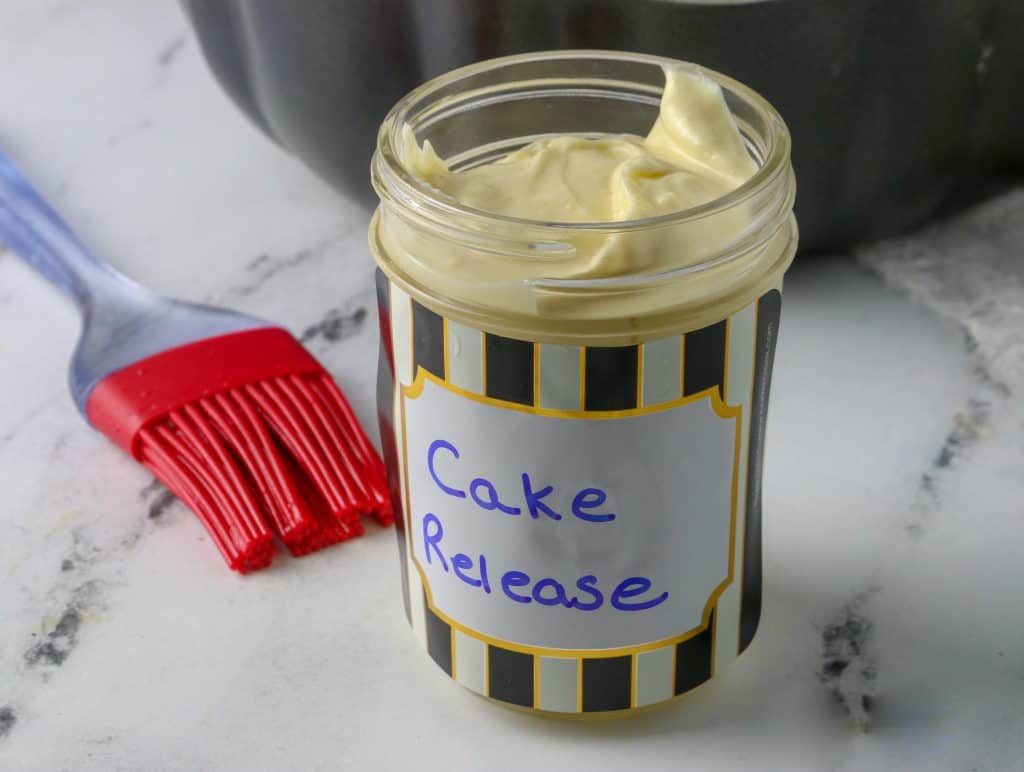
Then just pop in a jar and store in your fridge!
How Do You Use Cake Release?
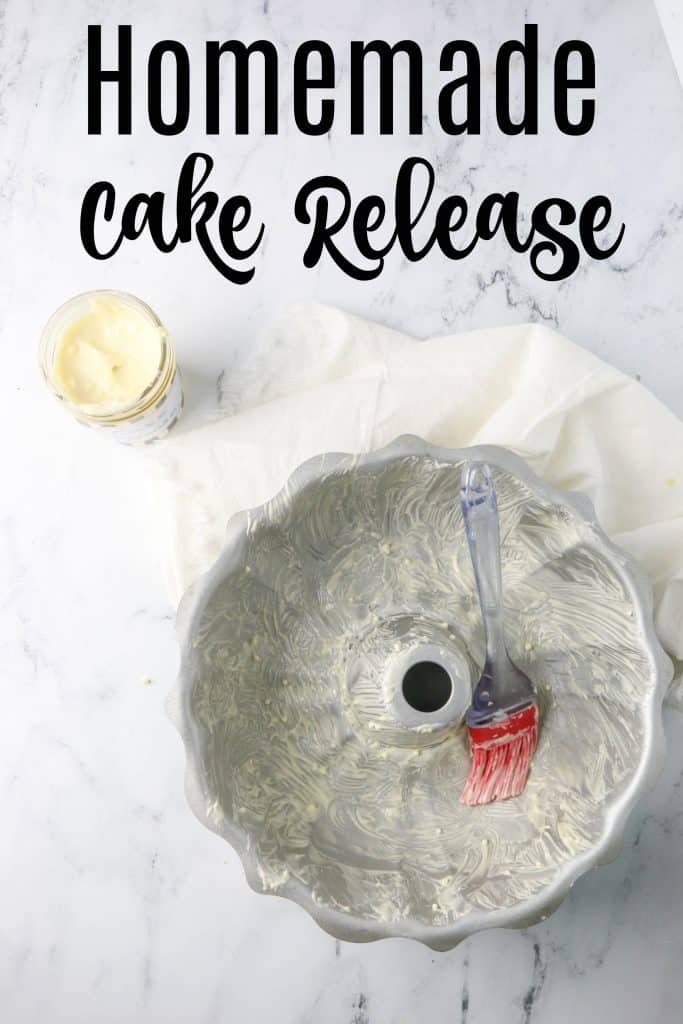
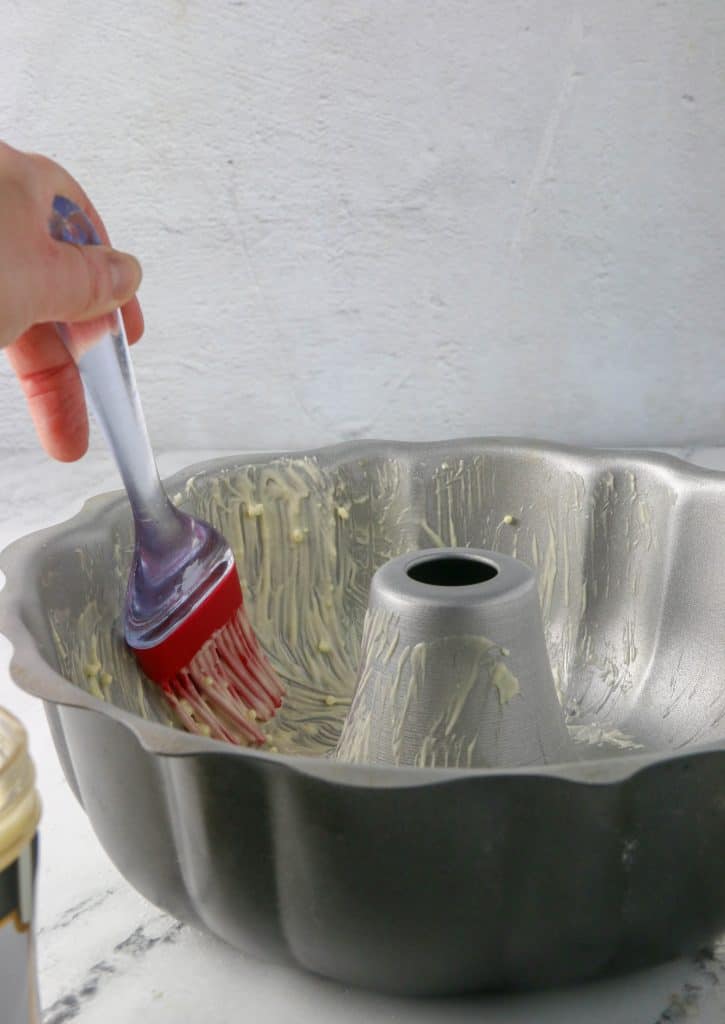
This stuff is great to grease a cake pan with. And it’s just two simple steps.
- Make Cake Release (oh wait we did that already)
- Brush On Your Cake Pan. Be generous.
How Do You Store Your Cake Release?
You want to store your cake release in an airtight container in the fridge. It will last about 6 months.
More Cake 101
- My Top 20 Tips For Baking Cakes
- Ultimate Resource Guide To Baking Layer Cakes
- How To Prepare Cake Pans (in 4 easy steps!)
Homemade Cake Release
Ingredients
- 1/2 cup (92 g) vegetable shortening
- 1/2 cup (120 mL) canola or vegetable oil
- 1/2 cup (60 g) all purpose flour
Instructions
- Combine the shortening and oil in a bowl with a mixer. Then add the flour and mix until smooth and combine.
- When ready to use, brush on the cake pan with a pastry brush or a paper towel in a pinch.
Notes
- You can easily halve or double this recipe.
- Store in the fridge for up to 6 months.

Comments & Reviews
Type your question or comment below, and tap "Post Comment". I welcome constructive criticism, but please be respectful. Rude or inappropriate comments will not be published. Thank you!Baking isn't always easy! So if you had any issues, I'd appreciate the chance to help you troubleshoot before you rate.