This Post May Contain Affiliate Links. Please Read Our Disclosure Policy.
This post is full of my favorite and most important baking tips. My goal is give you the confidence to become a better baker and whip up some delicious desserts from scratch in your own kitchen. With these baking tips I know you will be on your way to being a better baker.
Listen, friend I am not a culinary grad. Nor did I stand knee high by my grandmother’s side helping her making fluffy buttermilk biscuits. I attempted a few batches of chocolate chip cookies, but that was about it. It wouldn’t be until my 20’s that my love of baking would develop. I took a recreational class at a local culinary school and so my obsession began.
So I am a self taught baker like most of you. Which means I have had my share of failures. Mistakes. Bowls of ingredients thrown into the trash. I’ve forgotten the baking powder. Iced a cake while it’s hot only to watch the whole batch of buttercream frosting melt down the side.
But my years of trials and errors are to your benefit. My hope is that I can teach you my mistakes to help you become more successful when baking from scratch.
Baking Tip #1: Read The Recipe Before You Start.
Before you start busting out your mixing bowls and whisks, start by reading the recipe. The entire recipe. Some recipes are short and sweet. Others require major chilling time. Sometimes even overnight! Making bread? Do you have two hours to wait for that first rise? Do yourself a favor and read the whole darn thing ingredients and directions.
Is there anything you can do days before?
Also make sure you understand all the steps. If you don’t, now is the time to figure it out. Get a feel for what you are about to tackle.
Is there anything you need to do before you begin? This has to do with Tip #2…
Baking Tip #2: Mise En Place
I don’t know how many times I’ve started a recipe to only find out I have no eggs left. Or I’m out of sugar. Take an inventory of everything you will need. I like to call this getting my ducks in a row. The French call this “mise en place” or everything in its place. I like to take ALL my ingredients out before I start and measure out my ingredients. That way I can assess if I am lacking in anything or low on something.
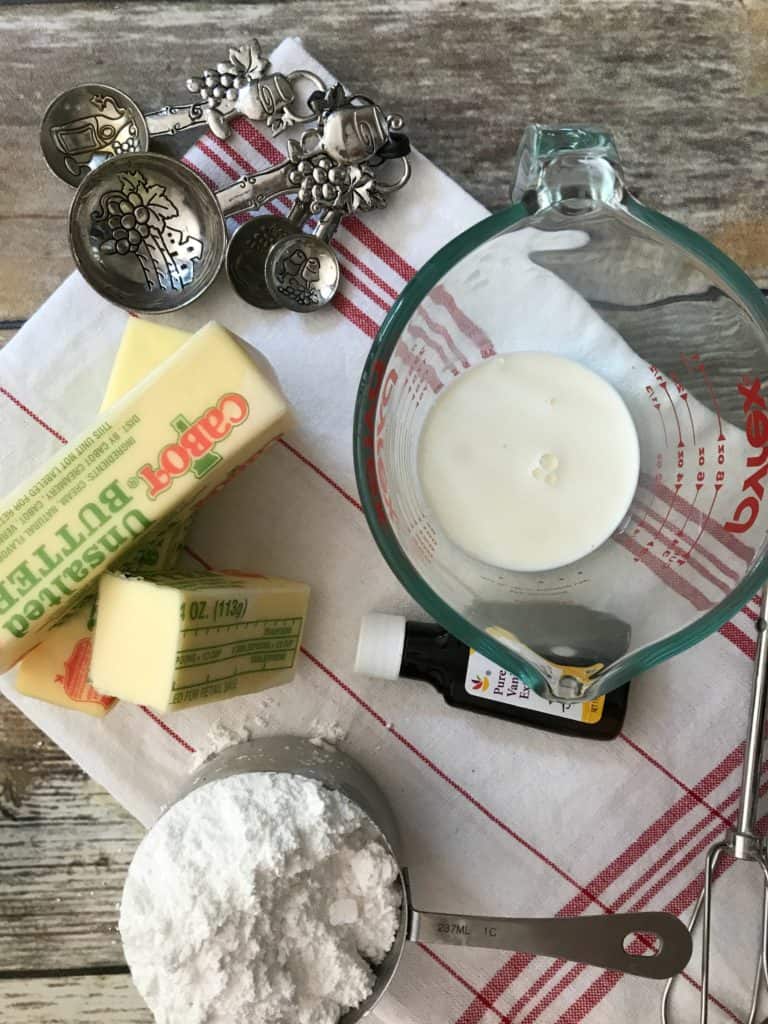
You also want to see if there is anything you need to do BEFORE you start to bake. Do the walnuts called for in your carrot cake need to be toasted and chopped? Then get that done. Does the powdered sugar need to be sifted before you add it to your buttercream frosting. Go ahead and sift. Maybe your cranberries to need to be cut in half to be added to your cranberry scones.
Baking Tip #3: Temperature Is Key. Don’t Ignore It.
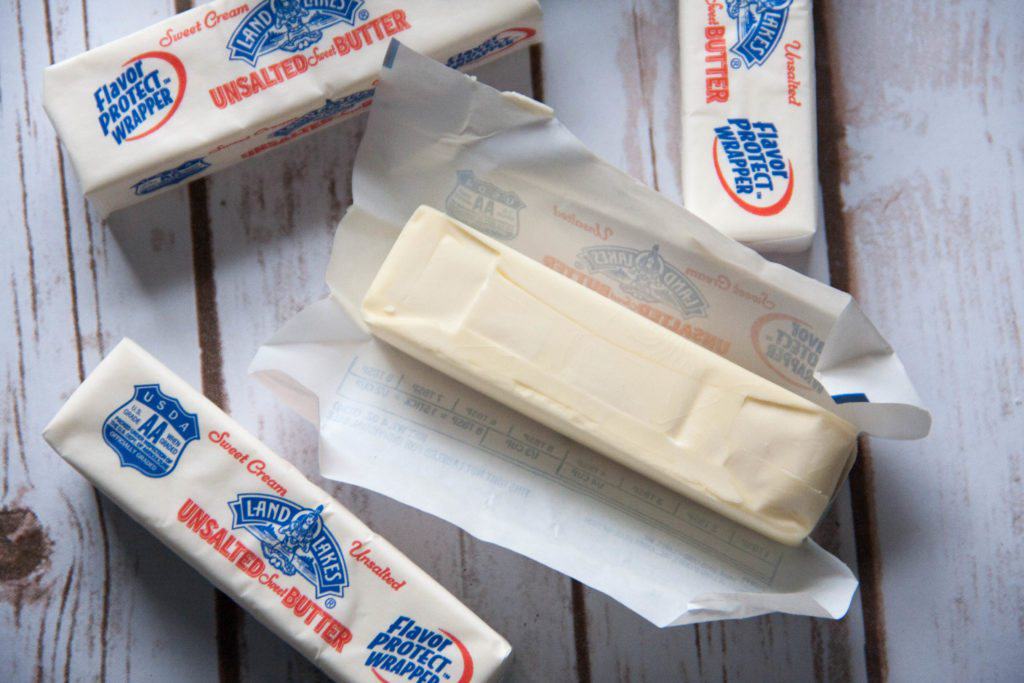
The temperature of your ingredients is crucial to the success of your dessert. Check your recipe and get set up to bake (remember tip # 1 and #2!). Does your recipe call for softened butter? Then take it out ahead of time. If you forget to take your butter out of ahead of time, then here are 3 quick ways to soften your butter.
Baked goods need room temperature ingredients even the milk and eggs! If you forget to take your eggs out ahead of time, then put them in a bowl of warm water for 10 minutes before mixing them with the rest of your ingredients.
Making pie crust or buttermilk biscuits? Then you want COLD ingredients. Always follow the recipe when it comes to the temperature it states.
Baking Tip #4: Get your pans ready!
Ever notice that step in your recipe says to prepare your pans? Don’t skip this until the end! You want your pans waiting for you ready to go not the other way around. It’s not just convenience either.
Once you have your batter made your leavening agents have already gone to work so you want to get them in the oven right away. You don’t want to stop at the end and then prepare your pans. It could result in failure not success! For most recipes, you need to coat your pan with a nonstick spray. For cakes I like to coat with butter AND flour to ensure they come out carefully! For cookies, I simply use a silicone baking mat or parchment paper.
Click here for a full tutorial on how to prepare your cake pans
Baking Tip #5: Check The Freshness Of Your Ingredients.
Quality and freshness of your ingredients counts when it comes to baking. I’m not saying you need to go out and buy all top shelf ingredients. But a few to invest in good quality butter, vanilla, and chocolate. And then keep them fresh, and check the freshness before you begin.
Check your baking powder and baking soda for freshness. Whatever you do don’t use that baking soda in your fridge! It can absorb flavors of what’s in your food.
To test the baking powder freshness – place a teaspoon in warm water and see if it bubbles. If it doesn’t throw it out.
To test the baking soda freshness – place a teaspoon in an acid (lemon juice or vinegar) and see if it bubbles. If it doesn’t throw it out.
What about your yeast? Check the expiration date! You can also place the yeast in some warm water with a bit of sugar before starting your homemade bread recipes to see if it activates (aka comes alive).
Same goes for your spices. If they have been hanging around in your pantry for more than two years, throw ’em out. Give them a sniff, if you can’t smell them anymore throw them out. It’s time to buy new.
Baking Tip #6: Check that oven.
When it comes to baking a properly heated oven is key. Do not put your baked good in an oven that has not been preheated. It can seriously affect the outcome. If you’re not sure if your oven is at the right temperature? Invest in an oven thermometer. And unless the recipe calls for otherwise, you want to put your baked goods on the middle rack.
For more oven 101, click here.
Baking Tip #7: Measure correctly.
When it comes to baking, it is all about the measuring. You want to make sure you do this accurately and with the right tools.
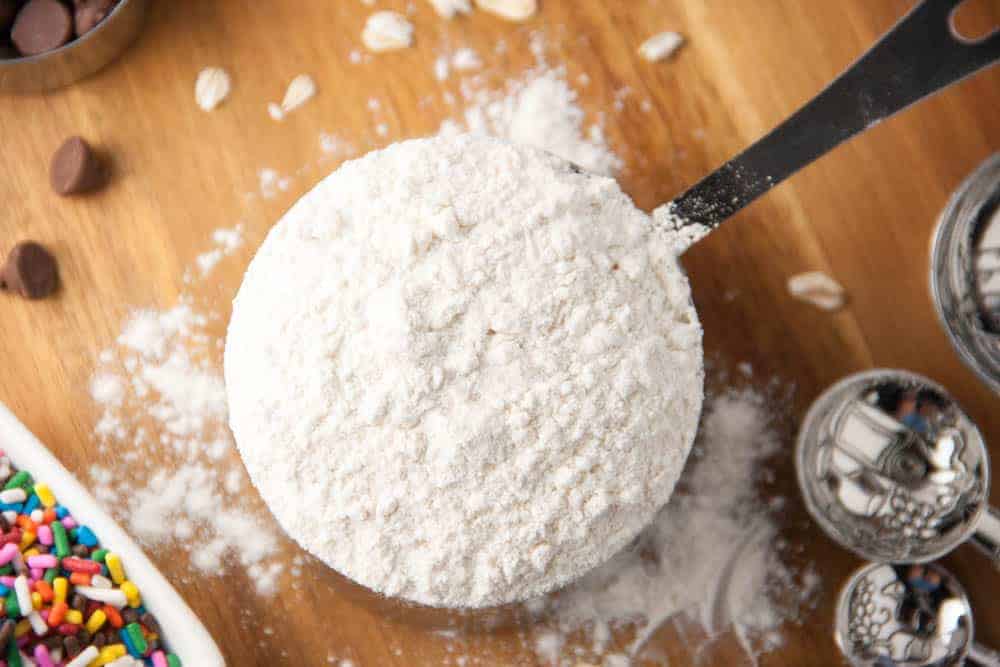
One major one to get right is your flour. You want to spoon the flour into your measuring cup and then level off once it’s full. Do not tap the sides, or simply dip your cup into the flour. You will end up with too much. Click here for more on how to measure your flour correctly.
Of course flour is just one ingredient. You can learn how to measure all of your baking ingredients here.
For the most accurate measuring, use a kitchen scale. And again, measure out your ingredients first before you start.
Baking Tip #8: Timing is Essential.
You may notice that you recipe instructions call for certain steps to be carried out for a certain amount of time. Cream the butter and sugar for 3 minutes. Let the dough rest for 10 minutes.
There is good scientific reasoning behind those steps so don’t skip it. And don’t think you can “tell when 3 minutes is up”. Trust me you can’t. So get a kitchen timer out or simply use your phone and actually time yourself when completing these steps. It will result in a baked good that has people wondering what bakery you got it from.
Baking Tip #9: Take care when making substitutions.
The first time out follow the recipe exactly. There is always room down the road for getting creative. But when you start swapping out certain ingredients and substituting others, you have no idea what you will end up with. And if you are new to baking, then follow the experts and do what the recipe says. As you get more comfortable with baking and certain ingredients and how they behave then start experimenting.
But remember baking is a science and changing even just one ingredient can change the overall chemistry of the recipe, which might result in failure. So I suggest start small with your experiments. Think of mixing up the add-ins to a cookie, or adding some flavor to a vanilla buttercream. Start small and the more success you will have the more confident baker you will become!
You can read top 10 baking substitutions here.
Baking Tip #10: Bake One Batch At A Time.
I have tried to bake multiple cookie sheets and cupcake pans at a time. But I found it never works out. So place leftover dough and batter in the fridge while the first batch bakes.
You can try rotating the pans on different racks during baking. Or placing side by side. But I find I never get the same results. So yes baking one cookie sheet at a time might sound like a pain, but so is serving sub par cookies!
I hope you liked these 10 baking tips, and if you like this post be sure to pin for later! And let me know in the comment section, which tip was your favorite!
More Baking 101 Posts:
You can check out more baking 101 posts here:
- Natural Cocoa Vs Dutch Process Cocoa Powder
- What are the different kinds of yeast?
- 15 Tips For Perfect Cupcakes
- 9 Pie Tips To Make The Best Pie From Scratch
- Types Of Flours: Ultimate Guide


Nancy Ross says
Do you have a blog, if so I would love to join. Love all of your tips.
Heather says
Hi Nancy! You can sign up to my email list directly on my blog – check out the sidebar for a way to sign up 🙂 glad to have you here!
Norma says
Thank you. I have learnt over time. As you said get all the ingredients needed out before you start baking. I always do that….however I also have learnt to put things back right after I have added to the recipe. Too many times I am in the middle and the phone rings, or the kids run in for something. When I get back to the baking I would forget if I put an ingredient in already?????? This way if I don’t see the baking soda on the counter, I know I already added it. Phew!
Heather says
That’s smart Norma! Love that tip – going to have to add that to the post! Thank you!