
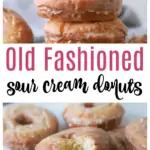
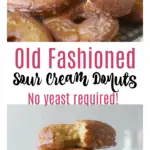
Old Fashioned Sour Cream Donuts
This Post May Contain Affiliate Links. Please Read Our Disclosure Policy.
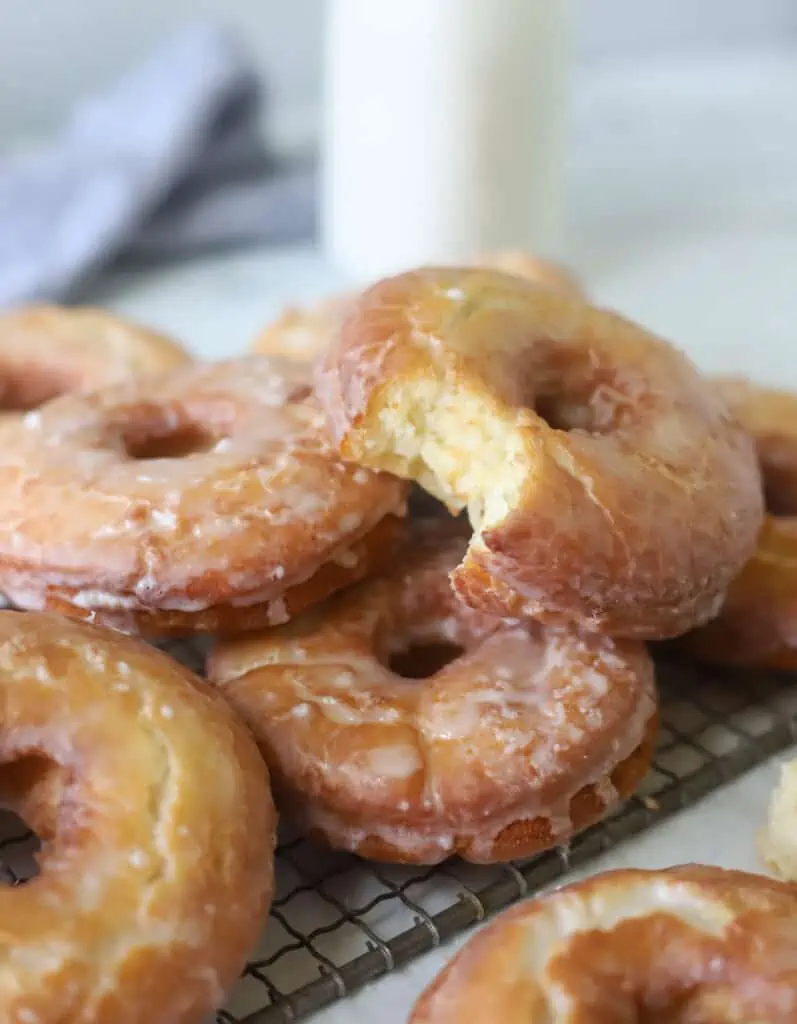
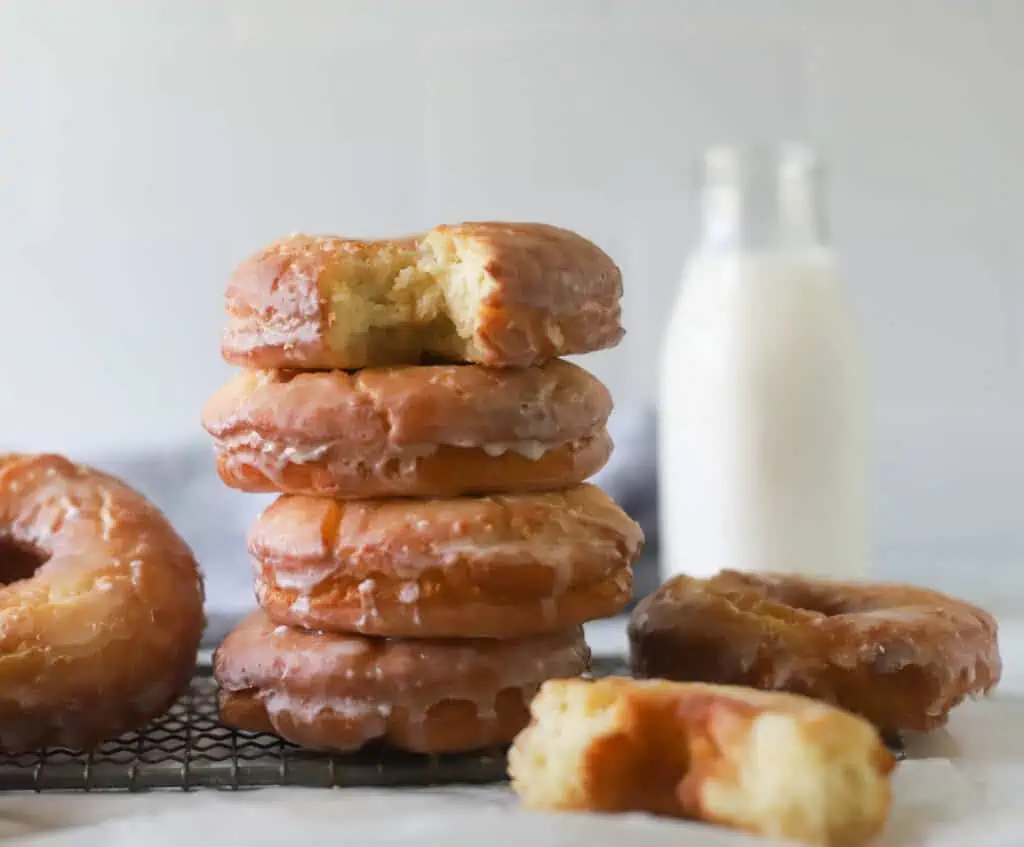
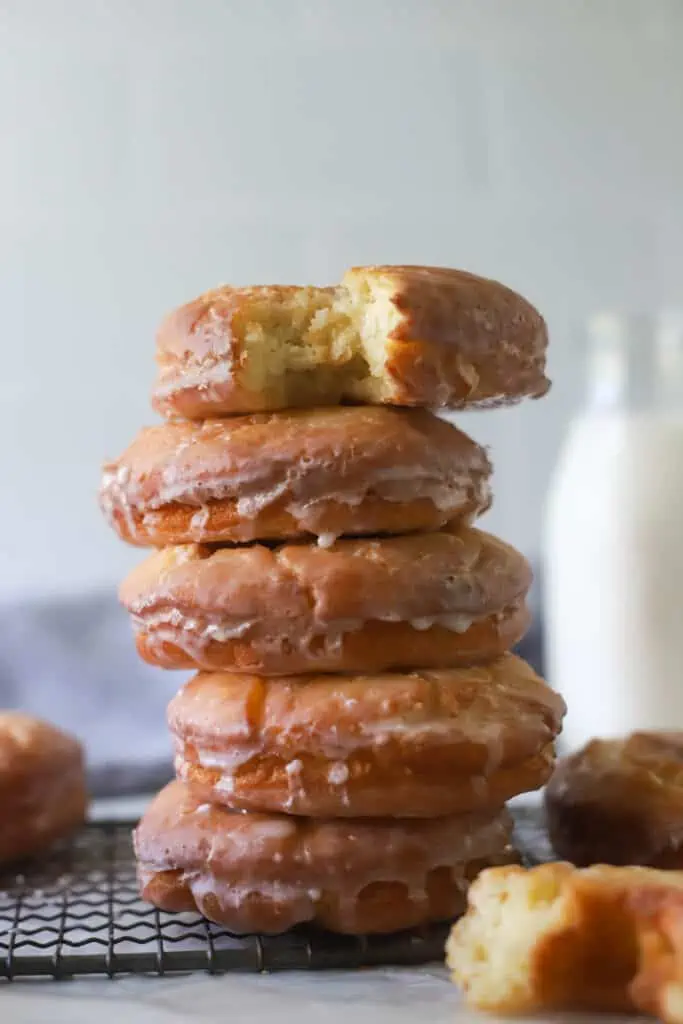
These old-fashioned sour cream donuts are fried cake donut perfection. A sour cream cake donut batter is fried, then dipped in a vanilla donut glaze. I have all the tips and tricks for you to fry up donuts at home!

So fun fact about me these past few months I enrolled in the online French Pastry School Bread and Baking arts program. Yes there’s even more flour being flung around my kitchen. I wasn’t sure that was even possible!
I’ve been learning and baking up all sorts of wonderful breads and breakfast treats. And one of them was a recipe for old-fashioned sour cream donuts. These things were so gosh darn good I made sure to give the majority of them away to some firefighter friends (because seriously I was going to eat them ALL).
I played around with the recipe a bit here and there to simplify the recipe to make it amazing for you all at home. And man, oh man, am I glad I did. It was pure torture making these again and perfecting the recipe for you all. 😉 I can’t wait to show you how to make these old-fashioned sour cream donuts.
For more donut recipes check out –> 90+ Donut Recipes
Ready To Take Your Baking To The Next Level?
Join the Ultimate Baking Bootcamp and master essential techniques like mixing methods and the why behind every recipe! Whether you’re a beginner or looking to refine your skills, this step-by-step class will help you bake with confidence and create flawless desserts every time. Start your baking journey today!
What’s the difference between an old fashioned donut and a regular donut?
A regular cake donut that’s made without yeast, will have a softer fluffier texture than an old fashioned donut. An old fashioned donut will have a bit of a cracked surface as well, compared to a regular donut.
Yeast donuts, as the name suggests, are made with yeast, but result in a more fluffy, airy-like texture (think Krispy Kreme).
So what are these donuts then? These old fashioned sour cream donuts are definitely a cake donut. It uses baking powder to help them rise, and they are also fried. These are those dense cakey fried donuts that are basically a meal in itself. Um, delicious is another word to describe them.
An old fashioned donut will also be a bit denser in texture and have a crispier, crunchier outside.
Why You Are Going To Go NUTS For These Donuts
- Fried Perfection – These are cake donuts that are fried after the dough comes together. Unlike my light, airy Glazed Yeast Donuts Recipe, these are those cakey, dense donuts that are practically a meal in itself.
- No Yeast. – Yay! These are made with baking powder, not yeast, so the dough is ready immediately. I do recommend chilling the shaped donuts before frying so they fry up well.
- Only 7 Pantry Staple Ingredients– Yup, only 7 basic ingredients is all you need for these delicious donuts.
- 1000% Deliciousness – ‘Nuff said.
Recipe Ingredients
The photo below shows you the ingredients you will need to gather up:
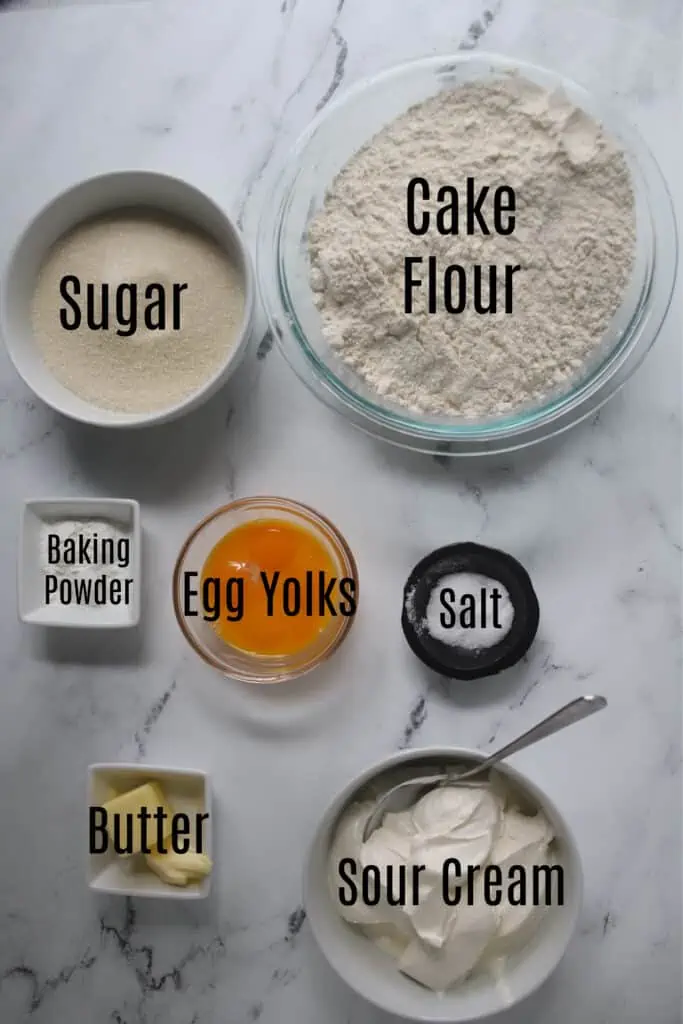
Ingredient Notes
- Cake Flour – I tested these old fashioned donuts with both cake and AP flour and preferred the cake flour. It gave the donuts a lighter texture. But you can use AP flour if you’re in a pinch but the texture will be a bit more dense.
- Egg Yolks – This recipe calls for egg yolks only. Save those egg whites for another recipe. Try them in my Flourless Chocolate Walnut Cookies!
- Sour Cream – I recommend the full-fat sour cream in this donut recipe for richness, flavor, and texture but I think it would work fine with light sour cream, but I would steer clear of fat free. I haven’t tested with greek yogurt but I think a plain full fat greek yogurt would work great.
How To Make These Old-Fashioned Sour Cream Donuts
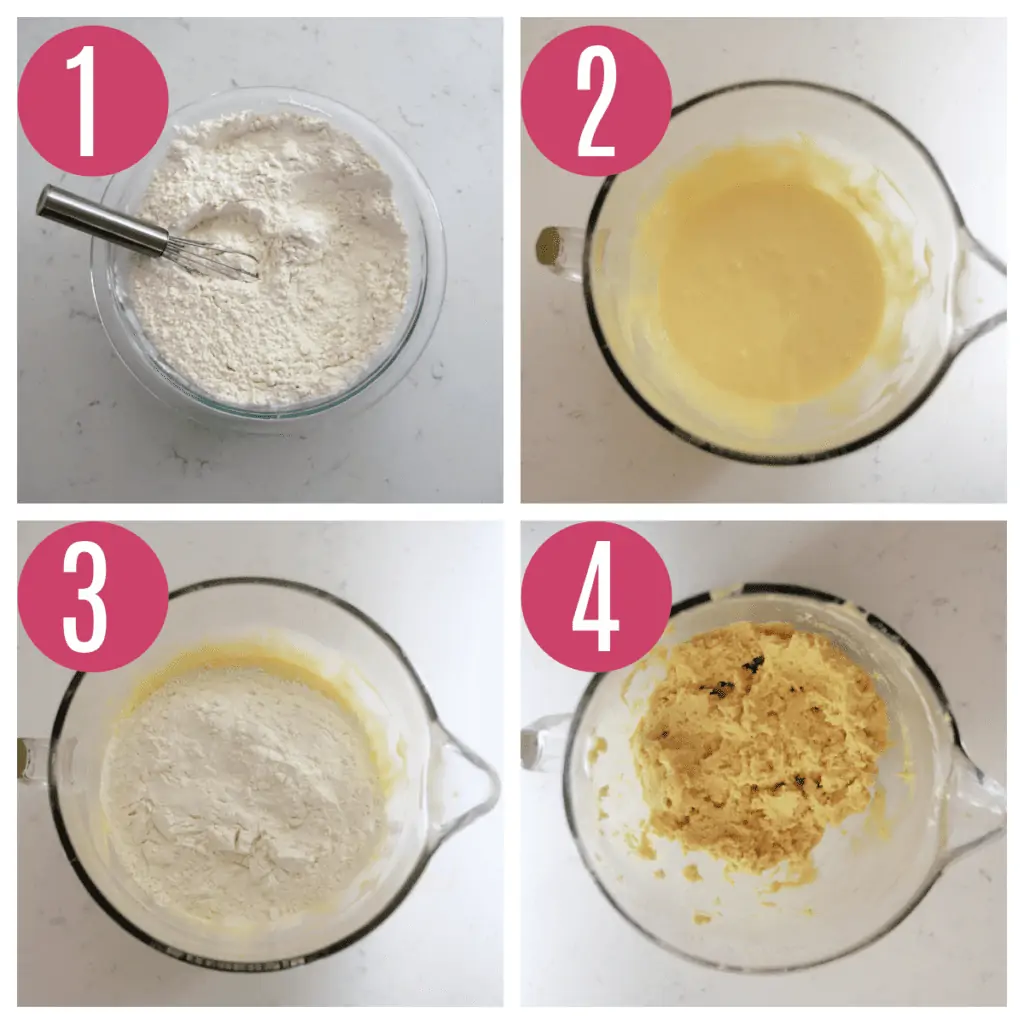
Make the old fashioned donut dough
- Sift the flour and baking powder. Set aside.
- Combine the butter, yolks, sugar, and salt. Mix on medium speed for about 6 to 8 minutes or until light and fluffy using the paddle attachment.
- Add the sour cream. Combine well on low speed.
- Add the dry ingredients. Combine only to incorporate, but do not overmix.
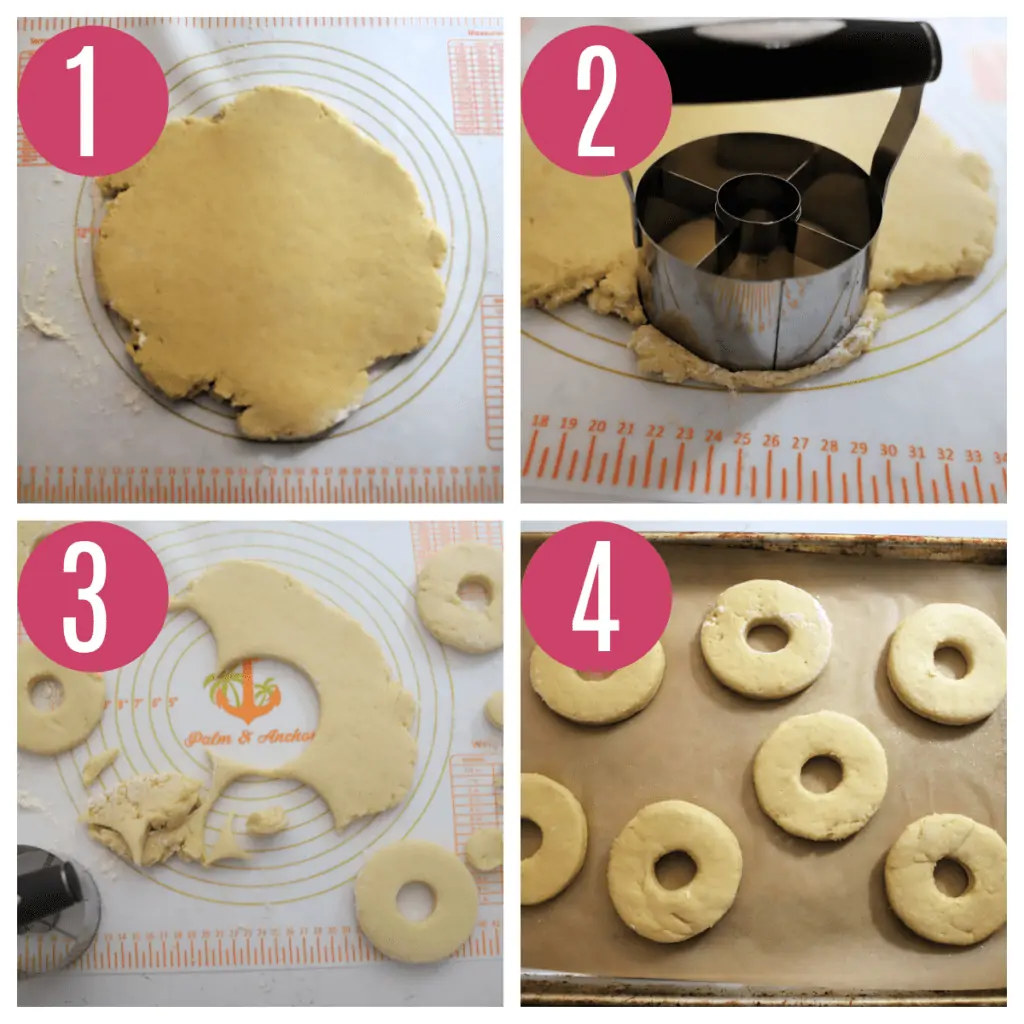
Shape and cut the sour cream donuts
- Roll to about ½ in (12 mm) thick.
- Cut the dough using the 3-inch (7.5 cm) donut cutter. Then cut the center using the 1½ inch cutter. Dip the cutters in flour before cutting if the dough is sticky. Combine the scraps.
- Roll out again and cut out more doughnuts. If the dough is sticky, be sure to keep the rolling pin and dough lightly covered with flour.
- Refrigerate for about 1 hours. It’s important that the dough is cold.
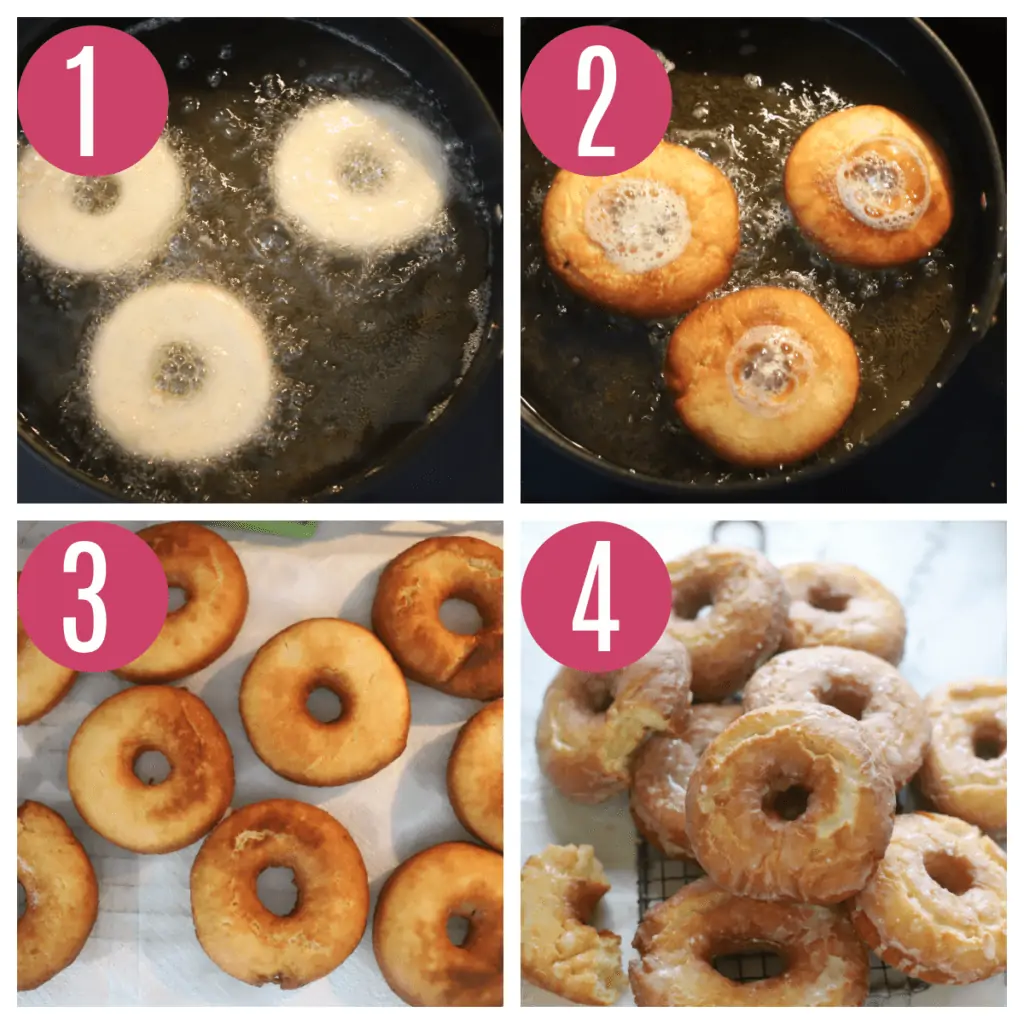
Fry the old fashioned donuts
- Heat the oil to 350°F (175°C). Place the doughnuts carefully in the oil. Fry 2-3 at a time. I use a fork to lower the donut into the oil and make sure to lower it away from you so it doesn’t splash back at you.
- Fry for about 1 minute, then flip over to fry the other side for about 1 minute minute more. Again a fork is easiest to flip them over with.
- Remove the doughnuts using a spider colander. Place on a paper towel to remove the excess oil. Cool for about 1 minute.
- Make the glaze by whisking together the glaze ingredients. Dip each donut, both sides, into the glaze once they’re cooled.
If your frying oil becomes too hot, pour in some room temperature oil to control the temperature so your donuts don’t burn.
More Frying Donut Tips
- Use a large pot. Always fry in a large deep pot or skillet like a 5-quart Dutch Oven or large skillet. This will ensure you can fill the pot/skillet sufficiently with oil and not have it splatter. Speaking of..
- Fill Pot 1/2 Full Of Oil. You don’t want to fill the pot too much (first of all..big waste.) Second of all, you don’t want it to splatter all over you. Let’s just say, OUCH. It should be at least 2 inches deep of oil (I use about 6 cups).
- Watch That Temperature Oil. You want your oil to 350°F. Use a digital thermometer, ideally one that clips to the side of the pot. Or do a test donut with one of your donut holes. If your oil temperature is too cold then your donuts will absorb too much oil and become greasy. And if it’s too hot, well, you know. Burnt crispy city.
- Only Fry A Few At A Time. Again it all comes down to that pesky oil temperature. If you fry too many at a time then it will drop the oil temperature. And if that happens, greasy donuts.
- Use A Neutral-Flavored Oil. You want to use an oil that has a high smoke point, and not much flavor. Think canola or vegetable. But sunflower, corn, or peanut oil also work. You don’t want to use an oil that has a low smoke point or will impart too much flavor, like olive oil. You can also reuse frying oil twice before disposing of it.
For more help –> Read How To Make Perfect Donuts
Storage Instructions
I think these are best the day they are made, however I’ve enjoyed 2-3 days after. I store them at room temperature, covered. The glaze might get a bit sticky over time.
I would freeze these without the glaze, and they should keep for up to 3 months. Thaw at room temperature and glaze as normal.
More Recipe FAQ’s
You can use a hand mixer instead, but the time to mix the donut dough will take a bit longer.
I like to use a neutral-tasting oil like canola. Canola oil has a mild flavor and high smoke point. Sunflower oil is another great option. Vegetable, peanut, or corn oil is another great option. Frying oil can usually be used twice before disposing of it.
This is because your oil temperature was too oil. The oil becomes trapped by the dough and you end up with greasy donuts.
If you don’t own a donut cutter yet (<– this is the one I own and it’s awesome!) you can use a 3″ round cutter, and then a smaller 1″ round cutter for the center or use a piping tip (large end) to cut out the center. You could also use for cutting out the donuts a large water drinking glass.
More Donut Recipes To Try
Once you’ve mastered this sour cream donut recipe here are a few more donut recipes to try! I love my apple cider donuts and pumpkin donuts.
I also love my baked chocolate donuts with a chocolate glaze!
Master The Art Of Baking!
Don’t miss out on the chance to elevate your baking skills! Join the Ultimate Baking Bootcamp today and unlock the secrets to creating perfect desserts every time. With expert guidance, step-by-step lessons, and insider tips, you’ll be baking like a pro in no time. Sign up now and start mastering your baking!
Old Fashioned Sour Cream Donuts
Ingredients
For the donuts
- 5 cups (600 g) cake flour
- 4 teaspoons baking powder
- 2 ½ tablespoons unsalted butter
- 5 large Egg yolks room temperature (measure this first- should be 100 g)
- 1 cup + 3 Tablespoons (240 g) granulated sugar
- 1 ½ teaspoons salt
- 1 ⅔ cup (380 g) Sour cream, room temperature
- 6 cups oil for frying
For the glaze
- 3 cups (339g) confectioners sugar
- 6 tablespoons milk
- 1 1/2 teaspoons vanilla extract
Instructions
To make the donuts
- Whisk together the flour and baking powder. Set aside.
- Combine the butter, yolks, sugar, and salt. Mix on medium speed for about 6 to 8 minutes or until light and fluffy using the paddle attachment.
- Add the sour cream. Combine well on low speed.
- Add the dry ingredients. Combine only to incorporate, but do not overmix. The dough will be quite sticky at this point and you won't be able to roll it out.
- Cover and refrigerate dough for at least 1 hour or until it's cold and firm.
- On a floured surface, roll to about ½-in thick. The dough can be a little sticky (especially it's humid out) so be sure to keep the rolling pin, counter, and surface of dough lightly floured. If the dough is very sticky, refrigerate a little bit longer. Cut the dough using the 3-inch donut cutter. If you don't have a donut cutter, then use a round 3" cutter, and then a 1" round cutter to cut out the center (or the large end of a piping tip). Dip the cutters in flour before cutting if the dough is sticky. Combine the scraps. Roll out again (be careful to not add too much flour to do so or overwork the dough) and cut out more doughnuts. Place donuts onto a lightly greased parchment-lined baking sheet.
- Heat oil to 350°F (175°C) in a large pot or deep skillet (about 1/2 full). The oil should be at least 2 inches deep. Line a wire rack with paper towels.
- Place the doughnuts carefully in the oil. Fry 2-3 donuts at a time. I use a fork to lower the donut into the oil, pointing the donut away from you so the oil doesn’t splash back at you. Fry for about 1 1/2 to 2 minutes, then flip over to fry the other side for about 1 1/2 – 2 minutes minute more until golden brown on both sides. If the oil is getting too hot, add a little room temperature oil to the pot to cool it down a bit.
- Remove the doughnuts using a spider colander. Place on a paper towel to remove the excess oil. Cool for about 1 minute.
To make the glaze
- Place a wire rack over a large rimmed baking sheet to catch the excess glaze.
- In a small mixing bowl, whisk together the glaze ingredients. You can sift the confectioners sugar first to remove any lumps, or I just prefer to whisk it like crazy until it's smooth!
- Dip each donut, on each side, letting excess drip off. Place onto the wire rack.
Video
Notes
- Storage: I think these are best the day they are made, however I’ve enjoyed 2-3 days after. I store them at room temperature, covered. The glaze might get a bit sticky over time.
- Freezing: I would freeze these without the glaze, and they should keep for up to 3 months. Thaw at room temperature and glaze as normal.
- Flour: I made these both with all-purpose and cake flour and preferred the cake flour for a lighter donut, but AP flour also works if need be but the texture will be a bit denser.
- Oil: I like to use a neutral-tasting oil like canola. Canola oil has a mild flavor and high smoke point. Sunflower oil is another great option. Vegetable, peanut, or corn oil is another great option. Frying oil can usually be used twice before disposing of it.
- Chilling the donuts: The donuts are much easier to fry if they are cold. If your donuts are warming up too much sitting out as you fry each batch, pop them back in the fridge.


Can these be baked in the oven or air fryer? If so, how long? Thanks.
Hi PJ, I’ve never tried baking in the oven or air fryer – so can’t say for sure. IF you try, please come back and comment and let me know how long it took – love to share with the other readers!
My family gobbled them up in a matter of minutes! Yum!
glad your family loved them as much as we did 🙂
Delicious!!! This is the first time we’ve made sour cream donuts but not the last!
I need these in my life! I have never heard of sour cream donuts, but am hooked now. Cannot wait to make them!
Never tried making sour cream donuts at home. I will make this soon. Thanks for sharing.
You’re most welcome 🙂
Those look amazing. I’ll be dreaming of them today.
These donuts are so easy to make and the vanilla glaze is the crowning glory! So good!
Oh wow! That texture looks incredible. I love all the tips and tricks to help make these sour cream donuts perfect.
Doughnut perfection ! The sour cream is a game changer!!!
Oh my deliciousness!! These are easier to make than I thought. Think I’ll surprise my family this weekend with a batch of these.
heaven. these actually reminded me of the little debbie donut sticks – so good!!! i love them!
Thank you for the recipe. I will try it. I want to participate in the giveaway and same time try this donuts because i’m not a pro with the yeast.
That’s awesome! Yes these are fun and easy to make!
Oh my goodness! These look fabulous! My niece loves donuts with glaze and I’ll be sure to make these with her this weekend!
sounds fabulous – let me know how they turn out for you ❤️❤️
These are so good. They’re even better than the donut shop can make.
nothing beats baking from scratch right?
Omg I had no idea it was so easy to make donuts at home! I loved this recipe – it was super easy to follow and my donuts turned out perfectly!
Excellent to hear! thank you
I am an experienced baker and cook. I followed each step carefully and measured everything precisely. After mixing the 5 cups of cake flour into the batter, it looked like poundcake batter. There was no way it could have been rolled out. I ended up having to add another 2 cups of cake flour. It was still very sticky, but I was able to roll the dough out. I would like to know how to make the type of glaze that bakeries use, as this one was gritty from the powdered sugar. Otherwise, they turned out good.
Hi Janice! Glad you enjoyed these 🙂 I’m glad you were able to adjust and make it work with the extra flour. Depending on how you measured your flour (weight vs. volume) could have made a big difference. As for the glaze, I would try sifting the powdered sugar first to help with the texture.
These were incredible. I can’t wait to make them again! My whole family loved them.
Great to hear! Thank you kindly.
Have never had donuts with sour cream before! Totally intrigued!
It’s the best combination !