Pear Berry Crisp
This Post May Contain Affiliate Links. Please Read Our Disclosure Policy.
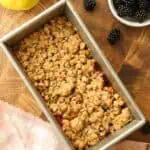
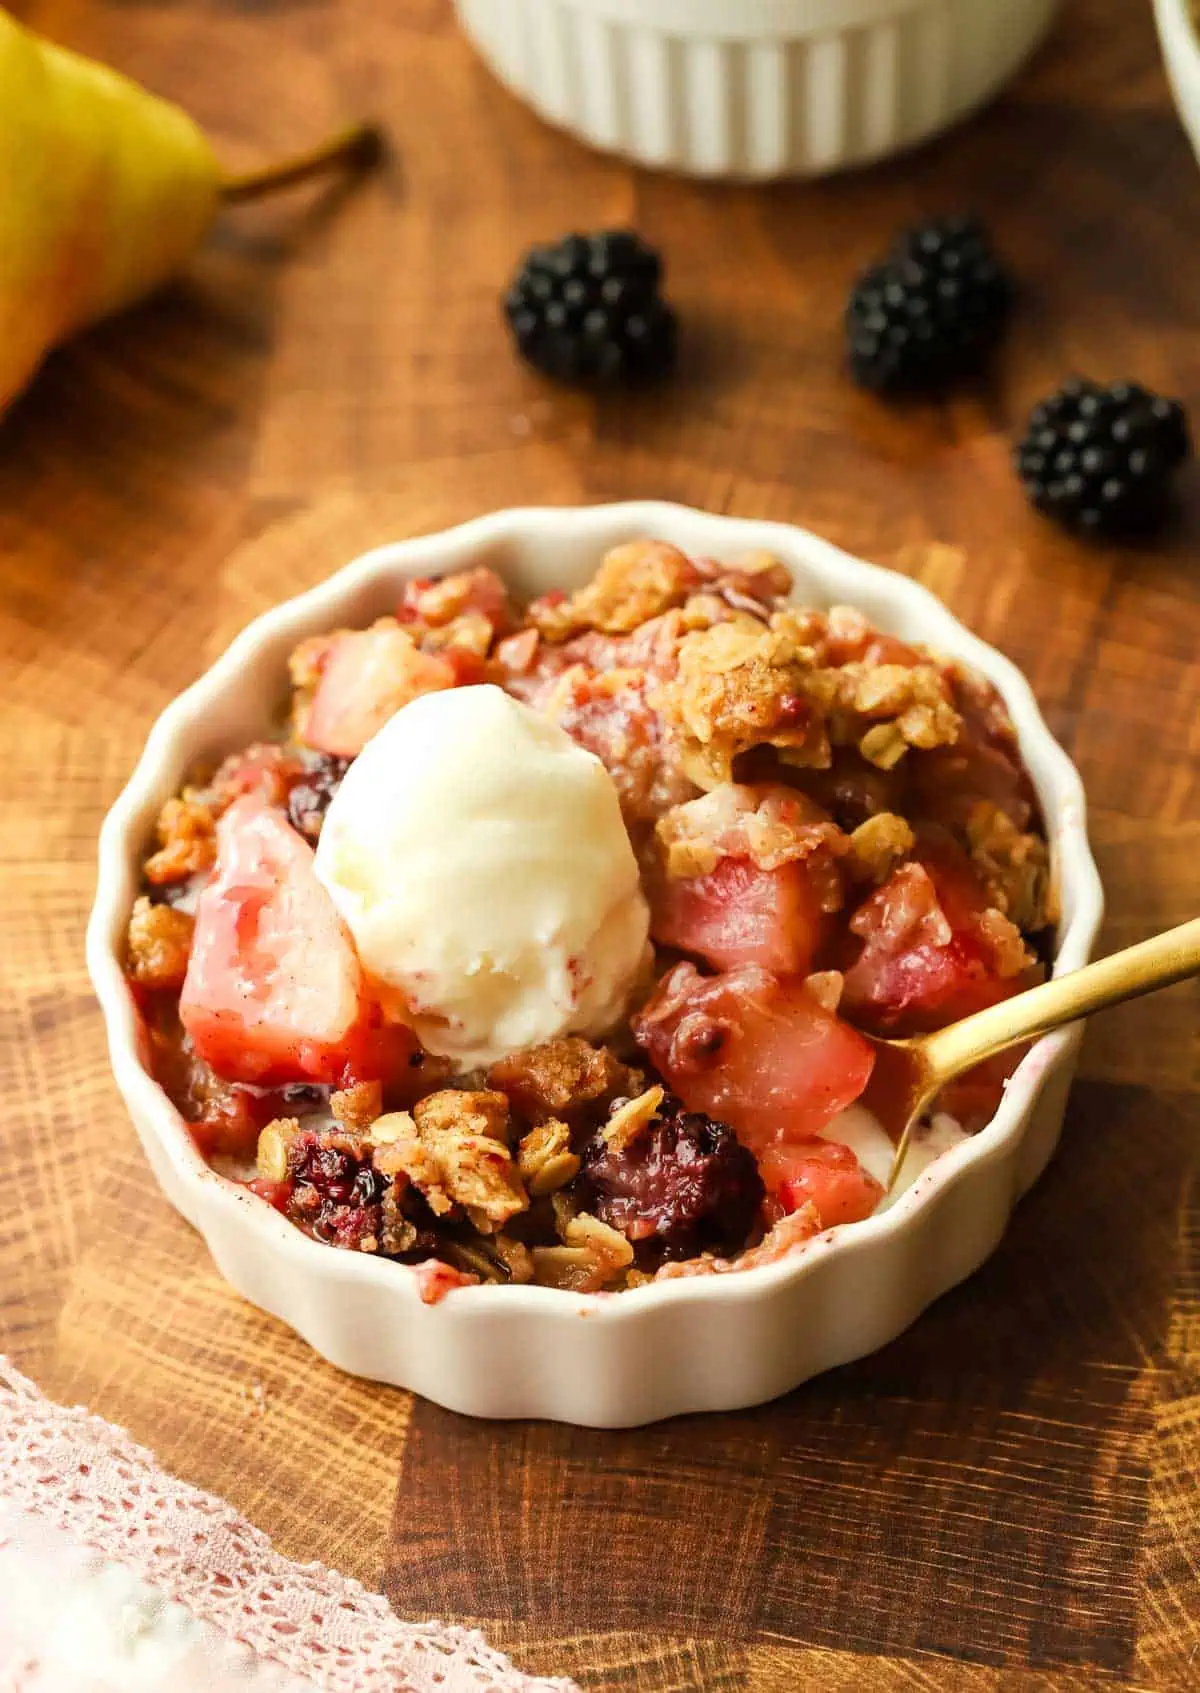
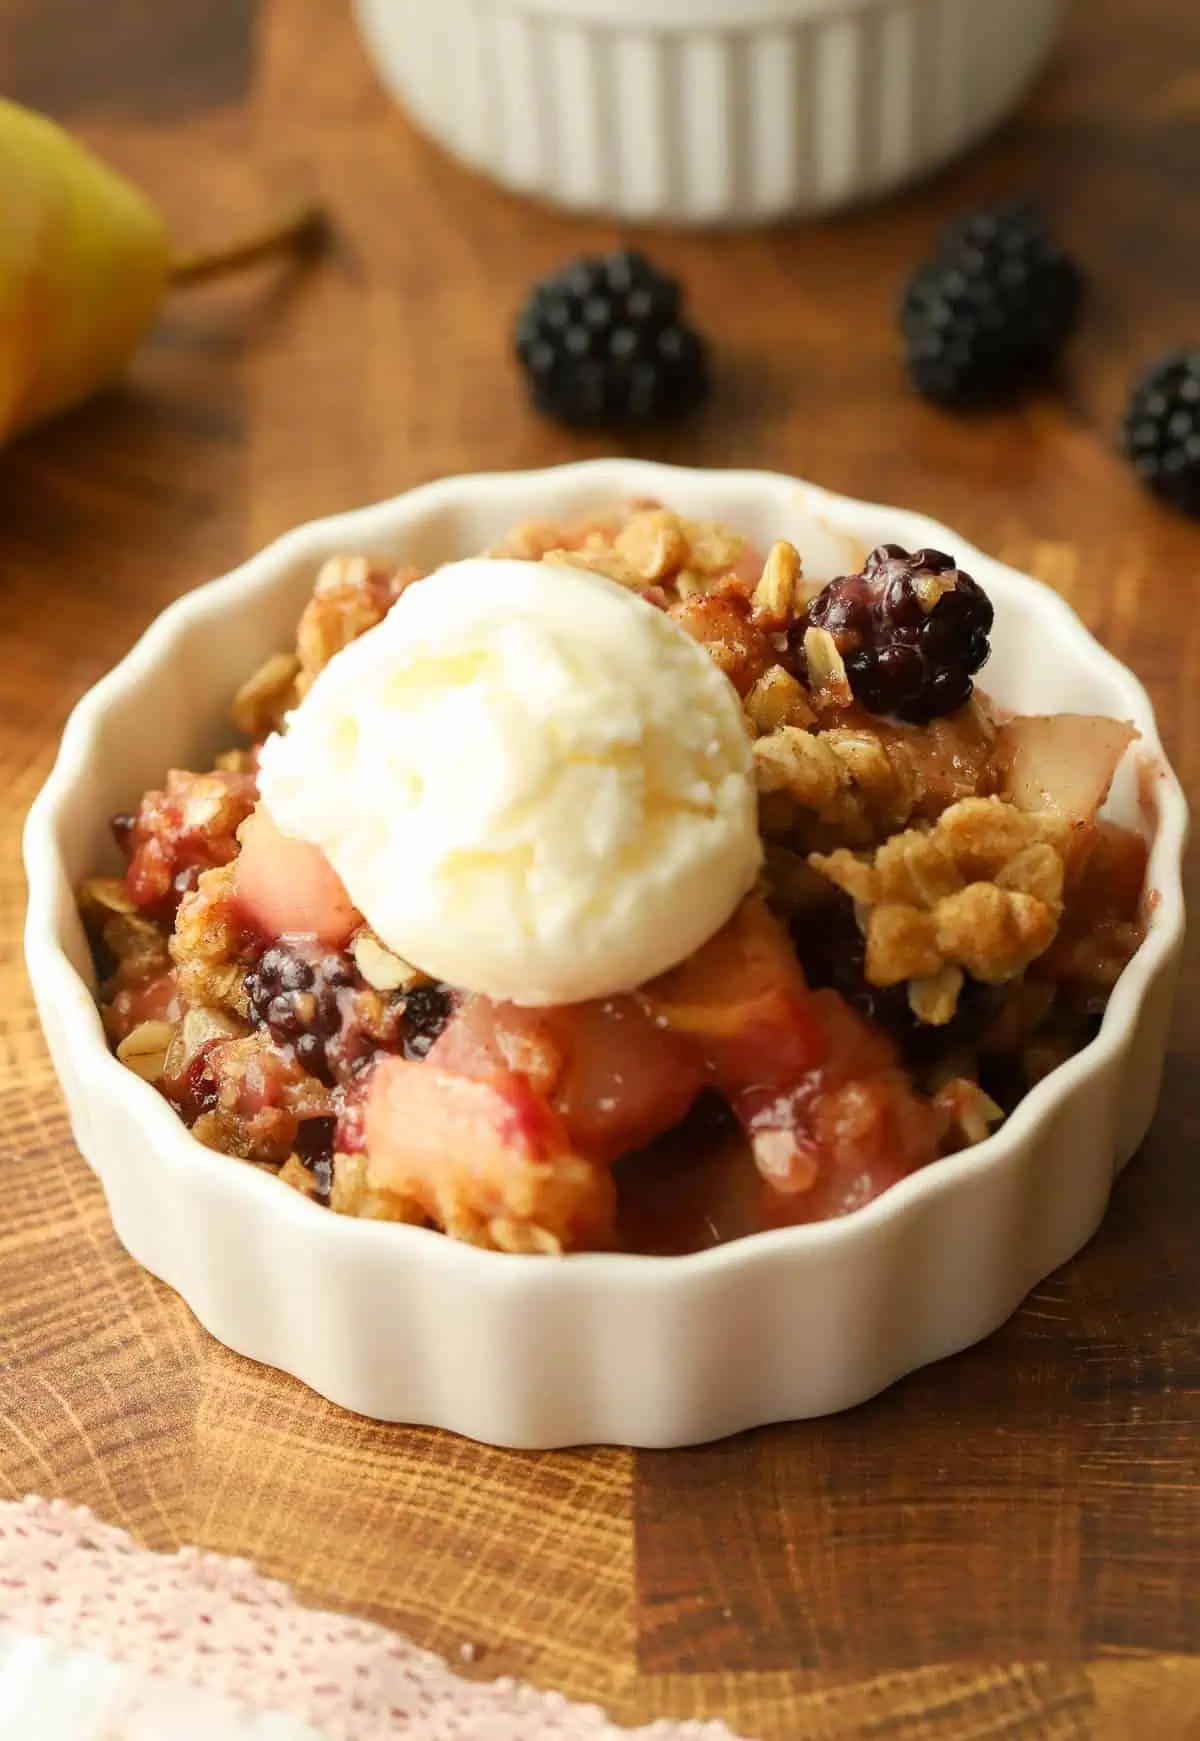
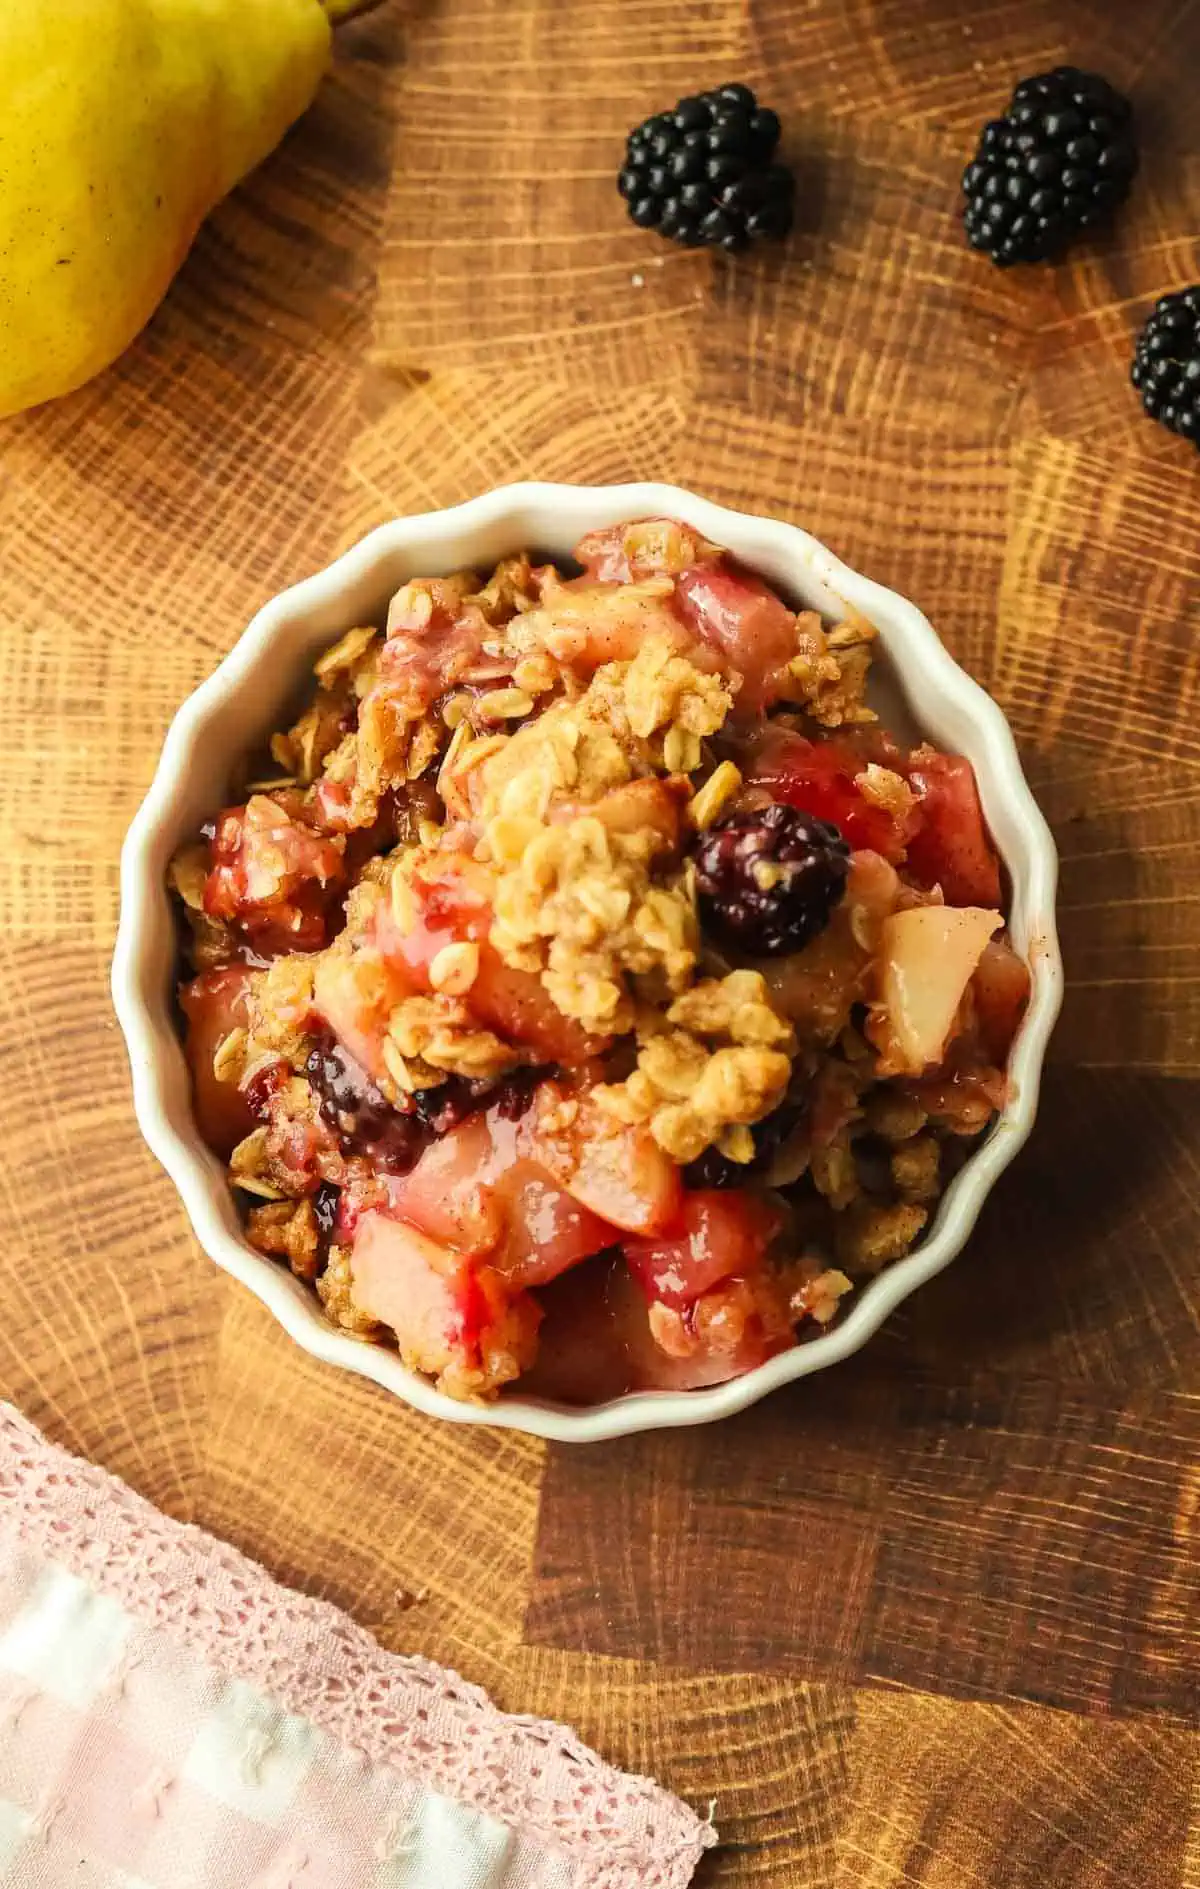
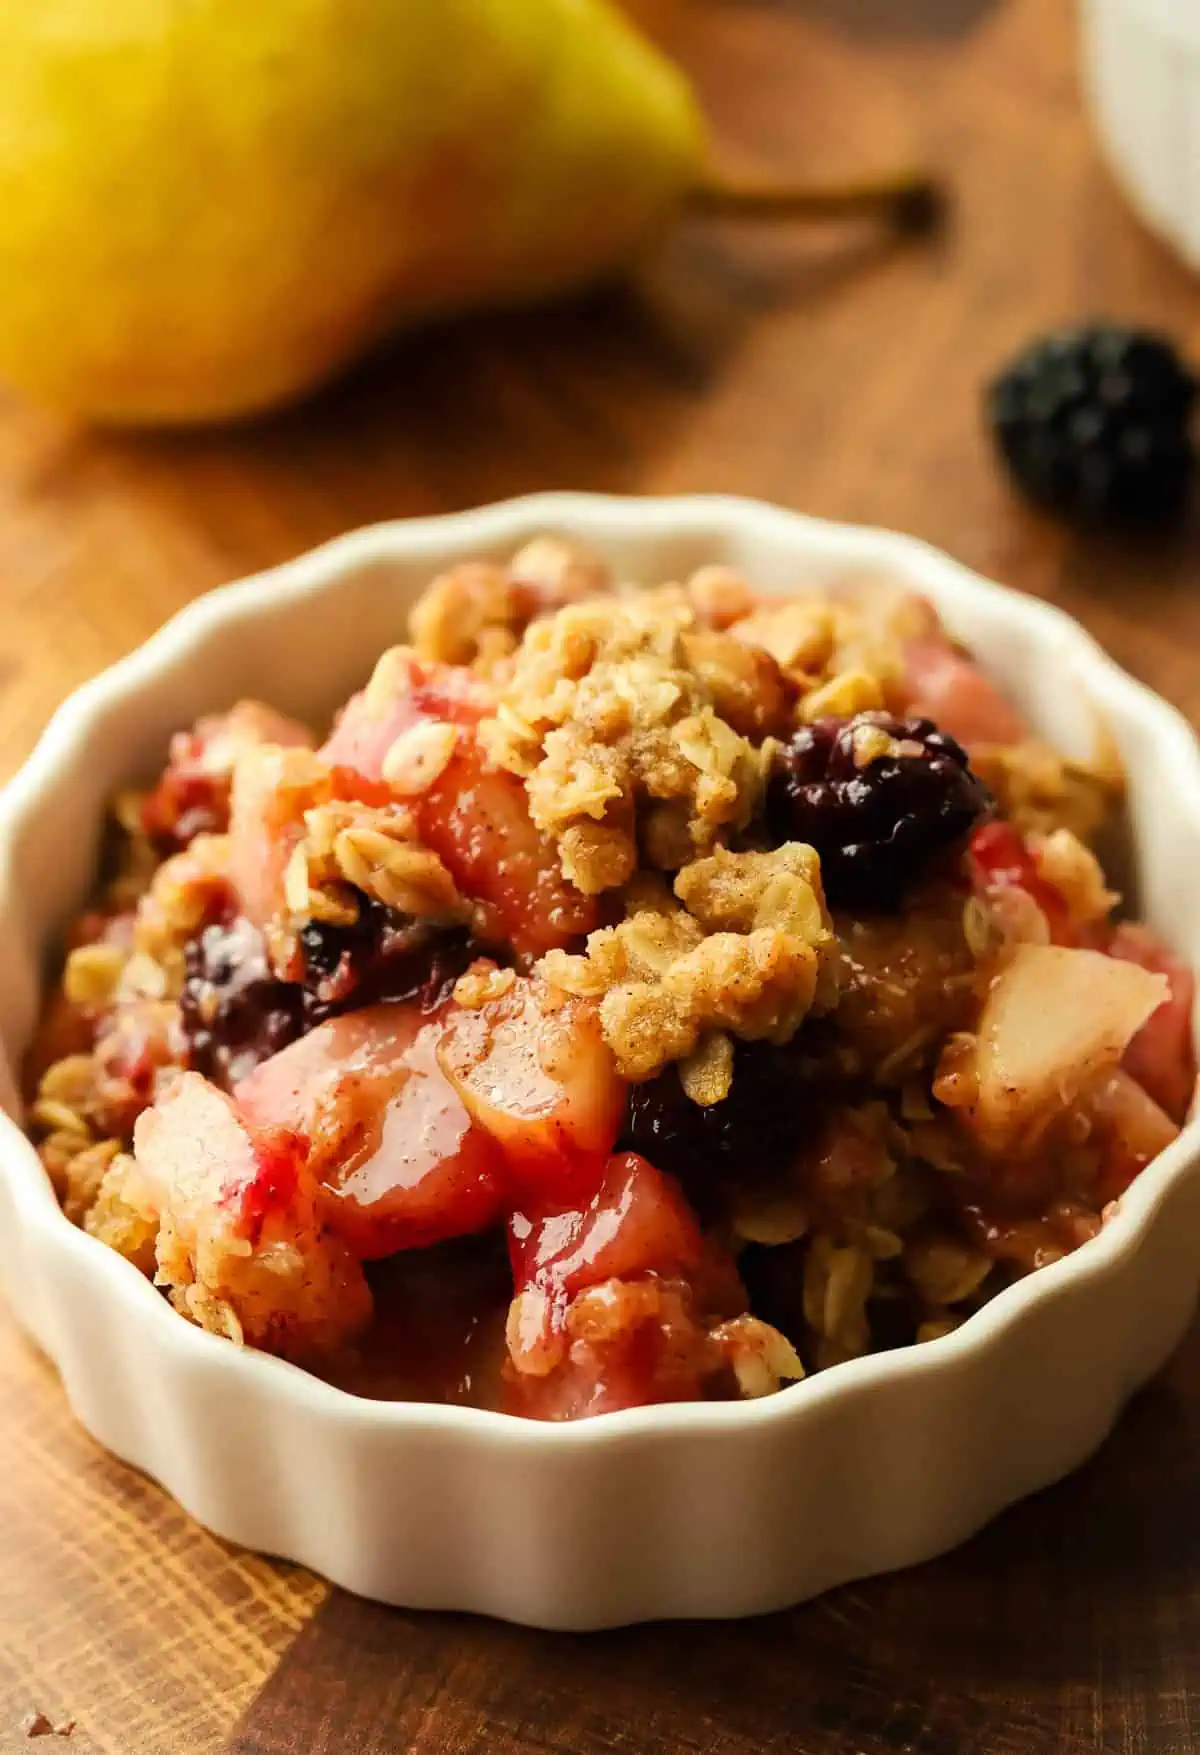
This pear berry crisp is made with juicy pears, sweet-tart blackberries, and a buttery cinnamon oat topping. The fruit bakes until soft and bubbling underneath a golden, crunchy crumble topping. Made in a loaf pan, this easy dessert serves about four people and is especially delicious served warm with a scoop of vanilla ice cream!
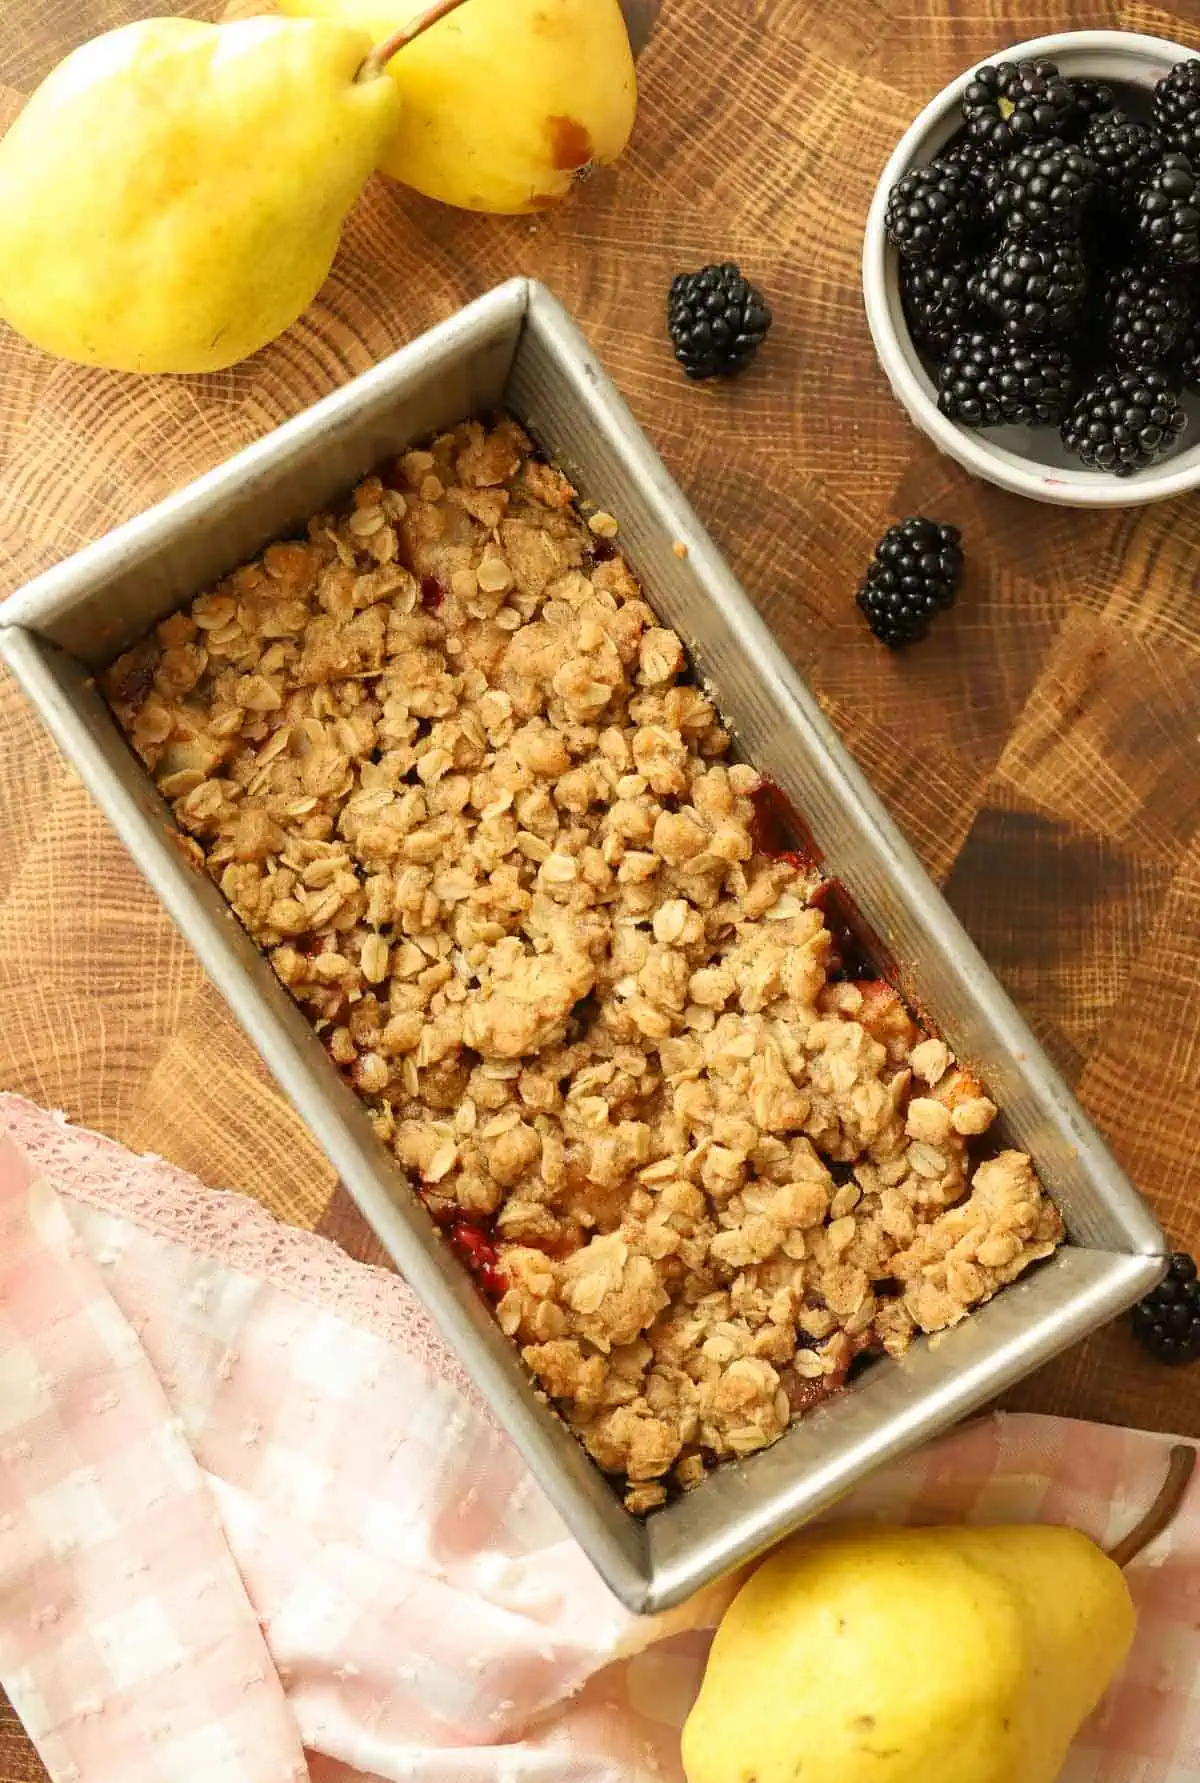
I love making fruit crisps, like my apple crisp or berry crisp because they’re one of the easiest homemade desserts you can throw together. There’s no pie crust to roll out, no mixer needed, and you can have everything ready for the oven in about 15 minutes. But sometimes I don’t need a big baking dish full of crisp, which is why I love making smaller versions in my loaf pan. Like my small batch apple crisp.
For this recipe, I decided to combine pears and blackberries for a fun twist on a classic fruit crisp. Pears become wonderfully tender and juicy as they bake, while the blackberries add a little tartness that balances out the sweetness. I also added cinnamon, nutmeg, and ginger to give the filling a cozy flavor that’s perfect for fall baking.
And of course, we can’t forget the topping! I use old-fashioned oats, brown sugar, and melted butter to make a simple crumble topping that bakes up golden and crisp. I love using melted butter here because it’s quick, easy, and helps create those delicious buttery crumbles without having to cut cold butter into the flour.
Why This Recipe Works
- Perfect small batch dessert. This pear berry crisp makes about four servings and bakes right in a loaf pan. No need to make a giant dessert!
- A delicious combination of fruit. Juicy pears and tart blackberries create a filling that’s perfectly balanced without being overly sweet.
- Easy buttery oat topping. Made with melted butter, brown sugar, and old-fashioned oats for a golden, crunchy topping.
- No mixer or special equipment needed. Everything comes together in just two bowls, or you can reuse the same bowl!
- Perfect served warm. Add a scoop of vanilla ice cream or a dollop of whipped cream for an easy dessert that feels extra special.
Ingredients You’ll Need
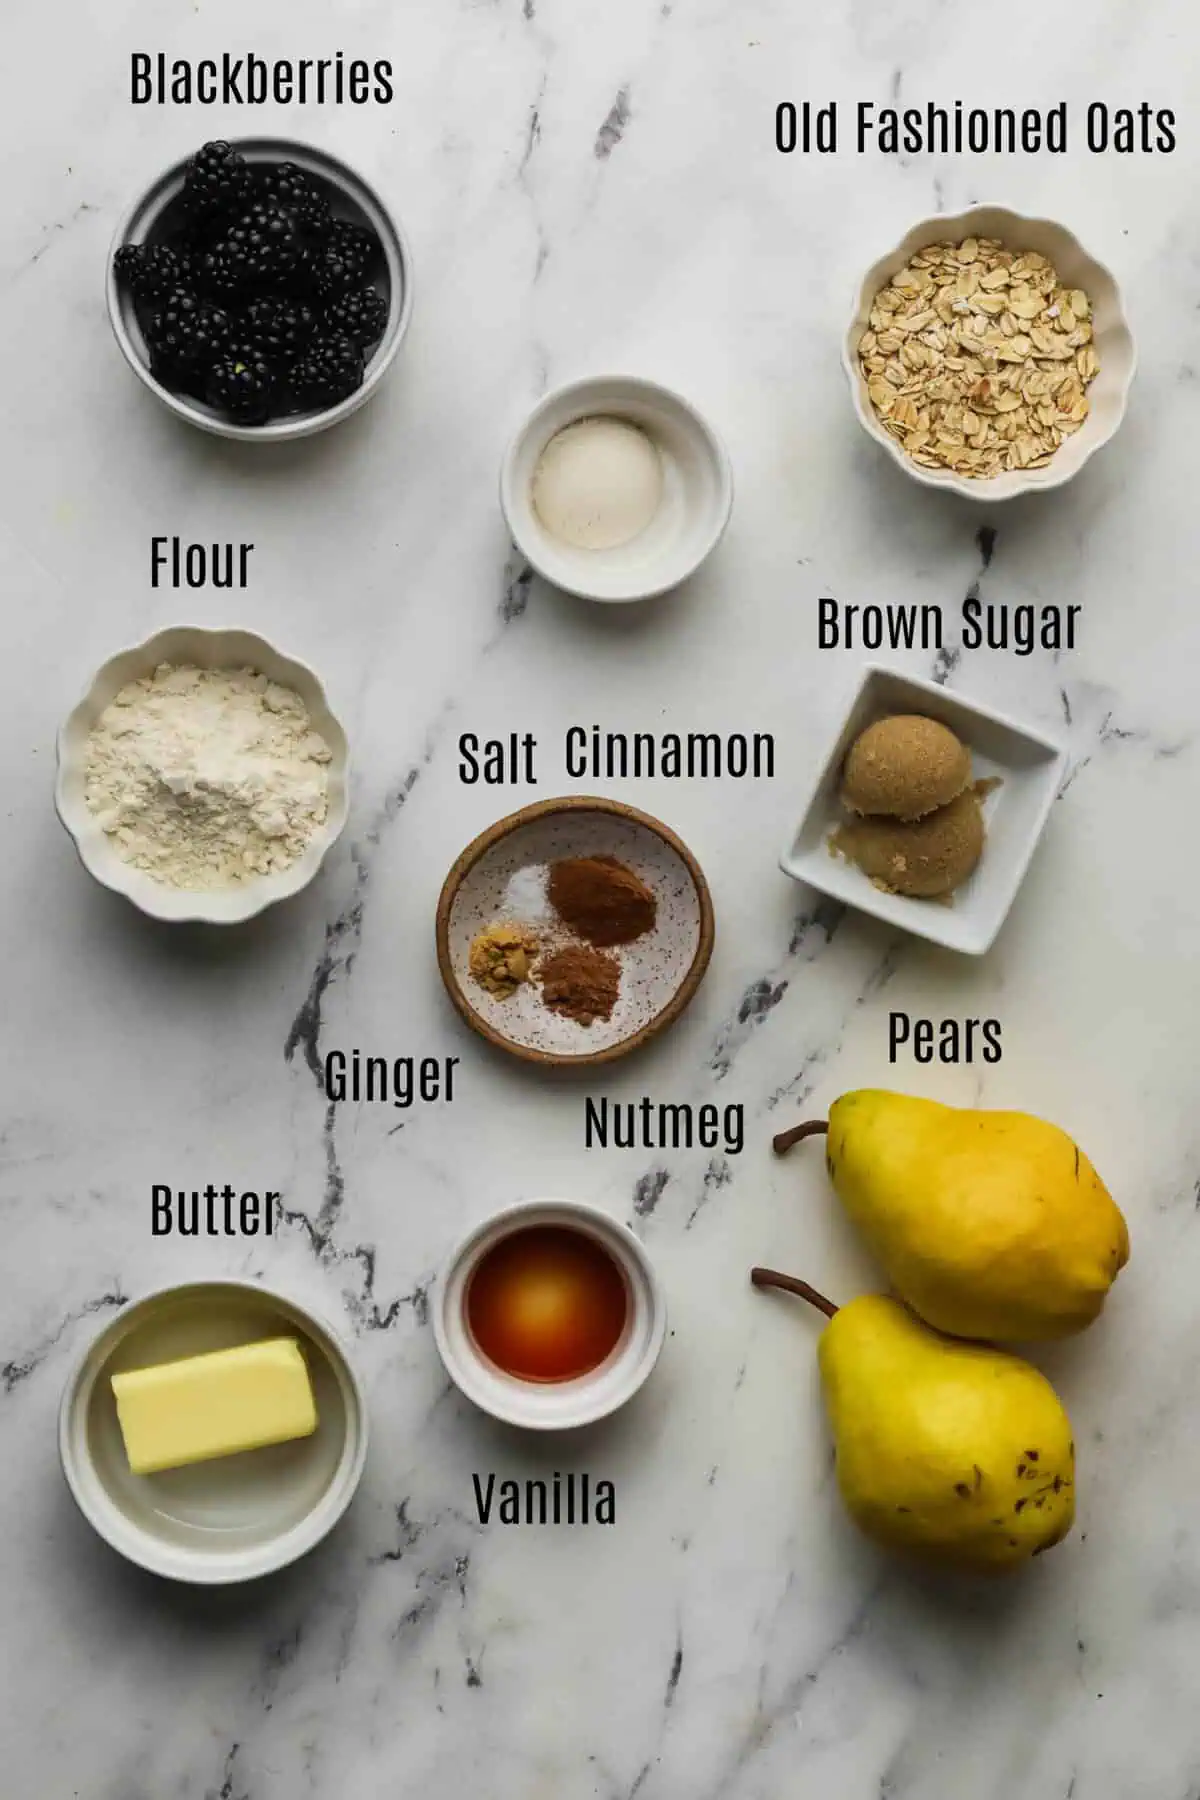
You only need a handful of simple ingredients to make this easy small batch pear berry crisp!
For the Pear Berry Filling
- Pears: I recommend using Bartlett, Anjou, or Bosc pears. Choose pears that are ripe but still slightly firm so they hold their shape while baking. Overripe pears can become too soft and mushy.
- Blackberries: I used fresh blackberries, but frozen blackberries should also work. There’s no need to thaw them first, although you may need to add a few extra minutes to the baking time.
- All-purpose flour: This helps thicken the juices released by the fruit as it bakes so your filling isn’t too watery.
- Light brown sugar: You can substitute dark brown sugar for a slightly deeper molasses flavor.
- Vanilla extract
- Ground cinnamon
- Ground nutmeg
- Ground ginger
- Salt
For the Oat Crumble Topping
- All-purpose flour: Be sure to measure your flour correctly. I recommend using a kitchen scale for the most accurate results.
- Old-fashioned oats: I recommend old-fashioned rolled oats instead of quick oats. They provide a heartier texture and help create a crispier topping.
- Light brown sugar
- Ground cinnamon
- Salt
- Unsalted butter: Melt the butter before adding it to the dry ingredients. Salted butter will also work, but I recommend reducing the added salt slightly.
How to Make Small Batch Pear Berry Crisp
This easy pear berry crisp comes together in just a few simple steps! You don’t need a mixer, and you can even use the same bowl to make both the filling and the topping.
Step 1: Prepare the Oven and Pan
Preheat your oven to 350°F (177°C). Lightly grease a 9×5-inch loaf pan with butter or nonstick cooking spray. I love using a loaf pan for small batch fruit desserts because it’s the perfect size when you’re baking for just a few people. You can also use a slightly smaller loaf pan. Just increase the baking time by a few minutes.
If you’re using a glass or ceramic loaf pan, keep in mind that the baking time may vary slightly compared to a metal pan.
Step 2: Prepare the Pears and Blackberries
Peel and core the pears, then cut them into approximately ½-inch pieces. Try to keep the pieces about the same size so they cook evenly.
You want pears that are ripe enough to taste sweet and juicy but still firm enough to hold their shape. If your pears are overly soft, they can break down too much during baking.
If your blackberries are particularly large, cut them in half so they distribute more evenly throughout the filling.
Step 3: Make the Pear Berry Filling
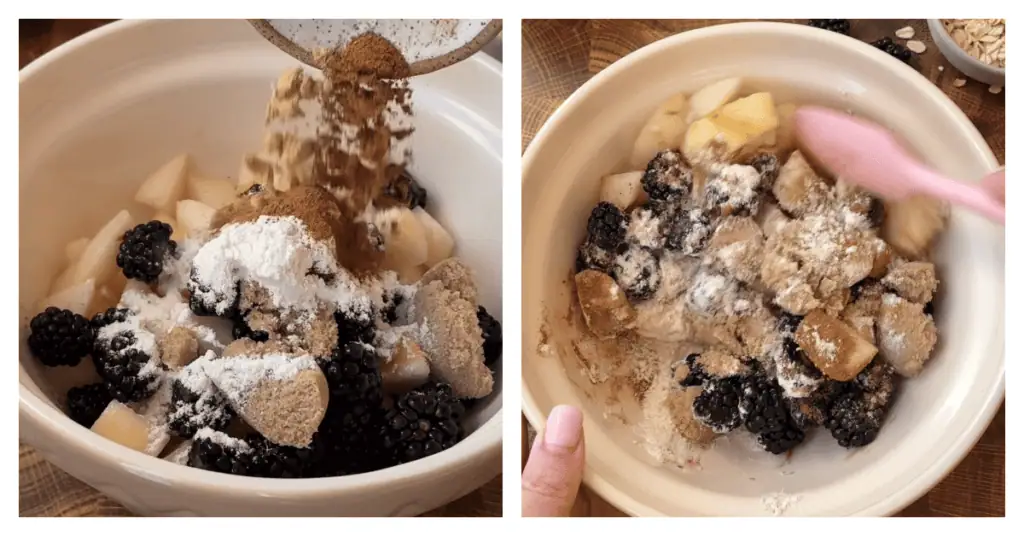
In a medium mixing bowl, combine the chopped pears, blackberries, flour, brown sugar, vanilla extract, cinnamon, nutmeg, ginger, and a pinch of salt. Gently toss everything together until the fruit is evenly coated.
Don’t skip the flour! As the pears and blackberries bake, they’ll release their natural juices. The flour helps thicken those juices so you end up with a delicious, slightly thickened fruit filling instead of a watery crisp.
Transfer the filling to your prepared loaf pan and spread it into an even layer.
Step 4: Make the Oat Crumble Topping
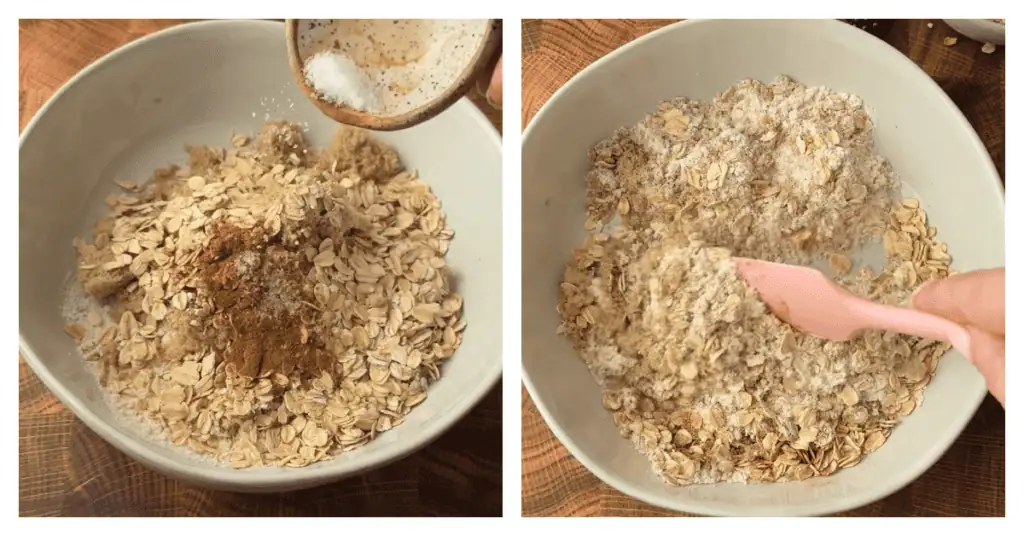
In the same mixing bowl, combine the flour, old-fashioned oats, brown sugar, cinnamon, and salt. Stir everything together until evenly combined.
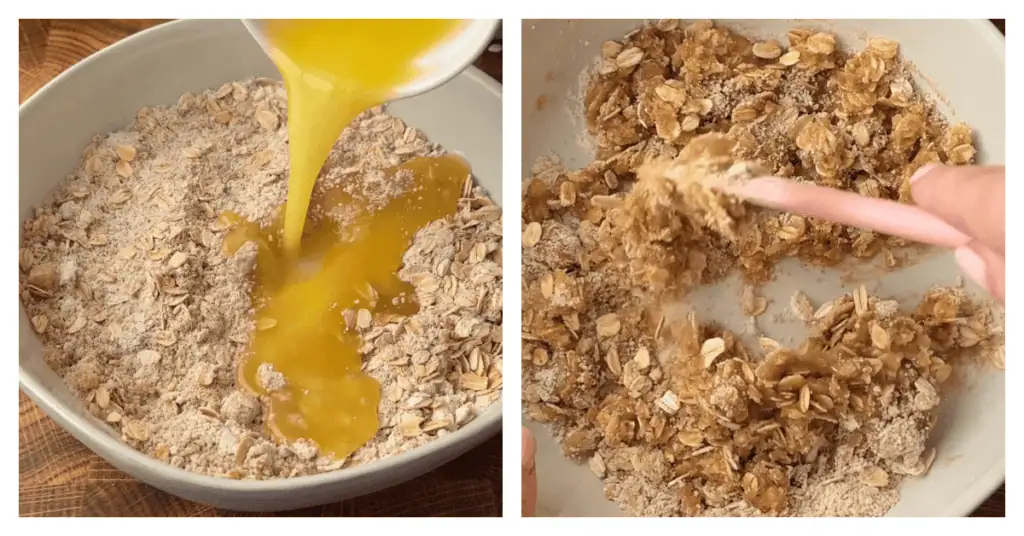
Pour in the melted butter and use a fork to mix until the dry ingredients are moistened and the mixture forms small crumbles. The topping should look slightly clumpy, with some larger buttery pieces throughout.
Step 5: Assemble the Pear Berry Crisp
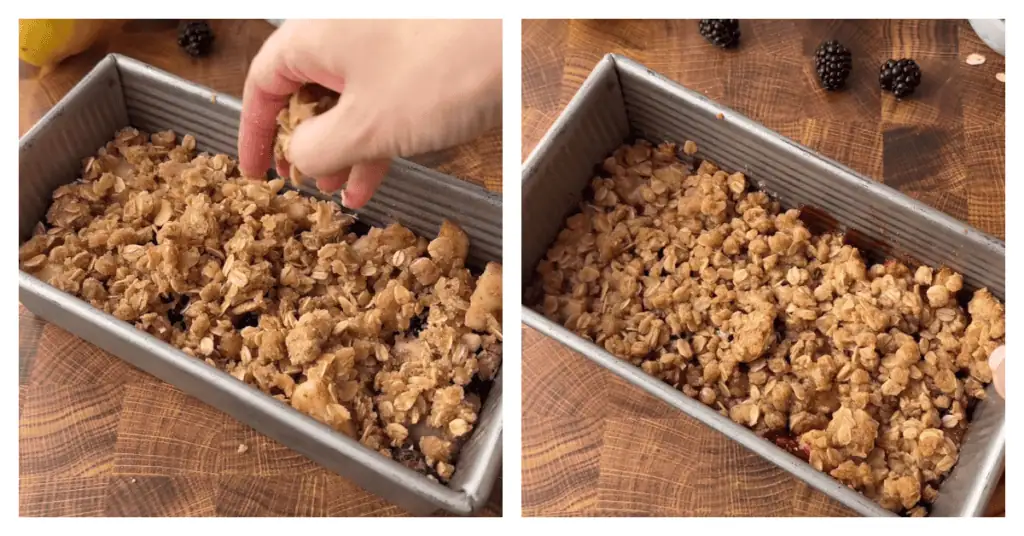
Sprinkle the oat crumble topping evenly over the pear and blackberry filling. Use your fingers to break up any very large clumps, but leave some bigger crumbles for texture. Don’t press the topping down into the fruit.
Keeping the topping loose allows the heat to circulate and helps it bake up golden and crunchy. I like to make sure the fruit is mostly covered so you get a little buttery crumble in every bite!
Step 6: Bake Until Golden Brown
Bake the pear berry crisp at 350°F (177°C) for approximately 30–35 minutes. You’ll know it’s ready when the topping is golden brown and you can see the fruit juices bubbling around the edges. The bubbling is important because it tells you the fruit is hot enough for the flour to begin thickening the juices. You can also insert a small knife into the center to check that the pears are tender.
If the topping starts browning too quickly before the pears are tender, loosely cover the pan with aluminum foil for the remaining baking time. Depending on the ripeness of your pears and whether you’re using fresh or frozen berries, your crisp may need a few extra minutes.
Step 7: Cool and Serve
Remove the crisp from the oven and place the loaf pan on a wire cooling rack. Allow it to cool for about 10–15 minutes before serving. This short cooling time allows the hot fruit juices to thicken slightly, so the filling isn’t overly runny when you scoop it out.
I love serving this pear berry crisp while it’s still warm with a scoop of vanilla ice cream. The cold ice cream melts into the warm fruit and buttery oat topping, and it’s absolutely delicious! You could also serve it with homemade whipped cream or enjoy it just as it is.
Recipe Tips
- Choose ripe but firm pears. You want pears that are sweet and juicy but still hold their shape during baking. If they’re too firm, they may take longer to soften. If they’re overly ripe, they can turn mushy in the oven.
- Use old-fashioned oats for the topping. Old-fashioned rolled oats give the crisp topping a heartier texture and help it bake up crunchy. Quick oats are smaller and softer, so they won’t give you quite the same texture.
- Cut the pears into evenly sized pieces. I recommend cutting the pears into approximately ½-inch pieces. Keeping them uniform helps ensure they become tender at the same time.
- Don’t pack down the crumble topping. Sprinkle the topping loosely over the fruit instead of pressing it down. This helps create a crunchy, golden topping rather than a dense layer.
- Look for bubbling fruit juices. Don’t rely on the topping color alone to determine when your crisp is done. The filling should be bubbling around the edges, and the pears should be tender when pierced with a knife.
How to Store
This pear berry crisp is best enjoyed warm on the day it’s baked, when the oat topping is at its crispiest. You can leave the crisp at room temperature for up to 2 hours after baking.
For longer storage, I recommend transferring it to the refrigerator because the fruit filling contains quite a bit of moisture.
Once completely cooled, cover the loaf pan tightly with plastic wrap or transfer leftover crisp to an airtight container. Store in the refrigerator for up to 4 days. The oat topping will soften slightly as it sits, but you can help restore some of its crispness by reheating it in the oven.
You can freeze leftover crisp for up to 3 months. Allow the crisp to cool completely, then transfer it to a freezer-safe container. Wrap or cover tightly to prevent freezer burn.
For individual servings, divide the crisp into smaller containers so you can thaw only what you need. Let the crisp thaw overnight in the refrigerator before reheating. Keep in mind that the fruit may become a little softer after freezing and thawing.
For the best texture, reheat leftover crisp in a 350°F (177°C) oven for 10–15 minutes, or until warmed through. You can also reheat individual servings in the microwave for about 30–60 seconds, but the topping won’t stay quite as crisp.
Recipe FAQs
I recommend using Bartlett, Anjou, or Bosc pears for this recipe. Bosc pears are particularly good for baking because they hold their shape well. Bartlett pears become softer and juicier, while Anjou pears offer a nice balance of sweetness and texture. Whichever variety you choose, look for pears that are ripe but still slightly firm.
Yes! Frozen blackberries should work in this recipe. There’s no need to thaw them before adding them to the filling. However, frozen berries may release additional moisture as they bake, so you may need to increase the baking time slightly.
Absolutely! You can prepare the fruit filling and crumble topping up to one day ahead of time. I recommend storing them separately in airtight containers in the refrigerator. When you’re ready to bake, spread the fruit filling into your prepared loaf pan, sprinkle the oat topping over it, and bake as directed. You may need to add a few extra minutes to the baking time if the filling is cold from the refrigerator.
More Small Batch Recipes to Try
If you love this small batch pear berry crisp, here are a few more easy fruit desserts to try!
- Small Batch Apple Crisp: Tender cinnamon-spiced apples topped with a buttery oat crumble. Made in a loaf pan and perfect for smaller gatherings.
- Apple Crumble for Two: Warm, cinnamon-spiced apples with a sweet, buttery crumble topping. Made in individual ramekins for an easy dessert for two.
- Small Batch Blueberry Crumble: Juicy blueberries baked beneath a golden crumble topping. Serve warm with vanilla ice cream!
- Small Batch Apple Cobbler: Tender apples baked under a soft, buttery biscuit-style topping. A cozy dessert that’s perfect for fall.
Pear Berry Crisp
Ingredients
Pear Berry Filling
- 2 large pears (about 300 g, 2 ½ cups ) peeled, cored, and cut into ½-inch pieces
- ¾ cup blackberries cut in half if large
- 1 Tablespoon all-purpose flour
- 2 Tablespoons light brown sugar
- ½ teaspoon vanilla extract
- ½ teaspoon ground cinnamon
- ¼ teaspoon ground nutmeg
- ¼ teaspoon ground ginger
- pinch salt
Oat Topping
- ⅓ cup (45 g) all-purpose flour spooned and leveled
- ⅓ cup (38 g) old-fashioned oats
- ¼ cup (50 g) packed light brown sugar
- ½ teaspoon ground cinnamon
- ¼ teaspoon salt
- 4 Tablespoons (57 g) unsalted butter melted
Instructions
- Prep oven and pan. Preheat the oven to 350°F. Lightly grease a 9×5-inch loaf pan.
- Make the filling. In a mixing bowl, toss together the pears, blackberries, flour, brown sugar, vanilla, cinnamon, ginger, nutmeg and salt until the fruit is evenly coated. Spread the pear mixture evenly in the loaf pan. 2 large pears (about 300 g, 2 ½ cups ) ¾ cup blackberries 1 Tablespoon all-purpose flour 2 Tablespoons light brown sugar ½ teaspoon vanilla extract ½ teaspoon ground cinnamon ¼ teaspoon ground nutmeg ¼ teaspoon ground ginger pinch salt
- Make the oat topping. In the same bowl, stir together the flour, oats, brown sugar, cinnamon, and salt. Add the melted butter and stir with a fork until the mixture is evenly moistened and crumbly. ⅓ cup (45 g) all-purpose flour ⅓ cup (38 g) old-fashioned oats ¼ cup (50 g) packed light brown sugar ½ teaspoon ground cinnamon ¼ teaspoon salt 4 Tablespoons (57 g) unsalted butter
- Assemble. Crumble the oat topping evenly over the pears. Don't press the topping down—you want to keep it loose and crumbly so it gets crisp in the oven.
- Bake. Bake at 350F for about 30–35 minutes, or until the topping is golden brown and you can see the filling bubbling around the edges. If the topping starts getting too brown before the apples are tender, loosely cover the pan with foil.
- Cool and serve. Let the crisp cool for about 10–15 minutes before serving. It's especially good warm with vanilla ice cream or whipped cream.
Video
Notes
- Pears: Bartlett, Anjou, or Bosc pears are good options. Choose ripe but slightly firm pears for the best texture.
- Blackberries: Fresh or frozen blackberries can be used. If using frozen berries, don’t thaw them first. You may need to add a few minutes to the baking time.
- Butter: Salted butter can be substituted for unsalted butter. Reduce the added salt in the topping if using salted butter.
- Make ahead: Prepare the filling and topping separately up to 24 hours ahead. Store covered in the refrigerator and assemble just before baking.
- Storage and freezing: Refrigerate leftovers in an airtight container for up to 4 days or freeze for up to 3 months. Thaw overnight in the refrigerator before reheating.