
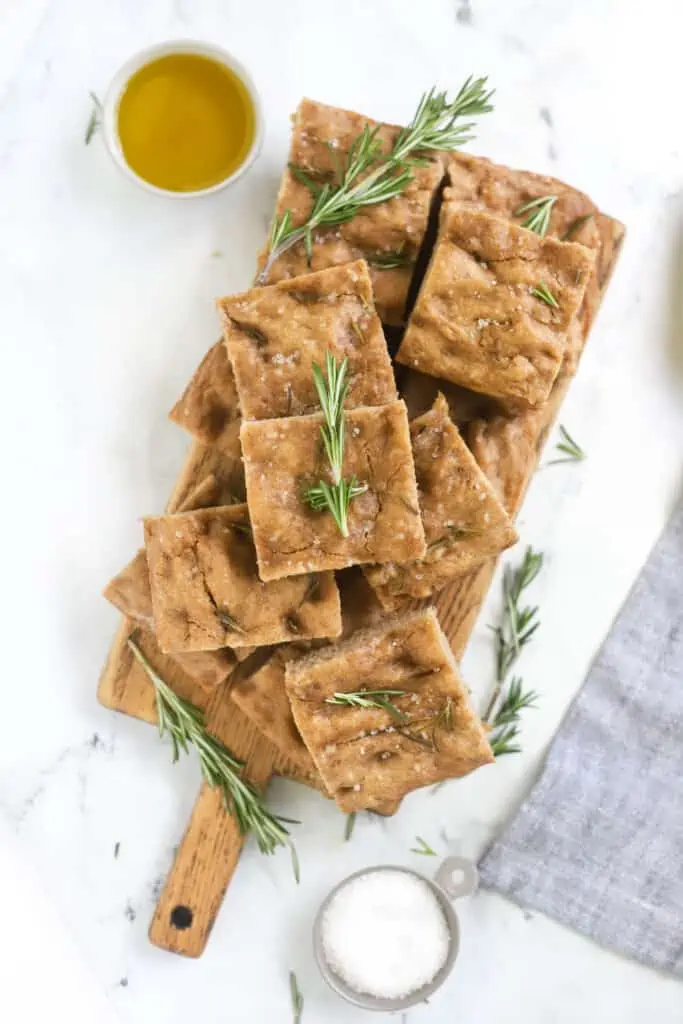
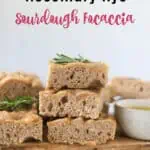
Rosemary Rye Sourdough Focaccia
This Post May Contain Affiliate Links. Please Read Our Disclosure Policy.
If you’re new to baking with whole grain flours AND sourdough, then this rosemary rye sourdough focaccia recipes is for you! No fancy sourdough equipment required, it’s the perfect starting point for all you newbie sourdough bakers. Topped with fresh herbs, and oil this no knead rye focaccia is very forgiving (and SO delicious!)
Did you hear the exciting news?! I have a new cookbook coming out!! EEK. And it’s all about baking sourdough bread with whole grain flours.
Whole-Grain Sourdough Made Simple. <– You can read more about the cookbook by clicking on that link. But then make sure to come back on over because we are making this sourdough focaccia today, friends.
Ready To Take Your Baking To The Next Level?
Join the Ultimate Baking Bootcamp and master essential techniques like mixing methods and the why behind every recipe! Whether you’re a beginner or looking to refine your skills, this step-by-step class will help you bake with confidence and create flawless desserts every time. Start your baking journey today!
I thought since it’s summertime there is nothing better than some focaccia bread with fresh herbs on top. I am using rosemary but the beauty of focaccia is the versatility of the toppings. But I’m getting ahead of myself!
Jump To…
Tell Me More About This Focaccia…
This sourdough rye focaccia bread is a riff on this sourdough focaccia but with a few changes. Yes it uses rye flour and bread flour. I did some bread flour to help give the bread some structure. Rye flour contains very little gluten and can be very tricky to get that chewy bread structure with if using 100% rye flour in the recipe.
I also used a lot more water. Whole-grain flours have a tendency to soak up more water than regular white flours so I played around with the adjustment.
But I kept the technique the same from the original recipe, in that it’s basically mostly hands off time. Yes ok you need to be patient from starter to finished bread (this bread can rise for up to 18 hours!!!) but really the amount of time that YOU need to be around for it is so minimal.
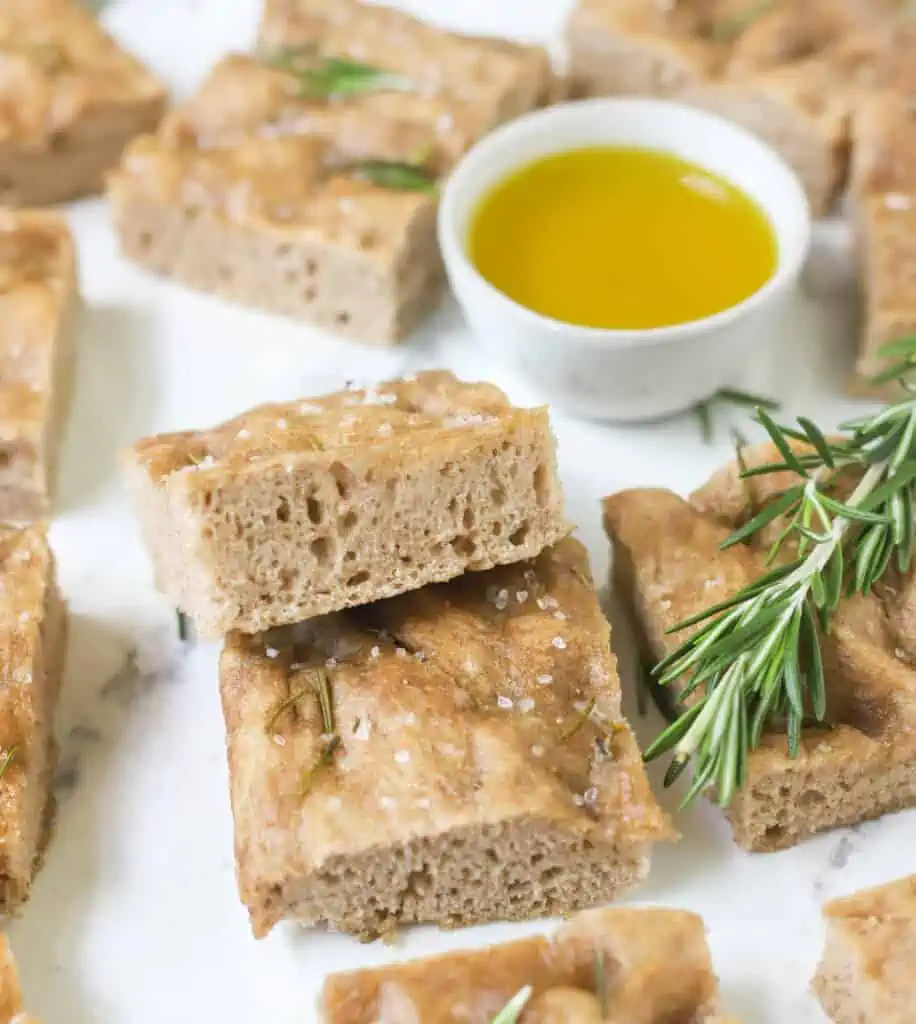
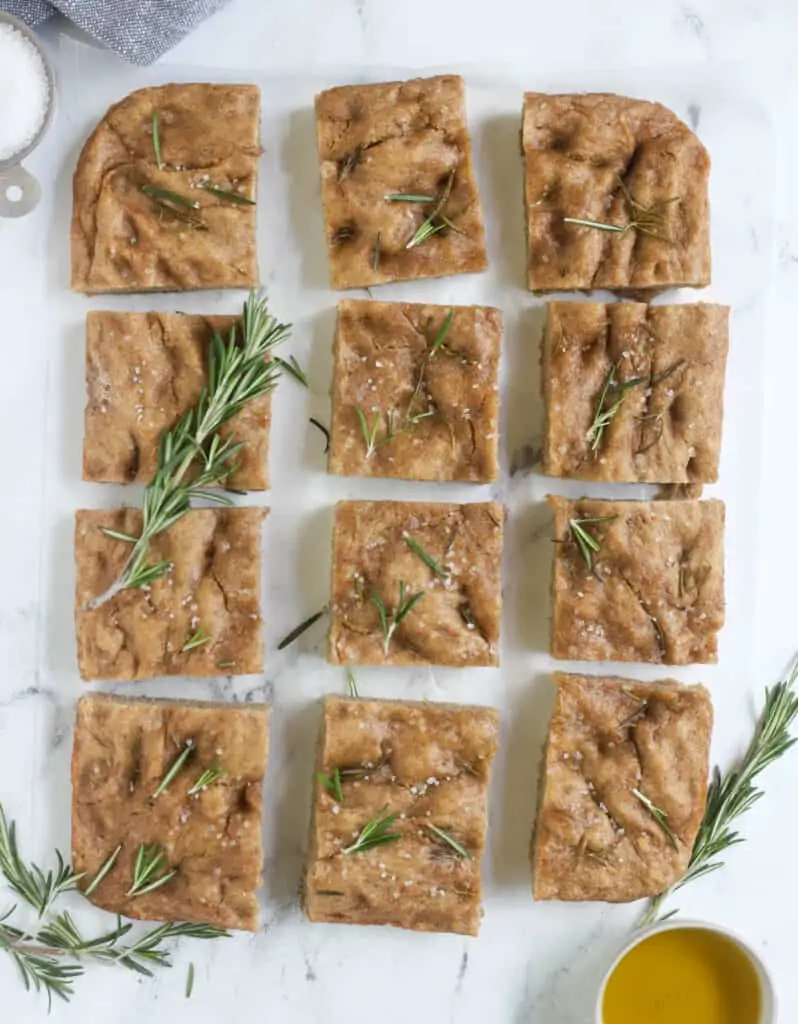
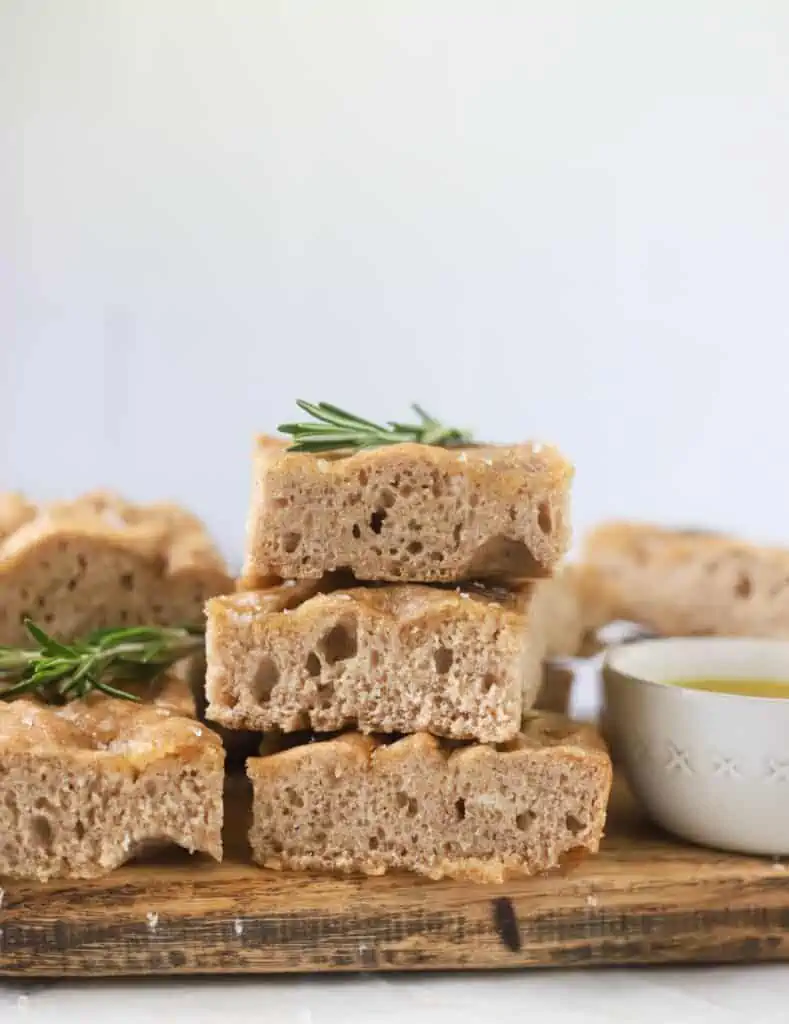
This bread is basically hearty, chewy, fragrant, and SO darn good. I know you’re going to love it.
Ingredients Needed
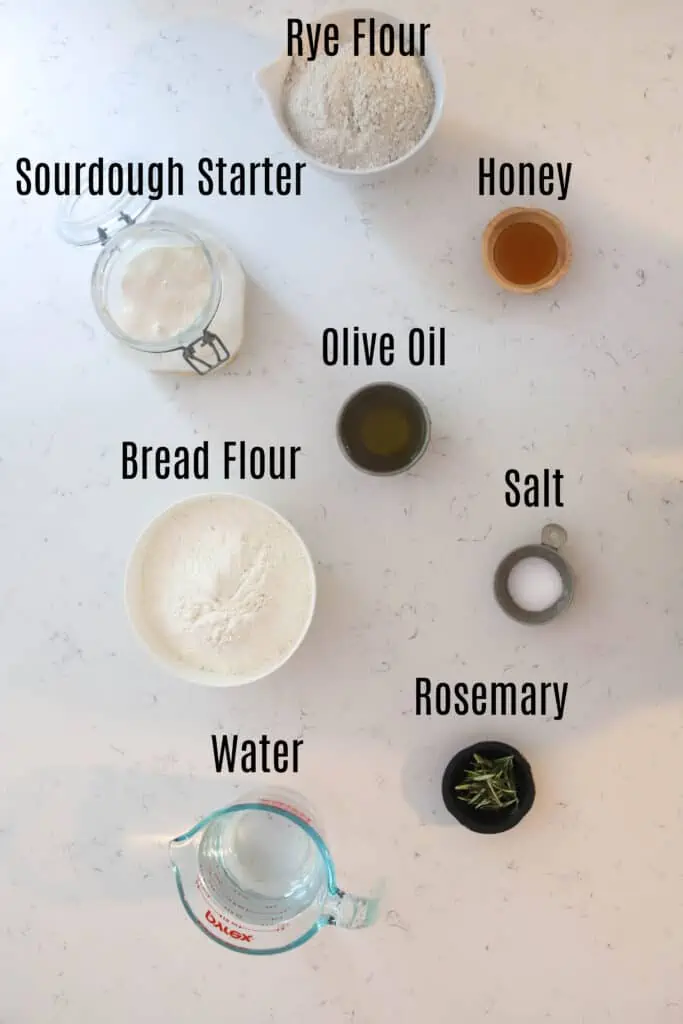
Ingredient Notes
- Active, bubbly starter – You need a starter that is active and bubbly and that has been fed ideally around 4-6 hours before using it. It should be at it’s peak of doubling in size. I have some tips further on for you to how to tell!
- Rye flour – There are different types of rye flour from light, to medium to dark. I used Arrowhead Mills rye flour. A light rye flour or medium rye flour is best used.
- Bread flour – I prefer bread flour to achieve that chewy texture and to help provide some gluten since rye flour has very little gluten in it. I haven’t tested with AP flour but I think it would also work. Let me know if you try it!
- Rosemary – I used fresh, chopped rosemary but you could get creative with different herbs, or try other toppings like grape tomatoes, olives, or any combination of those!
Start With An Active Starter
We want to start by making our dough. This is a no knead dough and it couldn’t be simpler to throw together. Basically stir and forget it. You want to make sure to start with an ACTIVE STARTER.
How can you tell when your starter is ready?
I have two ways:
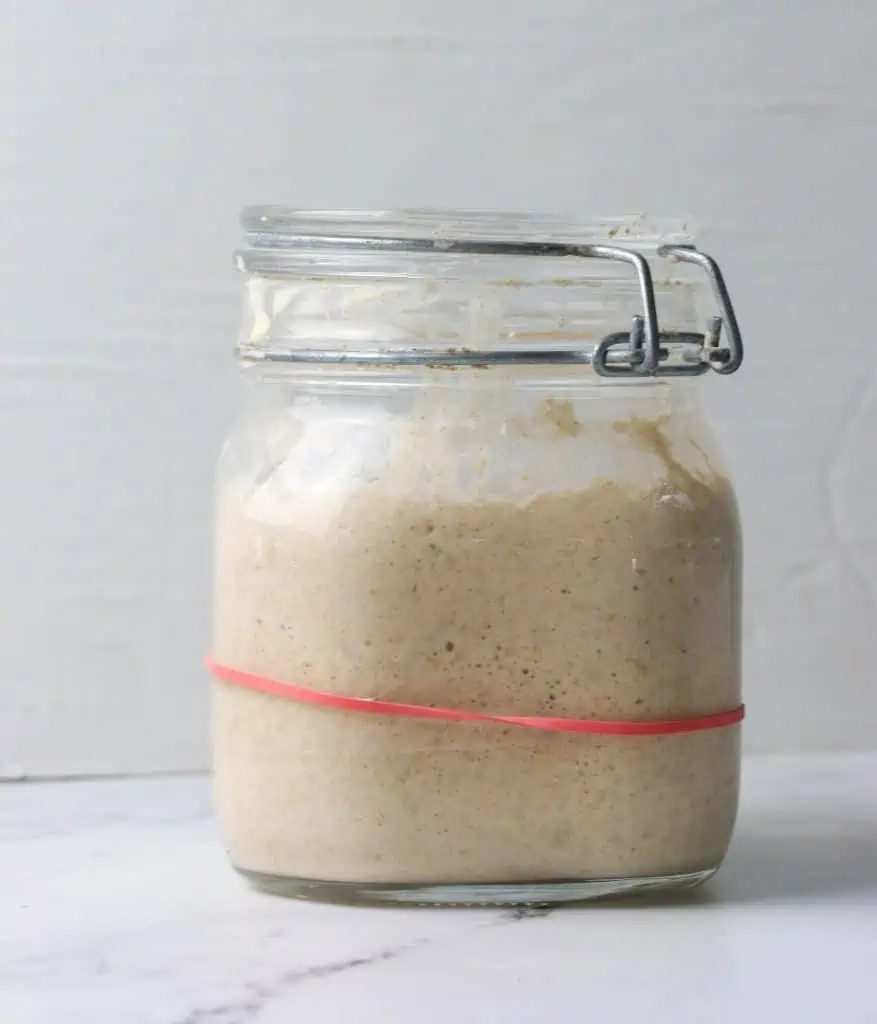
1. The Rubberband trick
Place a rubberband around your starter jar where the height of the starter starts when you feed it. And then when you see it’s doubled in size, it’s ready! Like so…
HEATHER’S TIP: Don’t have a rubberband? Use a sharpie! Mark the start of your starter on the outside of your jar. It will wash right away!
2. The Float Test
Still not sure? Take a spoonful (just be careful to not deflate the bubbles) and place in a bowl of water. Does it float? If it does, then you’re ready! If it doesn’t let the starter continue to bubble away before using it.

Making The Focaccia Dough
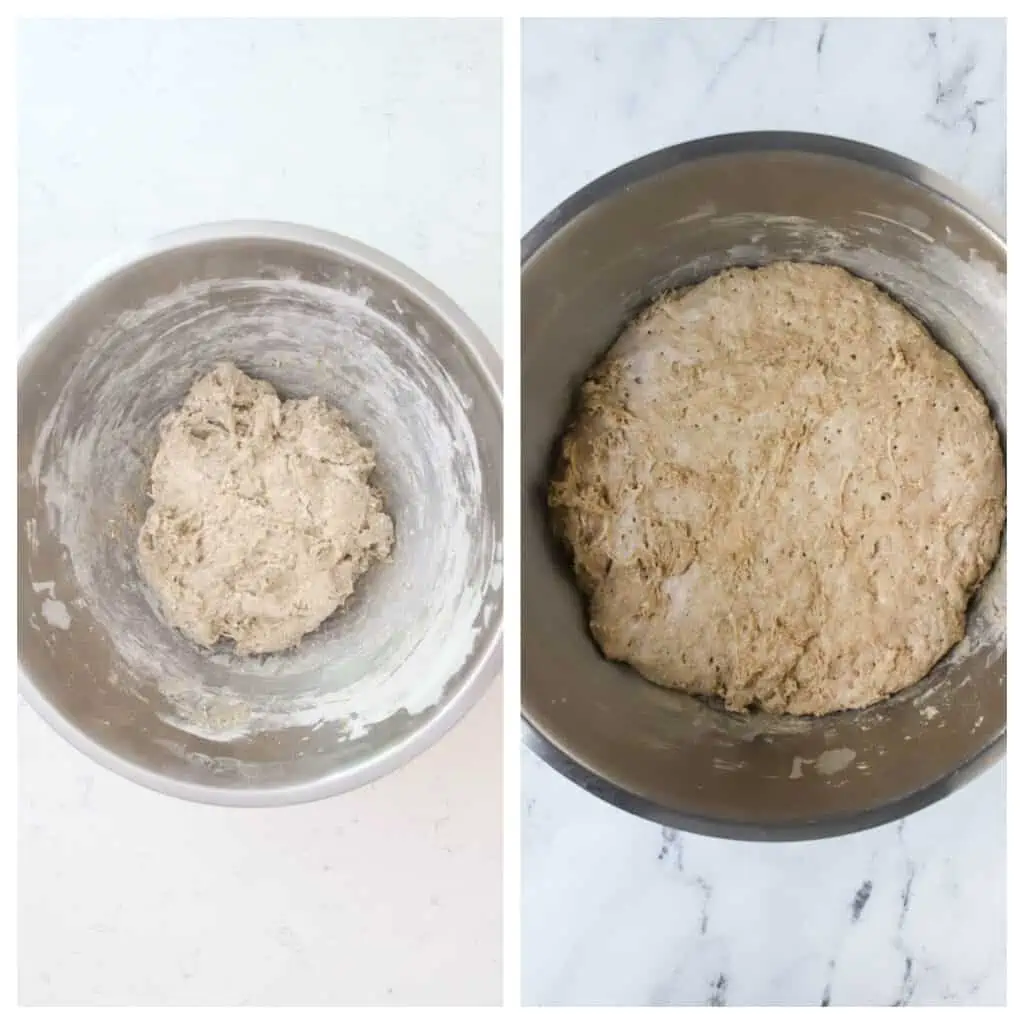
Ok now that your starter is ready time to make that dough! You want to first stir together your active starter, water, and honey. Then go ahead and stir in your flour and salt. It will be quite shaggy at first. I stir with a fork then I just get in there with my hands. Nothing. More. Satisifying.
That’s it. Wait, what?! Yup. That’s it. Time to let it hang out and do it’s thing. Cover with a damp towel and let the dough rise, at room temperature for 12 to 18 hours. I prefer doing this overnight!
The dough should double in size and become very spongy, and stringy. You may also see some bubbles on top.
Final Rise
You want to place the dough into a well oiled 9×13 pan. I like using this pan because it gives me the perfect guide of how much to stretch the dough out too in the end. You could always use a baking sheet if you need to.
Just dump the dough out. Give it a flip so it’s completely covered in oil. No need to stretch it yet. Then cover with a towel and let the rolls rise for another 1 1/2- 2 hours until almost doubled in size and puffy.

Stretch And Top!
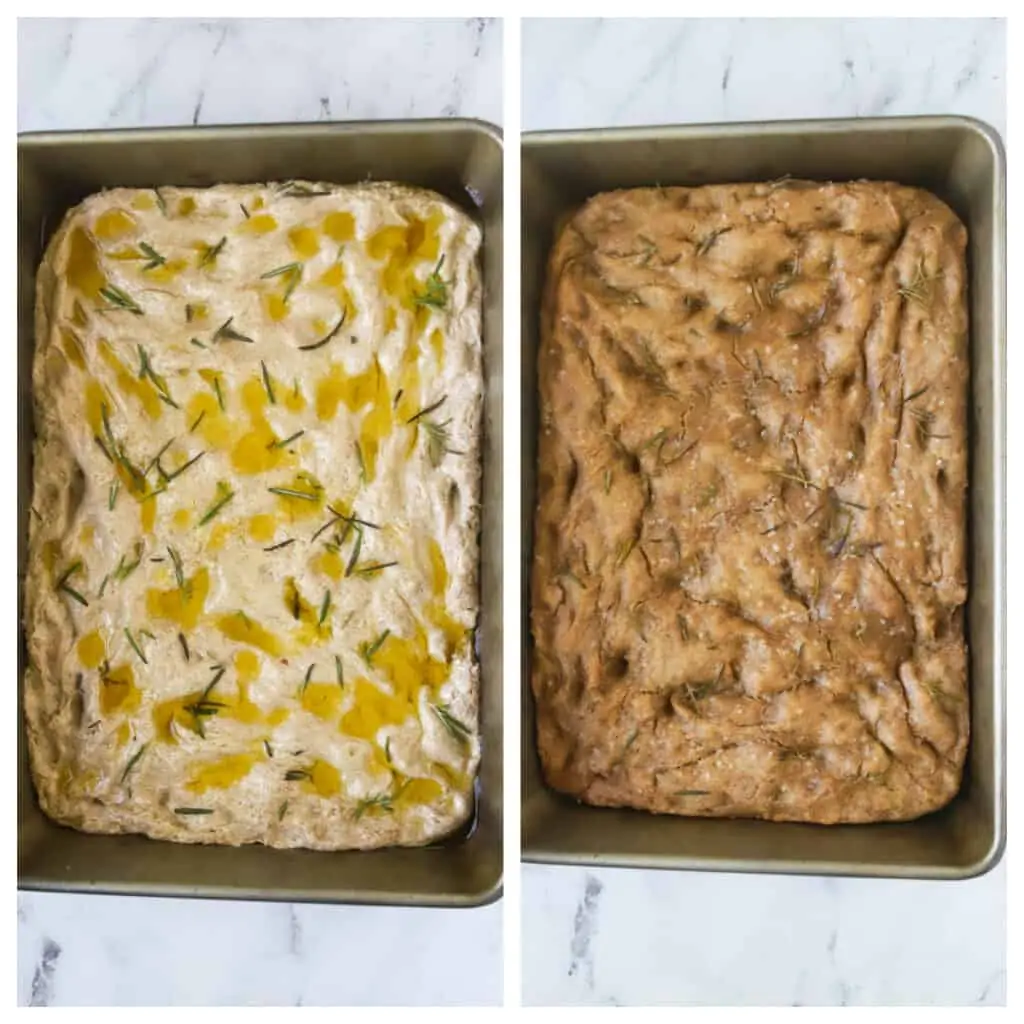
After it’s risen and gotten puffy, go ahead and push the dough to the edges of the pan. Then dimple it with your fingertips. And then you want to drizzle on the extra olive oil and top with fresh chopped rosemary. Maybe an extra sprinkle of sea salt if you would like!
And then go ahead and bake for 15-20 minutes until darker browned crispy top is achieved.
Bread Timeline:
- Thursday night: Remove Starter from Fridge and Feed
- Friday: Feed twice (once in the morning, and one at night)
- Saturday morning: Feed again
- Saturday evening: Remove the amount of starter I need to make my dough. Make the dough and let rise. Feed my starter again, and pop back in the fridge until next week.
- Sunday morning: Finish and bake my bread!
Recipe Variations:
Not a fan of rosemary? That’s cool. Here are a few other toppings:
- Sea Salt. Just keep it simple. A little olive oil and salt is all you need.
- Olives. Chopped olives would be delicious.
- Other fresh herbs. Maybe some thyme? Oregano? Combine them!
- Everything bagel seasoning. Because that stuff goes on everythiiiiiing.
- Garlic. Because that also goes on everything. Ok maybe not my cereal. But on focaccia? Oh heck yes.
Recipe Tips
- Make sure your starter is active before you start. Drop a small piece in a bowl of water to see if it floats. It it does, then it’s ready! If not, then it may need 1-2 more feedings.
- Measure Your Flour Using A Kitchen Scale . You can use measuring cups but for best accuracy it’s better use a kitchen scale and weigh out your flour. This ensures you don’t overmeasure, which can result in dense rolls. You can read my post on How To Measure Flour here.
- Use A Large Mixing Bowl! This dough will expand quite a bit. So the bigger the better.
- Use a damp towel. You don’t want the dough to dry out on top creating a film that will prevent the dough from rising.
Why Didn’t My Sourdough Focaccia Rise?
- Starter Wasn’t Ready: This could be because your sourdough starter wasn’t quite bubbly and active enough. Be sure to do the “float test” before you begin.
- Cold Kitchen: Another culprit could be a cold kitchen! If your kitchen is cold the bread will take longer to rise. Ideally, your kitchen should be around 70°F.
- Overproofed: Another reason I found as I continue on this sourdough journey, is you overproofed your dough. If you overproof then there will be nothing left for it to do, and you will get no rise. So when you place the risen dough in the pan, make sure to not let the dough rise for more than 2 hours. The only exception is if your kitchen is super cold and it’s still not puffy.
Other Recipe FAQ’s
Sourdough focaccia will be fine at room temperature for 4 to 5 days. I think it’s best, however, if eaten within the first two days. I also recommend any leftovers if you don’t want to freeze or have gone stale, turn into croutons! I cut into cubes toss with a little olive oil, salt, and pepper and toast at 400 degrees until golden brown.
Absolutely! Freeze slices in a sealable bag for up to 3 months. Thaw at room temperature.
More Recipes To Try
Master The Art Of Baking!
Don’t miss out on the chance to elevate your baking skills! Join the Ultimate Baking Bootcamp today and unlock the secrets to creating perfect desserts every time. With expert guidance, step-by-step lessons, and insider tips, you’ll be baking like a pro in no time. Sign up now and start mastering your baking!

Rosemary Rye Sourdough Focaccia
Ingredients
- 100 g (1/2 cup) bubbly, active starter
- 420 ml (1 ¾ cups) cool water
- 21 g (1 Tablespoon) honey
- 300 g (3 cups) rye flour (light or medium rye flour is best)
- 300 g (2 1/2 cups) bread flour
- 1 1/2 teaspoons kosher salt
- 4 tablespoons olive oil
- 2 tablespoons fresh rosemary chopped
- flaky sea salt optional
Instructions
- Make The Dough. Whisk the starter, water, and honey in a large bowl. Add the flours and salt. Mix with a fork and then continue to combine with your hands until the flour is absorbed. 100 g (1/2 cup) bubbly, active starter 420 ml (1 ¾ cups) cool water 21 g (1 Tablespoon) honey 300 g (3 cups) rye flour 300 g (2 1/2 cups) bread flour 1 1/2 teaspoons kosher salt
- Bulk Rise. Cover the bowl with a damp towel and let rise overnight, at room temperature, about 12-18 hours. The dough is ready when it no longer looks dense and has doubled in size and looks stringy. There may also be bubbles on the surface as well.
- Second Rise. In your 9×13 pan pour 2 Tablespoons of olive oil and spread around to coat the bottom. Dump the dough onto the pan. Turn over to coat both sides with oil. No need to stretch or spread the dough out yet. Cover the pan and let rest for 1 1/2 to 2 hours until very puffy.
- Assemble the Focaccia. Gently stretch the dough to reach the corners of the 9×13 pan. Use your fingertips to dimple the dough. Drizzle the remaining 2 tablespoons of olive oil and sprinkle on 2 Tablespoons of chopped fresh rosemary. Gently press the rosemary leaves into the dough. Sprinkle with additional flaky sea salt (optional). 2 tablespoons fresh rosemary flaky sea salt
- Bake. Bake the focaccia on the center rack, in a preheated 425oF oven, for 15-20 minutes until crispy and golden brown. Remove from the oven and cool before cutting into wedges using a serrated knife or pizza wheel. Serve warm.
Notes
- Storage/make-ahead: This focaccia should be fine on the counter, wrapped or covered for up to 4-5 days.
- Freezing: You can also freeze any in a plastic bag for up to 3 months. Thaw at room temperature.
- Rosemary: You can use dried or fresh (fresh is best).
- Other toppings: You can also try different fresh herbs, grape tomatoes, chopped olives, roasted garlic, or even Everything bagel seasoning!
- Flour: Bread flour is recommended, but AP would also work.
- Rye Flour: I use an organic whole grain flour from Arrowhead Mills and have not tested with other whole grain flours, if you try a different whole grain flour let me know in the comments!
- Make sure your starter is active before you start. Drop a small piece in a bowl of water to see if it floats. It it does, then it’s ready! If not, then it may need 1-2 more feedings.
- Use A Kitchen Scale. For best accuracy, it’s best that you weigh your ingredients and not rely on volume (measuring cups)
- Damp Towel!! When you let the dough rise overnight, be sure to use a damp towel to cover it so it doesn’t dry out and not rise properly.
- Bread Timeline:
- Thursday night: Remove Starter from Fridge and Feed
- Friday: Feed twice (once in the morning, and one at night)
- Saturday morning: Feed again
- Saturday evening: Remove the amount of starter I need to make my dough. Make the dough and let rise. Feed my starter again, and pop back in the fridge until next week.
- Sunday morning: Finish and bake my bread!


I have been reading your Whole Grain Sourdough book. The rosemary rye focaccia recipe in the book is slightly different than this recipe. This recipe has less water, and whole grain rye vs light rye. Do you recommend one recipe over the other?
Also – when you list flours in your book, are they whole grain unless indicated otherwise? Asking about spelt, einkorn, kamut.
Thank you for your thoughtful comment! I apologize for the typo in the post – there should actually be 1/4 cup more water used, and everything is fixed now.
Regarding the rye, you can use either light or medium rye flour in this recipe. The difference really comes down to coarseness level, and both are considered “whole grain” – it’s just a matter of personal preference for texture and flavor.
As for your question about the flours in the book, yes, they are all whole grain unless otherwise noted. Spelt, einkorn, and kamut are all whole grain flours.