This Post May Contain Affiliate Links. Please Read Our Disclosure Policy.
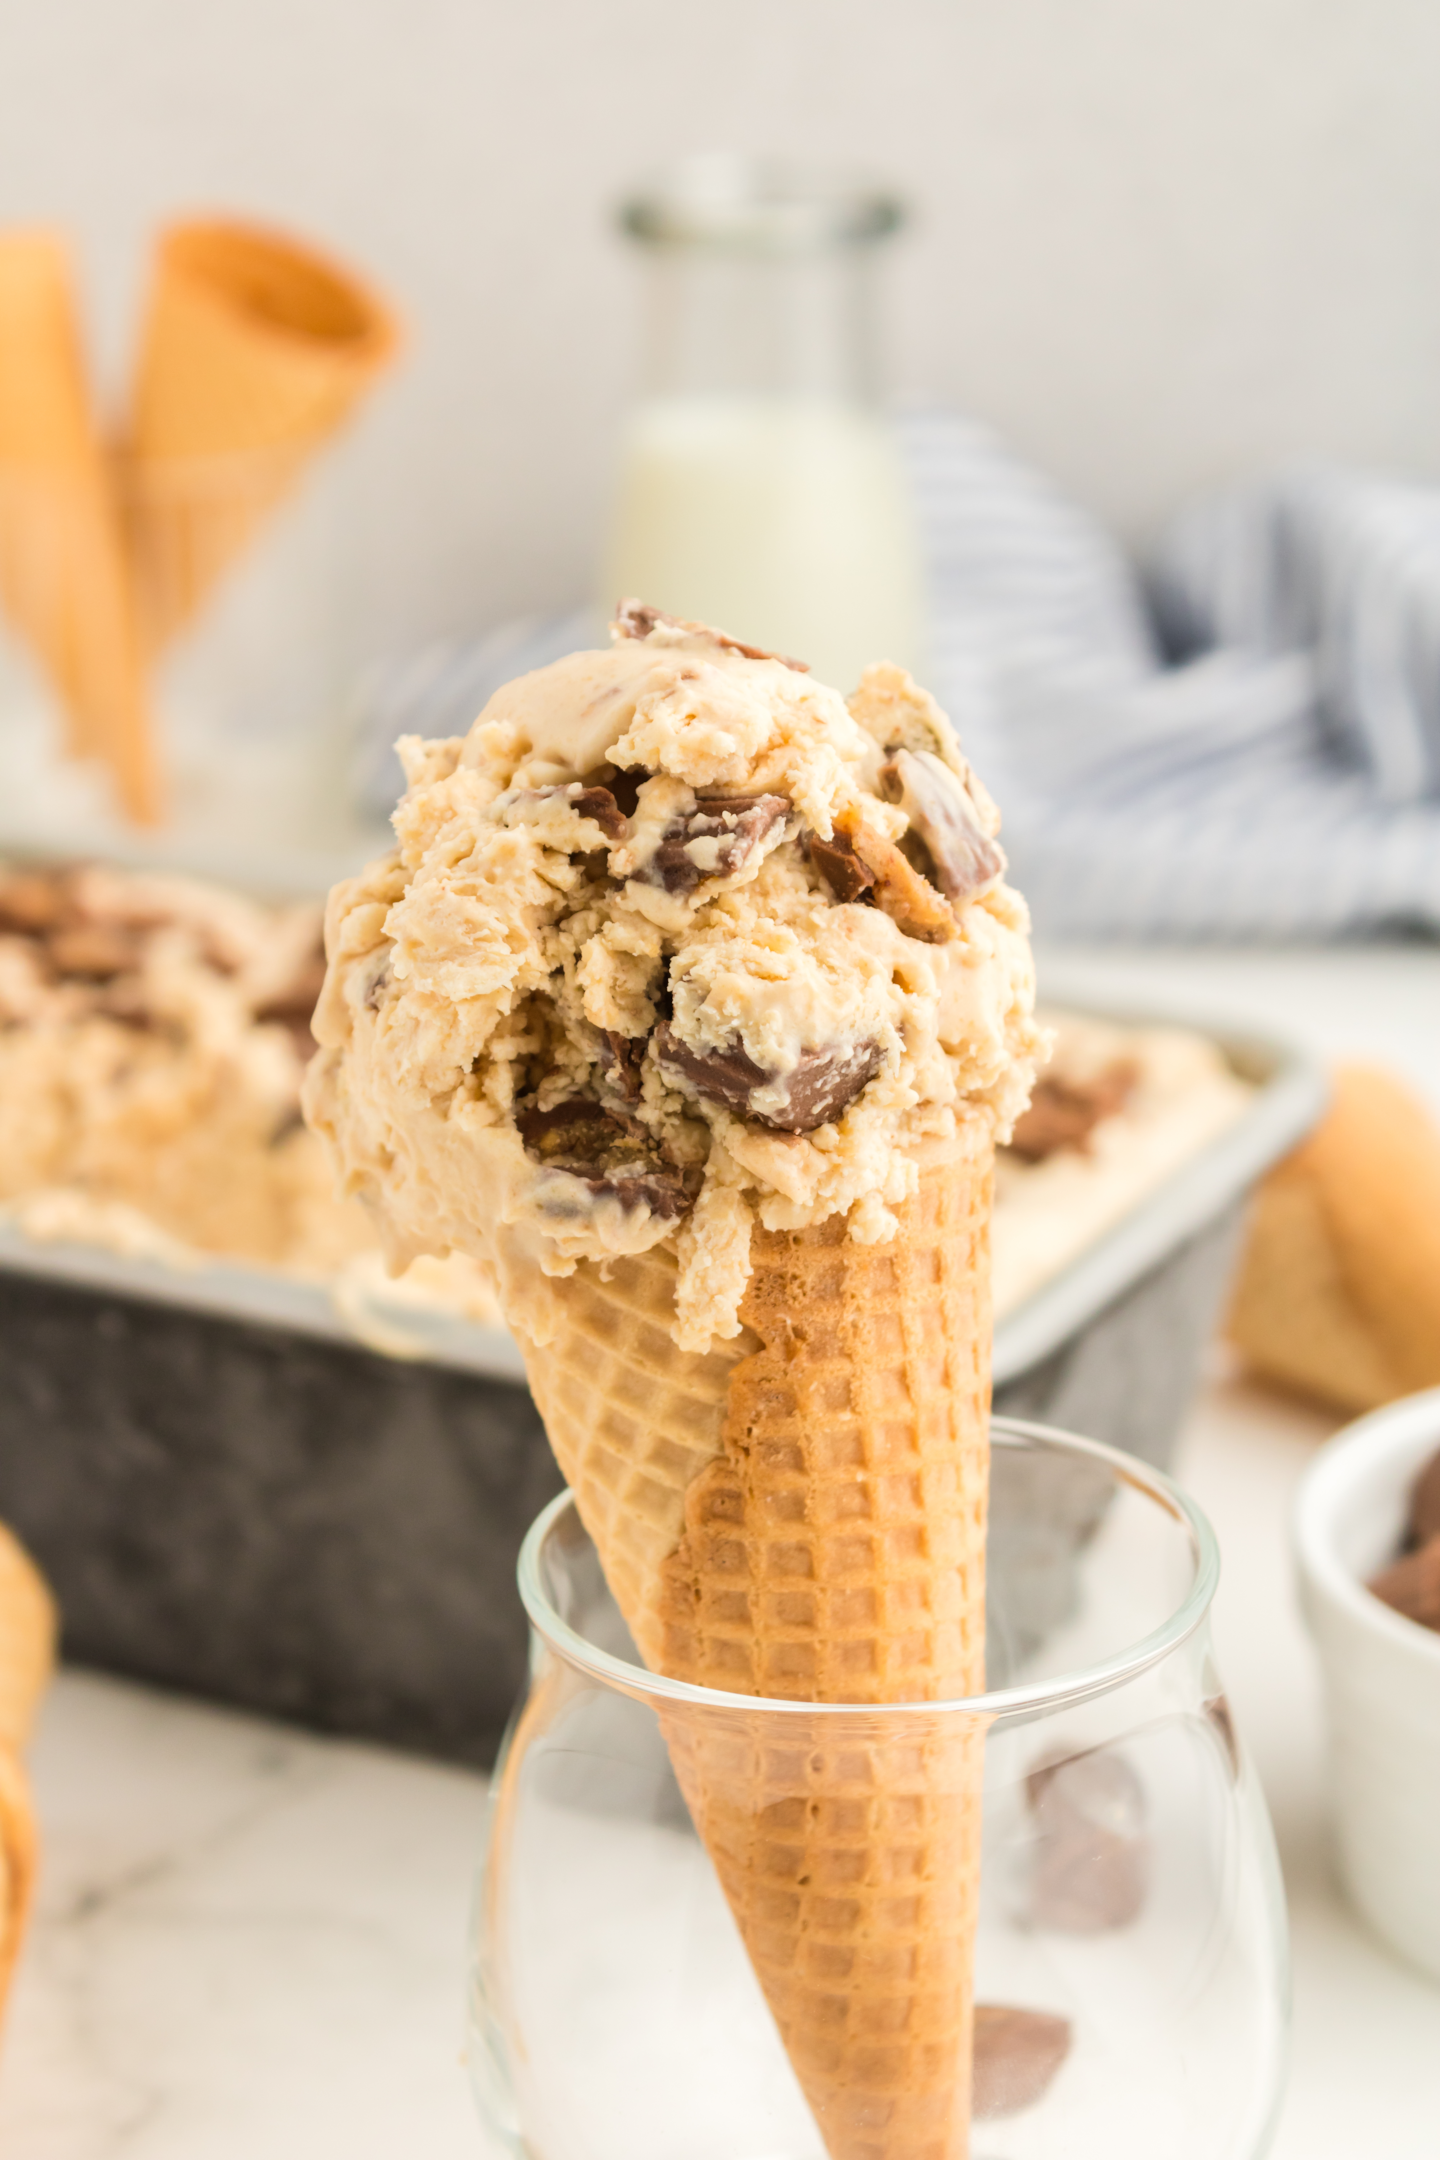
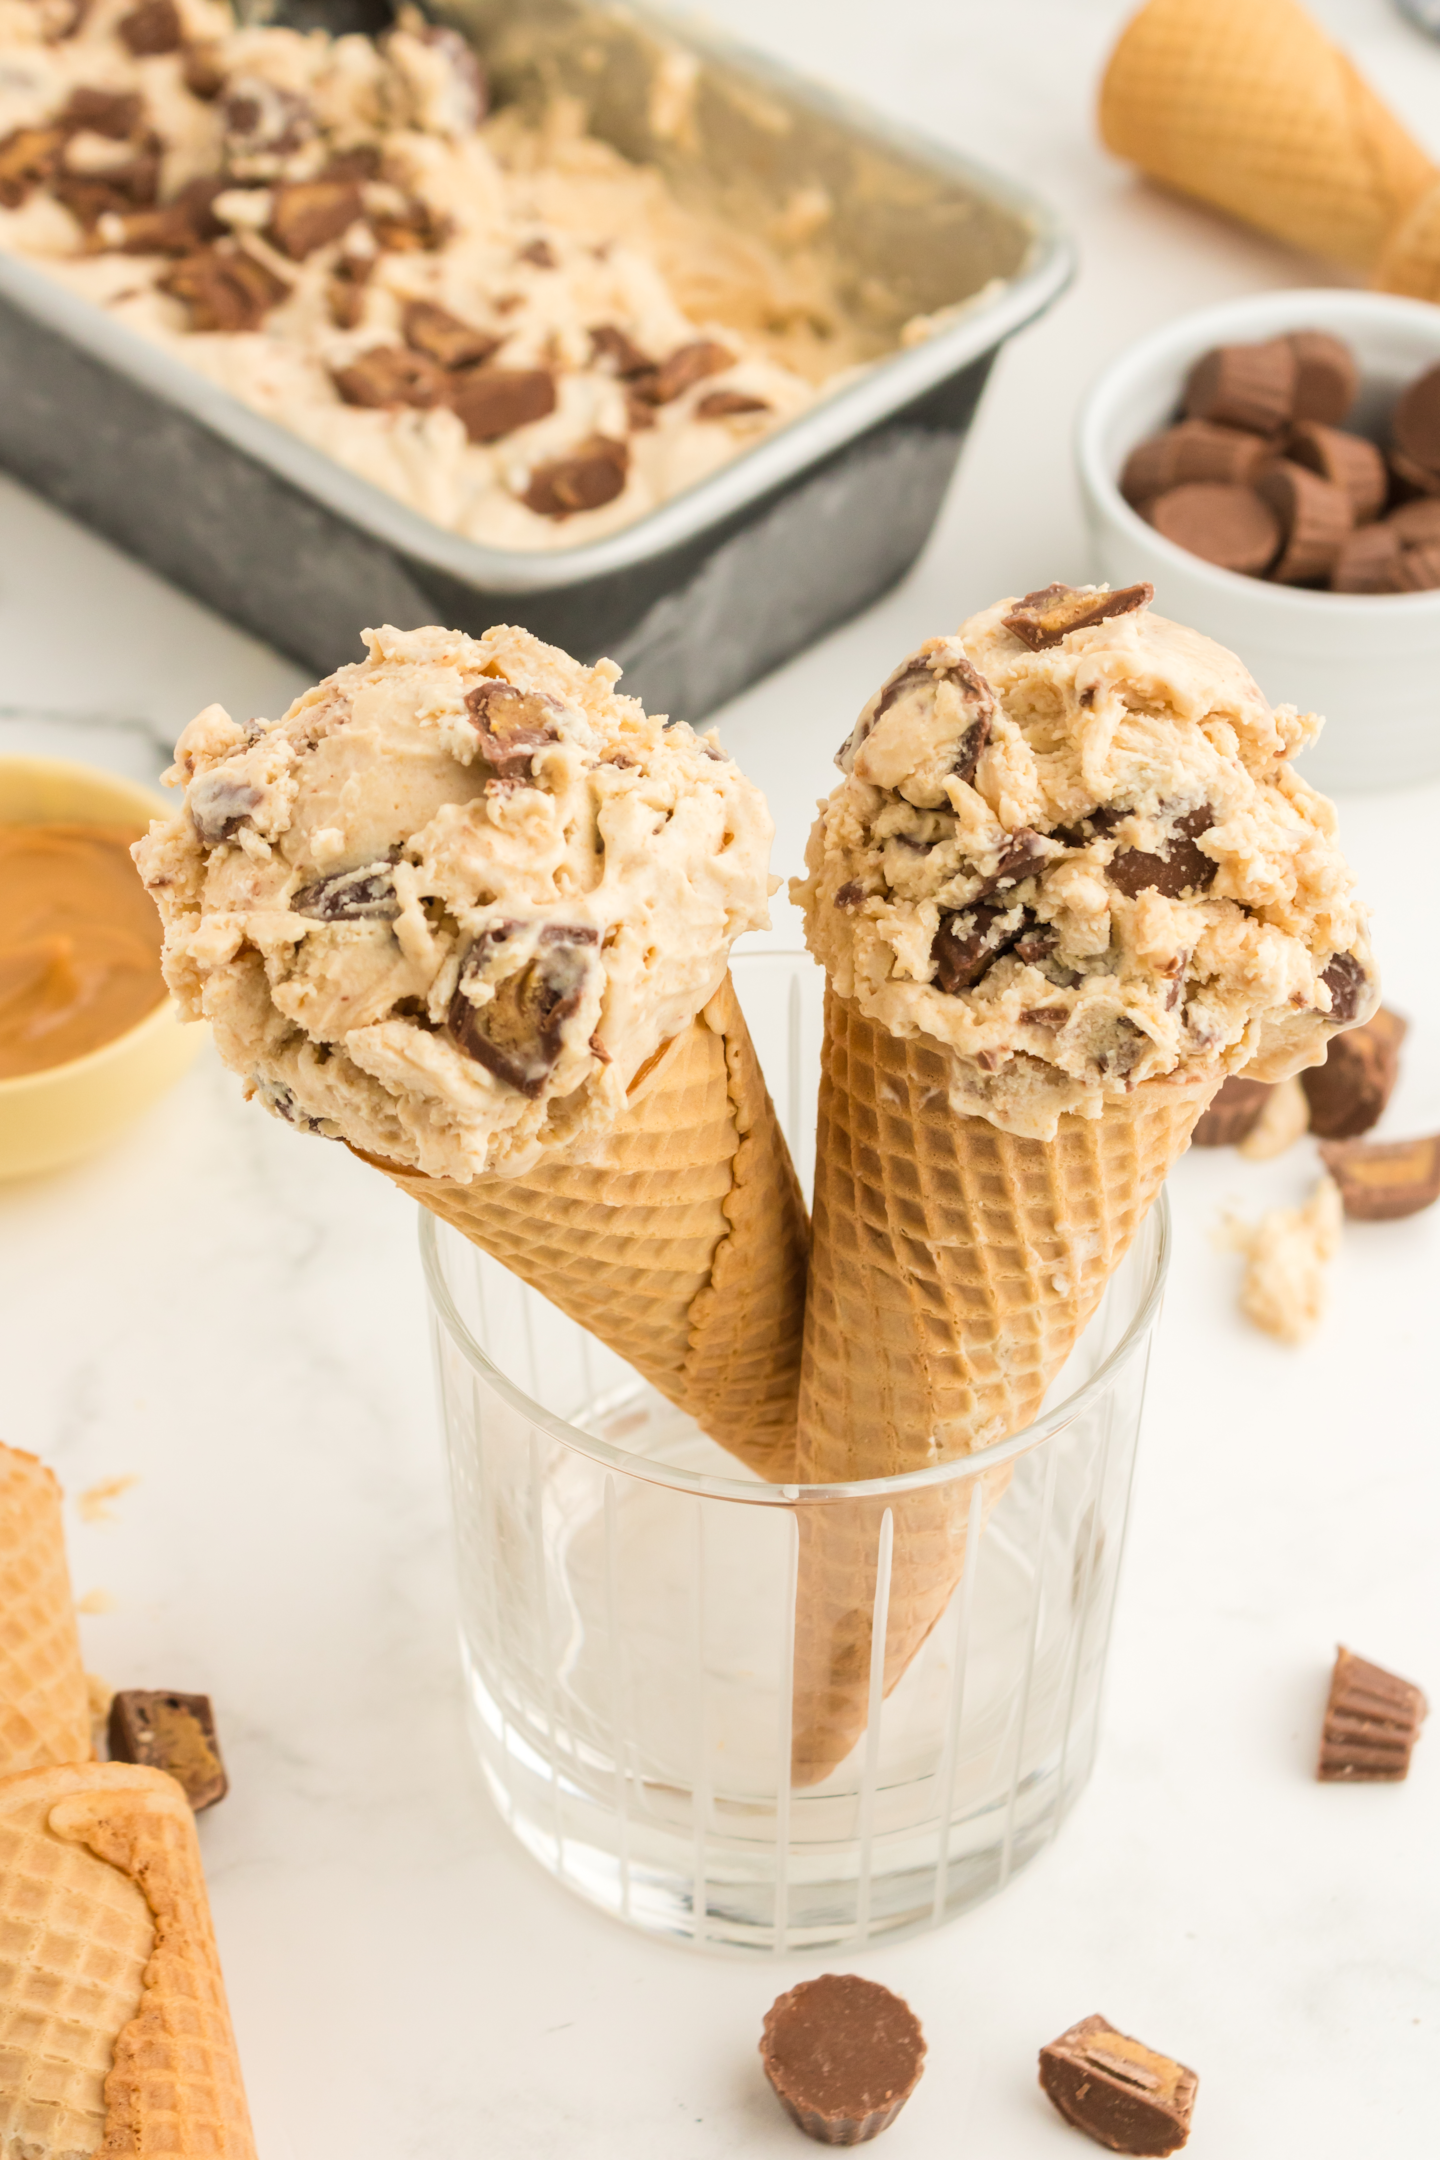
This no-churn peanut butter cup ice cream is easy and quick to prepare without an ice cream machine. It only needs 5 simple ingredients and 10 minutes of prep time. Put this homemade peanut butter ice cream in your freezer and you have a delicious and cold dessert!
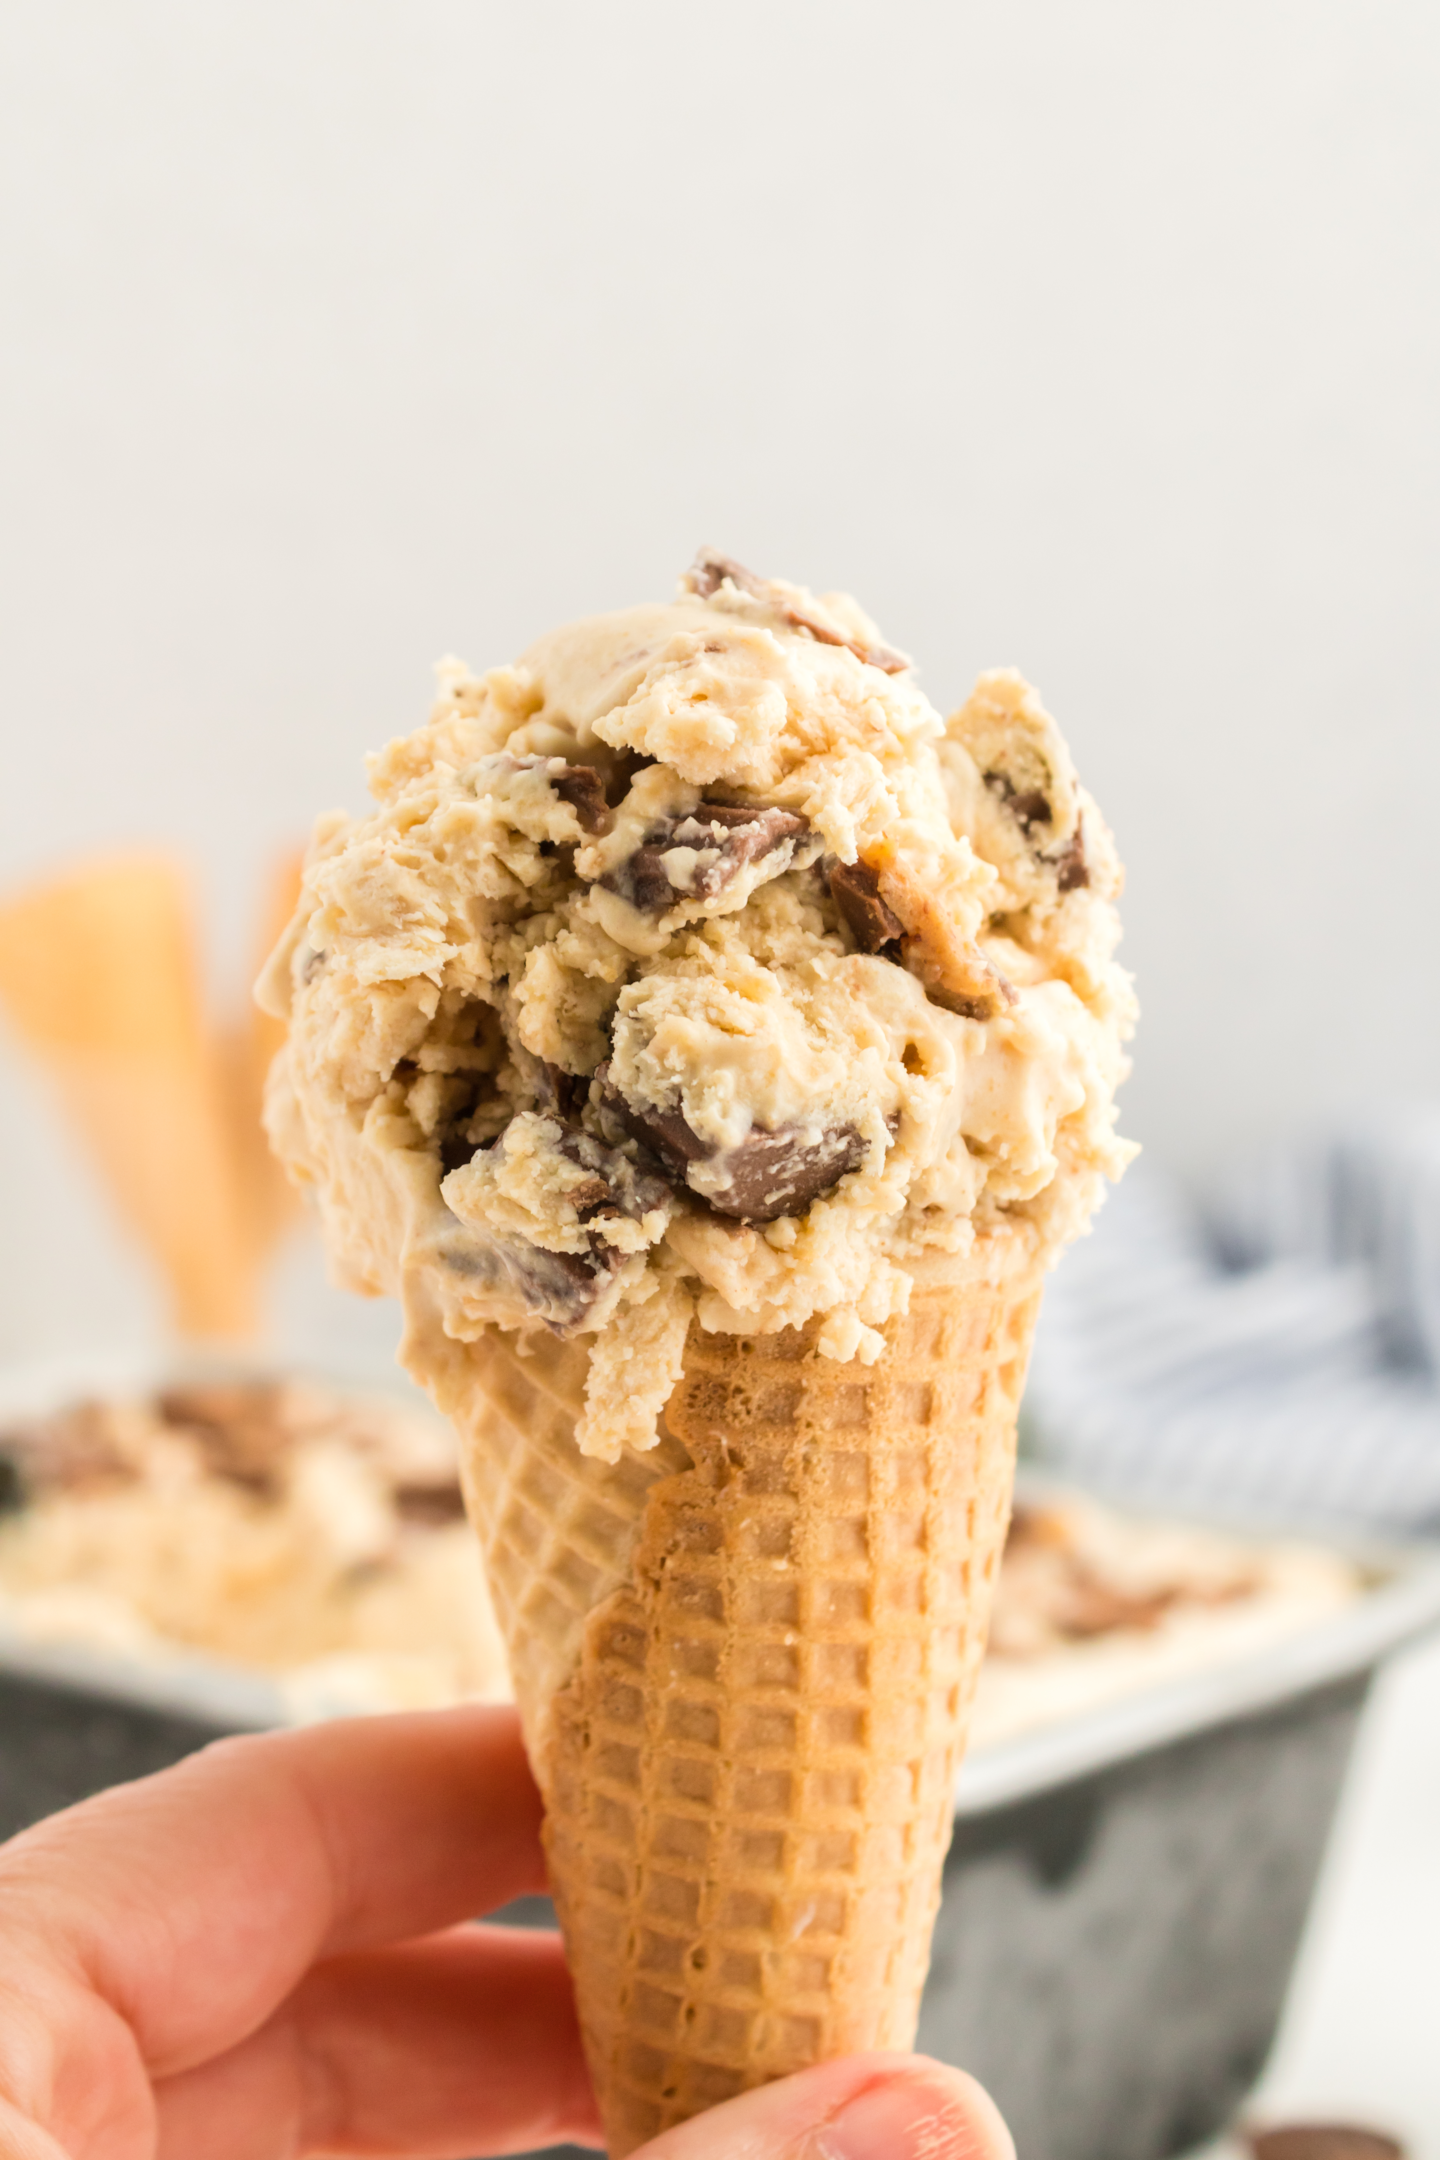
On a hot summer day, there’s no better way to cut the heat than eating delicious soft-serve ice cream. The cold, sweet dessert is perfect for those looking for a quick and cooling snack. Or whenever you’re in an ice cream mood.
I thought, why not make my own homemade soft-serve ice cream using one of my favorite sweet treats, Reese’s peanut butter cups?! Can you see me doing a little happy dance over here? Join me, won’t you?
Now it might be an obvious statement, but I love me some peanut butter cups! I used them to make peanut butter brownies, fudge, cookies, and rice crispies. So yes, big fan over here.
So, I decided to throw some into some ice cream and made this peanut butter cup ice cream without any ice cream maker, using only a hand mixer, whisk, bowl, saucepan, and 9 x 5-inch loaf pan. It is perfect for peanut butter lovers!
This easy ice cream recipe is fun to make. It is flexible and you can replace Reese’s peanut butter cups with your favorite chocolate bars.
See Also:
- Love no churn ice cream? Then give this Mint Oreo no churn ice cream recipe a try!
- Try this Snickers no churn ice cream recipe if you love candy bars in your ice cream like I do!
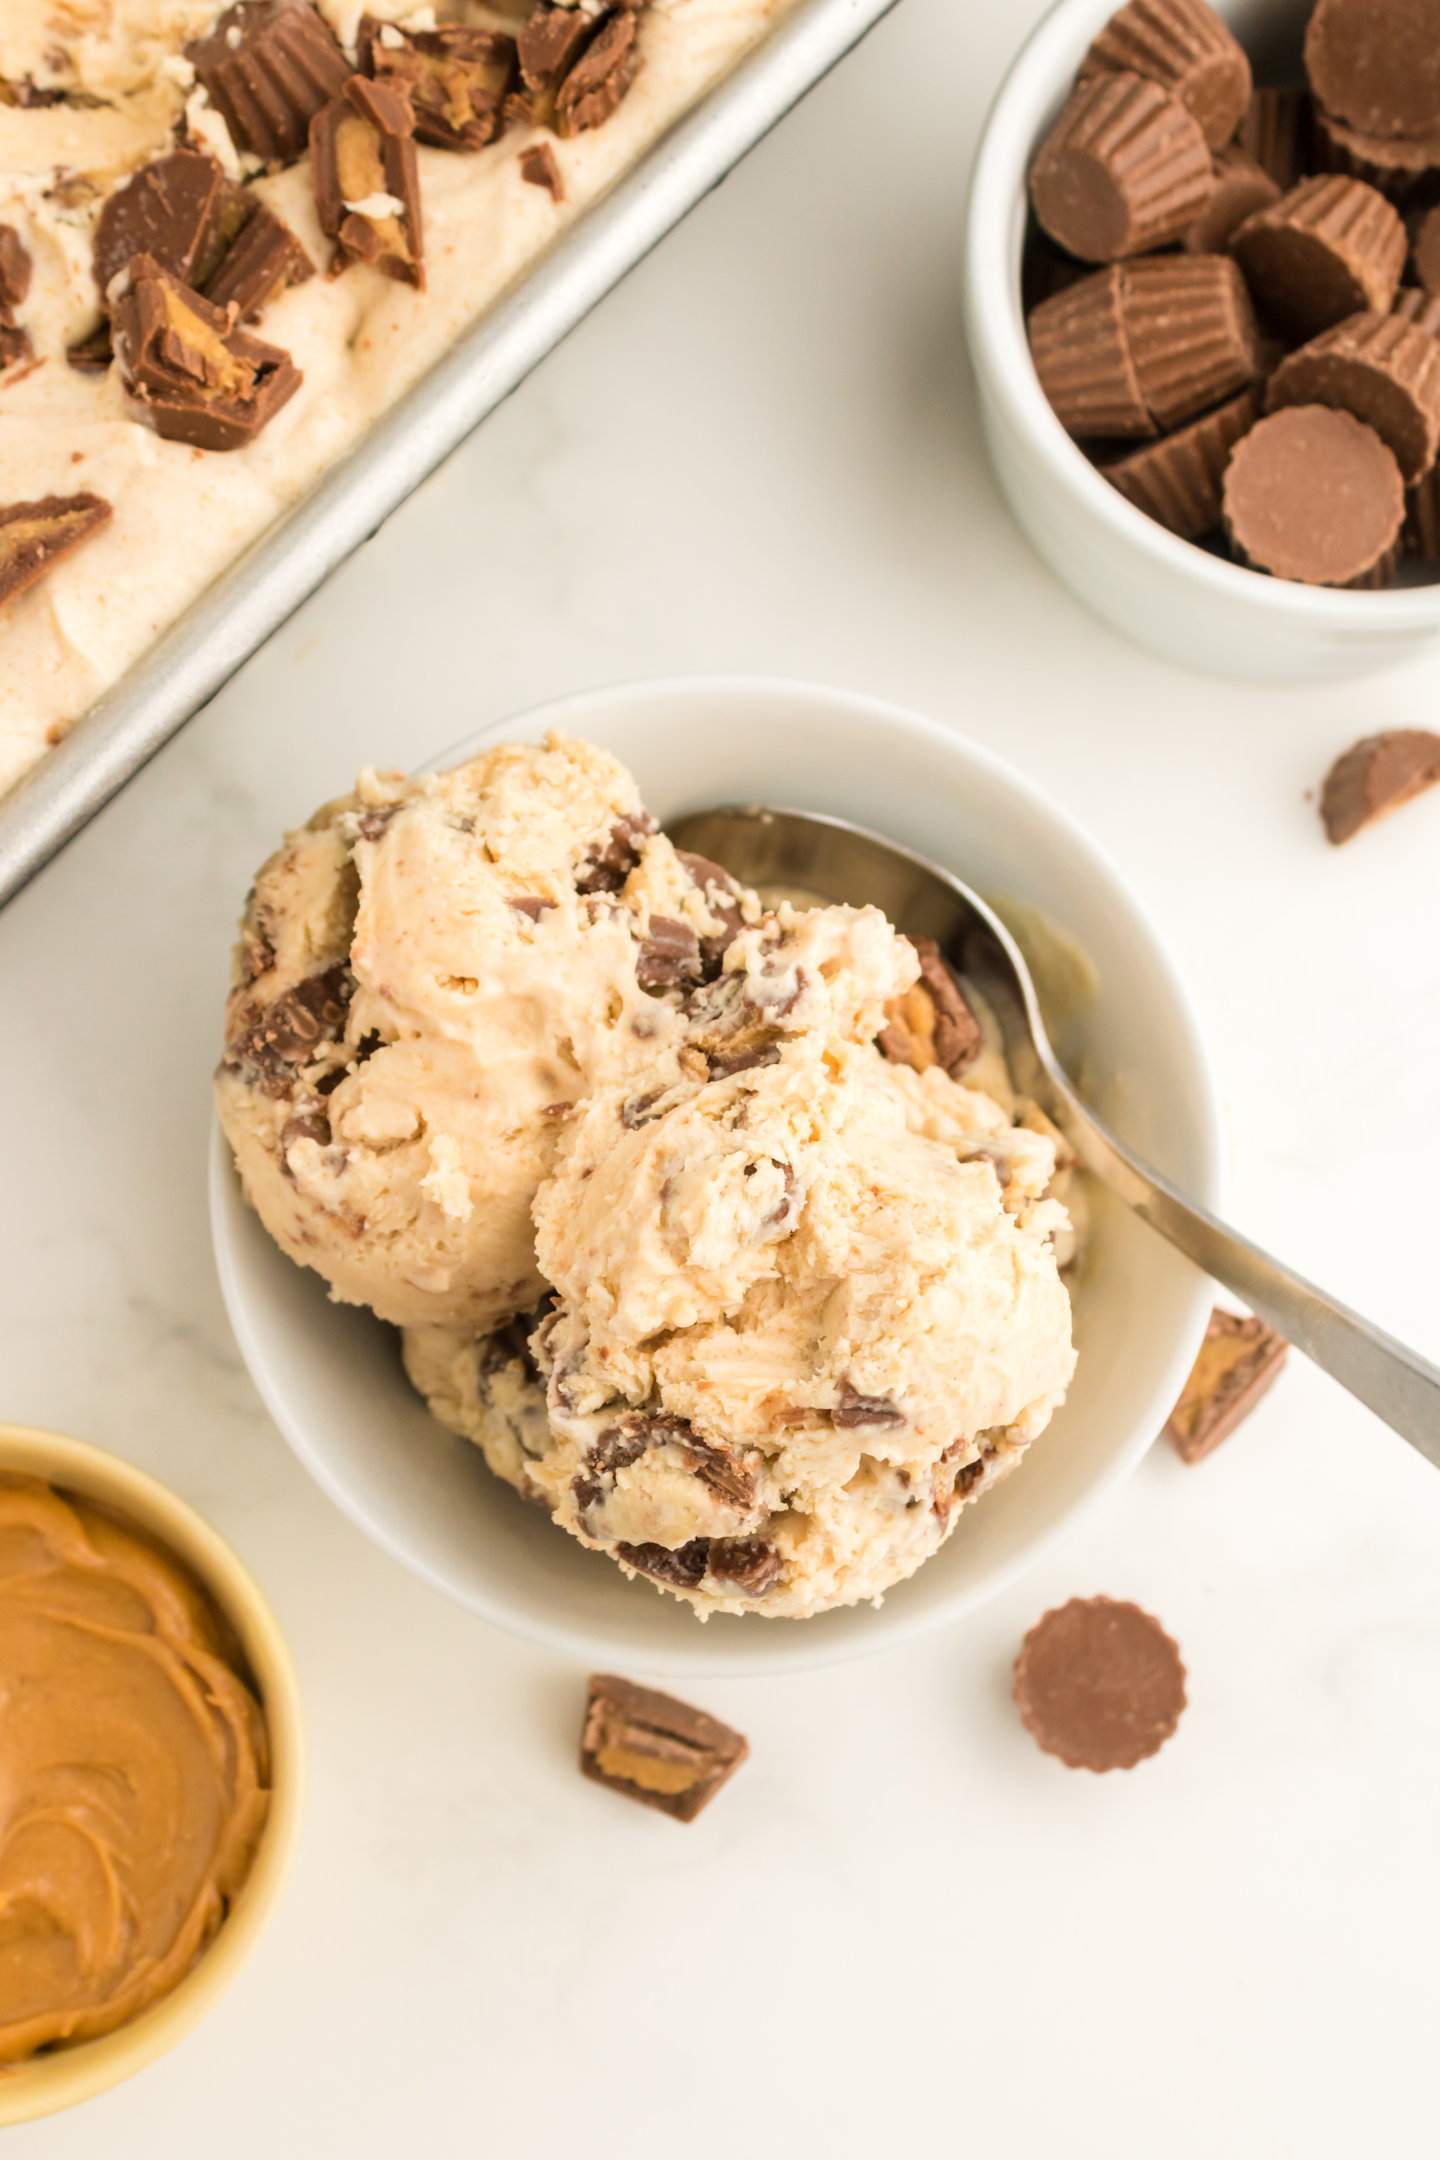
Why You’ll Love This Peanut Butter Cup Ice Cream
- No-Churn Ice Cream – There’s no need for an electric ice cream maker for this recipe. All you need is a whisk and hand mixer to make a delicious no-churn peanut butter cup ice cream.
- Simple Recipe – This recipe is very simple and quick to follow compared to other homemade ice cream recipes. Because of its hassle-free preparation, this peanut butter cup ice cream became my favorite ice cream recipe!
- Needs 5 Ingredients Only – I used easy-to-find ingredients to make a homemade peanut butter cup ice cream. These ingredients can be found in your favorite grocery stores.
- Quick To Make – This delicious peanut butter ice cream only needs 2 minutes of prep time!
My Recommended Tools
 Buy Now →
  Buy Now →
Ingredients Needed
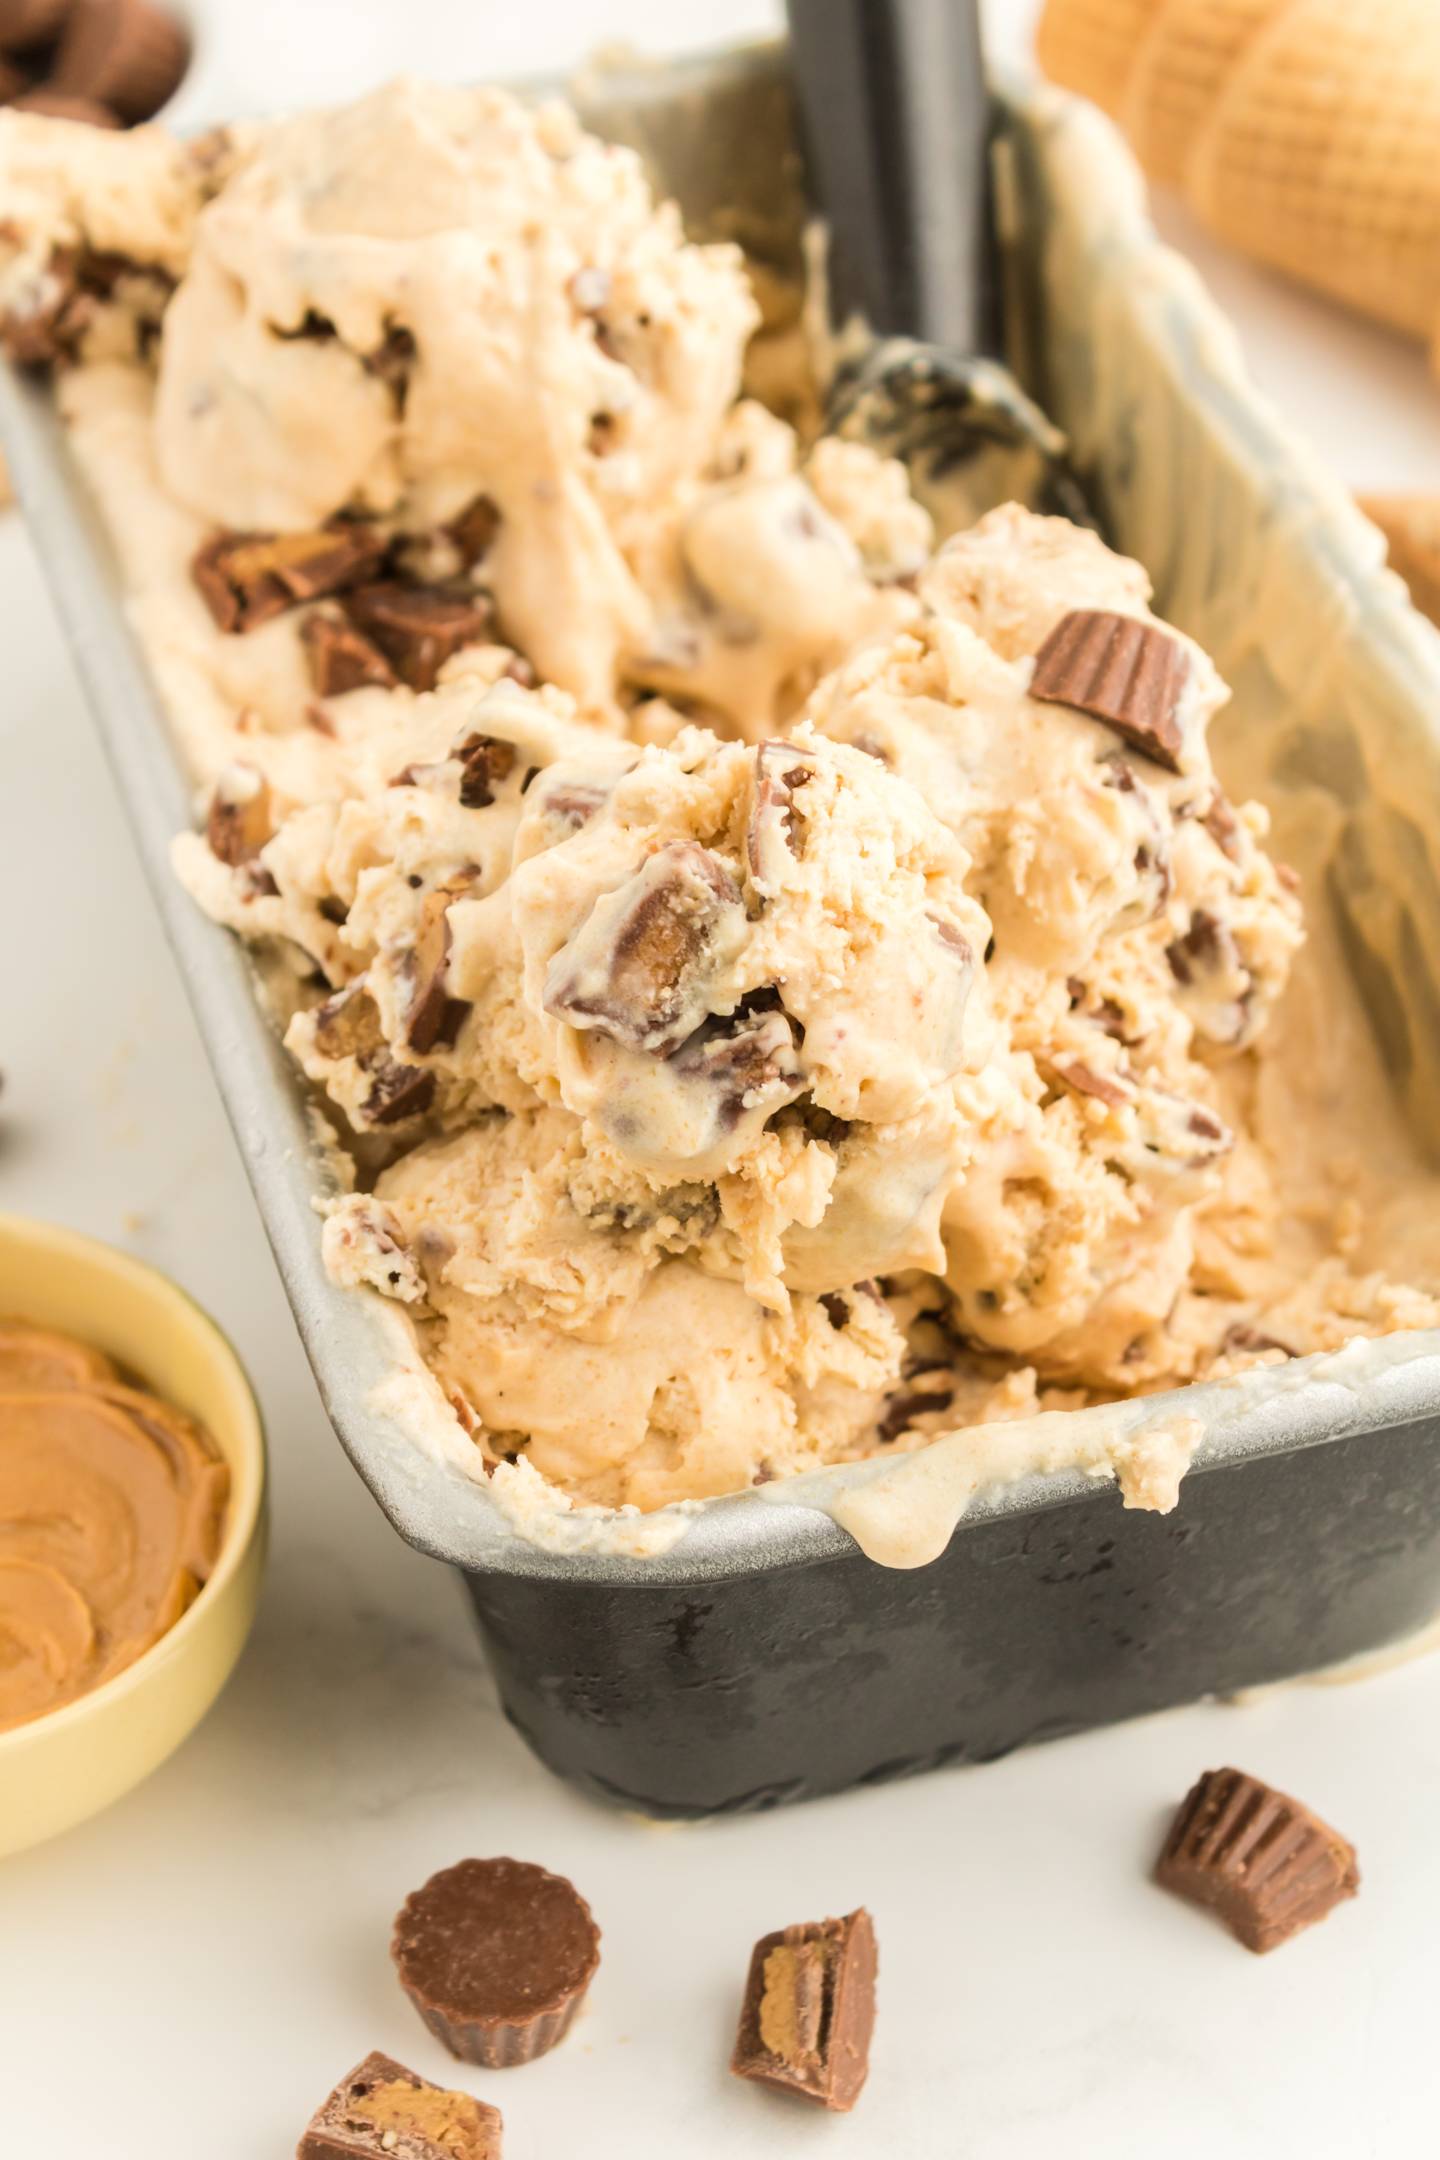
Here are the ingredients needed for this no-churn ice cream recipe:
- Milk – You can use whole milk, or a low-fat milk for this recipe, like 1% milk or 2% milk.
- White Sugar – To sweeten the peanut butter cup ice cream.
- Creamy Peanut Butter – I used creamy peanut butter for this recipe. Don’t use natural peanut butter, the oil tends to separate quickly. You can also use crunchy peanut butter if you don’t have creamy peanut butter.
- Heavy Whipping Cream – I used heavy whipping cream for this recipe. But you can also use heavy cream.
- Chocolate Peanut Butter Cups – I used miniature peanut butter cups for this homemade ice cream recipe. But you can also use regular chopped peanut butter cups.
- Cones – These are of course optional and not needed for the recipe but just for serving. Of course all you really need is a bowl and a spoon!
How To Make Peanut Butter Cup Ice Cream
Before making ice cream, put your miniature peanut butter cups in the freezer-safe container and freeze for about 10 minutes. This will make them easier to chop and mix into the peanut butter mixture.
1. Create a Peanut Butter Mixture
Combine milk, sugar, and creamy peanut butter in a small saucepan over low heat.
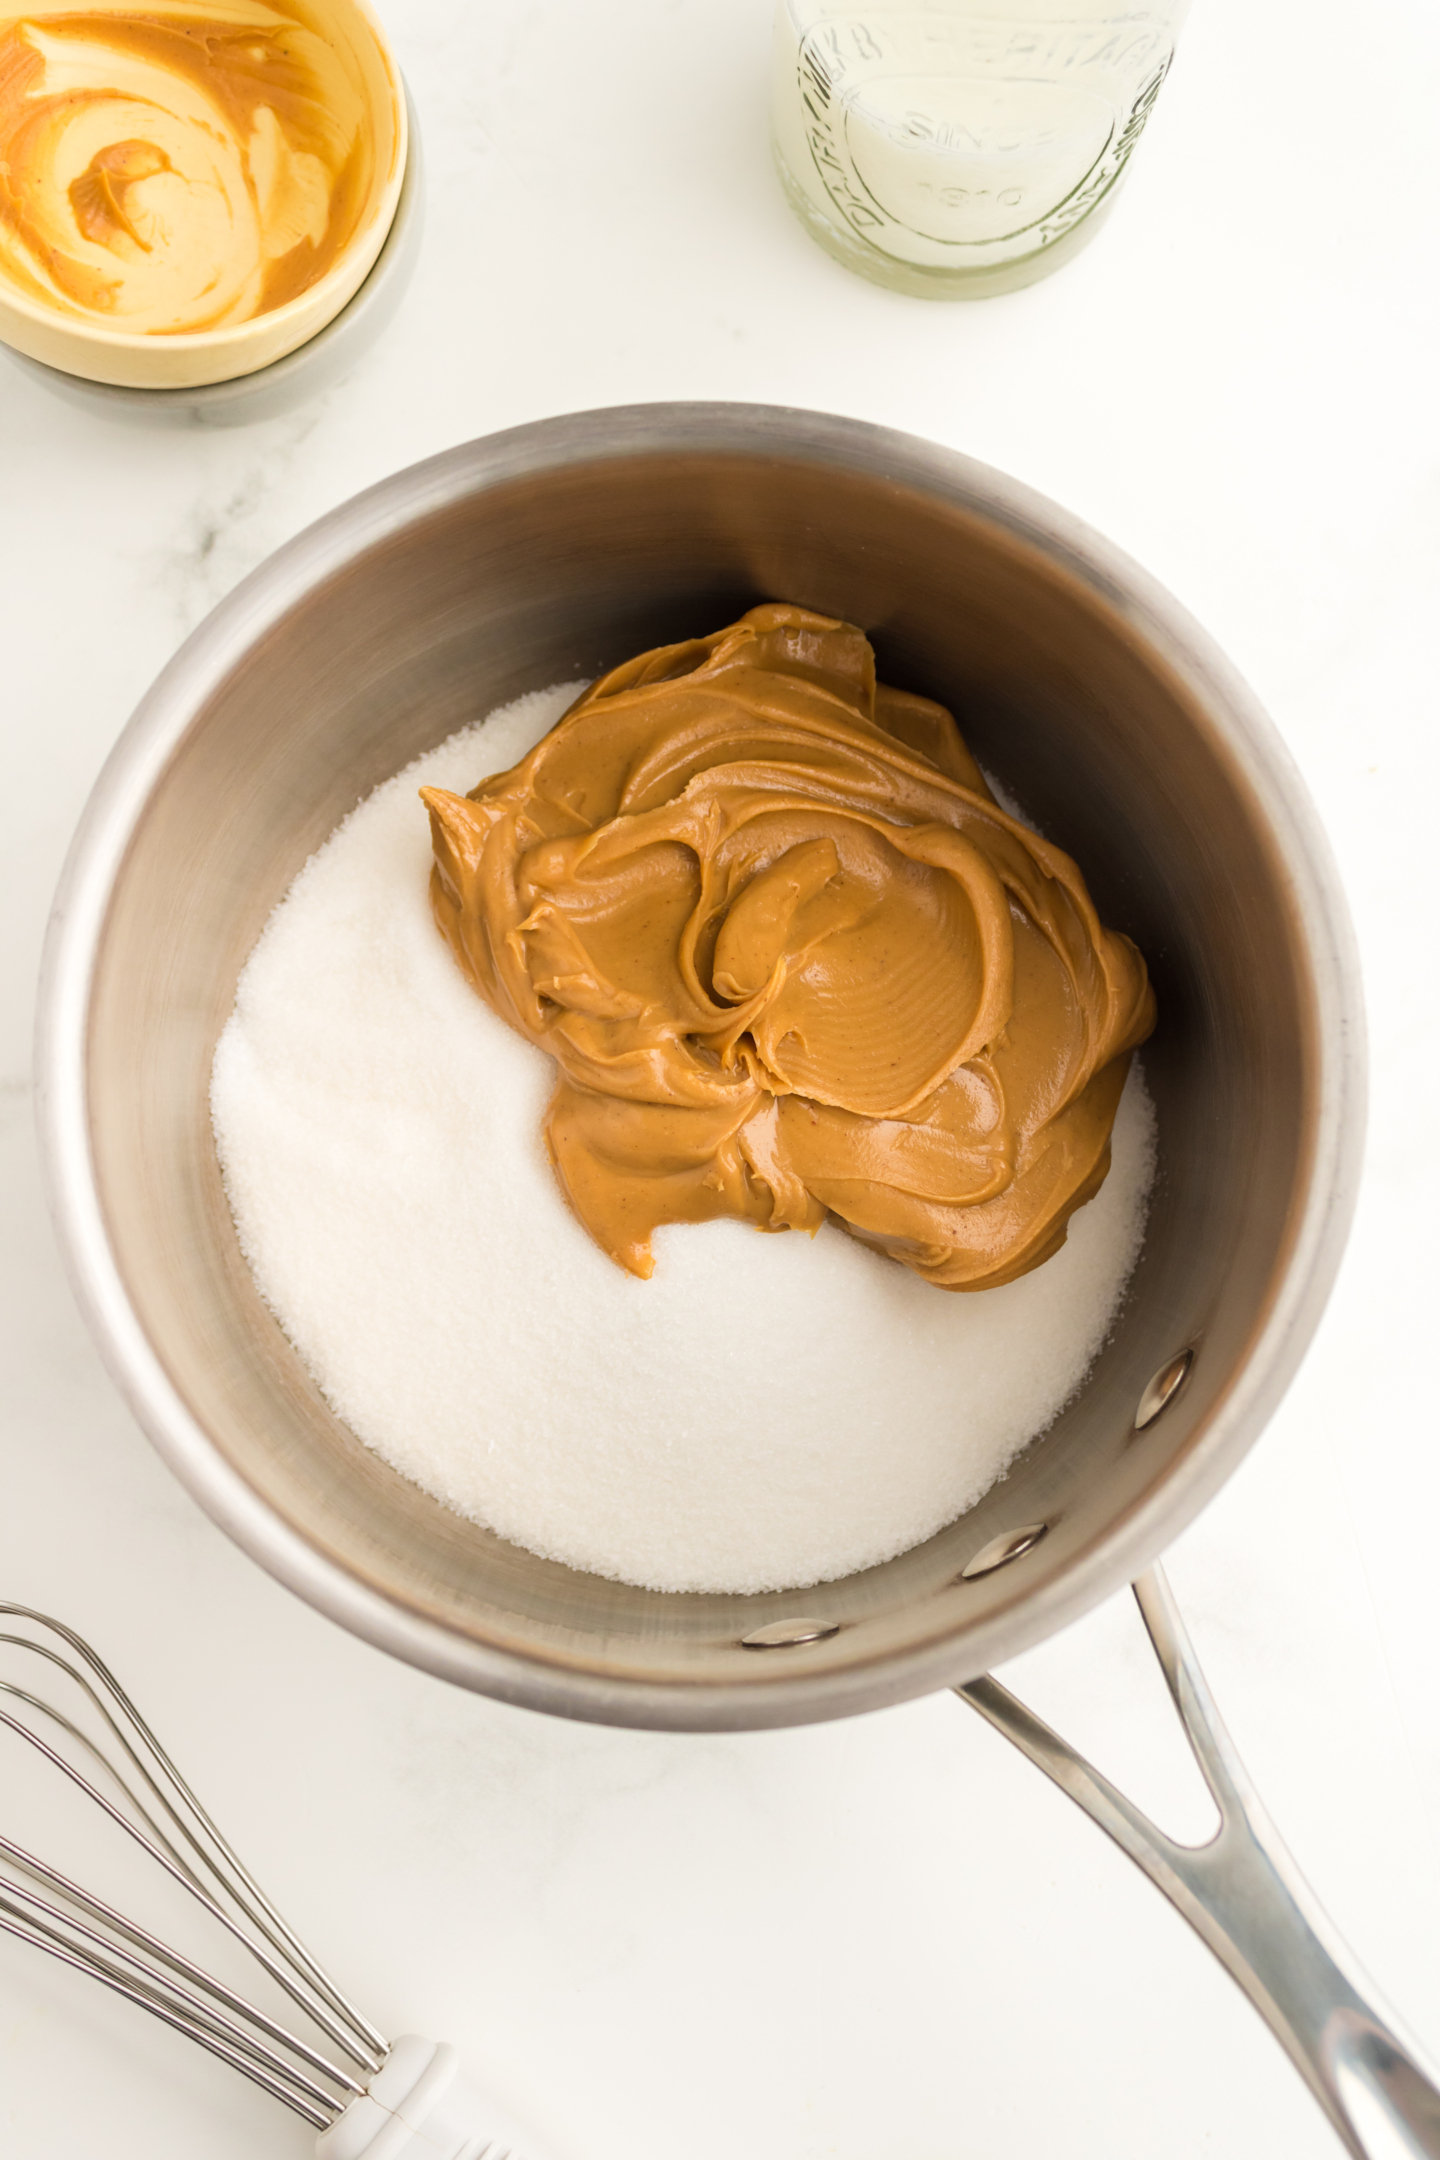
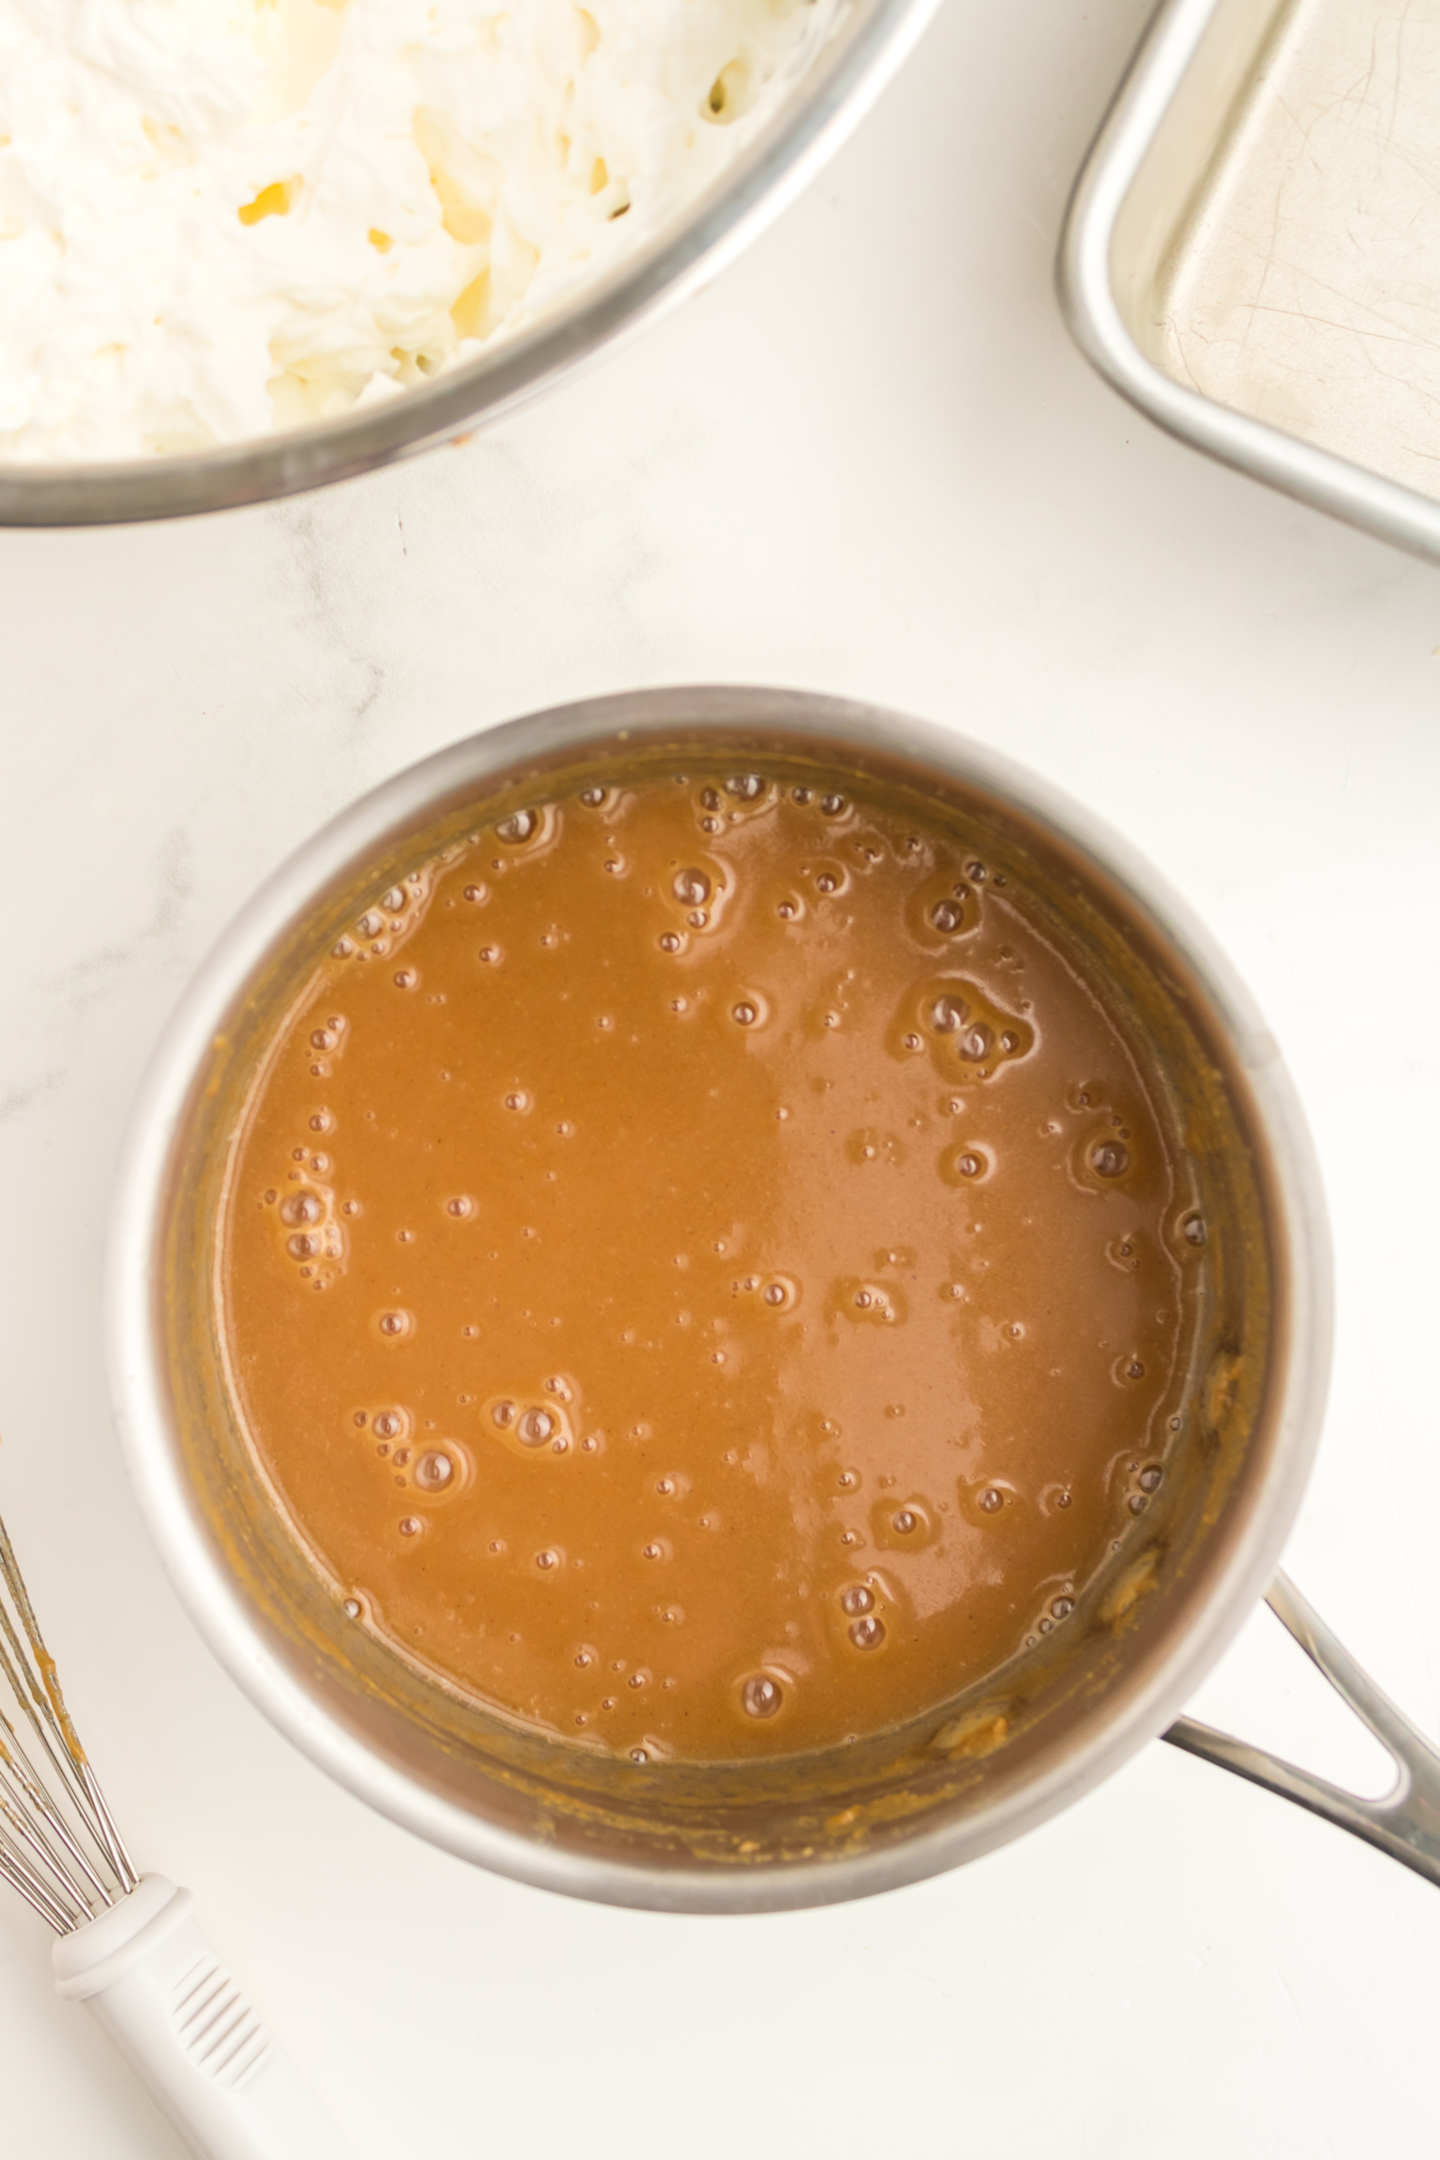
Stir well until the sugar is fully dissolved. The mixture should have a creamy and smooth texture. Remove from heat and set aside.
Let it cool completely at room temperature. Just leave it at room temperature while you proceed to the next step.
2. Beat Heavy Whipping Cream
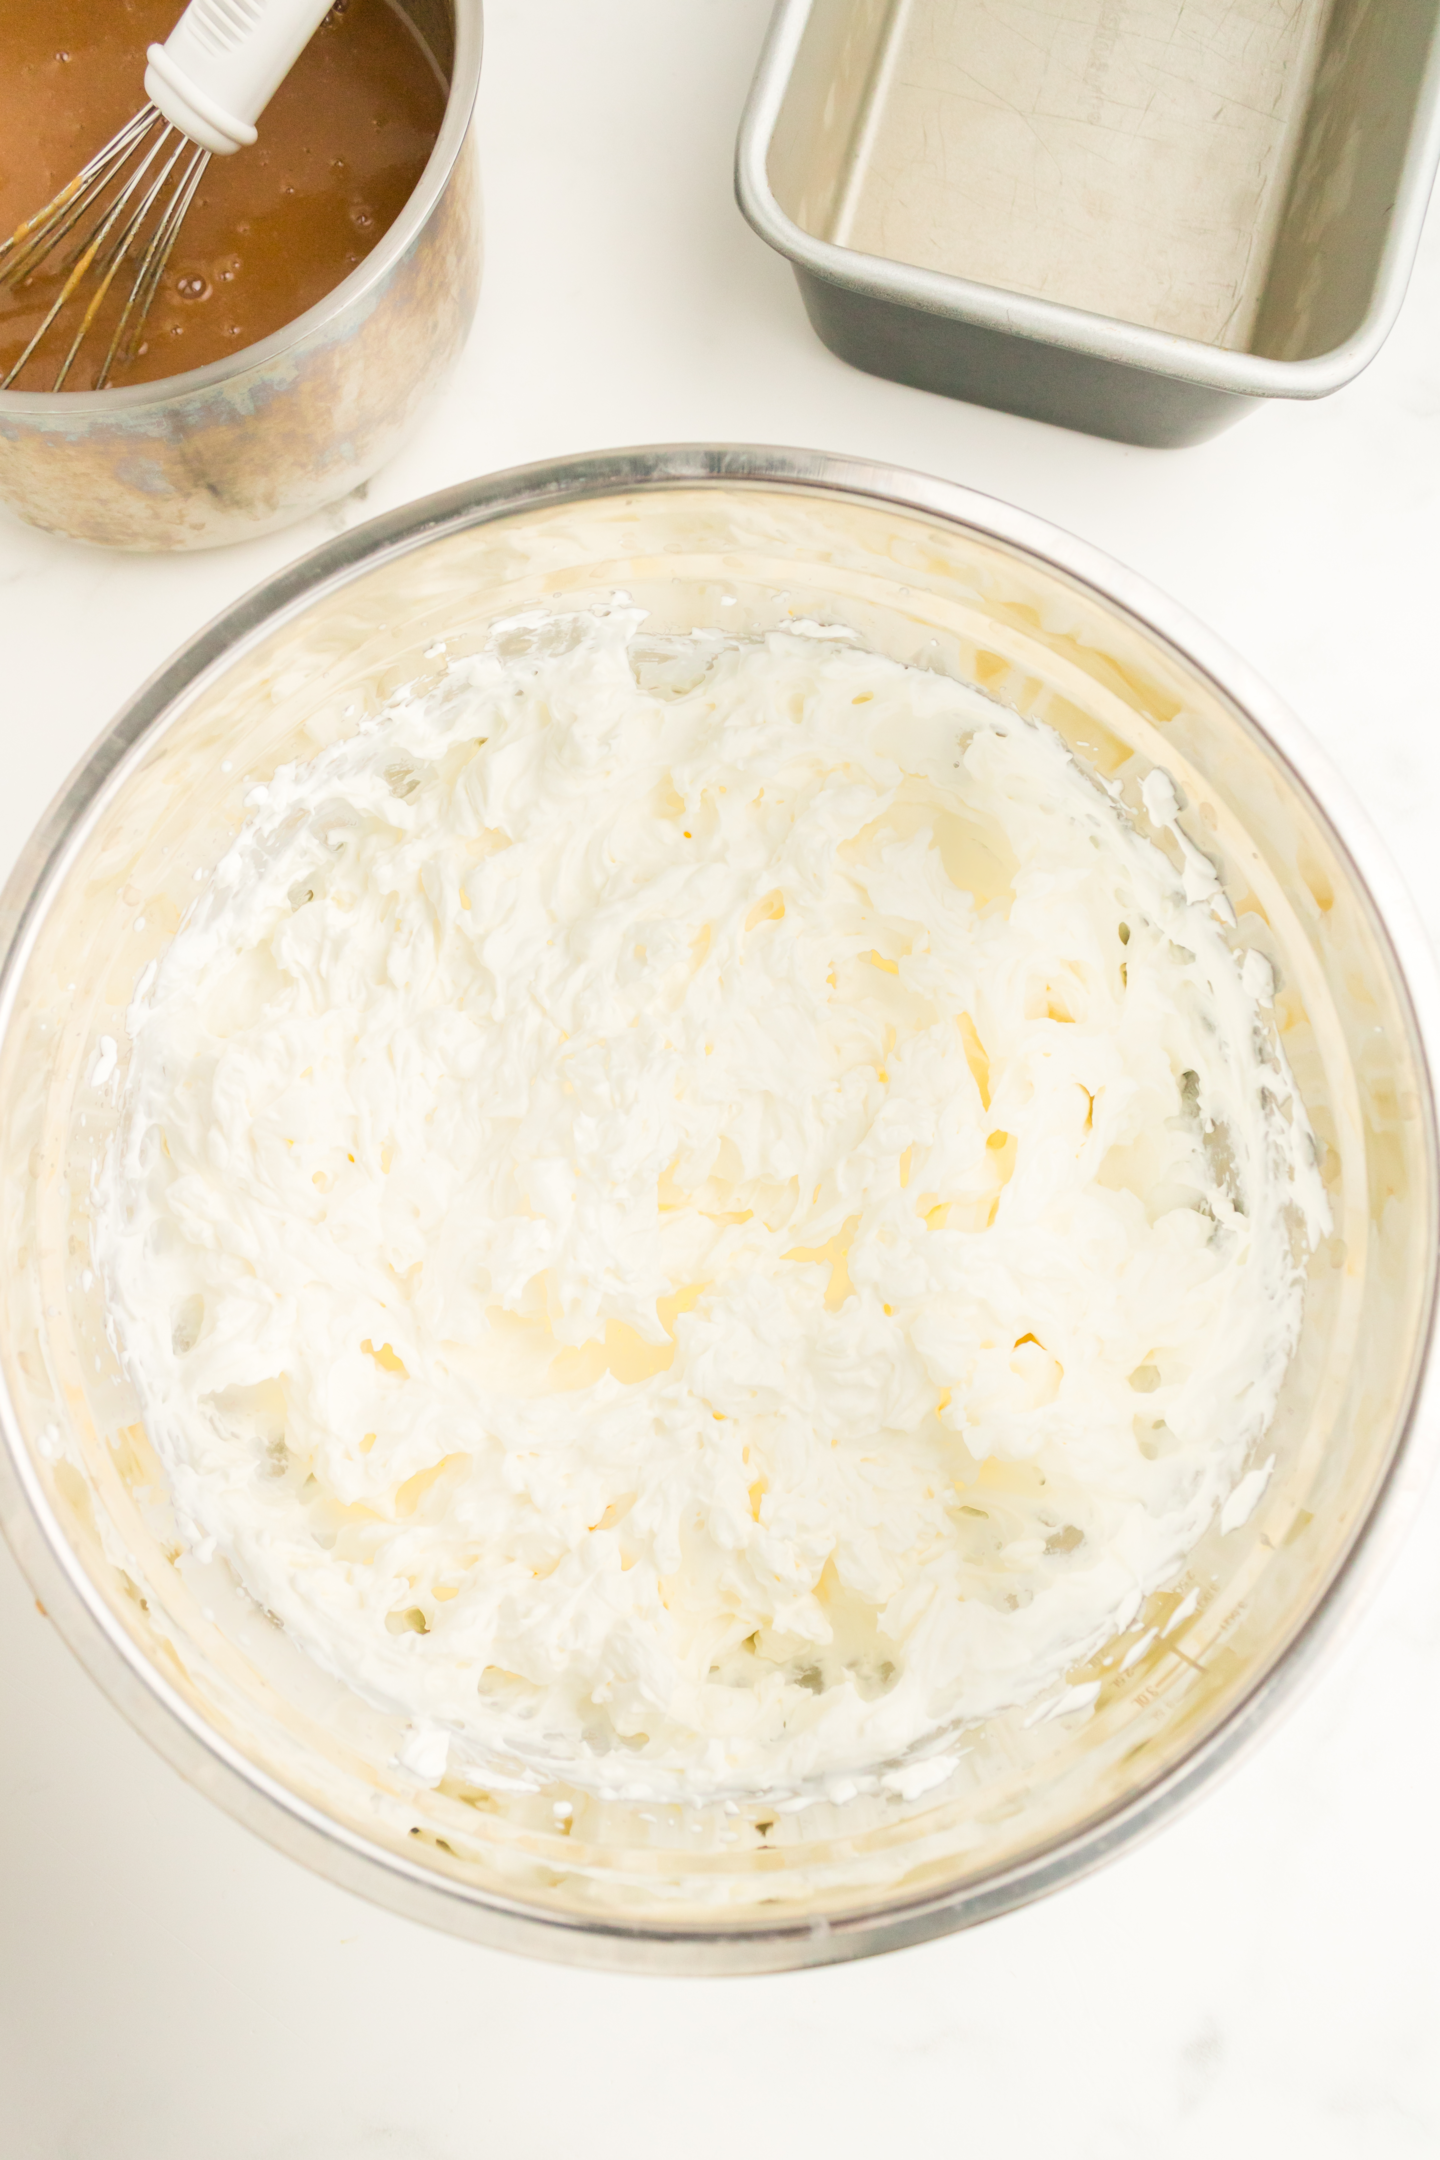
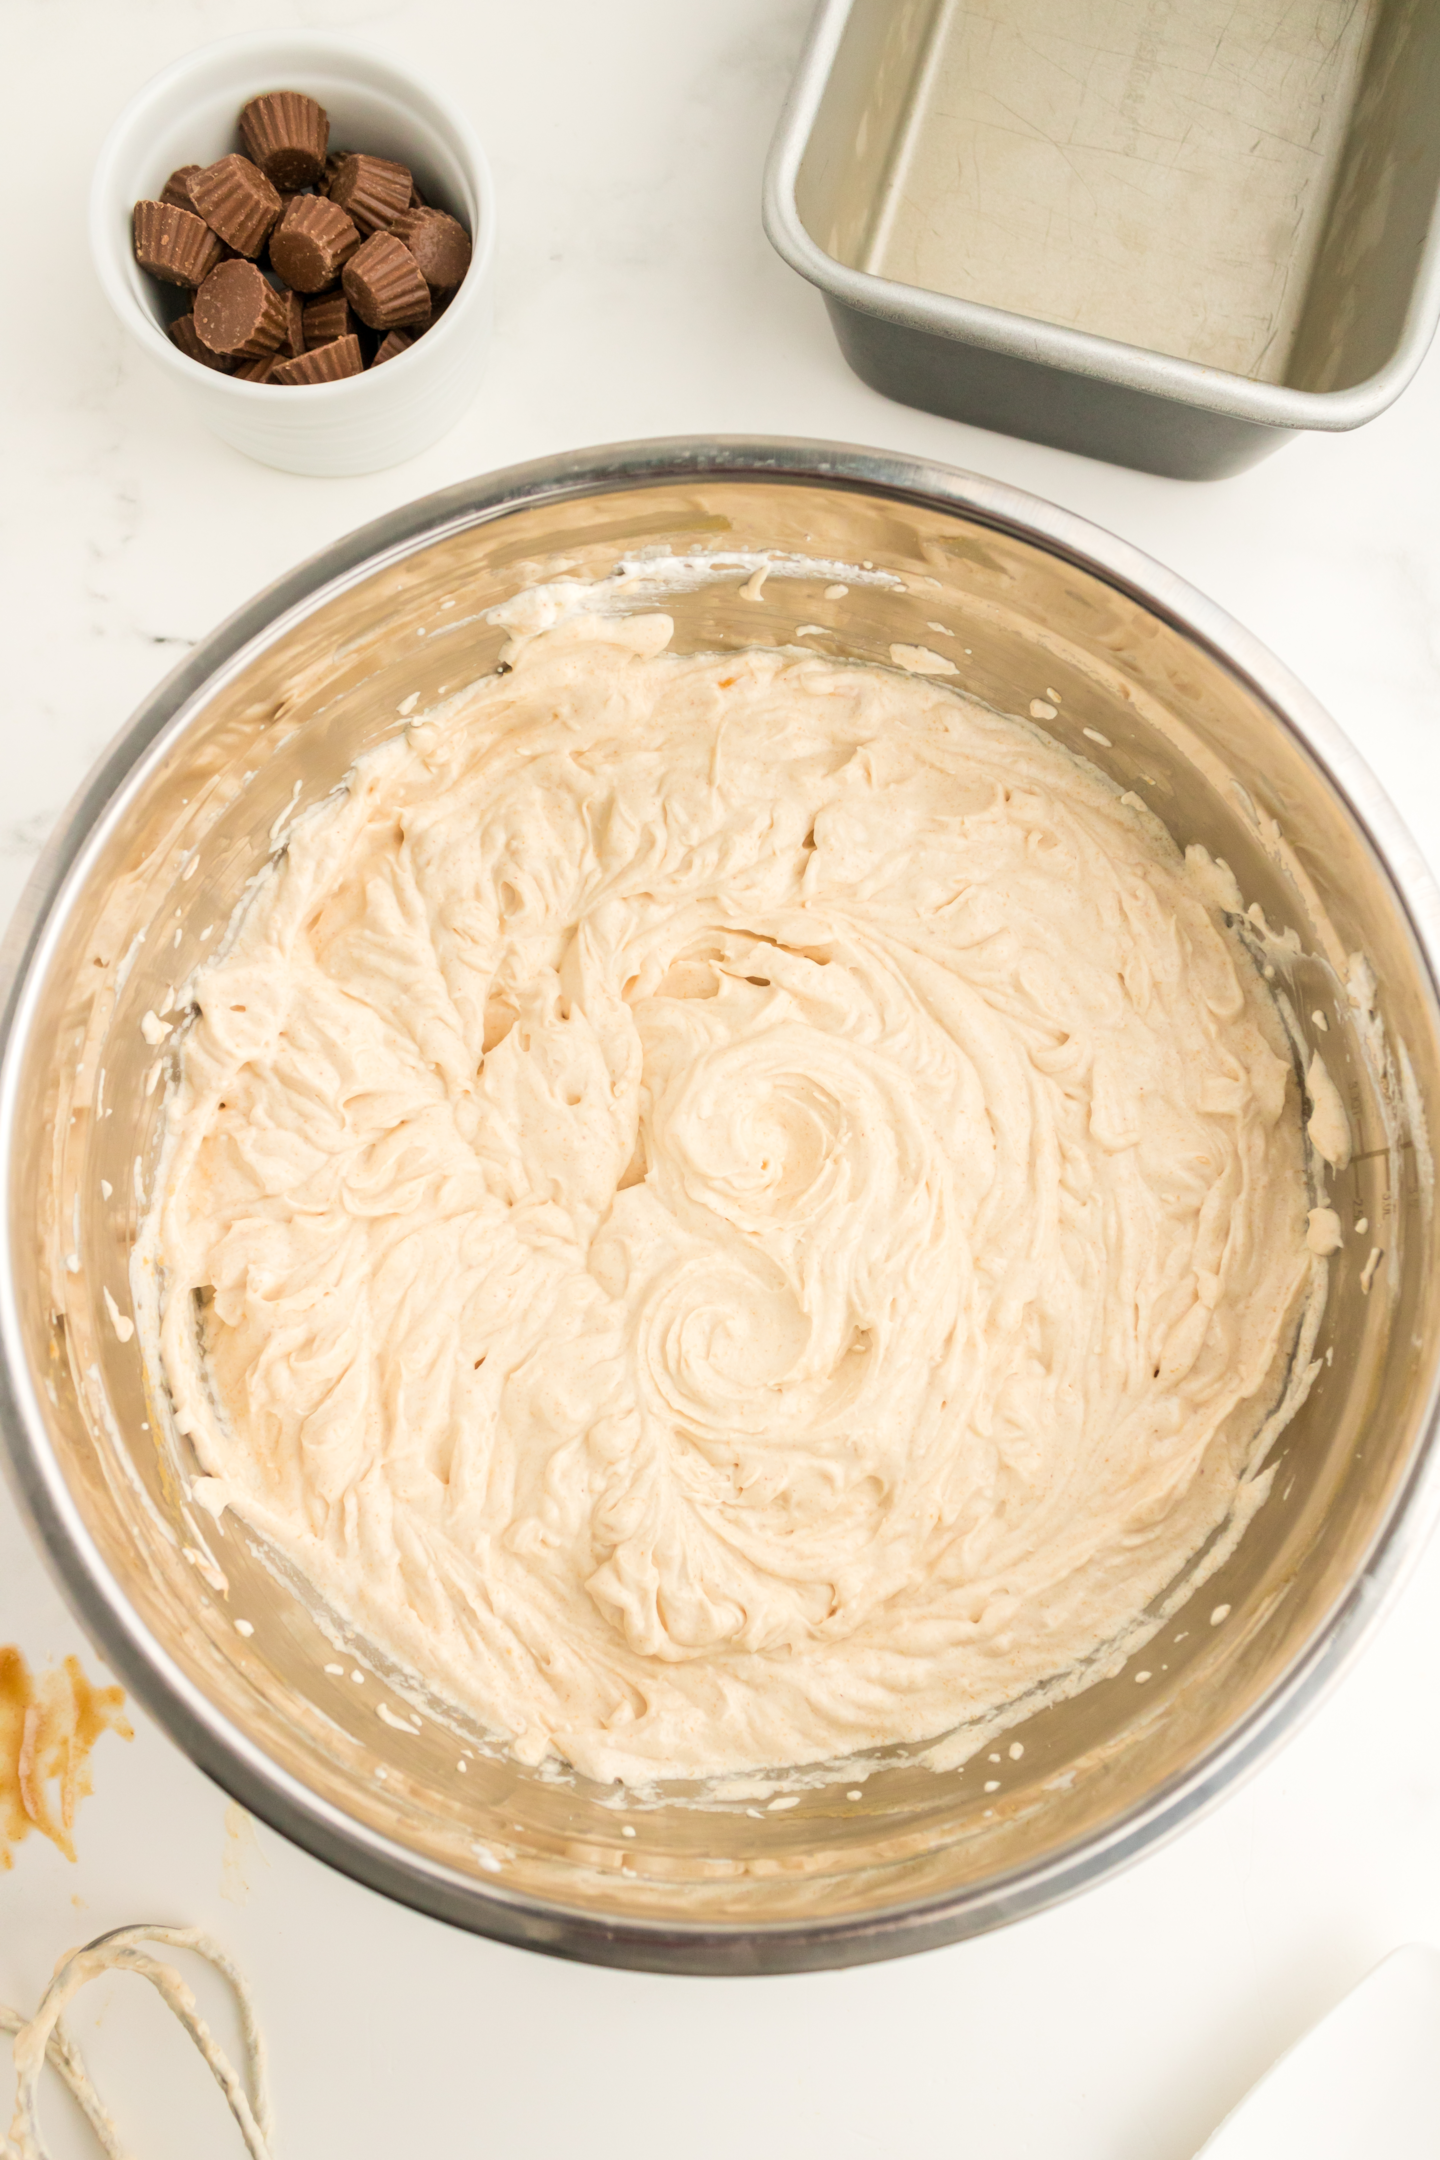
Transfer heavy whipping cream or heavy cream into a large mixing bowl. Beat using a hand mixer on high speed for about 3-4 minutes or until you get a whipped cream consistency.
3. Combine Mixtures
Make sure your mixture is cool before adding it to your whipped cream. You can place it in your fridge to cool.
Once the peanut butter mixture is fully cooled, at room temperature, mix it to remove lumps and make sure it has a smooth consistency.
Add the mixture to the whipped cream.
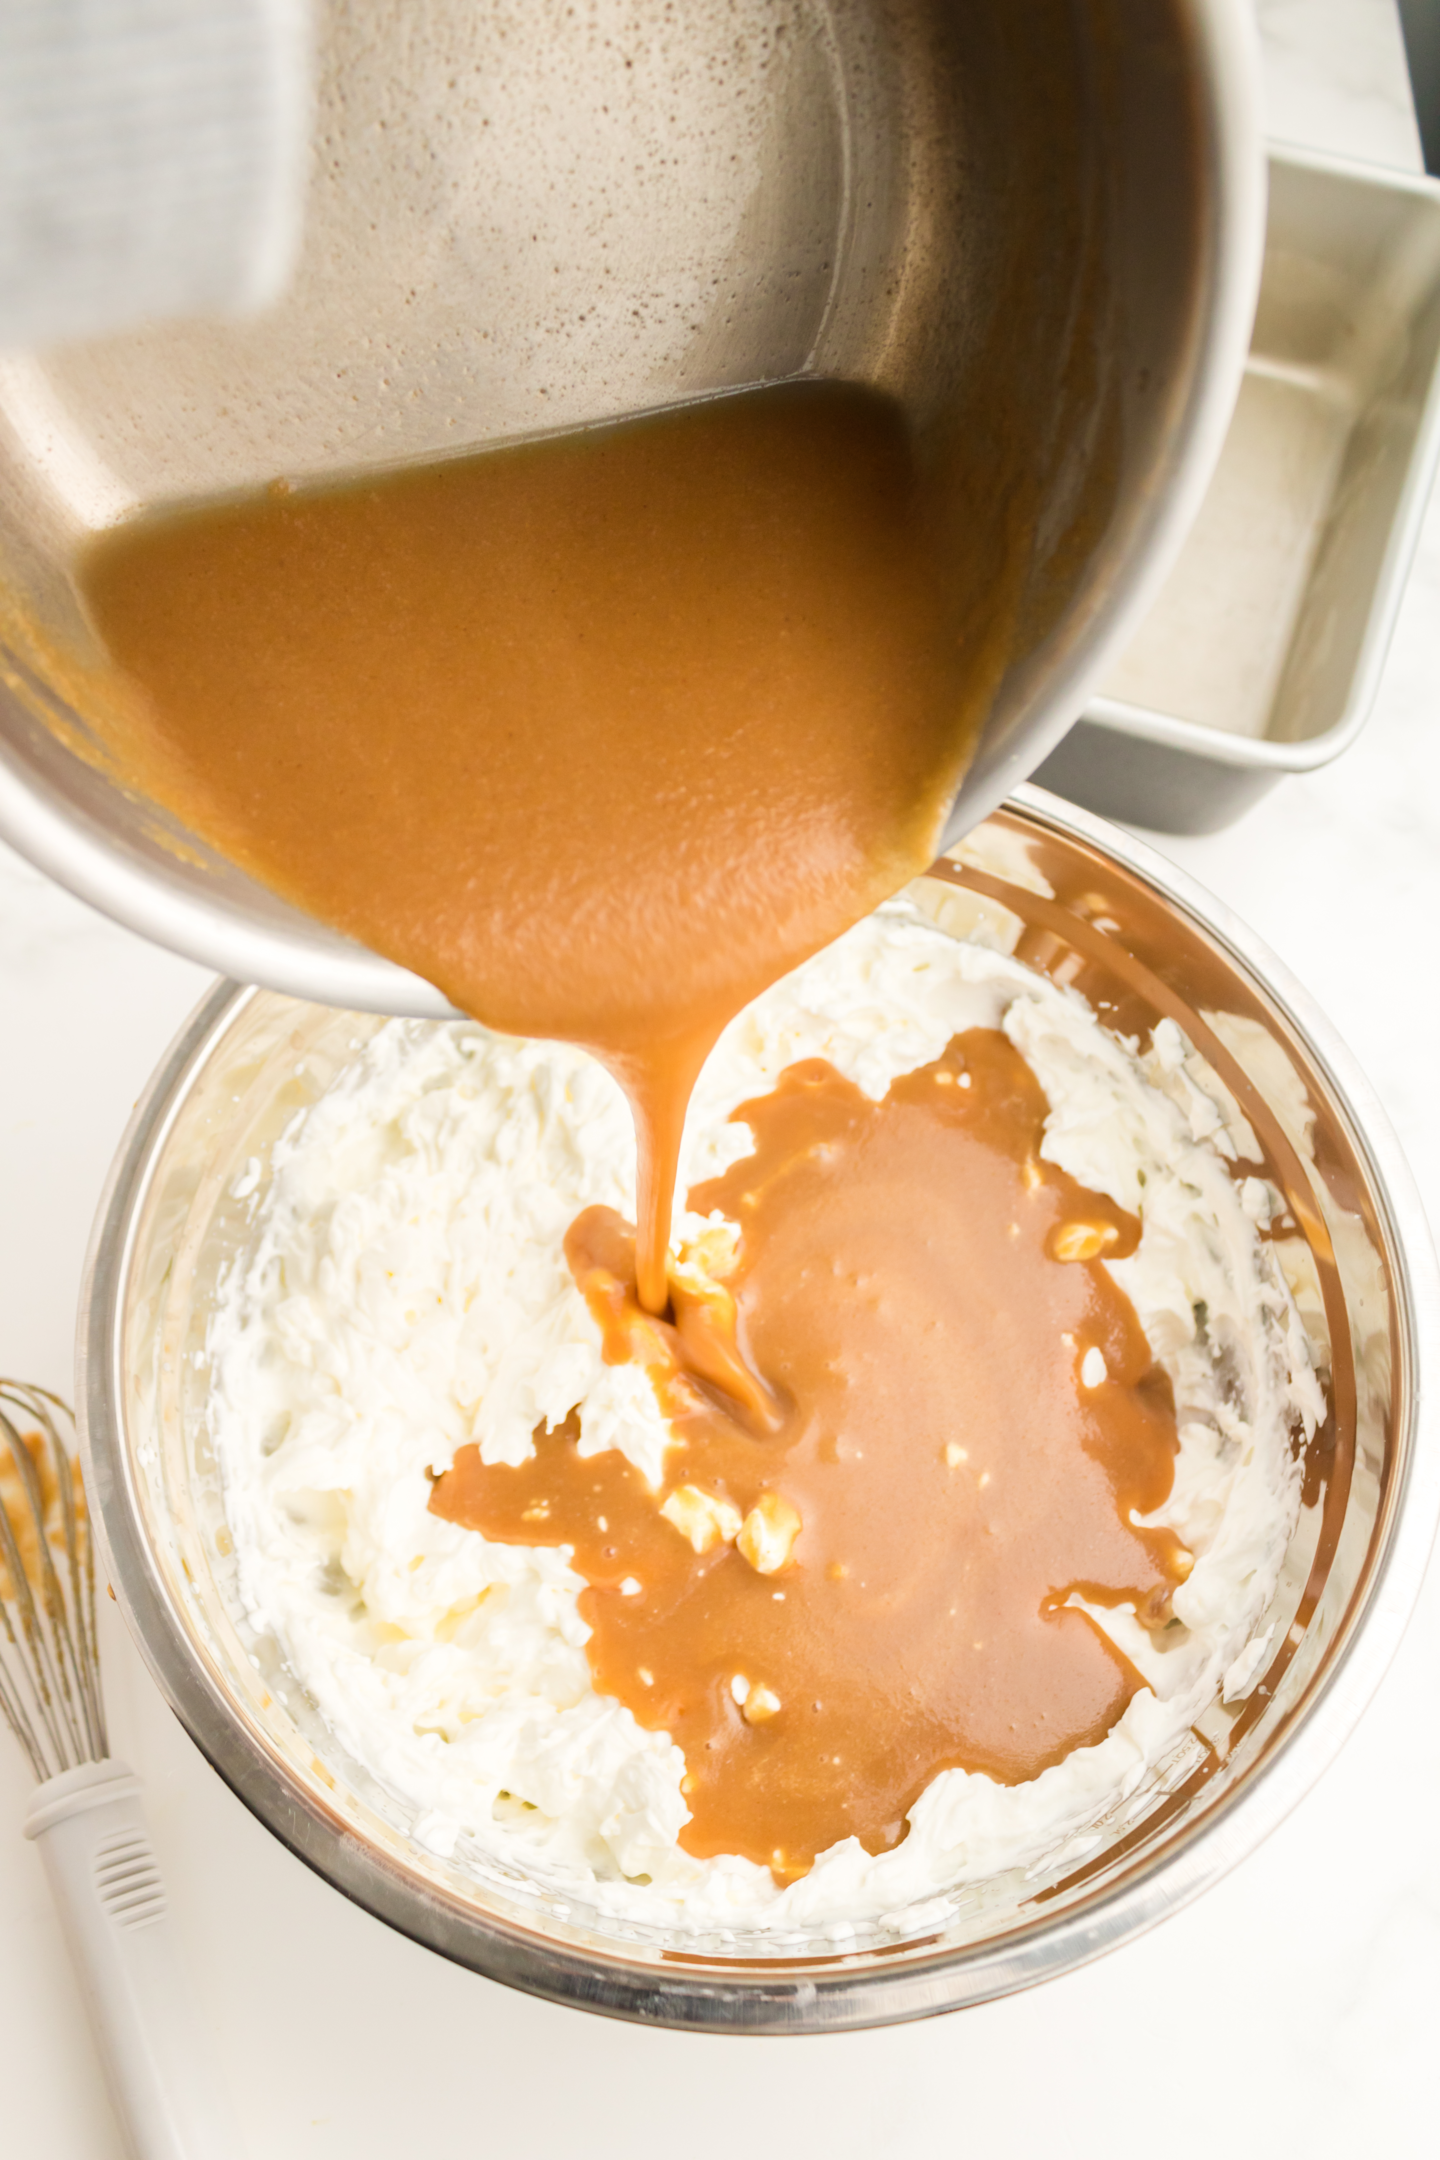
Beat until combined. You should still have a whipped cream, thick texture after.
4. Freeze And Serve
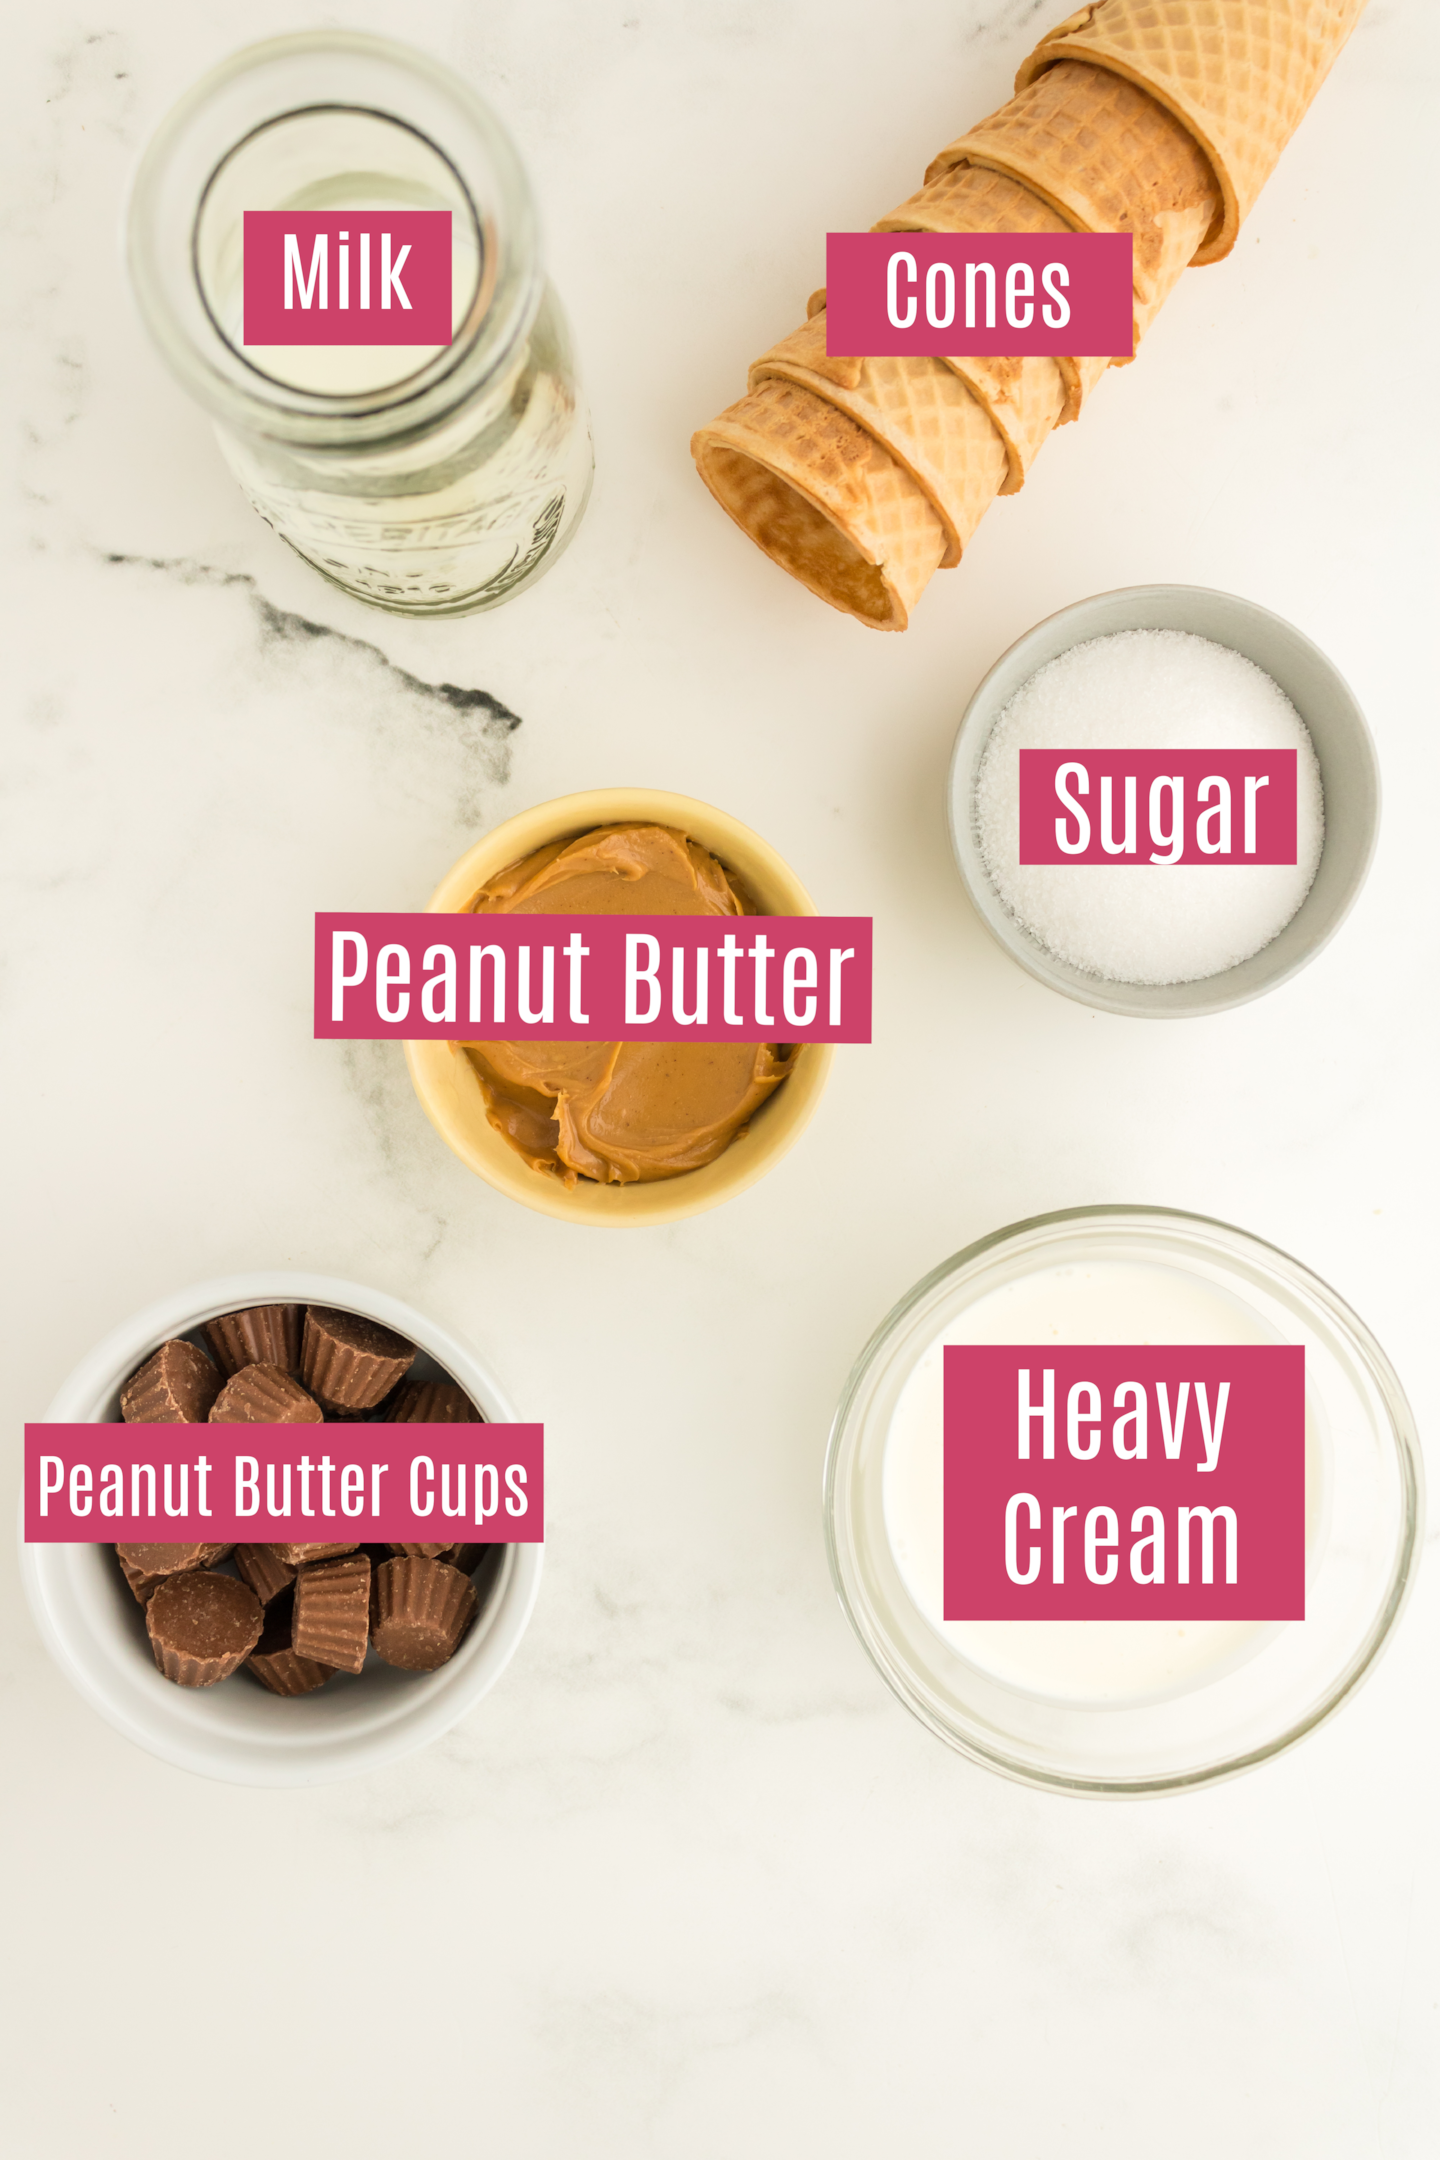
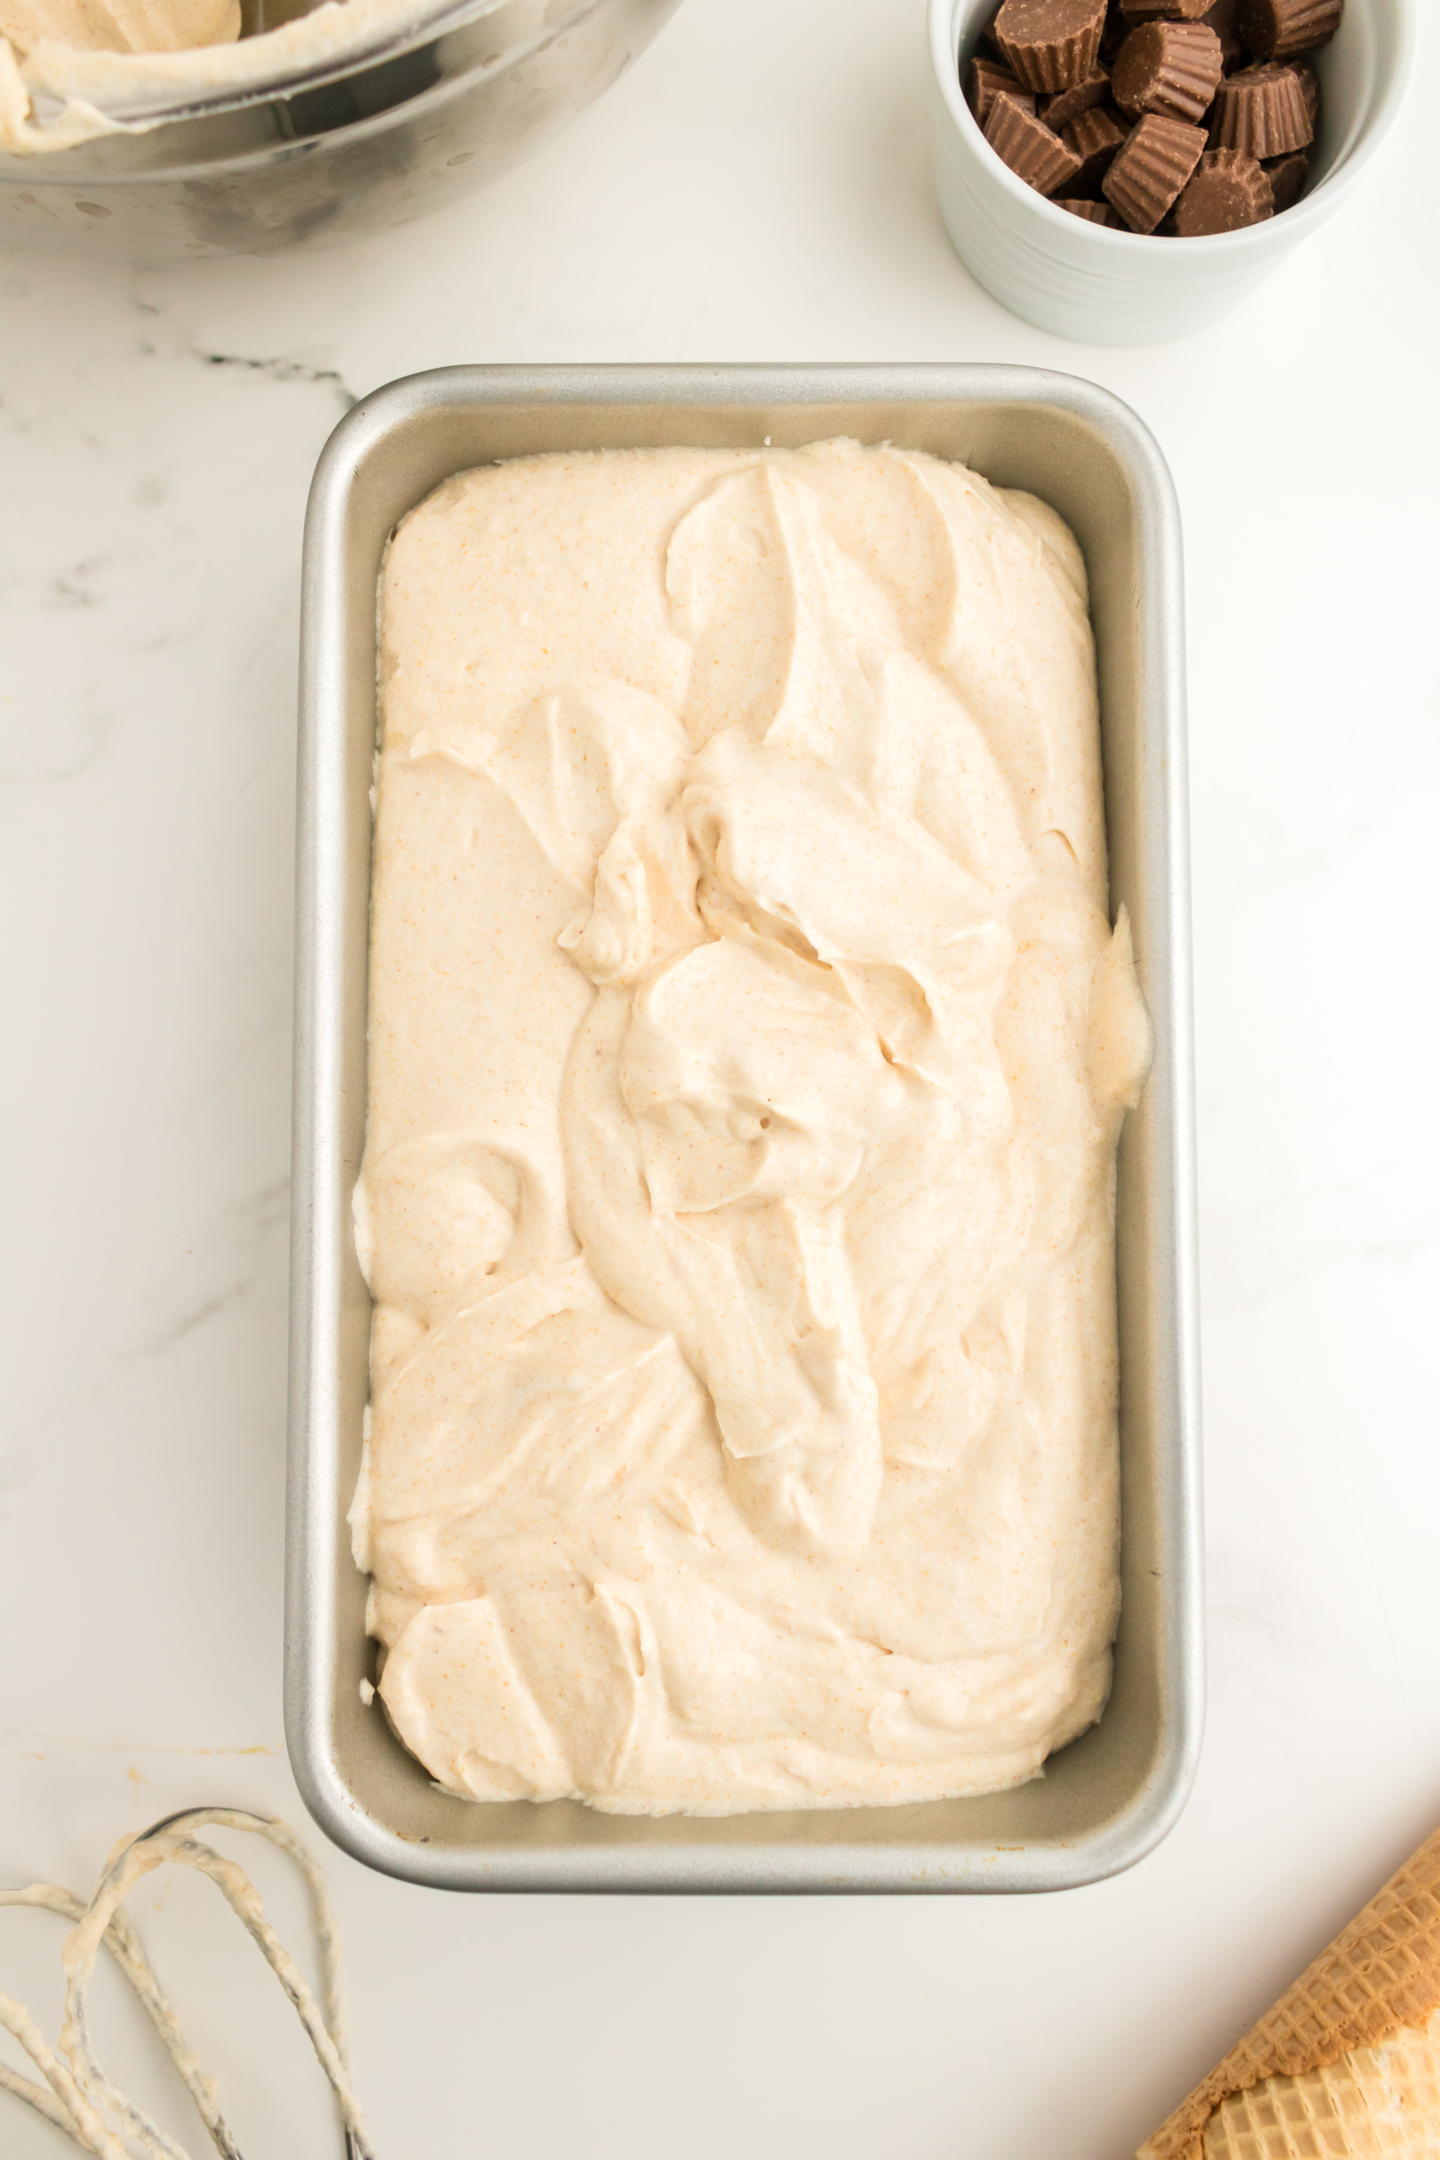
In a freezer-safe loaf pan, transfer the peanut butter and whipped cream mixture.
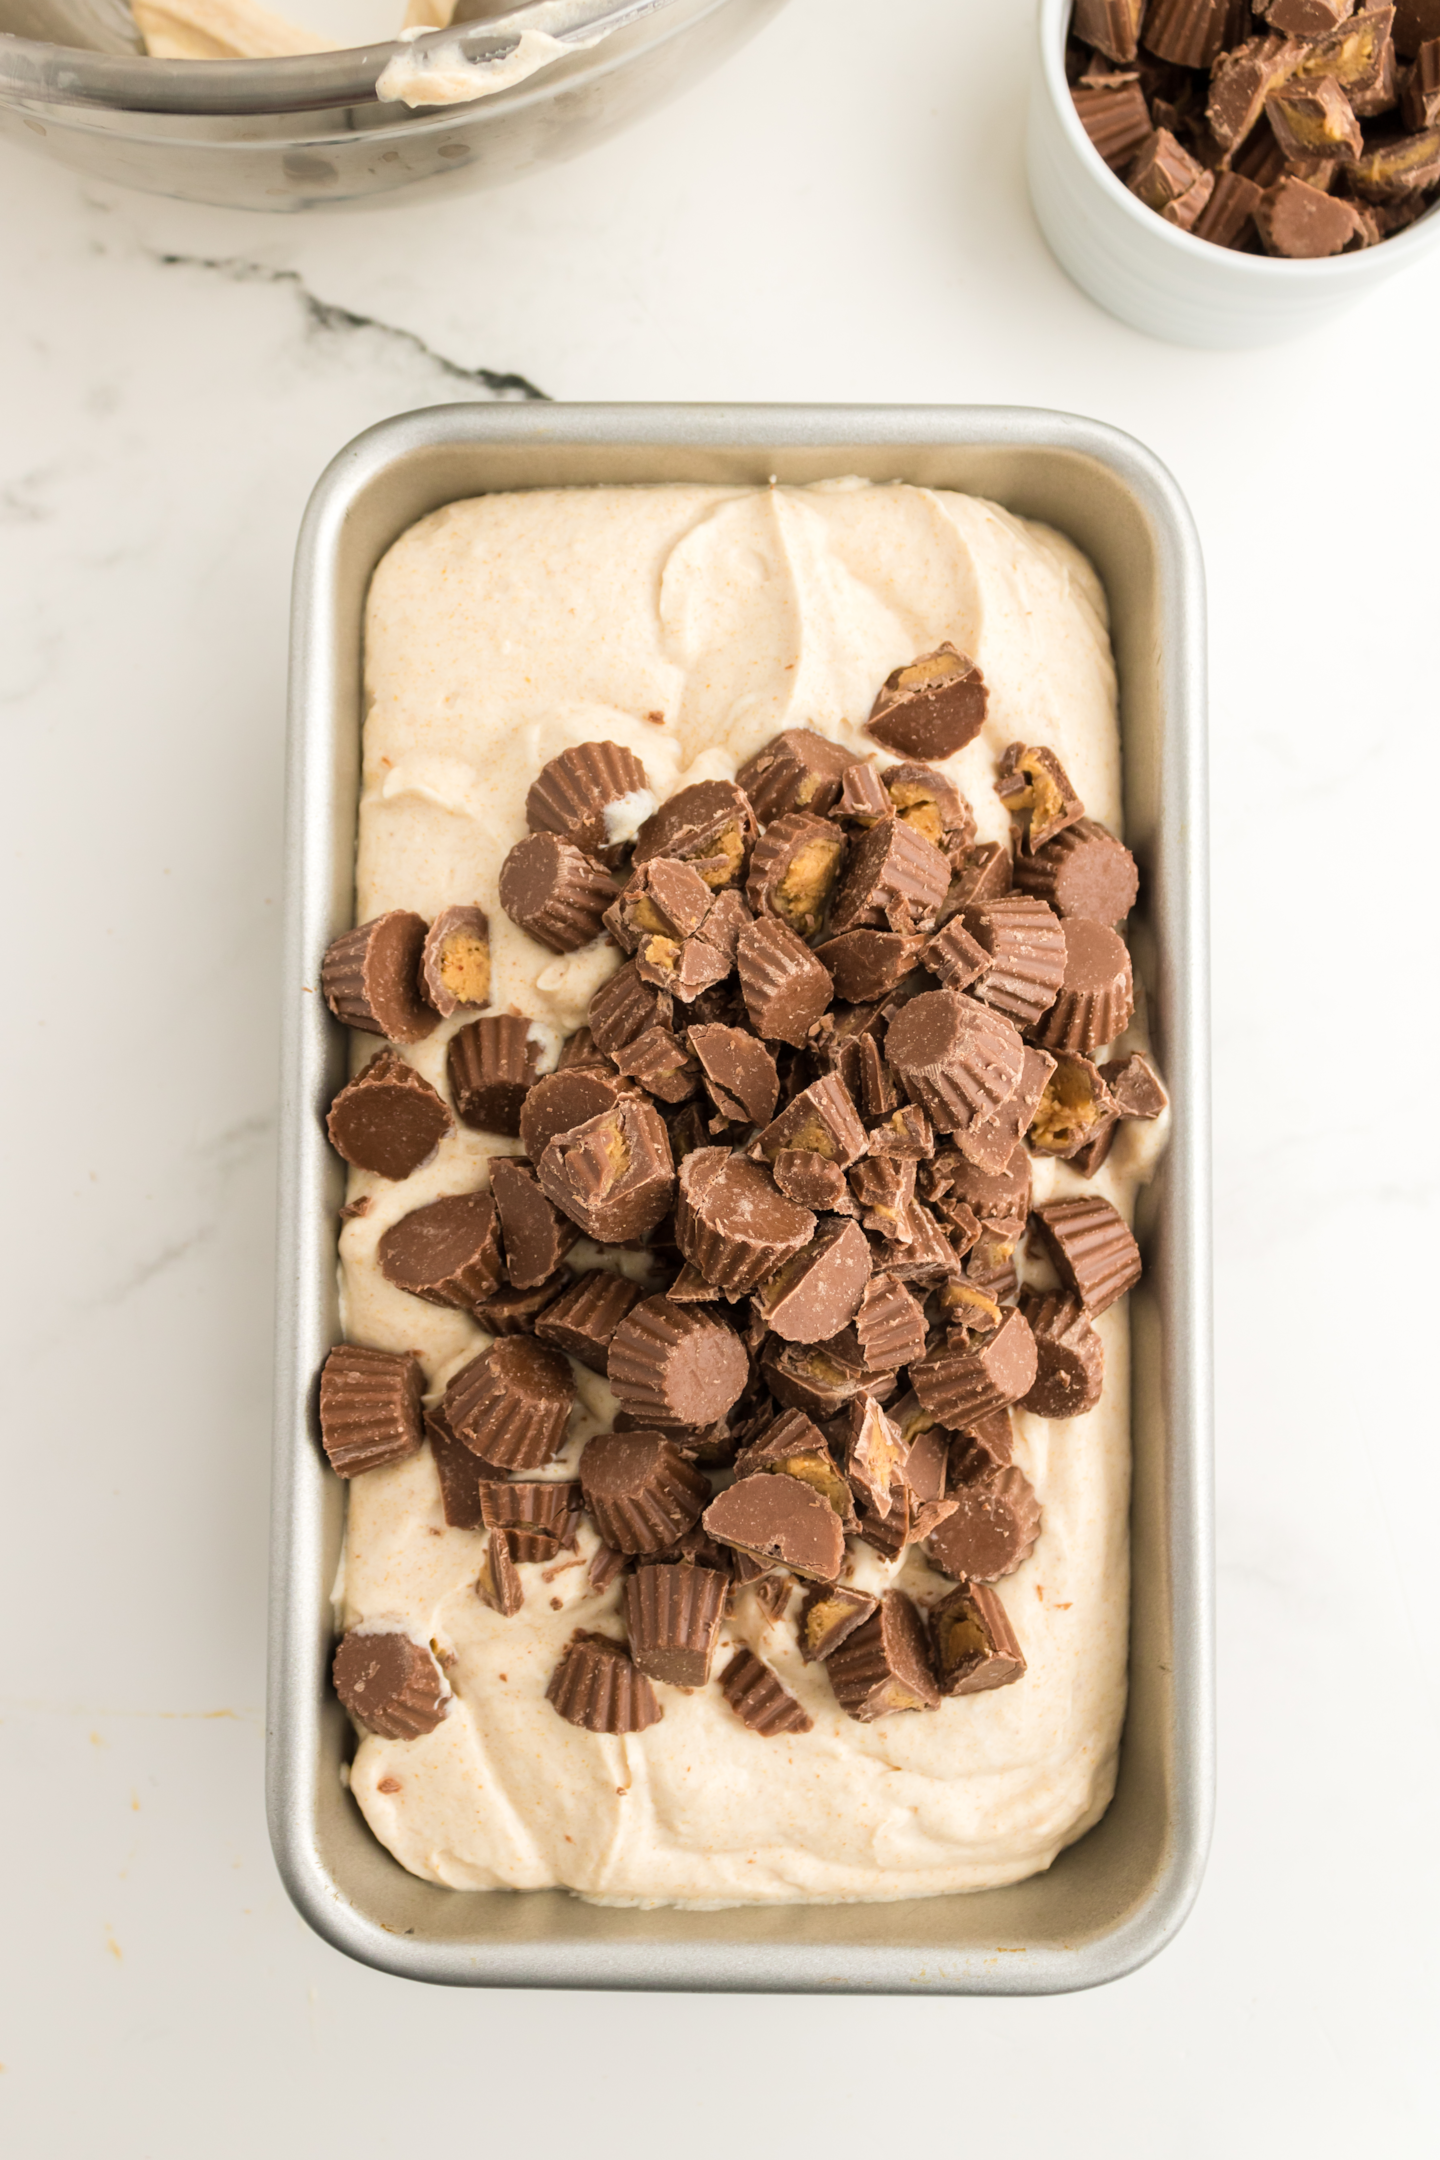
Fold your frozen peanut butter cups into the mixture. Stir them from the middle to the bottom. Add the remaining chopped Reese’s peanut butter cups at the top.
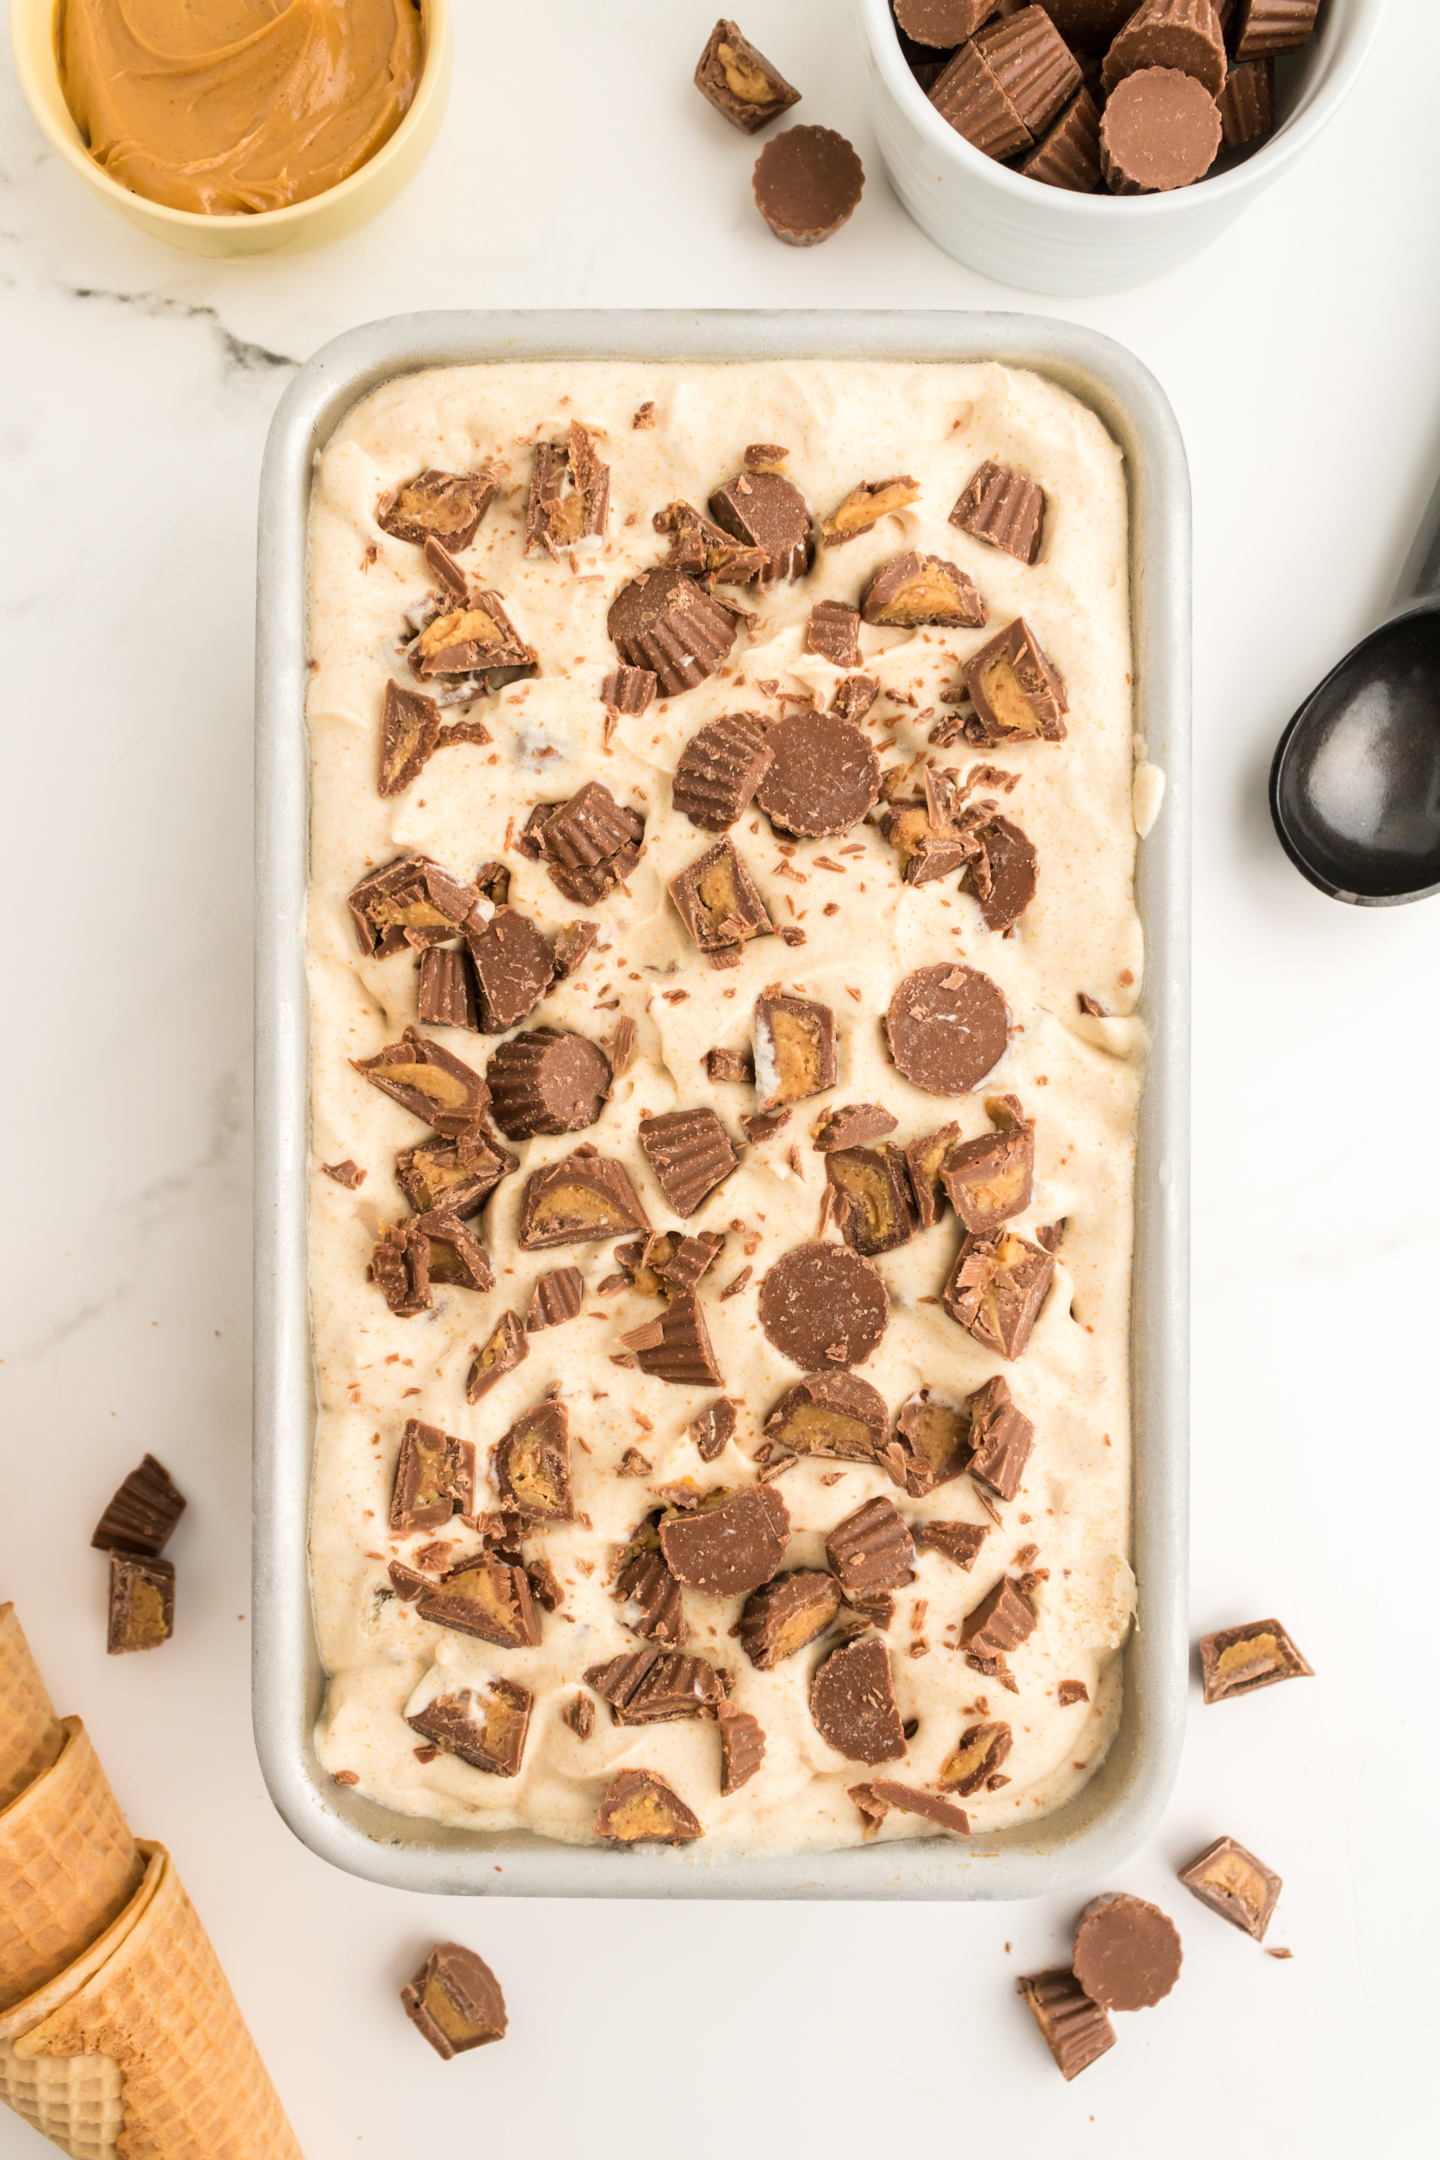
When you’re satisfied with the amount of peanut butter cups at the top, cover the peanut butter cup ice cream with aluminum foil or plastic wrap. Freeze for at least 6 hours or overnight.
Recipe Variations
- Add Chocolate – When you melt milk, peanut butter, and sugar, add unsweetened cocoa powder or chopped chocolate. Then, proceed to making ice cream. This will give you a peanut butter cup chocolate ice cream.
- Use Vanilla Ice Cream – If you have homemade vanilla ice cream, you can use it to make peanut butter cup ice cream. Add creamy peanut butter and make a peanut butter swirl. Topped with peanut butter cups.
Recipe Tips
- Lightly spray your measuring cup with a nonstick spray to make the peanut butter easier to remove.
- Don’t have Reese’s peanut butter cups, you can use your favorite chocolate bars, nuts, cookies, or a combination of all!
Recipe FAQs
This no-churn peanut butter cup ice cream can last up to 1 month in the freezer. Just make sure it is covered with plastic wrap or in an airtight container with parchment paper to avoid crystal formation.
Yes, it is possible. Check whether your peanut butter cups and creamy peanut butter are gluten-free before using them. For the milk, use gluten-free alternatives like almond, soya, oat, and coconut milk.
Scoop peanut butter cup ice cream into waffle cones, cups, and bowls. Drizzle with chocolate syrup or hot fudge sauce, extra peanut butter cups, and more whipped cream.
More Recipes To Try

Peanut Butter Cup Ice Cream (No Churn)
Equipment
Ingredients
- 1 cup (240 ml) milk *see note
- 1 cup (200 g) granulated white sugar
- ¾ cup (203 g) creamy peanut butter
- 2 cups (480 ml) heavy whipping cream
- 10-12 ounces mini peanut butter cups coarsely chopped
Instructions
- In a small saucepan on low heat, whisk together milk, sugar, and peanut butter just until sugar dissolves and mixture is smooth and creamy. Remove from heat to cool.
- In large mixing bowl, beat whipping cream on high speed with hand mixer until you get a whipped cream consistency (about 3-4 minutes).
- Once peanut butter mixture has cooled to room temperature, whisk again, then add it to the whipped cream and beat just until combined. Mixture should be similar to whipped cream.
- Transfer to freezable loaf pan. (Mixture should be slightly thick and be able to hold peanut butter cups without them sinking.) Add about 1 cup of the peanut butter cups and stir or press them into the middle and toward the bottom. Add the remaining peanut butter cups to the top. Cover with aluminum foil and freeze at least 6 hours or overnight.
Notes
- Storage: This no-churn peanut butter cup ice cream can last up to 1 month in the freezer. Just make sure it is covered with plastic wrap or in an airtight container with parchment paper to avoid crystal formation.
- 1% milk works well with this recipe since you’re adding the fat of the peanut butter, but you can choose to use 2% or whole milk.
- Do not use natural peanut butter.
- Make sure peanut butter mixture is cool before adding it to the whipped topping. You can move it into the refrigerator to cool while making the whipped cream, but just make sure to place it on a trivet or kitchen towel so the warm pan doesn’t break the glass shelf.


Comments & Reviews
Type your question or comment below, and tap "Post Comment". I welcome constructive criticism, but please be respectful. Rude or inappropriate comments will not be published. Thank you!Baking isn't always easy! So if you had any issues, I'd appreciate the chance to help you troubleshoot before you rate.