Hawaiian Dinner Rolls
This Post May Contain Affiliate Links. Please Read Our Disclosure Policy.
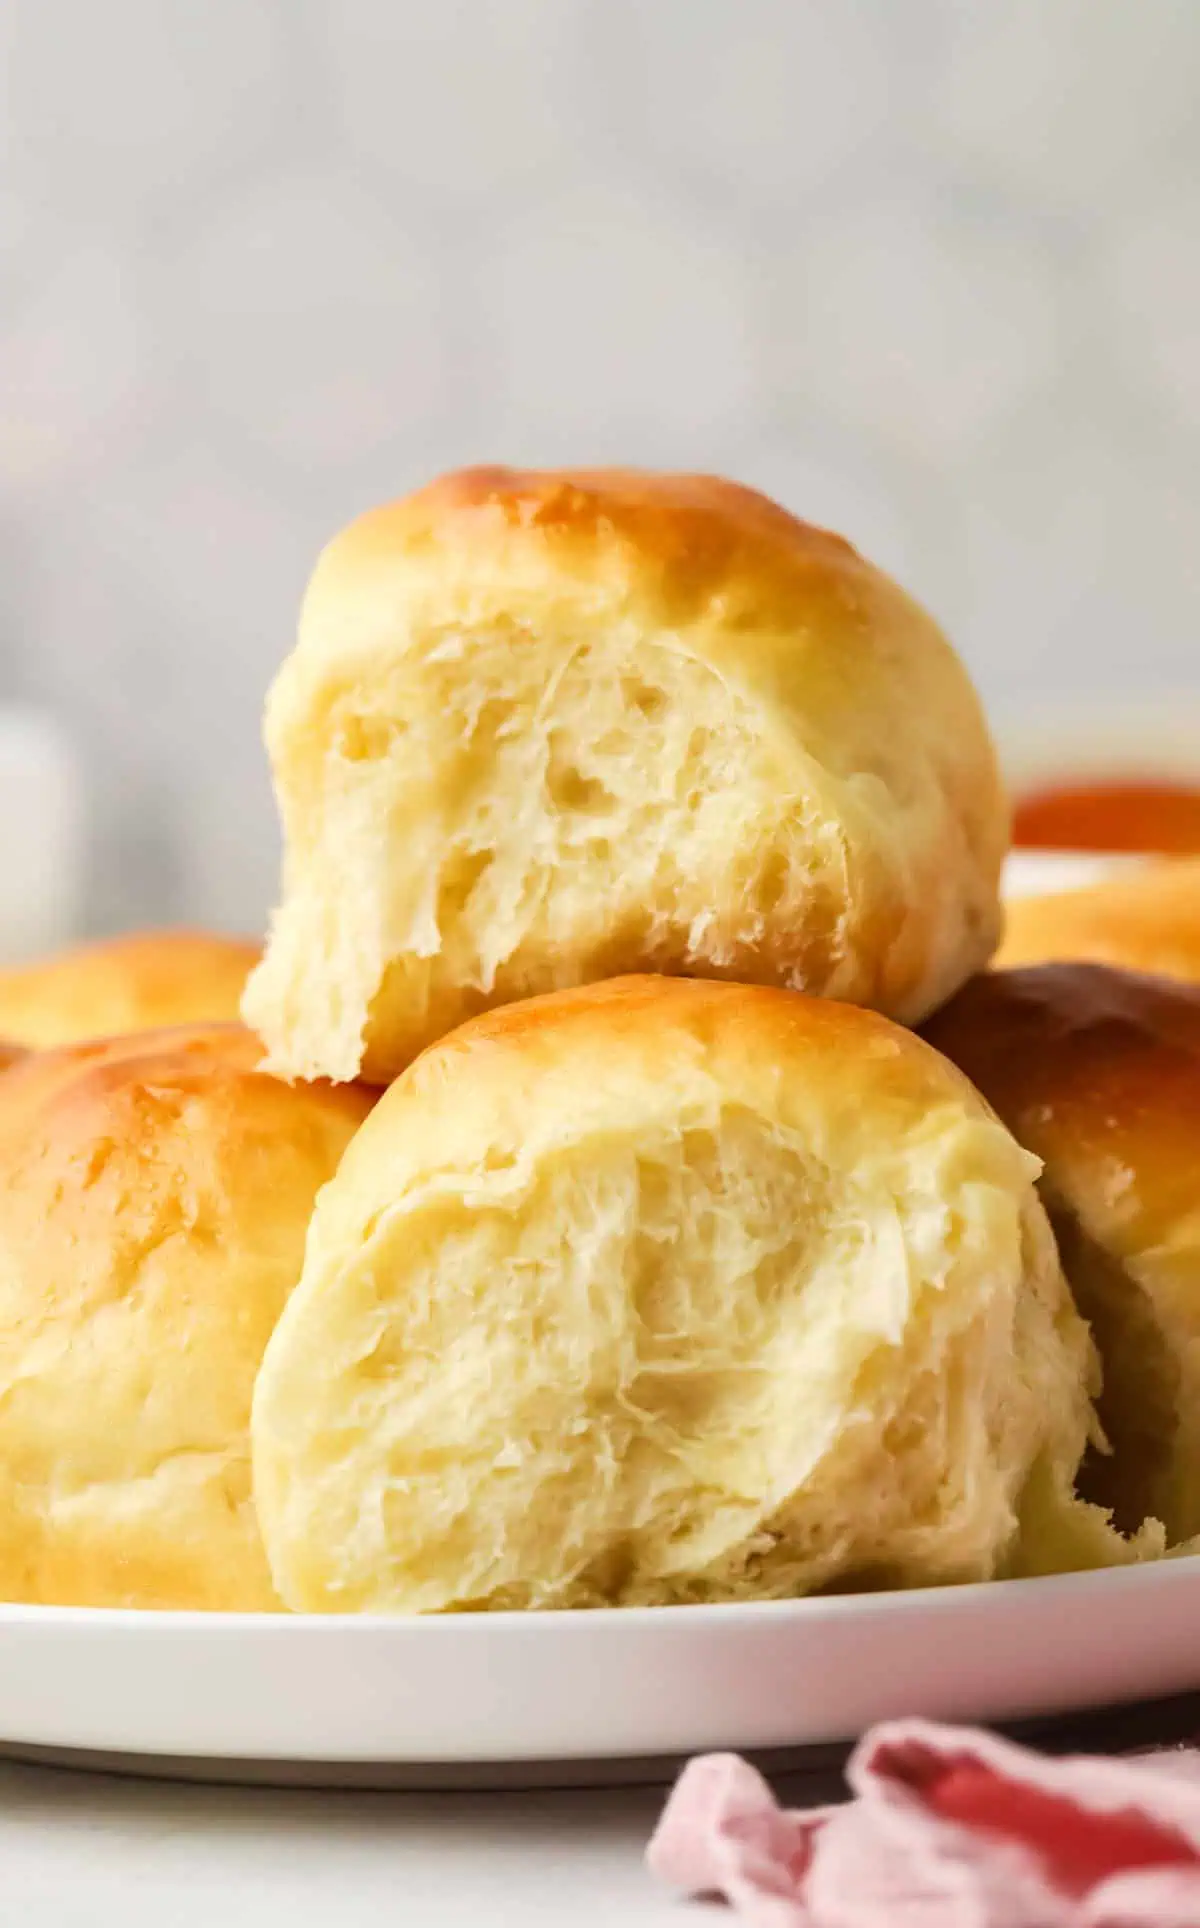
If you’ve ever wished you could recreate those soft, sweet Hawaiian rolls from the grocery store at home, this recipe is for you. These homemade Hawaiian dinner rolls bake up incredibly fluffy with a buttery, tender crumb and just the right amount of sweetness. They’re perfect for holiday dinners, sliders, holiday leftovers, or simply enjoying warm maybe with a pat of honey butter?
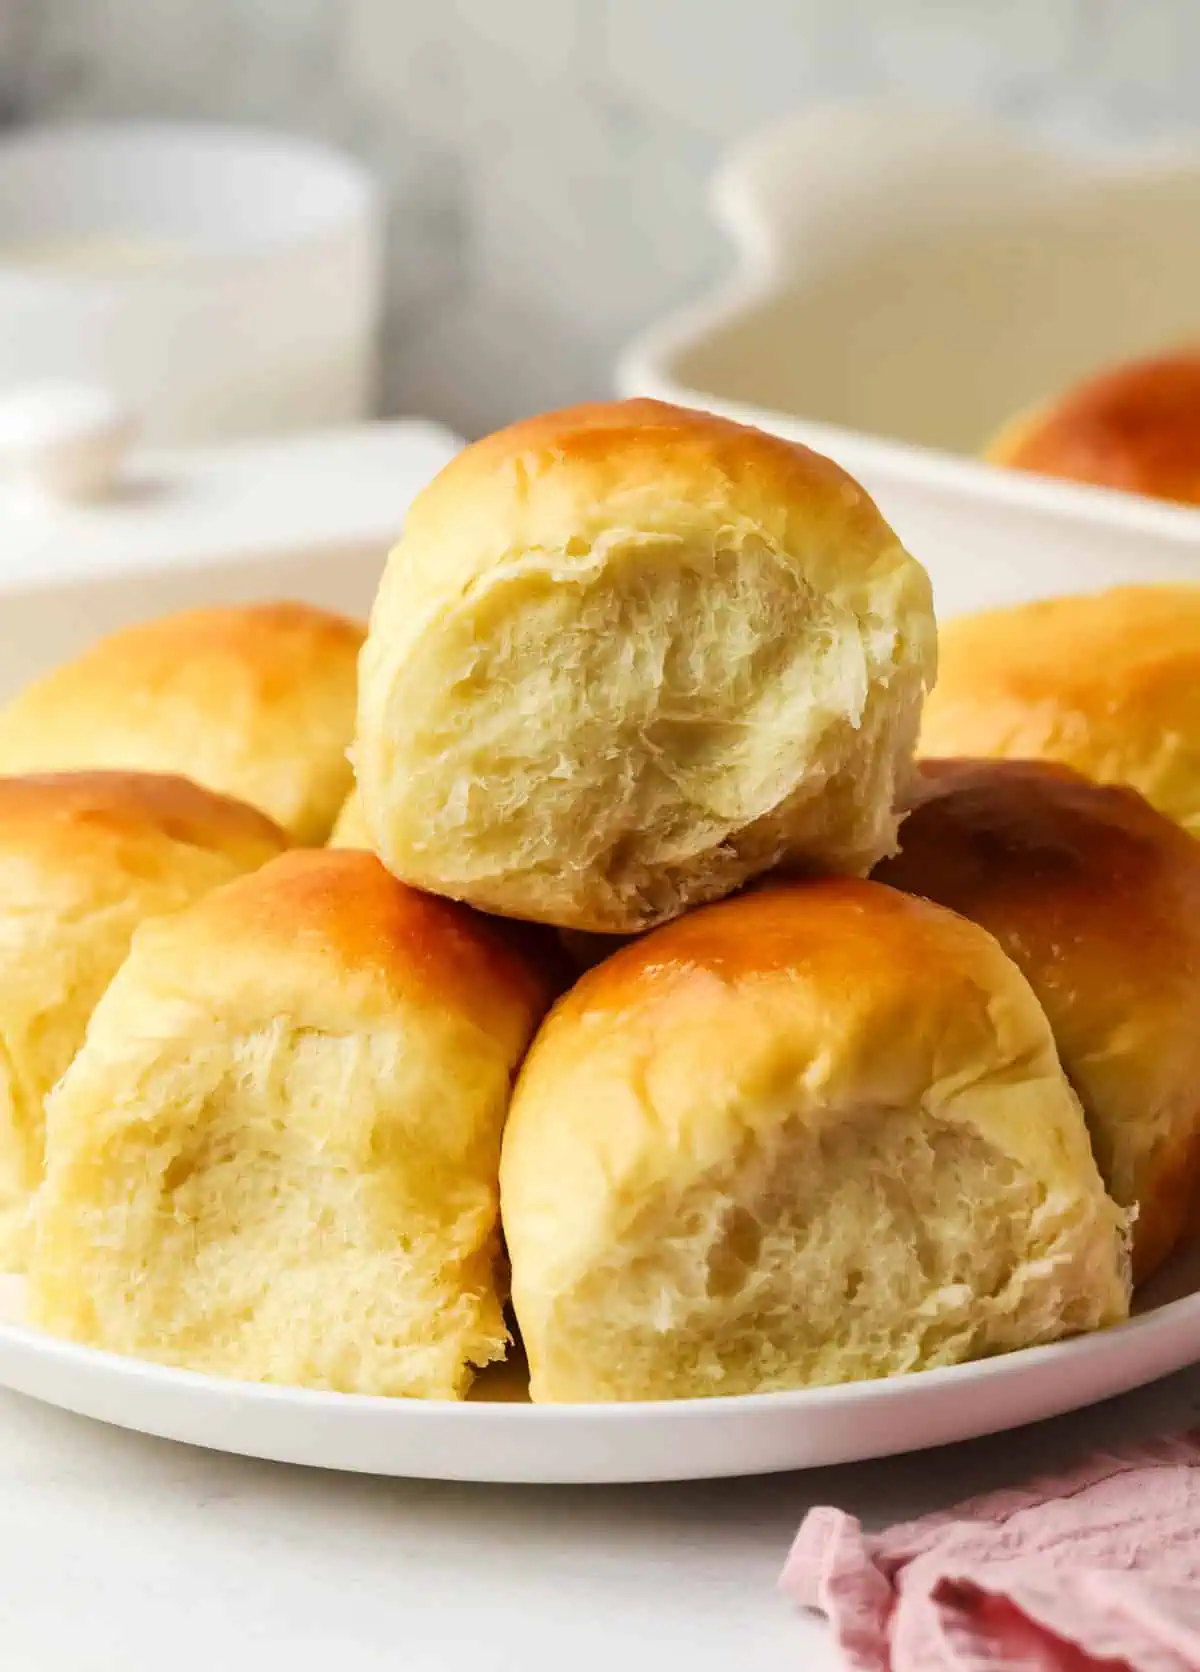
I tested this recipe multiple times because I wanted homemade rolls that actually tasted like the classic Hawaiian rolls I grew up eating—not just regular dinner rolls with pineapple juice added. After plenty of testing, I landed on a recipe that’s soft, rich, slightly sweet, and surprisingly easy to make at home.
I actually started with my homemade cinnamon roll recipe as the base. From there, I adjusted the ingredients and proportions until the rolls had that signature soft, fluffy texture and subtle sweetness that makes Hawaiian rolls so irresistible. After five rounds of testing I think I absolutely nailed it.
These rolls quickly became a favorite in our house. My two toddlers absolutely devoured every batch I made while testing, which is always the best sign a recipe is a keeper! They also freeze beautifully, so I love making a batch ahead of time to have ready for busy weeknights, holiday dinners, or whenever we’re craving fresh bread.
They’re incredibly versatile too. I love serving them warm with homemade cinnamon honey butter, piling them high with ham and cheese for sliders, or adding them to our Thanksgiving and Christmas dinner table. If you love baking homemade breads, be sure to try my Homemade Pecan sticky buns, Soft Dinner Rolls, or no knead brioche recipe next.
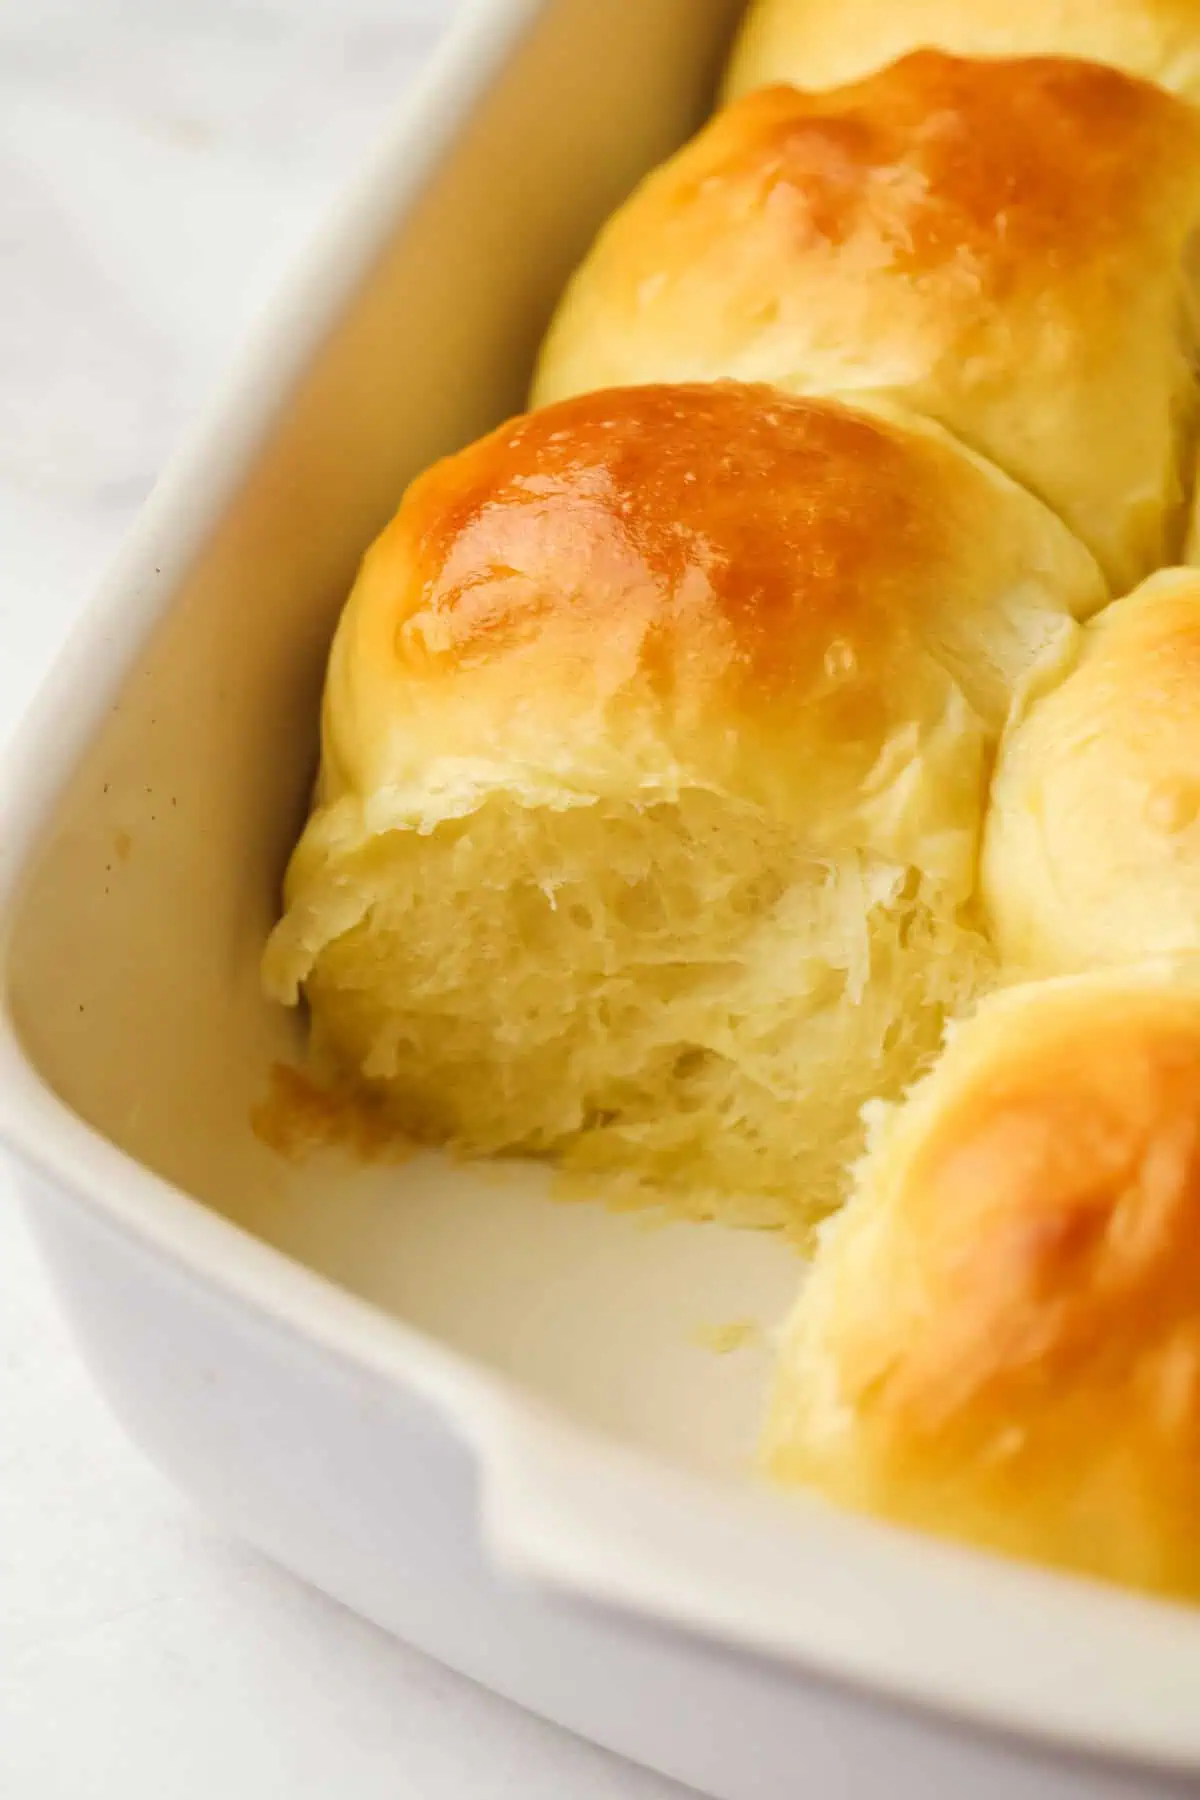
Type of Flour Used
One question I kept coming back to while testing this recipe was whether all-purpose flour or bread flour would make the better Hawaiian roll. So naturally, I tested both.
After several batches, I found that I actually preferred the all-purpose flour version. It produced a softer, fluffier roll that was much closer to the classic King’s Hawaiian texture I was trying to recreate. Since all-purpose flour has a lower protein content than bread flour, it develops a little less gluten, giving the rolls a more tender crumb.
That said, the bread flour version was excellent too—it just had a slightly chewier texture. One thing I did notice was that the dough made with bread flour was easier to work with. It felt less sticky during kneading, held its shape better during shaping, and was a little more forgiving if you’re newer to working with yeast doughs.
So while I recommend all-purpose flour for the softest rolls, don’t hesitate to use bread flour if that’s what you have on hand or if you’re making homemade yeast rolls for the first time. You’ll still end up with delicious rolls—just with a slightly chewier bite.
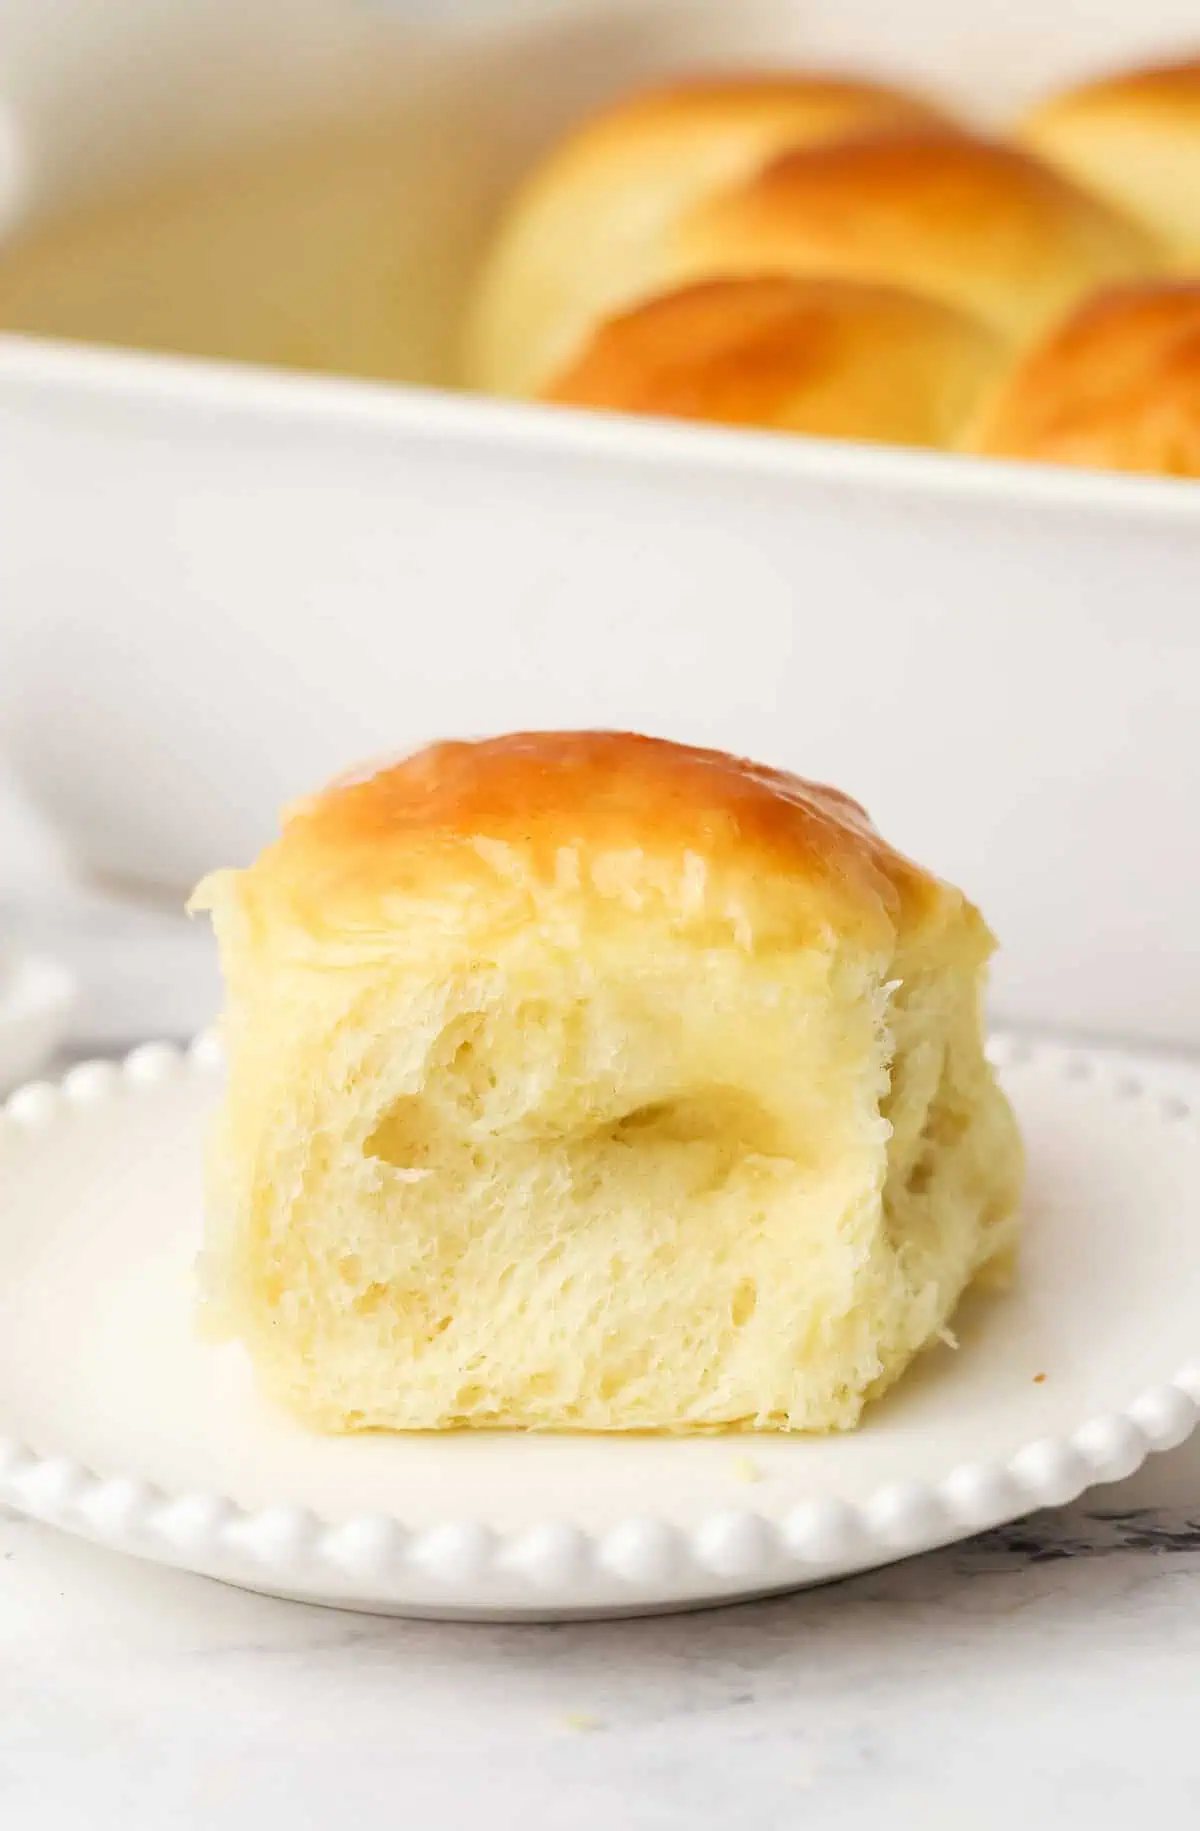
Why This Recipe Works
- All-purpose flour creates a softer, fluffier roll. After testing with both all-purpose and bread flour, I found that all-purpose flour produced the tender, pillowy texture that’s most similar to classic Hawaiian rolls. Bread flour works too, but the rolls are slightly chewier.
- Pineapple juice and two kinds of sugar create the signature flavor. Pineapple juice adds that subtle Hawaiian roll flavor without making the rolls taste fruity, while the combination of granulated sugar and brown sugar creates the perfect balance of sweetness and adds a hint of caramel flavor.
- Adding an egg wash creates beautifully golden brown rolls. Don’t skip it! I lightly brush the egg wash on before baking which helps brown the tops.
Ingredients
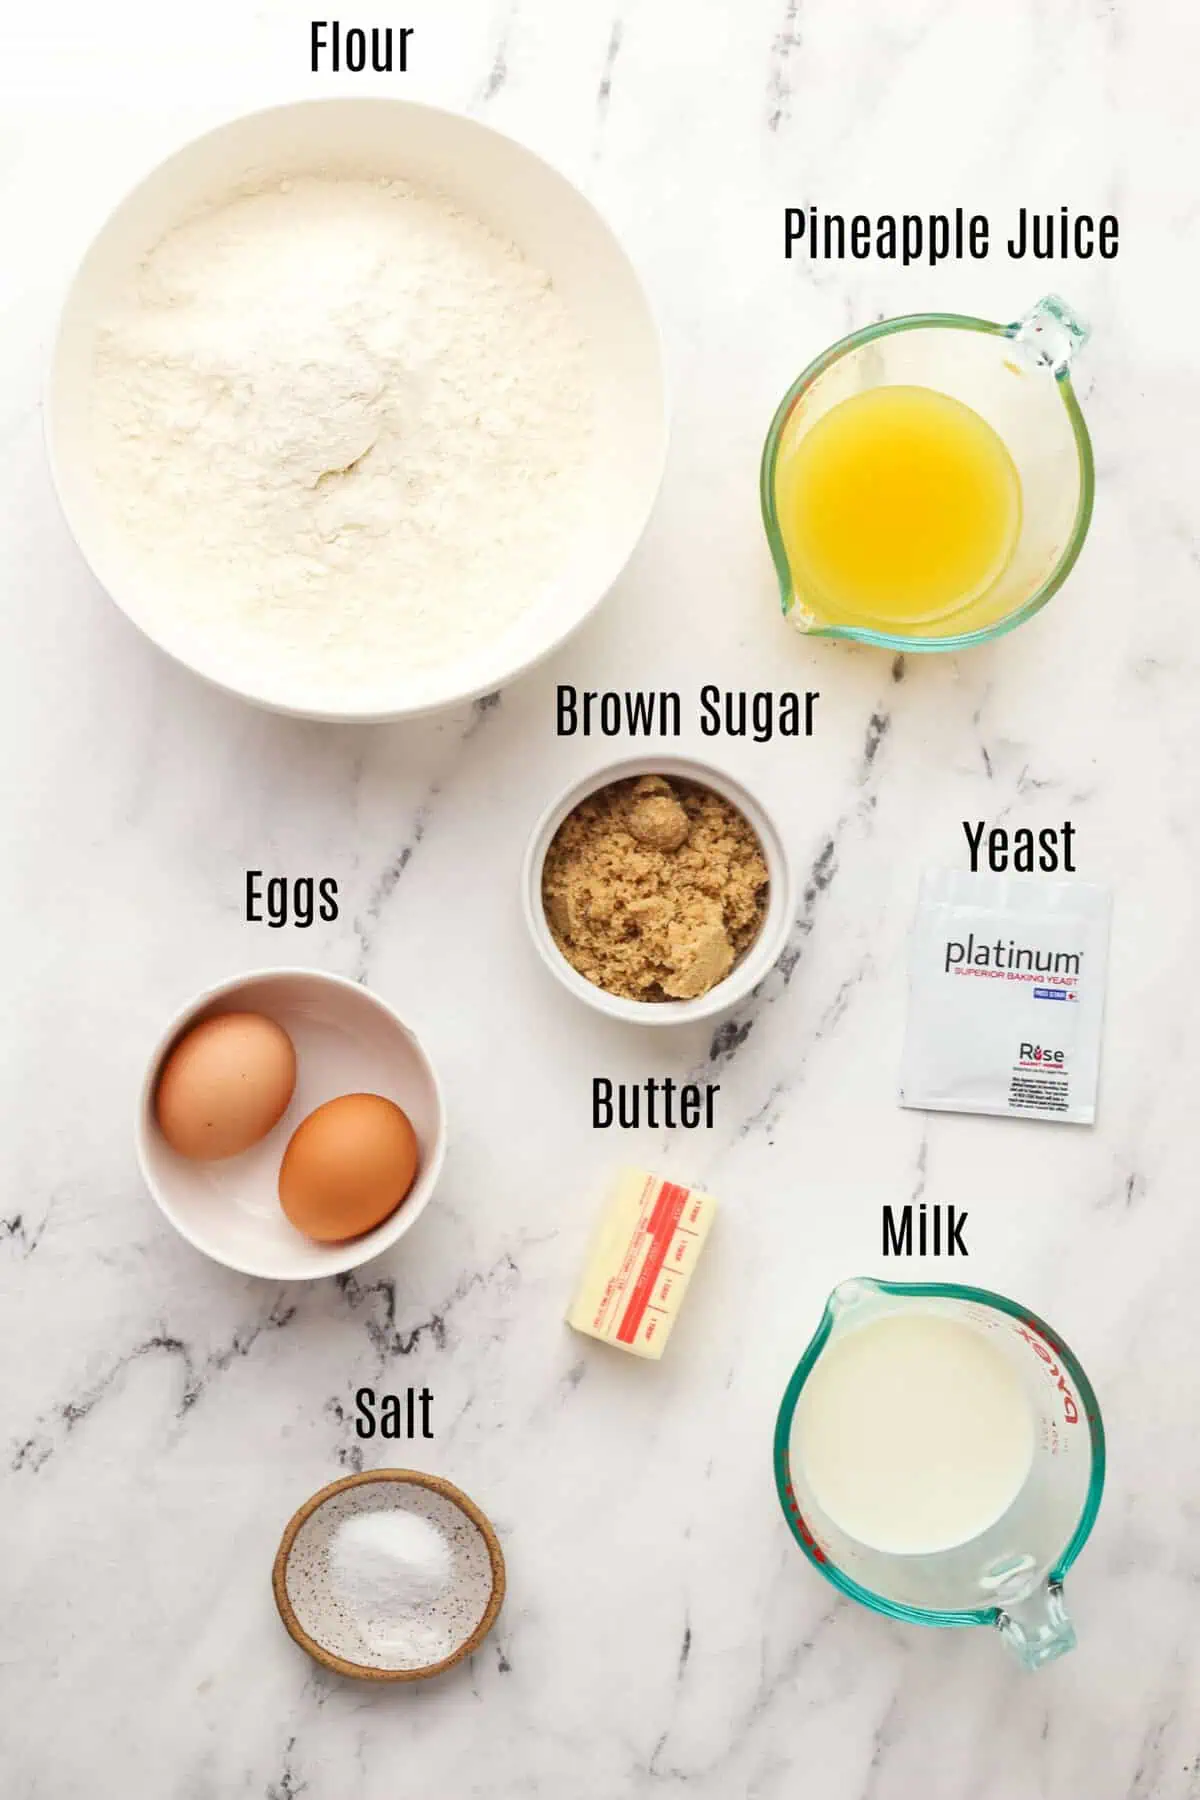
- All-purpose flour: Start with 4 1/2 cups and only add more if the dough is still very sticky after kneading. Too much flour will make the rolls dense. You may need to add up to 1/2 cup more.
- Instant yeast: If using active dry yeast, allow extra time for both rises.
- Light brown sugar – If you run out, read How To Make Brown Sugar.
- Fine sea salt – Kosher or table salt also work.
- Eggs: Bring them to room temperature so they incorporate more easily into the dough. Read How To Get Room Temperature Eggs Fast
- Milk: Warm it until it’s just warm to the touch, not hot. Whole milk is best for texture but a light milk can also be used. I haven’t tested with a dairy-free milk.
- Pineapple juice: Use 100% pineapple juice, not a juice cocktail. This is what gives the rolls their sweet signature flavor. I don’t recommend fresh pineapple juice as it can interfere with gluten development.
- Unsalted butter: You can also use salted butter. Reduce the salt slightly.
- Egg wash: Brushing the tops before baking creates a beautiful golden brown finish. Read What Is An Egg Wash?
How to Make the Dough
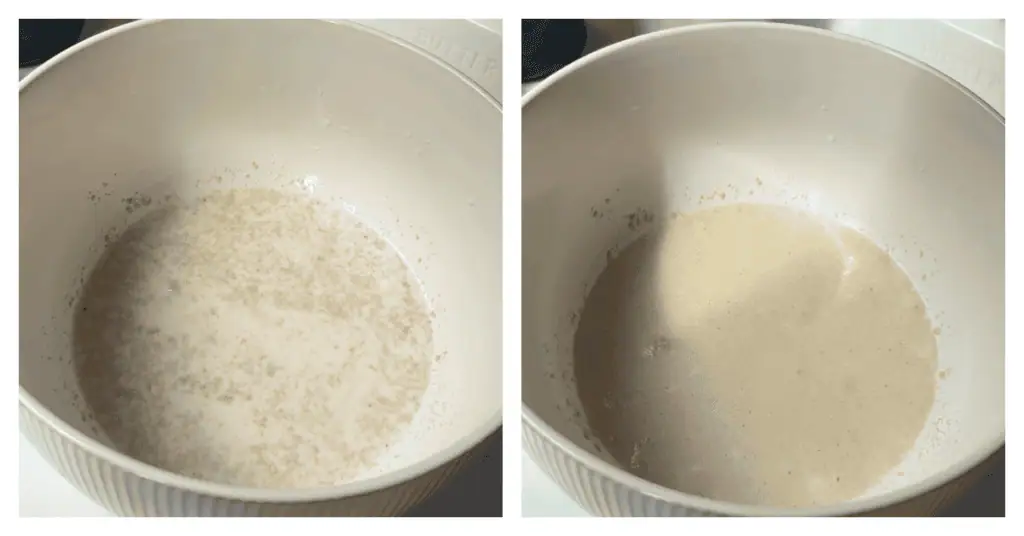
Start by proofing the yeast. Stir together the warm milk, 1 tablespoon of the brown sugar, and the yeast. Let the mixture sit for 5–10 minutes until it becomes foamy. If nothing happens, your yeast is likely inactive or the milk was too hot and killed it and should be replaced before continuing.
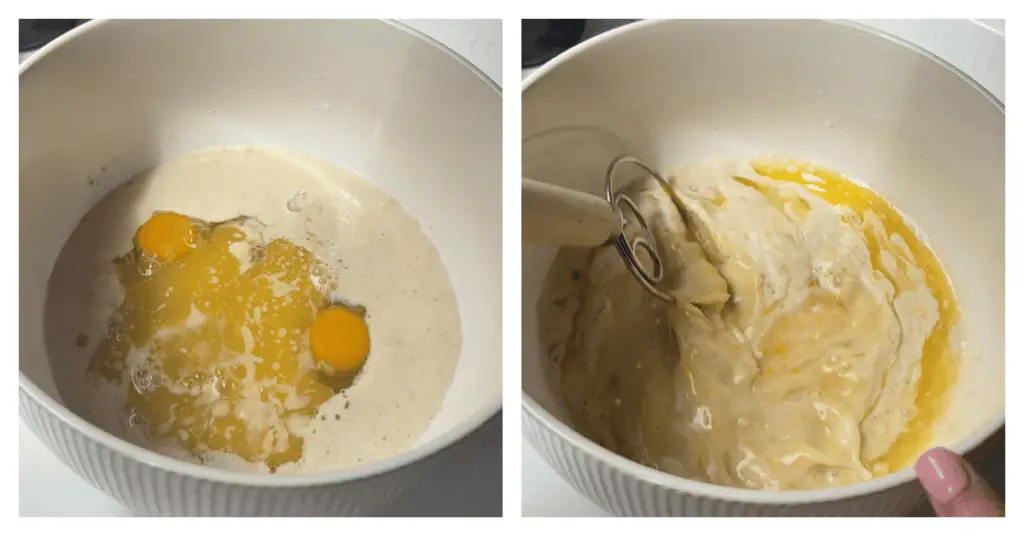
Whisk in the pineapple juice, remaining brown sugar, melted butter, and eggs until combined.
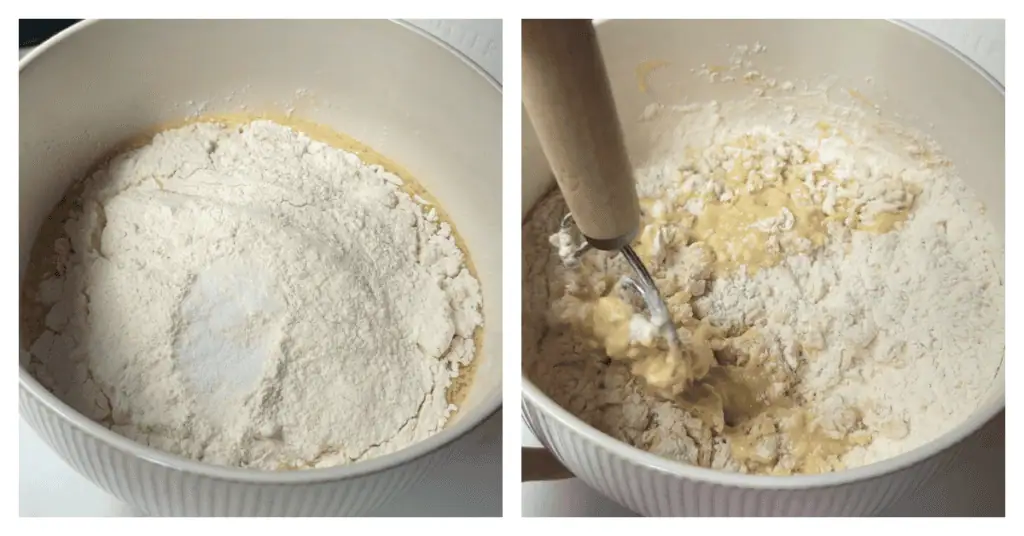
Add the flour and salt, stirring until a shaggy dough forms. At this point it will look rough and slightly sticky, which is exactly what you want.
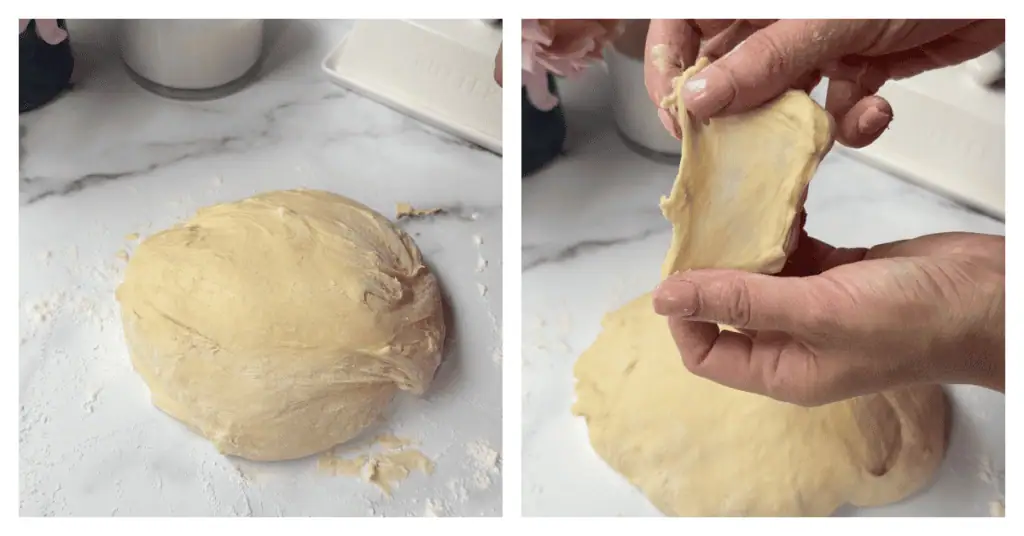
Knead the dough for about 8-10 minutes in a stand mixer or about 10-15 minutes by hand. If the dough is sticking excessively to your hands or the bowl, sprinkle in additional flour one tablespoon at a time. The dough should remain slightly tacky but feel smooth and elastic.
To know when you’ve kneaded enough, perform the windowpane test. Stretch a small piece of dough between your fingers. If you can stretch it thin enough to let light pass through without tearing, the gluten has developed properly.
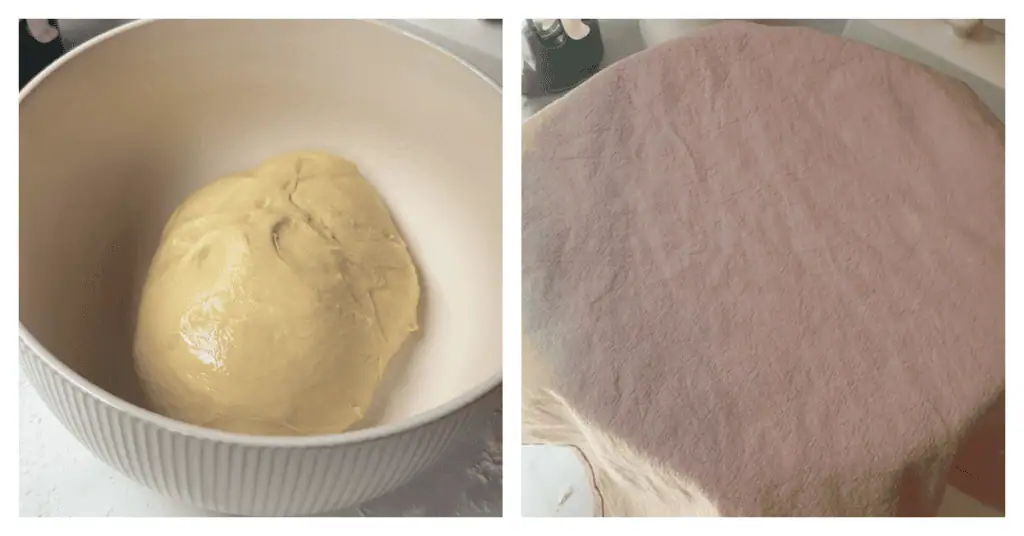
Transfer the dough to a lightly greased bowl, turning once to coat. Cover and let it rise until doubled in size, about 1 to 1½ hours. The rising time will vary depending on the temperature of your kitchen. In the summer my dough rises much faster than in the winter.
How To Shape The Rolls
Lightly grease a 9×13-inch baking pan. Cooking spray or butter work great.
Gently punch down the dough.
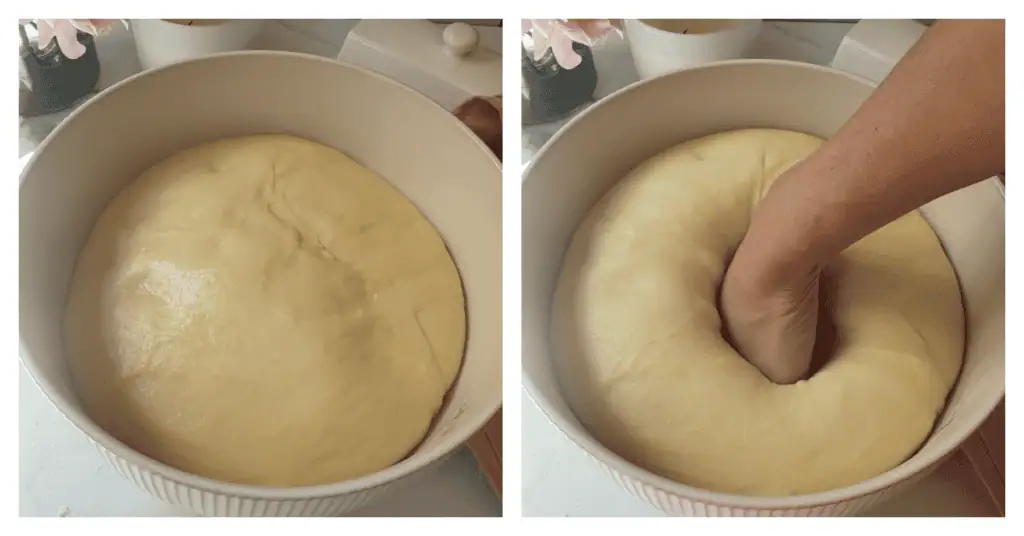
Turn the risen dough onto a lightly floured surface and divide it into 15 equal portions. Using a kitchen scale helps ensure evenly sized rolls that bake at the same rate. Aim for 68-70 g each.
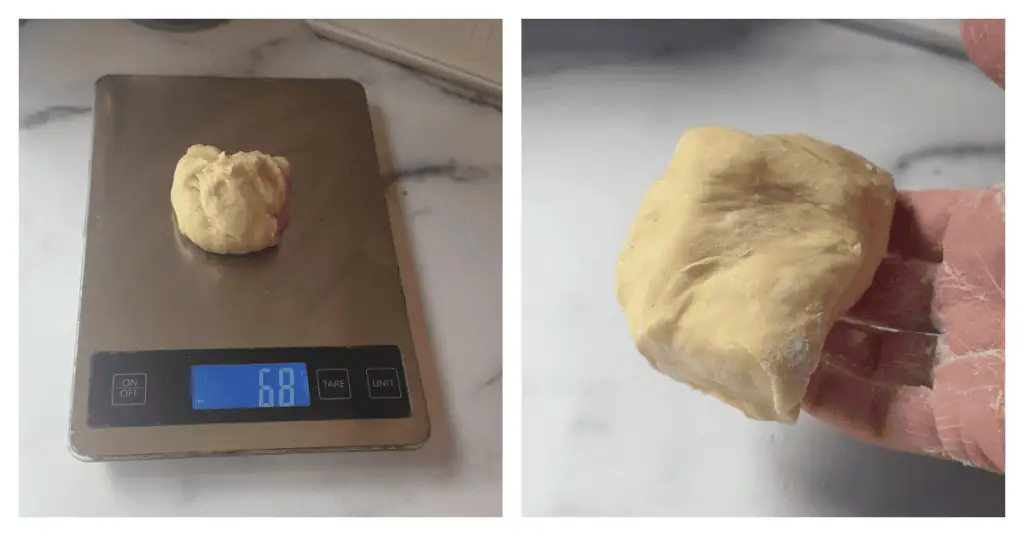
To shape each roll, bring the edges of the dough toward the center and pinch them together.
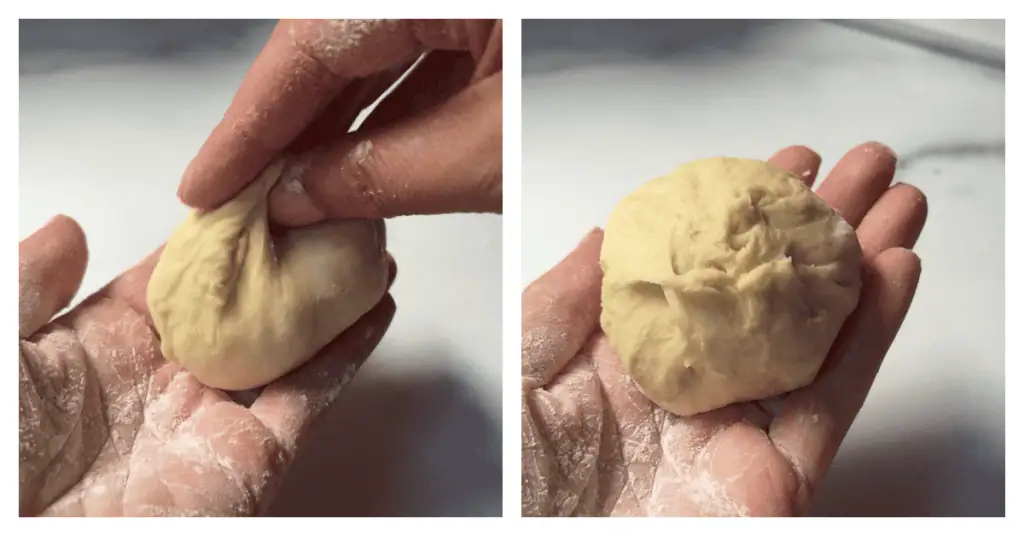
Turn the dough seam-side down and cup your hand over the dough, gently rolling it against the counter to create a smooth, tight ball. This creates surface tension, helping the rolls rise taller in the oven.
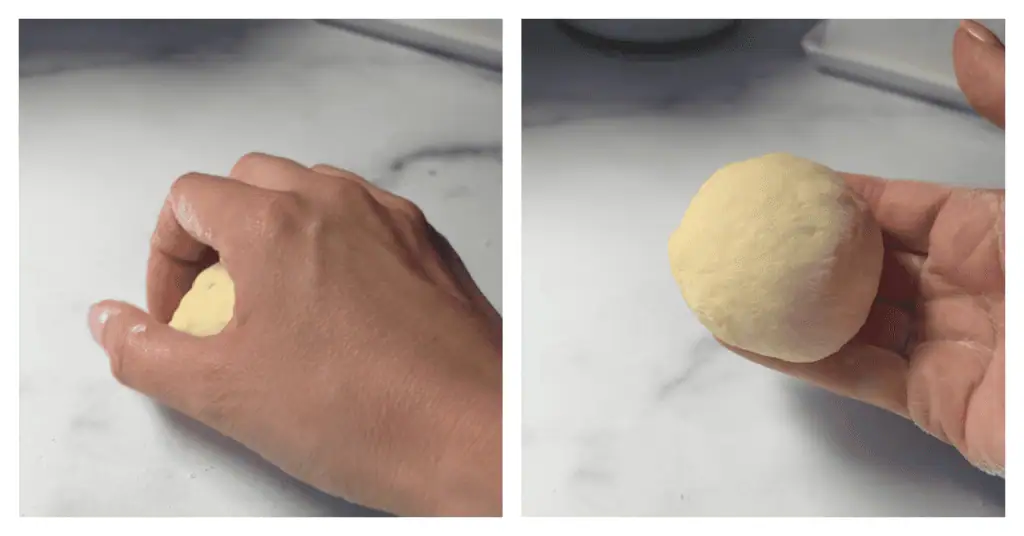
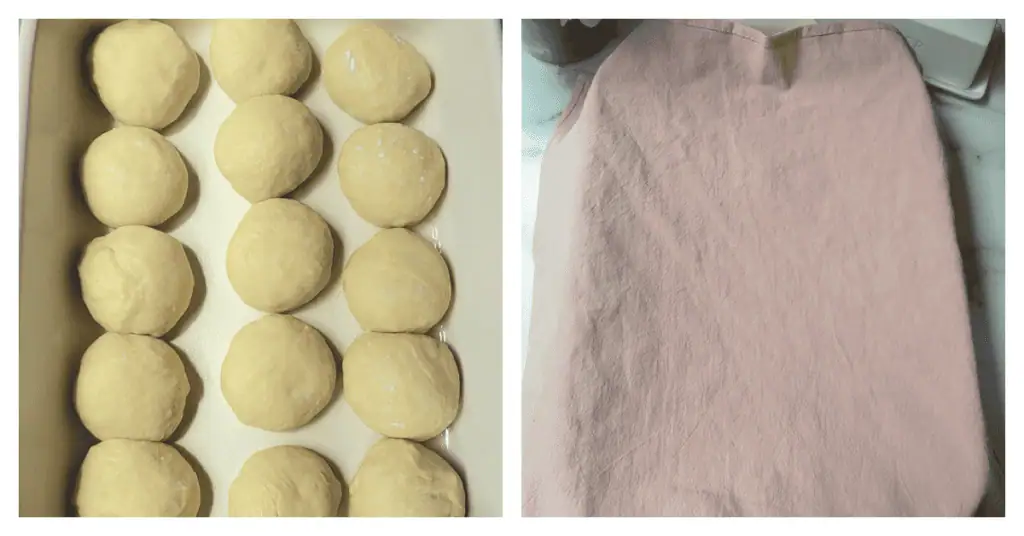
Arrange the dough balls in five rows of three inside the prepared pan.
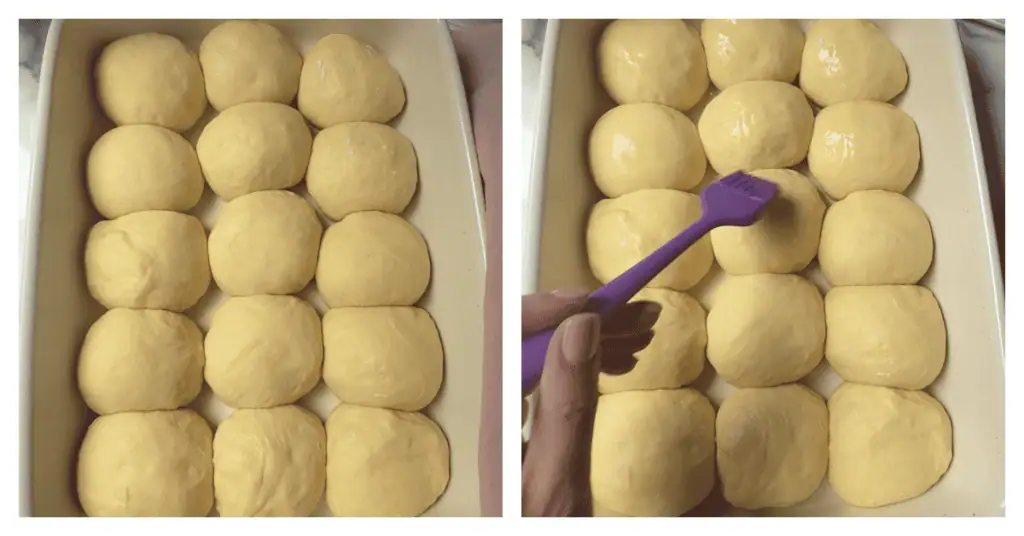
Cover and let the rolls rise again for 45 minutes to 1 hour until they’re puffy and nearly doubled. When lightly pressed with your fingertip, the dough should slowly spring back.
Brush each roll with egg wash just before baking. This gives the tops their beautiful golden shine.
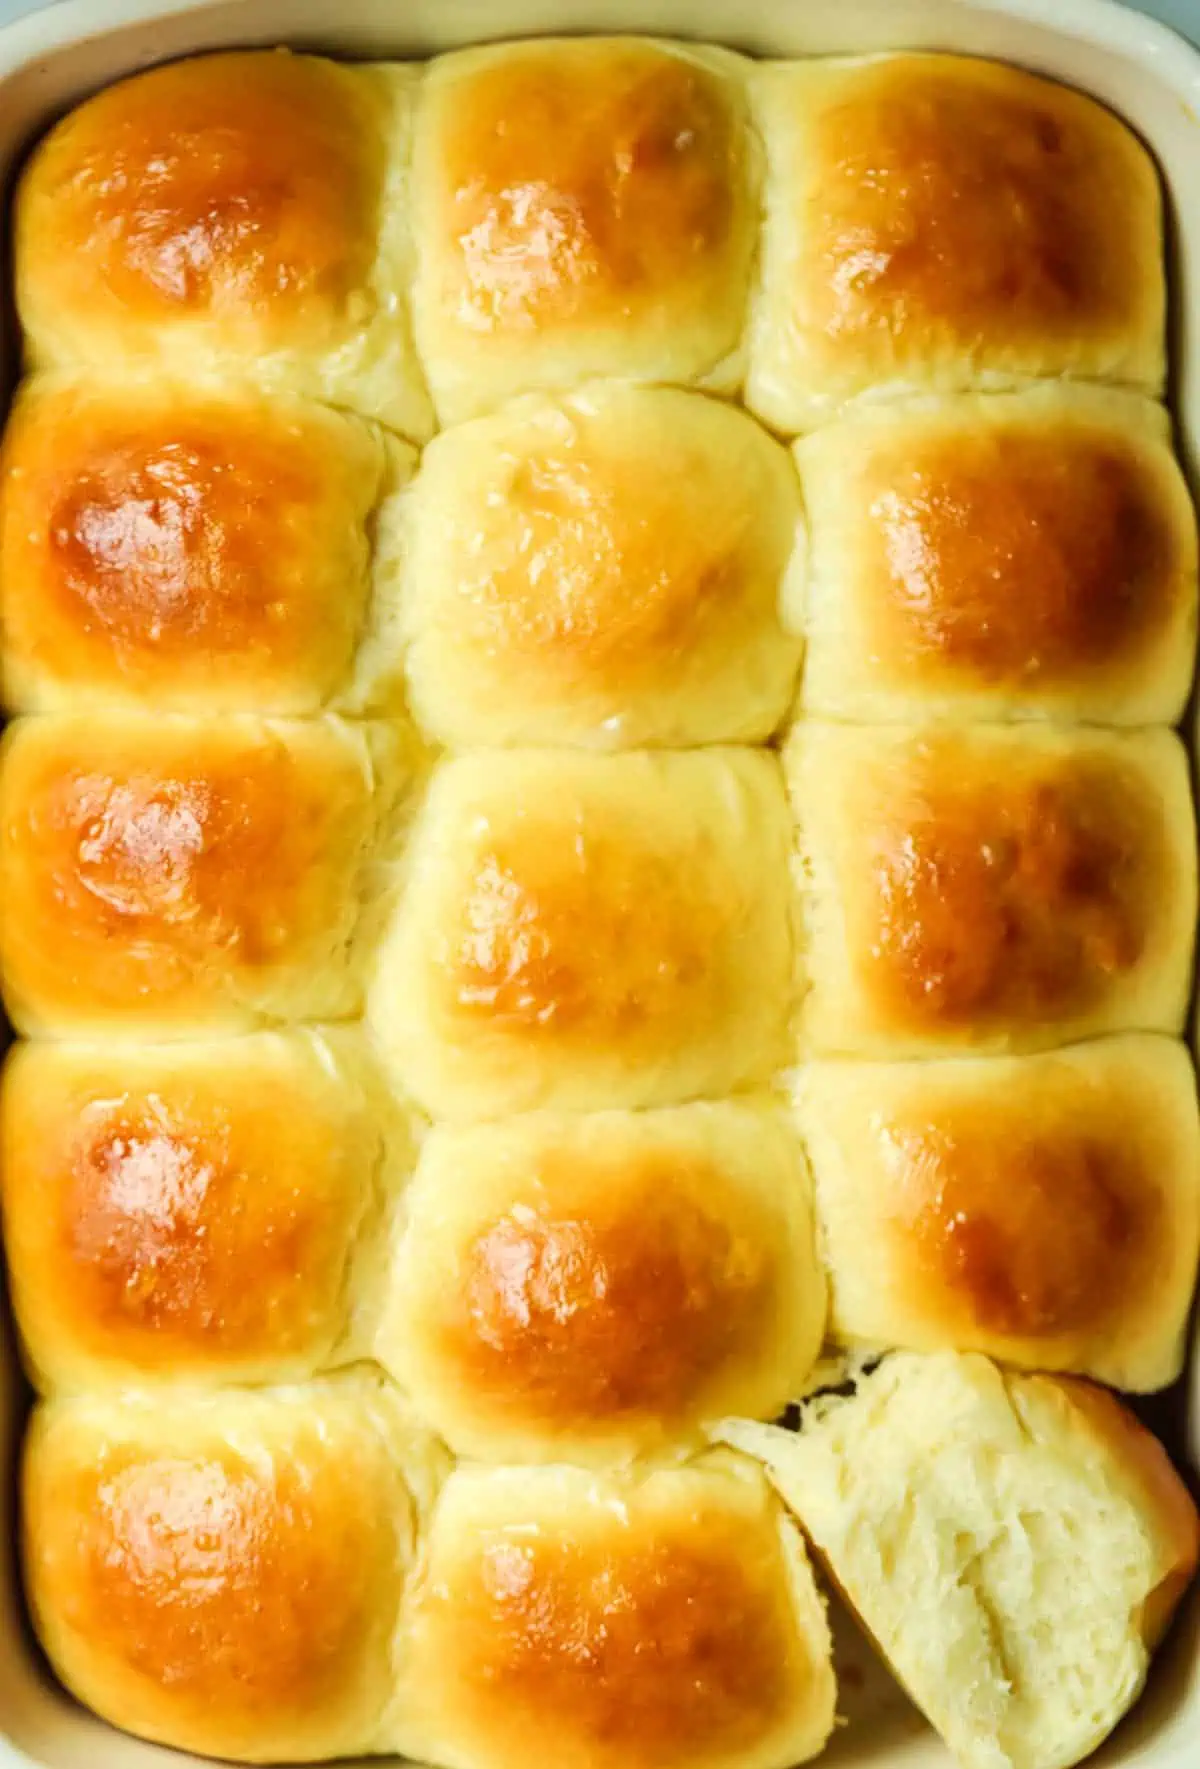
Bake at 375°F for 20-25 minutes until the rolls are deeply golden brown. I like to test to see if they have reached an internal temperature of 190oF.
As soon as they come out of the oven, rub a stick of cold butter over the tops while they’re still hot. The butter melts into the crust, making the rolls extra soft and flavorful.
Recipe Tips
- Don’t rush the kneading. A full 10 minutes at least develops enough gluten to create soft, fluffy rolls. But knead on a low speed so you don’t over knead our burn out your motor!
- Avoid adding too much flour. The dough starts out sticky but becomes much easier to handle as you knead. Too much flour can result in dense rolls so resist the urge to add more.
- Weighing the dough is best. Weigh the dough before dividing it into portions so every roll is the same size and bakes evenly.
- Shape each dough ball tightly. Creating surface tension helps the rolls rise taller and bake into beautiful domes.
- Bake just until the tops are golden brown. Overbaking will dry out the rolls and make them less soft.
- Proofing in a warm place. You need a warm kitchen to let the rolls rise properly. If your kitchen is too cold, you can always let proof in your oven with the oven light on. Just make sure it’s OFF!
Storage And Make Ahead Instructions
If you want to get ahead for making these for a holiday, you can always make the dough and shape them. Once shaped, cover and let refrigerate overnight. Then proof on the counter. You will need to let them come to room temperature then go through the normal second rise time.
Store cooled Hawaiian rolls in an airtight container or zip-top bag at room temperature for up to 3 days. To freshen them up, warm individual rolls in the microwave for 10 to 15 seconds or in a 300°F oven for a few minutes.
To freeze baked rolls, allow them to cool completely before transferring them to a freezer-safe bag or airtight container. Freeze for up to 3 months. Thaw at room temperature, then warm in a 300°F oven for 8 to 10 minutes or microwave for 20 to 30 seconds.
Recipe FAQs
Yes you can make these smaller – 18 or 20 rolls. You will just need to bake them for less time. Not sure how long they would take – I would start with 10 minutes and check from there.
I wouldn’t. Sugar doesn’t just sweeten it tenderizes the dough and if you reduce the sugar or substitute it can result in a tough, dry roll.
More Recipes To Try
Love baking bread from scratch? Be sure to try a few of my other reader favorites! My Easy Self-Rising Flour Biscuits are quick enough for busy weeknights.
My Buttermilk Drop Biscuits are wonderfully flaky without any kneading, and my Homemade Cinnamon Raisin Bread makes the perfect breakfast or afternoon snack. They’re all simple, reliable recipes that are perfect for beginner bakers.
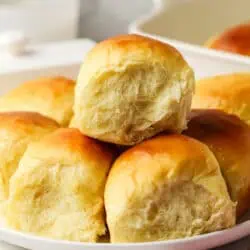
Hawaiian Rolls
Ingredients
- ⅔ cups (160 mL) whole milk warmed to 105-110°F
- ¼ cup (53 g) packed light brown sugar, divided
- 2 ¼ teaspoons (1 packet) instant yeast *see note if using active dry yeast
- ⅔ cup (160 mL) pineapple juice, room temperature
- 4 tablespoons (57 g) unsalted butter, melted
- 2 large eggs room temperature
- 1 teaspoon salt
- 4 ½-5 cups (520-600 g) all-purpose flour spooned and leveled or weighed
- Egg wash: 1 egg mixed with 1 Tablespoon water
Instructions
- Proof yeast. In a large mixing bowl, stir together the warmed milk, 1 Tablespoon brown sugar, and yeast. Let proof for 5-10 minutes until foamy. You can make this dough in a mixing bowl by hand or your stand mixer. ⅔ cups (160 mL) whole milk 2 ¼ teaspoons (1 packet) instant yeast
- Make dough. Add the pineapple juice, remaining brown sugar (3 Tablespoons), melted butter, and eggs. Stir to combine. You can do this with a whisk or your paddle attachment. Add 4 ½ cups of flour and salt and stir to combine. ¼ cup (53 g) packed light brown sugar, ⅔ cup (160 mL) pineapple juice, 4 tablespoons (57 g) unsalted butter, 2 large eggs 1 teaspoon salt 4 ½-5 cups (520-600 g) all-purpose flour
- Knead dough. If using a stand mixer, attach the dough hook attachment. Knead on medium-high speed for 4 to 5 minutes, or 10 minutes by hand, until soft and smooth ball of dough forms. If dough is super sticky, then add remaining flour 1 Tablespoon at a time. The dough should still be slightly sticky. Knead until the dough passes the windowpane test- pinch a small piece of the dough and gently stretch the dough to see if it creates a thin piece of dough that doesn't tear and light can shine through it. Place the dough in a lightly greased bowl, and turn once to coat. Cover with plastic wrap or a clean kitchen towel. Let rise until puffy and doubled in size, about 1 to 1 ½ hours.
- Shape rolls. Punch down dough, and turn dough onto a lightly floured clean surface. Spray a 9”×13” baking pan with non-stick cooking spray (or brush with butter). Divide the dough into 15 equal portions (you can eyeball or weigh them). Take each dough ball and bring edges of the dough up to the center and pinch together. Flip the ball over and then with a cupped hand roll the dough ball around to create a tight dough ball. Place into the prepared pan in 5 rows of 3.
- Let dough rise. Cover pans with clean kitchen towels, and let rise 45 minutes to 1 hour until about doubled in size and puffy (again rising time will vary). The dough should gently bounce back when pressed.
- Bake rolls. Brush the top of the rolls with the prepared egg wash. Preheat oven to 375oF. Bake for 20-25 minutes or until golden-brown. When done baking, remove rolls from oven and then rub a stick of cold butter all over the tops.
Video
Notes
- Storage: Store cooled Hawaiian rolls in an airtight container or zip-top bag at room temperature for up to 3 days. To freshen them up, warm individual rolls in the microwave for 10 to 15 seconds or in a 300°F oven for a few minutes. To freeze baked rolls, allow them to cool completely before transferring them to a freezer-safe bag or airtight container. Freeze for up to 3 months. Thaw at room temperature, then warm in a 300°F oven for 8 to 10 minutes or microwave for 20 to 30 seconds.
- Make Ahead: If you want to get ahead for making these for a holiday, you can always make the dough and shape them. Once shaped, cover and let refrigerate overnight. Then proof on the counter. You will need to let them come to room temperature then go through the normal second rise time.
- Yeast: If using active dry yeast heat milk increase active rising time.
- Milk: Warm it until it’s just warm to the touch, not hot. Whole milk is best for texture but a light milk can also be used. I haven’t tested with a dairy-free milk.
- Pineapple juice: Use 100% pineapple juice, not a juice cocktail. This is what gives the rolls their sweet signature flavor. I don’t recommend fresh pineapple juice as it can interfere with gluten development.
- Unsalted butter: You can also use salted butter. Reduce the salt slightly.