This Post May Contain Affiliate Links. Please Read Our Disclosure Policy.
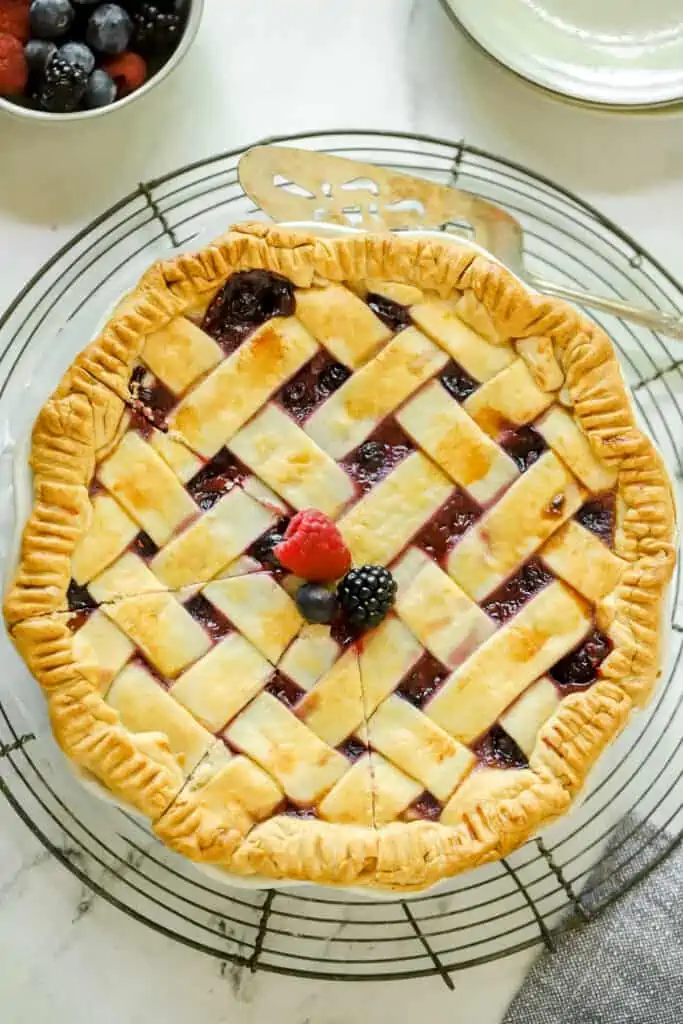
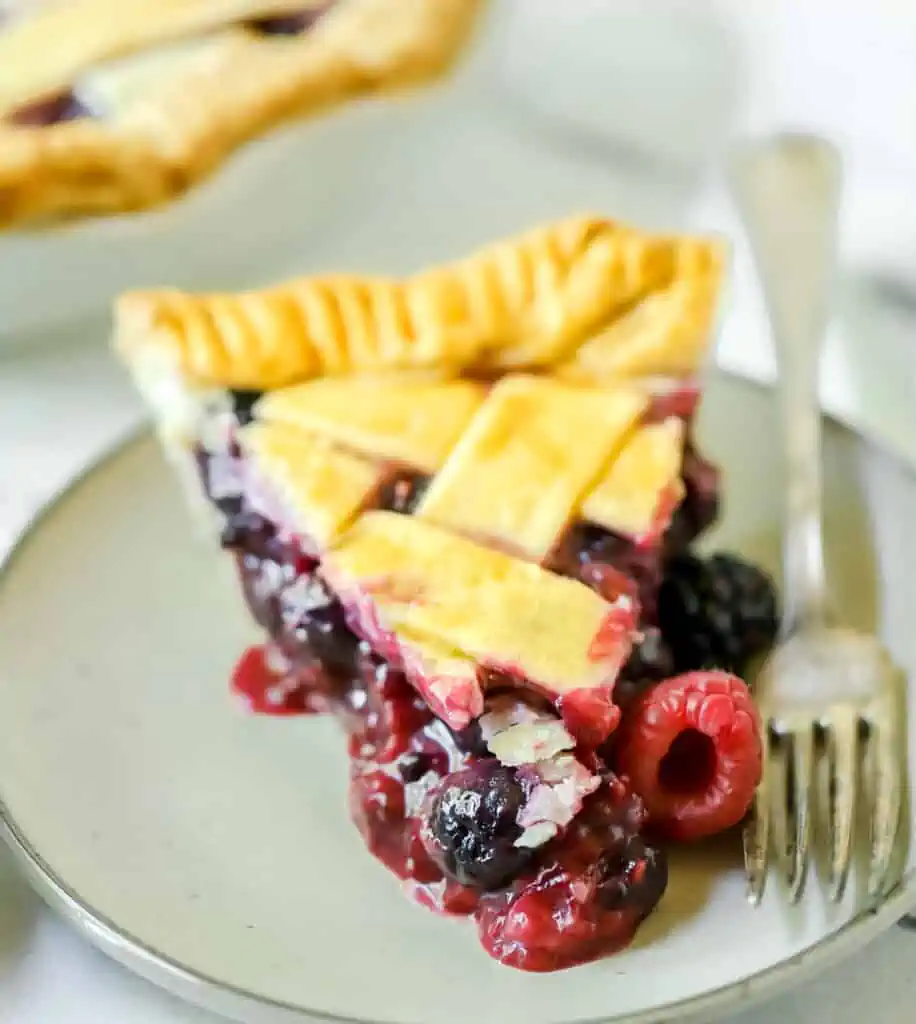
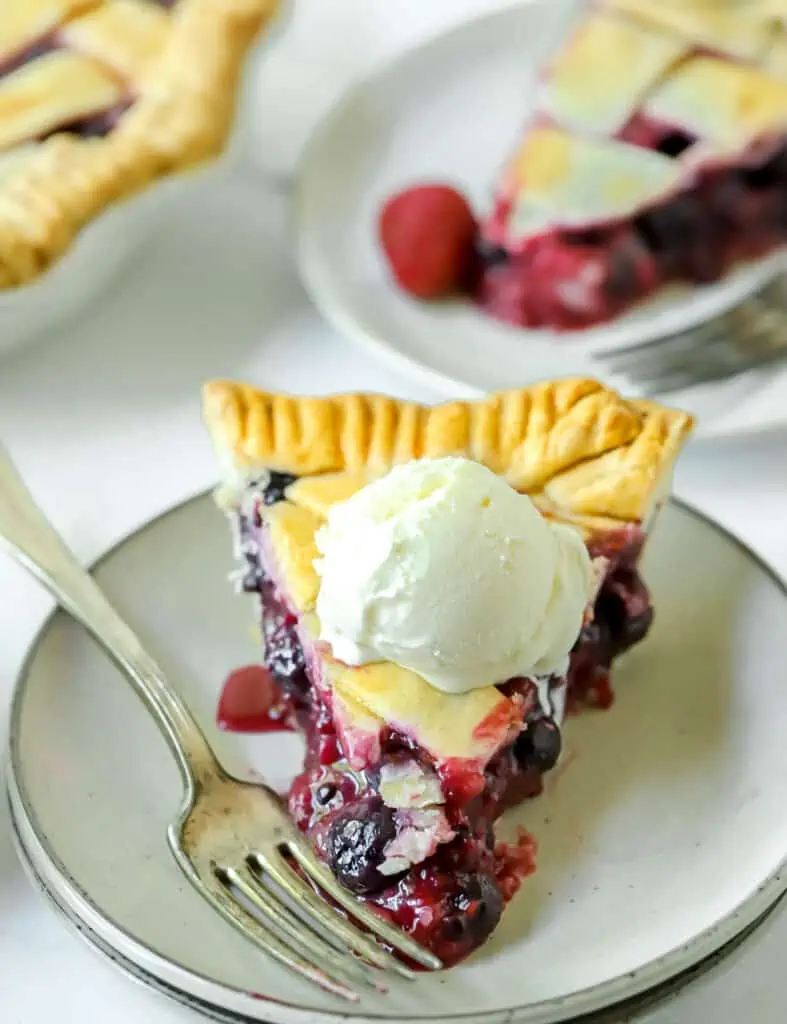
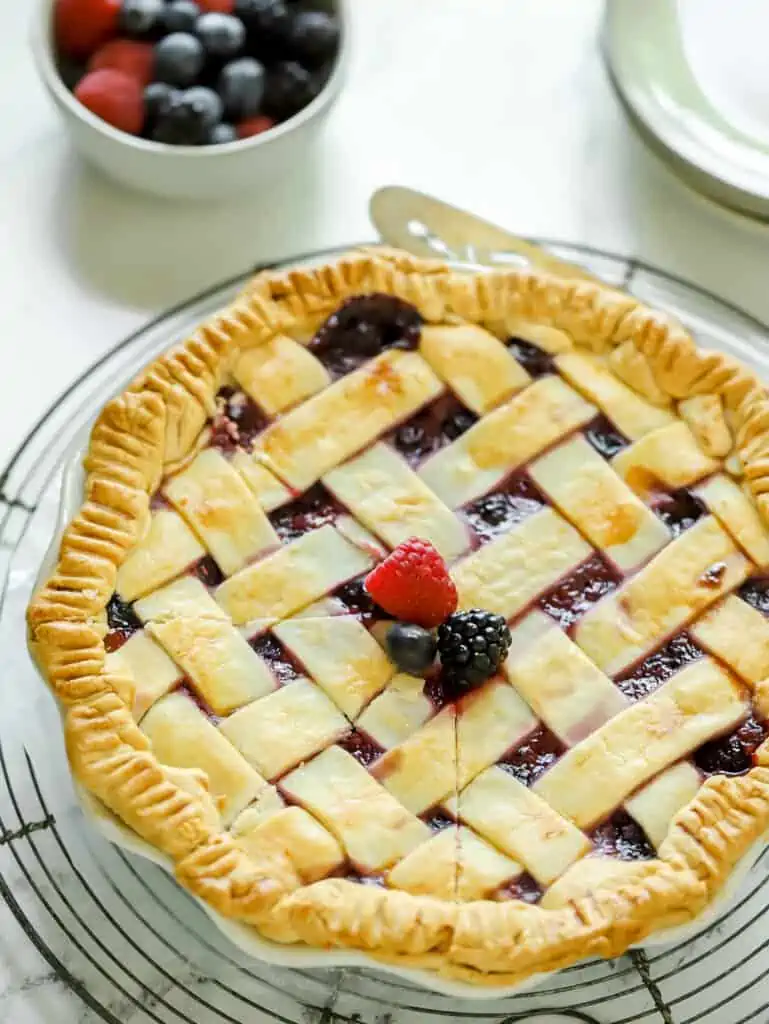
This triple berry pie is made with juicy blackberries, raspberries, and blueberries. The filling is cooked on the stovetop first ensuring a berry pie that doesn’t have a runny filling. With a beautiful lattice pie crust this pie is going to be a favorite in your household!
Growing up in upstate New York, aka “farm country” meant that summer time was all about picking berries. Now there was a local business where we could go pick berries and we definitely did from time to time. But more often than not we just simply wandered to our own backyard and woods to go get our own. Growing up on a farm, meant our “backyard” was acres and acres of land, so plenty of opportunity to go find some juicy, ripe berries.
Of course, as a kid this meant two things. First, most of the berries were not making their way back to mom. Sorry, Mom. Second, you were most definitely getting scratches all over your arms in order to get the best berries buried in the bramble. But covered in scratches and juice smeared all over our hands and faces we would eventually make our way back to the house with our bounty.
And of course those berries would be turned into something amazing back in the kitchen. Maybe a Blackberrry Crumble or Easy Mixed Berry Cobbler. Or maybe a triple berry pie like this one. A berry pie recipe has actually been a long time coming on the blog. I know I have had readers reach out and ask me for a berry pie recipe for awhile now. So although it’s taken awhile I think it will have been worth the wait.
I used three kinds of berries in this pie, raspberries, blackberries, and blueberries, but you can also swap in some strawberries as well. I made a version with strawberries and it was delicious. So use whatever combination you want or have on hand. It took a few attempts to get the perfect consistency on the pie when cutting into it but I found that cooking the filling first and adding in cornstarch was the key to the perfect consistency.
I used a homemade a Double Pie Crust with Lattice Pie Crust but feel free to keep it simple and skip the lattice pie crust. And if you’re in a pinch then by all means, swap out for a store-bought pie crust but I’m telling homemade pie crust is definitely worth the extra bit of effort.
Why This Is The Best Triple Berry Pie
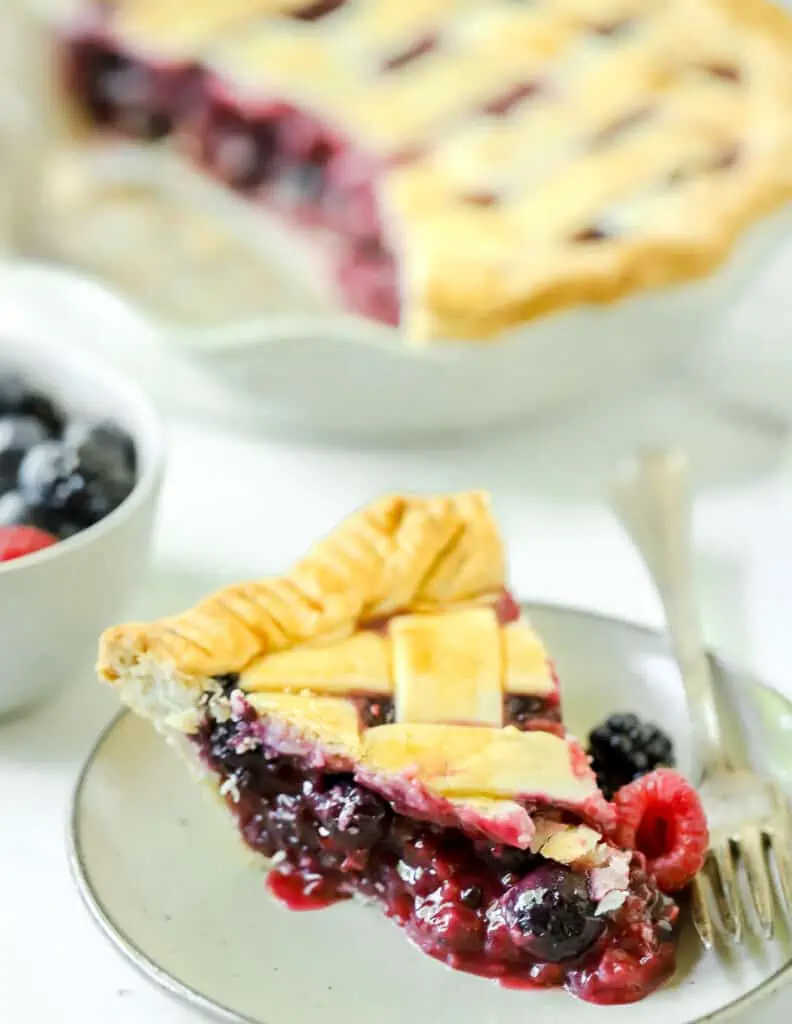
- Filling Holds Its Shape – We cook the filling on the stovetop first which breaks down the berries and thickens the filling. This way when you cut into the pie you don’t have berries oozing everywhere.
- Perfect any time of year – I love baking a berry pie when berries are in season but you can also make this in the dead of winter when the craving strikes and use frozen berries.
- Great make ahead dessert. You can make this pie a day ahead of time before you plan on serving. Or you can also bake and freeze this pie for up to 3 months making this a wonderful make ahead dessert.
Ingredients Needed
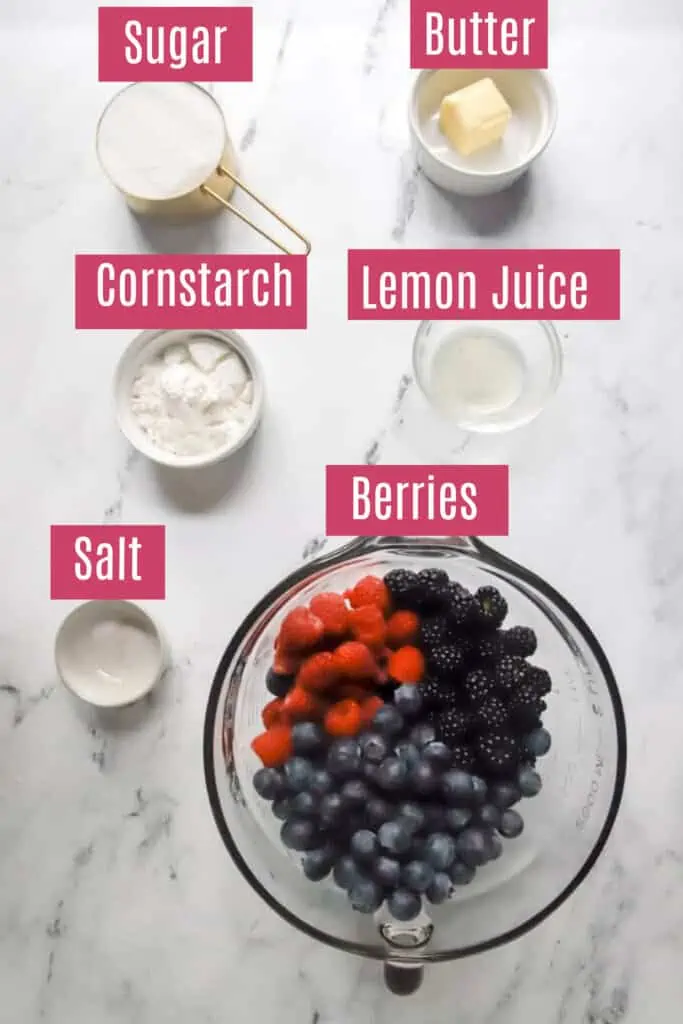
- Pie crust (store-bought or homemade pie crust)
- Berries – I used blackberries, raspberries and blueberries, but you can use any combination you want. I used fresh berries but frozen berries can also work since are cooking this filling on the stovetop.
- Lemon juice
- Cornstarch – You can also use flour or tapioca starch instead.
- Salt
- Butter
How To Make This Triple Berry Pie
Make the berry filling
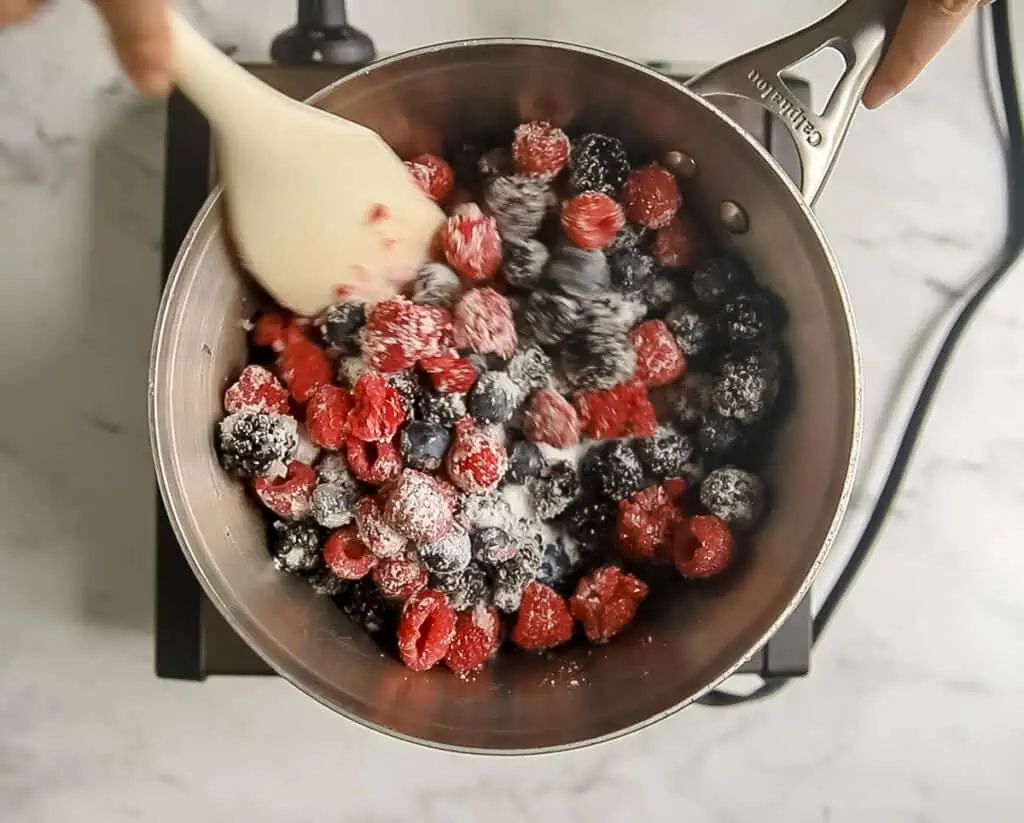
Make filling. Place berries in medium saucepan, with the lemon juice, sugar, and salt and set over medium heat.
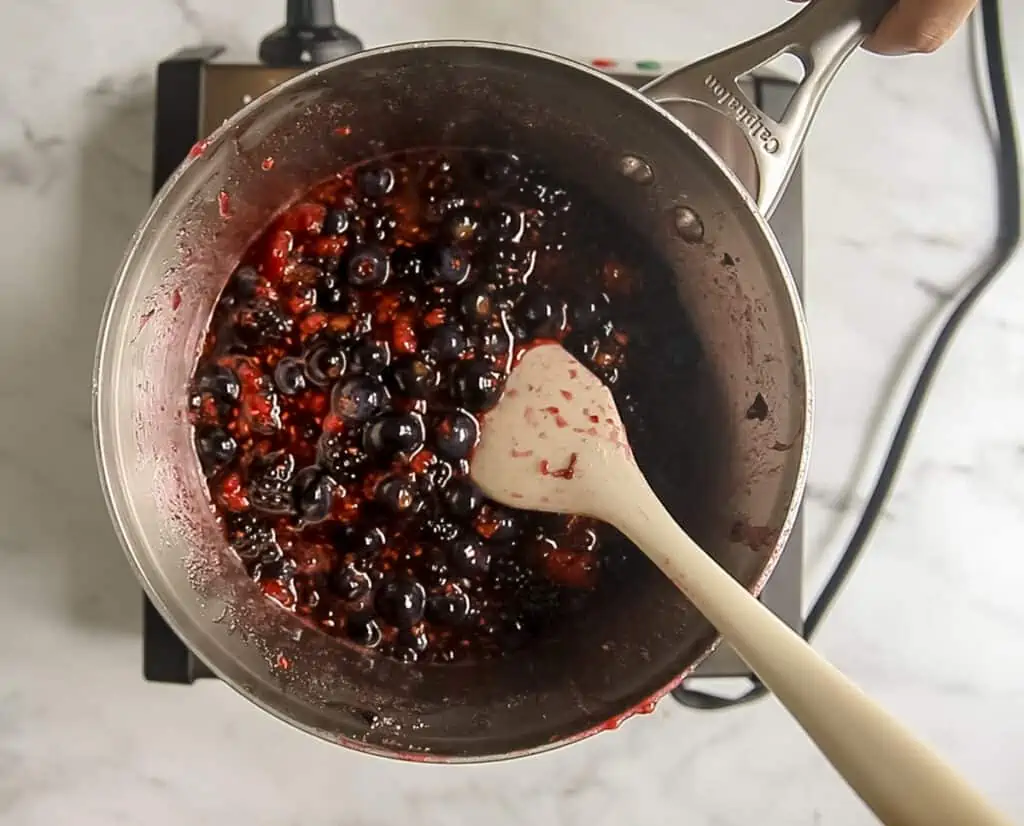
Cook down berries. Cook over medium heat, and stirring frequently most of the berries have been broken down and mixture is thickened about 8-10 minutes.
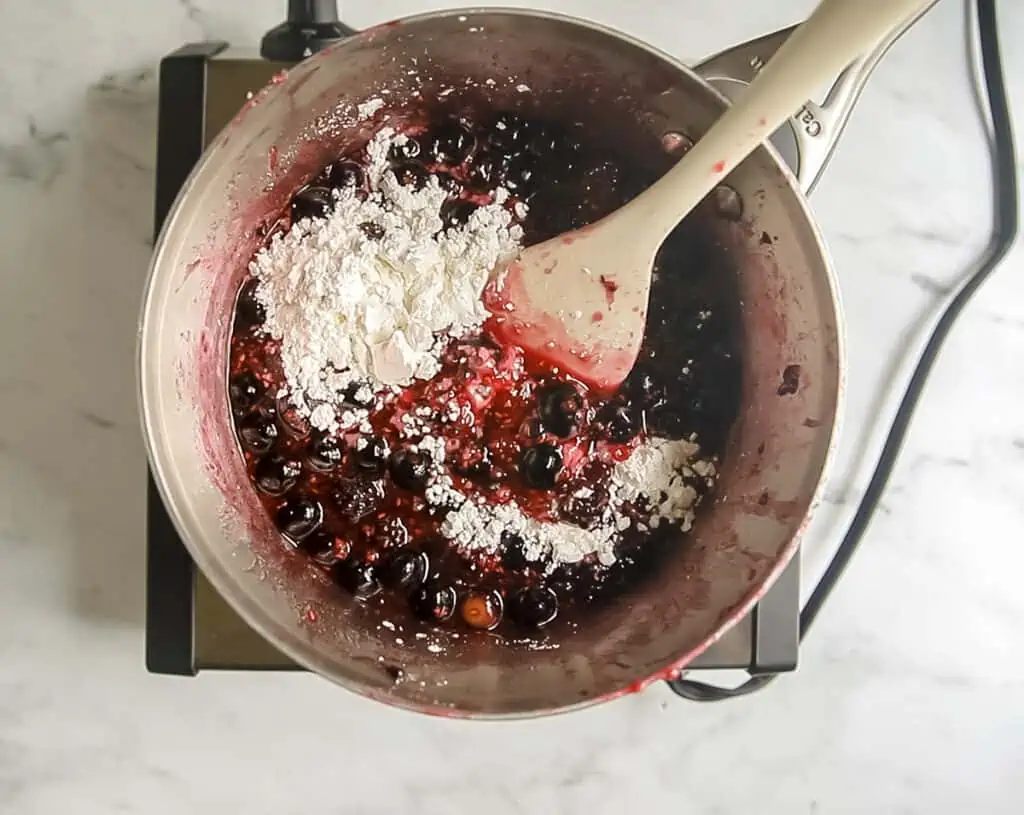
Add cornstarch. Stir in cornstarch and continue to cook for 1-2 minutes more to thicken.
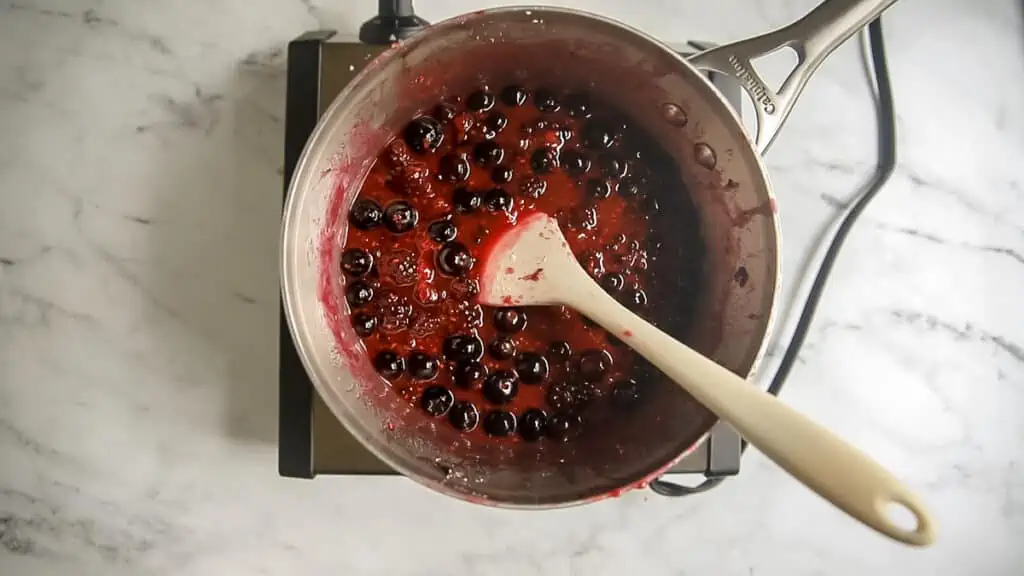
Remove from the heat, stir in the butter, and allow to cool before spooning into pie crust.
Assemble Pie
Roll out pie crust. Remove one ball of dough from the fridge, and on a lightly floured counter roll out the dough into a 12-inch circle, turning the dough after a few rolls to ensure the dough isn’t sticking to your surface. Transfer pie crust to pie plate. Fold the dough in quarters, and then transfer to your 9”x2” pie plate. Carefully unfold the dough, and tuck in with your fingers.
Add filling. Spoon berry pie filling into the pie crust.
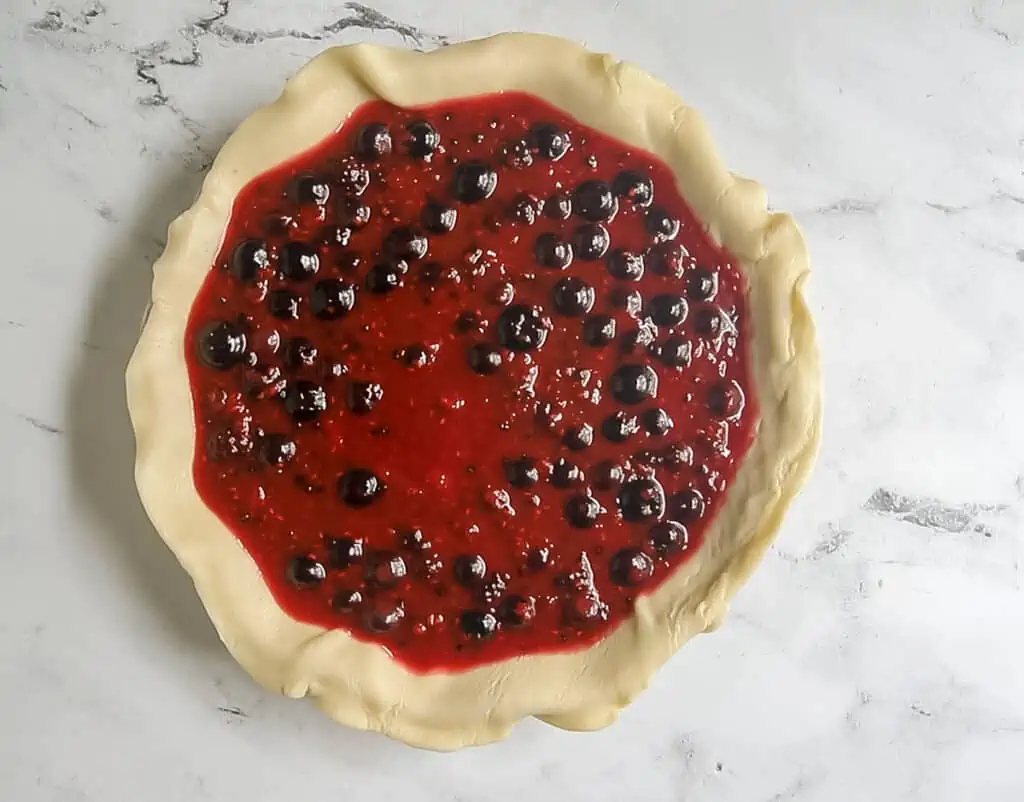
Make lattice top. Remove the second disc of dough and roll out into a 12” circle. Cut the circle into strips, about 1-2” wide. Place strips vertically across pie (about 6). Then fold every other strip back and place another strip going horizontally across. Use the longer strips in the middle of the pie, and the shorter strips on the ends. Press the ends of the strips into the bottom crust. Trim any excess dough. Crimp with a fork to seal. For a step by step photo keep reading below…
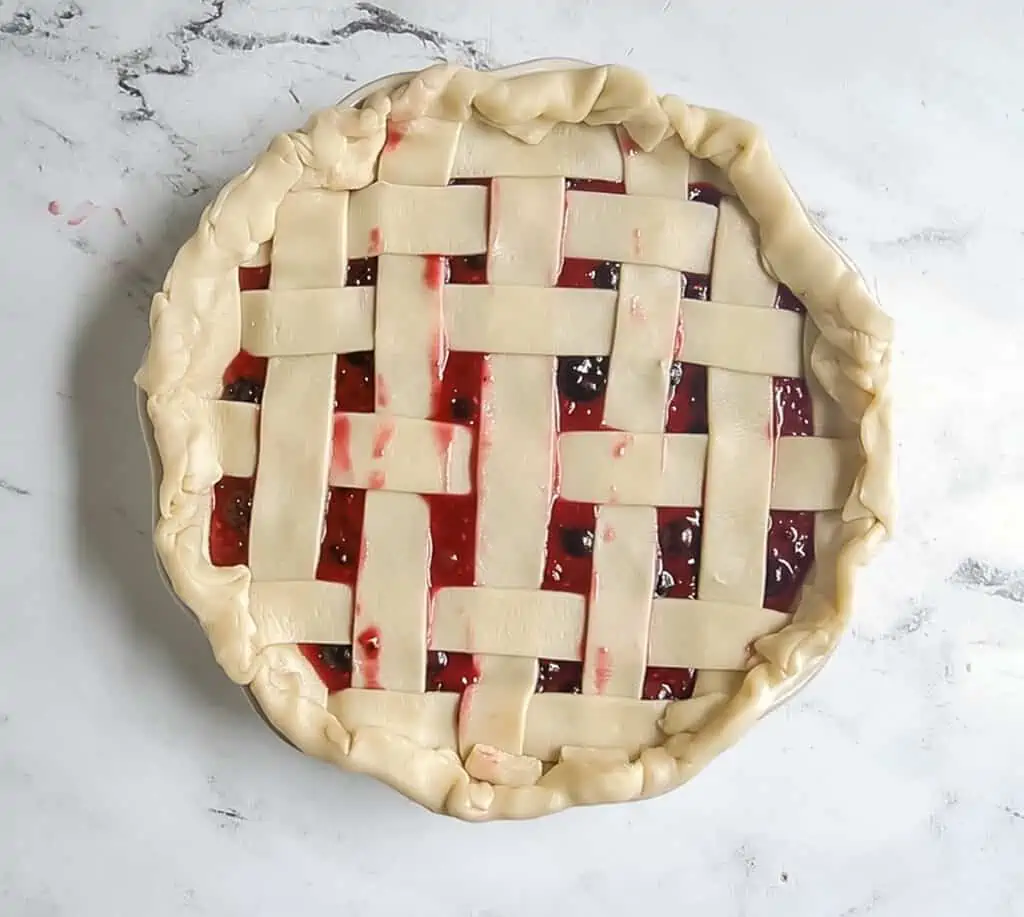
Egg wash. In a small bowl, stir together the egg and milk. Brush the crust with egg wash. Sprinkle top of crust with coarse sugar, if using.
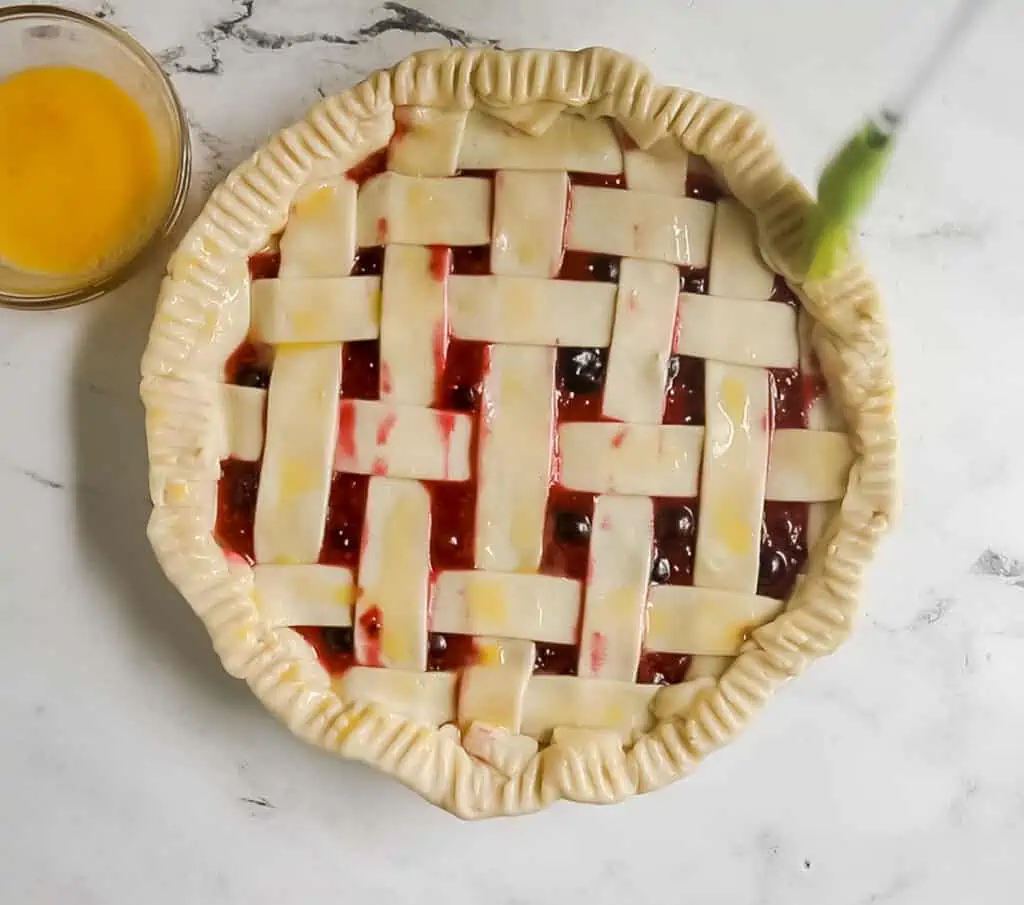
Bake. Place pie on large baking sheet (to catch drips) and bake for 30 minutes at 400°F. Reduce oven temperature to 350°F and continue to bake until juice bubbles and crust is deep golden brown, 30 to 40 minutes longer. If pie crust edges is browning too much, cover with tinfoil or pie shield. Transfer pie to wire rack; cool to room temperature, at least 4 hours. Cut into wedges and serve.
Pie Baking Tips
- Make sure your filling is bubbling. You want to make sure you see a bubbling filling when the timer goes off to ensure the cornstarch has heated up enough and properly thickened.
- Use a glass pie plate. It helps to see the bottom of the crust and if it’s browned enough.
- Bake the pie in the lower third of your oven. This ensure a crispy bottom crust, so the bottom crust gets baked and doesn’t end up soggy.
- Bake on a pre- heated cookie sheet. I like to place a baking sheet in my oven to pre-heat while I assemble the pie to warm up to help with browning the bottom crust. This also helps with catching any drips that may occur. You can also line it with tin-foil for easy clean-up.
- Use a pie shield to protect the pie edges. Remove in the last 10-15 minutes so they can brown.
Crust Swaps
If you don’t want to go to the hassle of making a lattice pie crust, you can simple top with a regular double pie crust. Be sure to put some slits into the top of the top crust so it can vent the filling as it cooks and steams.
You can also use a crumb topping like I used in my Nectarine Pie (with Almond Crumb Topping!) or use Blueberry Crumble Pie topping instead for a nut-free option.
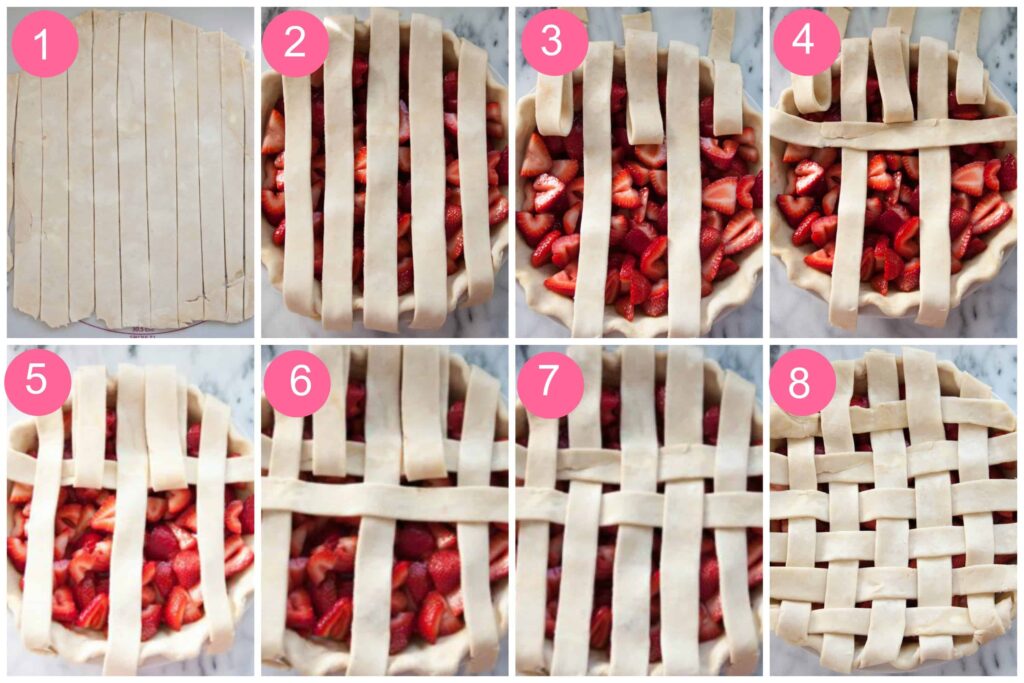
How To Make Lattice Crust
I decided to make a pretty lattice crust for this berry pie but if you want you can do a regular crust on top. Just give it a few slits to vent. But if making a lattice crust, let me break this down for you…
- To create a lattice top, you want to start by rolling out your second pie dough disc and cut into 1-inch strips. I used my pizza cutter to do this, but a knife works as well.
- From there you want to lay 5 strips of dough on top of the filling. I choose my longest strips to lay across the middle.
- Then fold back every other strip.
- And lay another strip of dough going in the opposite direction. Then fold the strips you folded back back into place.
- Repeat this step again by folding back the other two strips you did NOT fold back
- Now lay a pie strip down going in the horizontal position. You will see this pie strip now lies across first 3 strips you originally folded back.
- Fold the strips back into place.
- Repeat Steps 3-7 until your entire pie has a lattice crust!
Here is a step by step of me making a lattice crust from my Strawberry Pie…
How To Avoid A Soggy Bottom Pie Crust
There’s nothing worse than a soggy bottom pie crust! But here are a few tricks I’ve learned over the years.
- Use a glass or metal pie plate. A metal pie plate will conduct heat better, and a glass pie plate will allow you to see through to the bottom to see if it’s browned enough. I find a ceramic pie plate to never get me as brown a crust.
- Heat a baking sheet in your oven first. I like to pre-heat a baking sheet (or you could use a baking stone) for 30 minutes to an hour before I bake my pie . I place my pie plate on a hot baking sheet to help heat the bottom crust.
- Bake in the lower third of your oven. The closer your pie plate is to the bottom of your oven will help brown up the crust. You can always move the pie up in the oven during the baking if you think it’s browning too fast but I find it’s fine to bake in the lower-third for the entire time.
Storage Instructions
You can make this berry pie a day ahead of time and let it cool, keep it covered and serve it the next day. You can also make the pie crust up to 3 days ahead of time and keep in the fridge or freeze for up to 3 months. You can also make the filling the day before and keep stored in the fridge or freeze for up to 3 months ahead of time.
You can also freeze this baked berry pie for up to 3 months ahead of time. When ready to serve, let it thaw overnight in the fridge before serving the next day.
Recipe FAQ’s
Because we are cooking this filling on the stovetop you definitely use frozen berries.
This berry pie is not runny because first we cook down the berries on the stovetop but also we add cornstarch to the berry filling to thicken it up. Just make sure you allow the pie to cool long enough once it’s out of the oven to set up as well.
Yes you want to cool the filling before filling your pie crust with it. You don’t want a hot pie filling going into your pie crust or it could make for a mushy pie crust that doesn’t bake properly.
More Recipes To Try
Let’s Bake Together
Subscribe to my newsletter to never miss a new recipe or baking challenge! And if you bake one of my recipes be sure to tag me on Instagram. You can also follow along with me on Facebook and You Tube.
Triple Berry Pie Recipe
Ingredients
- store-bought or homemade pie crust
- 6 cups berries
- 1 tablespoon lemon juice
- 1 cup (200 g) granulated sugar
- 4 tablespoons cornstarch
- ⅛ teaspoon salt
- 2 tablespoons (28 g) unsalted butter
- 1 large egg beaten with 1 tablespoon water (for egg wash)
- Coarse sugar for sprinkling on top
Instructions
- Make filling. Place berries in medium saucepan, with the lemon juice, sugar, and salt and set over medium heat.
- Cook down berries. Cook over medium heat, and stirring frequently most of the berries have been broken down and mixture is thickened about 8-10 minutes.
- Add cornstarch. Stir in cornstarch and continue to cook for 1-2 minutes more to thicken. Remove from the heat, stir in the butter, and allow to cool before spooning into pie crust.
- Prep oven. Adjust oven rack to lowest position, place a rimmed baking sheet (I also like to line mine with foil for easy clean-up) on oven rack and heat oven to 400°F. I like to pre-heat the baking sheet while I prepare the pie so it is nice and warmed and helps brown the bottom crust.
- Roll out pie crust. Remove one ball of dough from the fridge, and on a lightly floured counter roll out the dough into a 12-inch circle, turning the dough after a few rolls to ensure the dough isn’t sticking to your surface.
- Transfer pie crust to pie plate. Fold the dough in quarters, and then transfer to your 9” pie plate. Carefully unfold the dough, and tuck in with your fingers.
- Add filling. Spoon berry pie filling into the pie crust.
- Make lattice top. Remove the second disc of dough and roll out into a 12” circle. Cut the circle into strips, about 1-2” wide. Place strips vertically across pie (about 6). Then fold every other strip back and place another strip going horizontally across. Use the longer strips in the middle of the pie, and the shorter strips on the ends. Press the ends of the strips into the bottom crust. Trim any excess dough. Crimp with a fork to seal.
- Egg wash. In a small bowl, stir together the egg and milk. Brush the crust with egg wash. Sprinkle top of crust with coarse sugar, if using.
- Bake pie. Place pie on large baking sheet (to catch drips) and bake for 30 minutes at 400°F. Reduce oven temperature to 350°F and continue to bake until juice bubbles (it's important you see bubbling to ensure the cornstarch has fully thickened) and crust is deep golden brown, 30 to 40 minutes longer. If pie crust edges is browning too much, cover with tinfoil or pie shield. Transfer pie to wire rack; cool to room temperature, at least 4 hours. Cut into wedges and serve.
Notes
- Storage/make ahead: You can make this berry pie a day ahead of time and let it cool, keep it covered and serve it the next day. You can also make the pie crust up to 3 days ahead of time and keep in the fridge or freeze for up to 3 months. You can also make the filling the day before and keep stored in the fridge or freeze for up to 3 months ahead of time.
- Freezing: Yes you can freeze this baked berry pie for up to 3 months ahead of time. When ready to serve, let it thaw overnight in the fridge before serving the next day.
- Pie crust: You can use a store-bought or homemade pie crust
- Berries – I used blackberries, raspberries and blueberries, but you can use any combination you want. I used fresh berries but frozen berries can also work since are cooking this filling on the stovetop.
- Cornstarch – You can also use flour or tapioca starch instead.




Katie Crenshaw says
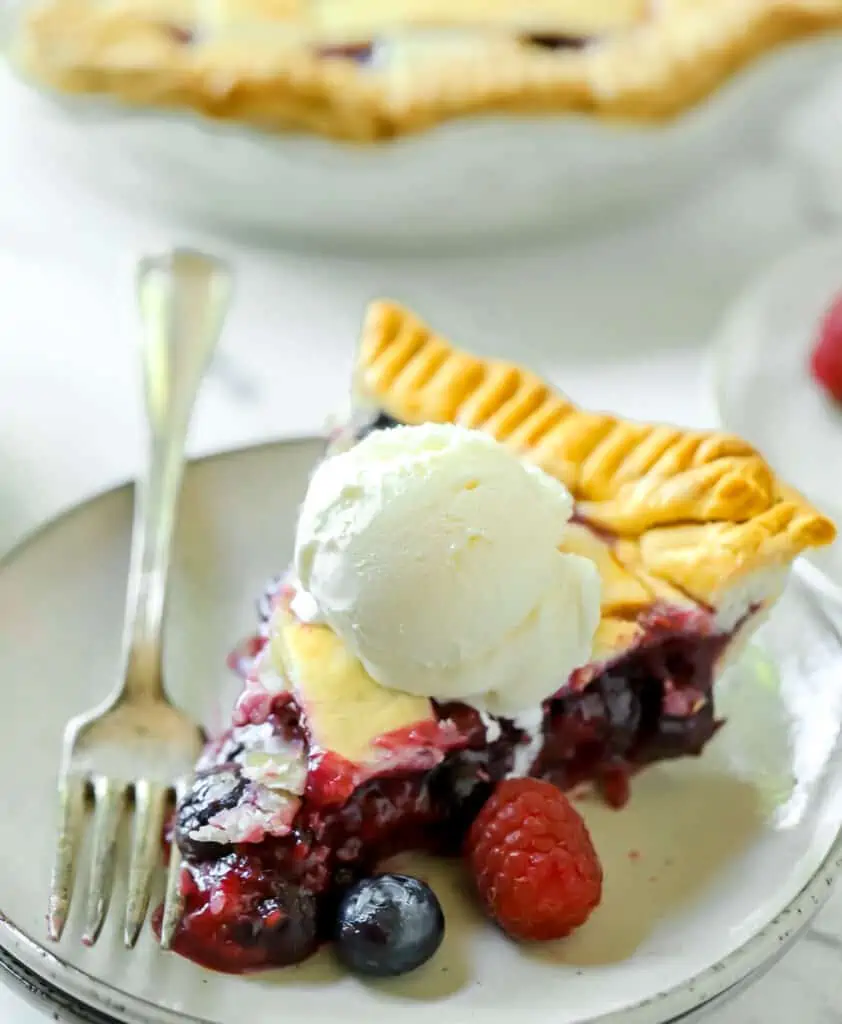
My pie turned out so pretty and delicious. I served it with Blue Bell homemade vanilla ice cream. Everyone loved it.
Amy Casey says
I definitely love pie over cake. This berry pie was amazing! Add the step by step directions for making the lattice crust were so easy to follow.
Heather says
thank you Amy glad you loved it!
Debbie says
What a simple and amazing pie ! I love that that I could make a yummy pie and didn’t have to make a crust. Thanks for the step by step pics of the lattice topping , this made it so easy,
Chenée says
What a delicious pie! I love the combination of blueberries, raspberries, and blueberries, and it’s so easy to make the filling with frozen berries!
Heather says
glad you loved it Chenee!
Amy Liu Dong says
Such a masterpiece, this triple berry pie looks incredibly delicious. The crisp look outside and the juiciness inside make this an instant favorite and enticing! Loved it!
Debbie says
This triple berry pie is what summer dreams are made of. I can’t wait to try this beauty. I love the combo of all of the berries. Thanks for a great recipe;.
Rosemary says
Yum, love berries and this triple berry pie is delicious. Now that berries are back in season, I’ll be picking some up and making this recipe. Thanks for sharing!
Mikayla says
From blackberries in my back yard to strawberries and raspberries around the corner, this pie was easy to make and loved how the filling did hold together instead of oozing all over. A definite repeat recipe for a corwd.
Heather says
aw glad you loved the pie Mikayla!
Colleen says
This is such a beautiful and delicious pie and your tips and instructions are so helpful. Thanks for sharing!
Heather says
aw thank you Colleen!
veenaazmanov says
Delicious Berry combinations. I am drooling with the presentation. Would love to try it this weekend.