
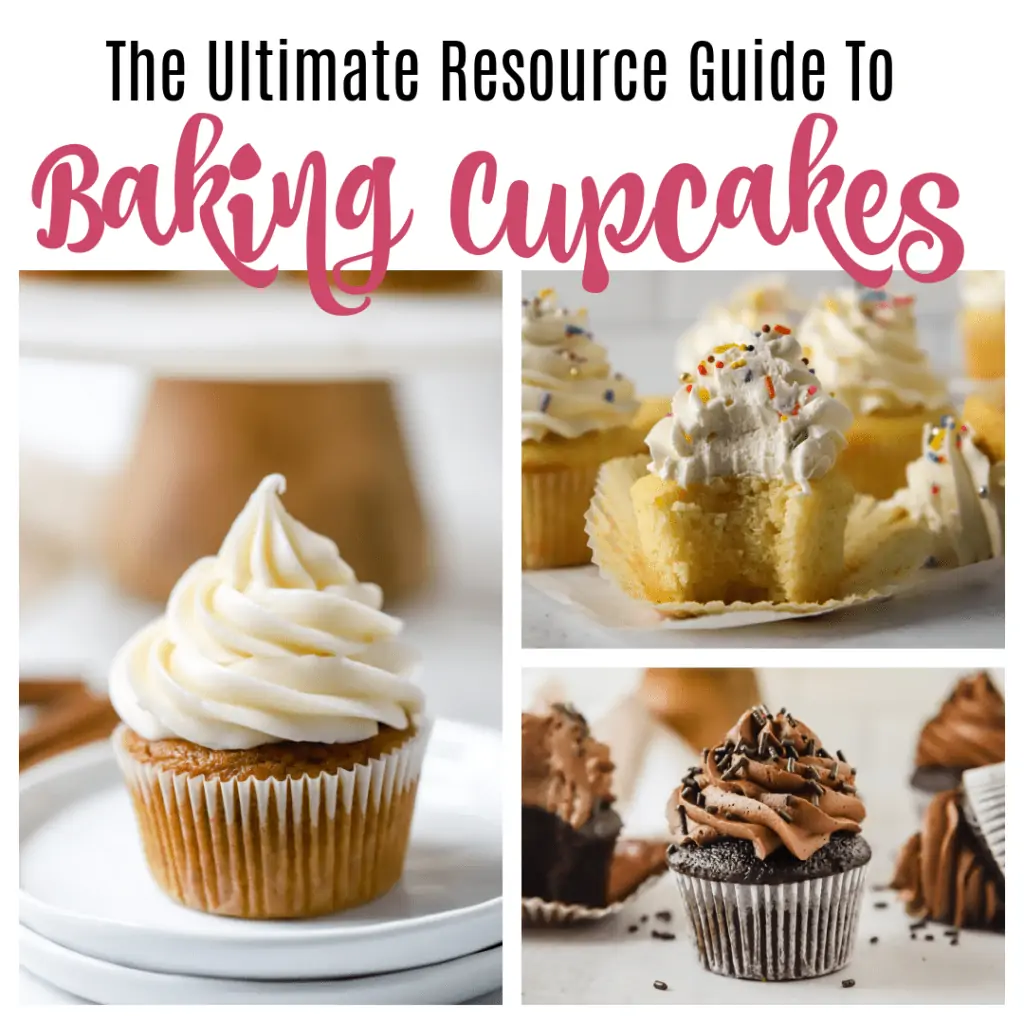
The Ultimate Guide To Baking Cupcakes
Baking cupcakes at home like the bakeries do is easy and something you definitely should attempt! This guide will cover everything you need to know from tools, to recipes, to decorating! Baking cupcakes is fun and totally doable!
When it comes to baking cupcakes, I’ve been doing it for awhile. From birthday parties to weddings I’ve made cupcakes for it.
But if you’re new to making cupcakes I am hoping this Ultimate Guide To Baking Cupcakes will get you started!
Check out my ultimate list of 24 must-have essential baking tools that I always keep in my kitchen. Stock your cabinet with these tools, and you’ll be able to whip up delicious desserts every time! See the full list here: 24 Must-Have Baking Tools Every Baker Needs.
How do I bake perfect cupcakes?
When it comes to baking the best cupcake recipe you want to make sure your measuring is correct. I always recommend measuring by weight using a kitchen scale.
One of the key ingredients many beginner bakers measure wrong is the the flour. To measure your flour using measuring cups correctly I recommend spooning the flour into the cup and leveling it off so too much flour doesn’t end up in the cup, which can make for a dry dense cupcake.
Be sure to also not over mix your cupcake batter. When you add the flour mixture to the liquid ingredients you want to only mix until the flour has just been mixed in. Over-mixing can cause your cupcakes to tough and chewy.
You will also want to use quality equipment, not overfill the pans, and be careful to not overbake them.
For more tips, be sure to read my 15 tips for perfect cupcakes.
How long do I bake cupcakes?
First, make sure you are following the recipe as every recipe can vary slightly on time. However, most cupcakes will bake for about 18-20 minutes.
Be sure to check your oven temperature with an oven thermometer to ensure your oven is heating correctly. And be sure to bake in the center of your oven so the tops and bottoms bake evenly.
You want to fill your cupcake batter to about 2/3 to 3/4 full. Overfilled cupcakes will not make for a pretty domed top and can also sink in the middle. Check out my 6 reasons why your cupcakes are sinking in the middle.

You then want to bake cupcakes until the tops spring back to the touch, and a toothpick inserted comes out clean or with a few moist crumbs. You don’t want any wet batter, which means the cupcakes need more time.

My Recommended Cupcake Tools
Your cupcakes are only going to be as good as the tools you use to make them. So invest in quality bakeware to ensure your cupcakes come out like the pros do.
For me the cupcake baking supplies I recommend having on hand are:
Cupcake Recipes
I mean this is the fun part right? Sky’s the limit. But here are some recipes to get you started.
Classic Cupcake Flavors
Vanilla Cupcakes Recipe – Of course you can’t go wrong with these perfect vanilla cupcakes. If you want an easy vanilla cupcake recipe that doesn’t require your stand mixer then this is it! You can also add sprinkles and turn them into Funfetti cupcakes!
Red Velvet – This is by far my favorite. And it’s so easy! Top them with cream cheese frosting.
Chocolate Cupcakes– Of course you need a good chocolate cupcake recipe. I have lots of chocolate cupcake recipes to check out on the blog – like these mocha chocolate cupcakes, Hostess chocolate cupcakes, and these S’mores chocolate cupcakes.

Cupcakes with a filling
Feel free to customize them and make them your own. You could also try adding a filling.
Start by coring your cupcake using one of these 4 tools and filling the center with candies, sprinkles, maybe even caramel sauce, marshmallow fluff, homemade vanilla pastry cream or lemon curd you could make in the microwave.
Or try adding a crust like homemade graham cracker crust.
Here are a few recipes that have either a filling or crust addition:
- Lemon Meringue Pie Cupcakes
- Reese’s Pieces Cupcakes
- Peanut Butter and Jelly
- Boston Cream Pie Cupcakes
- Cookie Dough Cupcakes

Creative cupcake recipes:
If you want a cupcake beyond the basics then these cupcakes are for you! You can also check out the rest of my cupcake recipes for more inspiration!
- Pumpkin Spice cupcakes
- Carrot Cupcakes
- Vanilla Oreo Cupcakes
- Cotton Candy cupcakes
- Peanut Butter Banana cupcakes
- Lemon Poppyseed Cupcakes
- Caramel Apple Cupcakes

What buttercream do I use on homemade cupcakes?
Now no cupcake would be complete without a fantastic buttercream swirled on top. Don’t worry I got you covered. You can check out my Ultimate Guide To Making The Best Buttercream Icing.
Of course you can’t got wrong with the classic vanilla buttercream frosting, or chocolate buttercream frosting.
If you want a twist on the powdered sugar American style buttercream frosting then try:
- Flour (or ermine icing)
- swiss meringue buttercream
- German buttercream
- French buttercream
- Italian meringue buttercream.

Of course if you want to go beyond vanilla, then you can make frosting in some many wonderful flavors.
Here are a few of my favorite buttercream recipes:
- Lemon buttercream frosting,
- Strawberry buttercream frosting
- Coconut buttercream frosting
- Caramel buttercream frosting
- Mint buttercream frosting
- Cake batter buttercream frosting
- Brown sugar buttercream frosting

You can also make an easy cream cheese frosting with just a few simple ingredients. Or try one of these fun variations on the classic cream cheese frosting recipe:

When do I frost cupcakes after baking?
When it comes to frosting and decorating cupcakes be sure to let the cupcakes cool completely before you frost them.
If you attempt to frost your cupcakes when there is any bit of heat left in them it will simply just melt your buttercream frosting.
I let my cupcakes cool on a wire rack for at least an hour until they are cooled completely.
How do I frost and decorate cupcakes?
Now that they are baked it’s time for the really fun part! Frosting and decorating and making them your own.
How to frost cupcakes
To frost cupcakes I recommend using a large piping bag and large piping tips.
I like either using disposable bag but you can also use reusable bags that you can wash and use again and again. For piping bags I prefer to use 18-inch piping bags because it allows me to fill the bags up with lots of frosting.
When it comes to pastry tips for cupcakes,large cupcake tipsis the key. In order to get that beautiful cupcake swirl you need large pastry tips. I love having an assortment of different kinds so I can make different kinds of swirls depending on my mood. This set is a great starter set by Ateco which I love and have many of.
If you don’t own a piping bag or piping tips you can also use an offset spatula. These are fantastic for spreading a layer of frosting on. I do not recommend using butter knifes if you want to frost by hand, those ridges on the knife will not give you that super smooth look like anoff-set spatula will.
Easy decorating cupcake ideas
The easiest way to decorate your cupcakes is to simply use sprinkles! You can get sprinkles in just about any color and for any holiday or theme now!
You an also use candy like for these pinata cupcakes, or fruit, cookies, or nuts. You can keep it simple and just use a natural decoration that shows off what is inside the cupcake, like a dried banana chip like these banana cupcake.
Be sure to check out my ultimate guide to decorate cupcakes for more ideas on how to decorate.

Coloring your buttercream frosting:
You can also color your frosting to make it colorful and match the theme or holiday you are making the cupcakes for. You can have fun and even swirl multiple frosting colors onto a cupcake.
Liquid food coloring adds too much liquid to your buttercream and for certain buttercreams, like swiss meringue can really do some damage. I only use gel food coloring, so no added liquid is added. My favorite brands are Americolor or Wilton Gel food colorings.

Decorating cupcakes for the holidays
You could also make your cupcakes fun and festive for the holidays. For the holidays try one of these cupcake tutorials:
- 4 Holiday Cupcakes
- Halloween Spiderweb cupcakes
- 3 Easy Halloween Cupcakes
- Football cupcakes perfect for the Superbowl
Another fun way to make beautiful cupcakes is to use Russian Piping Tips to make beautiful flower cupcakes. You will have beautiful flower cupcakes in no time!

How do you store cupcakes?
If you’re like me you may need to store your cupcakes until they plan on being consumed. Be sure, no matter how you store the cupcakes, that they are completely cooled before doing so.
Cool your cupcakes completely on a wire rack before storing them otherwise the tops can become gummy, and the cupcake liners can peel away.
You can store cupcakes, frosted or unfrosted, at room temperature, in the fridge in an container, or in your freezer for longer storage.
This will depend on how long you need to store the cupcakes and what frosting you are using. I always recommend no matter what, to store your cupcakes in an airtight container.
For a full tutorial read How To Store And Freeze Cupcakes for step by step instructions.

How do you travel with cupcakes?
This can be tricky. I have bought my fair share of cupcake containers and been gifted more than I would like to admit. The thing is, most if not all of the containers I have tried have failed miserably. Cupcakes topple about. Buttercream smooshed. Swear words flying. Tears streaming. Been there. Done it all.
The best way I have found to travel with cupcakes is in a container that is not only tall enough to let them not get squished but with walls that surround the cupcakes to hold them into place.
I prefer these disposable plastic containers. They hold my cupcakes securely.
Another free option is to use the top of a box (like paper boxes with removable lids) and then place a non-slip shelf liners like this.
I actually transported all of my sister’s cupcakes to her wedding in these box tops and they were perfectly fine when we got to the venue. Just be sure to place them on a flat surface in your vehicle and carry them flat when you remove them from the vehicle.

Perfect Vanilla Cupcakes
Ingredients
- 3 cups cake flour
- 1 tbsp. baking powder
- 1/2 tsp. salt
- 16 tbsp. unsalted butter at room temperature
- 2 cups sugar
- 5 large eggs at room temperature
- 1 1/4 cups buttermilk at room temperature
- 2 tbsp. vanilla extract
- 2 1/2 sticks unsalted butter softened to room temperature
- 2 1/2 cups powdered sugar
- 2 Tablespoons heavy cream
- 2 teaspoons pure vanilla extract
Instructions
- 1. Preheat the oven to 350° F. Line two cupcake pans with paper liners. Set aside.
- 2. In a medium mixing bowl, combine the cake flour, baking powder and salt. Whisk together and set aside.
- 3.Add the butter to the bowl of an electric mixer fitted with the paddle attachment. Beat on medium-high speed for 3 minutes, until light and creamy in color. Scrape down the sides of the bowl and beat for one more minute.
- 4.Add the sugar to the butter mixture, ¼ cup at a time, beating 1 minute after each addition. Mix in the eggs one at a time until incorporated. Scrape down the sides of the bowl after each addition. Combine the buttermilk and the vanilla extract in a liquid measuring cup. With the mixer on low speed, add the dry ingredients alternately with the wet ingredients, beginning and ending with the dry ingredients and mixing just until incorporated. Scrape down the sides of the bowl and mix for 15 seconds longer.
- 5.Divide the batter between the prepared paper liners, filling each about 2/3 of the way full (you will likely have batter left over after filling 24 wells.I managed to make a full 3 dozen cupcakes) Bake 18-22 minutes, or until a toothpick inserted in the center comes out clean. Allow to cool in the pans 5-10 minutes, then transfer to a cooling rack to cool completely. Replace paper liners and bake remaining batter if desired. Frost cooled cupcakes as desired.
- 6. To make the vanilla buttercream frosting: Cream the butter until light and fluffy. Add in your powdered sugar 1/2 cup at at time with mixer on low. Cream until combined. With mixer off, add your heavy cream and vanilla extract and then mix on low until combined. Then mix on medium to medium high speed for 8 minutes until light and fluffy. Use right away on cooled cupcakes. If not using right away, then store in a closed container in the refrigerator. You will need to mix the frosting again when ready to use to bring it back to that light and fluffy texture!


