This Post May Contain Affiliate Links. Please Read Our Disclosure Policy.
Only 3 ingredients is all you need for your own perfect graham cracker crust. Learn how to make graham cracker crust in this baking tutorial. Never buy one from the store again!
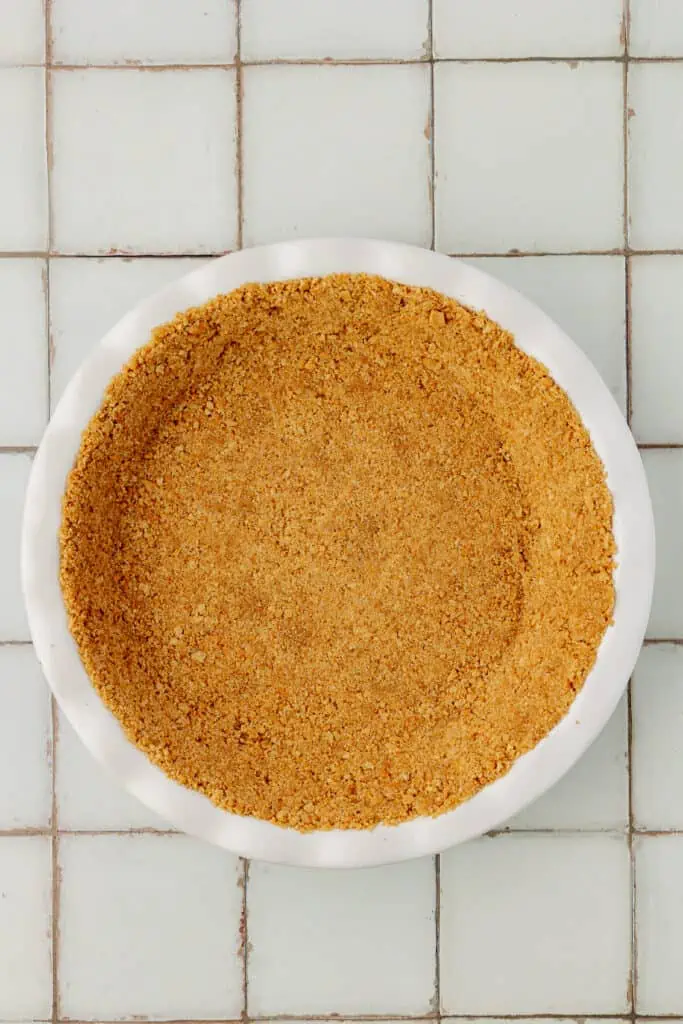
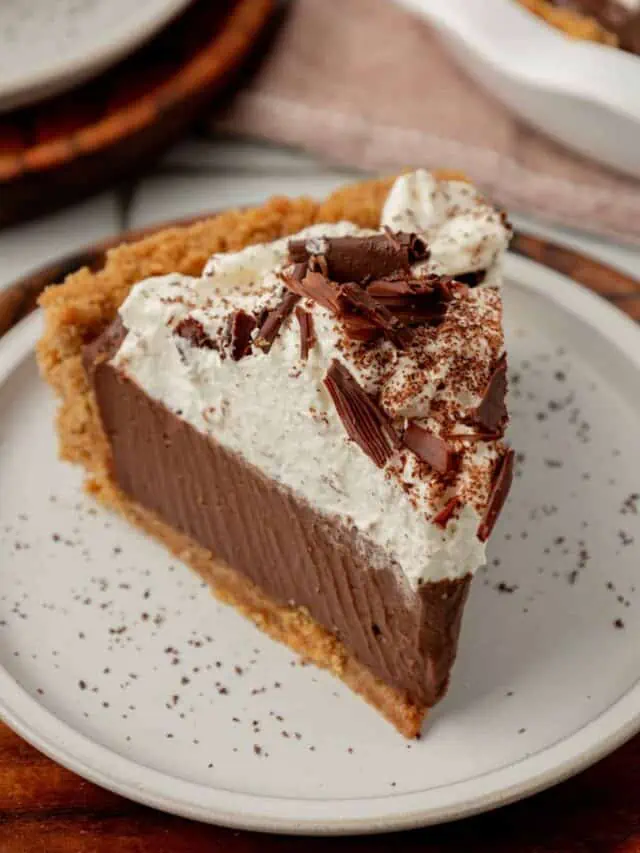
Most of the time I’m all for a flaky butter crust. Which don’t get me wrong, nothing wrong with a perfectly flaky butter crust. Some pies, need a graham cracker crust! Like my chocolate pudding pie. It just wouldn’t be the same without it. And this easy graham cracker crust recipe is so much better than store-bought crusts.
Now graham cracker crusts can be a store bought crust. But please, I beg of you give this a try.
This homemade graham cracker crust recipe is 1000x times better and with 3 simple ingredients, it’s so easy to throw together.
See Also:
- Learn how to easily blind bake a crust to use in all your custard pies for the holidays!
- When it comes to making pies for Thanksgiving it can be stressful! So read my 20 best tips for making the best pies.
- This 100% butter pie crust results in a flaky and flavorful pie crust recipe.
- All you need is just a few ingredients for the flakiest pie crust ever! Try my 3 ingredient pie crust!
Why This Recipe Works
- Only 3 ingredients is all you need!
- So much easier than a traditional pie crust.
- Can be made by hand or in your food processor for ease
- Perfect for a cheesecake recipe or any pudding pies!
- So much better then a pre-made graham cracker crust!
My Favorite Pie Making Tools
 Buy Now →
  Buy Now →
  Buy Now →
  Buy Now →
 Ingredients Needed
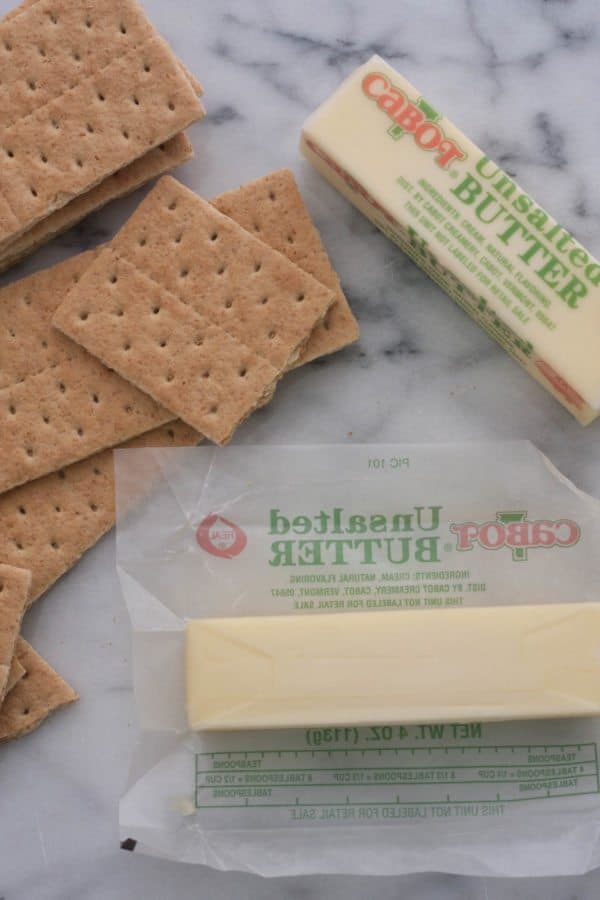
To make a killer graham cracker crust, all you need is butter, sugar, and of course graham crackers. You can use storebought, or tackle a fun baking project and make this Homemade Graham Crackers Recipe!
- Graham crackers – If you can’t find graham crackers, you can replace with digestive biscuits or try something else like Nilla wafers!
- Butter – I like to use unsalted butter, but you can easily swap and use salted butter.
- Sugar – I used granulated sugar, but I also love swapping and use brown sugar for a bit more flavor!
How To Make Graham Cracker Crust
First you need to start with turning your graham crackers into crumbs. This can be achieved a few different ways. You can use your food processor, place them in a zip-loc bag and smash with a rolling pin or meat tenderizer- just be sure to close the bag!!
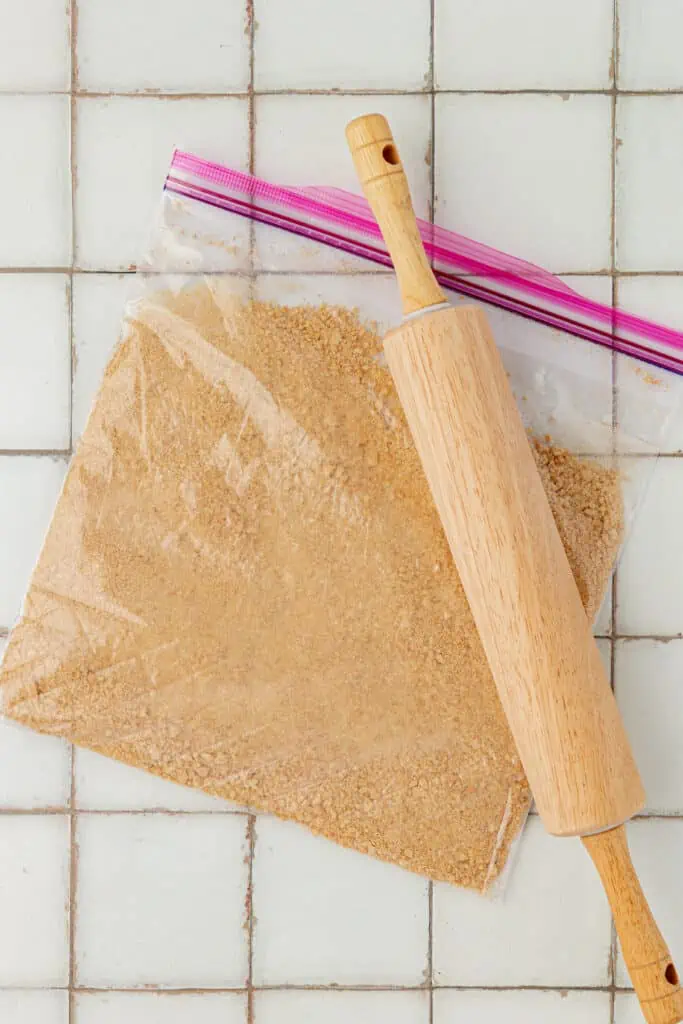
I’ve done both ways. Food processor is quick and they get evenly crushed. The zip-loc bag method is of course a great way to get your aggression out!
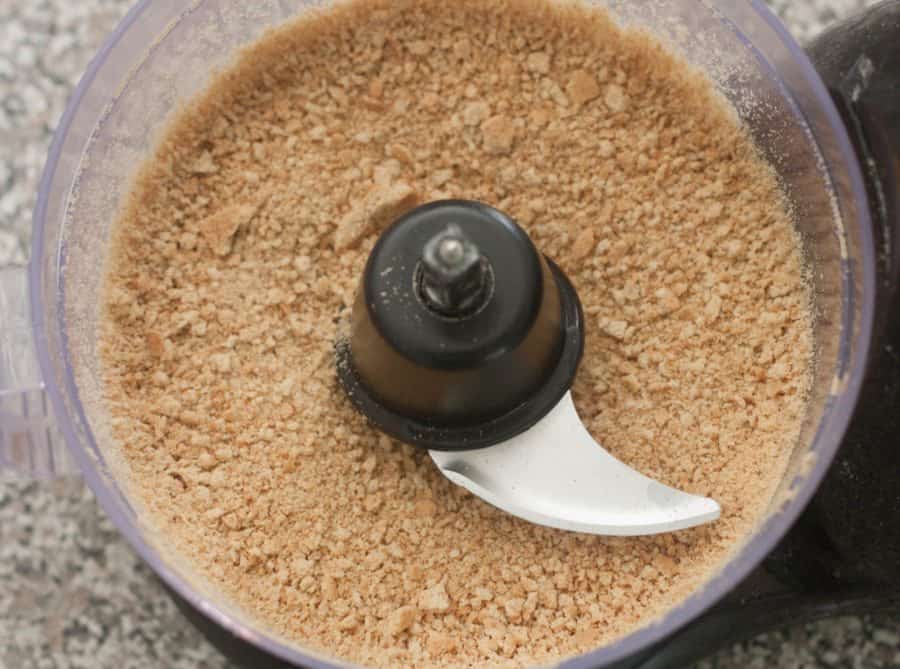
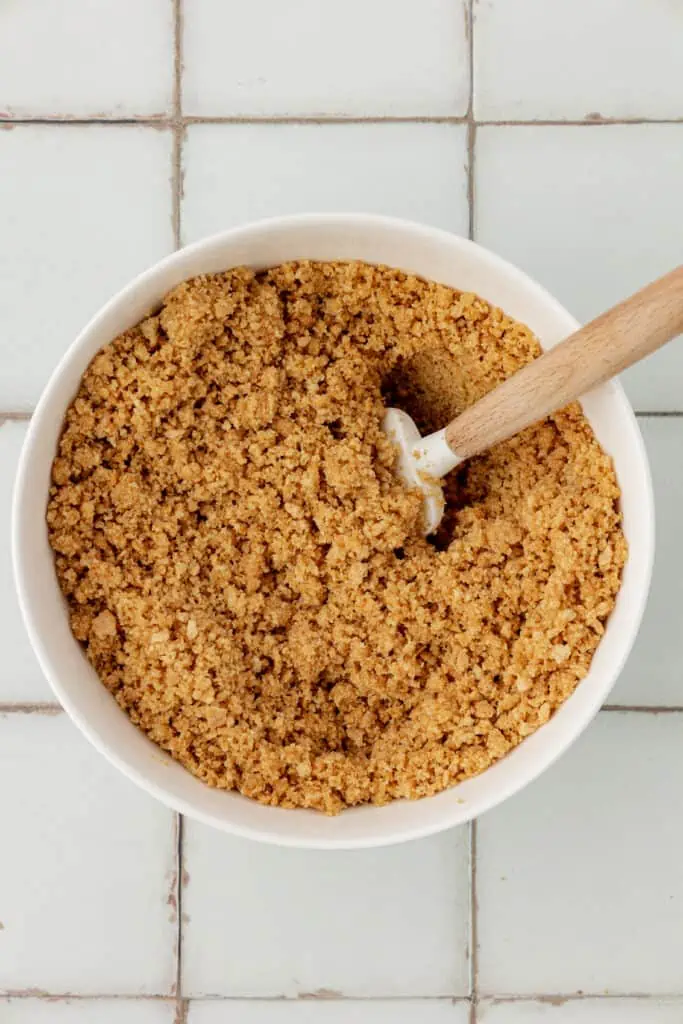
After your graham crackers are good and crushed, dumb the graham cracker crumbs into a mixing bowl and combine with your white sugar, melted butter and stir.
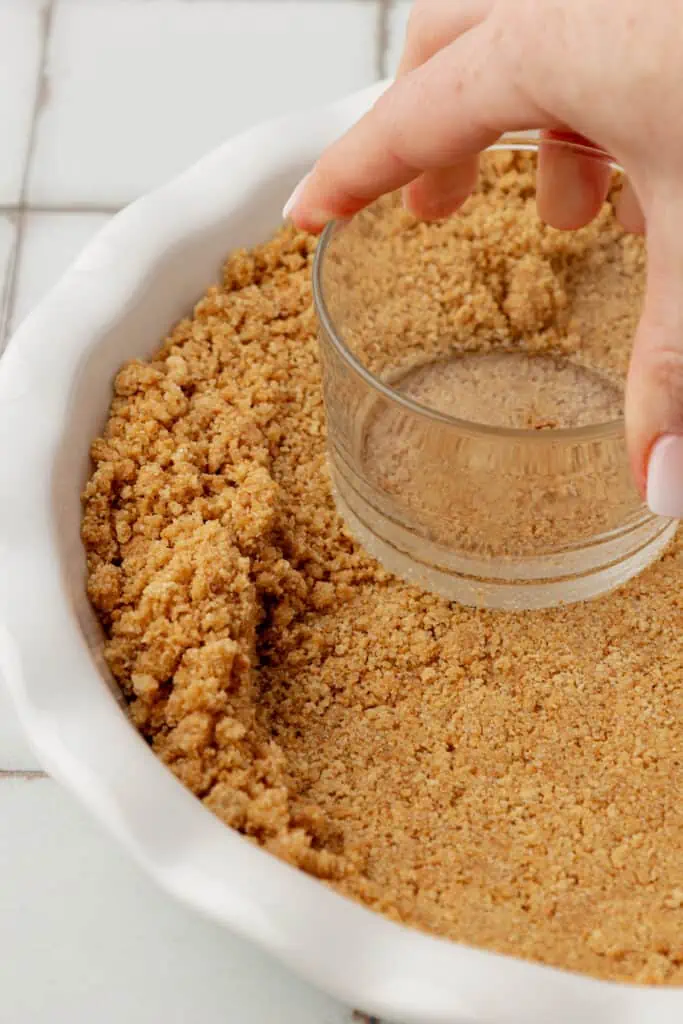
To press the crumb mixture down into your pie pan, use the bottom of a measuring cup (or drinking glass) to press the crumbs down and up the sides.
You could use your fingers, but I find the bottom of the measuring cup gets a nice evenly flat surface.
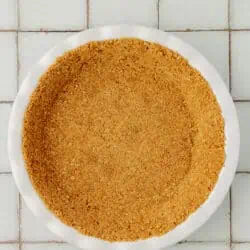
Press the buttery graham cracker crumbs into the bottom and sides of an ungreased 9-inch pie plate.
Do I Need To Bake This Graham Cracker Crust?
Well yes..and then again no. Let me explain.
For A No Bake Pie:
If this is a no bake pie you are making then you do not need to bake it. Just simply pop it in your refrigerator for 2 hours to set up or freeze for 1 hour.
For A Baked Pie:
If it’s pie with a filling that will be baked, then yes you do need to bake it.
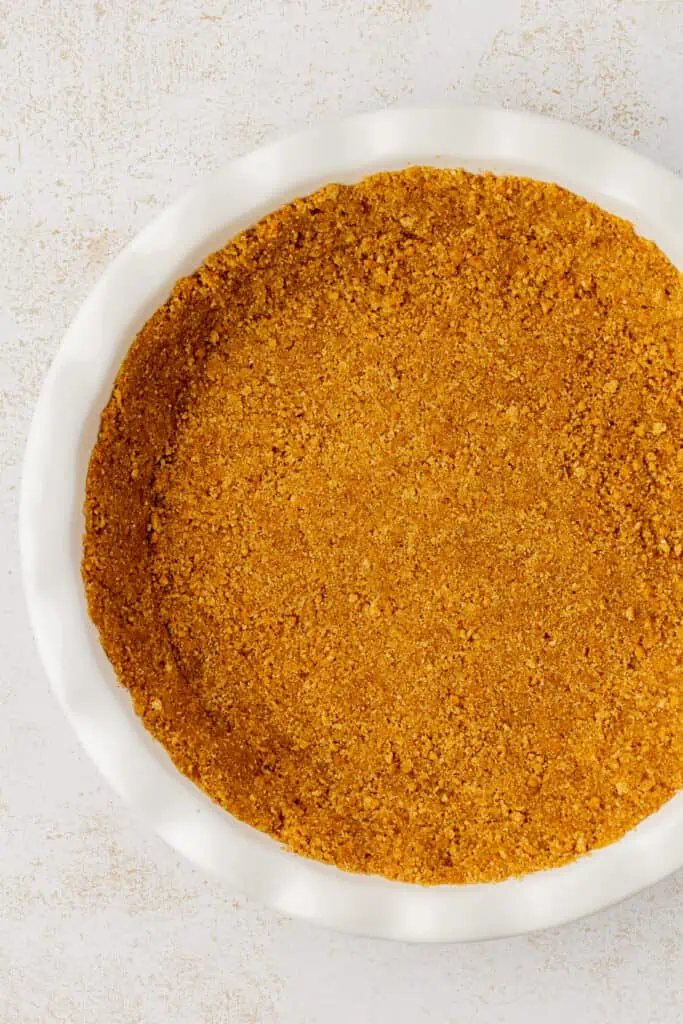
You simply to par-bake it, which means baking it for about 10 minutes in a pre-heated 350ºF degree oven. You want the crust to be golden brown, which is about 10 minutes for me. Just make sure nothing else in your oven, like a pizza stone, that could affect the baking time.
And that’s it! It’s so easy, and so crazy good. It’s going to take your pies to the next level.
Now what did I make with this graham cracker crust? Oh man…for that you are going to have to wait until tomorrow for official Pi Day! But I promise you it’s going to be good!
How To Use This Graham Cracker Crust
I love using a graham cracker crust for any no bake pies like this millionaire pie. They are great for a bar recipe like these classic key lime pie bar Graham cracker crust pies I find are generally easier to make!
Or try this graham cracker pie crust with my chocolate pudding pie.
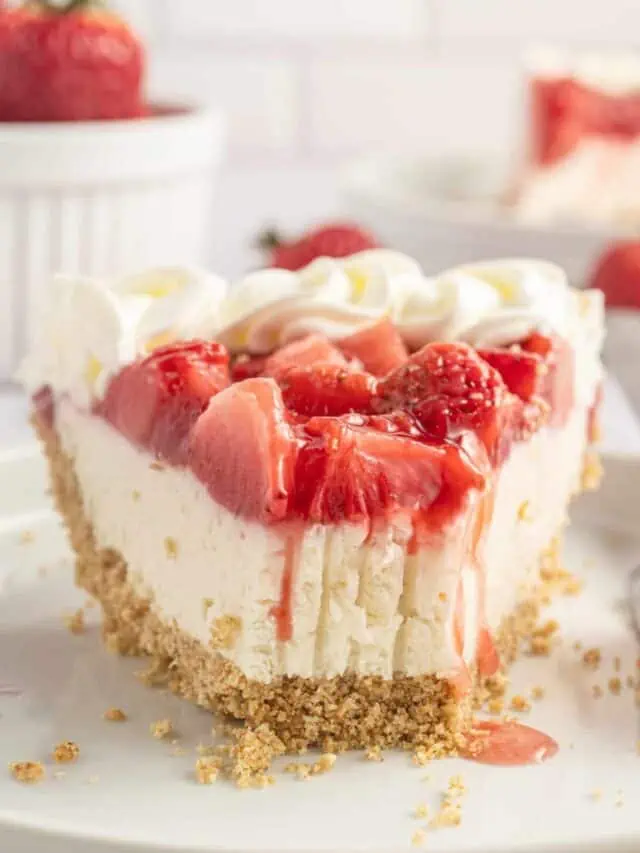
I use this graham cracker crust in many of my cheesecake recipes. Like this key lime cheesecake, my strawberry cream cheese pie or my lemon blueberry cheesecake.
Recipe FAQs
Any brand of graham crackers will work here. Honestly. Use what’s one on sale. Try cinnamon, chocolate, even GLUTEN FREE if you need to!
If you wanted to mix up this recipe and make it an chocolate cookie crust, simply leave out the sugar. But really sky’s the limit here, folks. Try making your own homemade graham crackers if you’re feeling ambitious. For this tutorial, I simply used generic graham crackers I had in my cupboard.
This crust can sometimes have a tendency to stick to the pie plate, even with all that butter! So just for a little extra added insurance, give your pan a quick spray of a non-stick cooking spray and you should be all set. If you are making a cheesecake, line the bottom of your springform pan with a parchment paper round and you should be all set!
Absolutely! You can make this crust and then freeze it up for up to 3 months. I simply cover the crust with saran wrap making sure the saran wrap lies flat in the pie plate so there is no air. I like to double wrap mine, and then pop in a plastic bag so it’s triple secure! Then when I go to use it, simply take it out to thaw before filling the crust.
This recipe is meant for a 9-inch pie plate or 9-inch springform pan. If you want to try using this crust for a bar recipe in a 9×13 pan, your crust might end up a bit on the thin side, so I would try making this recipe 1.5 times (or a batch and half) and that should work out perfectly.
This could be because of a few reasons. Do not substitute butter and use low fat spreads which can add water. Bake your crust so it gets crisp. Let it cool before adding your filling so moisture doesn’t form between the filling and crust.
More Recipes To Try
- Self Rising Flour Biscuits
- Lemon Cookies
- Brown Sugar Chocolate Chip Cookies
- 20 Self Rising Flour Recipes
- Milk Bar Cake
Graham Cracker Crust
Equipment
Ingredients
- 1 1/2 cups (180 g) graham cracker crumbs (about 12 crackers (or digestive biscuits)
- 6 Tablespoons (85 grams) unsalted butter melted
- 1/4 cup (52 grams) granulated white sugar
Instructions
- In a food processor, add your graham crackers and pulse until they become fine crumbs. You can also do this by placing them in a large plastic bag, seal it shut, and then use a rolling pin (or meat cleaver) to smash them into crumbs! 1 1/2 cups (180 g) graham cracker crumbs (about 12 crackers
- Place the crumbs into a mixing bowl, and add the melted butter and sugar. Use a spatula to stir to combine. 6 Tablespoons (85 grams) unsalted butter 1/4 cup (52 grams) granulated white sugar
- Pour the mixture into a 9-inch pie plate (that has been lightly greased with a non-stick cooking spray. Use the bottom of a measuring cup to press the crumbs down and up the sides. If you are making this for a pie that will be baked, then par-bake this crust in a 350F oven for 8 minutes. If you are making a no bake pie then chill in the refrigerator for 2 hours (or freeze for 1 hour)
Notes
- Make Ahead: You can make this crust 3 days ahead of time, just simply wrap in plastic wrap and place in the refrigerator.
- Freezing: You can also freeze this crust for up to 3 months, just simply thaw before using.
- Granulated sugar: Or swap with brown sugar.

Tami says
Why didn’t my crust stay flat at the bottom after pre baking it. I had too flatten it while it was hot.
Heather says
That can happen yes, I just press it back down slightly again before proceeding.
fred says
Please remember that all graham crackers have shrunk in size , therefore you may need more crackers than recommeded. Recipes should be printed by weight for this type of ingredient.
Heather | Boston Girl Bakes says
Thanks Fred that’s a good tip! I’ll be sure to include the weight in the recipe.
Barbara says
Homemade crust really is so simple. 🙂 And I’m dreaming about Summer too.
Heather says
Thank you Barbara 🙂
Melissa says
Who knew it was so easy to make a Graham Cracker crust!? I love them so I will definitely give this a try. I love the idea of making them and freezing them to use in the summer!
Madison Weaver says
I love making graham cracker crusts! This looks like a great recipe!
Heather says
Super easy and delicious 🙂