This Post May Contain Affiliate Links. Please Read Our Disclosure Policy.
If you’re new to baking bread and overwhelmed by all the bread baking tools out there, I’ve compiled a list of what I think the essential tools are out there you need, plus a few “nice to have tools” when you are looking to grow your arsenal.
I think whenever you’re starting out a new hobby it can be a bit overwhelming on what you need to buy. And yes I think baking bread is definitely a hobby, and a one well worth getting into!
When I first started making bread I think I simply had a bowl and a spatula and that was about it. But I found very quickly that making bread gets a whole lot easier and a whole lot more fun when you have a few bread baking tools in your kitchen to utilize. Having the right tools makes bread baking a much more enjoyable process with more consistent results!
And as you can imagine, with any hobby, over the years I have accumulated quite a few tools – some necessary, some not no necessary – so I figured I would round up my the best bread-baking tools for the home baker!
See Also:
- Move over pumpkin! This butternut squash bread recipe is an easy loaf bread to make in the Fall.
- For more whole grain goodness, try my whole wheat blueberry muffins. These are the best breakfast treat!
- Sugar donuts are a fun breakfast treat to make with yeast! Dipped in sugar these donuts are light and fluffy.
- For a traditional Swedish breakfast treat during the holidays try making these St Lucia buns flavored with saffron!
Bread Baking Tools For The Beginning Baker
Digital Scale
I think if you’re really going to make amazing bread (or really any baked good) a digital scale is a must. They are inexpensive and will immediately get you better results in the bread making process.
Weighing your ingredients will ensure you have the exact right amount of ingredients in your bowl. Especially for flour! Flour is the number one ingredient that beginner bakers measure wrong. And flour is the #1 ingredient in making bread! So take the guesswork out of measuring and invest in a kitchen scale. They’re fairly inexpensive and will ensure the best results.
A Good Mixing Bowl
I have, as you can imagine, quite a few mixing bowls! I like using a large glass mixing bowl if I’m mixing when making bread dough. I like a glass bowl so I can see through the sides of the bowl to see how much the dough has risen, so I don’t have to remove the lid and am able to keep the environment as warm and consistent as possible.
Glass bowls are also easy to clean and keep grease-free over time unlike plastic bowls. Some bakers recommend against using metal mixing bowls as it can react with the dough and yeast (especially if making sourdough) but I’ve never found this to be the case. But again I still prefer glass so I can have a lovely little window to the dough inside.
I own and use these Pyrex mixing bowls frequently, but I also love these two large mixing bowls (they also come with covers – perfect for proofing).
Stand Mixer
Some may say this is not an essential bread baking tool, but I absolutely love my stand mixer with the glass bowl and tilt head for mixing and kneading the dough. Kneading the dough is a labor intensive activity and can take up to 10 minutes of time.
My stand mixer with a dough hook attachment takes out all the arm work! I have a Kitchen-Aid stand mixer with a metal bowl and bowl lift style and love the quality but there lots of great stand mixers out there.
And this smart mixer from King Arthur Flour I will say is on my baking wish list (maybe next Christmas?) – the features are on this mixer are pretty dang cool and next level!

Danish Dough Whisk
I absolutely love my Danish dough whisk, or Danish dough hook, for mixing together a batch of bread dough! It does a fantastic job of mixing together the dough together, much better than a wooden spoon or spatula. Honestly this is one of those tools you didn’t know you needed in your kitchen but will wonder what you ever did without it. It’s wonderful mixing heavy bread dough together prior to the kneading step.
This is also great if you don’t have a stand mixer yet, you can invest in one of these whisk to mix your dough together easily and then knead the dough by hand.
And this whisk is a handy all around kitchen tool you can really use in more than just your bread recipes! It’s wonderful mixing up a muffin batter, a sourdough starter, and even a fruit pie filling. It does a wonderful job of mixing without overbeating because of it’s unique flow-through design, much better than a rubber spatula. And it can be easier to clean than other whisks.
Dough whisks are fairly inexpensive and a wonderful investment!
Bench Scraper
A bench scraper or bench knife is the workhorse in the kitchen. This little nifty tool can scrape up messes on the counter, divide dough easily, and cutting baked good easily! Bench scrapers, or bench knives, are the cheapest, and next best bread baking tool you can need to get if you ask me.
I love this bench knife with it’s wooden handle, but you can also get a fairly inexpensive one like this metal bench scraper as well.
I use mine all the time, especially when working with a sticky yeast dough. I use the bench knive to scrape the dough together, and fold over on itself, and can keep my hands out of the dough.
Dough Scraper
I waited way too long to get one of these and boy do I regret that! A plastic dough scraper is a flexible scraper that you can use to move the dough around the mixing bowl easily.
I find them much easier to work with than using a spatula, especially with a heavy, sticky dough. Nothing beats a flexible bowl scraper. I can’t recommend it enough. And for under $5 like this one from King Arthur Flour, how can you not get one?!
Dutch Oven And Loaf Pans
Of course you will need some pans to bake your bread in. The type of pan you will need will depend on the type of bread you are baking. If you are baking an artisan bread loaf, I recommend a Dutch Oven. I love baking bread in a Dutch oven! It allows me to get a wonderfully, crispy crust and good oven spring. I love using my Dutch oven for making my sourdough bread, or baking a no knead crusty loaf of bread.
If you’re baking a sandwich bread, then you will want to invest in a quality loaf pan. I recommend a metal loaf pan for the best results when baking, instead of glass loaf pans. You could also use cast-iron loaf pans.
Of course if you don’t own one you can bake on a pizza stone, or baking steel. You can also use two cast iron skillets (one smaller and one larger). Bake the bread in the larger cast iron skillet, and place the smaller skillet below. Place a few ice cubes in it when you bake the bread to help create steam. The steam is what causes a crispy crust.
You could also bake on a sheet pan if you need to. I still recommend placing a skillet with ice cubes underneath to create that steam!
But if you’re serious about wanting to bake bread, I can’t recommend a Dutch Oven enough. They can be expensive so you may want to try looking around for a used one, or one one sale. I actually scored this Cuisinart one for about half price at my local Home Goods!

Parchment Paper
It may seem silly to mention this as a tool, but I always make sure I have parchment paper in my kitchen. It’s not just for making cookies not stick to your baking sheet.
After my bread is done proofing I place the bread onto parchment paper and it makes it very easy to move to the final baking pan.
I like to buy pre-cut parchment sheets like these ones from Amazon, or even better yet these loaf pan lifters or round loaf lifters really get the job done well!
Rolling Mat
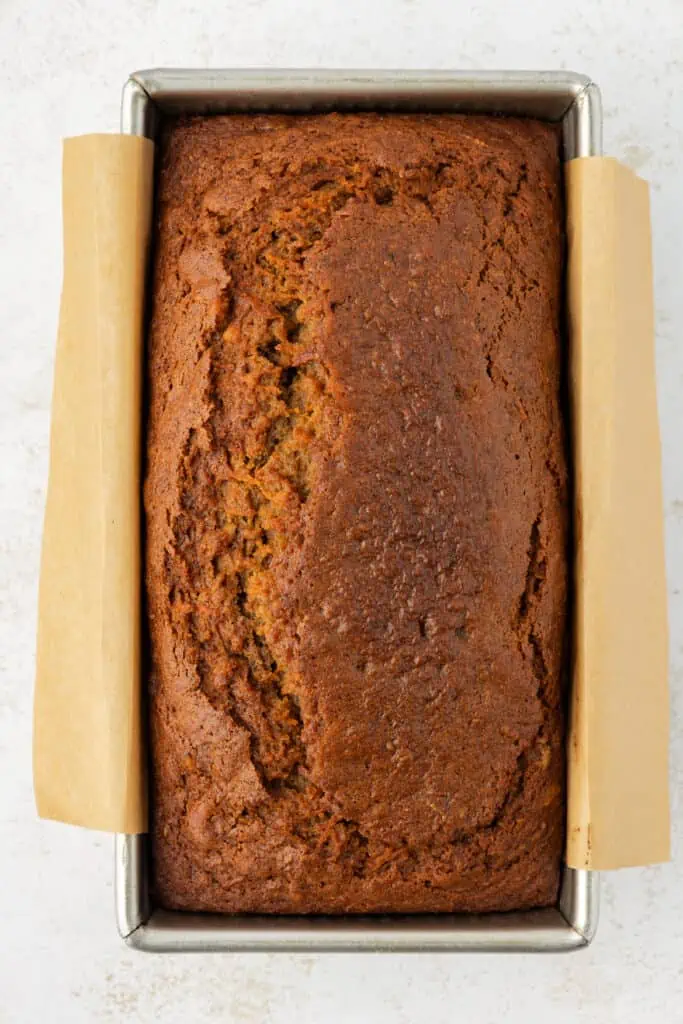
I think I use my rolling mat for just about everything. From shaping biscuits, to rolling out pie dough, to kneading bread dough. This mat is rarely sitting in the drawer.
I love a good rolling mat to ensure a non-stick surface, but also for the measurements on the mat. This is wonderful for when I’m rolling out the dough to a particular size, such as cinnamon rolls!

Rolling Pin
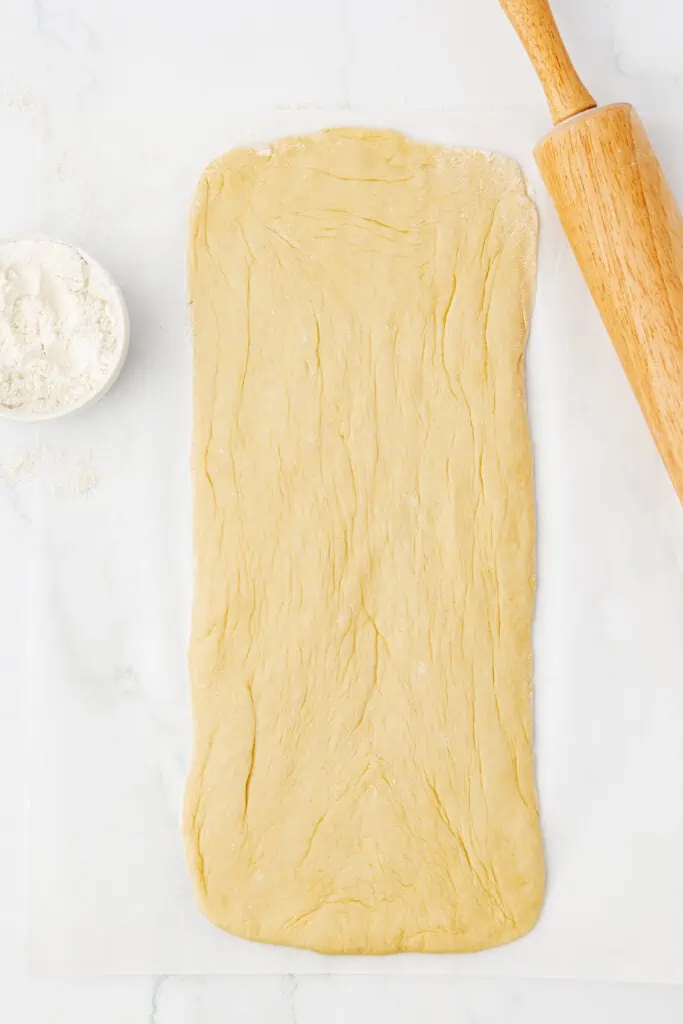
Of course we can’t talk about rolling out dough without talking about a rolling pin! I own several rolling pins (shocking I know) and several different styles.
You can’t go wrong with a heavy duty maple rolling pin with solid handles like this one. But my go to rolling pin is a French rolling pin with tapered handles. I think it just gives me better control and is great of rolling out large pieces of yeasted dough.
Bread Lame
A bread lame is a very sharp razor blade with a handle that is used to make slashes into the bread. This is called scoring the bread. The slashes are what helps allow the steam to escape. Make sure you have a fresh blade when scoring the bread for the cleanest cuts!
If you don’t have a bread lame yet, you can use a single edge razor blade, x-acto knife, or a very sharp knife (although I have the least success with this – it has to be really sharp!), but they are very inexpensive and help make your bread slashing job a bit easier.
Bread lames are also wonderful for making more intricate designs into your dough. For intricate designs, this wooden bread lame from King Arthur really gets the job done.
They make simple bread lames that get the job done and fairly cheap. And then there are beautiful wooden bread lames for the serious bread baker!
Bowl Covers
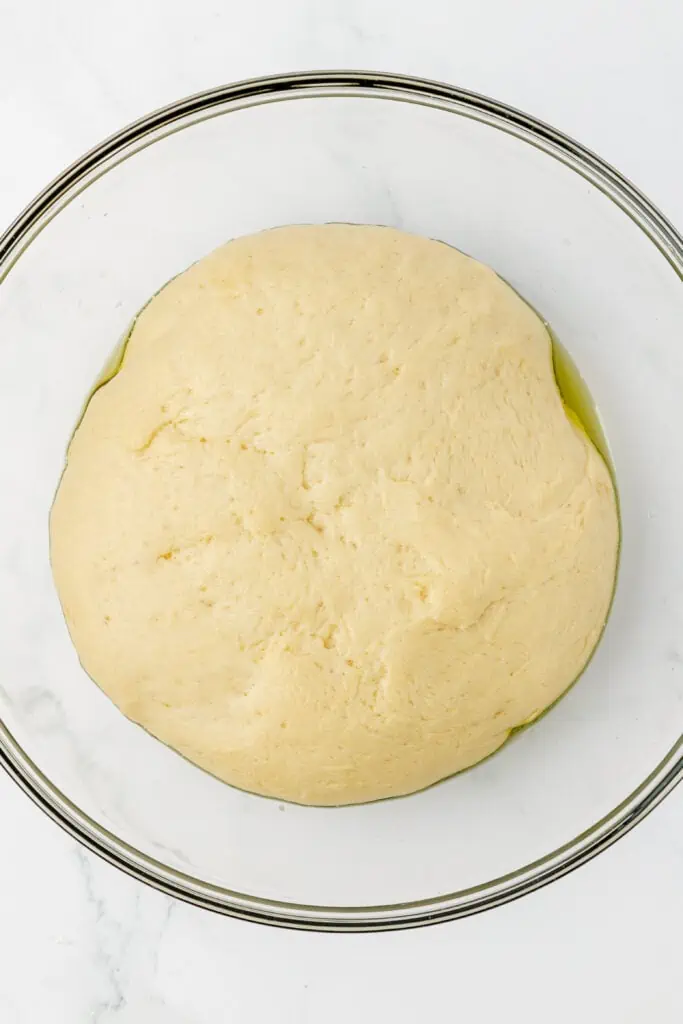
You need some sort of bowl cover while proofing bread. If you’re just starting out, there’s nothing wrong with a clean tea towel or dish towel. I also love using a plastic shower cap (yup shower cap!). I actually own a lot of these resuable bowl covers (basically fancy colored shower caps in different sizes). You can even use plastic wrap if you’re in a pinch!
You can also purchase silicone bowl covers as well that can keep a good seal and allow bread to proof in a warm environment.

Banneton Baskets Or Proofing Baskets
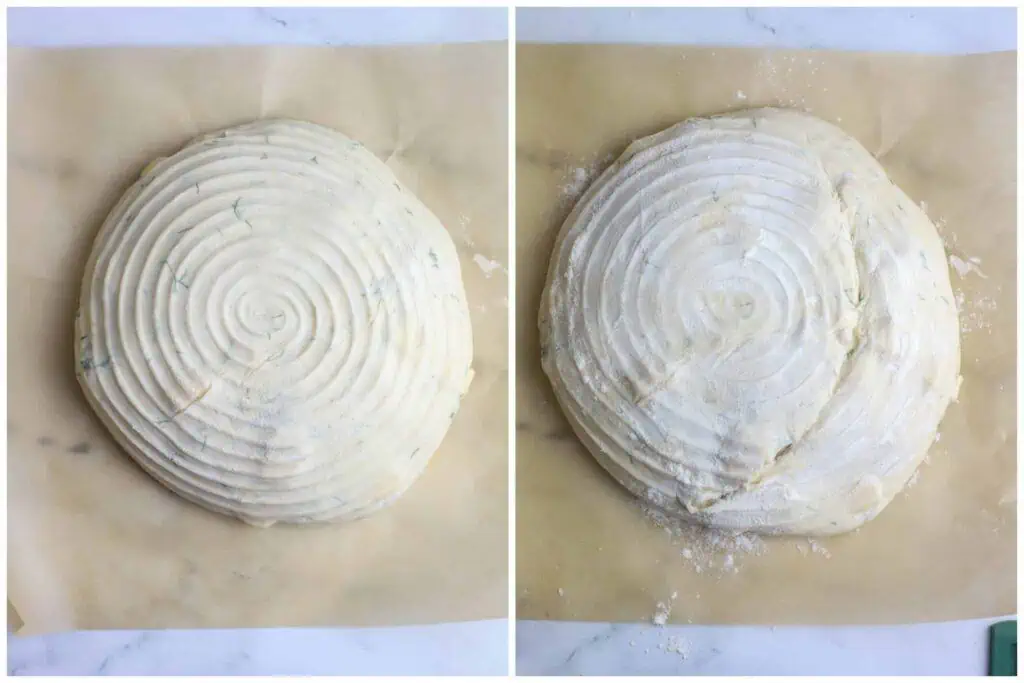
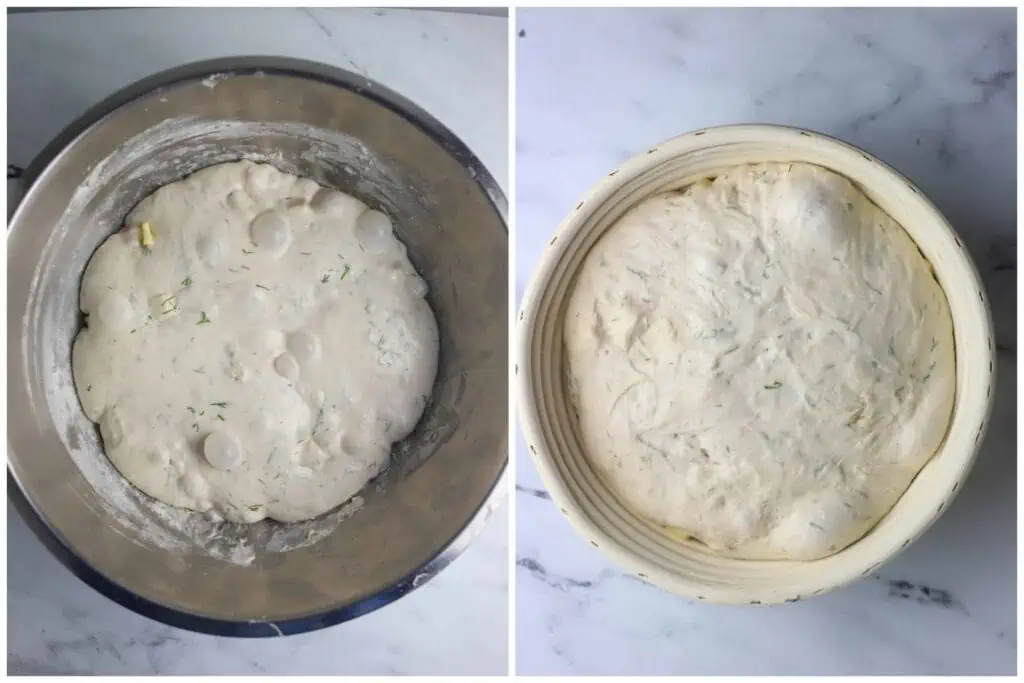
A banneton basket, or proofing basket, is a nice tool to have to allow your bread to rise during it’s final proofing and keep it’s shape. I wouldn’t call it an essential tool, but it’s a nice to have when you get serious about bread baking.
If you don’t have one, I like to simply line a bowl with a clean tea towel and dust with rice flour (this helps the bread from sticking).

Many times, you can get a banneton basket bundled with many of the other items, like this bundle or this one, I mentioned in this list!
Cooling Rack
Yes allowing your bread properly is what will help ensure your bread has the proper texture inside. I know, waiting for warm bread to cool down in order to dig in plain torture. But well worth it!
And since you went to all that trouble to bake up the most perfect loaf of bread, it’s important you take those last few moments to cool it properly. And nothing gets the job done like a cooling rack. I like cooling racks with smaller holes (I find this the best for all my bakes not just my breads).
Bread Knife
Once the bread is done baking, and you’ve found the patience within yourself to let it cool properly it’s the time to cut into it! And nothing beats a really good bread knife.
A serrated long knife that will do the best job of slicing the bread properly. This is the bread knife I use and I absolutely love it. It doesn’t squish the bread, and I find the long blade wonderfully slices through my artisan loaves.

Bread Recipes To Try
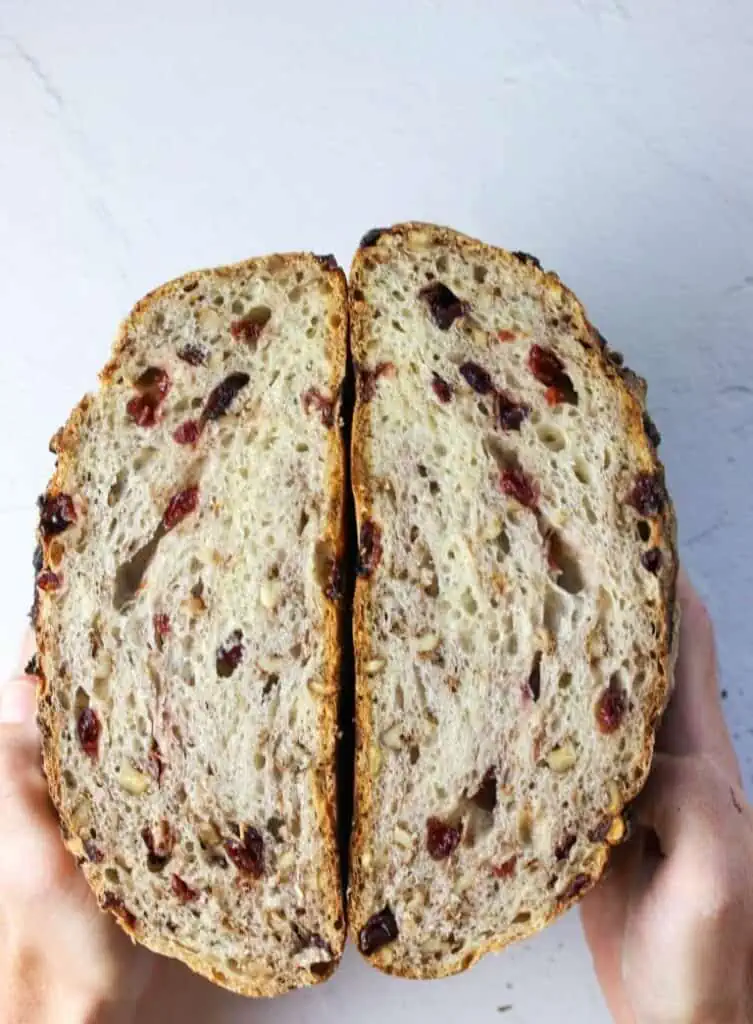
Now that you have armed yourself with the best bread tools possible, let’s make some bread! I think a great bread to start making is this no knead cranberry walnut bread.
If you’re looking for a sandwich bread style, I love my sandwich bread recipe (or you can try this whole wheat sandwich bread version).
Or you can try some sweet yeast breads, like this Challah bread or my favorite cinnamon rolls and sticky buns!
And you can’t beat a good homemade roll! Try my no knead dinner rolls, or my Parker House rolls. And don’t forget to try my chewy pretzel buns.
More Baking 101 Posts
- Why Are My Cookies Flat?
- Oil Vs Butter In Quick Bread
- How To Activate Yeast
- Why Did My Quick Bread Sink?
More Baking Tool Recommendations
- 9 Pie Tools You Need To Make The Perfect Pie
- My Favorite Sourdough Bread Tools and Resources
- 10 Baking Pans Every Baker Needs
- 24 Baking Tools Every Baker Needs

Comments & Reviews
Type your question or comment below, and tap "Post Comment". I welcome constructive criticism, but please be respectful. Rude or inappropriate comments will not be published. Thank you!Baking isn't always easy! So if you had any issues, I'd appreciate the chance to help you troubleshoot before you rate.